

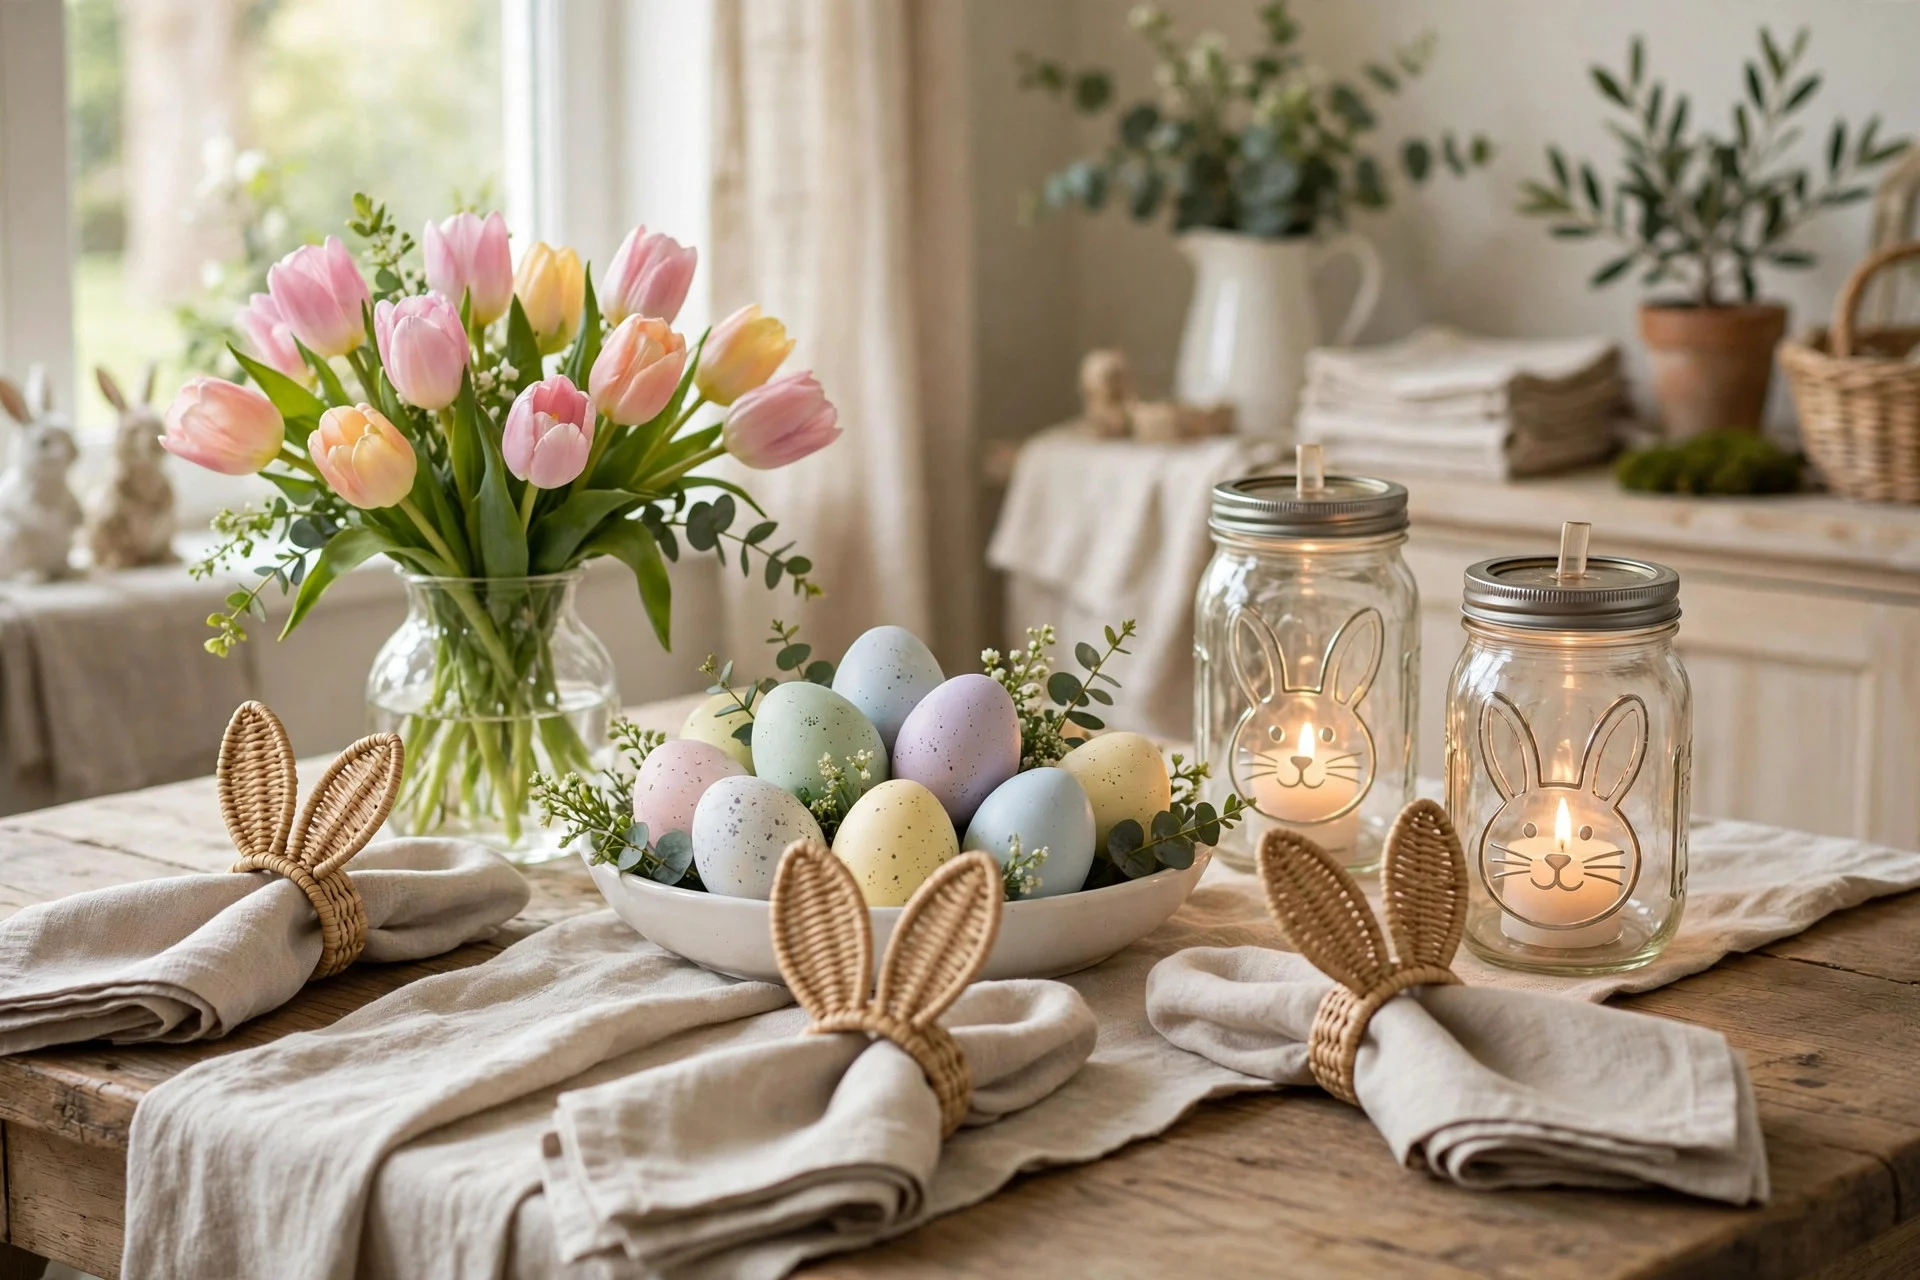
If you love a home that feels fresh and cheerful at Easter, you do not need a big budget or fancy supplies to get there. These DIY Easter decorations use simple things you probably already have at home — paint, jars, ribbon, paper, and a few eggs — and turn them into sweet touches that make the whole house feel ready for spring.
I put this list together for real homes, not show homes. Every idea here is one I would actually make on a busy weekend, with kids running around or a cup of coffee going cold on the counter. Pick one or two to start with, and add more as you go. Your table, mantel, and front door will thank you.
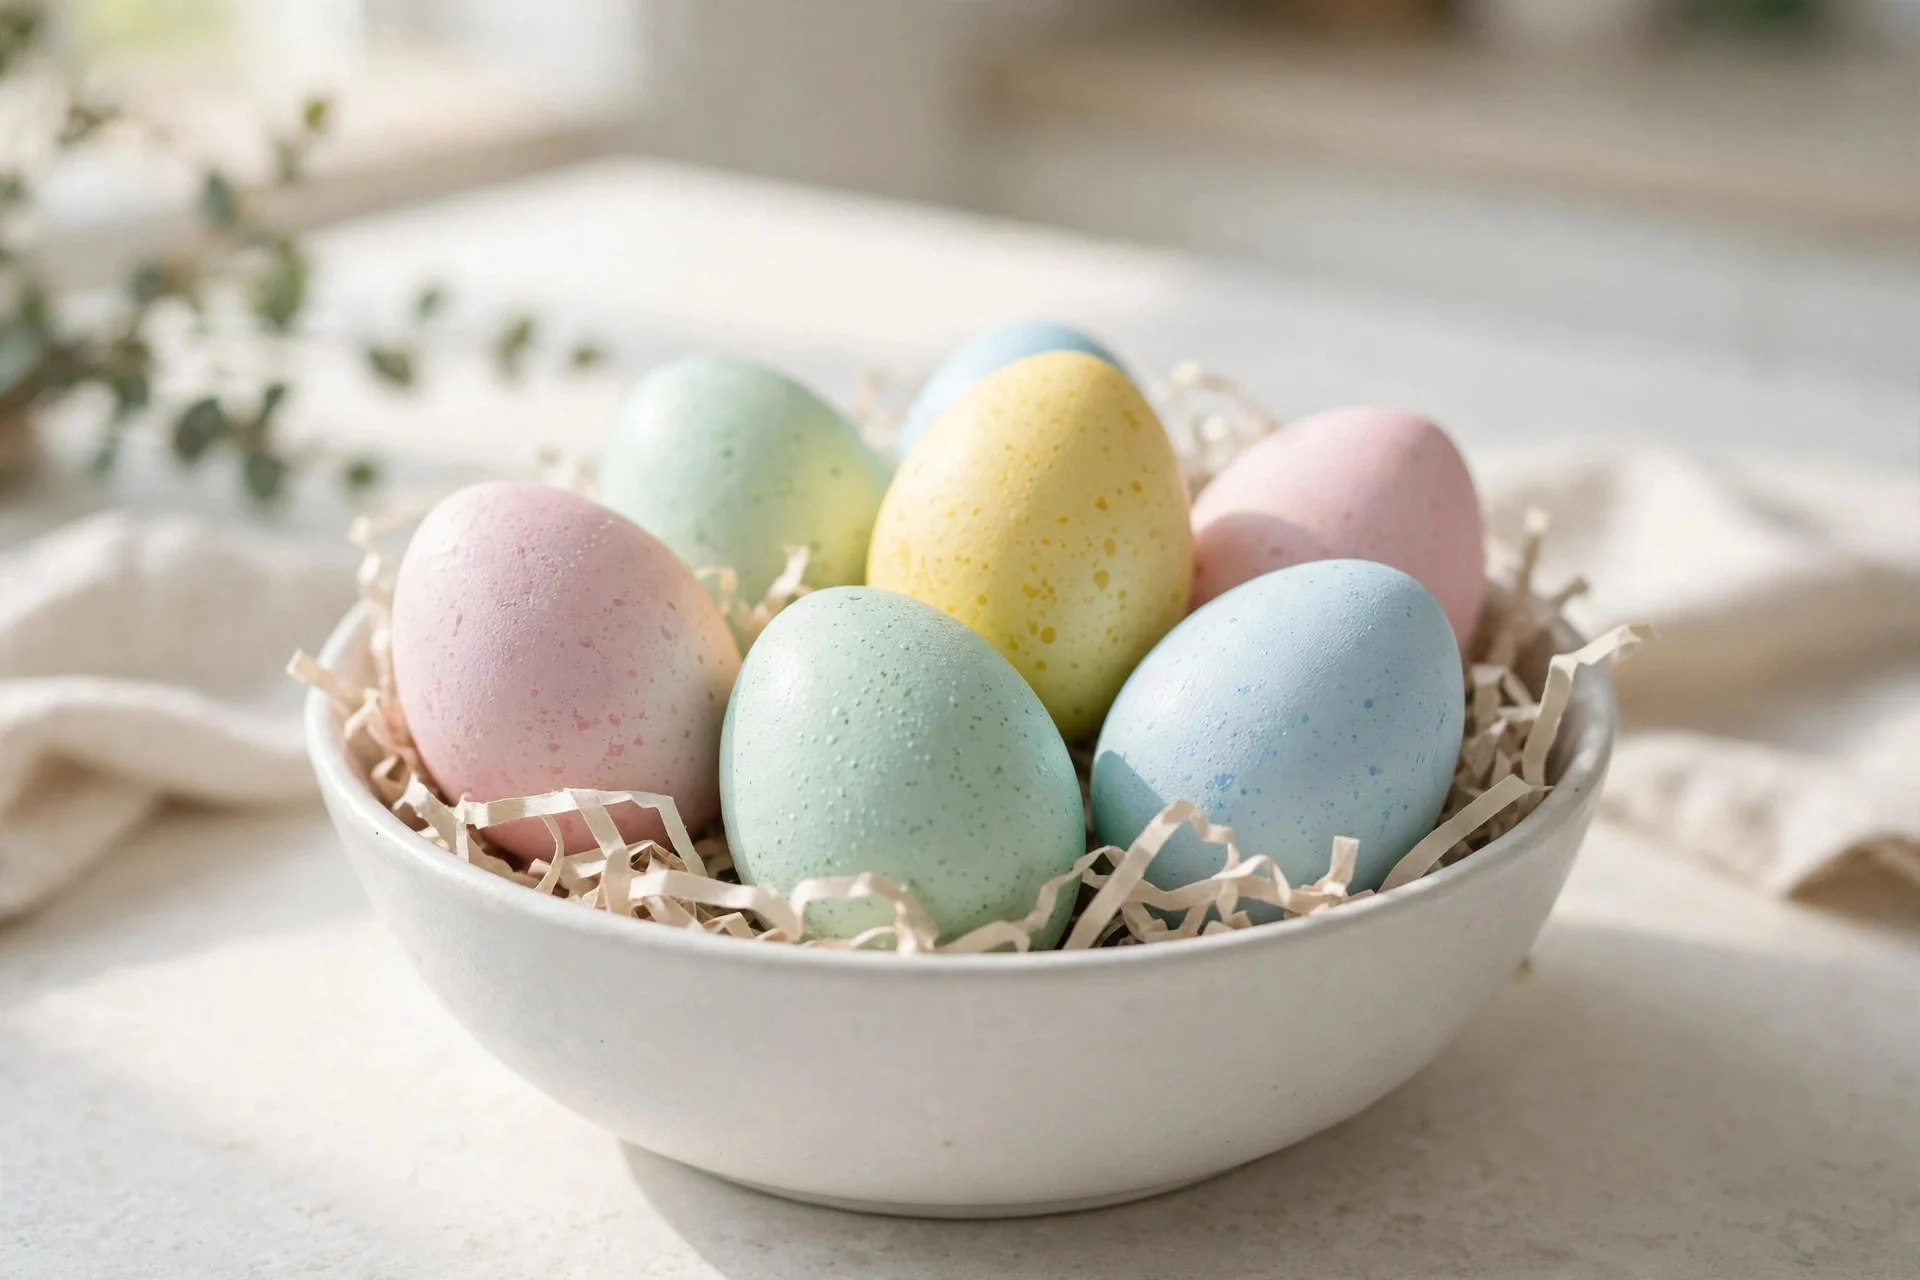
1. Pastel Painted Eggs: Classic DIY Easter Decorations for a Bowl Display
Start with the classic for a reason — painted eggs never go out of style. Blow out real eggs or use wooden or plastic ones if you want to keep them for next year. Paint them in soft pink, mint, butter yellow, and baby blue, then let them dry fully before you handle them again. I tried this with a cheap craft paint set, and the colors looked just as pretty as pricey ones.
Pop the finished eggs in a white bowl with shredded paper or moss underneath. Place the bowl on your coffee table or kitchen counter, where everyone can see it. Do not overfill the bowl — leave space so each egg shows. That breathing room makes the display look calm, not cluttered.
Try this: Add one gold or white egg to the mix for a soft pop that ties the pastels together.
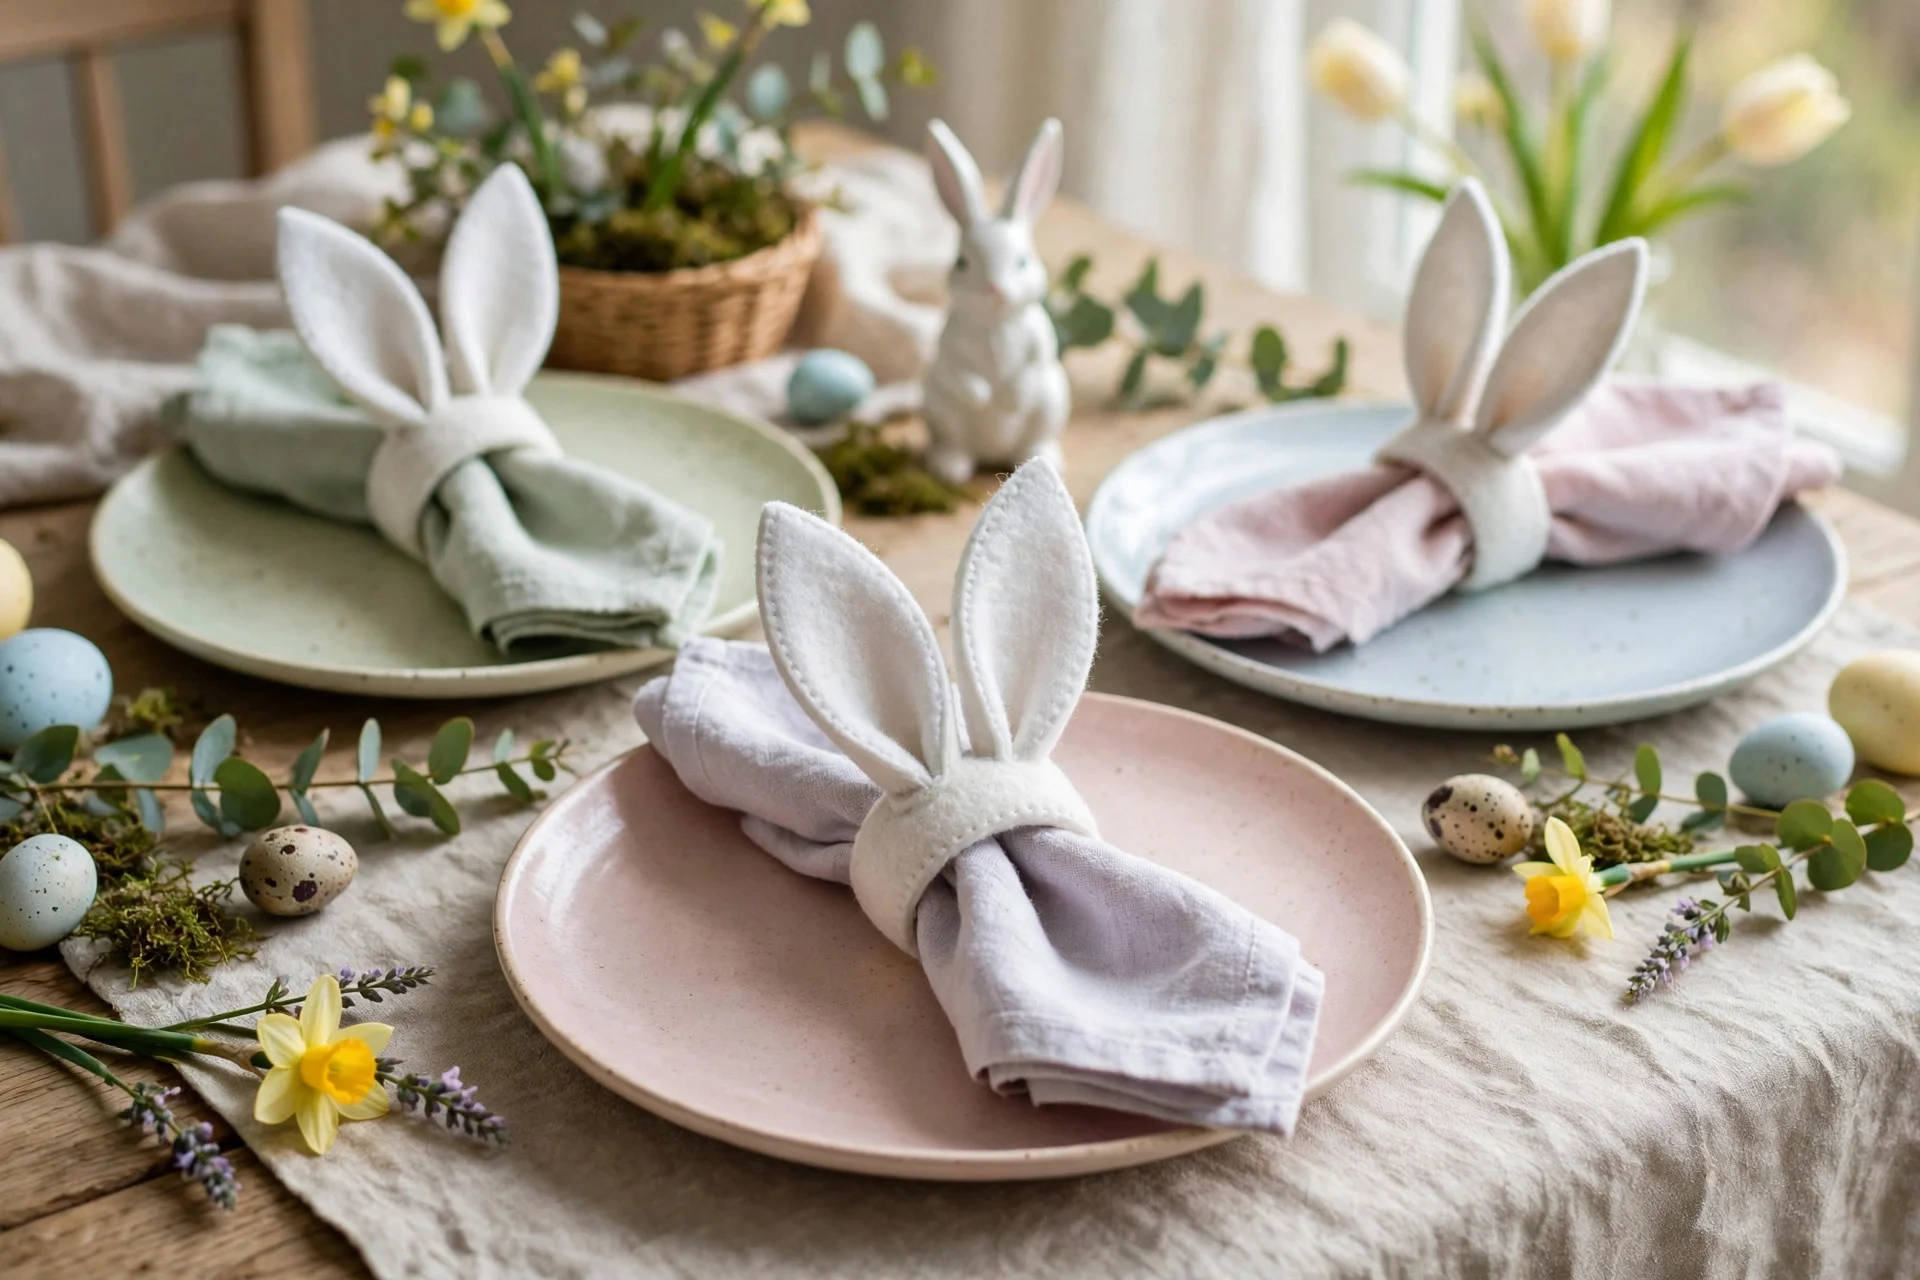
2. Bunny Ear Napkin Rings
These napkin rings take five minutes each and make your Easter table look like you planned it for weeks. Cut bunny ears from felt or thick card, then glue or stitch them to a simple ring made from a cardboard tube or a strip of felt. Fold a cloth napkin through the ring and pull the ears up so they stand tall. It is a small detail, but guests always notice it first.
Keep colors soft — white, cream, or pale grey felt works with almost any setting. If making them with kids, let them pick their ear color and add a tiny pom-pom nose. I tried this the night before Easter once and ended up making extra sets, because everyone wanted to take one home.
Try this: Use a dab of hot glue, not white glue, so the ears stay upright through dinner.
3. Mason Jar Bunny Lanterns
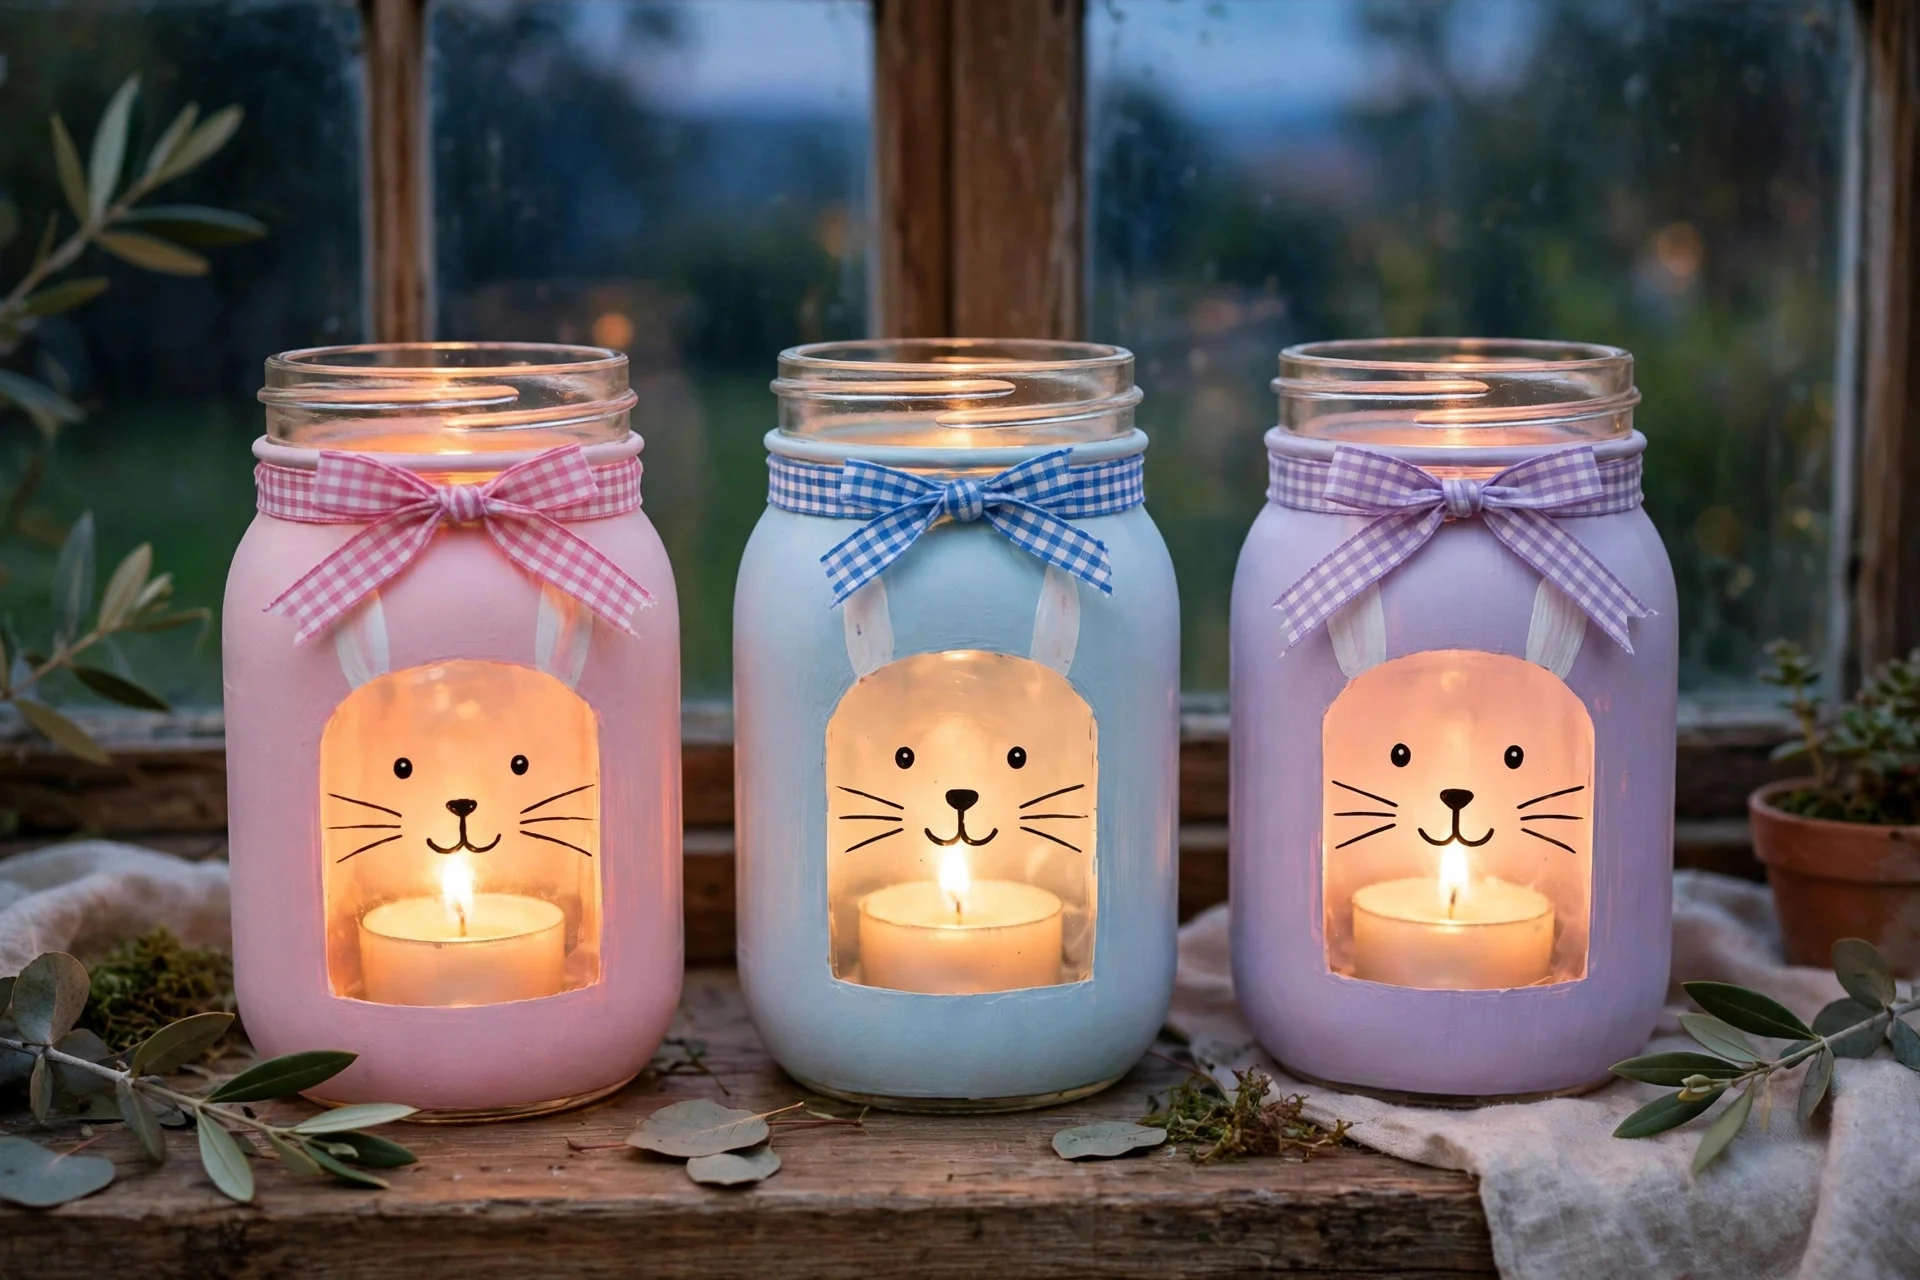
Mason jars, a tea light, and a bit of paint are all you need for these sweet lanterns. Paint the outside of the jar white or pastel, then draw or stick on a simple bunny face — two ears, closed happy eyes, and a small nose. Drop a battery tea light inside and watch the face glow softly in the evening. They look lovely lined up on a windowsill or down the middle of the table.
Use battery lights, not real candles, especially if kids or pets will be nearby. I tried this with real candles once and spent the whole evening watching the jars instead of enjoying dinner. Battery lights give the same warm glow with none of the worry, and you can leave them on all evening.
Try this: Tie a gingham ribbon around the jar neck for a finished, gift-ready look.
4. Easter Egg Branch Tree
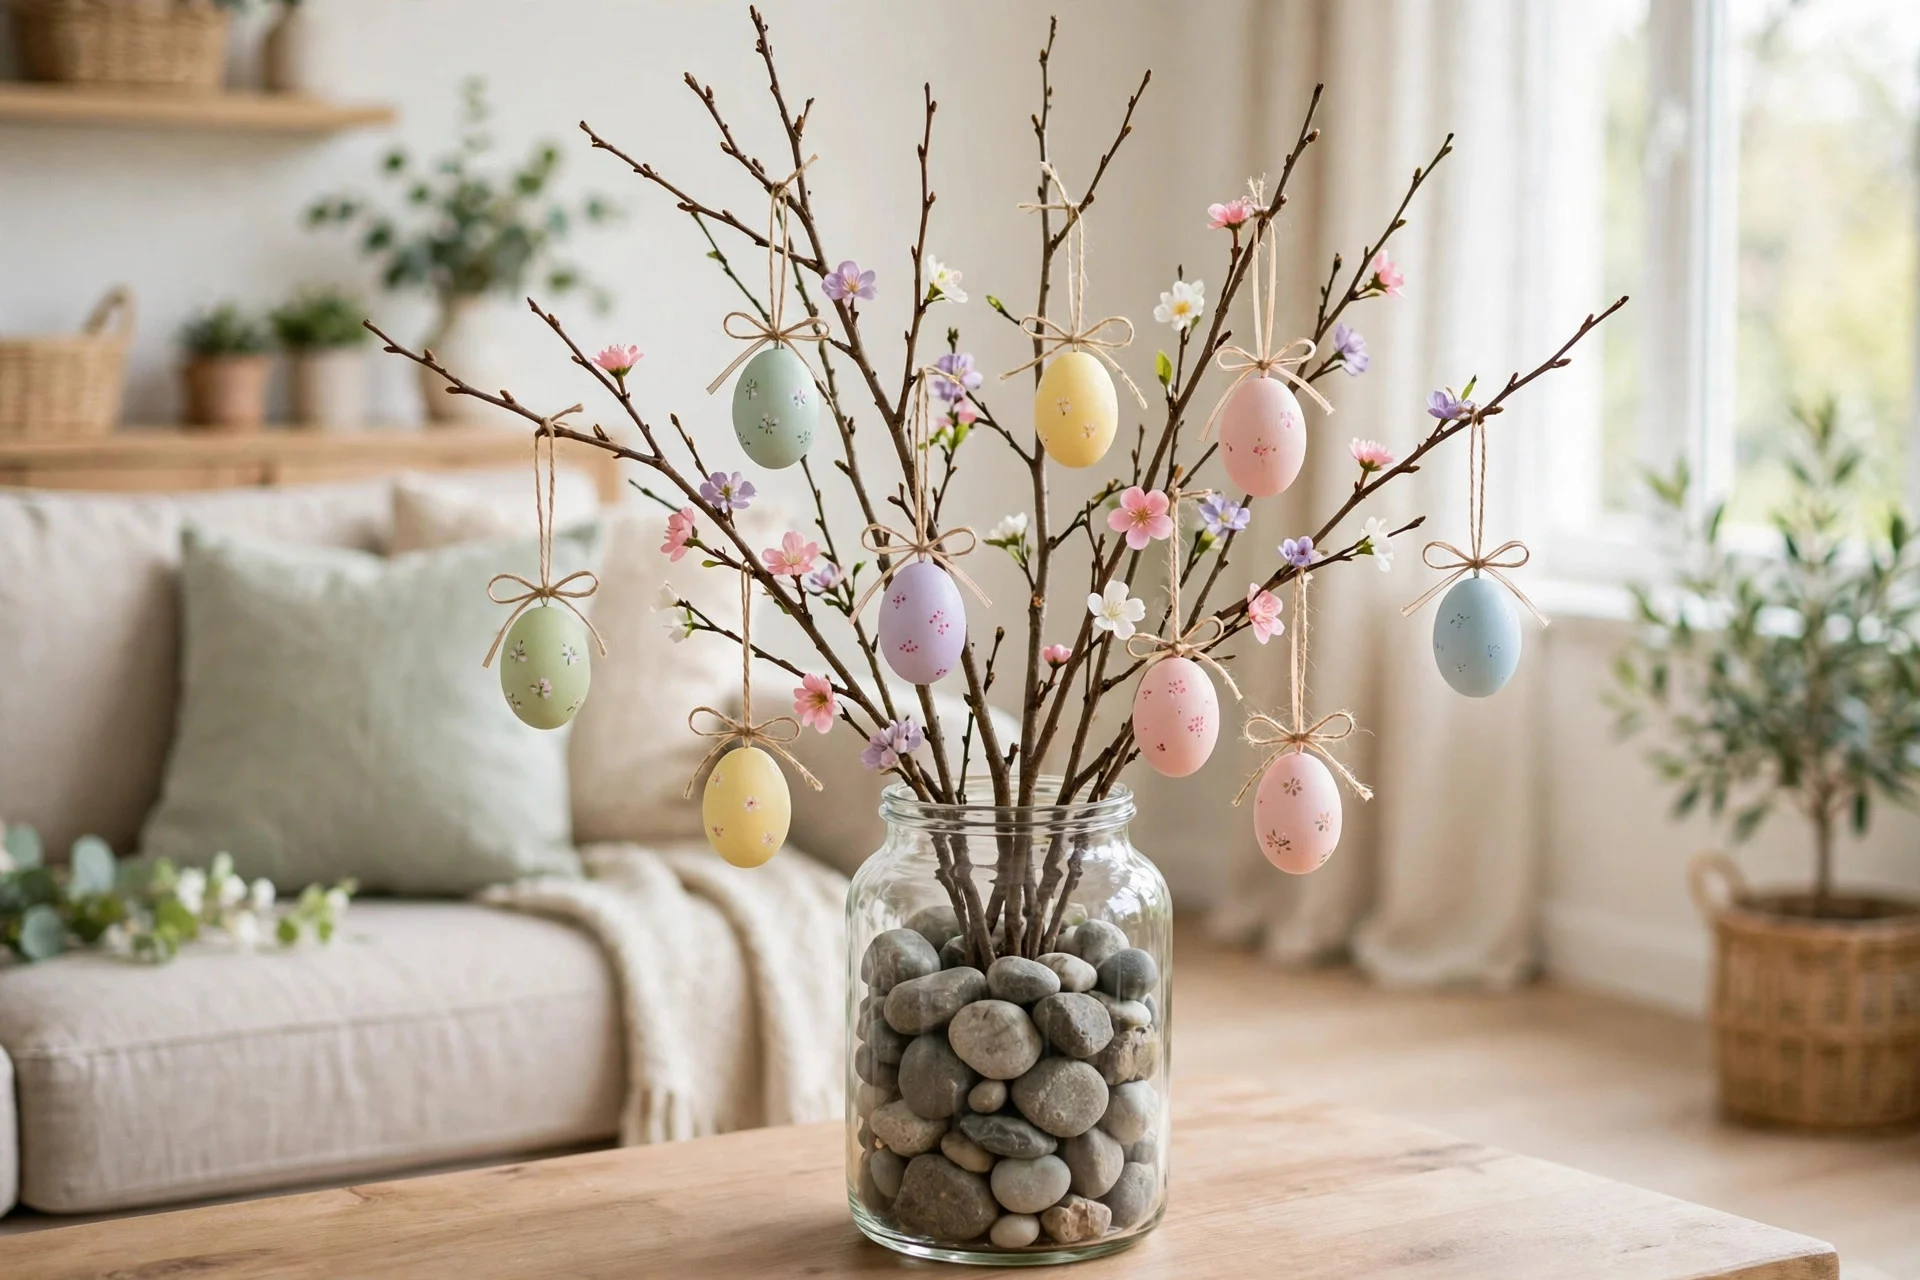
An Easter egg tree is one of the easiest centerpieces you can make, and it looks far fancier than the effort it takes. Gather a few bare branches from the garden, trim them to size, and stand them in a jar or vase filled with stones. Hang small painted eggs, wooden eggs, or paper eggs from the branches with thin ribbon or string.
Keep the hanging eggs light so the branches do not droop. Space them out and vary the heights a little — that uneven, natural look is what makes it charming. I tried this with heavy ceramic eggs the first year and the whole tree leaned to one side by lunchtime. Light eggs stay put and look better, too.
Try this: Add a few tiny faux flowers to the branches for a fresh spring feel.
5. Carrot Garland for the Mantel
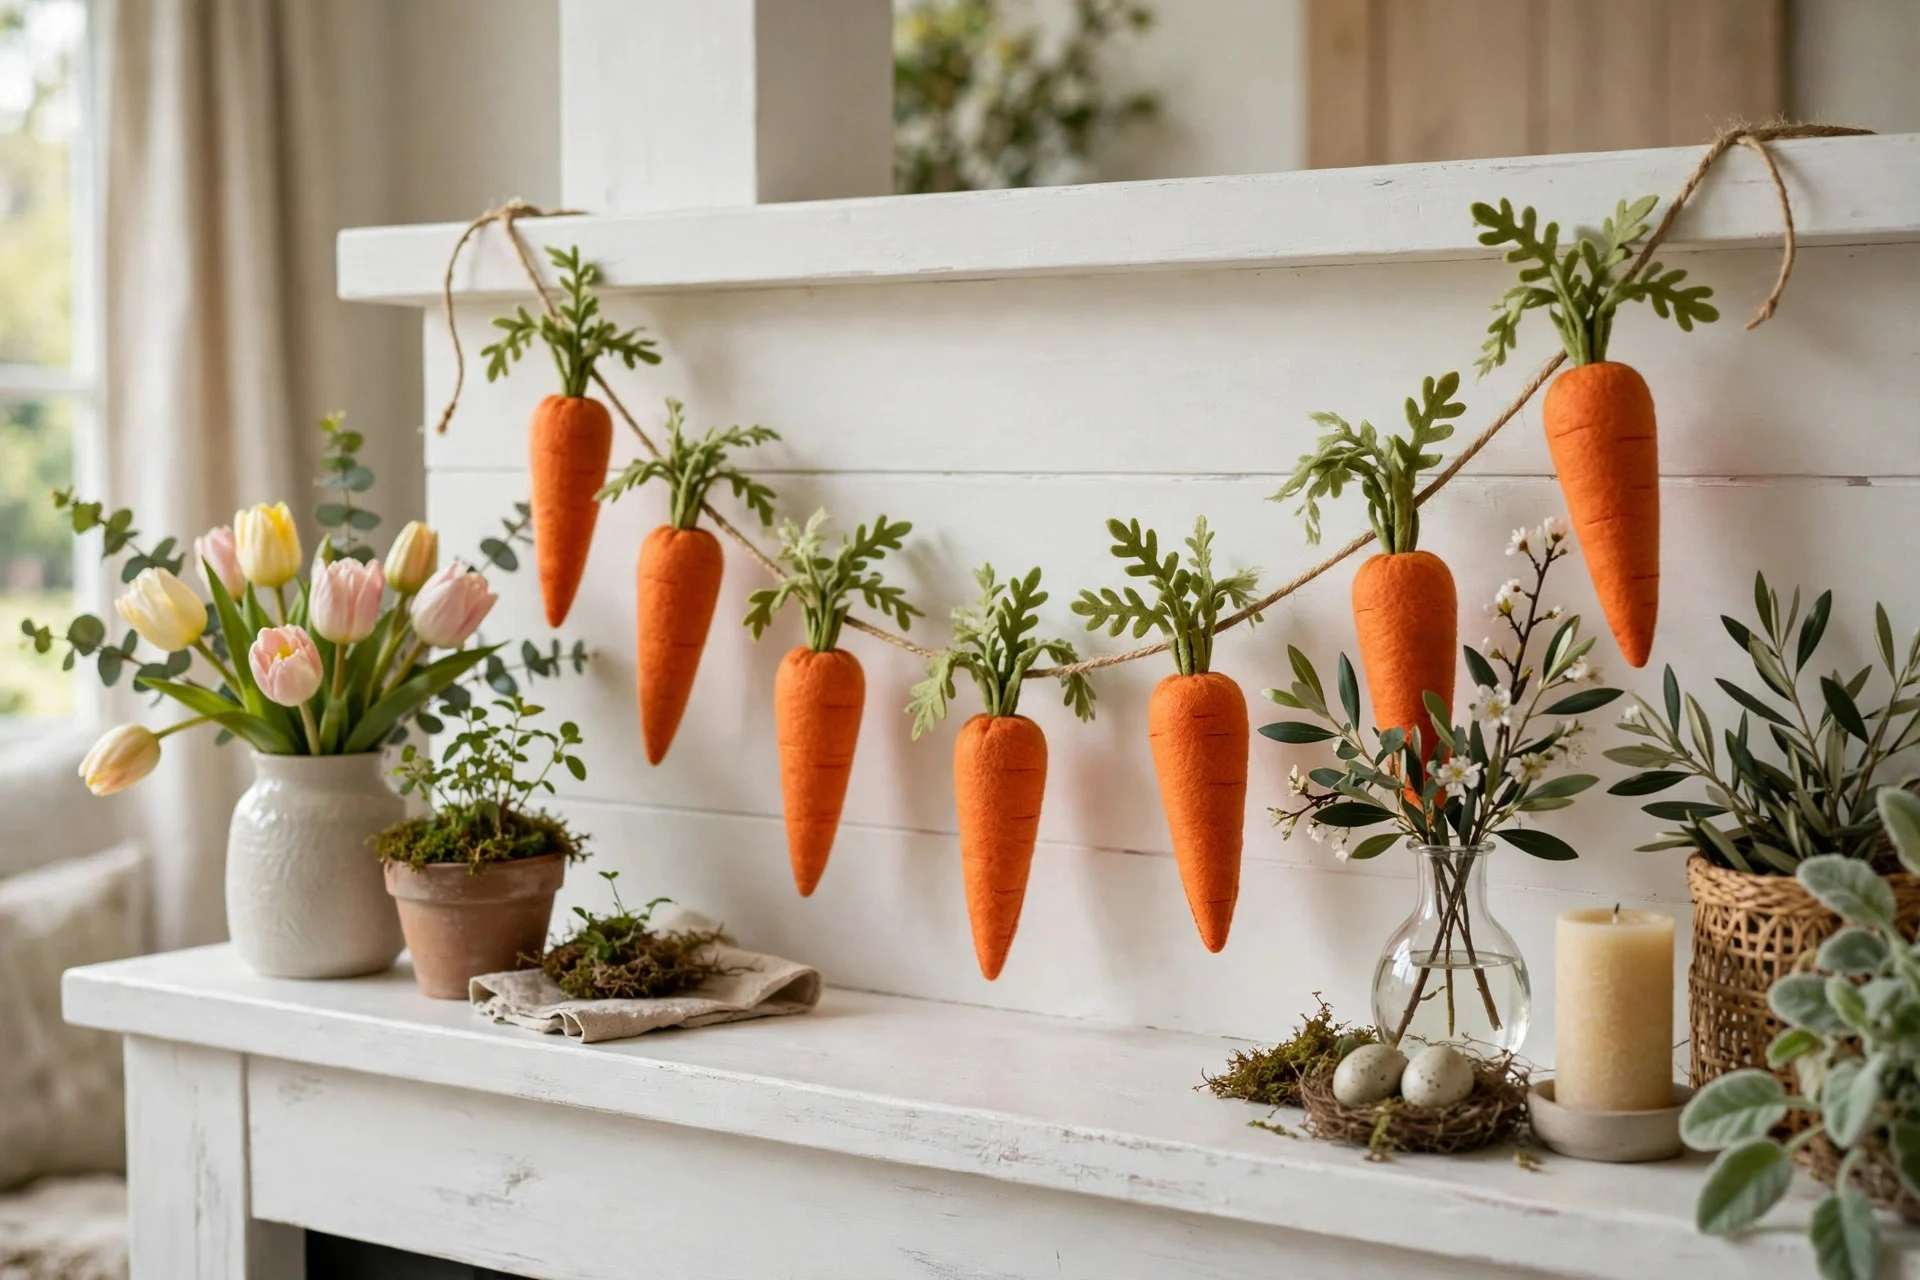
A carrot garland is playful without being loud, and it works perfectly on a mantel, doorway, or shelf. Cut carrot shapes from orange felt or card, add a green felt top for the leaves, and string them together with twine. You can make each carrot the same size for a tidy look, or mix sizes for something more relaxed and handmade.
Hang the garland with small clear hooks or drape it loosely so it dips a little in the middle. That soft dip looks much better than pulling it tight. I tried this with stiff card first and the garland would not drape at all — felt is far easier to work with and it folds neatly for storage next year.
Try this: Alternate one carrot with one small white pom-pom to mimic a bunny tail between carrots.
6. Speckled Egg Place Cards
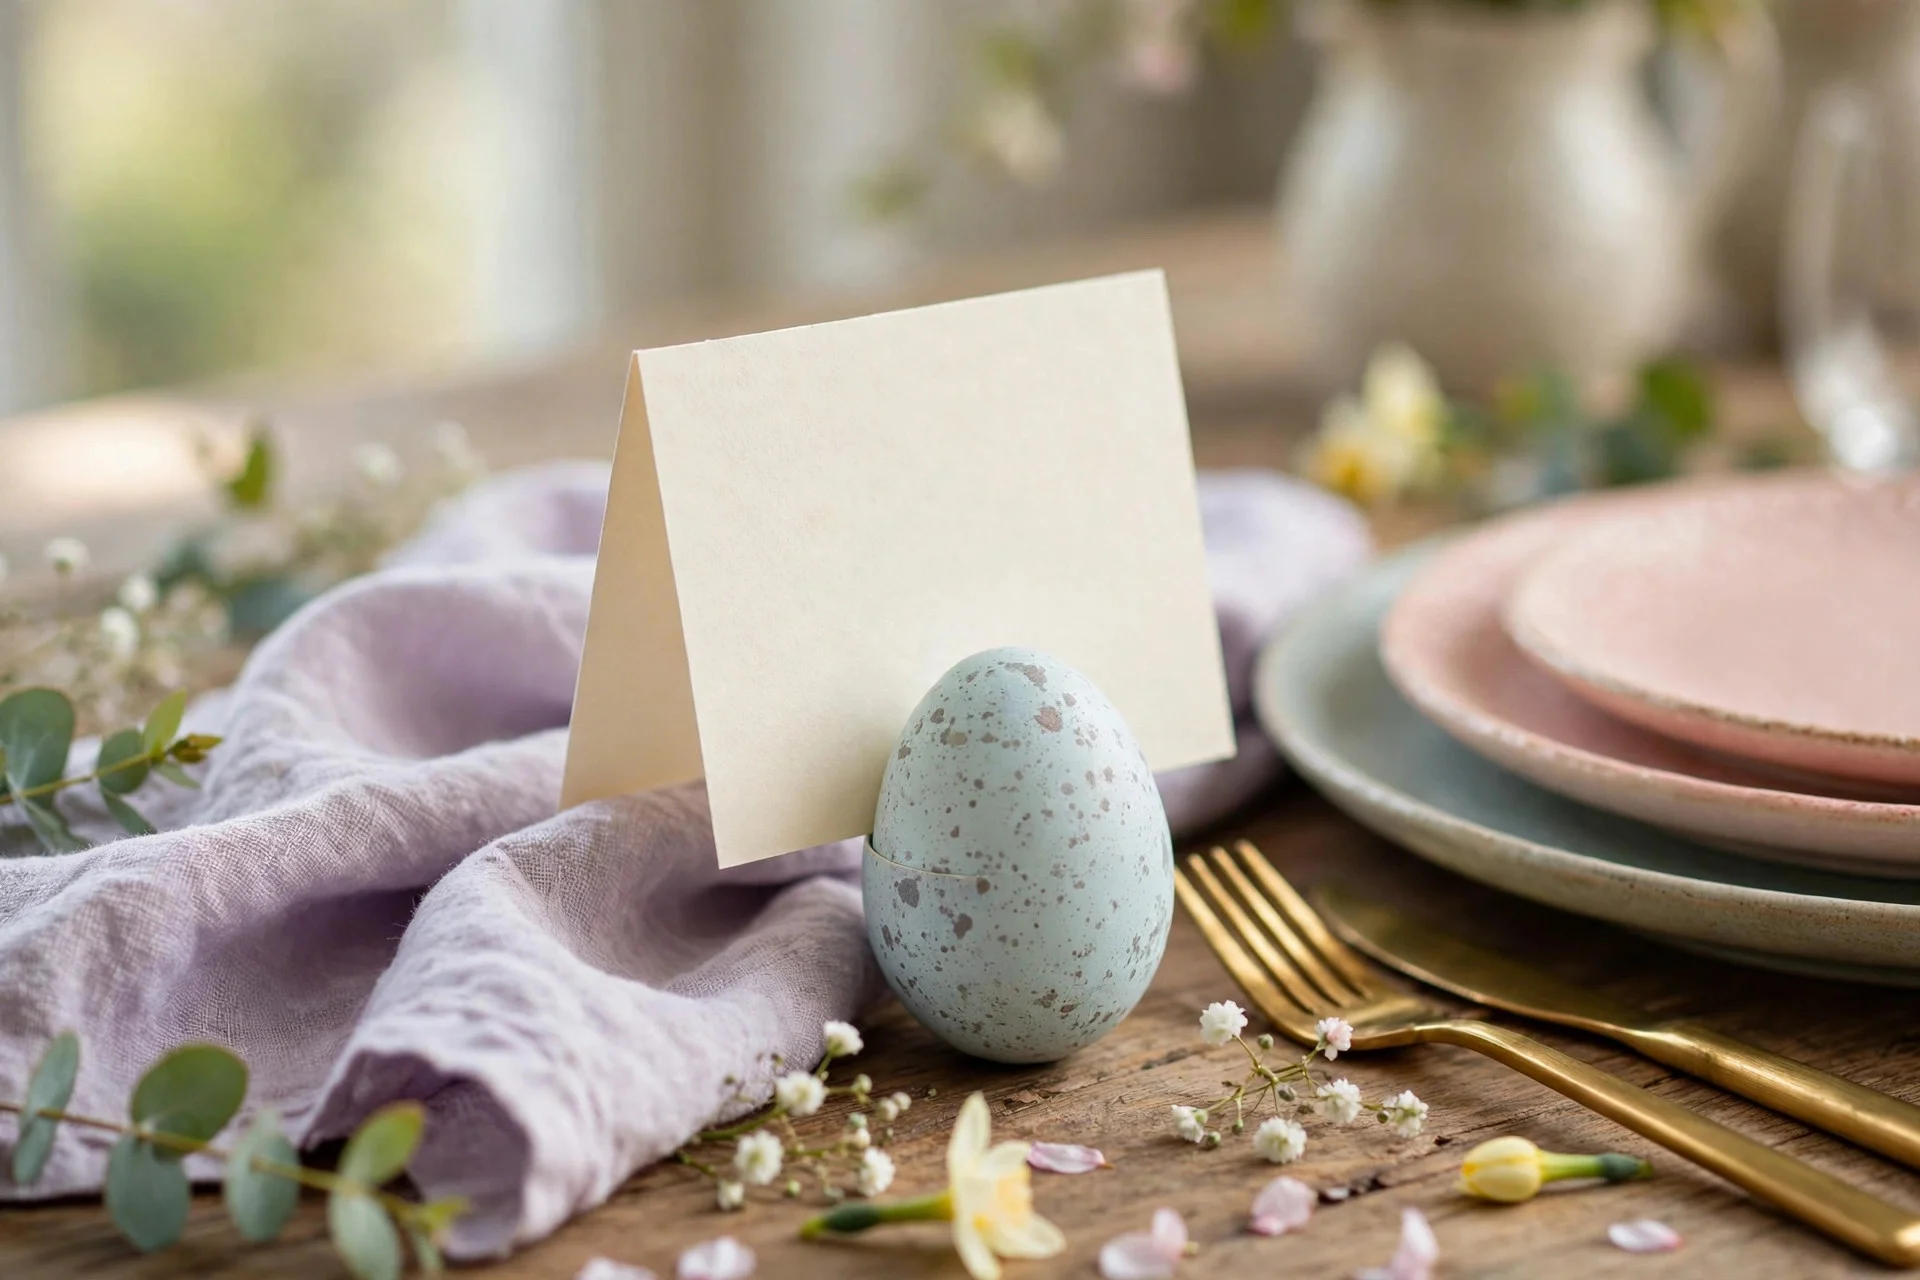
Place cards are a tiny touch that make guests feel truly welcome. Paint small wooden eggs in pastel shades, then flick a toothbrush dipped in brown paint over them to make speckles. Write each guest name on a small card and lean it against the egg, or write straight on a flat side if your handwriting is steady. Set one egg at each place setting.
Do the speckling outside or over newspaper — that flicking paint goes further than you think. I tried this on my good tablecloth once and learned that lesson fast. A tray or old sheet underneath saves you a lot of cleaning, and the eggs still look beautifully rustic and farmhouse-style.
Try this: Use a fine-tip pen for names so they stay neat and easy to read.
7. Fresh Flower Easter Basket Centerpiece
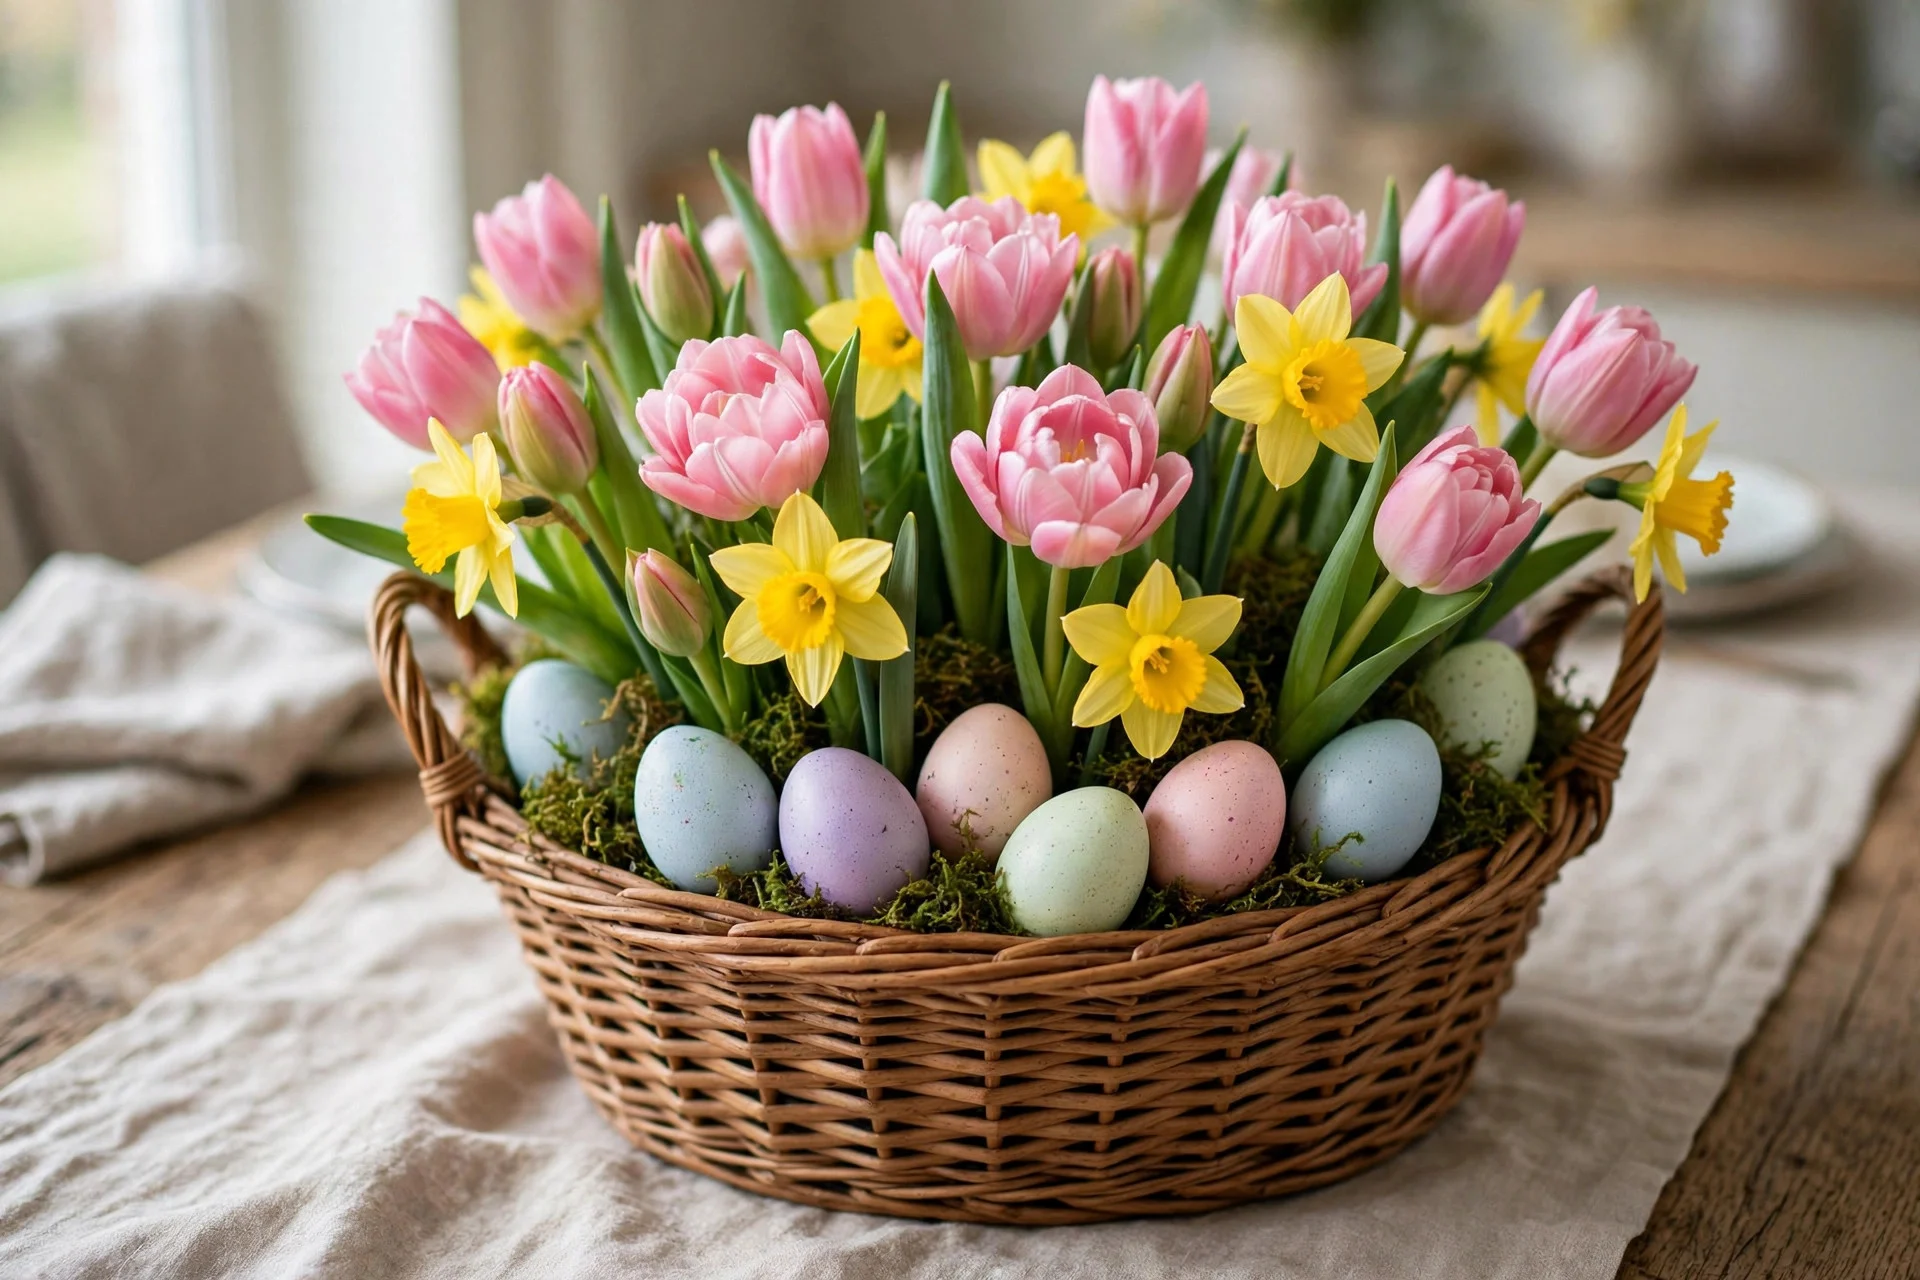
A basket full of fresh flowers is the simplest Easter centerpiece, and it smells wonderful too. Line a wicker basket with a small jar or plastic container, fill it with water, and arrange tulips, daffodils, or whatever is in season near you. Tuck a few painted eggs or moss balls between the stems to tie it back to Easter.
Change the water every couple of days and trim the stems at an angle so the flowers last through the weekend. Keep the arrangement low enough that people can talk across the table — tall flowers look pretty in photos but block faces at dinner. I tried this with tall lilies once and we spent the meal peeking around them.
Try this: Add trailing ivy or eucalyptus sprigs so the basket looks full without buying more flowers.
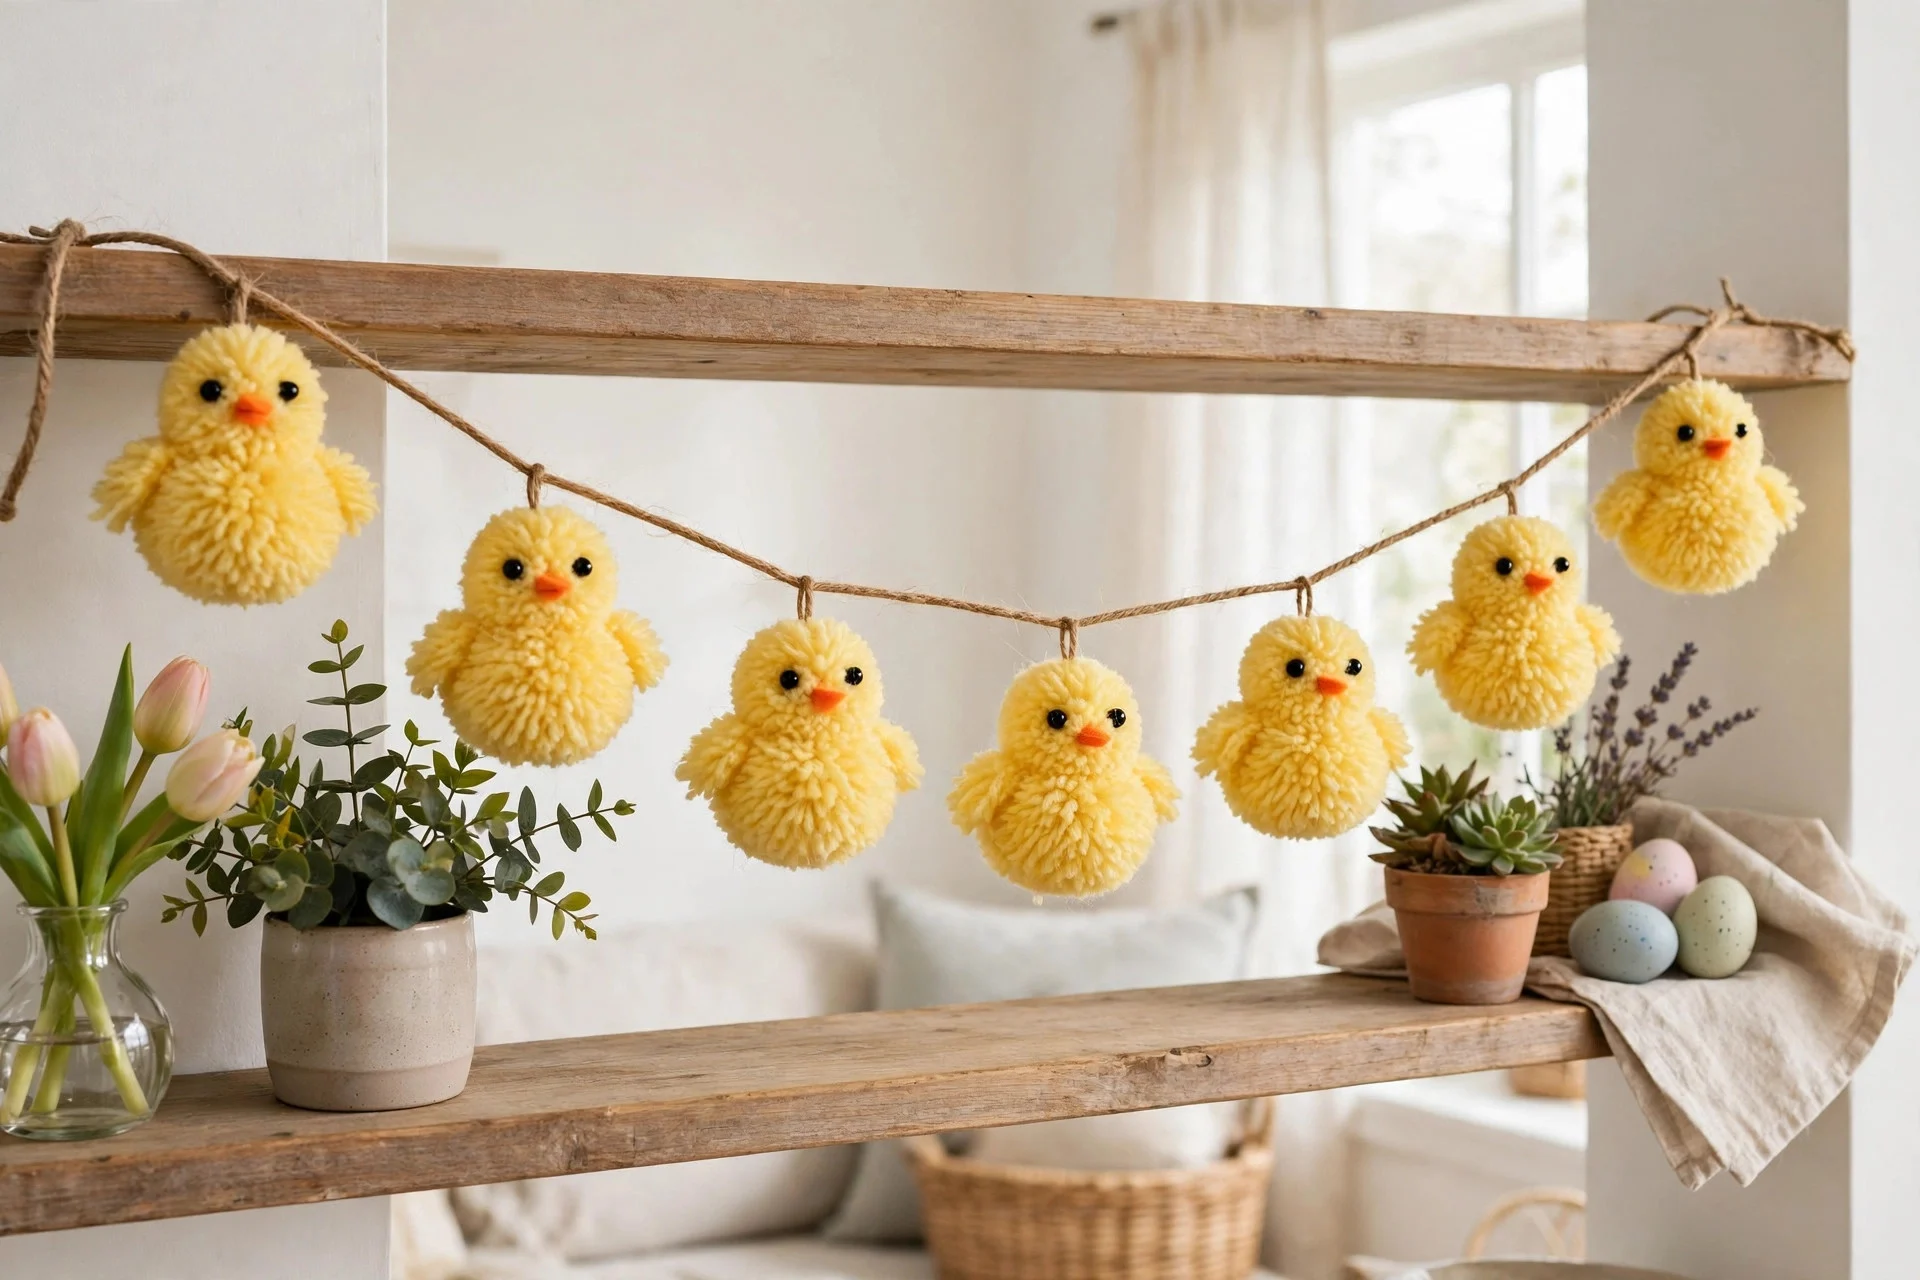
8. Pom-Pom Chick Garland
This garland is pure joy — soft yellow pom-poms turned into tiny chicks, strung along twine for a shelf or wall. Make pom-poms with yarn and a fork or pom-pom maker, then glue on tiny orange beaks and black bead eyes. Leave a little space between each chick so they read clearly from across the room.
If you are short on time, buy ready-made pom-poms and just add the faces — no one will know, and it still looks handmade. I tried this with my niece last spring and she insisted on naming every chick before we hung the garland. It is now a yearly tradition in our house, and the garland comes out first every Easter.
Try this: Mix in a few white and pale pink pom-poms so the yellow chicks stand out more.
9. No-Sew Bunny Silhouette Pillow Covers
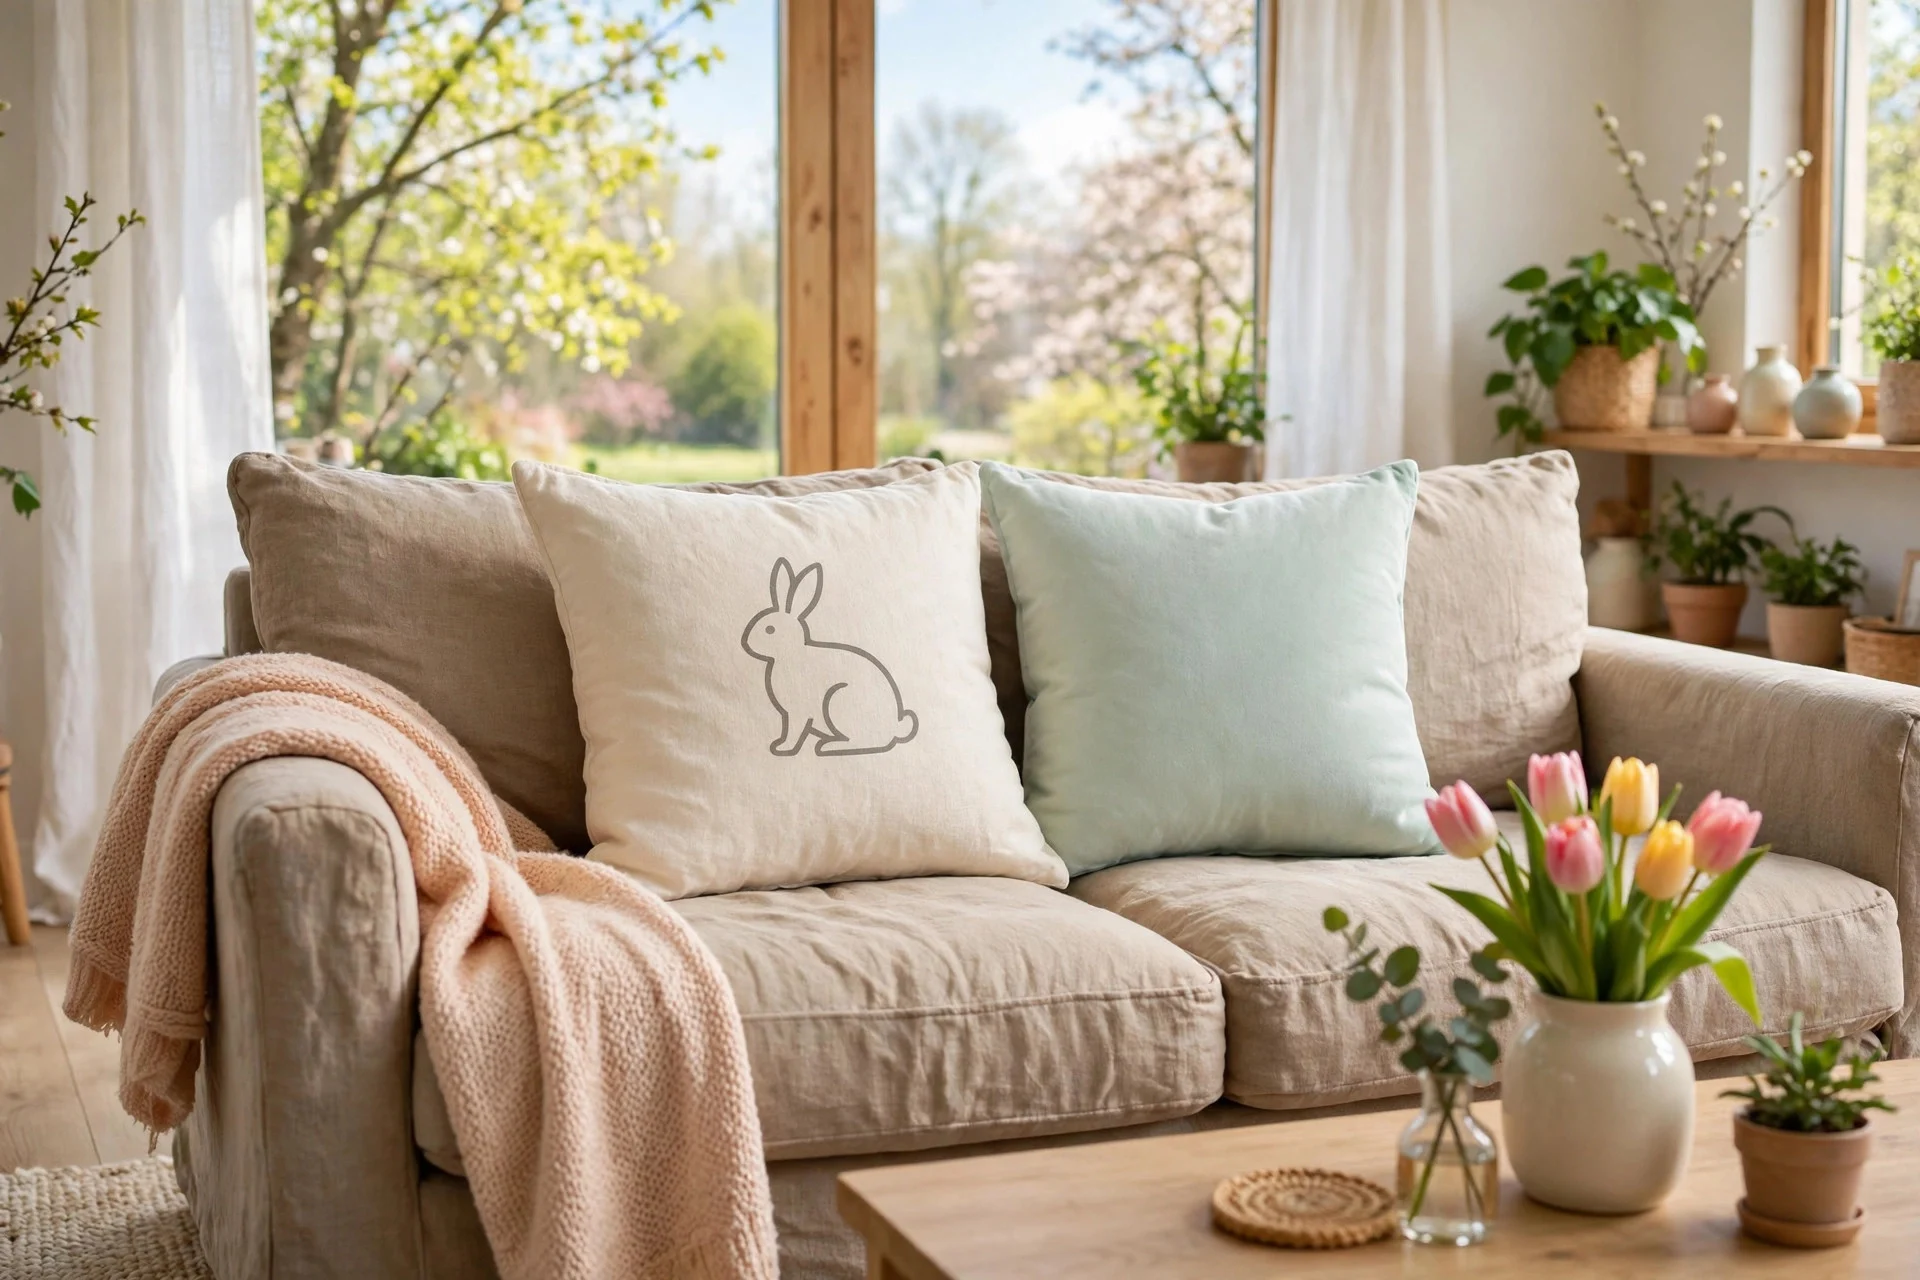
You do not need a sewing machine for this one. Buy plain pillow covers in cream or linen, cut a bunny shape from iron-on vinyl or felt, and press or glue it in place. A simple sitting bunny silhouette looks clean and modern, and it works with most living room colors. Slip the cover on, fluff the pillow, and you are done.
Iron-on vinyl needs a firm press and a bit of patience — lift the iron too soon and the edges curl up. I tried this in a rush once and had to redo two covers. Take your time, press each section for the full time on the pack, and let it cool before you check the edges. The result lasts all season.
Try this: Pair one bunny pillow with a plain pastel pillow so the design stays the star.
10. Moss Bunny Topiary
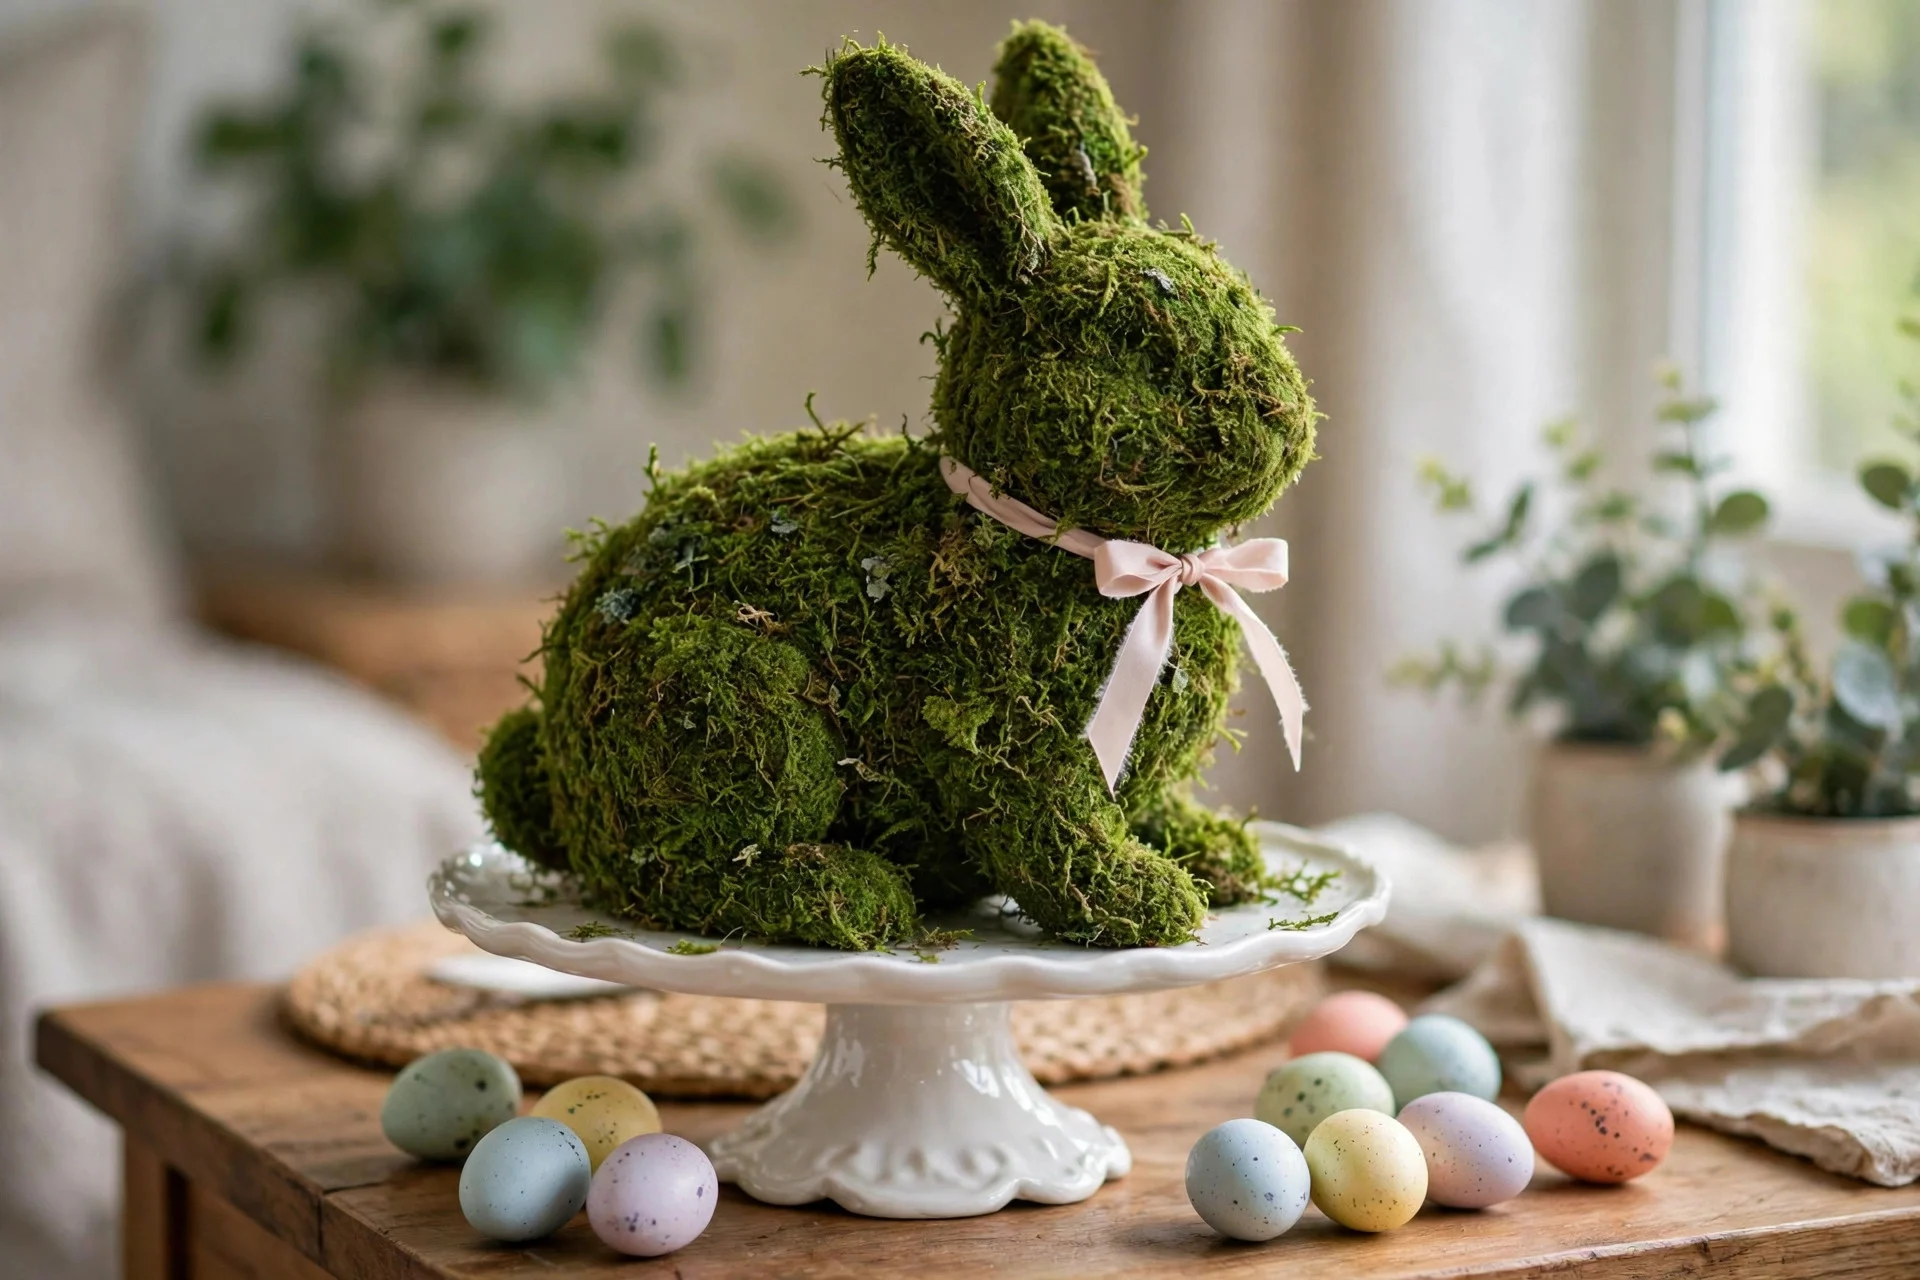
A moss bunny adds a lovely garden feel indoors, and it is easier than it looks. Buy a foam bunny shape or cut one from cardboard and foam, then cover it with sheet moss using hot glue. Work in small sections so the glue does not cool before the moss sticks. Set the finished bunny on a plate or cake stand with a few small eggs around it.
Keep it out of direct sun if you use real dried moss, or it can fade and crumble. I tried this on a sunny windowsill and the moss went pale within a week. A shaded shelf or side table keeps the green rich, and a light mist now and then helps it stay fresh-looking through Easter week.
Try this: Wrap a thin ribbon around the bunny neck for a sweet, finished touch.
11. Easter Egg Wreath for the Front Door
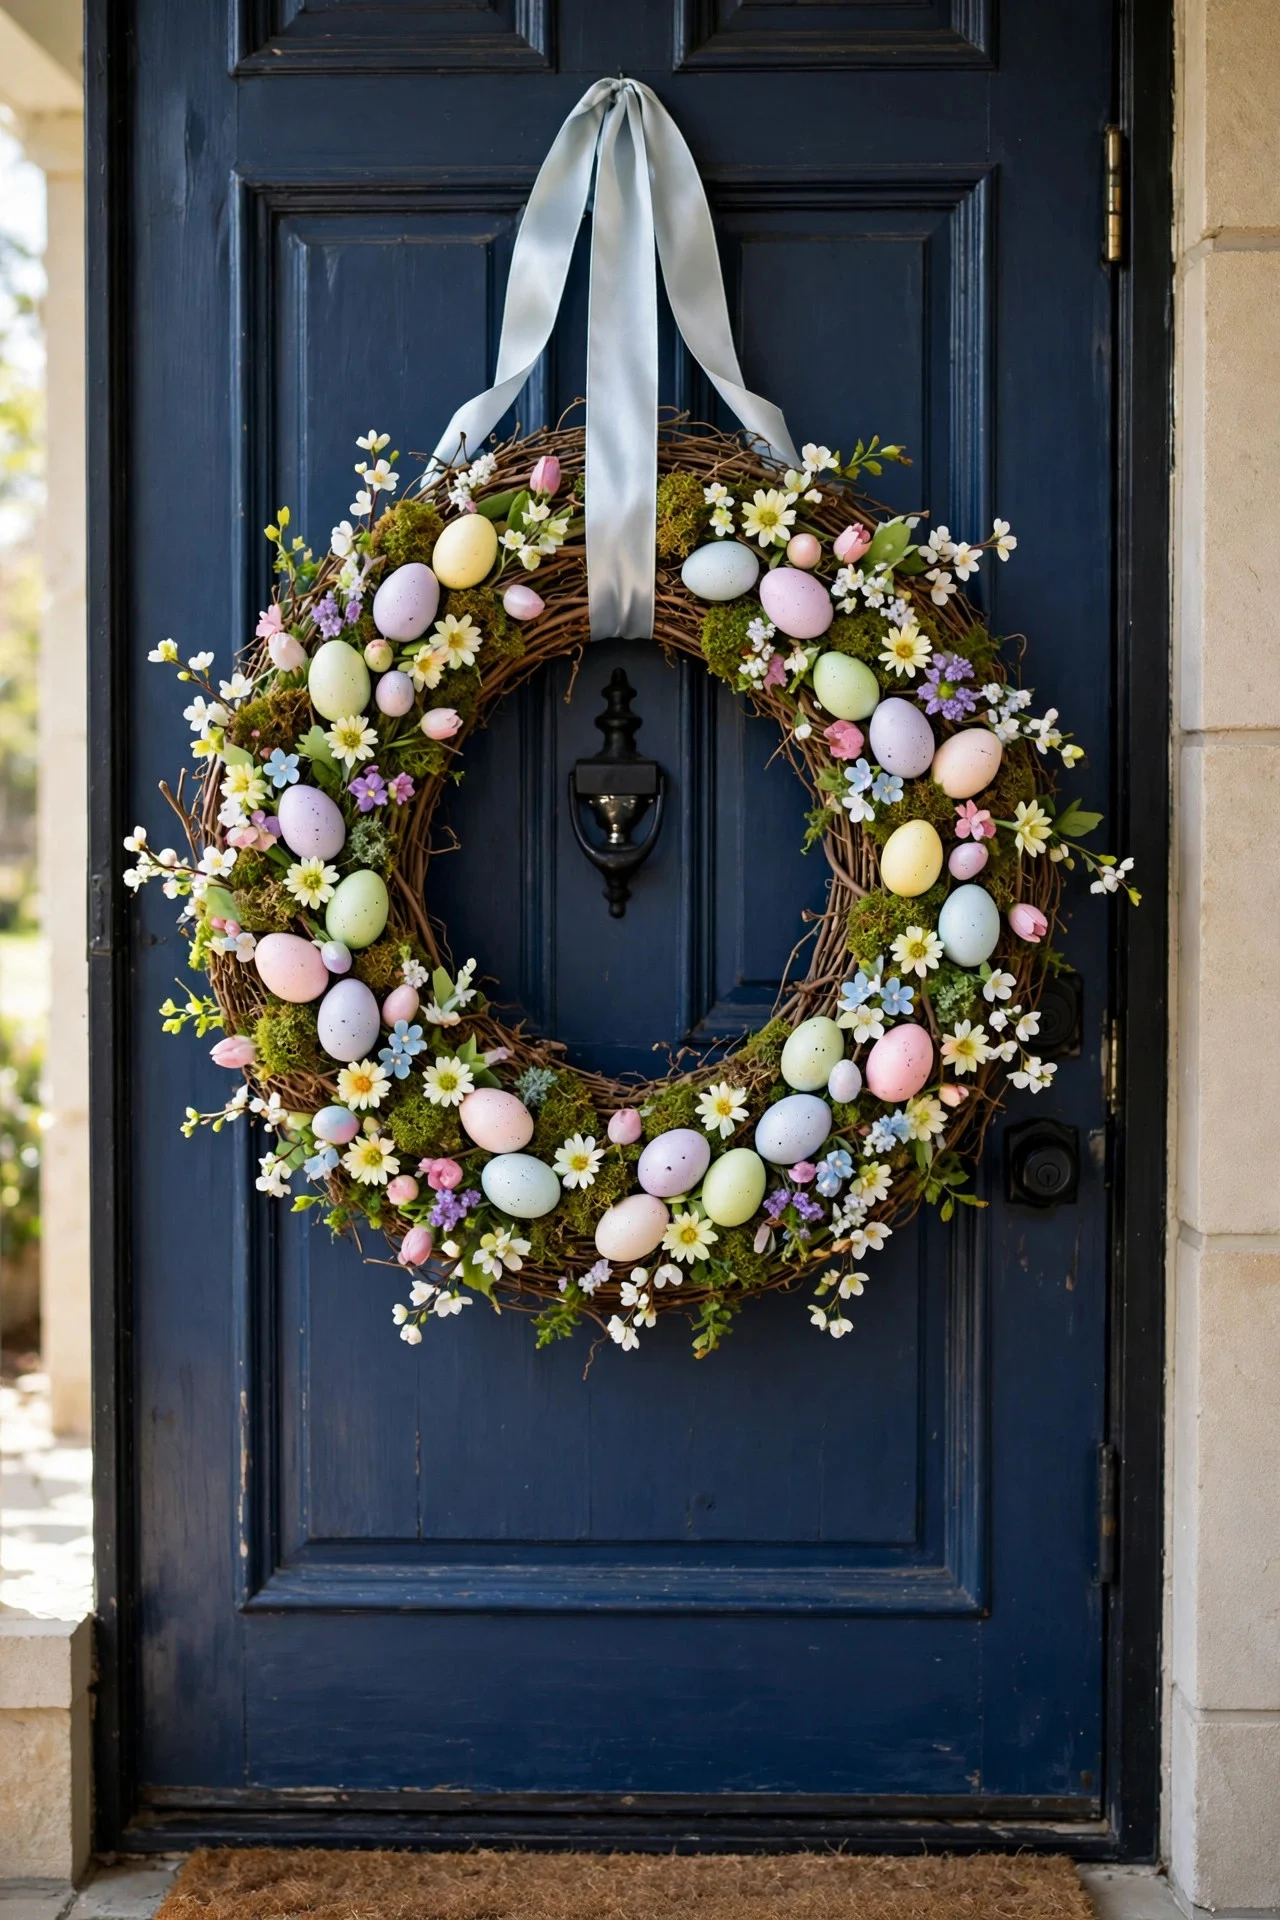
An egg wreath tells visitors Easter has arrived before they even step inside. Start with a foam or grapevine wreath base, then hot-glue pastel eggs all around it, working in small groups so the glue sets before you move on. Fill any gaps with moss, small flowers, or ribbon loops so you cannot see the base peeking through.
Use lightweight plastic or foam eggs for a door wreath — real eggs are too heavy and can crack in the weather. I tried this with real blown eggs on a windy porch once and lost three before Easter morning. Light eggs stay safe, and the wreath lasts from year to year if you store it in a box.
Try this: Hang the wreath with a wide satin ribbon looped over the door for a polished look.
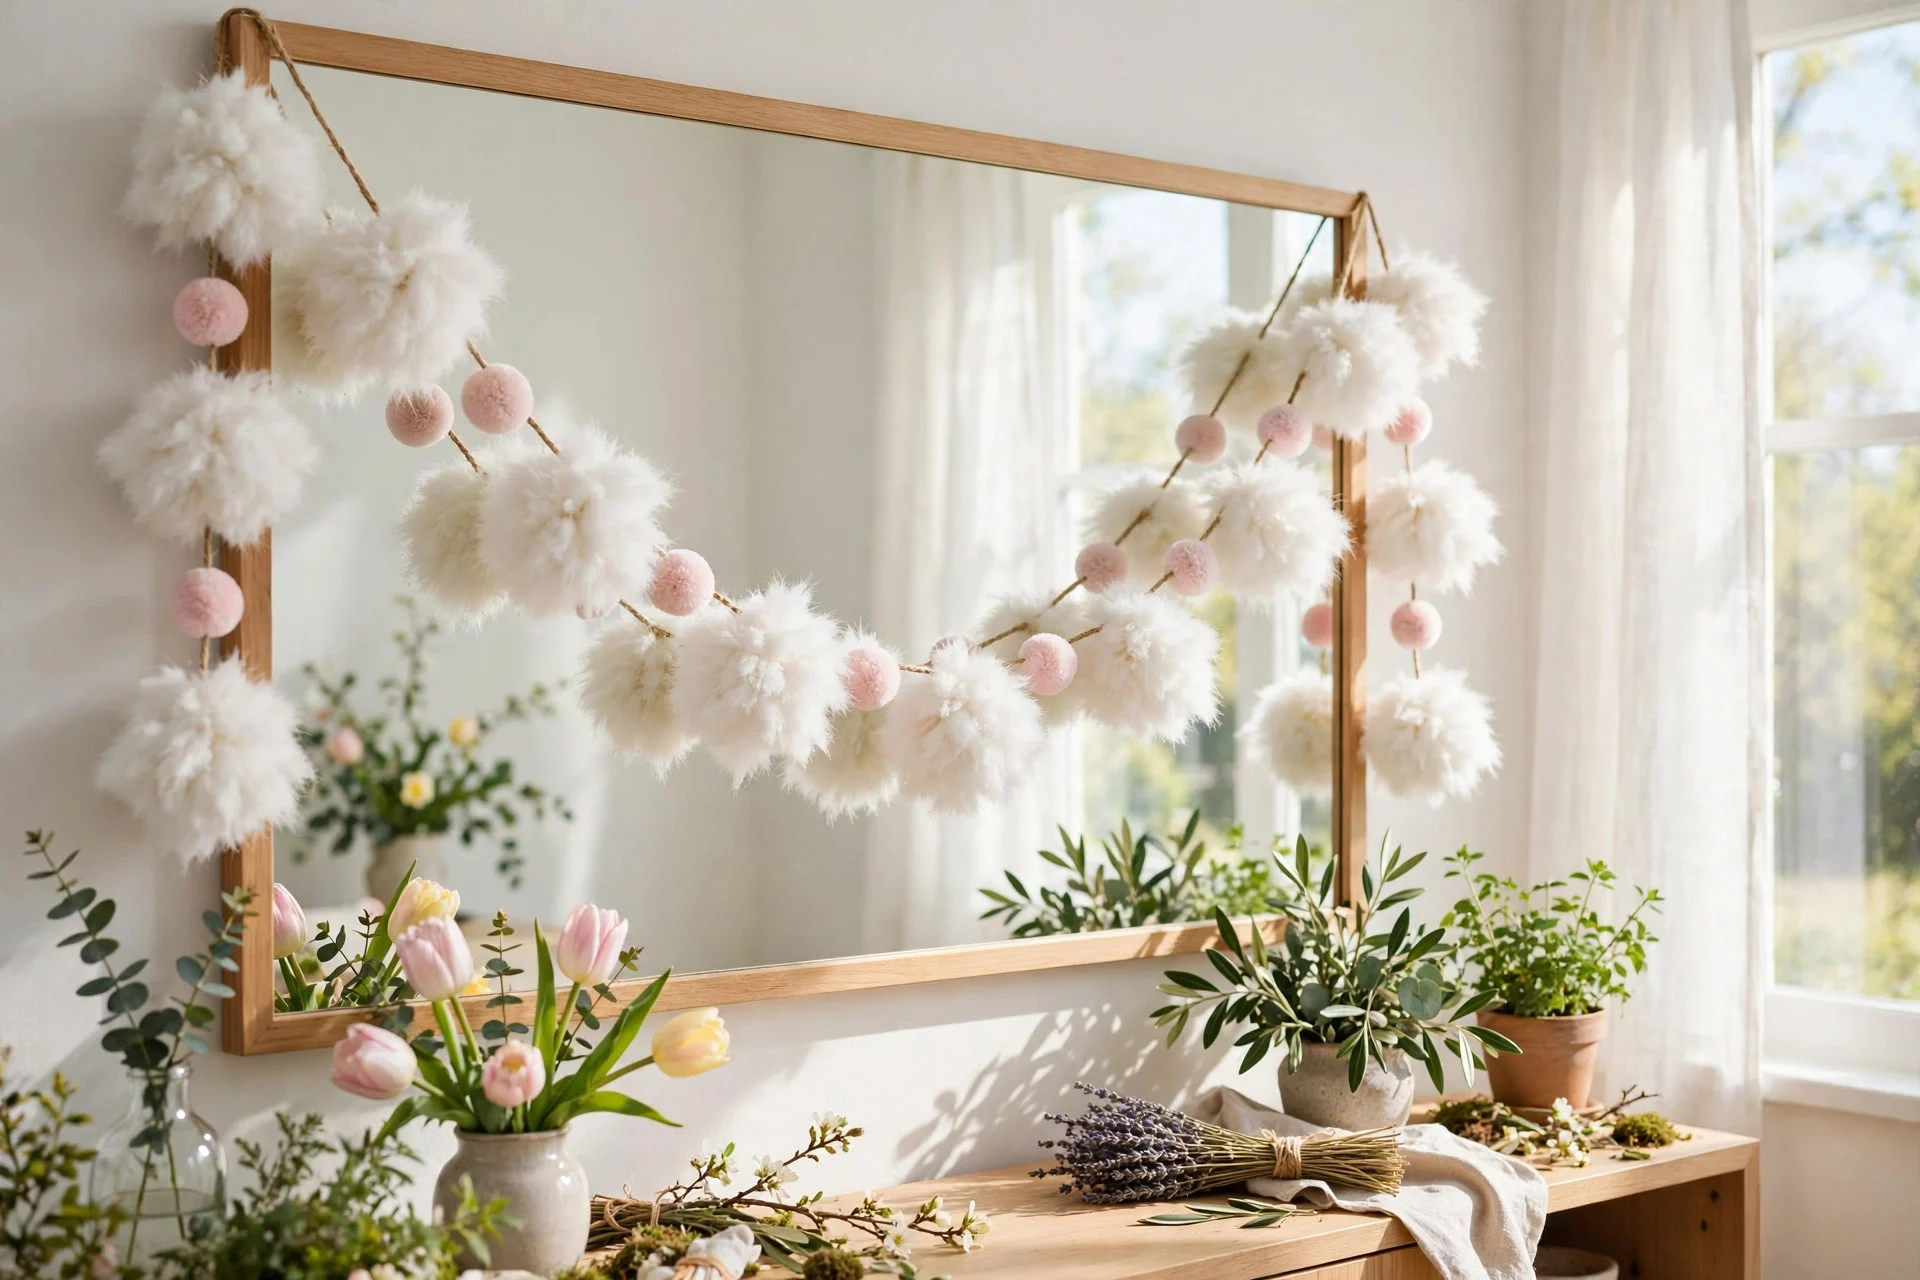
12. Fluffy Bunny Tail Garland
White pom-poms on twine make the softest garland, and it suits almost any room. String large white pom-poms together with a little space between them, then hang the garland across a mirror, mantel, or headboard. It looks like a row of bunny tails, and it adds texture without adding color clutter to a room that already has a lot going on.
Use pom-poms in two sizes for a more natural, less perfect look — real life is not uniform, and that is part of the charm. I tried this with all one size first and it looked a bit flat. Mixing sizes gave it movement, and guests kept touching it because it looked so soft. That is a good sign for a decoration.
Try this: Add one pale pink pom-pom every fifth one for a gentle hint of color.
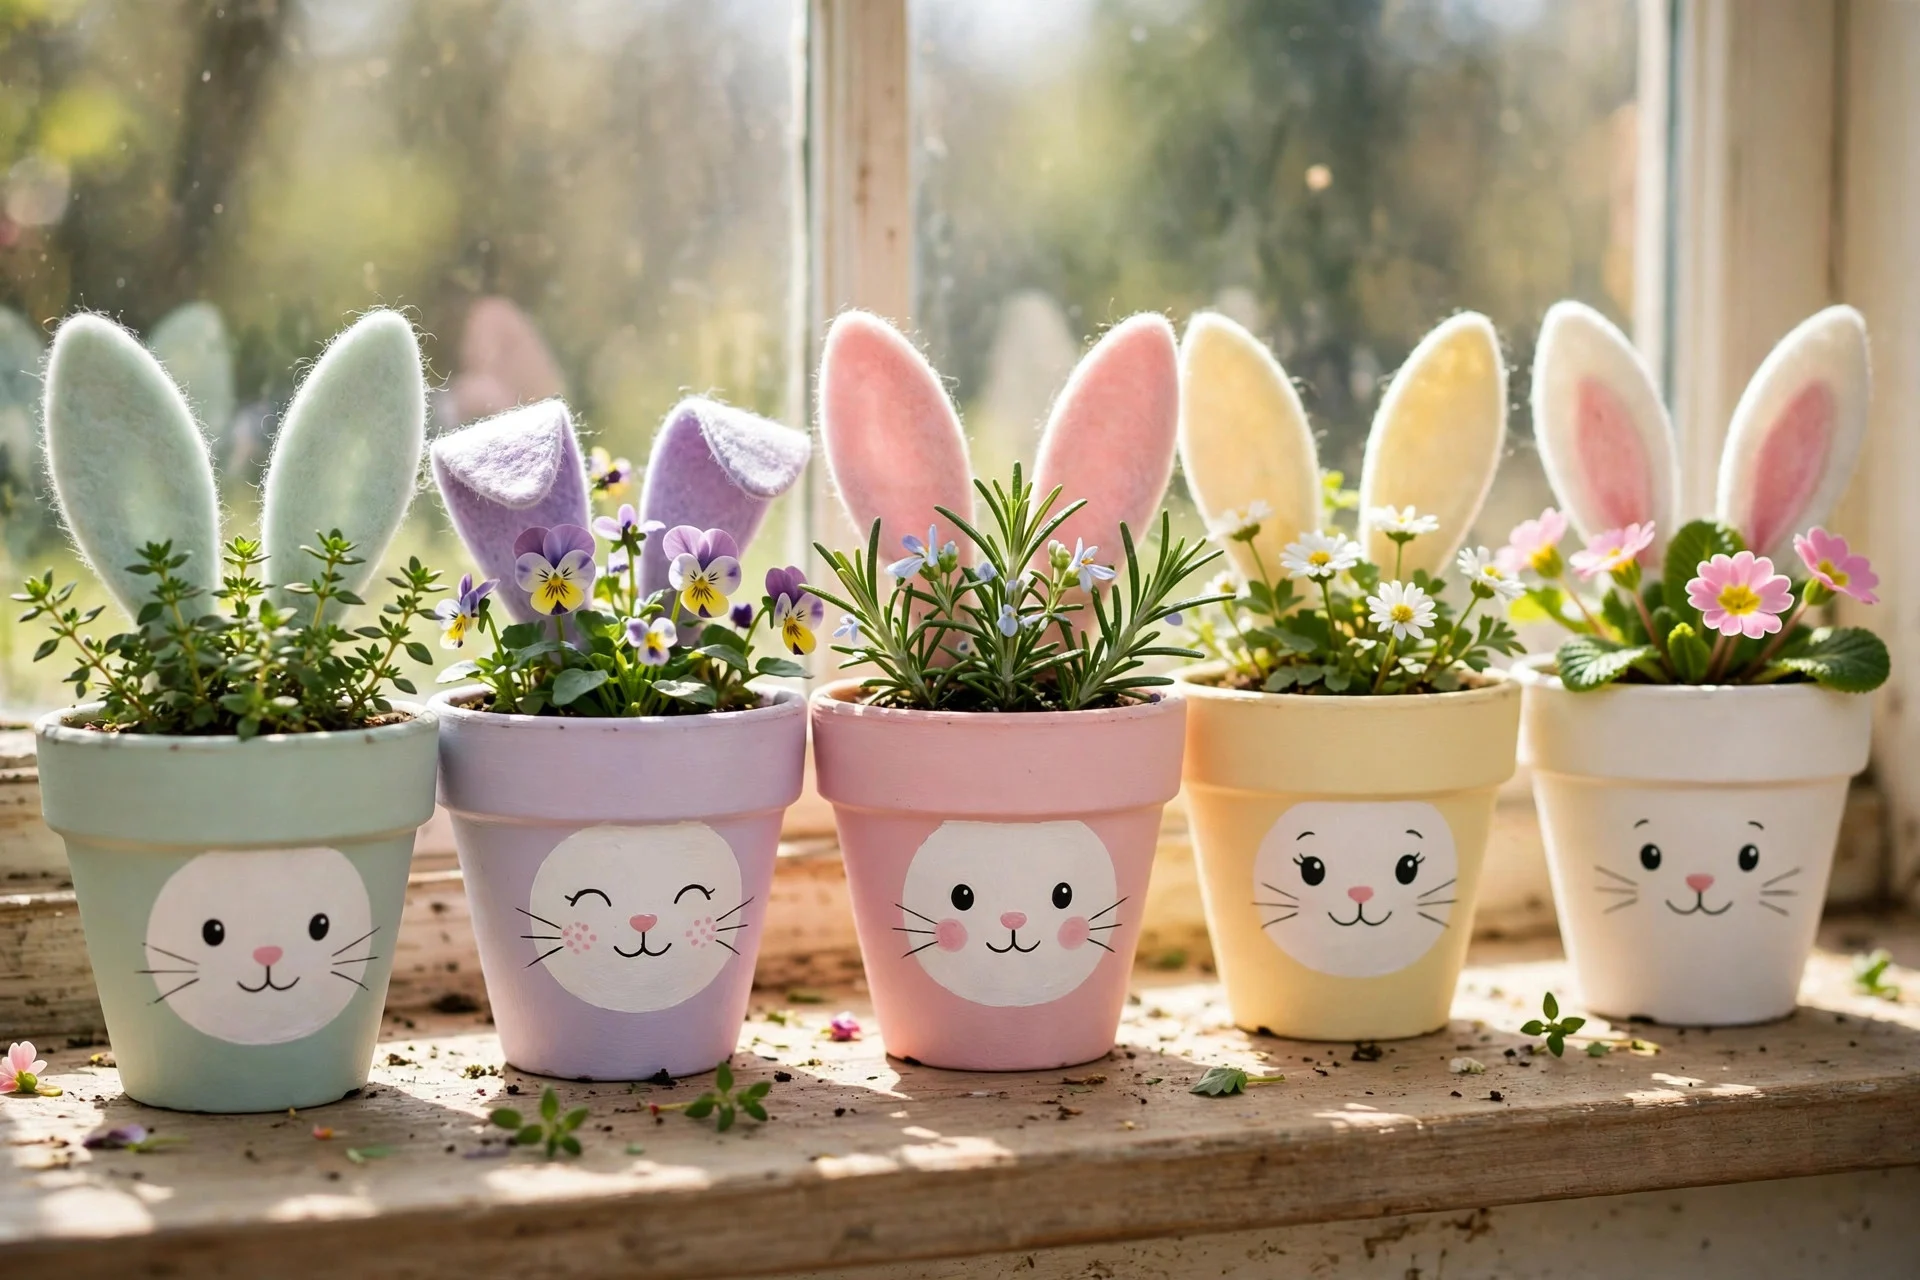
13. Painted Terracotta Bunny Pots
Plain terracotta pots become bunny planters with a little paint and a steady hand. Paint the pot white or pastel, then paint or stick on a bunny face — ears going up the sides work best if you add felt ears to the rim. Plant a small herb, succulent, or spring flower inside, and set the pots on a windowsill or porch step.
Seal the paint with a clear spray sealer if the pots will live outside, or rain will wash your bunny face away. I tried this without sealer one spring and came home to a very sad, streaky bunny after a shower. One quick coat of sealer saves the whole project and keeps the pots looking fresh all season.
Try this: Plant mint or basil so the pots are pretty and useful in the kitchen too.
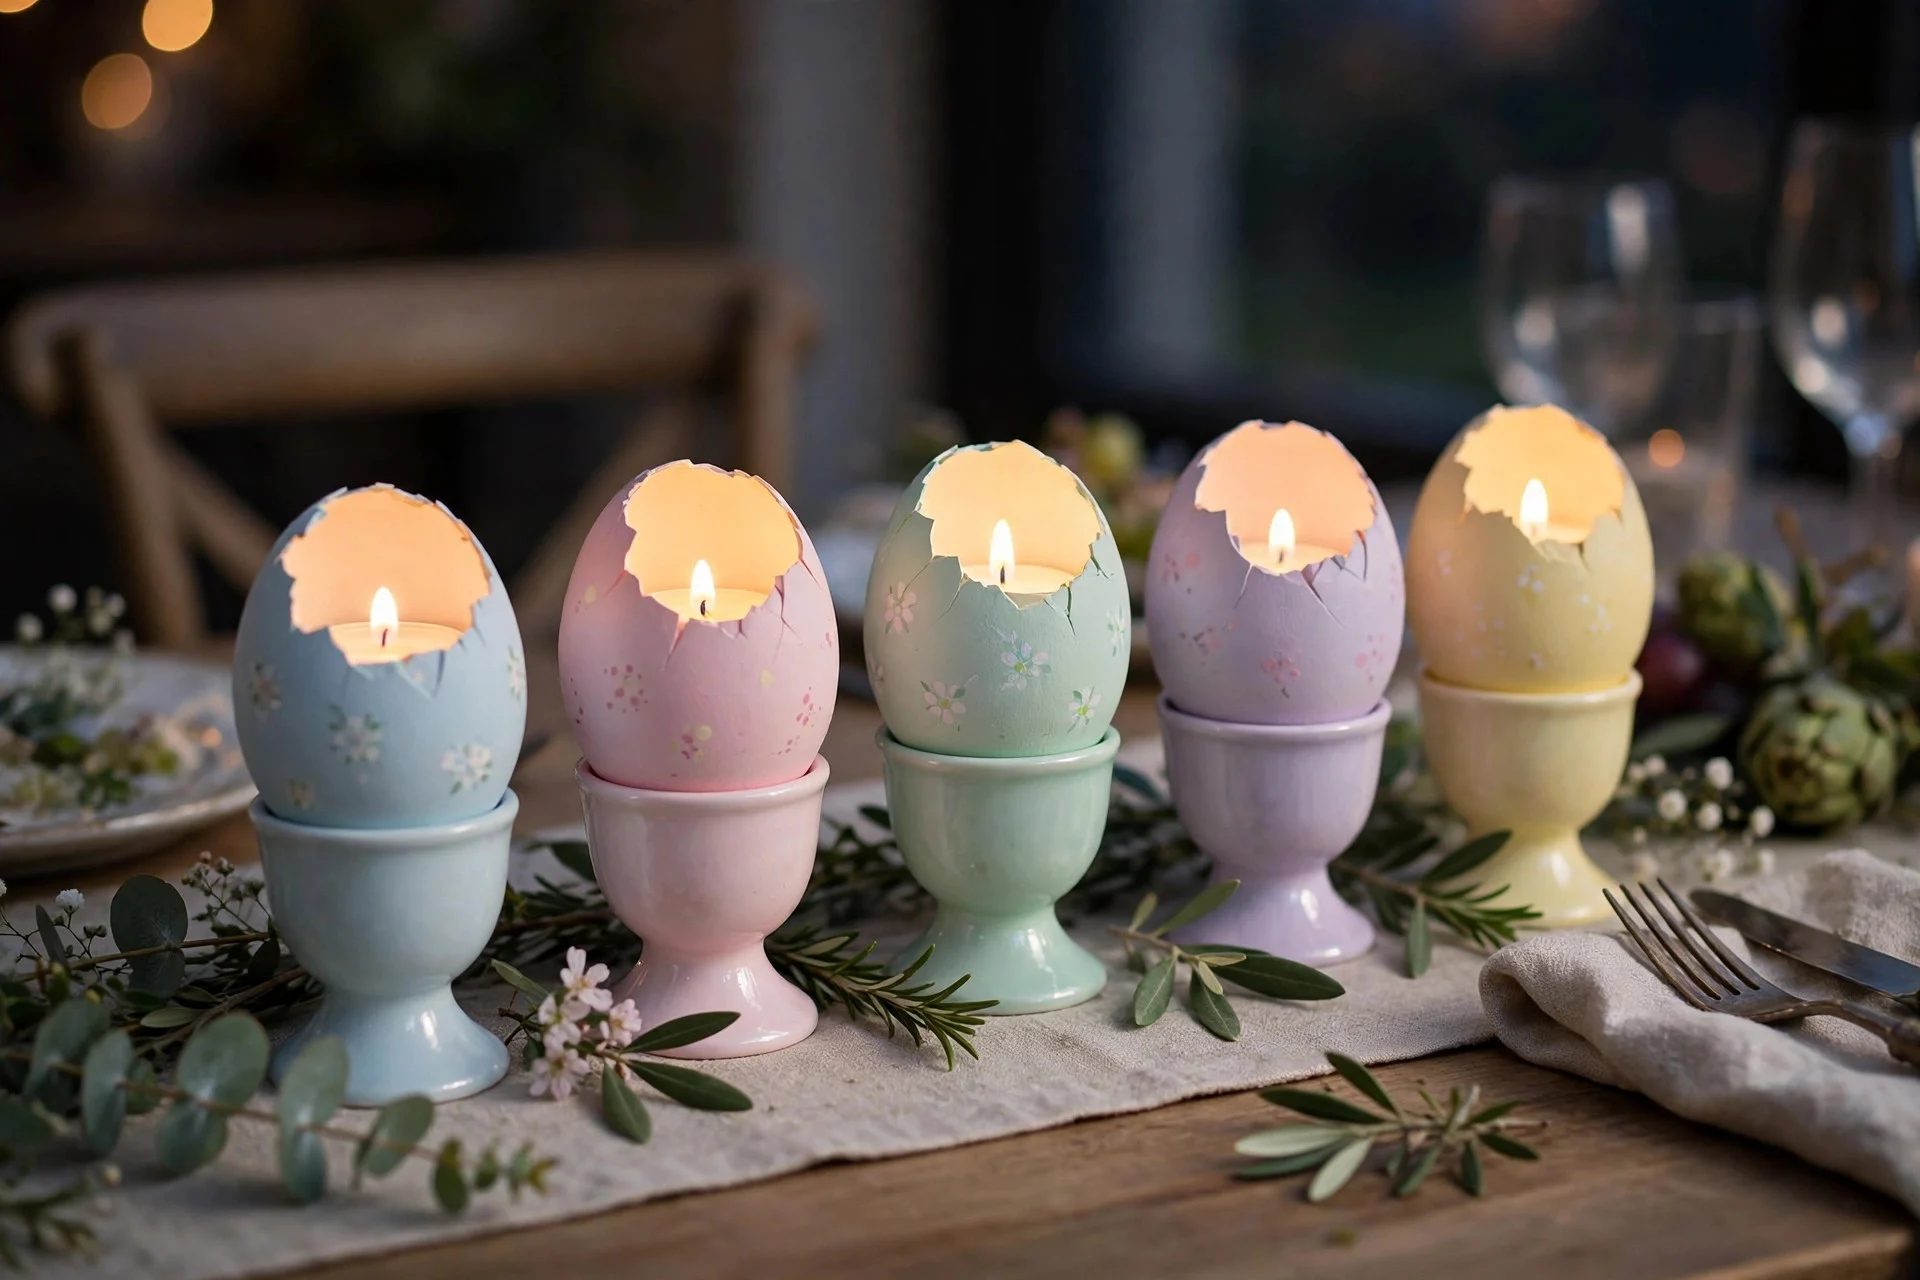
14. Easter Egg Candle Holders
These candle holders are a clever way to reuse eggshells and they look beautiful at dinner. Carefully crack the top off real eggs, rinse the shells, and paint the outsides pastel. Set each shell in an egg cup, then place a small tea light inside. The soft glow through the painted shell is gentle and warm, perfect for an Easter evening meal.
Use battery tea lights here, too — real flames and thin shells are not a safe mix, and the light looks the same. I tried this with real tea lights once and the shells got hot and wobbly. Battery lights stay cool, sit steady, and you can reuse the shells again next year if you store them carefully.
Try this: Line three holders down the table runner with greenery between them for a simple centerpiece.
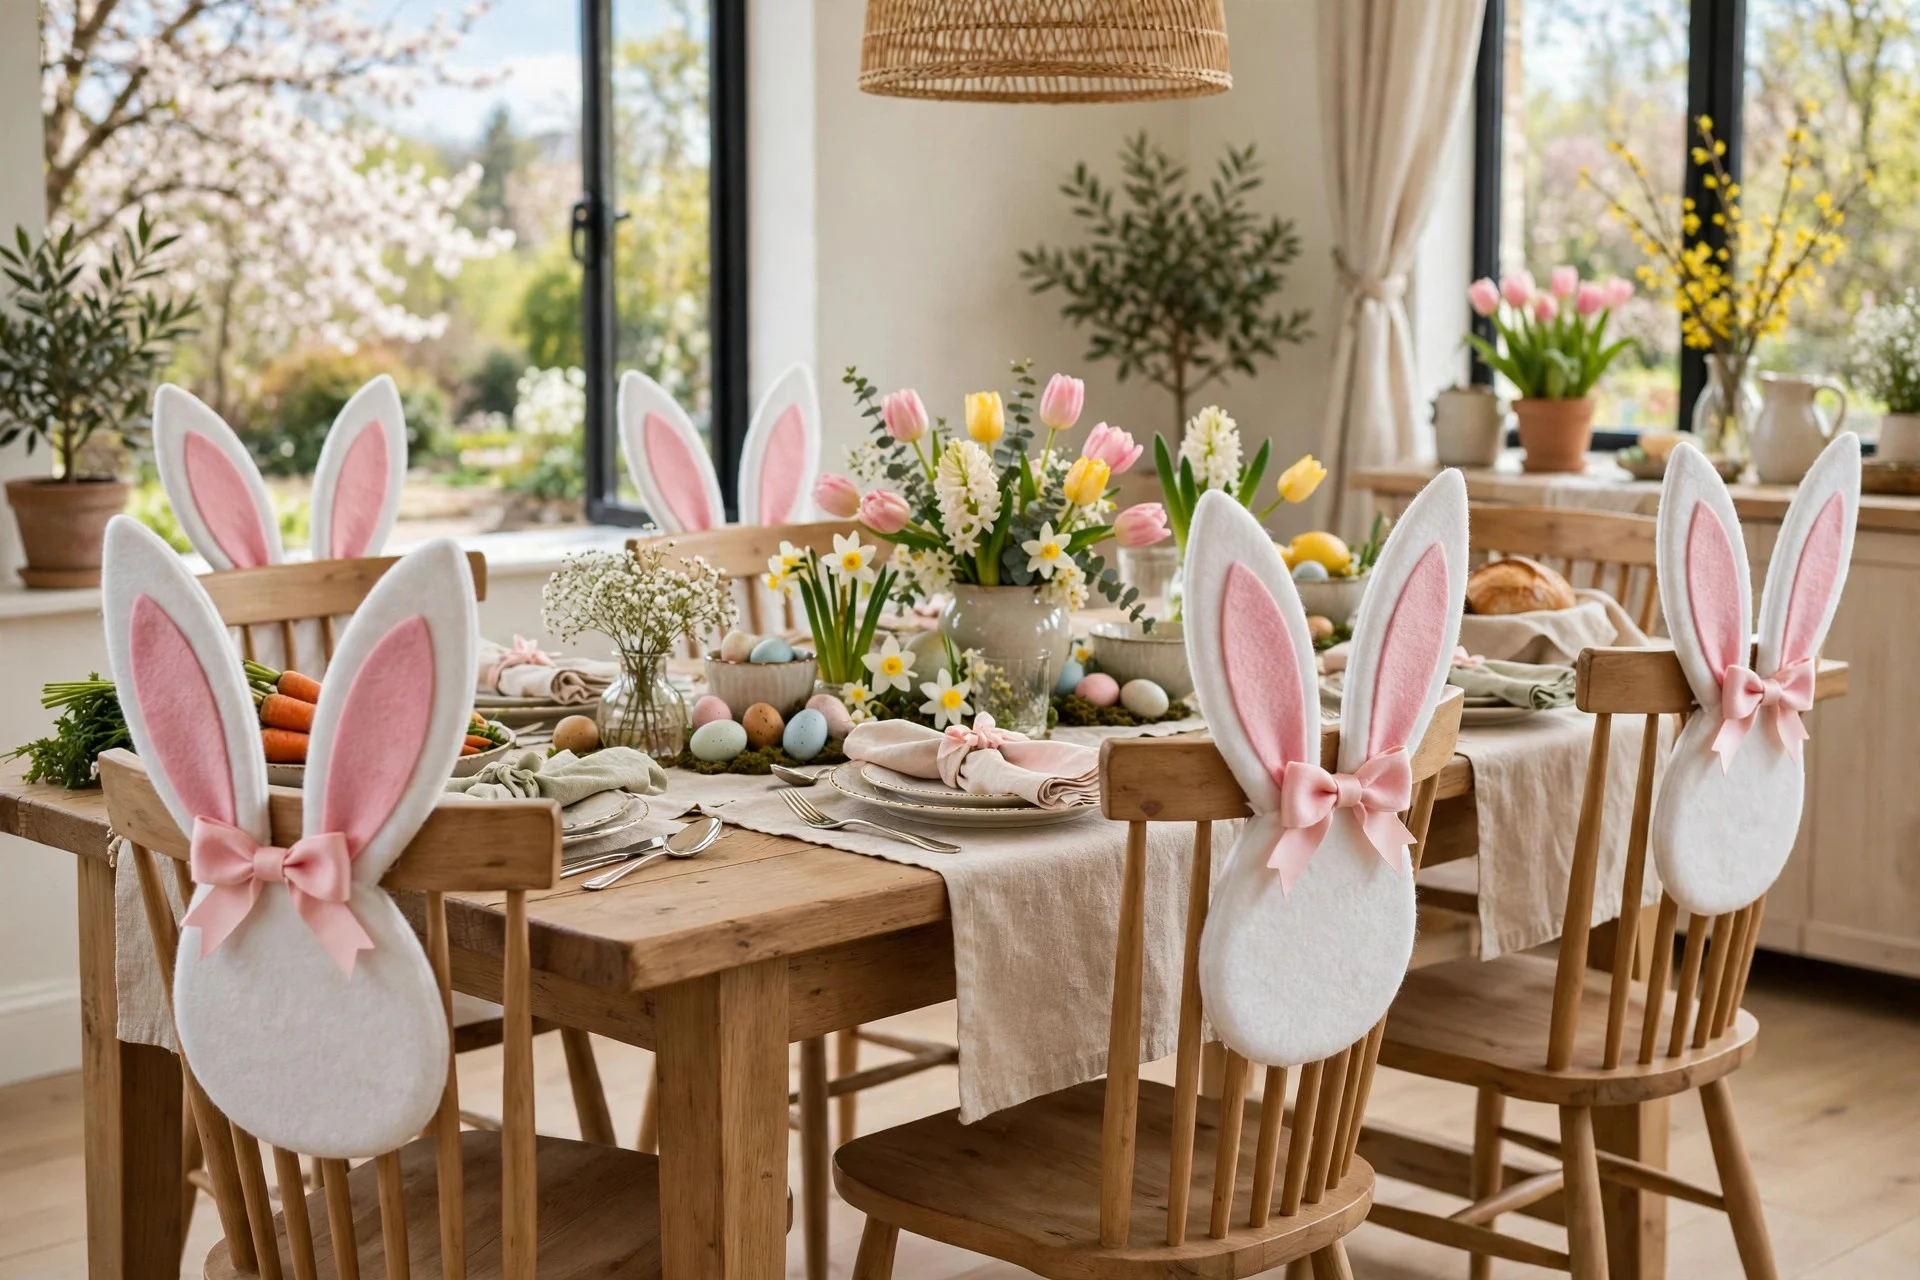
15. Bunny Ear Chair Backs
Dress up your dining chairs with bunny ears and the whole table feels like a party. Cut large ears from felt or fabric, attach them to a band that slips over the chair back, and let them stand up above the chair. White or cream ears suit most chairs, and you can add an inner pink ear for extra detail if you like.
Measure your chair backs before you cut — ears that are too small disappear, and ears that are too big flop over. I tried this with a guess measurement once and half the ears slid down during dinner. A snug band and ears about as tall as your hand work well, and they photograph beautifully from across the room.
Try this: Tie a small bow at the base of each ear pair for a tidy, finished detail.
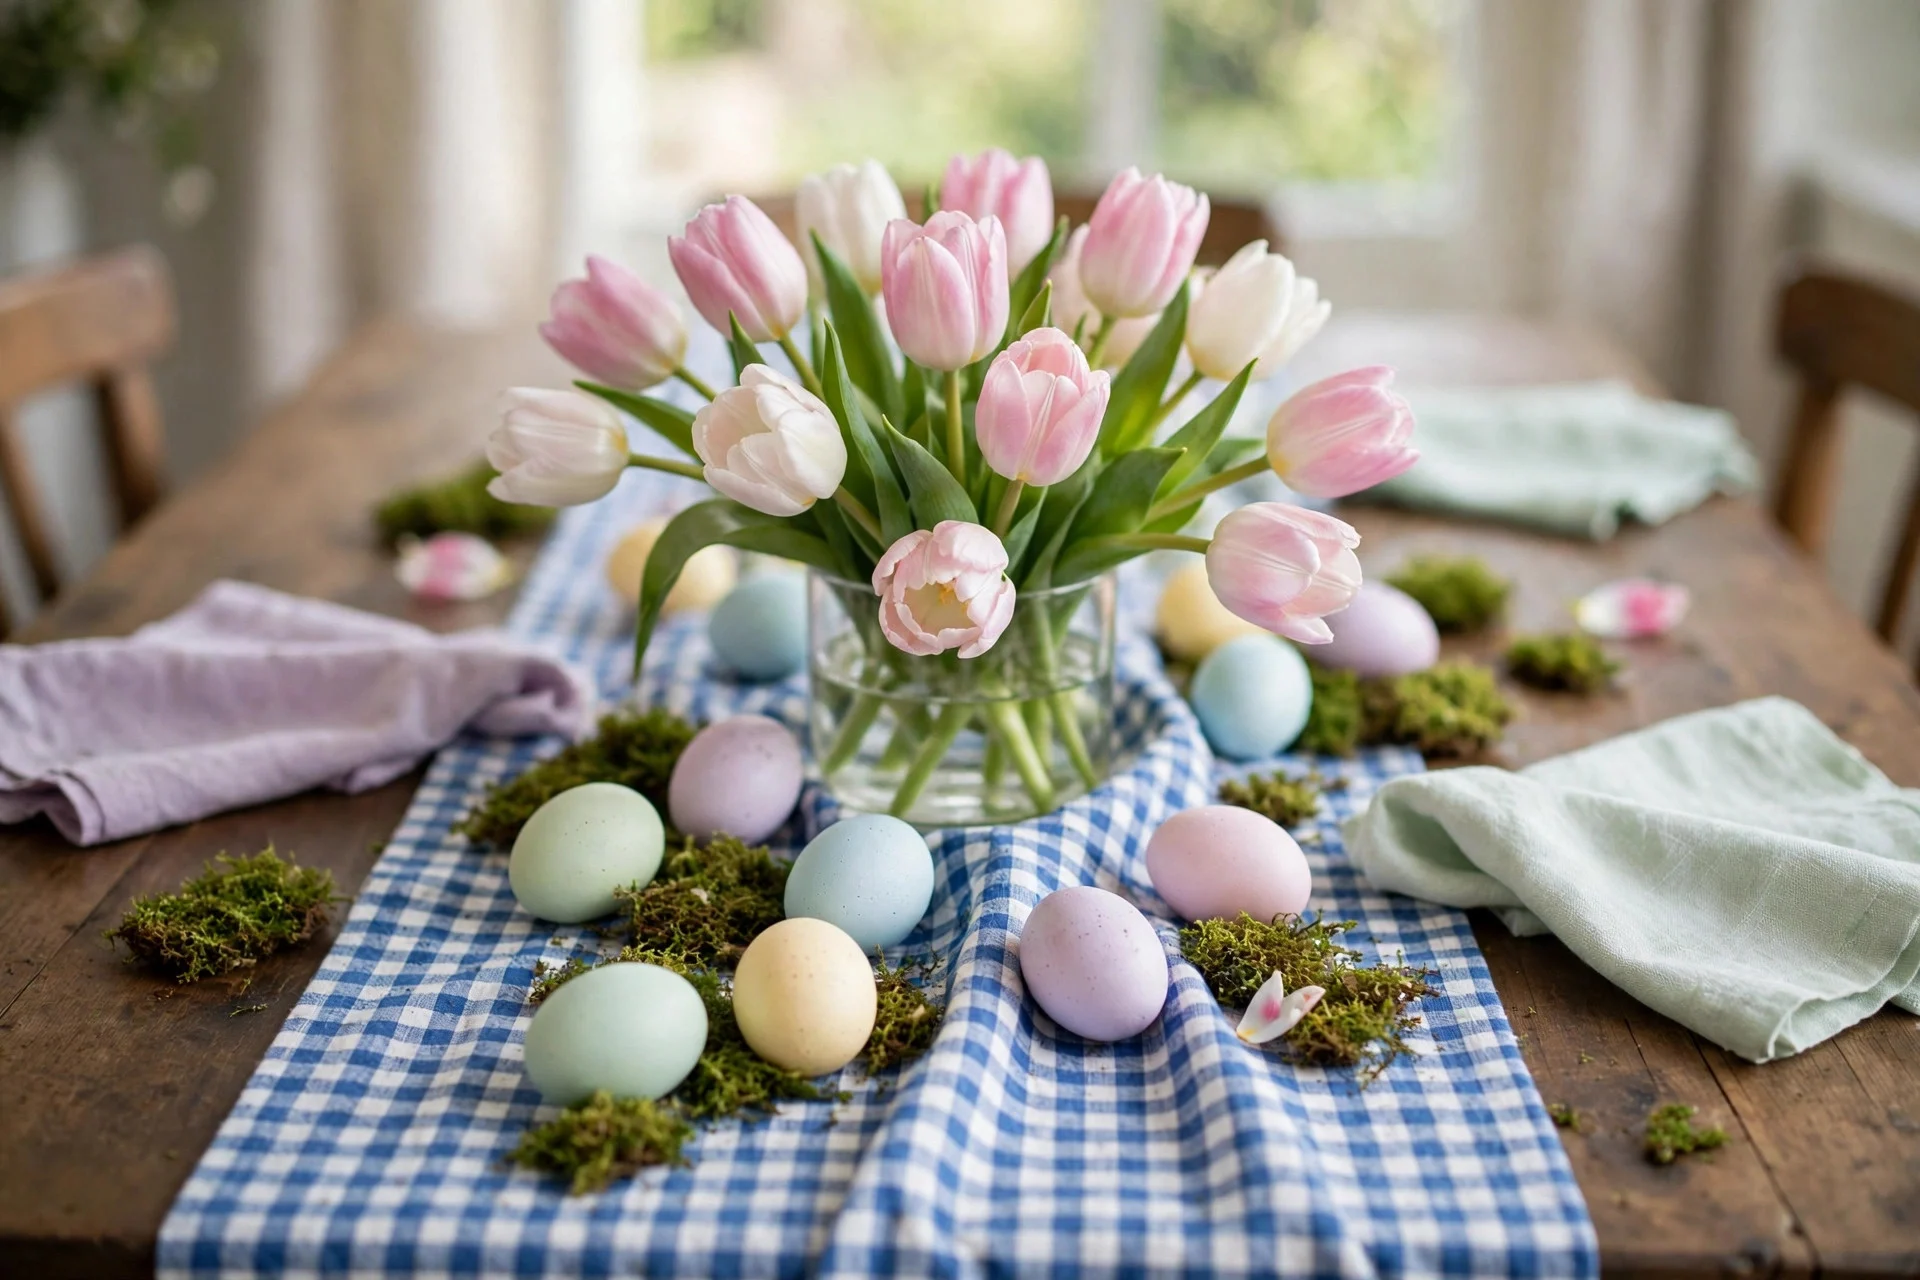
16. Spring Tulip and Egg Tablescape
A tablescape sounds fancy, but this one is just a runner, flowers, and eggs done well. Lay a simple linen or gingham runner down the table, place a low vase of tulips in the middle, and scatter pastel eggs and a little moss along the runner. Keep everything low and spaced out so the table still feels open and easy to eat at.
Stick to two or three colors — pink, white, and green, for example — so the table looks calm rather than busy. I tried this with every pastel I owned once and the table looked like a sweet shop exploded. Fewer colors, repeated down the table, look far more pulled together and let the tulips do the talking.
Try this: Use matching napkins in one of your runner colors to tie the whole table together.
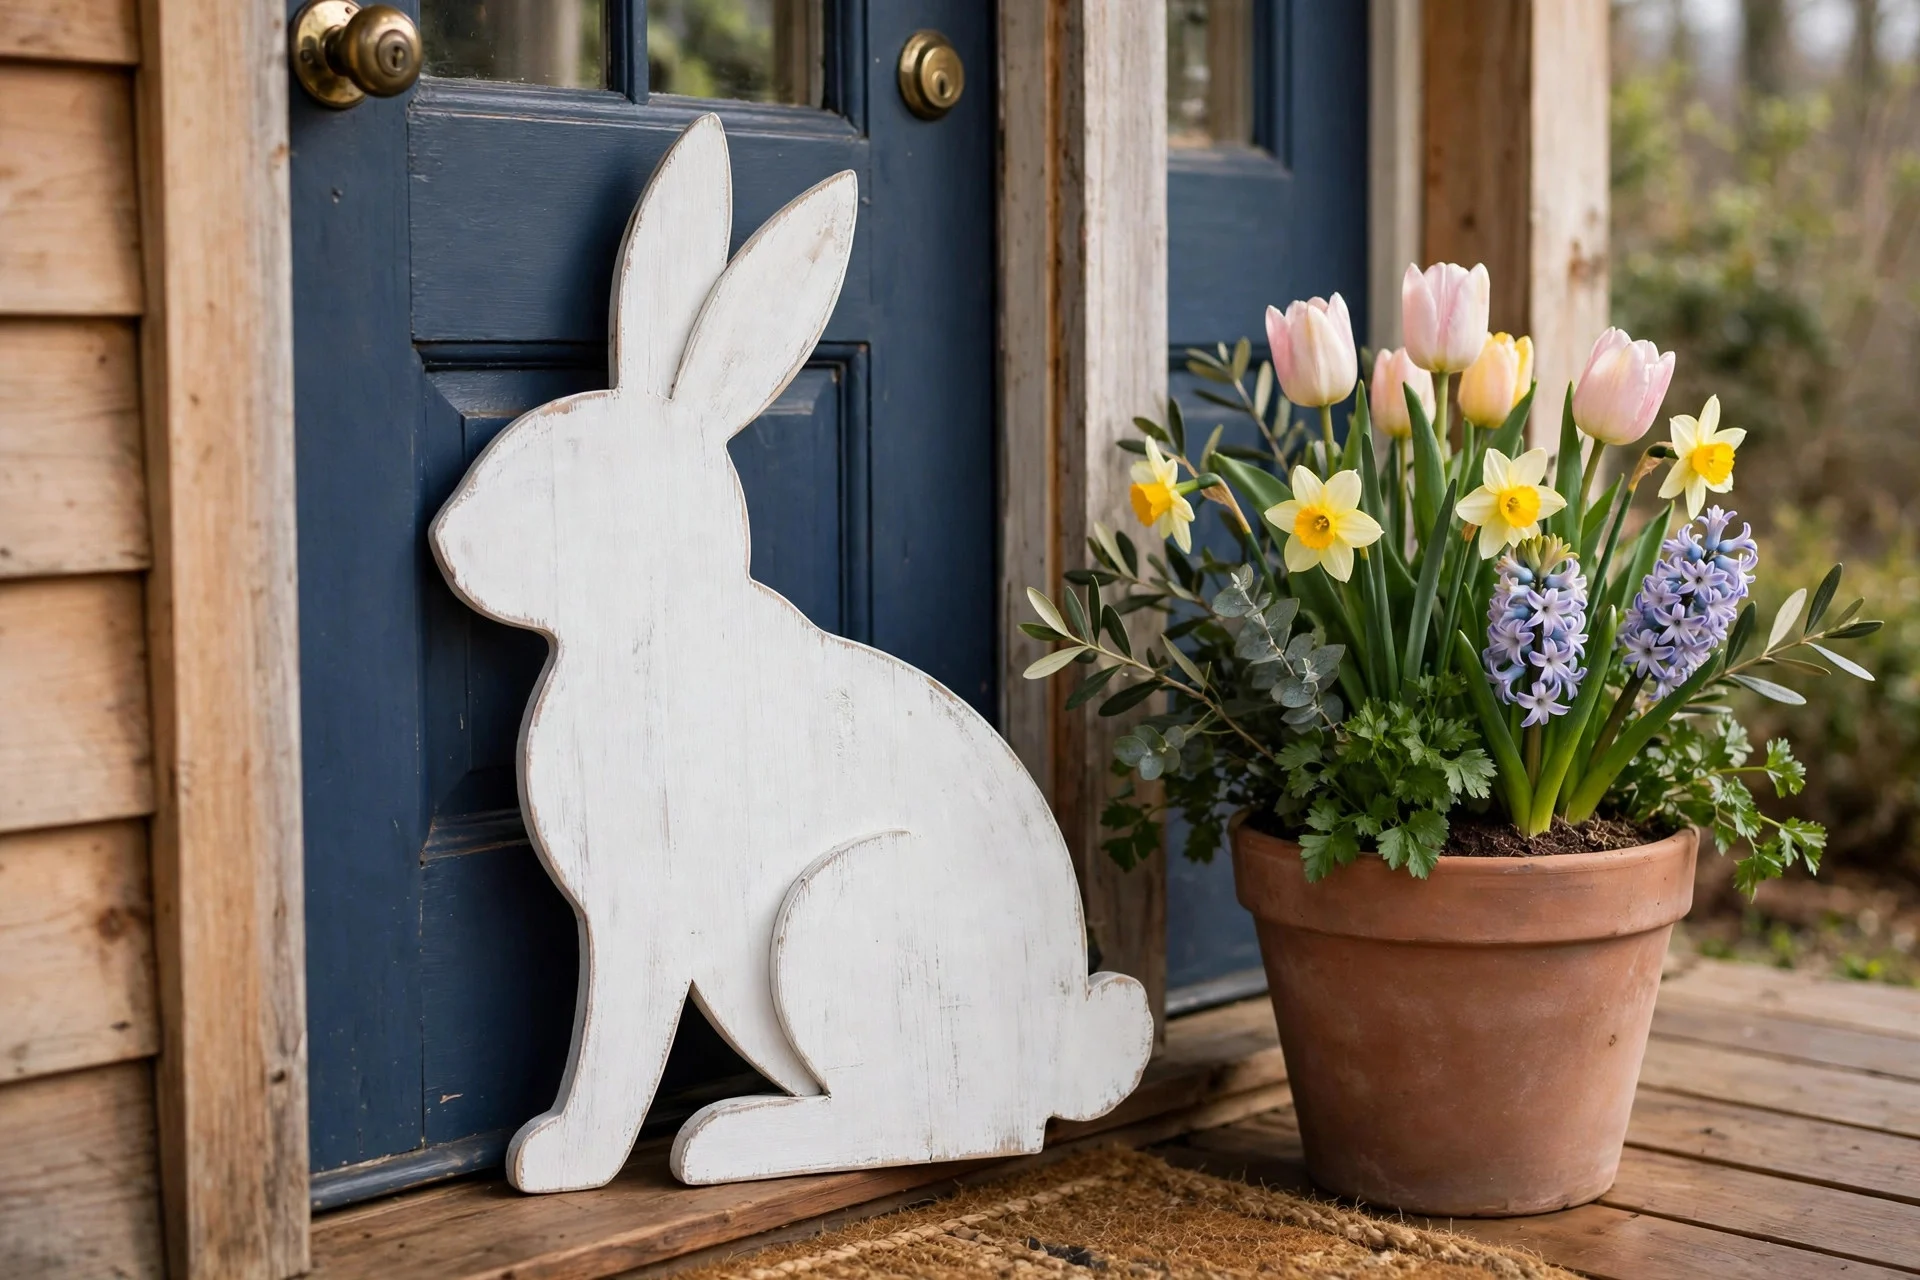
17. Wooden Bunny Sign for the Porch
A wooden bunny sign is a warm welcome for the porch, and it lasts for years. Cut or buy a simple bunny shape from wood, paint it white or soft grey, and add a short greeting like “Happy Easter” or “Welcome” in neat lettering. Lean it by the door with a pot of flowers, or hang it with twine if you prefer.
Use outdoor paint and a clear sealer so spring rain does not ruin your work. I tried this with indoor craft paint once and the sign streaked after the first wet weekend. Outdoor paint takes a little longer to dry, but it holds up, and you will be glad you used it when the sign still looks good next Easter.
Try this: Lean the sign at a slight angle against the wall so it looks relaxed, not stiff.
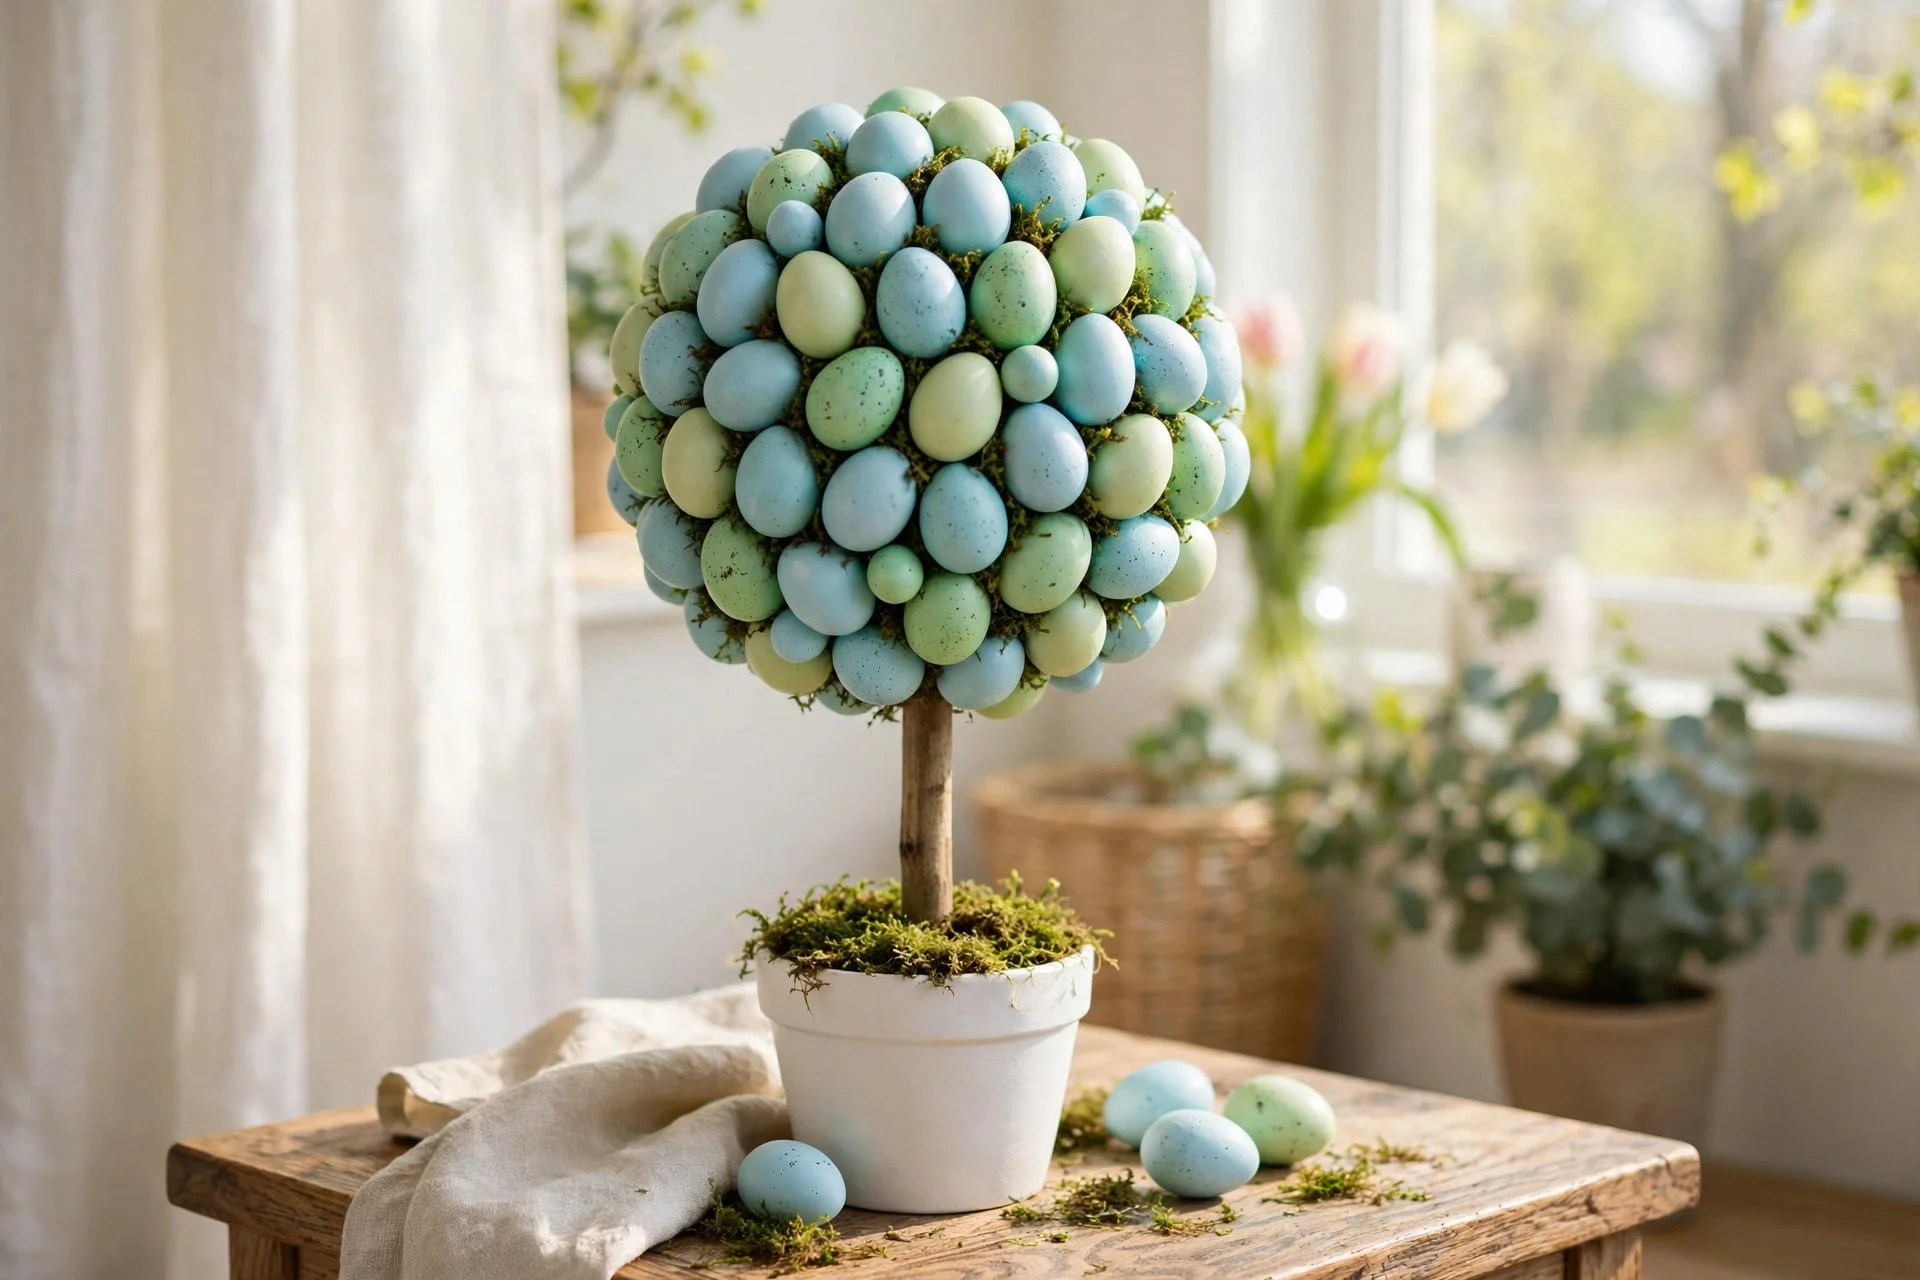
18. Easter Egg Topiary Tree
A topiary tree made of eggs is a pretty alternative to a flower centerpiece. Start with a foam ball on a dowel in a small pot, then hot-glue pastel eggs all over the ball until it is fully covered. Fill tiny gaps with moss so no foam shows. Set the tree on a side table or mantel where it can be admired up close.
Work from the top down and rotate the ball as you go, or you will end up with a bare patch at the back. I tried this working only from the front once and the back looked unfinished from the doorway. Rotating as you glue takes a few extra minutes, but the tree looks good from every angle, which matters in a small room.
Try this: Use eggs in one color family, like all blues and greens, for a calm, modern topiary.
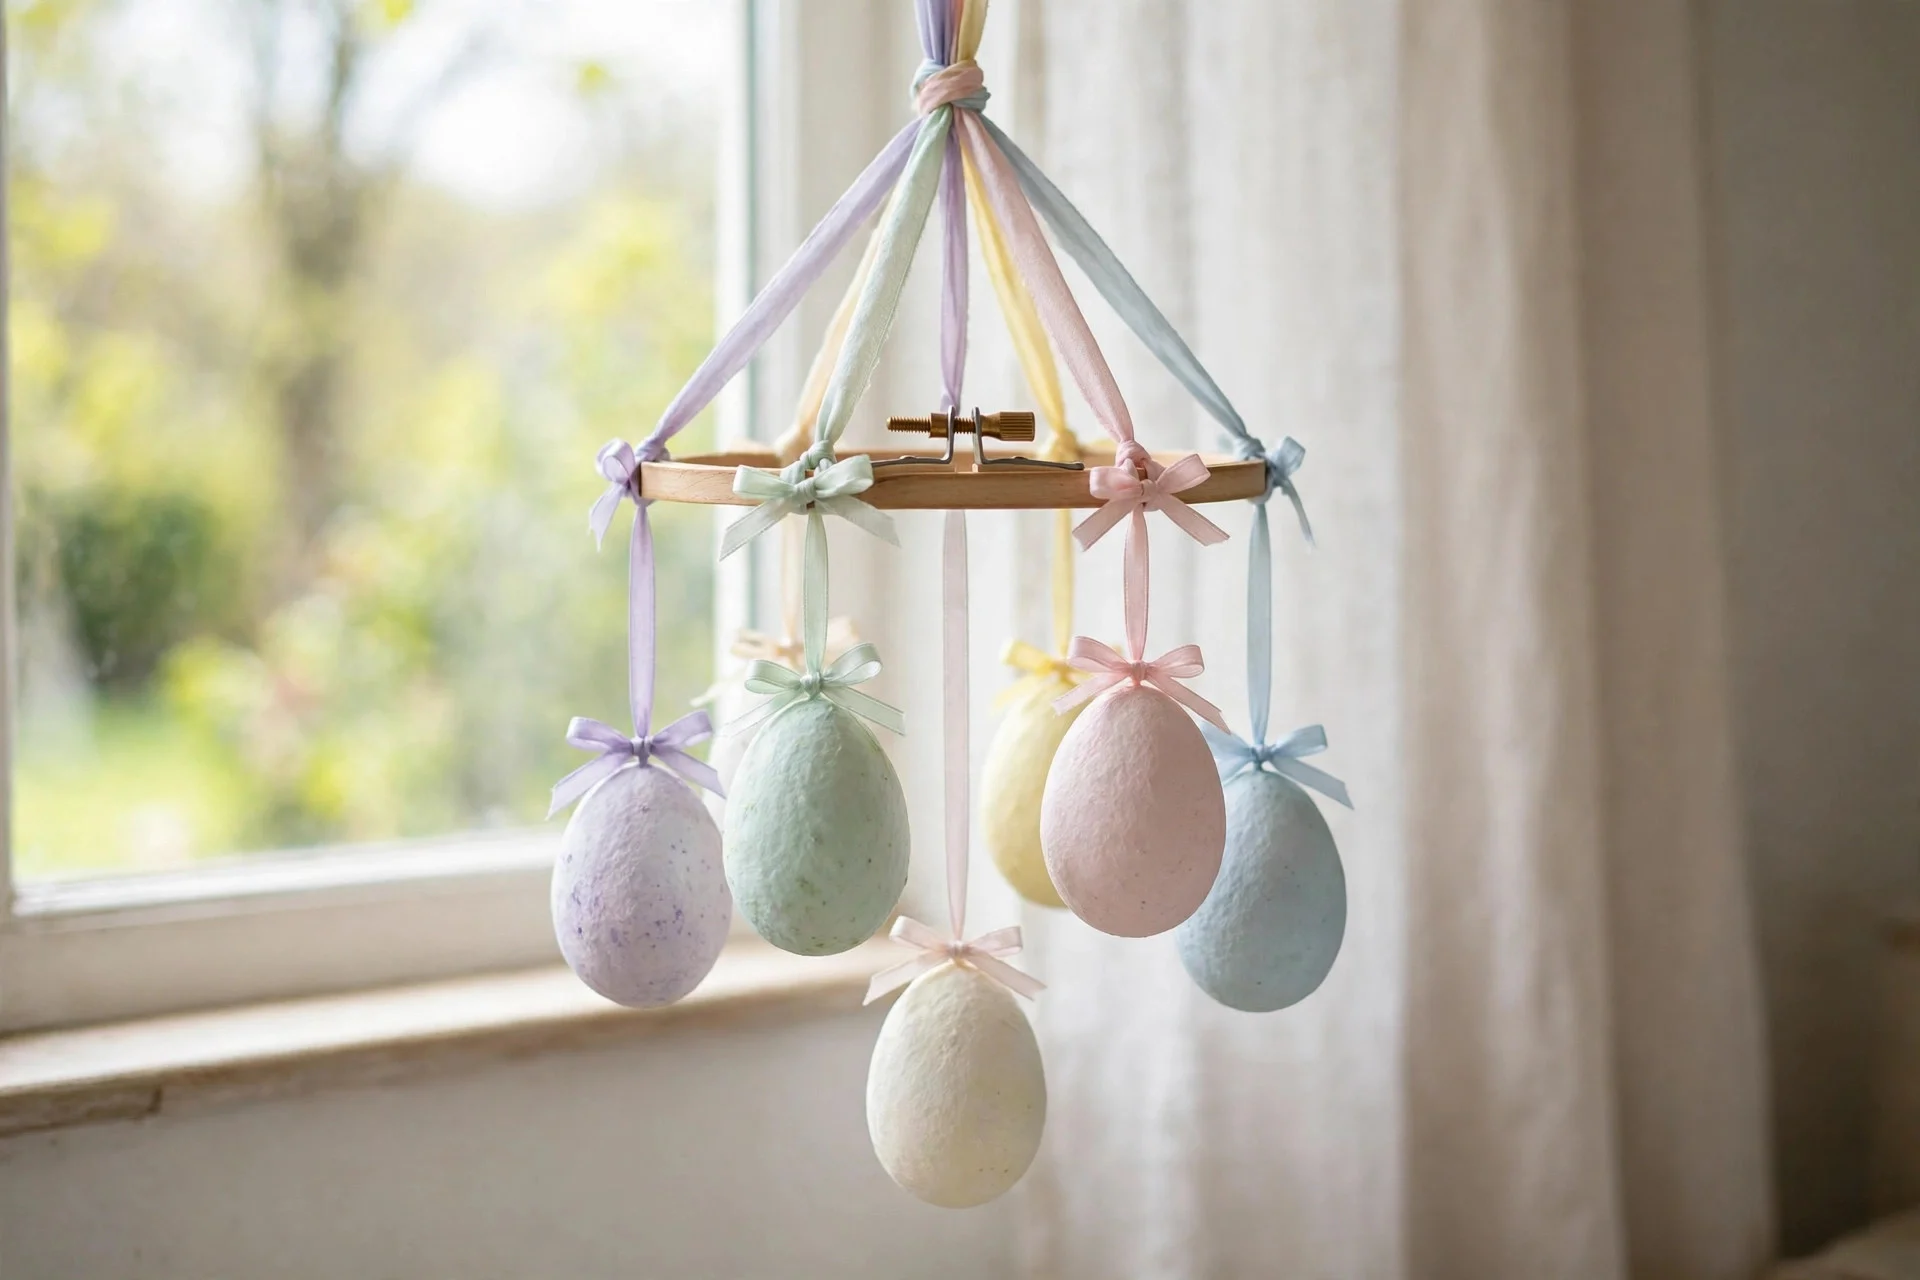
19. Pastel Ribbon Hanging Egg Mobile
Finish with something light and lovely — a hanging mobile of eggs and ribbons. Tie pastel ribbons of different lengths to a small embroidery hoop or branch, then hang a light egg from the end of each ribbon. Hang the mobile from the ceiling in a corner or over a side table, where a gentle breeze can move it slightly.
Keep the eggs very light — paper or foam eggs only — or the mobile will tilt and tangle. I tried this with wooden eggs first and spent more time untangling ribbons than enjoying it. Light eggs float gently, the ribbons stay separate, and the mobile turns slowly in the air like a soft spring dance above the room.
Try this: Hang the mobile near a window so daylight catches the ribbons and eggs.
Frequently Asked Questions
How early should I start making DIY Easter decorations?
Two to three weeks before Easter is plenty. Start with wreaths, garlands, and painted eggs, which store well, and save fresh flowers for the last two or three days so they look their best on Easter Sunday.
Are these DIY Easter decorations safe around kids and pets?
Most are, if you use battery tea lights instead of real candles and keep small parts like beads out of reach of very young children. Hang garlands and mobiles high enough that little hands cannot pull them down.
Can I reuse these decorations next year?
Yes, most of them. Felt garlands, painted wooden eggs, wreaths, pillow covers, and wooden signs all store well in a labeled box. Fresh flowers and real eggshell holders are the only ones you will need to remake each year.
What is the cheapest way to decorate for Easter?
Start with what you have — jars, ribbon, paper, and paint — and add one or two bought items like a bag of pastel eggs or a bunch of tulips. A single pretty centerpiece and a door wreath make more impact than lots of small bits scattered everywhere.
Final Thoughts
Easter decorating does not need to be perfect to be lovely. A painted egg in a bowl, a garland on the mantel, or bunny ears on the chairs can change how the whole house feels, and the best part is making them with people you love. Start with the idea that made you smile first, and let the rest follow naturally.
If you make one of these this year, keep it simple, enjoy the process, and do not worry about matching a photo exactly. Your home, your colors, and your little handmade quirks are what make Easter feel like Easter. Happy crafting, and happy Easter.