
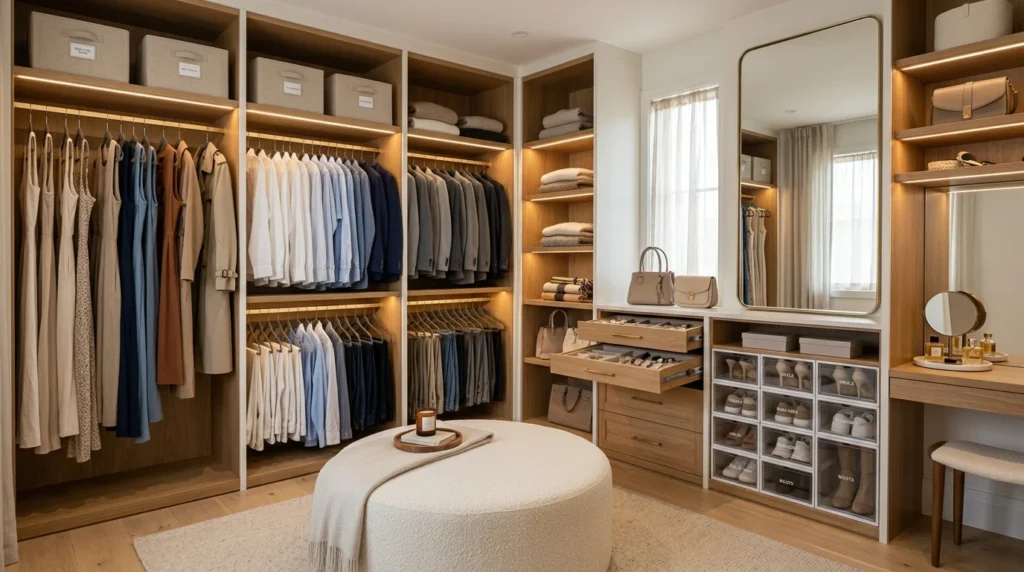
My walk-in closet was the room I avoided showing anyone for the first year I lived here, not because it was small, it was actually a genuinely decent size, but because it looked like a small hurricane had passed through it weekly. Clothes I loved sat crumpled beneath ones I never wore, shoes were paired with the wrong mate half the time, and I owned things I’d completely forgotten existed simply because they’d been buried behind more recently worn items for months on end. The turning point came when I finally got tired of standing in there every morning, genuinely frustrated, unable to find anything despite technically owning plenty of clothes, and decided to treat the closet as a real organizational project rather than something I’d casually tidy every few months and then let slide right back into chaos.
If your own walk-in closet is stuck in that same cycle, here are 19 ideas, each explained in detail, based on how I eventually got mine under control and what I’ve seen work well in other closets since. Along the way I’ll also answer a few of the questions people most often ask me about this exact project, since those are usually the things actually holding someone back from starting.
1. Start With a Complete Closet Cleanout
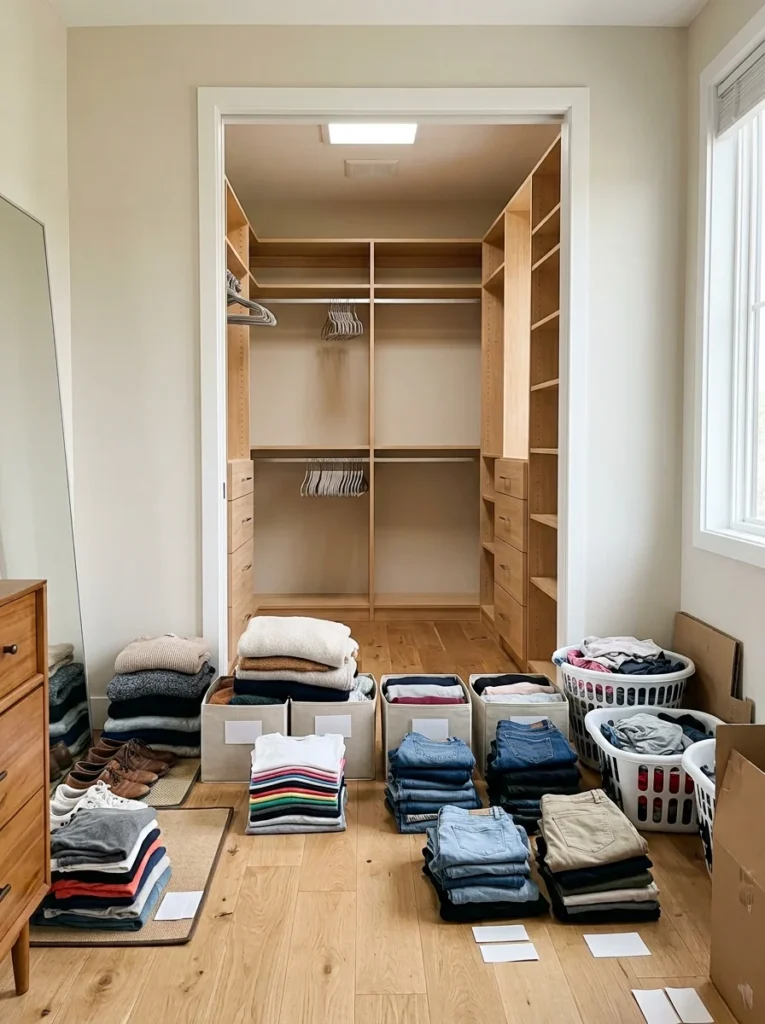
Before installing a single new system or purchasing any organizational product, removing absolutely everything from your closet and starting from a genuinely empty space is the step that makes every following decision considerably easier, since you’re organizing based on what you actually own and need rather than working around an existing, already cluttered arrangement. I did this myself over a single weekend, pulling literally everything out onto my bed and floor, and being confronted with the full, honest scope of what I actually owned was genuinely eye-opening in a way that gradual, piecemeal tidying over the previous year never managed to achieve. This is also the natural point to genuinely evaluate each item, honestly asking whether you’ve worn it in the past year, whether it still fits the way you want it to, and whether you’d actually buy it again today, rather than holding onto things purely out of guilt or vague future possibility. I’d recommend blocking out a genuine full day for this process rather than trying to squeeze it into a spare hour, since rushing this foundational step tends to result in either an incomplete edit or exhaustion partway through that leaves the job unfinished and the closet in a worse state than before you started.
2. Sort Everything Into Keep, Donate, and Storage Piles
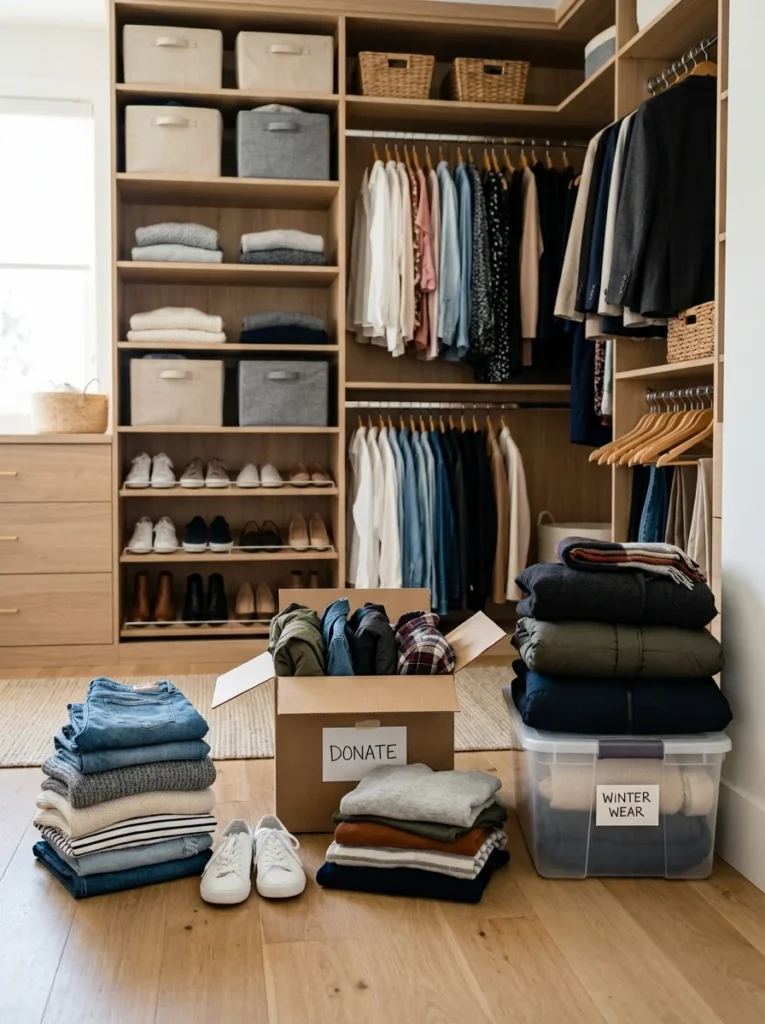
As you handle each item during your cleanout, sorting into three clear piles, keep, donate, and seasonal storage, prevents the common trap of simply putting everything back because deciding what to actually remove feels too difficult in the moment. I was ruthless with my donate pile specifically, and while it was genuinely hard to let go of some items I’d convinced myself I might wear again someday, the resulting closet held only things I actually reached for regularly, which made every subsequent organizational decision considerably simpler. A question I get asked often here is how to actually decide what goes where when you’re stuck, and my honest answer is the one-year rule, if you haven’t worn it in the past twelve months across all seasons, it goes in the donate pile unless it’s a genuinely sentimental piece or truly formal wear you rarely need but still want on hand. I’d recommend keeping your seasonal storage pile separate from your daily closet organization entirely, since those items belong in the under-bed or overhead storage solutions discussed elsewhere rather than taking up your main closet’s prime, easily accessible space year-round when you’re only actually using them for a few months at a time.
3. Install Double-Hang Rods for Shorter Items
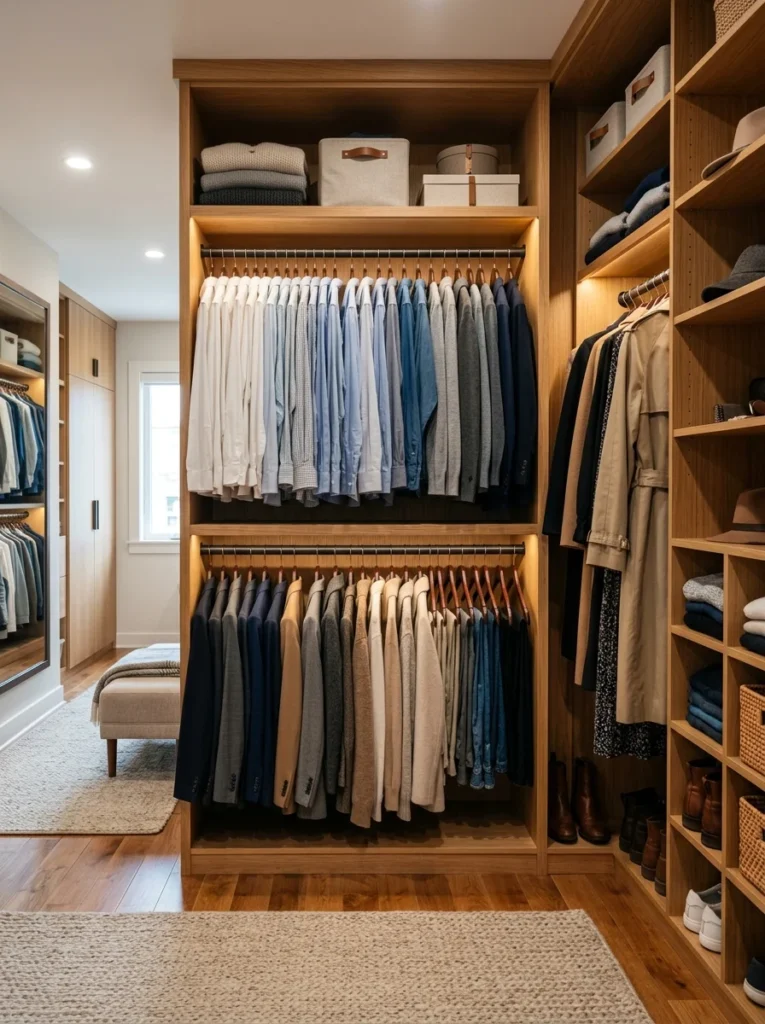
For shirts, folded pants, and jackets that don’t require the full vertical length a single rod configuration provides, installing two rods stacked at different heights within the same section of closet doubles your actual hanging capacity without requiring any additional floor footprint. I had double-hang rods installed in the section of my closet holding shorter items specifically, and that single change effectively doubled my hanging storage in that area, letting me finally give my longer dresses and coats their own genuinely appropriate single-rod section elsewhere. If you’re wondering whether this is worth the investment for a smaller closet specifically, I’d say it’s actually one of the highest-value changes available precisely because smaller closets benefit most from maximizing every available inch of vertical space rather than spreading storage thin across limited floor area. I’d recommend measuring your specific shorter items’ typical length before finalizing rod spacing, since the exact height between your two rods needs to accommodate your actual garments without cramming them or leaving excessive, wasted gap space between the two hanging tiers.
4. Reserve a Single-Hang Section for Long Items
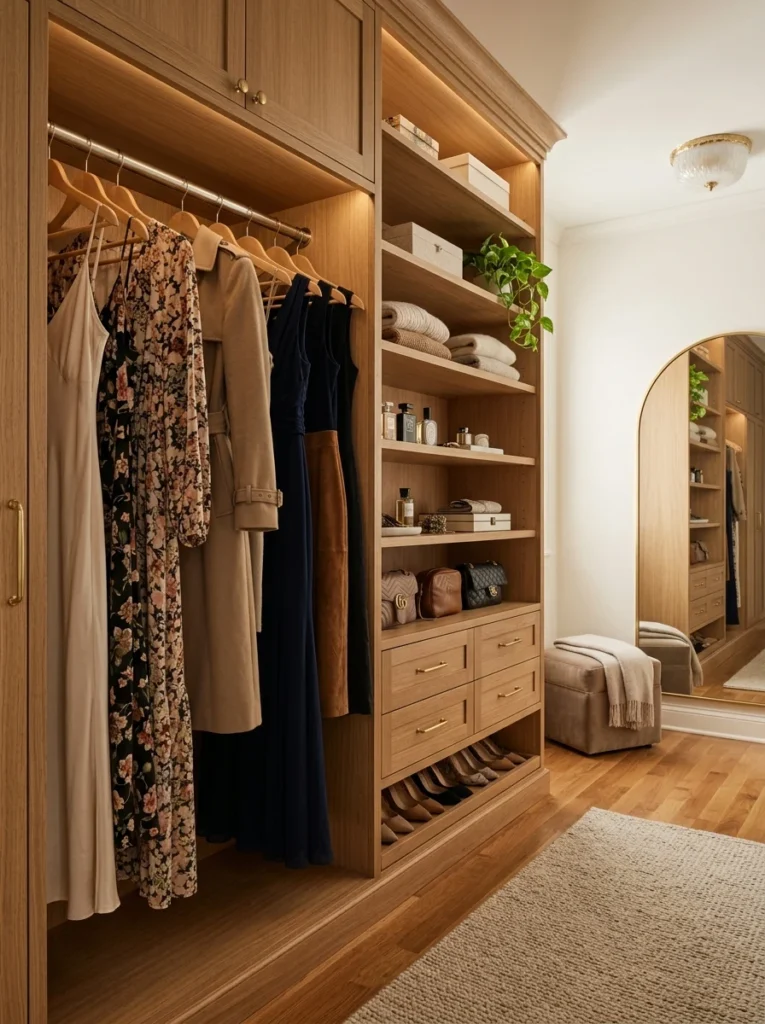
Alongside your double-hang section, keeping one dedicated area with just a single rod at full height accommodates dresses, long coats, and formal wear that would otherwise crumple or hang awkwardly if forced into a double-hang configuration designed for shorter garments. I positioned my single-hang section at one end of my closet specifically, and having a genuine home for these longer pieces means they no longer end up wrinkled at the bottom of my double-hang rods or, worse, hung somewhere entirely outside the closet due to lack of appropriate space. A common question here is how to figure out the right ratio between double-hang and single-hang space, and I’d genuinely recommend counting your actual long items first, dresses, maxi skirts, full-length coats, since that count should directly determine how much single-hang rod length you actually need rather than guessing or defaulting to some arbitrary standard split. This idea works together with the double-hang concept as a complete system, and getting the balance right between the two genuinely determines how well your entire closet layout ultimately serves your specific, actual wardrobe.
5. Add Pull-Out Shelves for Folded Items
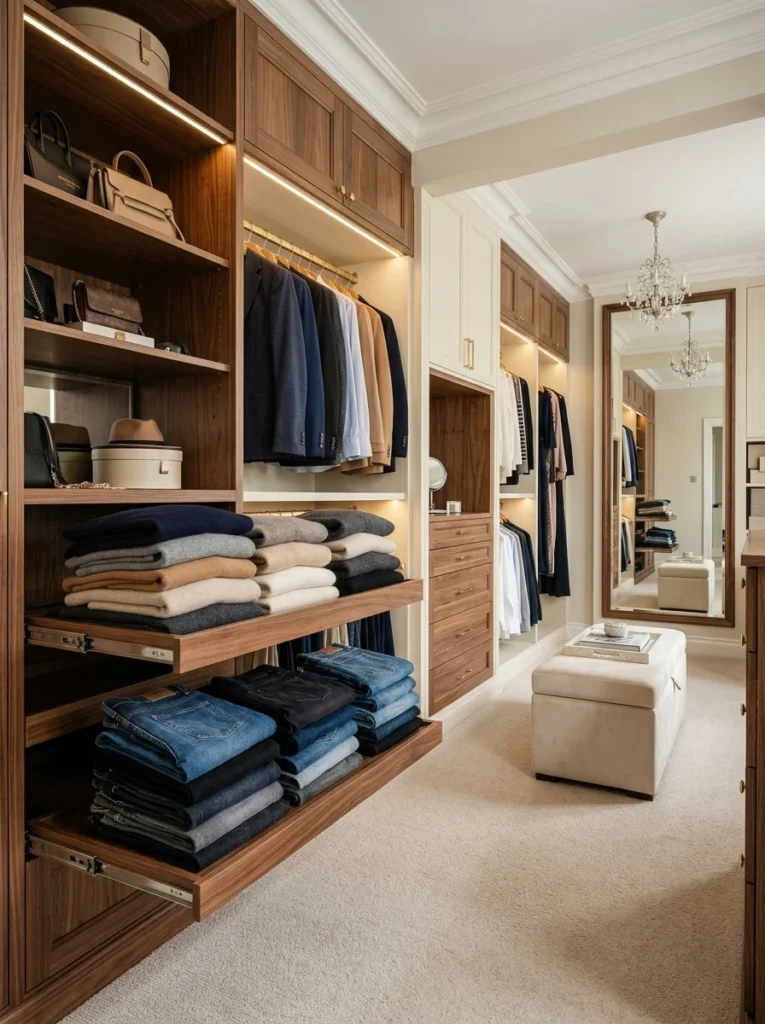
Rather than stacking folded sweaters and jeans on fixed shelves where retrieving something from the middle of a stack disturbs everything above it, pull-out shelf systems let you slide each shelf forward individually, keeping your folded stacks considerably more stable and organized over time. I installed pull-out shelves specifically for my sweater collection, and being able to access any shelf without disturbing the ones above has genuinely reduced how quickly my folded stacks used to collapse into disorganized piles under my previous fixed-shelf system. If you’re wondering whether this is worth doing yourself versus hiring someone, I’d say it depends genuinely on your comfort with basic hardware installation, since many pull-out shelf kits are designed for reasonably straightforward DIY installation, though a closet company or contractor can handle it if you’d rather not tackle it yourself. This solution works particularly well for anyone who’s noticed their folded item stacks becoming increasingly disorganized over time, since the pull-out mechanism directly addresses that specific, common frustration rather than just providing more general storage capacity.
6. Use Slim, Matching Hangers Throughout
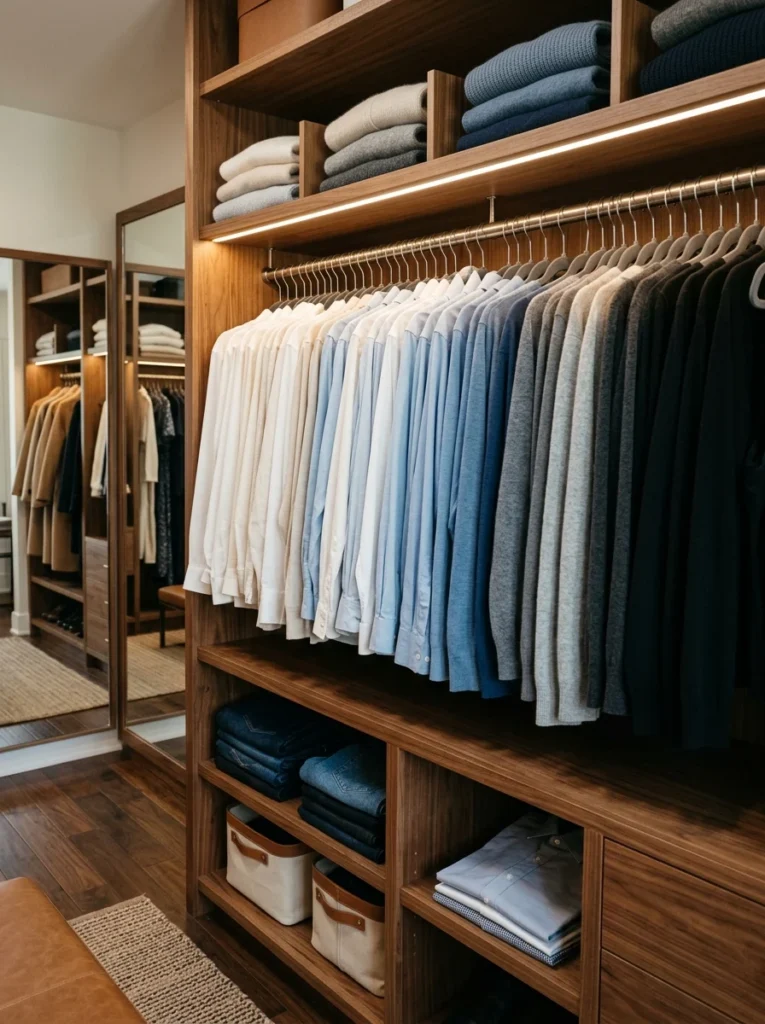
Switching your entire closet to slim, matching hangers, whether velvet-flocked or a uniform wood style, both increases your actual hanging capacity by taking up less lateral space per garment and creates an immediately more polished, cohesive visual appearance compared to a mismatched assortment of wire, plastic, and wood hangers accumulated over years. I made this switch during my own reorganization, and beyond the genuinely surprising increase in how much more fit on the same rod length, the uniform appearance alone made my closet look considerably more put-together the moment I finished hanging everything back up. A question I hear often is whether this switch is genuinely worth the cost for a large wardrobe, and I’d say yes, specifically because the slim profile’s capacity increase means you may actually need fewer total hangers than your previous mismatched collection, partially offsetting the cost of the switch itself. I’d recommend velvet-flocked hangers specifically for anything prone to sliding off traditional smooth hangers, delicate blouses, silky camisoles, since the slight texture genuinely keeps garments in place considerably better than a smooth wood or plastic alternative.
7. Organize Hanging Clothes by Color
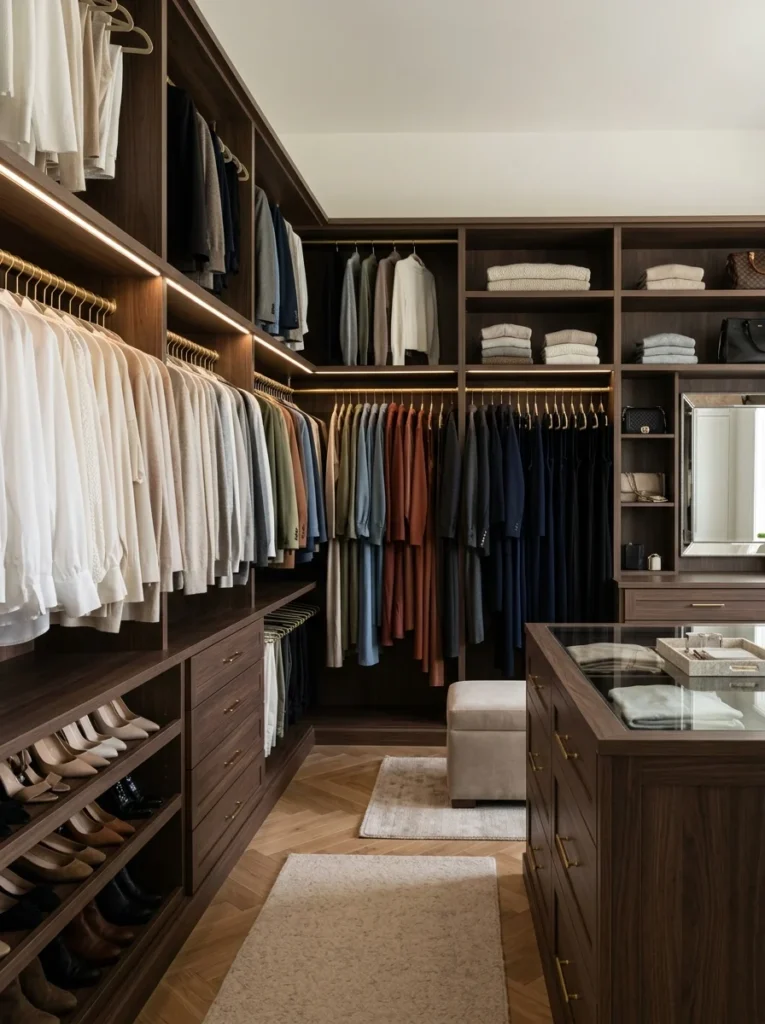
Arranging your hanging garments in a color gradient, moving from lightest to darkest or following a rainbow progression, makes locating a specific item considerably faster since you can scan directly to the right color zone rather than searching item by item across an entire rod. I organized my own closet this way after the initial cleanout, and getting dressed each morning has genuinely become faster since I know exactly which section to check based on the color I’m envisioning for that day’s outfit. A common question here is whether this system holds up over time with regular use, and honestly, it requires a small amount of ongoing discipline when rehanging freshly laundered items, but the visual payoff and genuine time savings during your actual morning routine make that small maintenance effort worthwhile for most people who try it. I’d recommend combining this color organization with a secondary sort by garment type within each color zone, tops together, then pants, then dresses, rather than mixing categories within the same color section, since this two-layer system genuinely locates specific items faster than color organization alone.
8. Add Clear Shoe Boxes for Protected Display
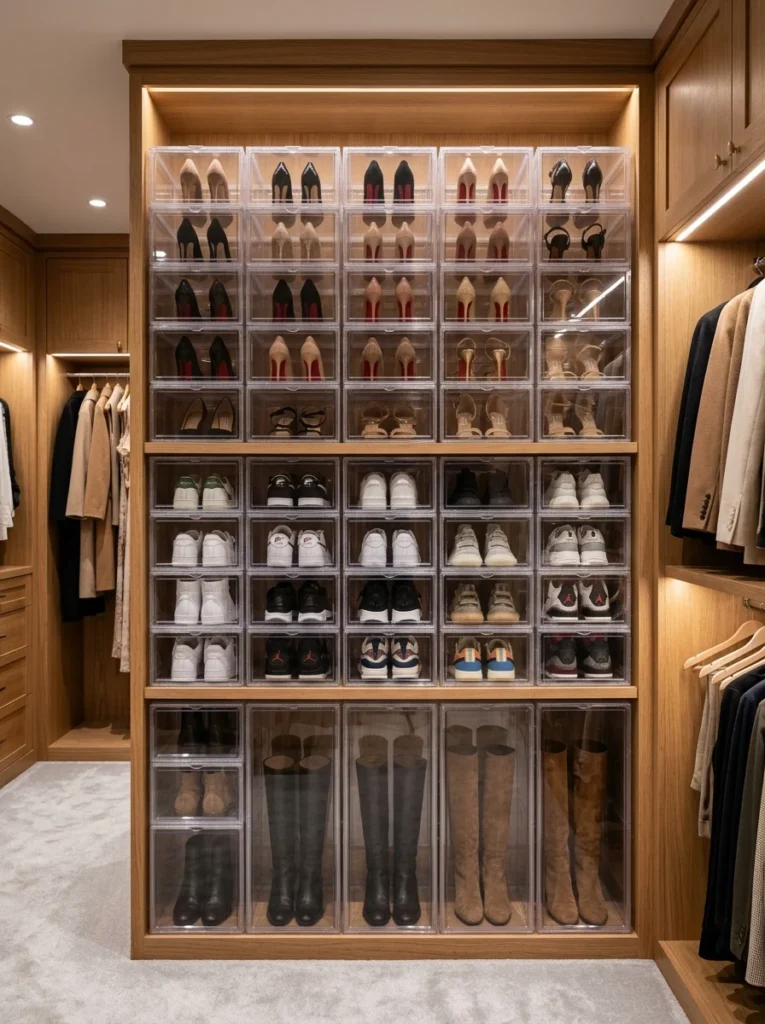
Storing shoes in clear, stackable boxes rather than their original cardboard packaging or a jumbled floor pile lets you see exactly which pair is in each box while keeping them protected from dust, all while making considerably more efficient use of vertical space than a flat, single-layer shoe rack alone typically allows. I switched my entire shoe collection to this system, and being able to see through each box at a glance has eliminated the previous frustration of opening several cardboard boxes just to find one specific pair I actually wanted to wear that day. If you’re wondering whether this is worth doing for a smaller shoe collection, I’d say the visual and protective benefit still applies regardless of collection size, though the space-maximizing benefit specifically becomes more valuable the larger your actual shoe collection grows. I’d recommend photographing each pair and taping a small printed photo to the box’s short end if you want an even faster identification system than clear plastic alone provides, particularly useful for boots or shoes that look somewhat similar from certain angles through the clear plastic.
9. Install a Tie or Scarf Rack
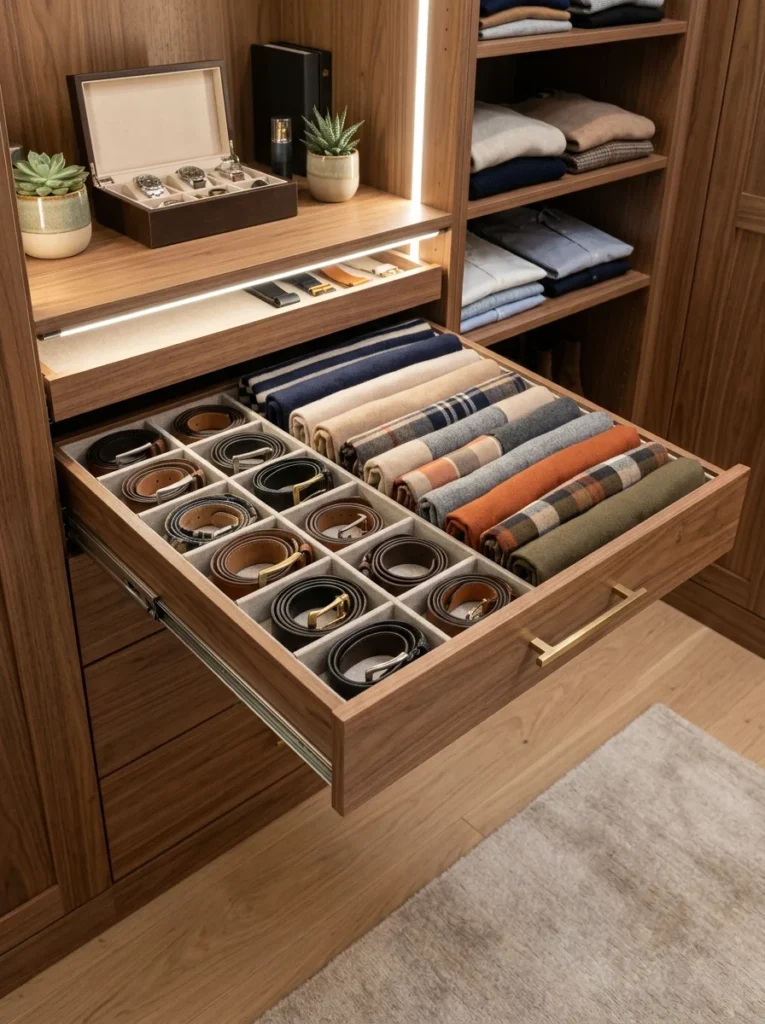
A dedicated rack specifically for ties, scarves, or belts, whether a rotating rack or a simple series of hooks, keeps these often-tangled accessories organized and genuinely visible rather than balled up in a drawer where locating a specific one becomes a frustrating search every single time. I installed a simple pull-out rack specifically for my scarves, and being able to see every option at a glance rather than digging through a drawer has genuinely made me wear my scarf collection considerably more often than I did when they were stored less visibly. A frequent question here is whether this is worth a dedicated purchase versus just using a few hooks, and honestly, either genuinely works, the purpose-built rotating racks simply maximize capacity in a smaller footprint, while a row of simple hooks costs less and works perfectly well for a more modest accessory collection. I’d recommend this specifically for any accessory category you own more than a handful of, since below that threshold, a simple hook or two is genuinely sufficient without needing a more elaborate dedicated system.
10. Use Drawer Dividers for Undergarments and Basics
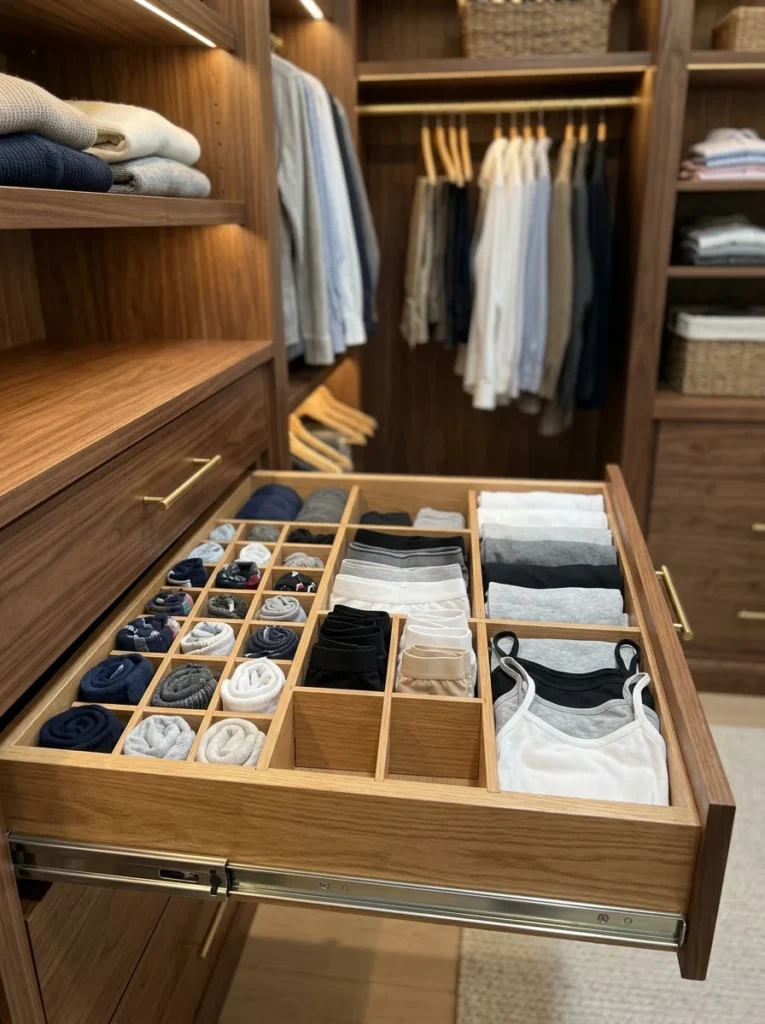
Within any built-in drawers your closet system includes, dividers specifically for undergarments, socks, and basics prevent these smaller items from becoming a jumbled, tangled mess every time the drawer opens, keeping each category in its own defined section instead. I added simple adjustable dividers to my own closet’s drawers, and the ability to open a drawer and immediately see distinct, organized sections rather than a tangled pile has genuinely made my morning routine faster, since I’m not digging through and disturbing everything else just to find one specific pair of socks. A question I hear often is whether it’s worth folding items in a specific way alongside dividers, and I’d genuinely recommend the vertical folding method, where items stand upright rather than stacking flat, since this lets you see every single item in the drawer at once rather than only the top layer of a flat stack. This combination of dividers and vertical folding genuinely transforms drawer organization more than either technique alone typically achieves.
11. Add a Full-Length Mirror Within the Closet
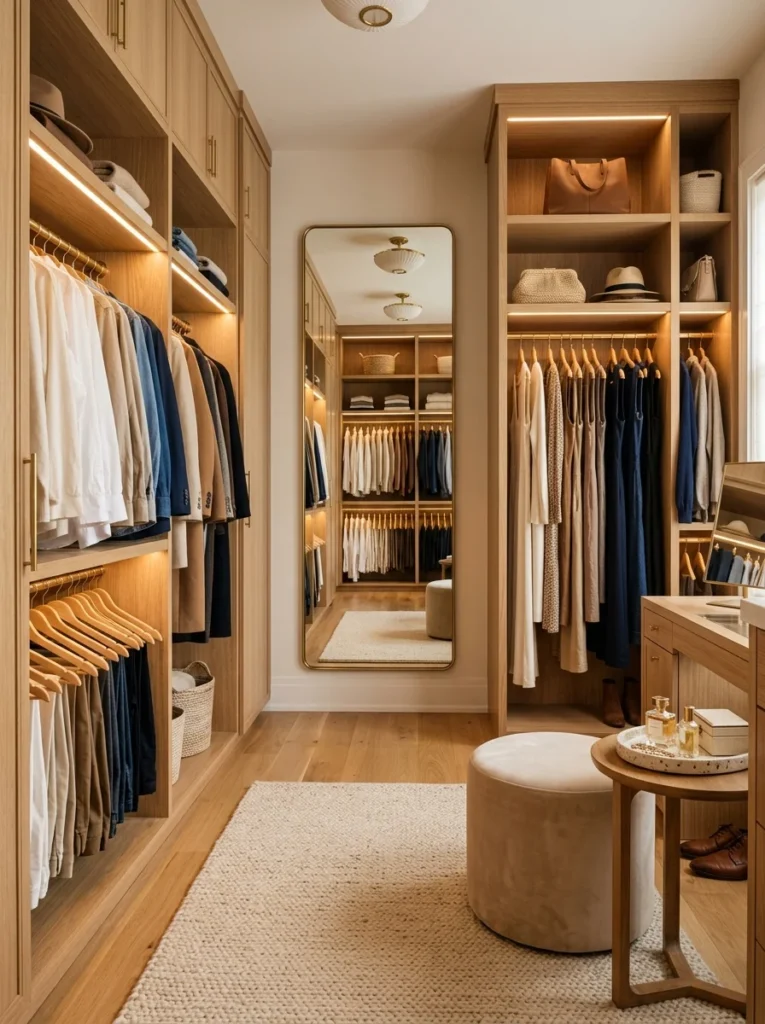
Positioning a full-length mirror directly within your walk-in closet, rather than only in your bedroom or bathroom, lets you actually see complete outfits while you’re still standing among your full wardrobe options, making it easier to swap pieces in and out until you’re satisfied rather than needing to walk back and forth between rooms. I installed a mirror on my closet’s one available wall specifically for this reason, and being able to genuinely evaluate an outfit while still standing right there among all my other options has made my whole getting-dressed process considerably more efficient. If you’re wondering where exactly to position this mirror for the best lighting, I’d recommend somewhere that catches your closet’s actual light source, whether natural or your installed closet lighting, rather than a spot that leaves you evaluating outfits in shadow or poor lighting that doesn’t accurately represent how the outfit will actually look once you’re out in the world.
12. Add Proper Closet Lighting
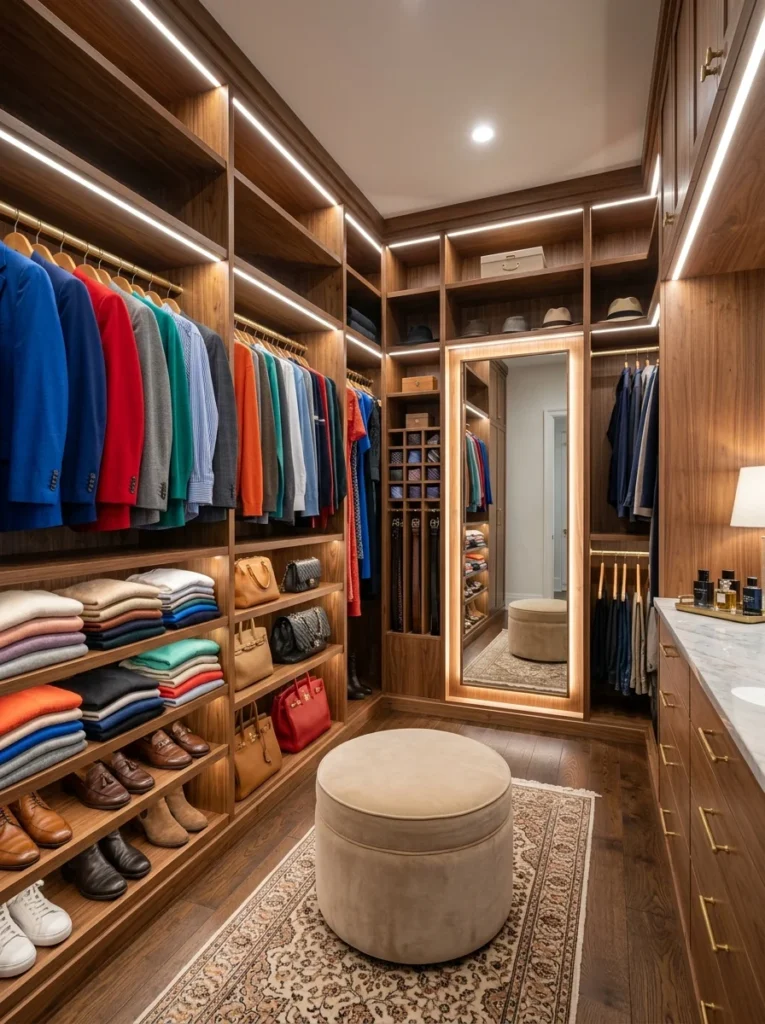
Beyond whatever ambient light might filter in from an adjacent room, dedicated closet lighting, whether a central overhead fixture or LED strips along shelving, genuinely matters for accurately seeing colors and finding specific items, particularly in a windowless walk-in closet relying entirely on artificial light. I added simple LED strip lighting along my shelving specifically, and the improved visibility has made a genuinely noticeable difference in my ability to correctly match colors and locate specific items compared to the dim, single bulb I was relying on previously. A common question here is whether warm or cool-toned bulbs work better for this application, and I’d recommend a neutral to slightly cool tone specifically for a closet, since this more accurately represents how colors will actually appear in natural daylight once you’re out wearing the outfit, compared to a warmer tone that can subtly shift how you perceive certain colors while still inside the closet itself.
13. Use Vacuum Bags for Off-Season Bulky Items
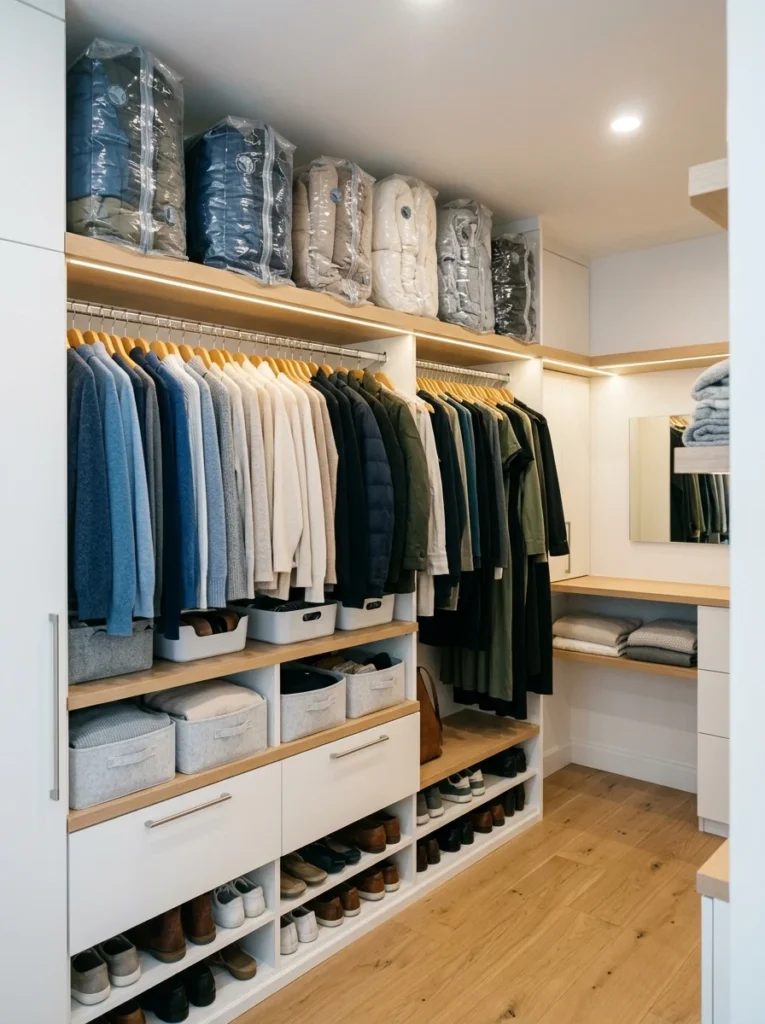
For bulky winter coats or extra blankets you’re not currently using, vacuum-sealed storage bags compress these items down considerably, freeing up genuine hanging or shelf space within your closet for your current season’s actual wardrobe rather than dedicating prime space to items you won’t touch for months. I use this specifically for my heaviest winter coats during summer months, and the compressed bags tuck onto a high shelf without taking up nearly the space they would in their normal, uncompressed state. If you’re wondering whether this damages delicate fabrics over extended storage, I’d recommend this specifically for sturdier items like wool coats or blankets rather than anything genuinely delicate or structured, since compression over many months can occasionally affect more delicate fabric structures or anything with significant padding or shape that needs to be maintained.
14. Create a Dedicated Accessory Drawer or Shelf
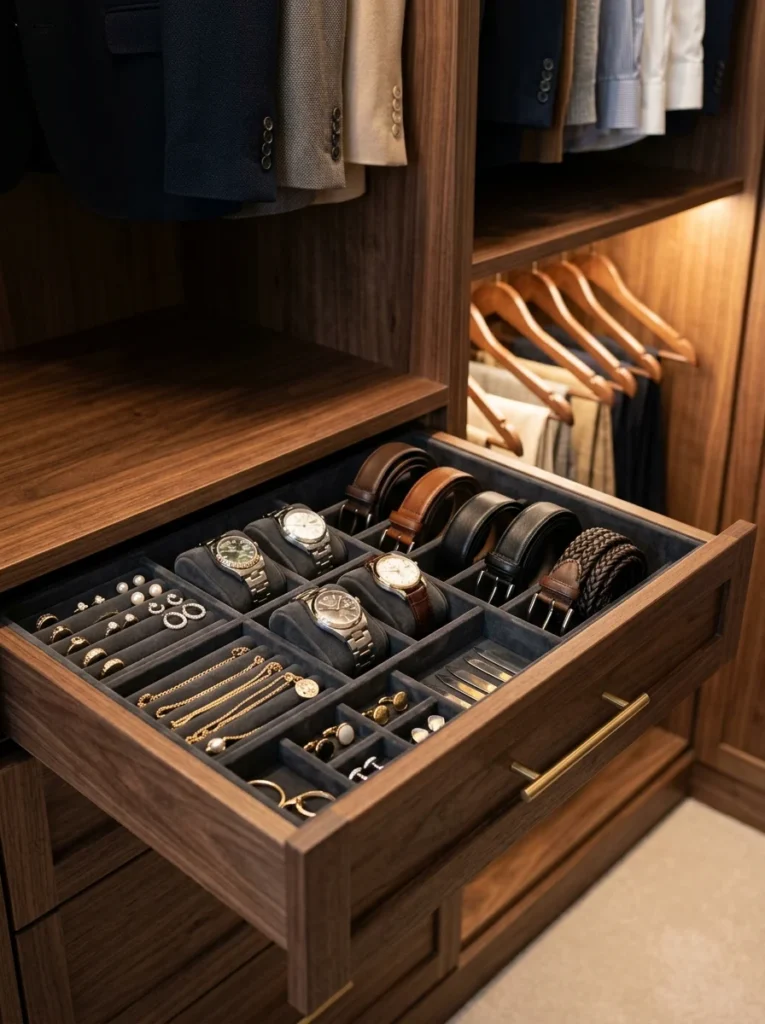
Rather than scattering jewelry, belts, and small accessories loosely throughout various parts of your closet, consolidating them into one dedicated drawer or shelf with small compartments creates a genuine single destination for these smaller items during your daily routine. I use a small compartmentalized tray specifically for jewelry within one closet drawer, and having everything consolidated there has genuinely reduced the time I spend searching multiple spots for a specific necklace or pair of earrings each morning. A frequent question is how to prevent necklaces specifically from tangling within this kind of storage, and I’d recommend small individual hooks or compartments for necklaces specifically rather than letting them pile loosely together, since even a well-organized drawer can’t fully prevent tangling if multiple necklaces share the same open space without some kind of individual separation.
15. Add a Bench or Ottoman for Practical Seating
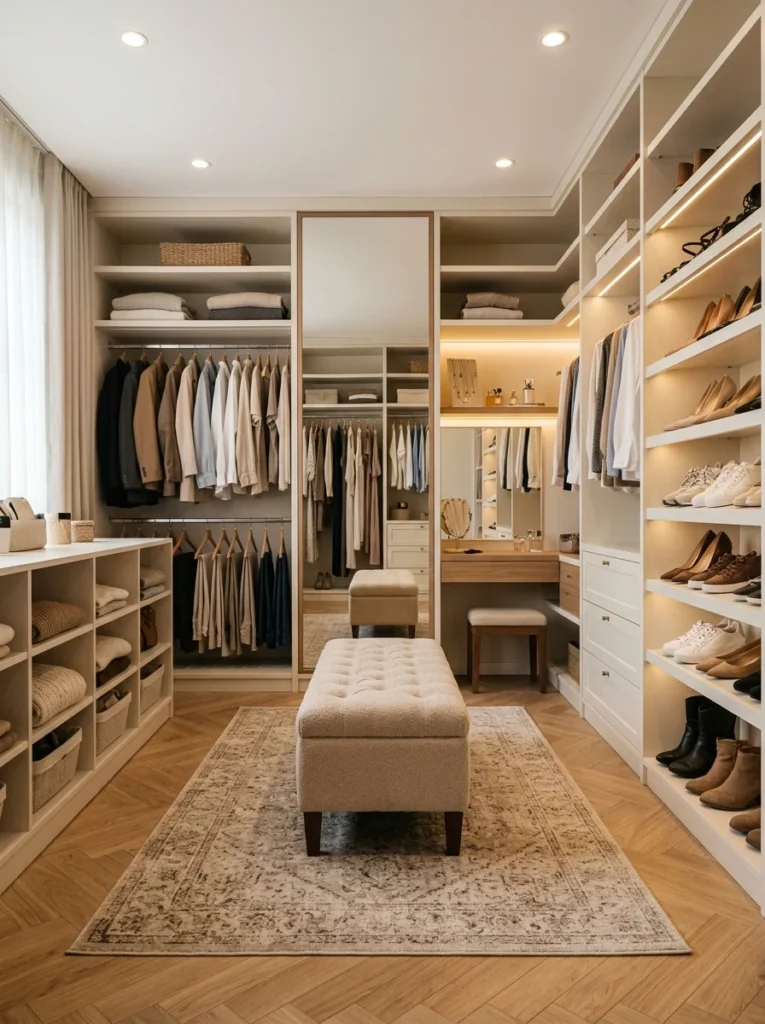
A small bench or ottoman within your walk-in closet, if space allows, provides somewhere to actually sit while putting on shoes or deliberating over an outfit, a genuinely practical function that transforms the closet from a purely utilitarian storage space into a slightly more comfortable dressing area. I added a small upholstered ottoman to my own closet specifically, and it’s become somewhere I genuinely use daily, both for putting on shoes and simply as a spot to sit while deciding what to wear rather than standing the entire time. If your closet is genuinely too small for this addition, I’d recommend skipping it rather than forcing a piece that will just create clutter and obstruct movement, since a bench only adds value when there’s genuinely comfortable clearance around it rather than making an already tight space feel more cramped.
16. Use Labeled Bins for Top Shelf Storage
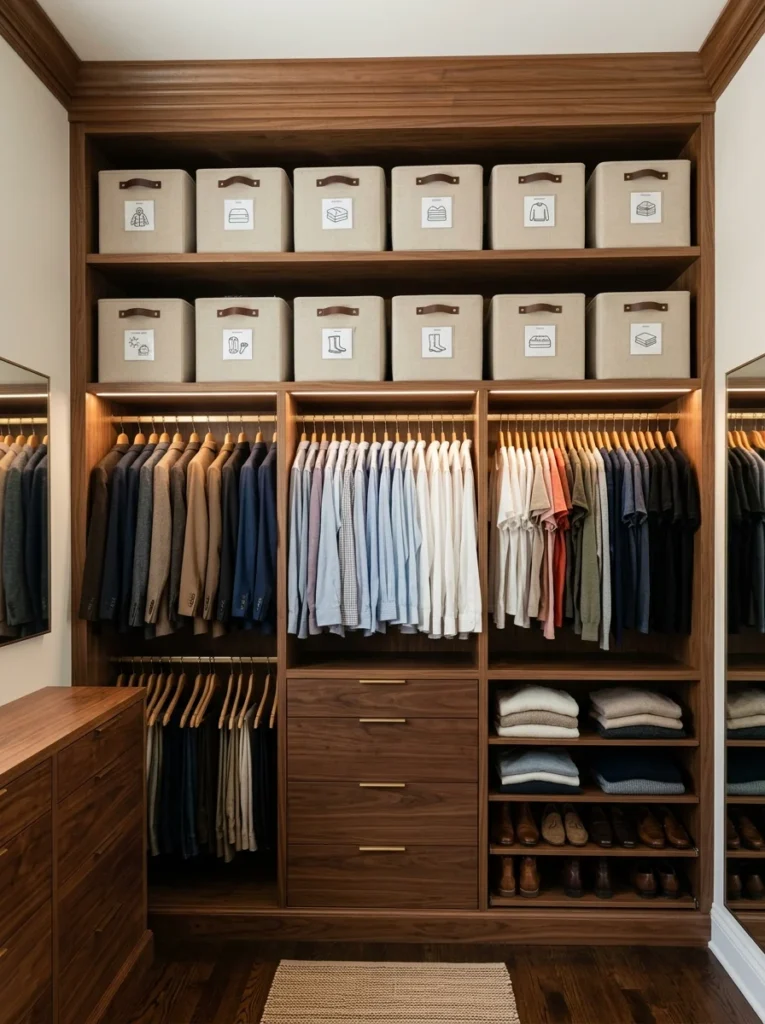
For your closet’s highest shelf, typically reserved for less frequently accessed items, clearly labeled bins let you identify contents without needing to pull down and open multiple containers, particularly valuable given how genuinely inconvenient that high shelf position already makes the retrieval process. I use labeled bins specifically for extra bedding and seasonal accessories stored on my top shelf, and being able to read the label from the ground rather than needing a step stool just to check contents has genuinely saved time whenever I actually need something from that harder-to-reach storage. A question I hear often is what specifically belongs on this top shelf versus more accessible storage, and I’d recommend reserving it genuinely for your least frequently accessed items, seasonal decorations, extra linens, rather than anything you reach for even monthly, since that higher shelf’s reduced convenience should match how infrequently you actually need to access whatever’s stored there.
17. Add a Small Steamer or Iron Storage Nook
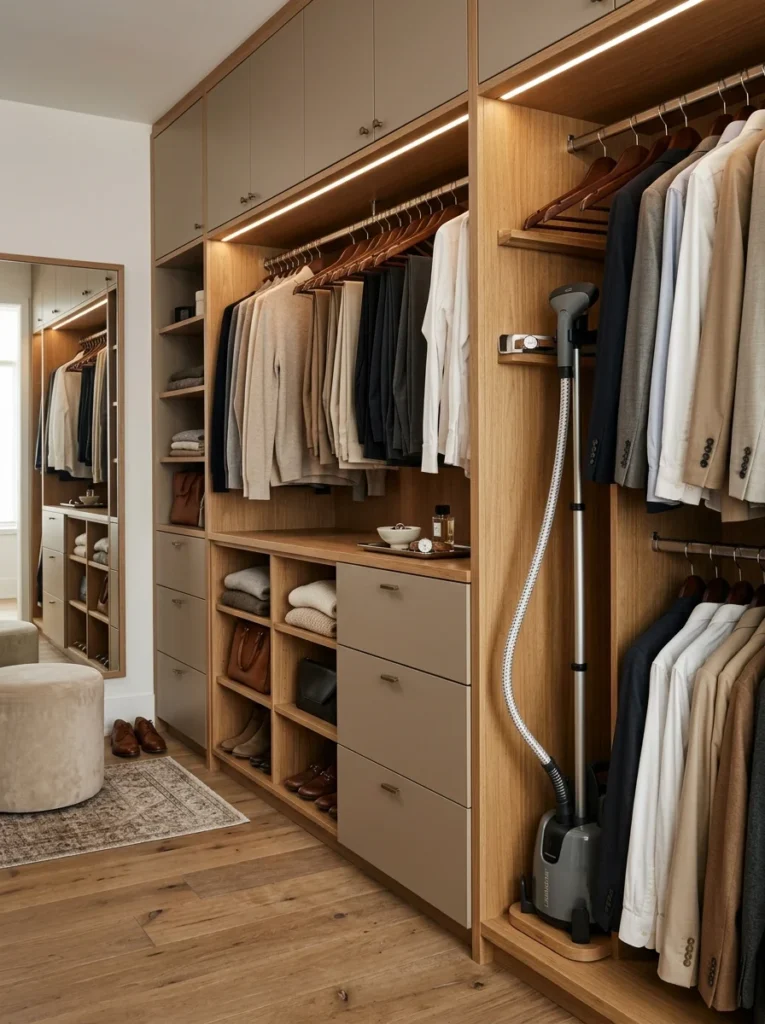
A dedicated small nook or shelf specifically for a garment steamer or compact iron keeps these tools within your actual dressing space, ready for quick touch-ups before heading out, rather than stored elsewhere in the house requiring an extra trip whenever you notice a wrinkle right before leaving. I added a small shelf specifically for my garment steamer within my closet, and having it genuinely within reach has meant I actually use it regularly rather than skipping that step because retrieving it from another room felt like too much friction in the moment. If you’re wondering whether a steamer or traditional iron makes more sense for this closet storage specifically, I’d genuinely recommend a steamer for this particular application, since it requires no ironing board and can be used quickly on a hanging garment, making it considerably more practical for this kind of grab-and-go closet placement compared to a traditional iron’s additional setup requirements.
18. Maintain a “One In, One Out” Rule Going Forward
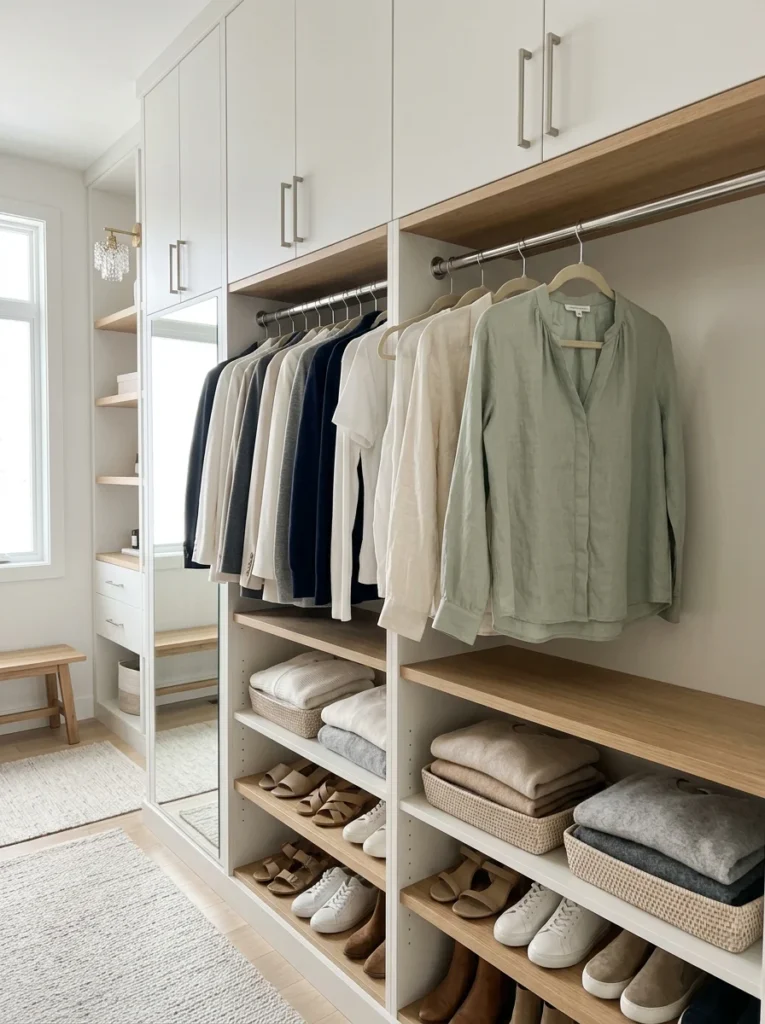
Once your closet is genuinely organized, maintaining that state long-term benefits enormously from a simple ongoing rule, committing that for every new item brought in, something existing gets removed, preventing the same slow accumulation that led to your original cluttered state in the first place. I’ve genuinely stuck with this rule since my reorganization, and it’s been the single habit most responsible for my closet staying organized months and years later rather than gradually sliding back into the chaotic state it was in before I started this whole project. A common question is whether this rule feels overly restrictive for people who enjoy shopping regularly, and honestly, I’d say it actually makes shopping more intentional rather than less enjoyable, since you’re forced to genuinely evaluate whether a new purchase is something you’ll actually wear enough to justify removing something else you currently own.
19. Schedule a Seasonal Closet Review
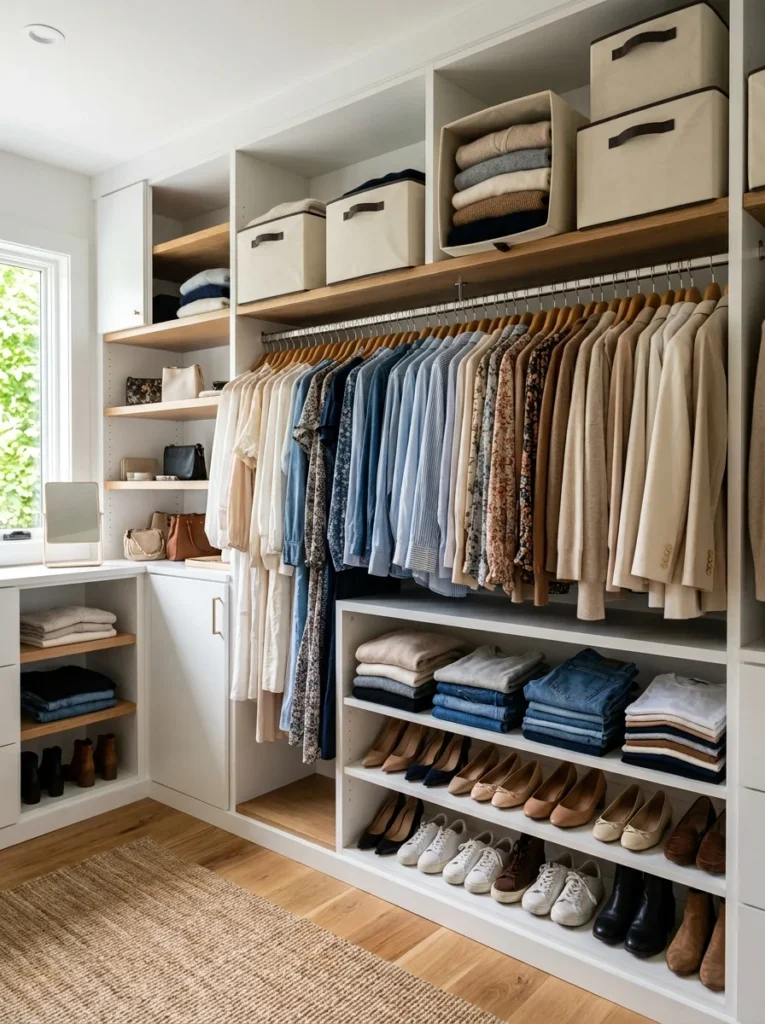
Beyond the ongoing one-in-one-out habit, blocking out time twice yearly, typically alongside seasonal wardrobe transitions, to more thoroughly review your entire closet catches items that might have slipped through the day-to-day system, whether that’s something that no longer fits or a piece you’ve genuinely stopped reaching for despite it still technically living in your regular rotation. I do this every spring and fall specifically, and this more thorough seasonal check has consistently caught a handful of items my more casual daily maintenance missed, keeping my closet genuinely aligned with my actual current wardrobe rather than slowly accumulating items I’m not truly using anymore. If you’re wondering how long this seasonal review genuinely takes once your closet is already organized, I’d say a well-maintained system typically only requires an hour or two for this check, considerably less than the full weekend the original cleanout demanded, since you’re refining an already functional system rather than starting from genuine chaos each time.
Final Thoughts
Looking back at that first year of avoiding my own closet entirely, genuinely frustrated every single morning despite owning plenty of clothes I actually liked, it’s remarkable how much a real organizational system changed my daily relationship with getting dressed. Between all 19 of these ideas, the underlying theme is really that a walk-in closet rewards genuine, honest organization more than almost any other space in a home, since you’re interacting with it daily, and a system that doesn’t match your actual habits and wardrobe will drift back into chaos no matter how nice it looks on the day you first finish organizing it.
If your own closet is stuck in that same frustrating cycle, I’d suggest starting with the complete cleanout covered in the first idea before purchasing any organizational products at all, since understanding exactly what you own and use should genuinely drive every other decision on this list. From there, build the system gradually, the same way mine eventually came together, until a room I once avoided became one I genuinely enjoy starting my morning in.
