

13 DIY Valentine’s Day Decorations on a Budget
You do not need to spend a lot to make your home feel loved-up for February 14. These diy valentine’s day decorations cost just a few dollars each, use supplies you probably already have at home, and come together on an ordinary evening at the kitchen table. I have made every kind of project on this list at some point, usually with a cup of tea going cold beside me and paper scraps all over the floor, and they still get compliments every single year.
Before you buy anything new, raid your craft box, your wrapping-paper drawer, and the dollar store. Old jars, spare ribbon, scrap paper, and a string of fairy lights will cover most of these ideas. Pick two or three projects to start with rather than trying to do all thirteen at once, and let the house fill up slowly over the first week of February. That way decorating feels fun, not like another chore on your list.
1. Paper Heart Garland: Easy DIY Valentine’s Day Decorations for Beginners
A paper heart garland is the simplest place to start, and it makes a big difference hung across a mantel, a doorway, or a window. Cut hearts in different sizes from red, pink, and white construction paper or old wrapping paper, fold each one in half so it pops out a little, and stitch or glue them in a row along a length of string or twine. Mix plain hearts with a few patterned ones so it does not look flat.
I made my first garland the night before a small dinner with friends and it took less than an hour, including hunting for scissors. It cost almost nothing because I used paper left over from Christmas. Hang two strands at different lengths for a fuller look.
Try this: Layer a tiny heart over a bigger one in a matching shade.

2. Painted Mason Jar Tea-Light Holders
Turn plain mason jars into glowing candle holders with a coat of paint and a tea light. Brush the outside of each jar with pink or red acrylic paint, or dab it on with a sponge for a frosted, uneven finish that lets the light shine through in patches. Leave the jars to dry fully, drop a battery tea light inside, and set them on a windowsill or along the dinner table.
I learned the hard way to use battery candles instead of real flames, after wax dripped onto a tablecloth years ago and never quite came out. Group three jars in different sizes, with twine tied around each neck. Each jar costs about a dollar if you already have jars at home.
Try this: Paint a small white heart on one jar before the base coat dries, so it glows.

3. Twig and Twine Heart Wreath
This wreath looks far fancier than it is, and it starts with sticks from the garden. Bend two bendy twigs into a heart shape, or use a wire coat hanger bent into a heart as the frame, then wrap twine tightly around it until it is covered. Tuck in a few fake flowers, dried leaves, or small paper hearts, and hang it on the front door with a loop of ribbon.
My first attempt came out lopsided, and honestly that made it look more handmade and charming, not worse. The whole thing took about forty minutes and cost me nothing but a spool of twine. If your twigs snap, soak them in warm water for ten minutes first so they bend without breaking.
Try this: Add one small cluster of flowers at the bottom point of the heart and leave the rest plain for a clean, simple shape.
4. Love-Letter Bunting Banner
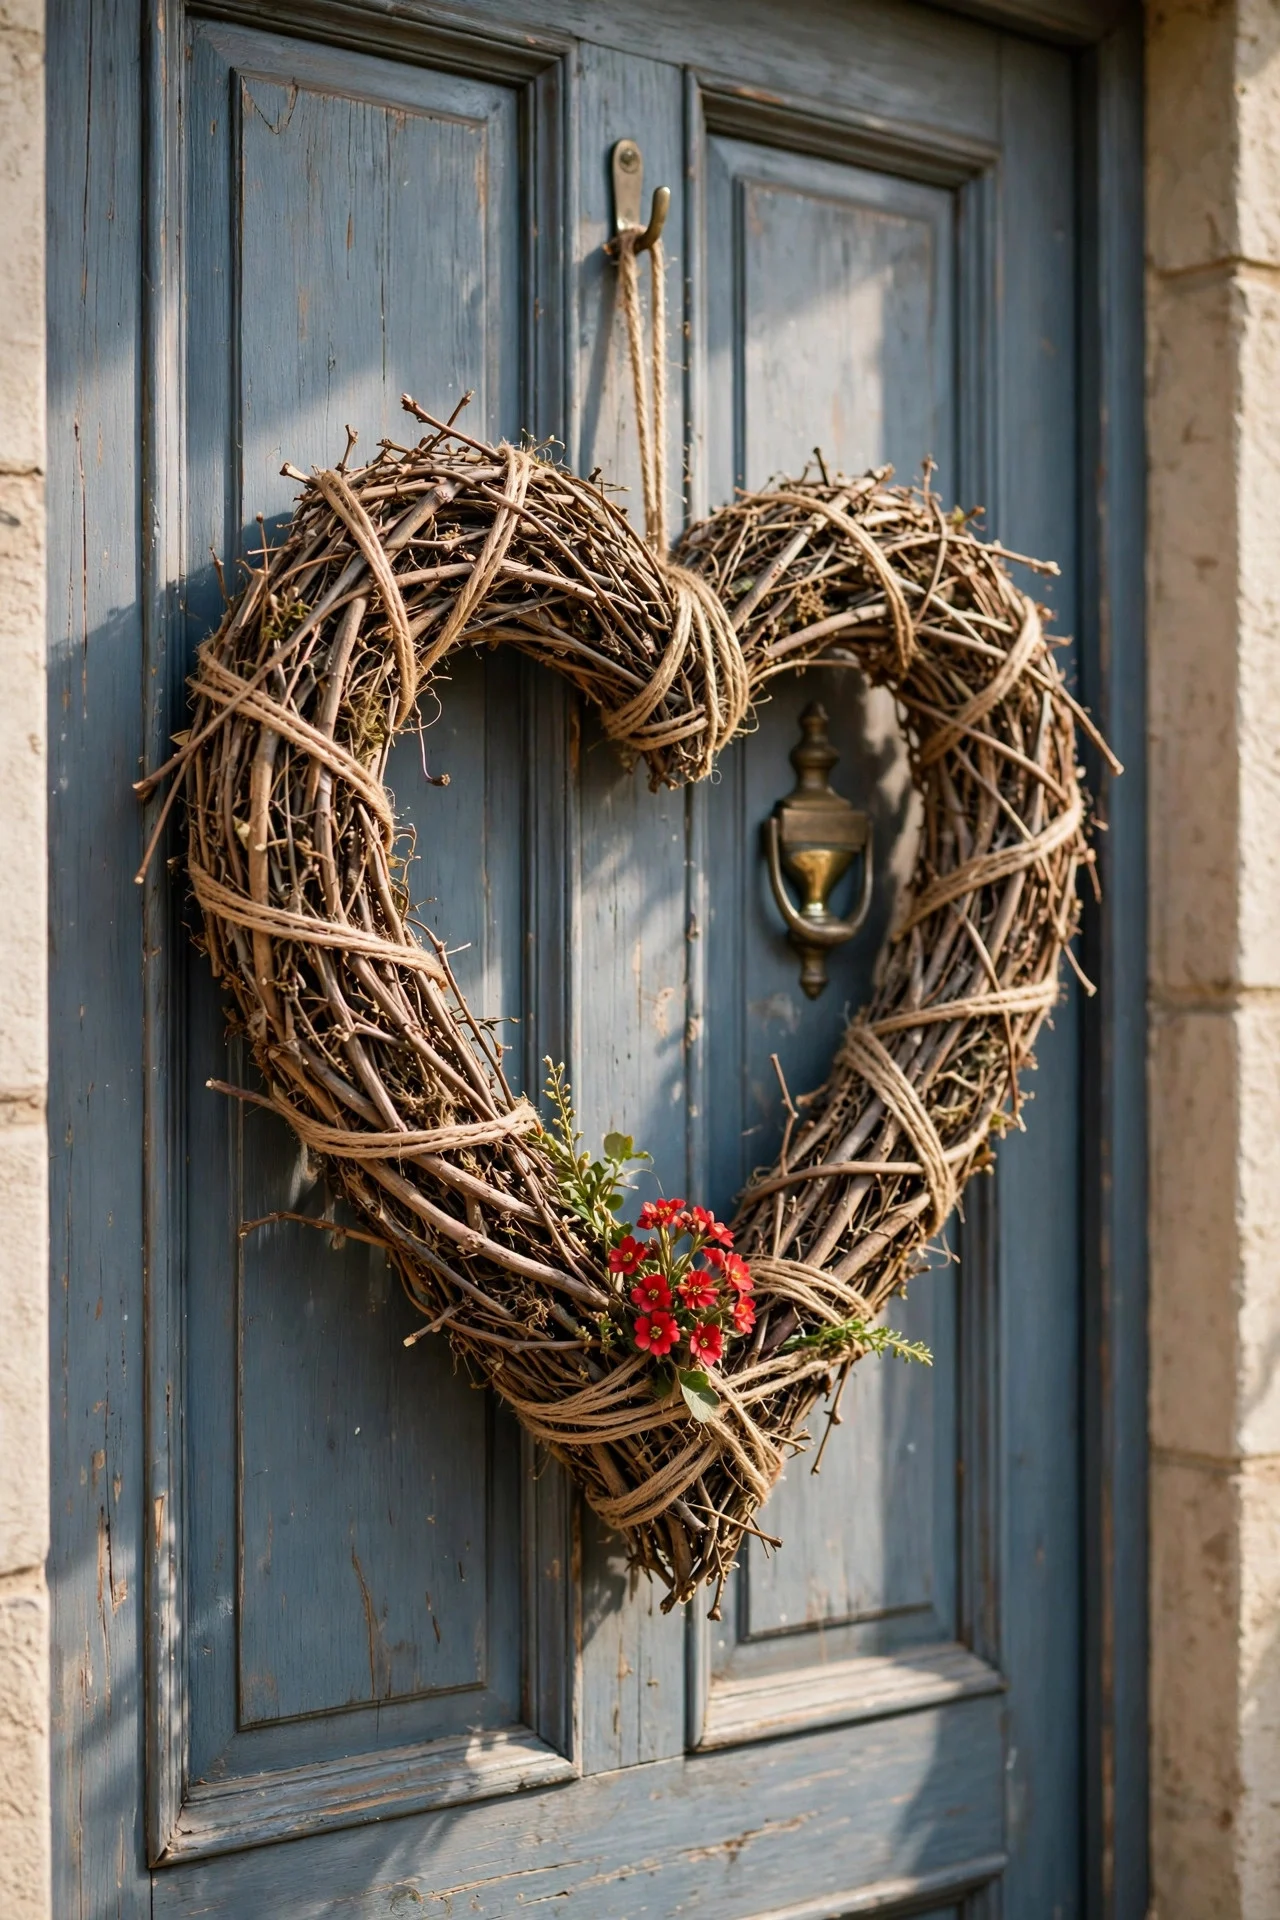
Cut triangles or little envelope shapes from card, write one short word on each — love, hugs, sweet, mine — and string them together as a banner. You can also fold tiny paper envelopes, tuck a handwritten note inside each one, and let guests open one at dinner. Hang the banner over a fireplace, along a shelf, or across the head of the table.
I did this one year with notes from the whole family, and my kids still remember hunting for their own envelope. Use a hole punch and ribbon or just staple the shapes to a length of string. Keep the words short and the handwriting big enough to read from across the room, and it will cost under two dollars.
Try this: Write the notes on the back of old greeting cards to save paper and give the banner a pretty mixed pattern.
5. Heart Photo Clothesline Display
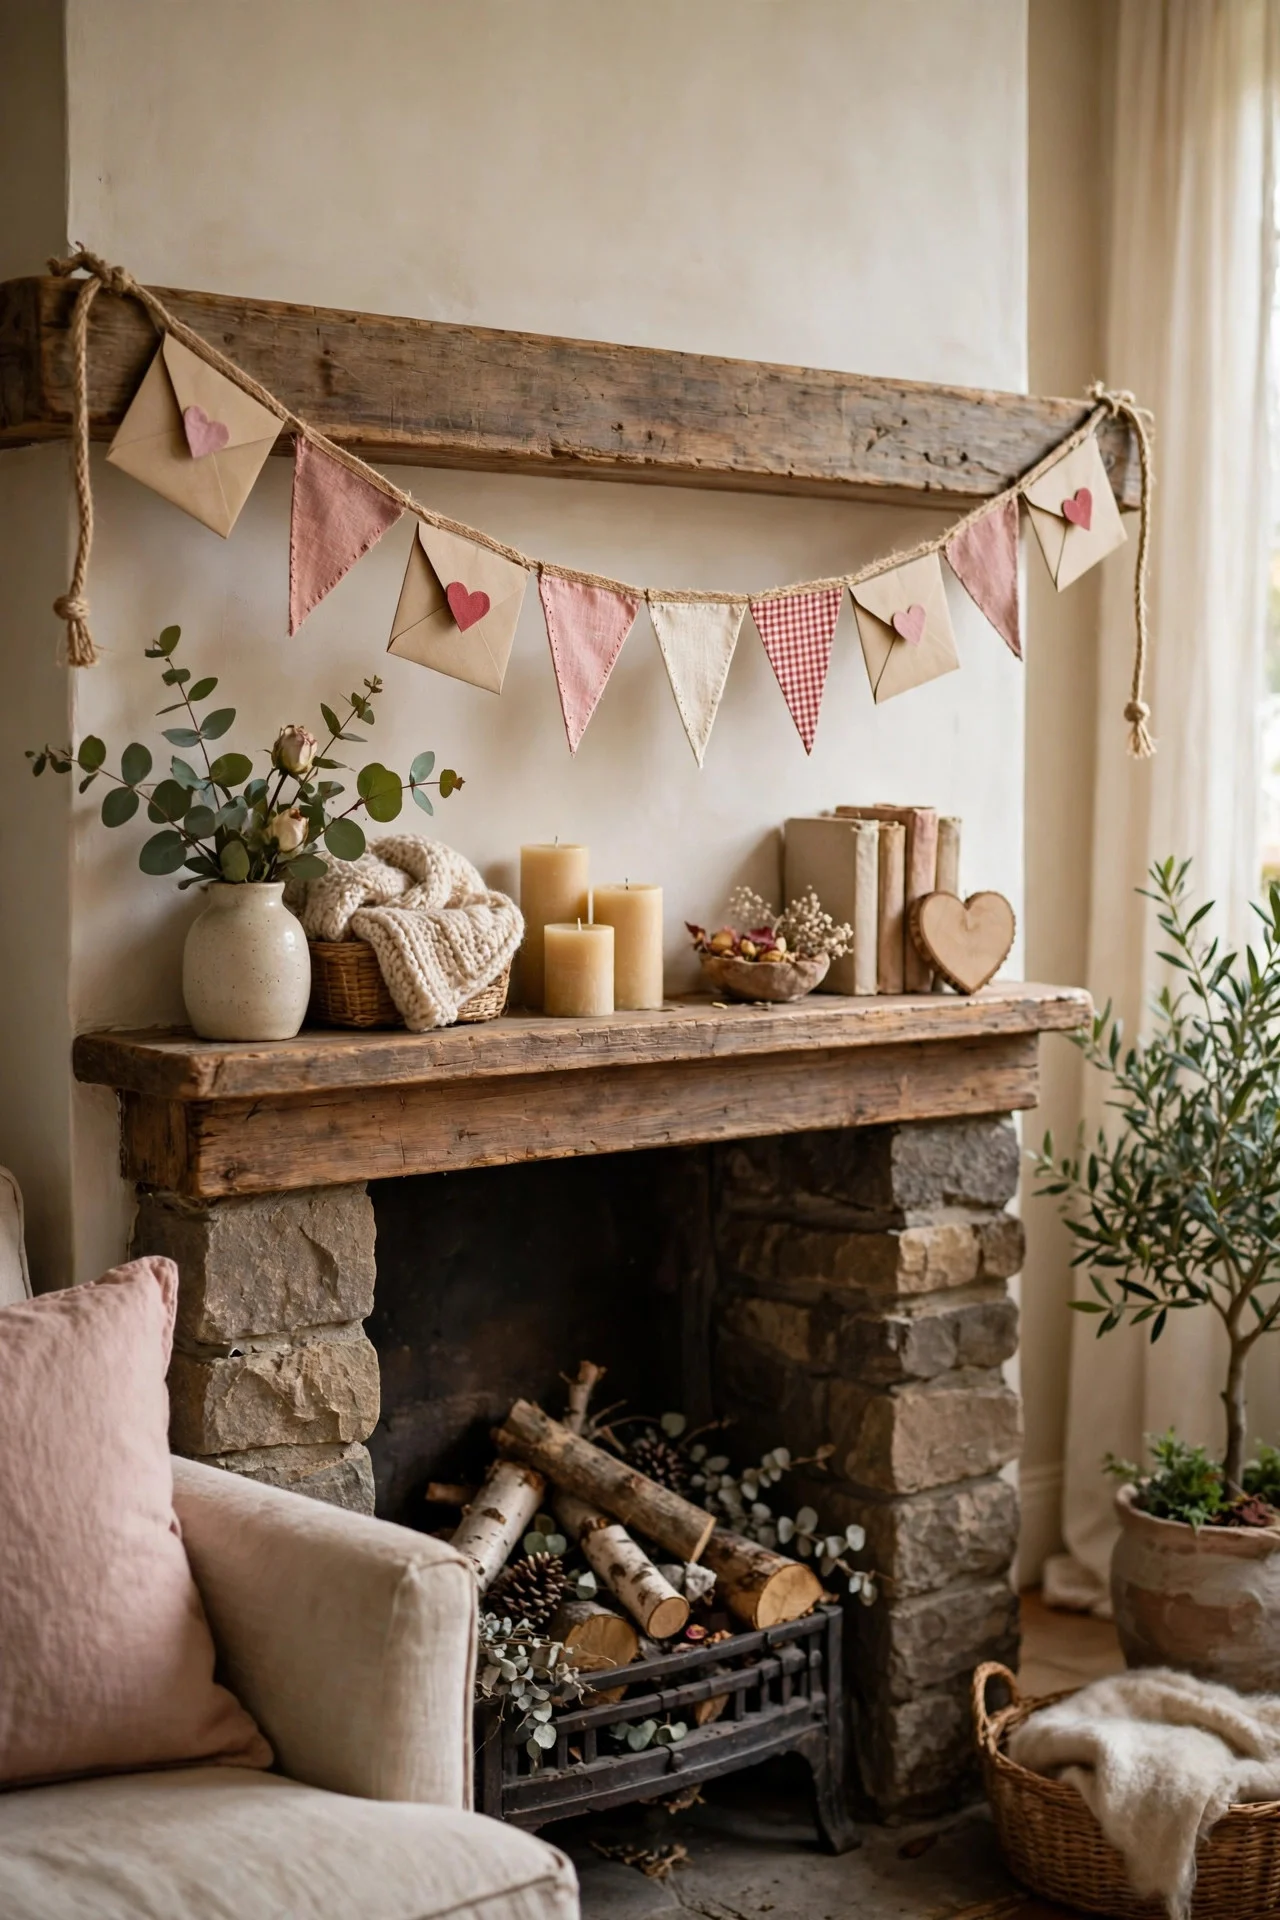
Clip your favourite photos to a length of twine with small wooden pegs and add paper hearts between the pictures for a display that feels personal. String it across a wall, along a bookshelf, or above a side table, and swap in photos from past Valentine’s Days, holidays, or ordinary weekends that meant a lot. Print the photos at home or at a cheap print kiosk.
We put ours up in the hallway, and every visitor stopped to look at it, which never happens with framed photos. It took me about half an hour once the photos were printed. Use mini pegs if you can find them, since big pegs can hide the faces in small prints.
Try this: Slip one blank heart between every few photos and let family members write a memory on it during the week.
6. Reasons I Love You Jar
Fill a jar with folded slips of paper, each one carrying a single reason you love someone, a shared memory, or a small joke only the two of you get. Decorate the outside with ribbon, a paper heart, and a simple label that says “Open one a day” or “Open when you need a smile.” It works as a gift and as a decoration sitting on a shelf.
I filled one for my husband one February and ran out of ideas by note twenty, so I started writing tiny everyday things — the way he makes coffee, a song we both like — and those turned out to be his favourites. Aim for fourteen notes, one per day up to Valentine’s Day.
Try this: Use different coloured paper for memories, jokes, and compliments so the jar looks pretty even before anyone opens a note.

7. Paper Doily Luminaries
Wrap a paper doily around a clean glass jar, glue it in place, and drop a battery tea light inside for a soft, lacy glow. The cut-out pattern throws lovely shadows on the wall in the evening, and a row of four jars down the table looks lovely. White doilies work best, but pink ones give a warmer glow.
I first tried this with real candles and the doily edges curled from the heat, so battery lights are a must here — lesson learned. A pack of doilies costs about a dollar, and you can reuse the jars all year. Trim the doily to fit the jar first, before you glue anything, so the seam sits at the back.
Try this: Layer a small doily over a bigger one on the same jar for a deeper pattern when the light shines through.

8. Candle and Petal Table Centerpiece
Build a quick centerpiece from a tray or a flat plate, a few pillar or tea-light candles, and scattered fake rose petals. Place the tallest candle in the middle, shorter ones around it, and sprinkle petals and a few small heart cut-outs between them. Add a ribbon around the tray if you want a finished edge, and you have a table that looks ready for a proper dinner.
I threw this together in fifteen minutes before guests arrived once, using petals saved from an old craft project, and nobody guessed how little effort it took. Keep candles away from the petals if you use real flames, or switch to battery candles and stop worrying. The whole setup should cost under five dollars.
Try this: Put a small mirror or a shiny tray underneath the candles to double the glow without buying more candles.

9. Yarn-Wrapped Hanging Hearts
Cut heart shapes from thick cardboard, wrap them tightly in red, pink, or cream yarn, and hang them from a branch, a curtain rod, or the ceiling with fishing line or thread. Wrap in one direction first, then add a second layer at an angle if you want a thicker, cosier finish. A small loop of yarn at the top makes hanging easy.
These take a bit of patience — each heart took me about twenty minutes while watching TV — but they are perfect for using up half-used balls of yarn. Kids love helping with the wrapping, though younger ones may need you to start the first few rows. Hang five or six at different heights for the best effect.
Try this: Glue a tiny felt heart or a button in the centre of each yarn heart to cover the spot where the wrapping ends.

10. Hand-Lettered Framed Love Quote
Write or print a short love quote in your best handwriting on plain paper, pop it in a frame you already own, and set it on a shelf or mantel. Pick a line that means something to you rather than a generic saying — a song lyric, a line from your wedding vows, or something your partner once said that made you laugh. Keep the layout simple, with plenty of white space around the words.
Mine carries a line from a note my husband left on the fridge years ago. If your handwriting is shaky, pencil the words first, trace in pen, then rub out the pencil. A frame from the dollar store keeps the total cost under three dollars.
Try this: Use a red pen for one key word in the quote and black for the rest, so that word catches the eye first.
11. Paper Flower Bouquet in a Painted Jar
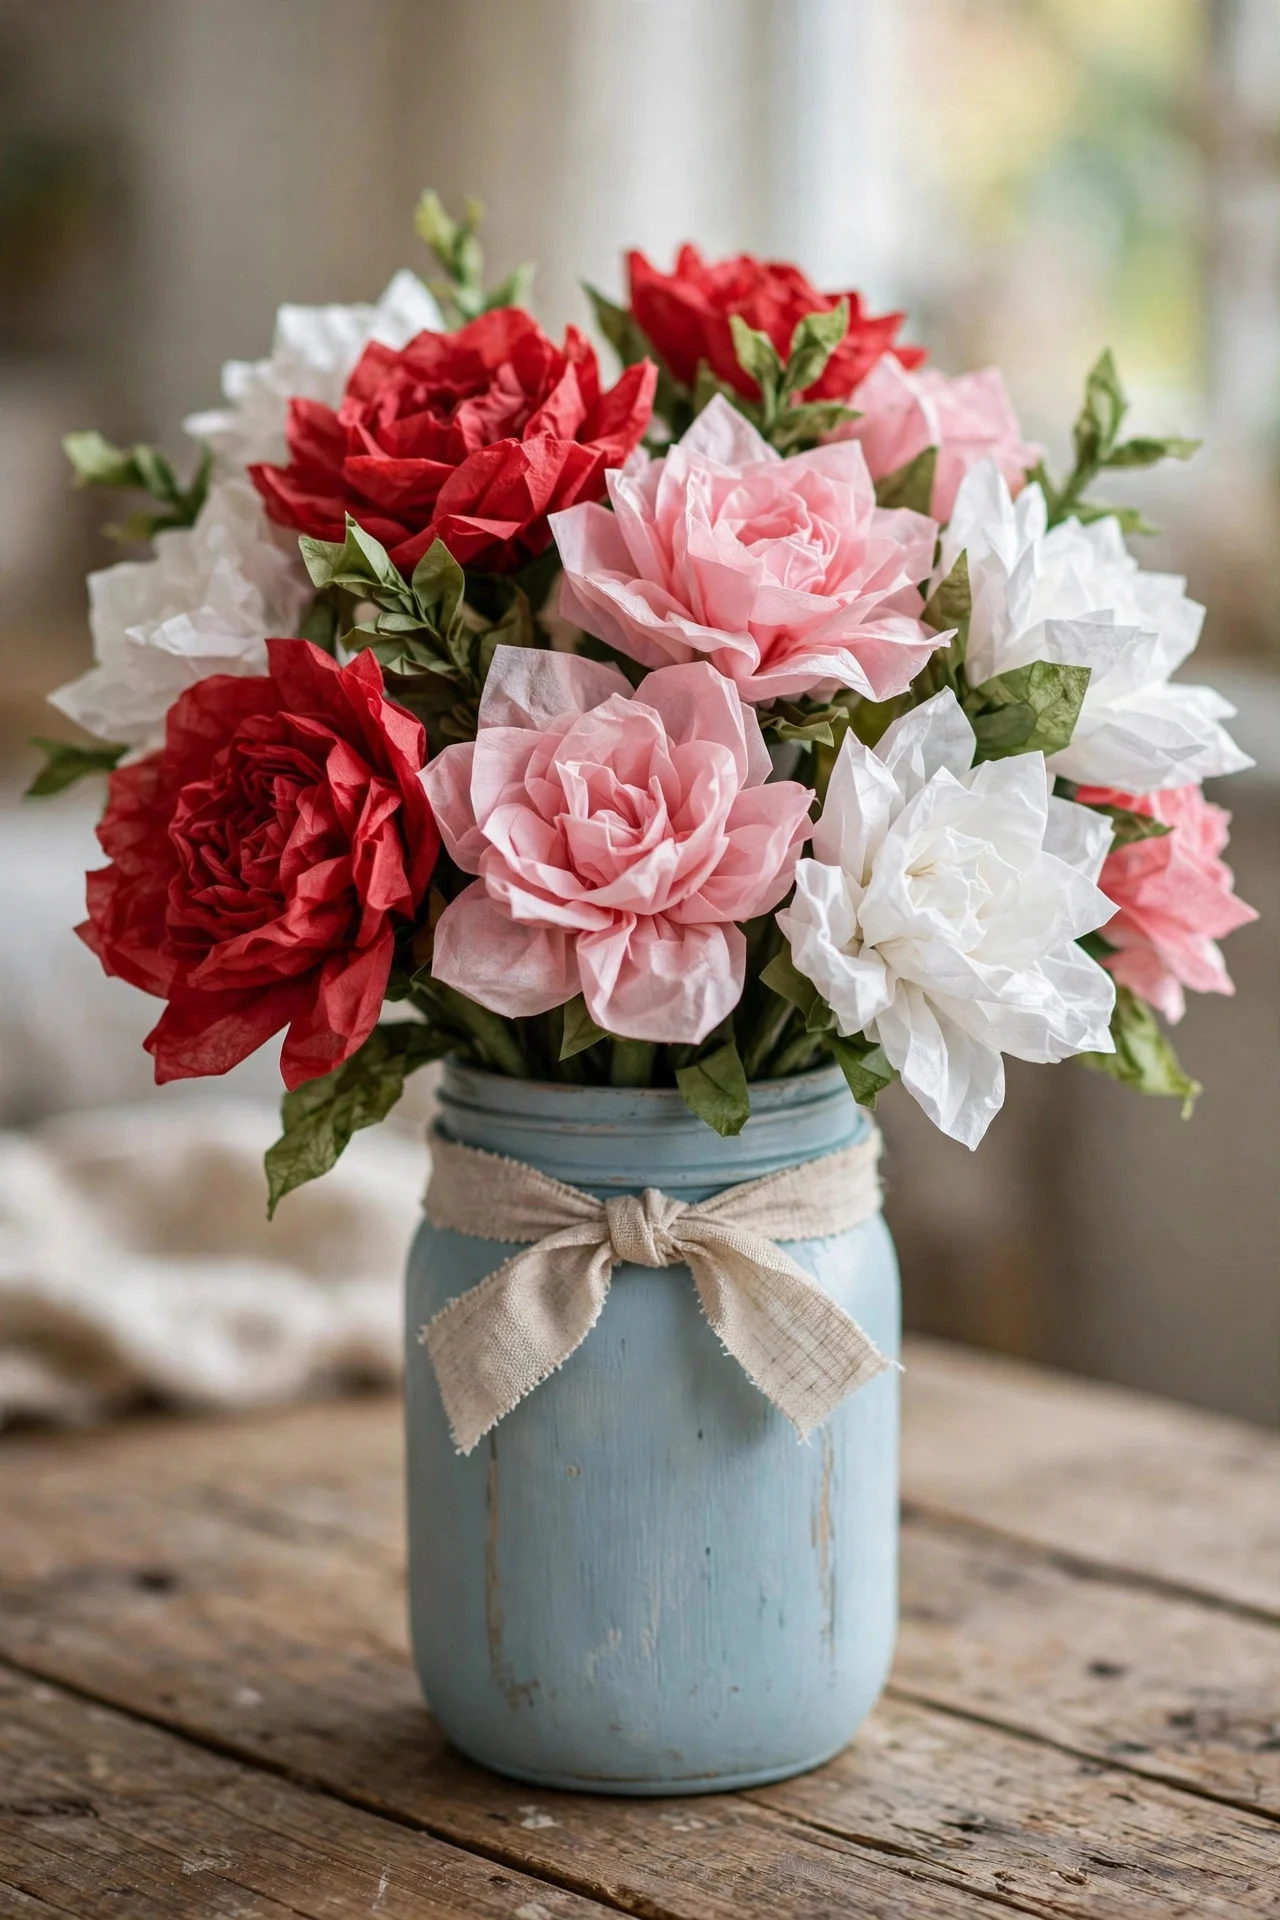
Make a bouquet that never wilts by folding paper flowers from tissue paper or old book pages, fixing each one to a stick or a pipe cleaner, and standing them in a painted jar. Cut five or six petal layers per flower, scrunch them gently around the stem, and fluff them out until they look full. Tie ribbon around the jar neck to finish it.
I made a bunch of these for a friend who always forgets to water real flowers, and three years later they are still on her shelf. Tissue paper costs about a dollar a pack, and one pack makes a whole bouquet. Mix red and pink flowers with a few white ones.
Try this: Add a couple of green paper leaves to each stem — it sounds small, but it makes the whole bouquet look far more real.
12. Heart Place Cards for a Valentine’s Table
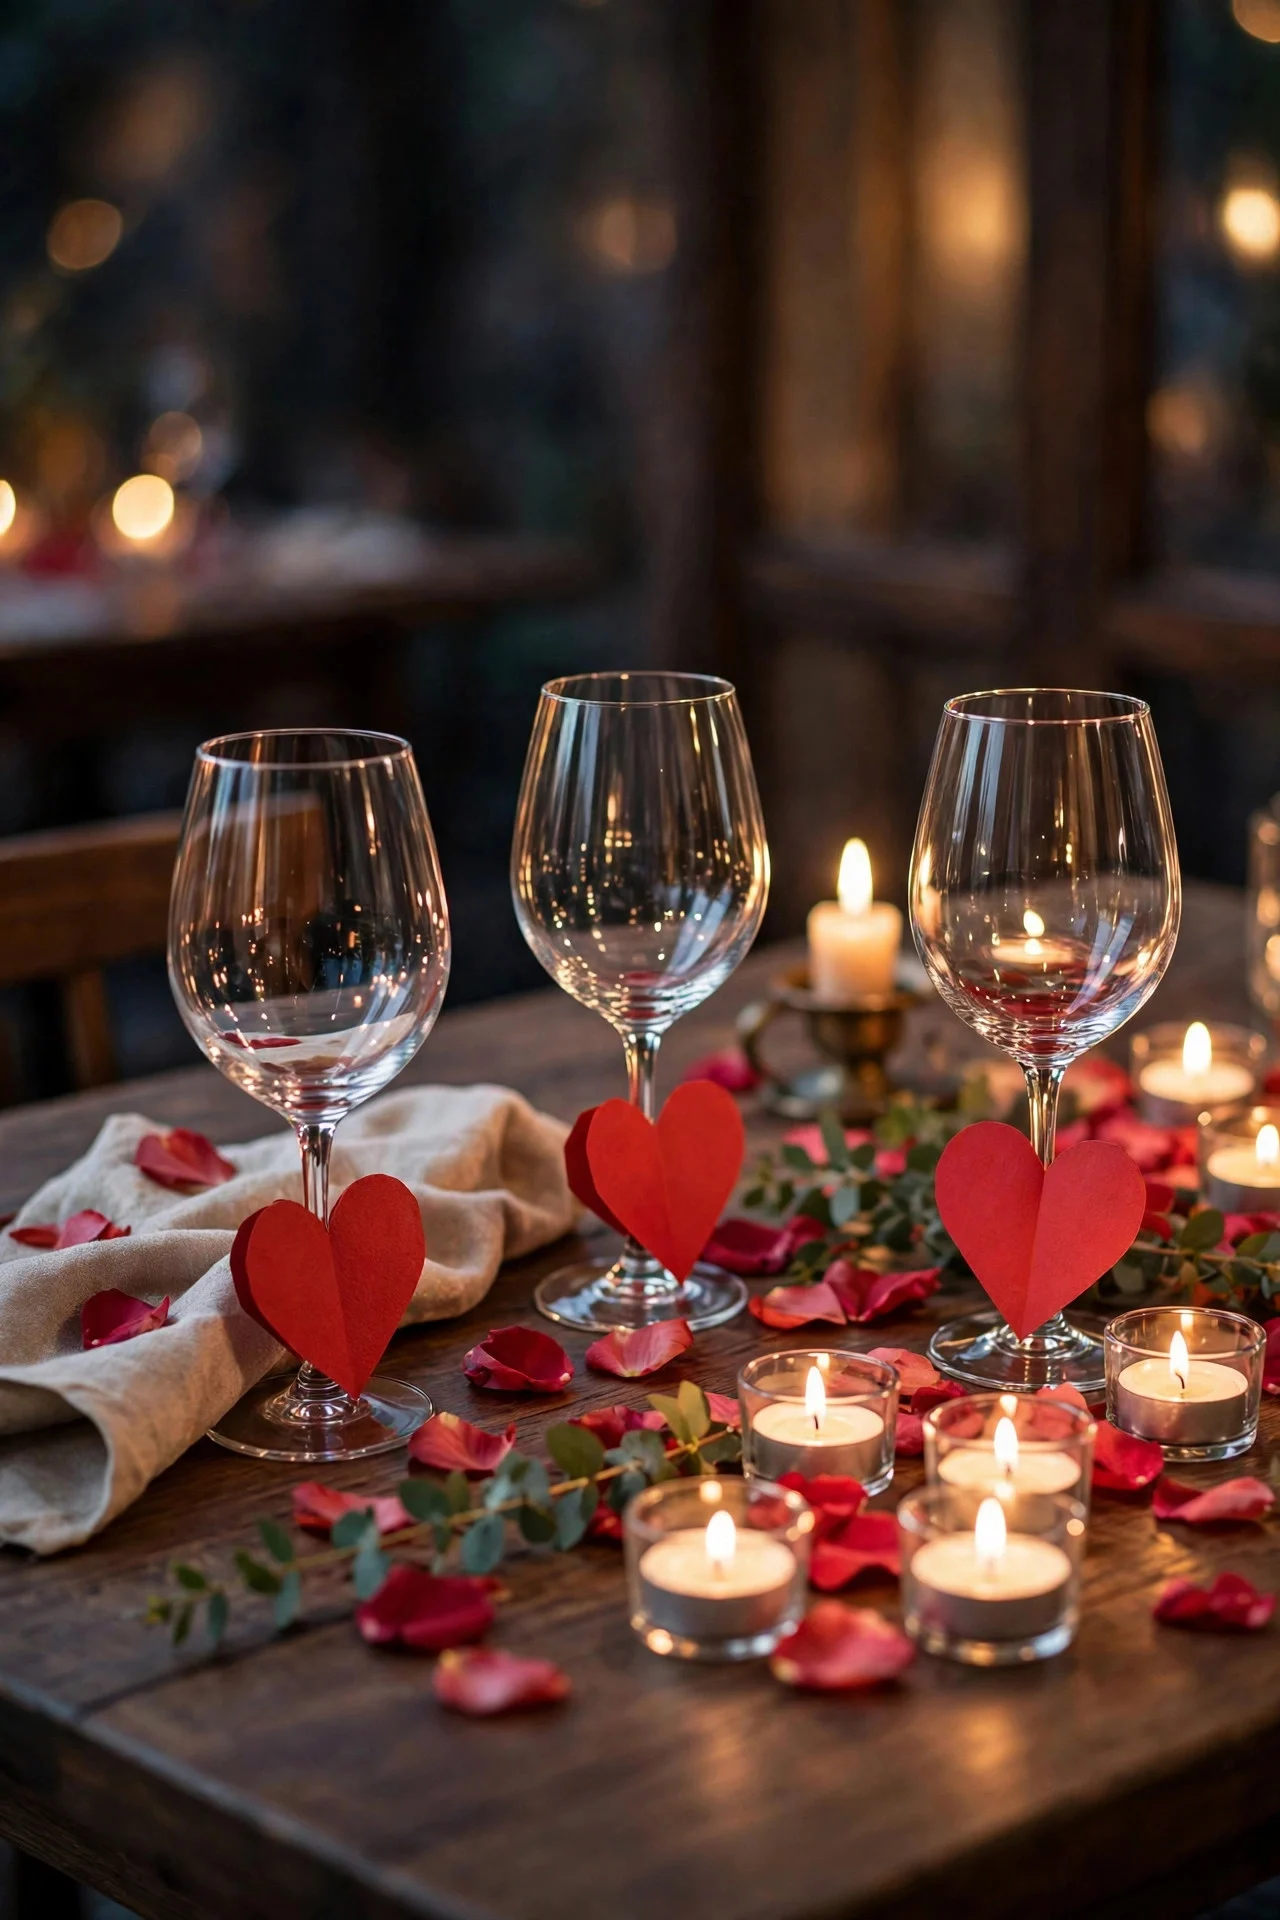
Give each dinner guest a small place card shaped like a heart, with their name written on one side and a short note on the other. Cut hearts from thick card, fold a small stand from a second piece, or lean each heart against a glass at the table. It takes a plain table setting and makes it feel like a real occasion.
I did this for a family dinner and my mum kept hers for weeks. Write names in a felt-tip pen so they show up clearly, and keep the note on the back to one line — a thank-you, a joke, or a compliment. A sheet of card covers a whole table for under a dollar.
Try this: Punch a tiny hole in the top of each heart and thread ribbon through it, so guests can hang it up at home afterwards.
13. Tissue Paper Window Hearts
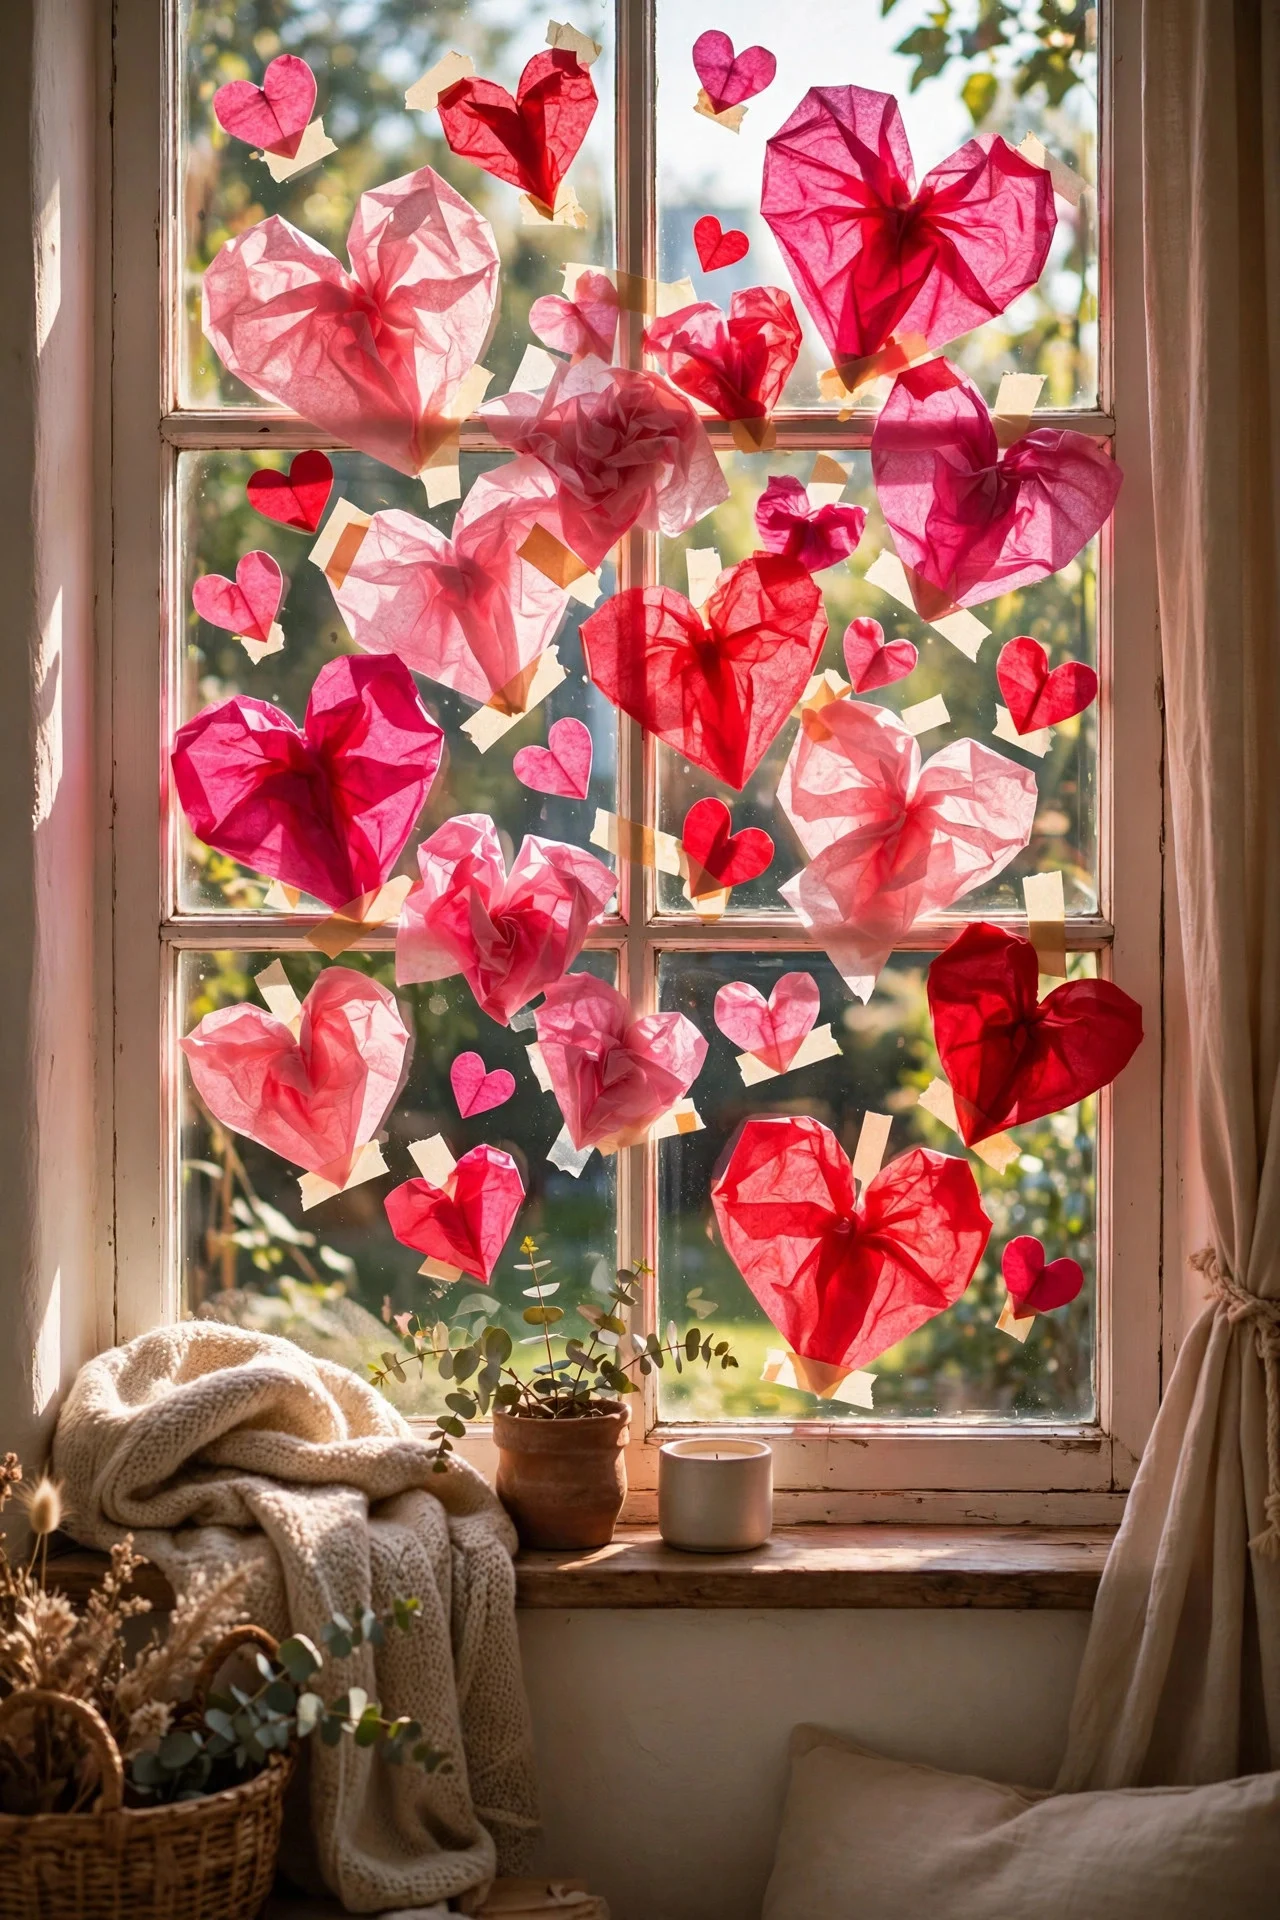
Stick tissue paper hearts to a window for a stained-glass effect that glows when the sun comes through. Cut two identical heart outlines from card, lay small squares of pink and red tissue paper across one outline, glue the second outline on top to trap the tissue, and tape the finished heart to the glass. Make several in different sizes for one window.
My kids made a whole window full of these one rainy afternoon, and from outside the house looked like it was blushing. The project costs almost nothing if you have tissue paper left from gift wrapping, and the hearts peel off the glass easily afterwards. Use clear tape at the corners only, so you do not leave marks.
Try this: Mix in a few squares of gold or white tissue paper among the pink and red for a softer glow in the morning light.
Frequently Asked Questions
How much do DIY Valentine’s decorations usually cost?
Most of the projects on this list cost between one and five dollars each, especially if you reuse jars, ribbon, and paper you already have. The dollar store covers paint, doilies, tissue paper, and battery tea lights for very little, and buying one shared pack of supplies for several projects keeps the total down even further.
How far ahead should I make Valentine’s decorations?
A week or two ahead is plenty. Paper garlands, jars, and wreaths keep perfectly well if you store them flat in a box, and making one project every couple of evenings feels much calmer than rushing everything on February 13. Leave fresh flowers or real petals, if you use any, until the day itself.
Are these decorations safe around kids and pets?
Yes, if you stick to battery tea lights instead of real flames and keep small parts like buttons and pins out of reach of toddlers. Paper, yarn, and felt projects are all child-friendly, and kids can help with cutting, wrapping, and gluing under supervision. Hang anything fragile high enough that wagging tails cannot reach it.
Can I reuse these decorations next year?
Most of them, yes. Store paper garlands flat between sheets of paper, keep jars in a box with the lids off so they do not smell musty, and put yarn hearts in a zip bag so they do not catch on anything. Tissue window hearts are the one exception — they crease easily, so plan to make fresh ones each year.
Final Thoughts
Valentine’s decorating does not need a big budget or a craft room full of supplies — it just needs an evening, a few simple materials, and a willingness to make something a little imperfect by hand. Pick the two or three ideas that made you smile, make them at your own pace, and enjoy a home that feels warm, personal, and ready for the people you love most.