
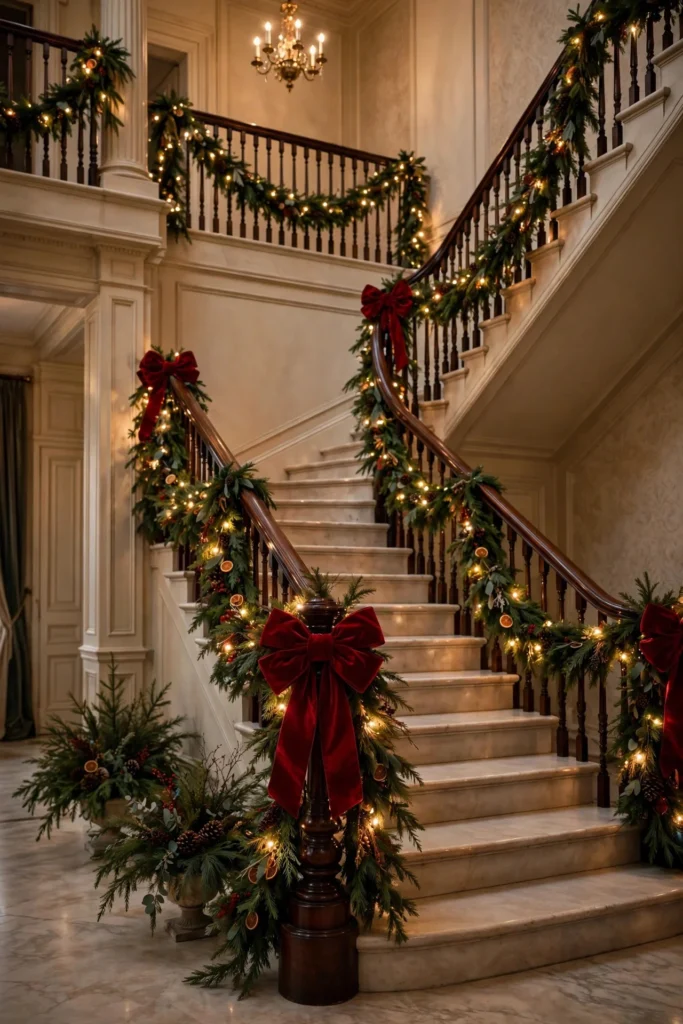
Of all the places to hang Christmas garland, the staircase might be the most rewarding. It sits at the center of the house, it photographs beautifully, and you see it every single time you go upstairs. A well-dressed staircase makes the whole house feel decorated even if you did nothing else.
These 12 Christmas staircase decor ideas focus on garlands and lights — the two ingredients that matter most — with exact guidance on hanging, spacing, and keeping everything secure. Because a garland sliding down the banister on December 23rd is a memory nobody wants.
1. The Classic Draped Garland
Draping — letting the garland swoop between attachment points — is the timeless staircase look. Hang it with a gentle swag every 3 to 4 feet, dropping about 12 to 18 inches between high points. The swags should be even; eyeball it from the bottom of the stairs, where everyone actually looks.
Use a 9-foot garland per 6 feet of banister so you have enough length for real, generous swoops. Secure each high point with floral wire or a zip tie to the balusters — never to the handrail itself, which people need to grip. Fluff the branches outward once it’s up; garland always looks thin until you open it up.
Try this: Stand at the foot of the stairs and squint — if the swags look even blurry, they’re even.
2. Weave Lights Through Before Hanging
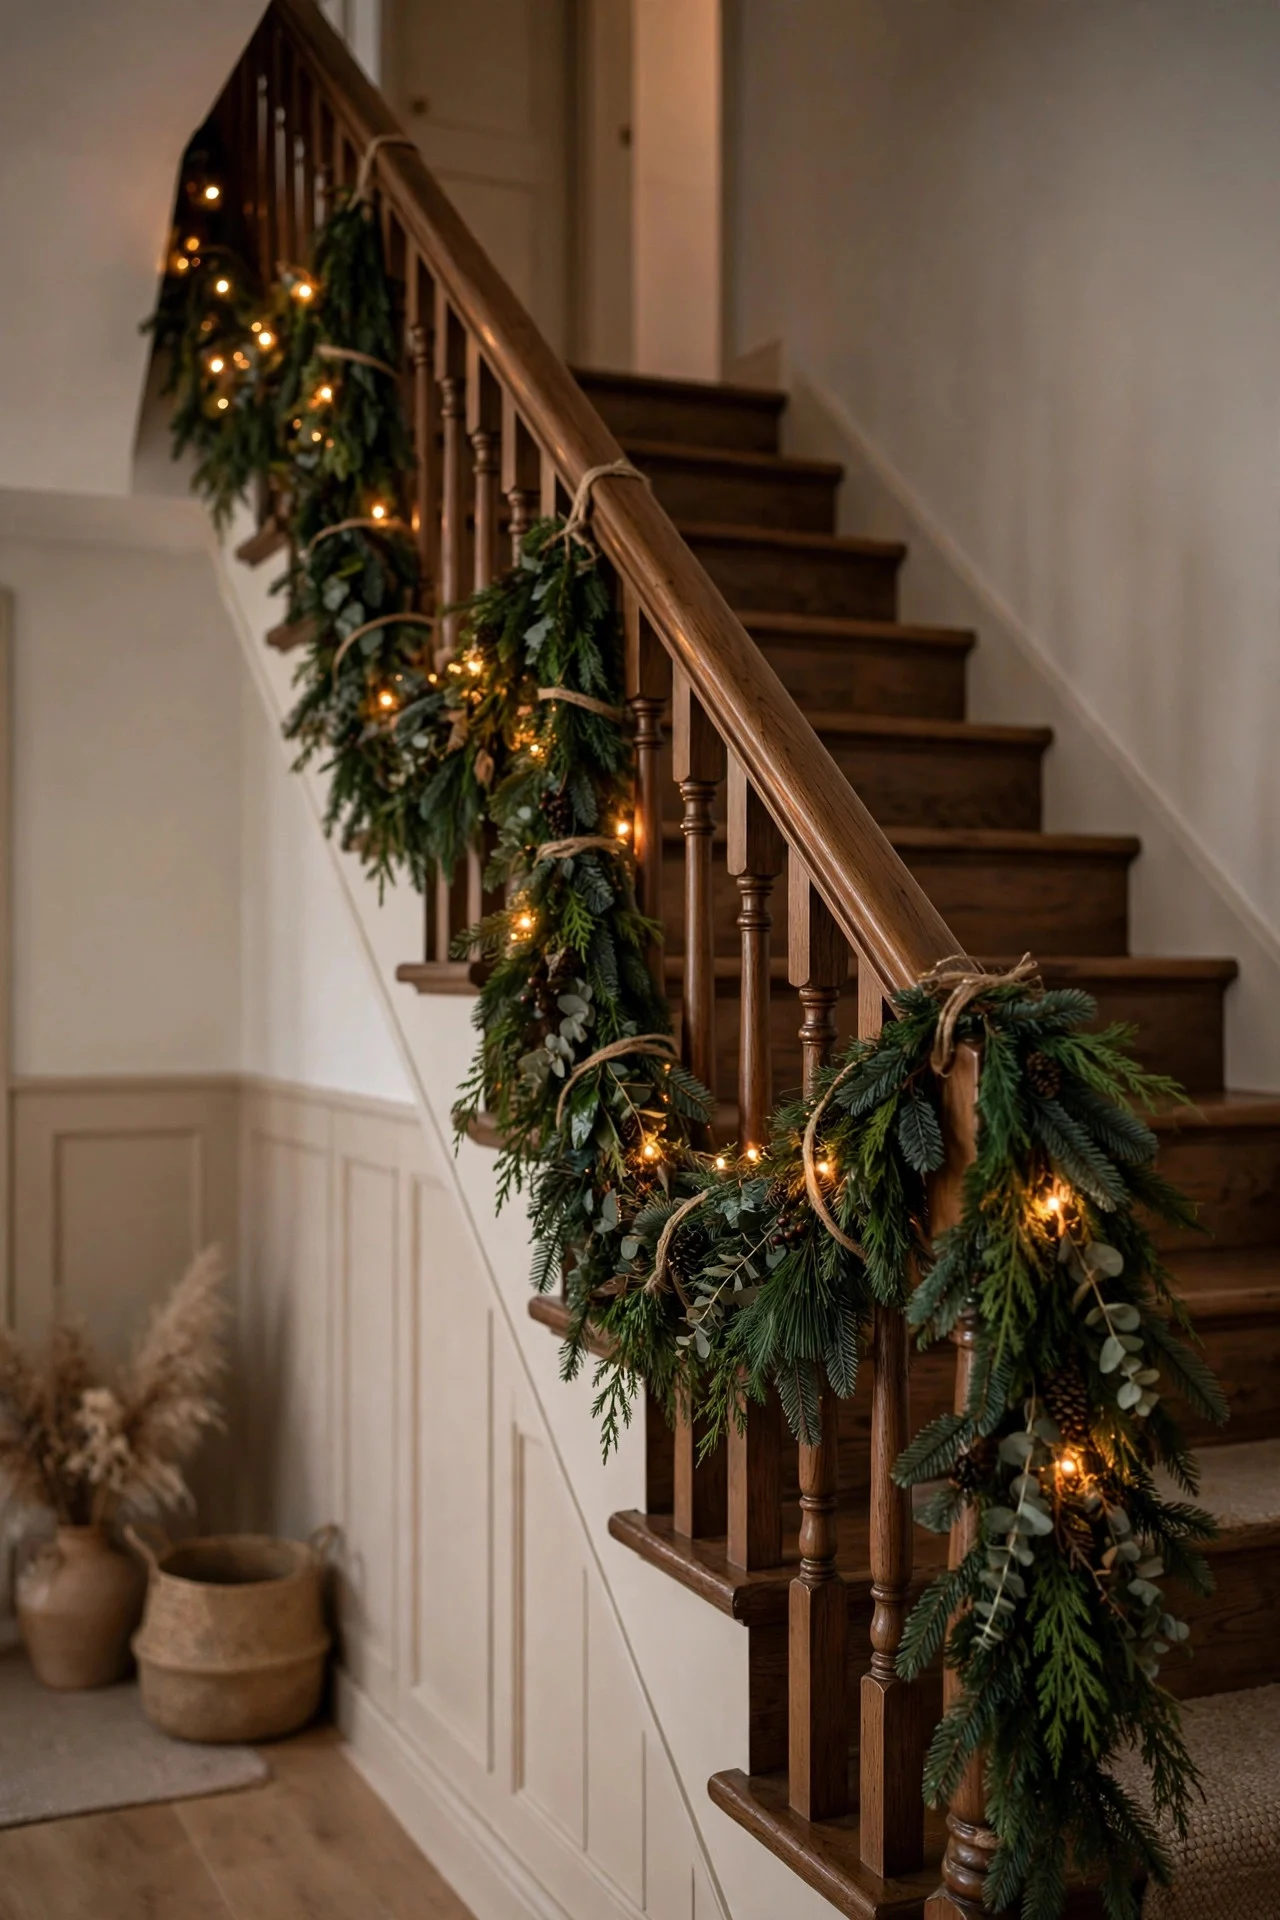
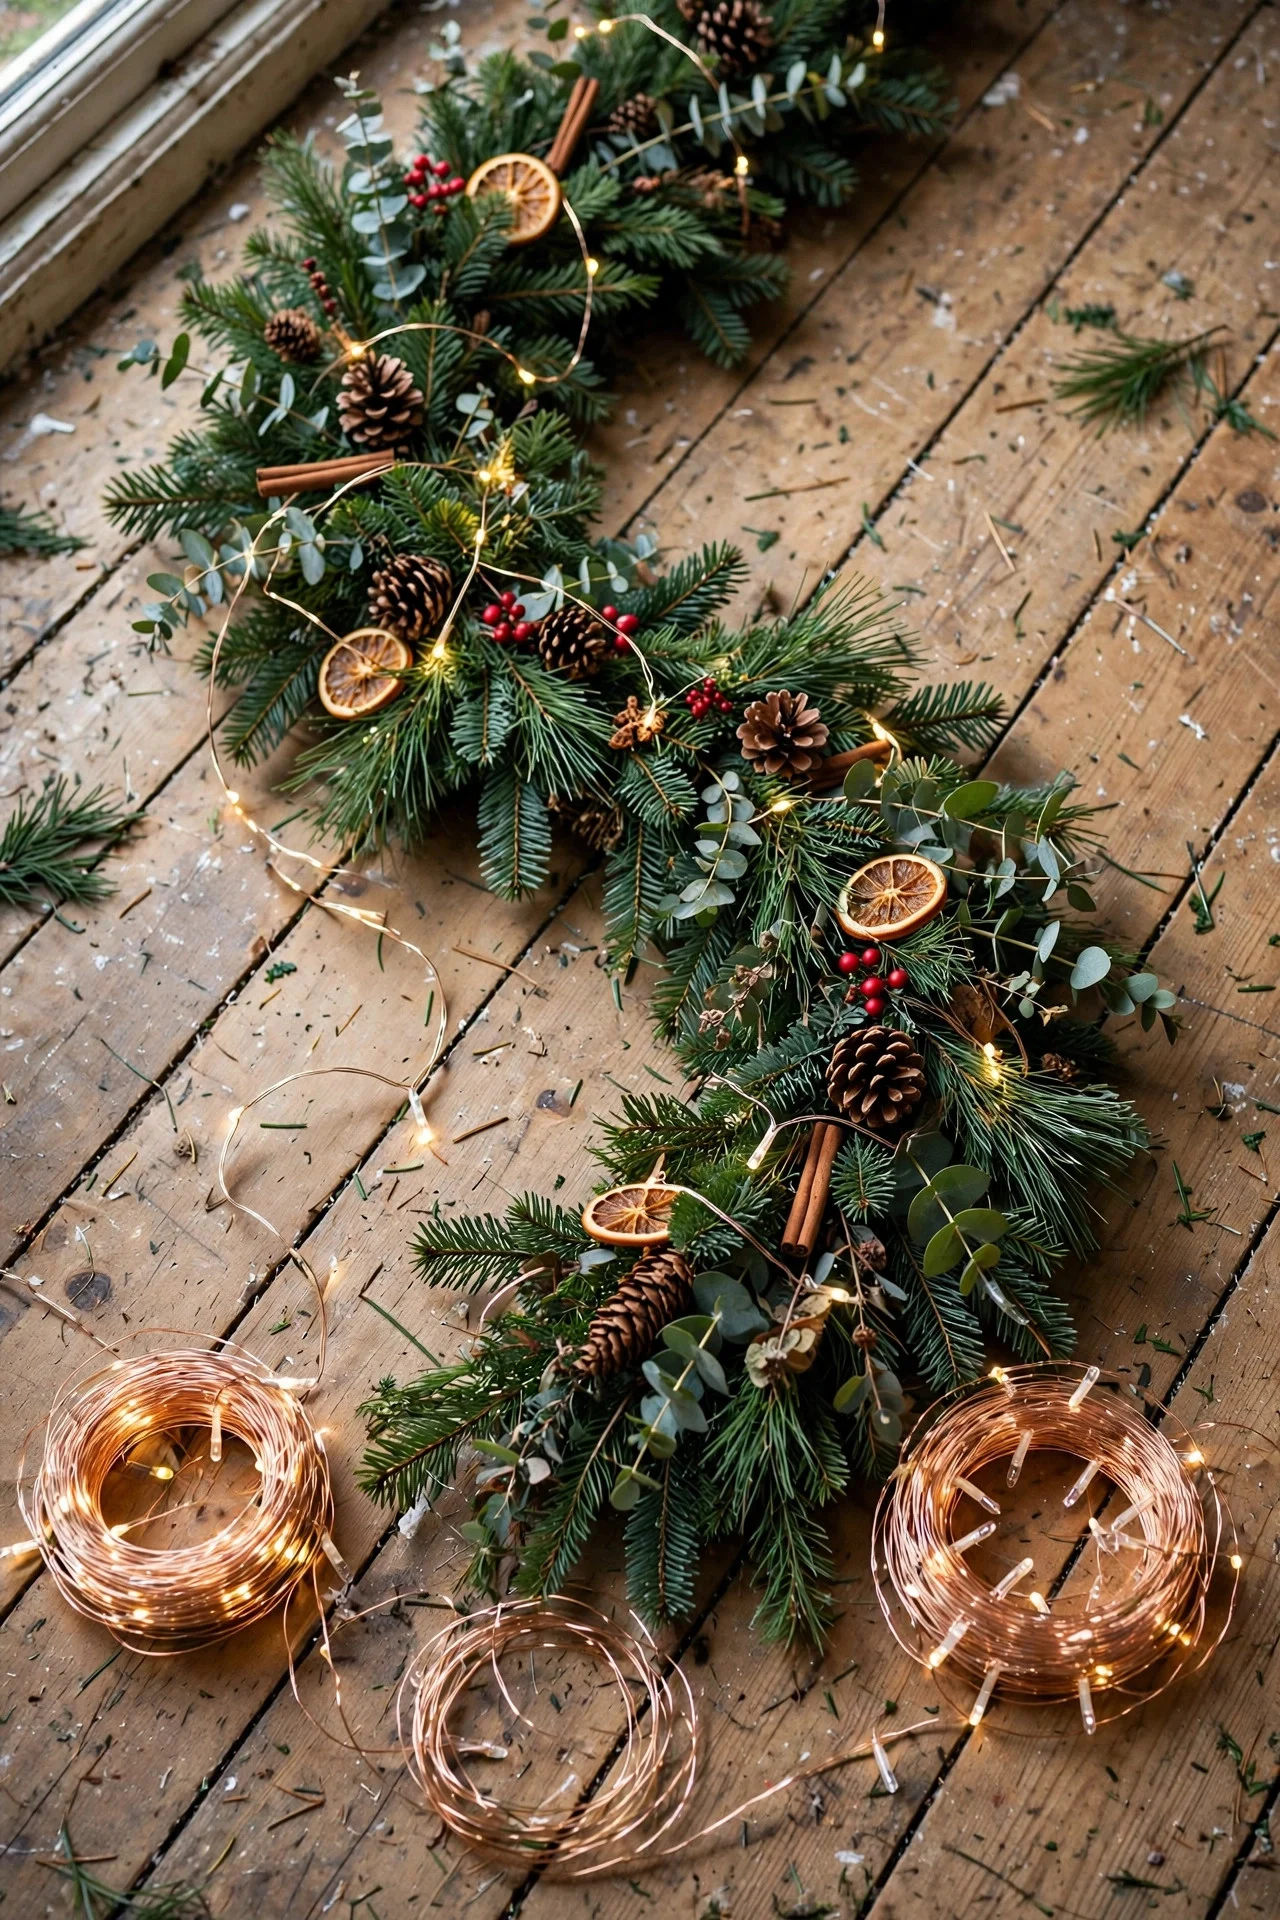
Here’s the step everyone skips and regrets: weave your string lights through the garland on the floor before it goes on the banister. Trying to wind lights around an already-hung garland means ladders, tangles, and bare patches. On the ground it takes ten minutes; on the stairs it takes an hour.
Use one 50-light warm-white strand per 9 feet of garland, weaving in and out so bulbs poke through at different depths — that depth is what makes it glow instead of just sitting there. Plug it in and check for dark spots before you hang anything.
Try this: Battery fairy lights with a built-in 6-hour timer eliminate the cord problem entirely on staircases far from outlets.
3. Wrap the Banister Tight
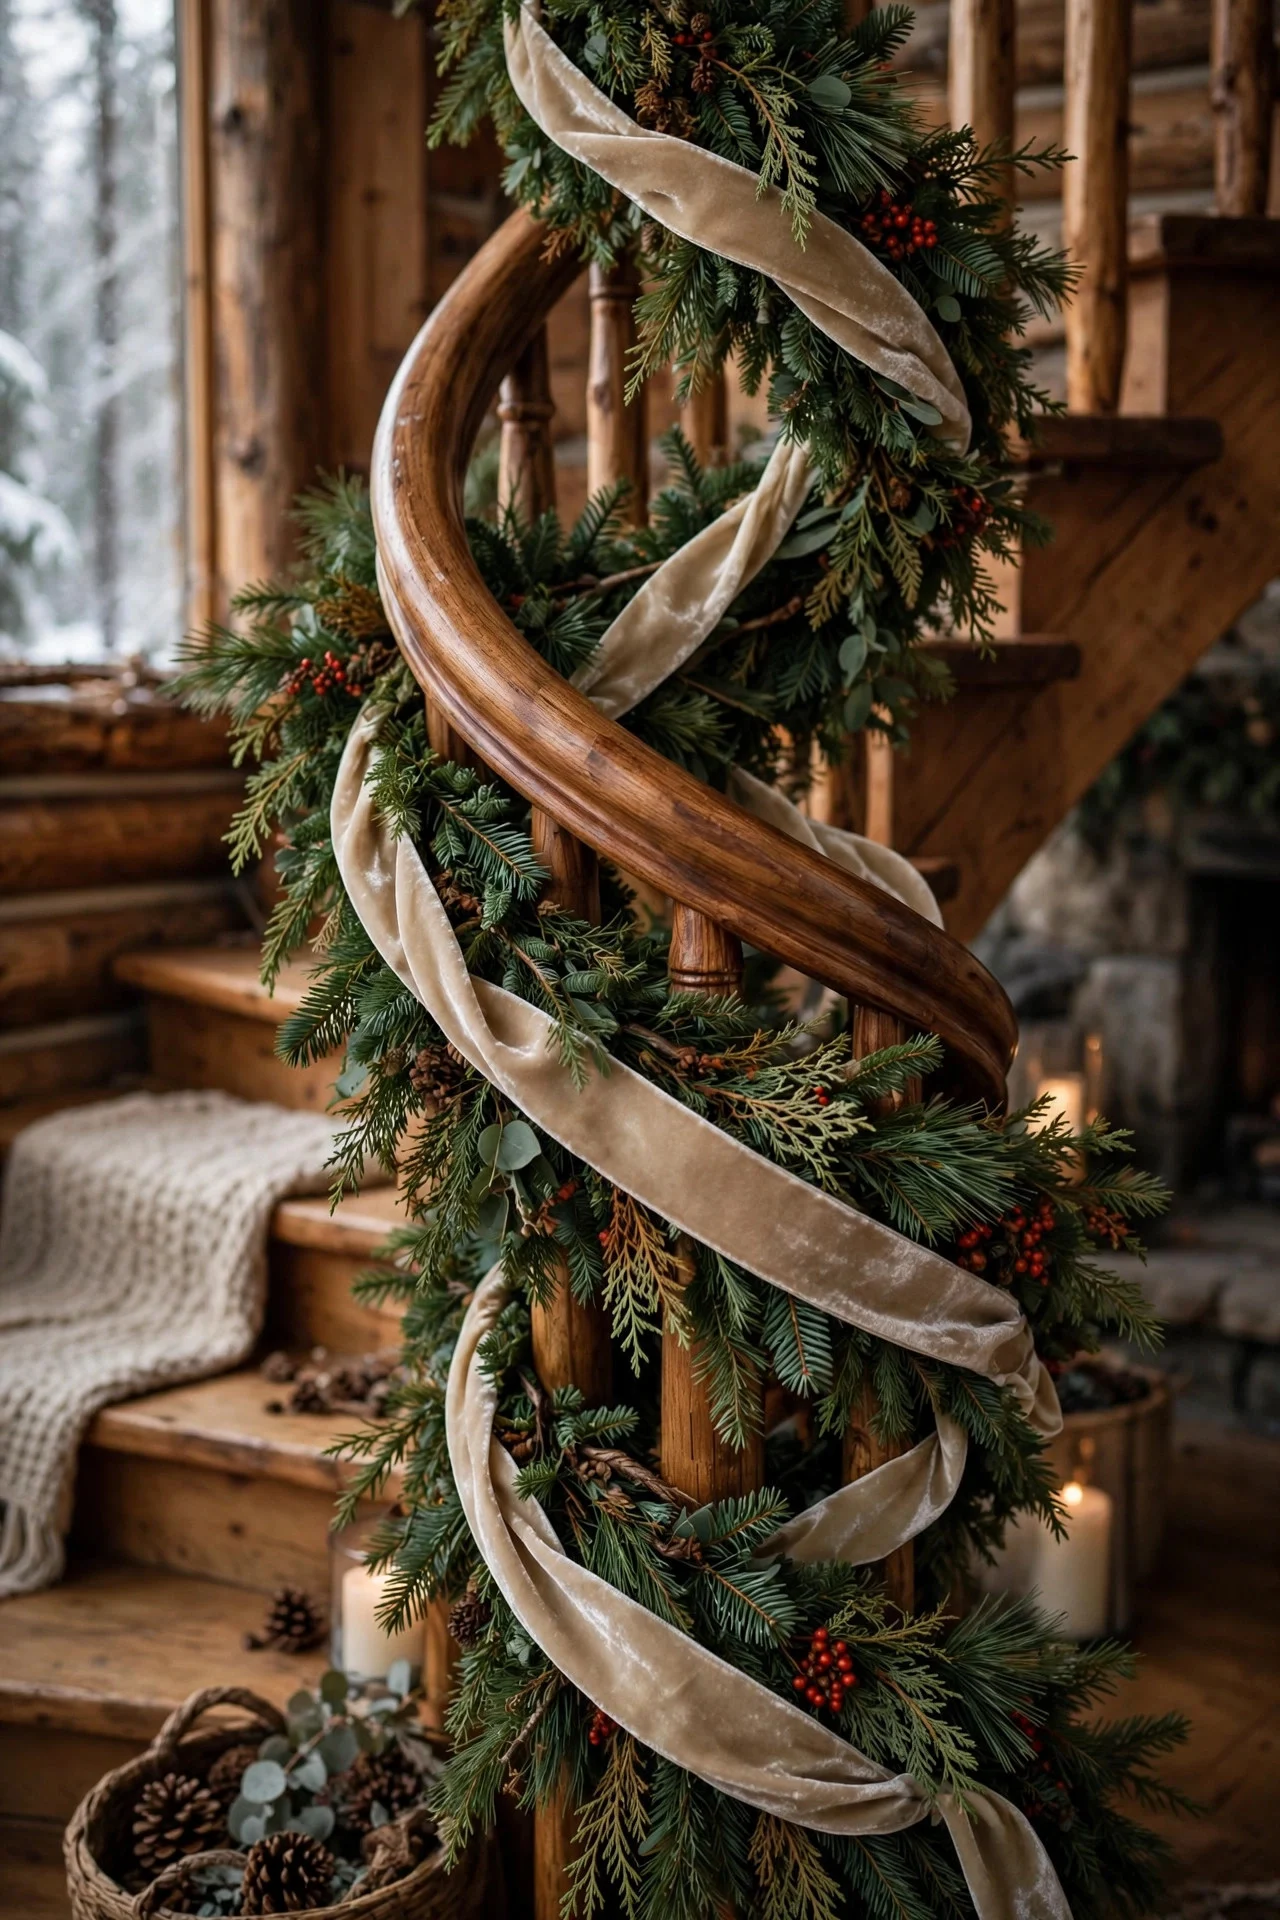
If draping feels too formal for your house, wrap the garland snugly around the handrail instead — a full spiral from newel to newel. It reads cozier and more cabin-like, and it’s the sturdiest option if you have kids who actually use the railing.
You’ll need more garland than you think: roughly 1.5 times your banister length. Wrap with the garland’s “good side” facing out and tuck the wire ends underneath so nothing scratches the wood. A wrapped garland barely moves, which is the whole point.
Try this: Weave a wide velvet ribbon through the spiral in a contrasting color — forest green garland with champagne ribbon is a classic for a reason.
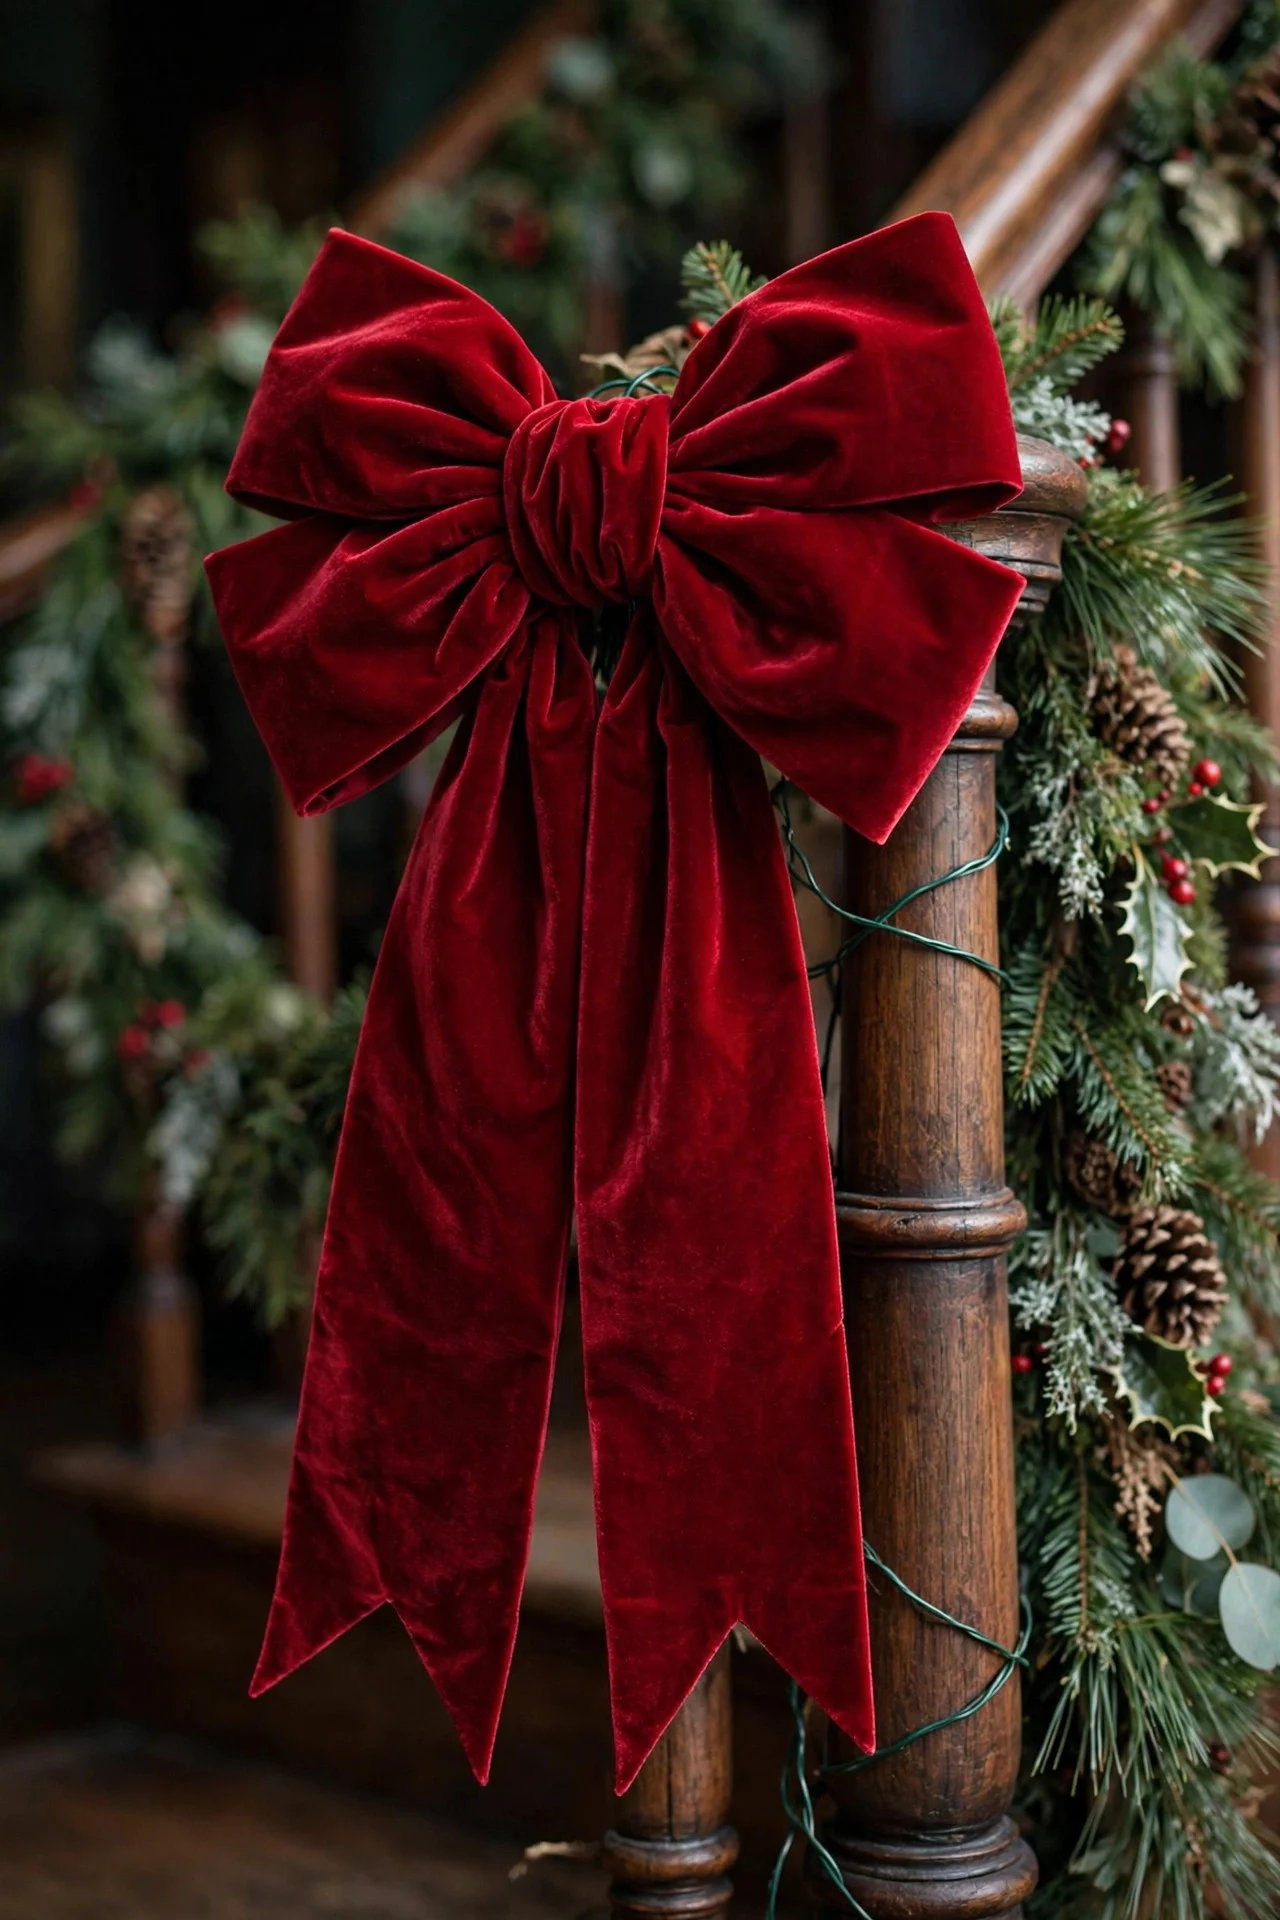
4. Big Bows at the Newel Posts
The newel posts — those chunky posts at the bottom and top of the stairs — are natural focal points. A big, full bow wired to each one anchors the whole garland run. Go generous: loops at least 6 inches across, with tails hanging 12 to 18 inches.
Wired ribbon is non-negotiable here; anything else collapses by week two. Cut your tails in a dovetail (a V notch) for a finished look, and wire — don’t tie — the bow to the post so it survives curious hands and vacuum bumps.
Try this: Make one bow, then use it as the template for the rest — matching bows look deliberate, close-enough bows look accidental.
5. Stockings Along the Staircase
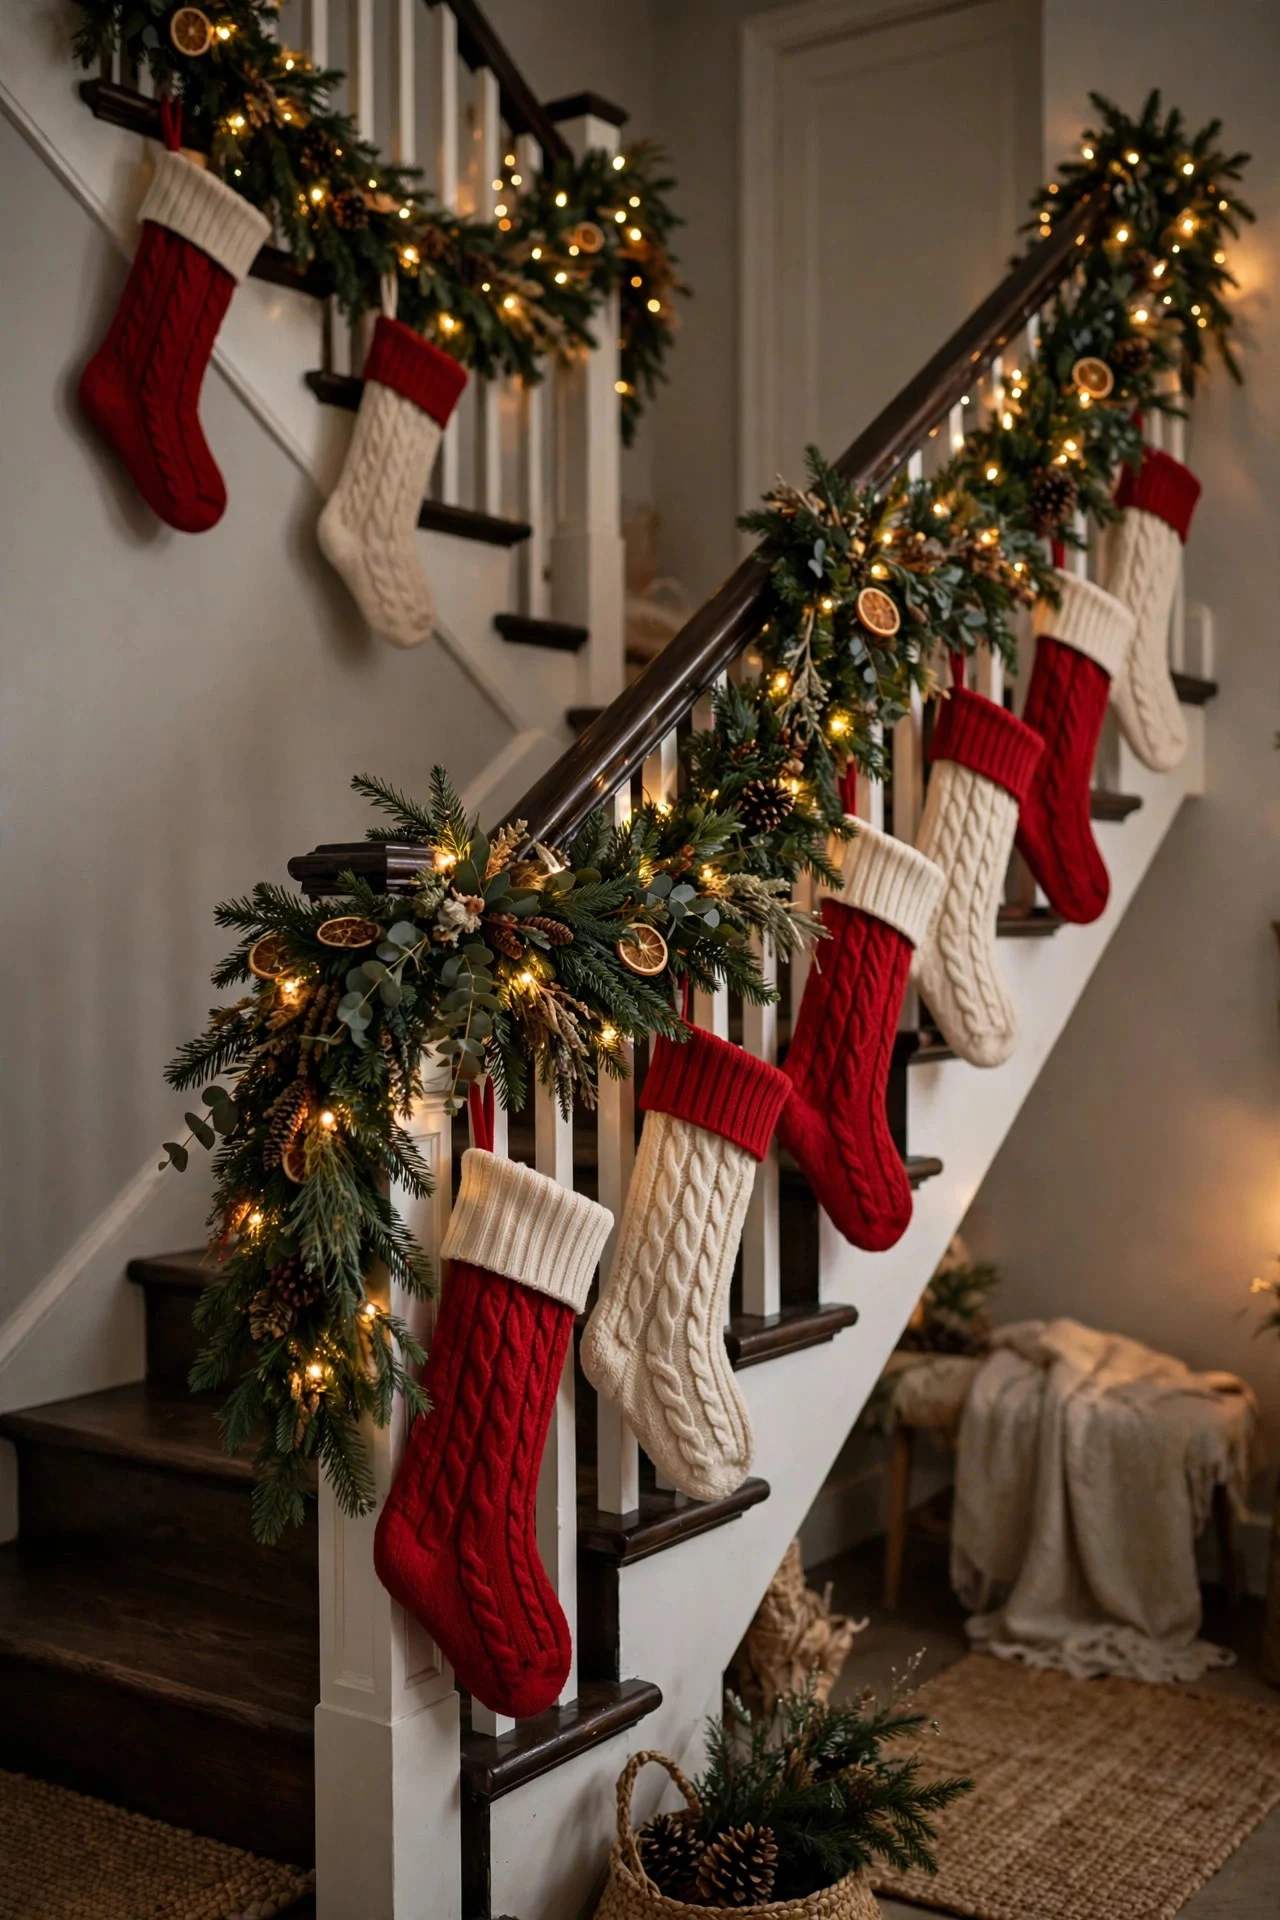
No mantel? The staircase banister is the next best place for stockings. Hang one per family member from the garland’s high points, spacing them evenly — not bunched at one end. Small brass S-hooks or ribbon loops work; skip anything that needs hammering into the wood.
Keep stockings lightweight until Christmas Eve, because a garland holding five stuffed stockings will sag by morning. Hang the pretty-but-empty ones for December, and do the filling after everyone’s in bed.
Try this: Alternate stocking colors (red, cream, red, cream) for a rhythm that looks intentional from across the room.
6. Pinecones and Berry Picks
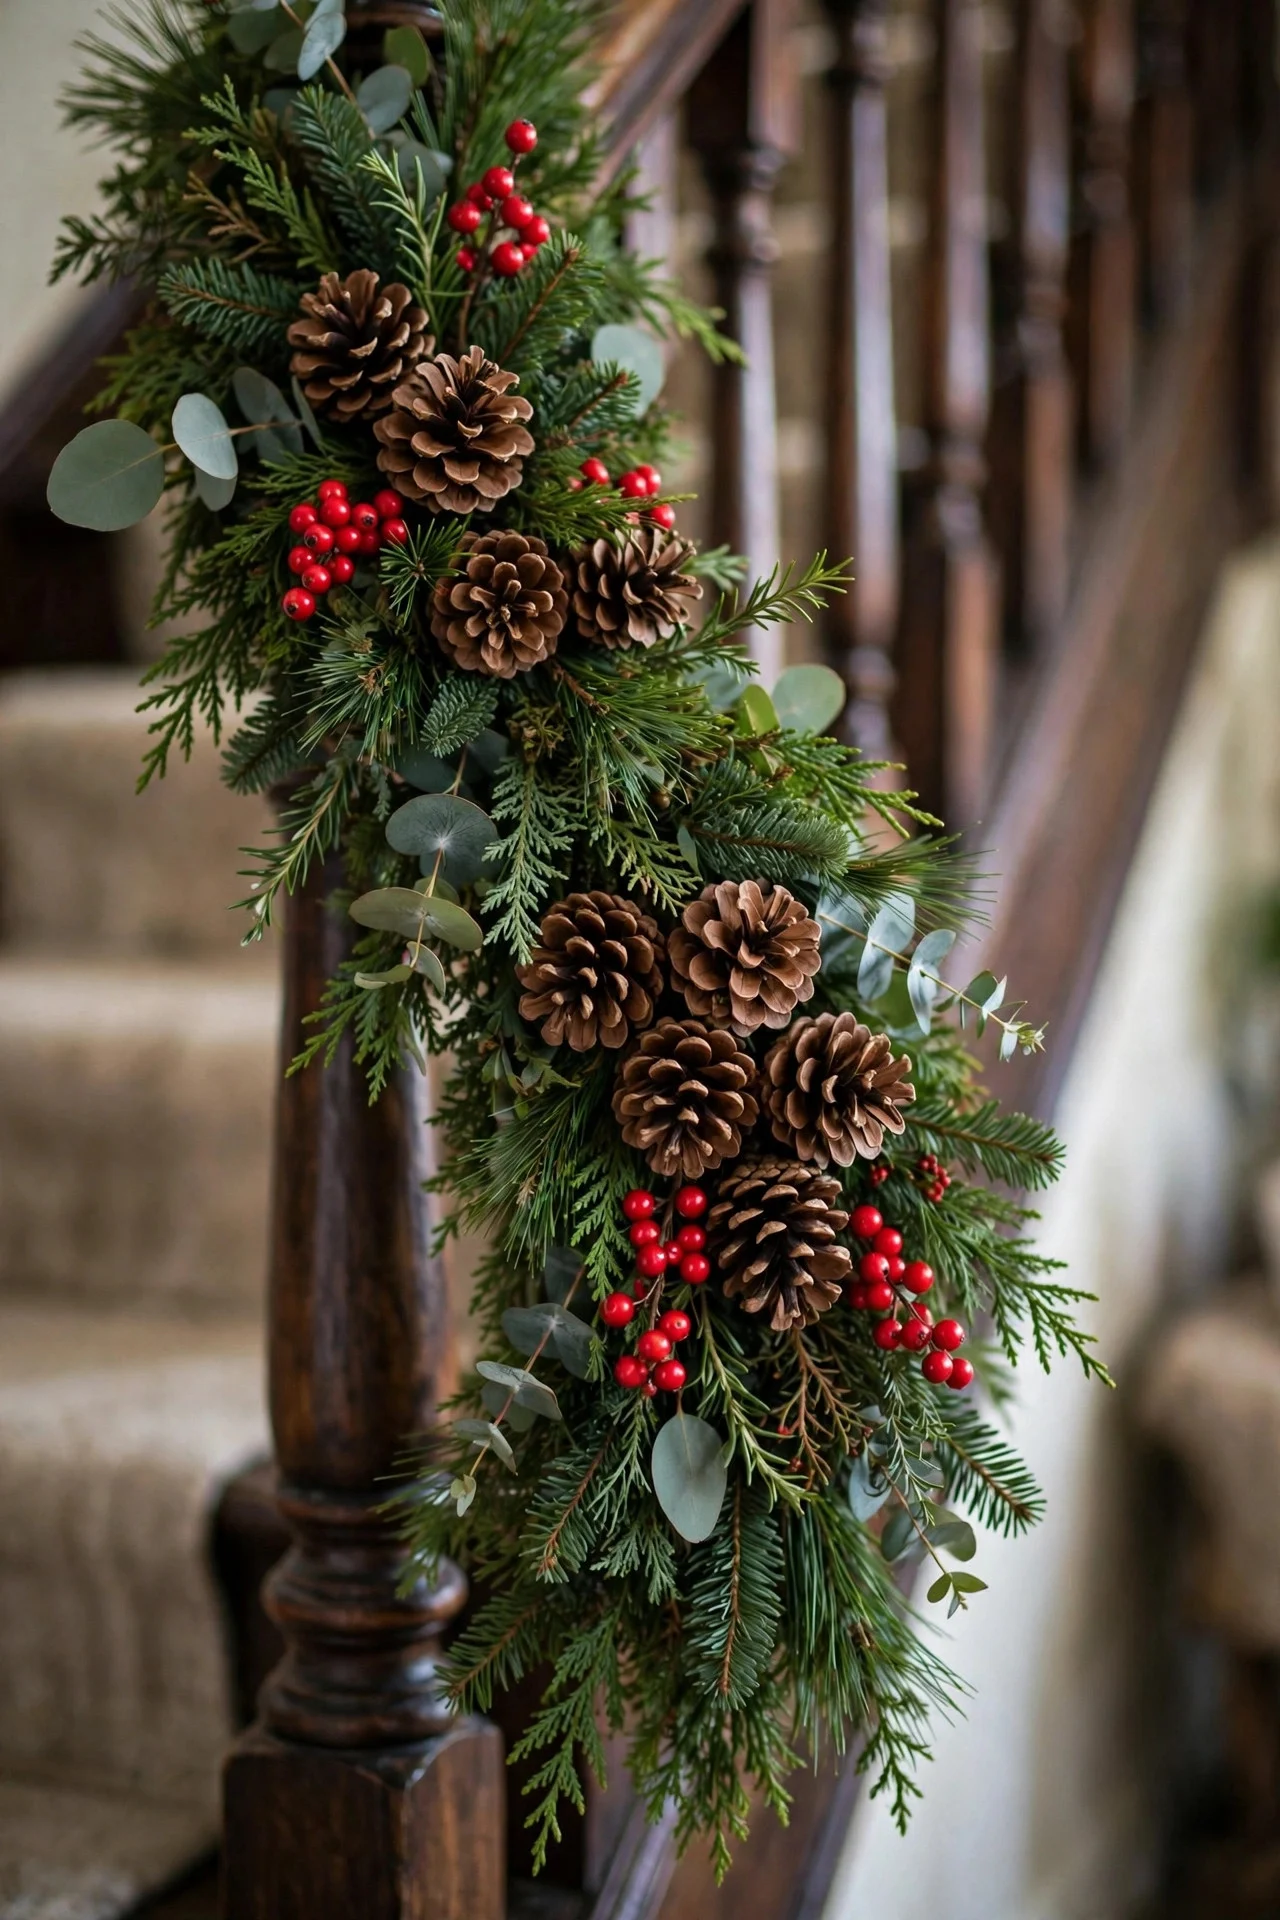
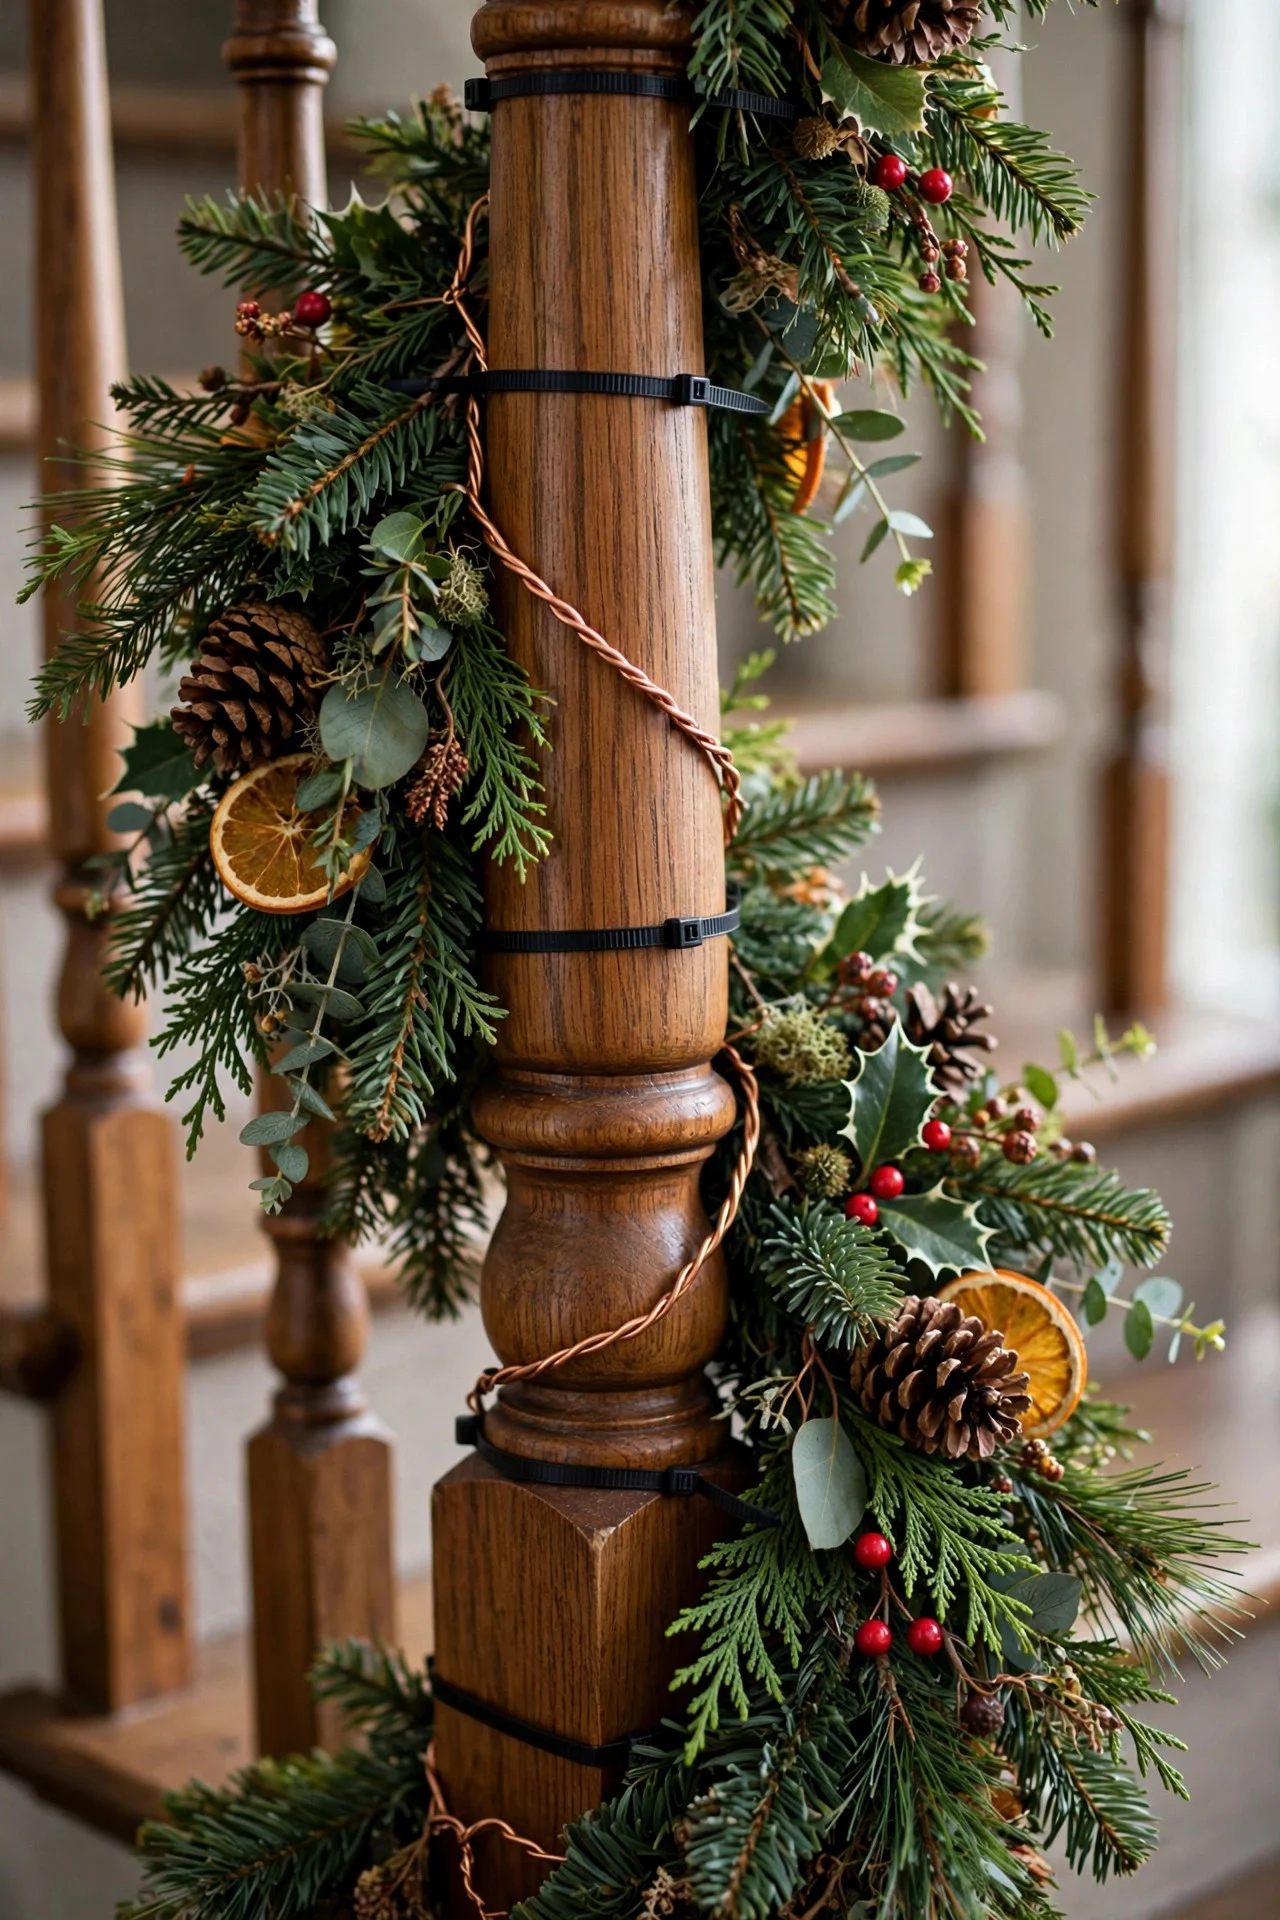
A plain green garland becomes a designer garland with one bag of pinecones and a bundle of berry picks. Wire pinecones in clusters of three at each swag’s lowest point — that’s where the eye lands — and tuck berry sprigs into the garland every foot or so.
This is a $15 upgrade that reads like a $150 garland. Stick to one berry color (classic red or frosted white) and vary the pinecone sizes for a natural, gathered feel. A light dusting of faux snow on just the pinecones ties it together.
Try this: Collect real pinecones in November and bake them at 200°F for an hour — kills bugs, opens the scales, costs nothing.
7. Eucalyptus Garland for a Modern Look
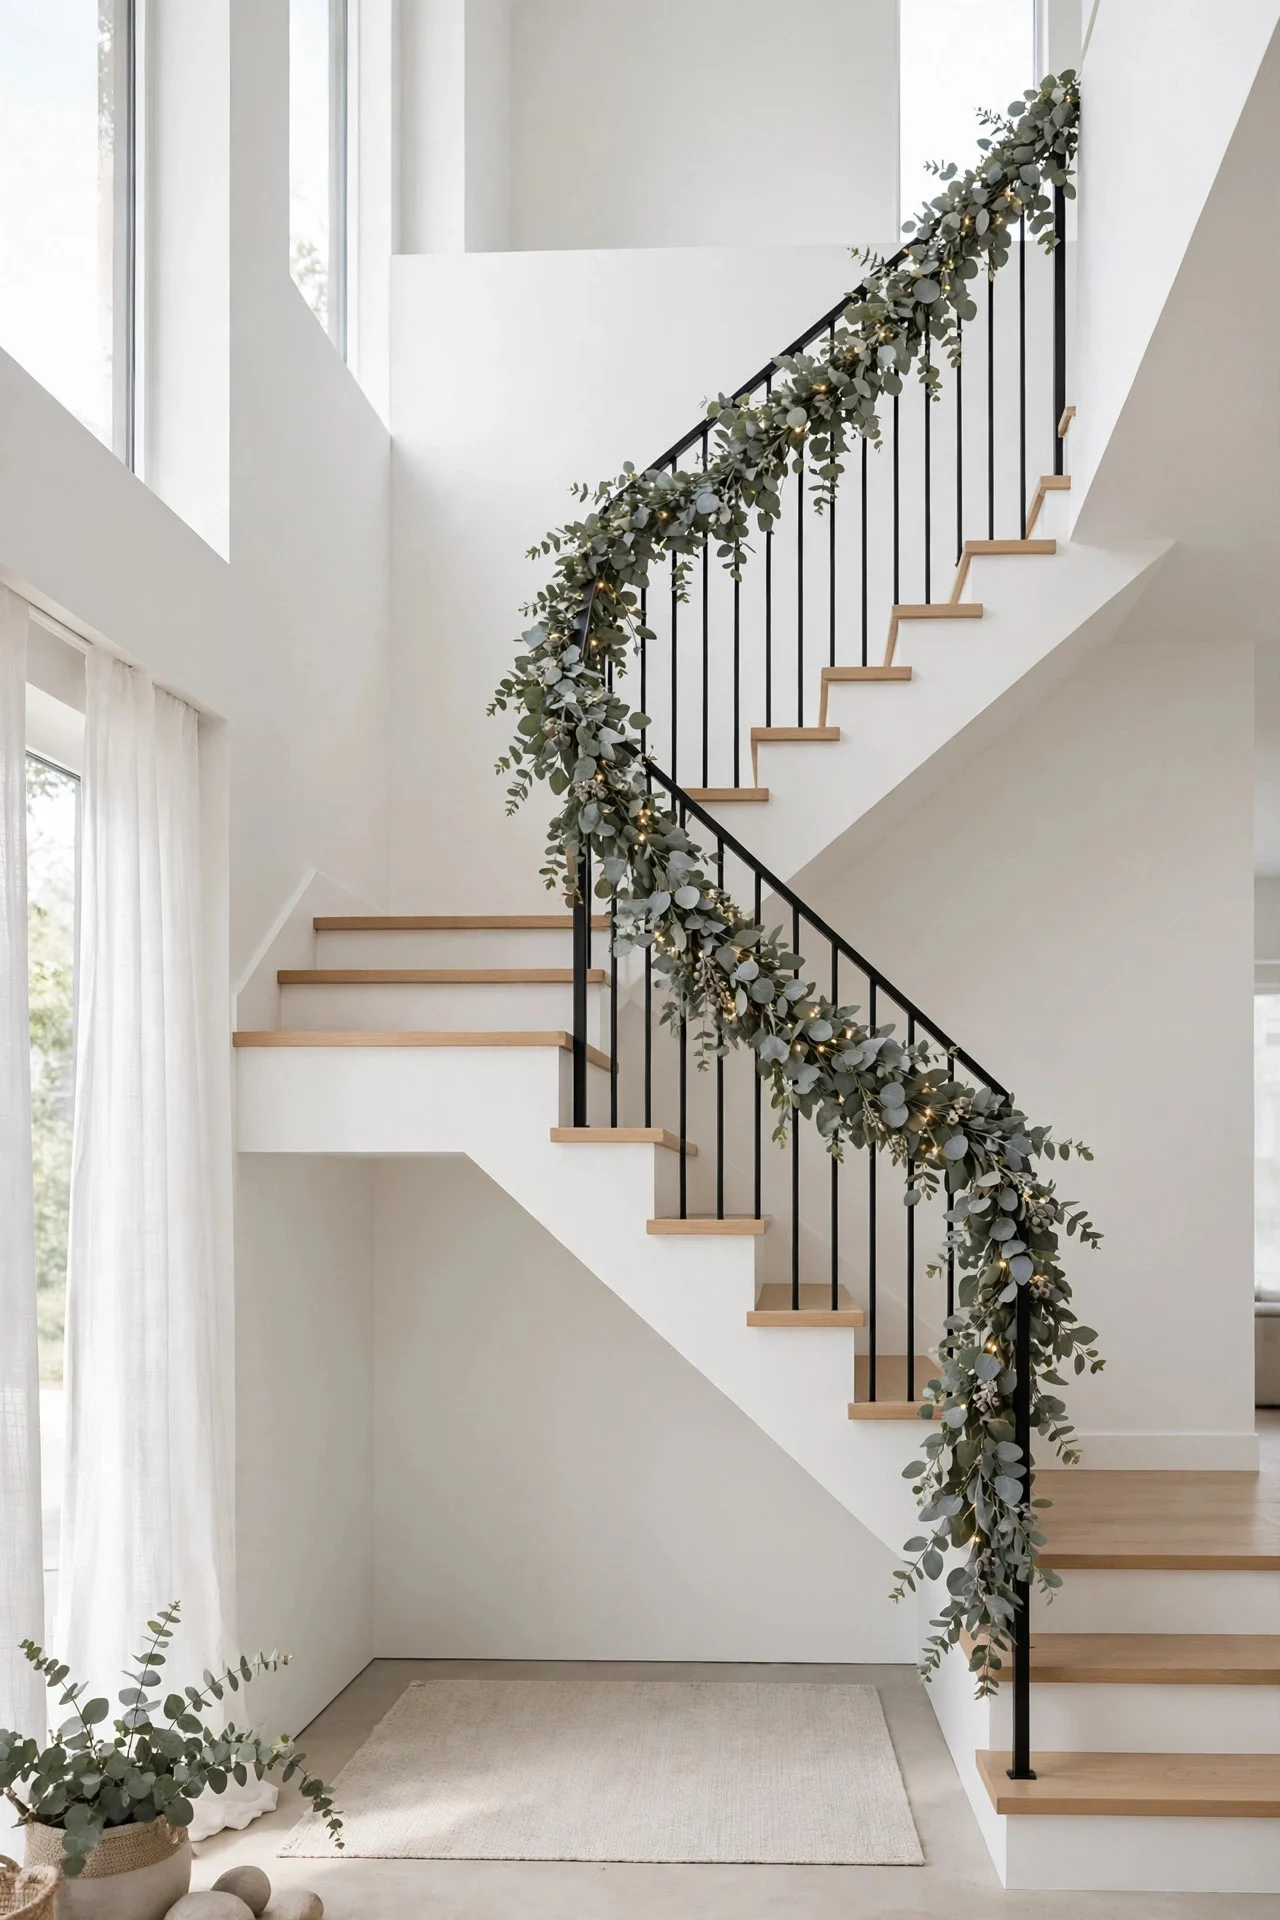
Not every staircase wants traditional pine. A eucalyptus garland — silvery green, softly scented, beautifully simple — gives you a modern, airy staircase that works in minimalist and contemporary homes. Drape it in the same swag pattern as pine; the technique doesn’t change, only the material.
Fresh eucalyptus lasts 2 to 3 weeks indoors and dries gracefully rather than shedding needles everywhere. Mix seeded and silver-dollar varieties for texture. It pairs beautifully with white fairy lights and cream ribbon — no red required.
Try this: Combine one eucalyptus garland with one pine garland twisted together — the two-tone effect looks professionally styled.
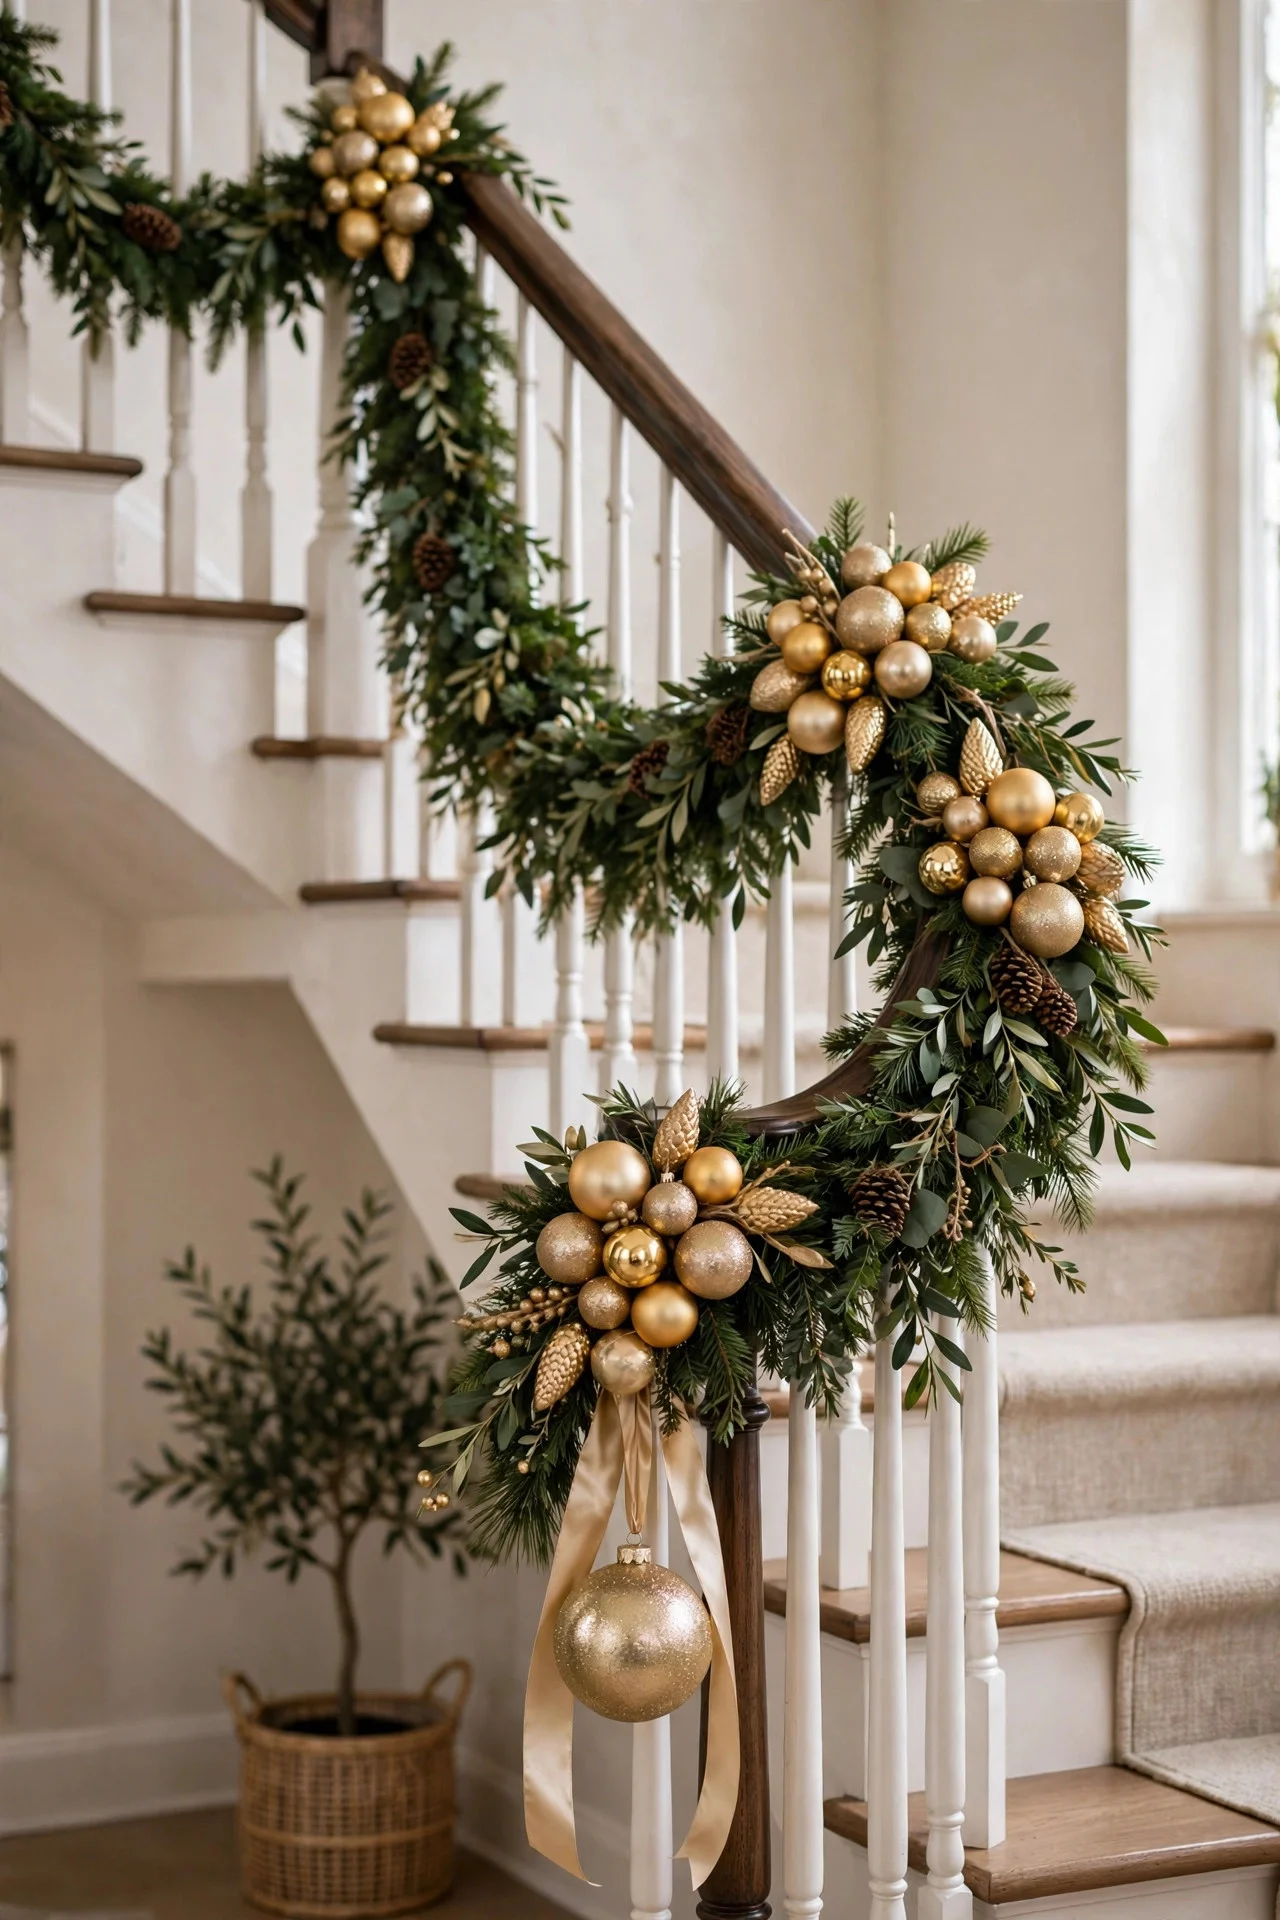
8. Ornament Clusters at Each Swag
Wire small clusters of ornaments into the garland at each swag’s lowest point, and a plain garland suddenly looks custom. Groups of three to five ornaments in graduated sizes, wired together and tucked into the greenery, catch light at exactly the spot the eye lands.
Match the ornaments to your tree for a cohesive whole-house look, or use one metallic (gold, champagne, silver) for contrast against green. Shatterproof ornaments are the smart choice here — staircases get bumped.
Try this: Hang one larger ornament (4-inch) from each swag’s center on a 6-inch ribbon — it sways gently and catches the eye.
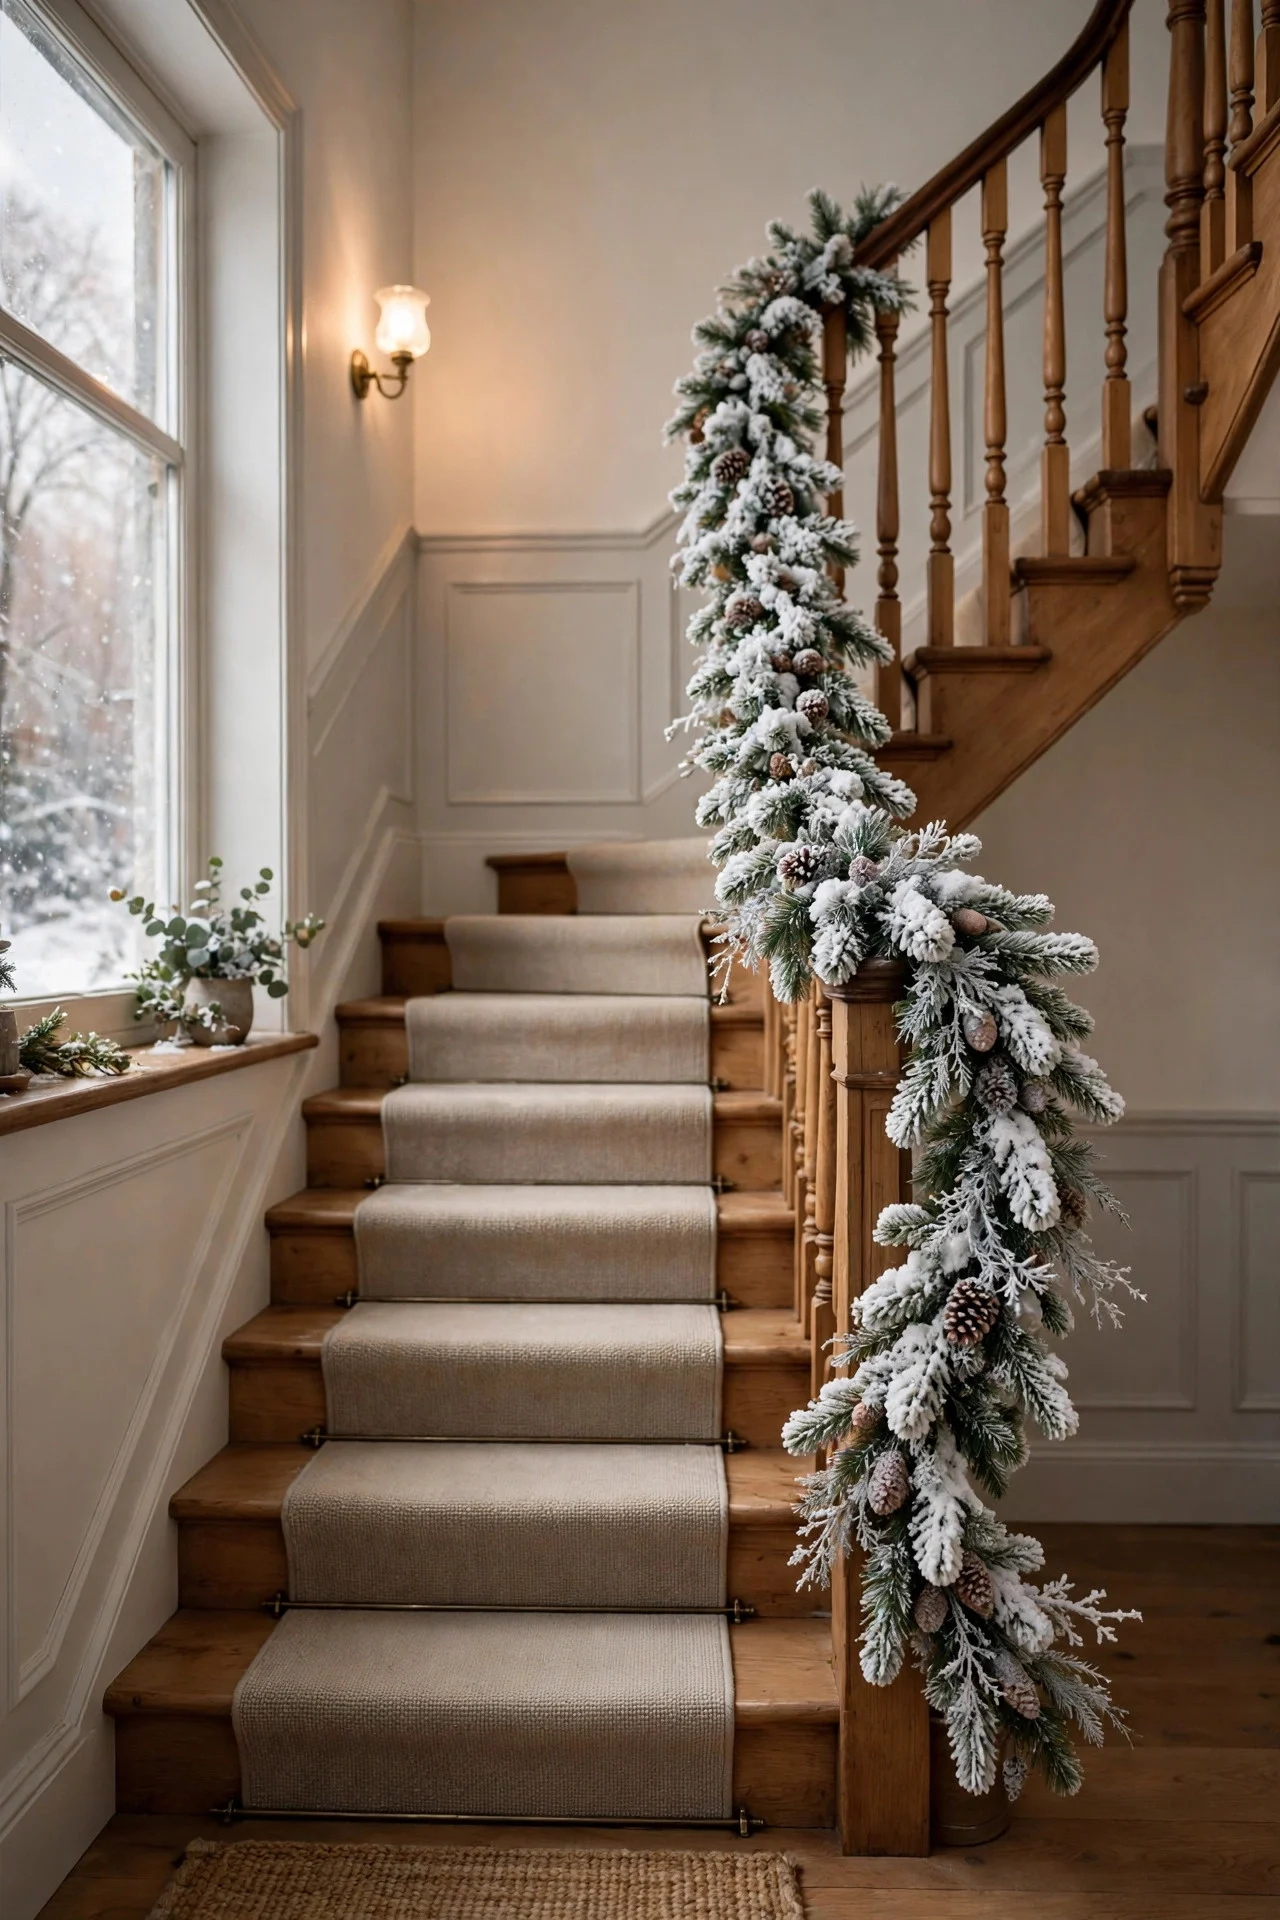
9. Flocked Garland for a Snowy Feel
Flocked garland — dusted with artificial snow — brings the winter-wonderland look without a single real snowflake. It works best in homes with lighter palettes, where the white flocking blends with the decor rather than fighting it. One 9-foot flocked garland has serious presence.
Shake flocked garland outside before hanging (it sheds at first), and wear a mask if you’re sensitive to dust. Pair it with cool-white or warm-white lights — both work — and skip colorful ornaments, which clash with the snowy effect.
Try this: Flock just the top of a plain garland with spray snow ($6 a can) for a custom dusted look at half the price.
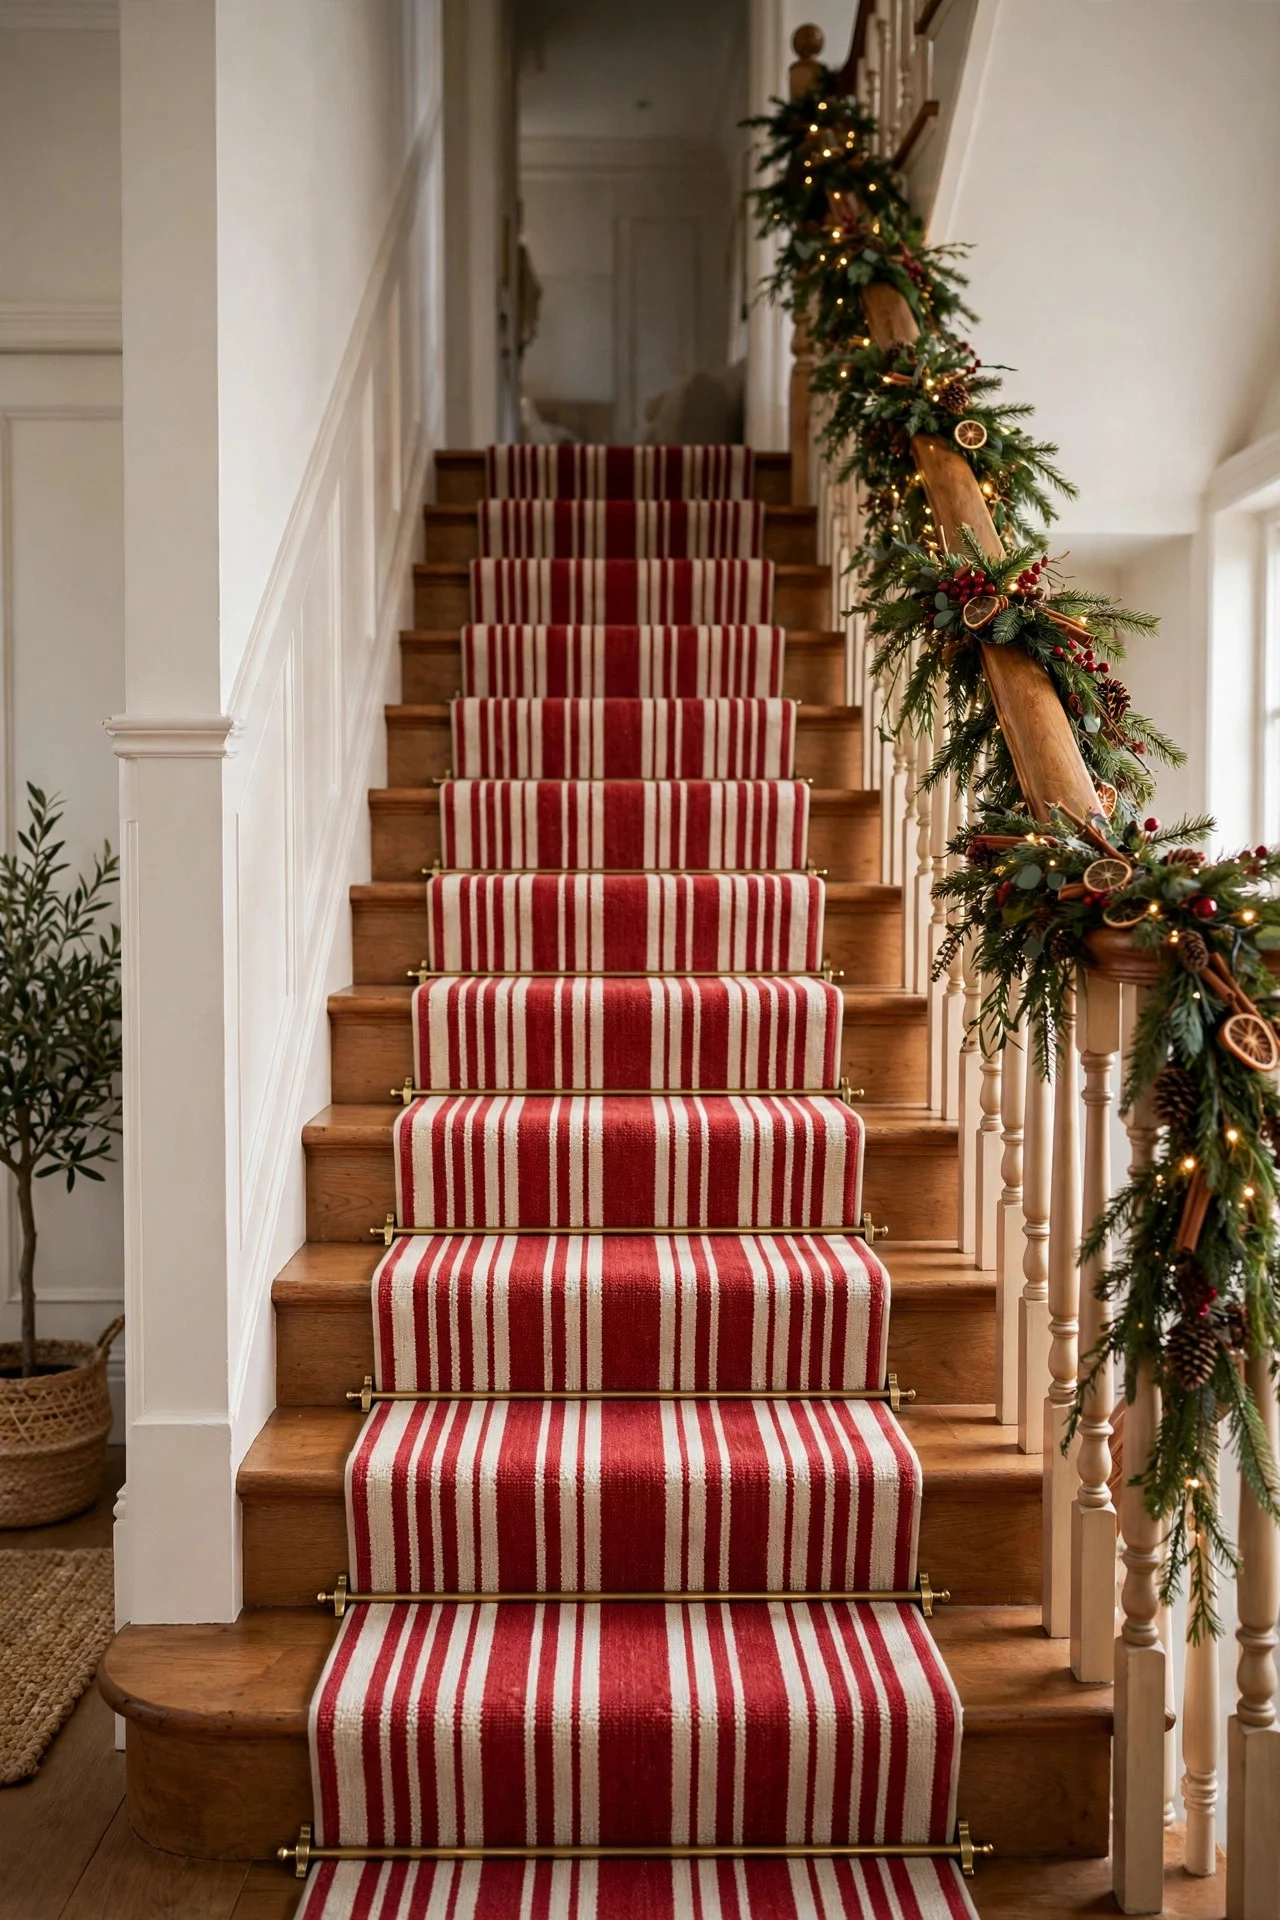
10. A Holiday Stair Runner
The stairs themselves can join in: layer a festive runner over your existing stairs, or swap a neutral runner for a patterned holiday one. A simple red-and-cream stripe or subtle plaid reads Christmas without screaming it, and it protects your stairs through the highest-traffic month of the year.
Measure each tread (standard is about 10 inches deep) and buy a runner long enough for full coverage plus a few inches. Secure it with carpet tape or stair rods — a sliding runner on stairs is a safety hazard, not a decoration.
Try this: If a full runner feels like too much, dress just the bottom three steps — the eye reads it as intentional from the foyer.
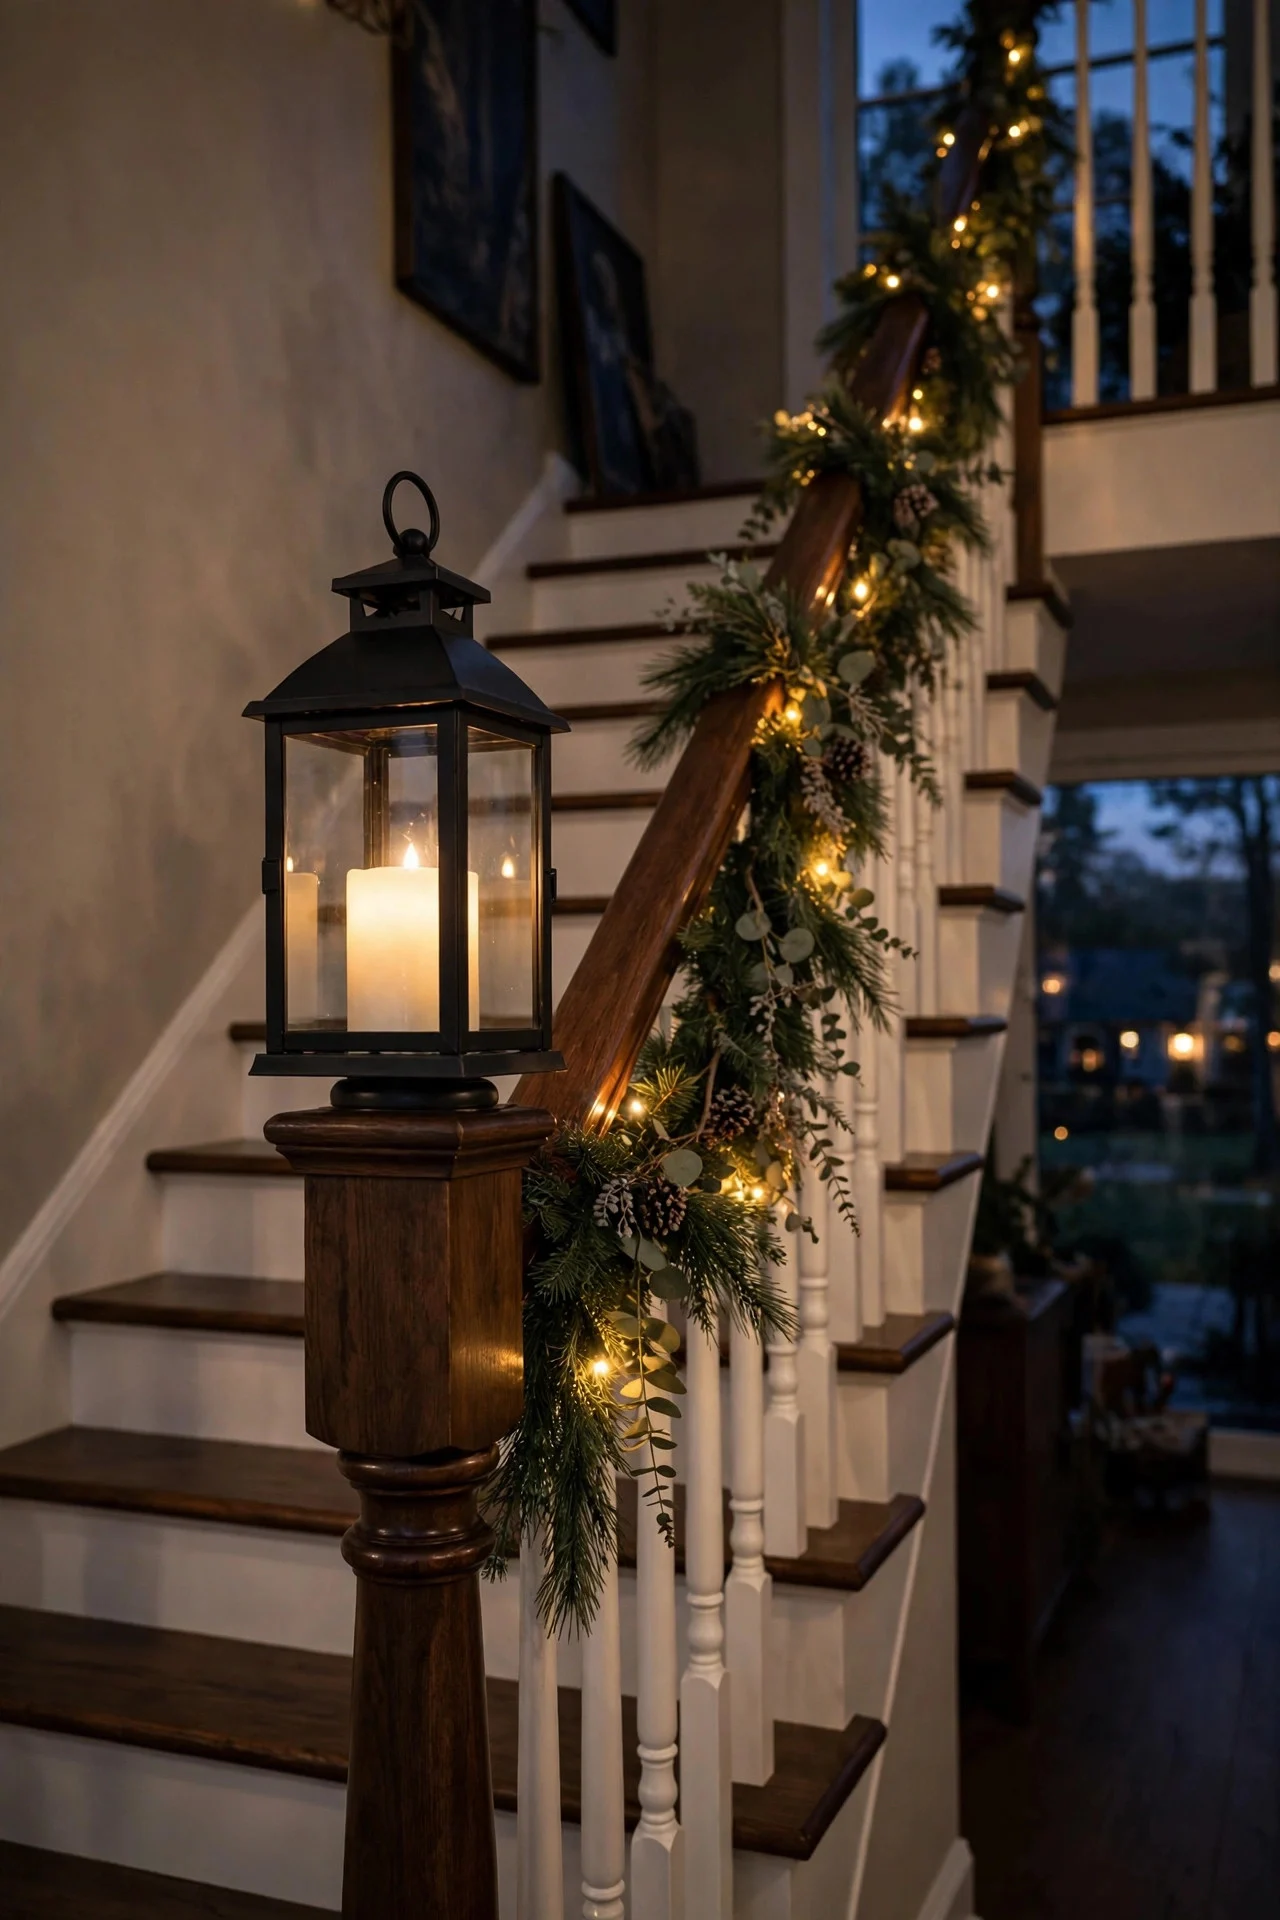
11. Newel Post Lanterns
Top each newel post with a lantern instead of (or alongside) a bow. A 12-to-15-inch lantern with an LED pillar candle inside turns the staircase’s endpoints into glowing beacons. It’s especially effective on dark stairwells that need the light anyway.
Choose lanterns with a flat, stable base — newel posts are narrow, and anything top-heavy is asking for trouble. Museum putty under the base adds cheap insurance against bumps. Keep the candle on a timer so the posts glow every evening.
Try this: Fill the lantern base with faux snow or cranberries around the candle for a seasonal twist.
12. Secure Everything Like You Mean It
The unglamorous final idea: fasten your staircase decor properly. Garland secured only with hope slides, sags, and eventually avalanches — usually the night before guests arrive. Zip ties through balusters every 2 to 3 feet, floral wire at every swag point, cord clips keeping light strands off the treads.
Keep every tread completely clear: no ornaments, ribbon tails, or light strands where feet land. Test it the way your family actually uses the stairs — kids running, dogs, laundry baskets — not the way you wish they would. Beautiful and safe beats beautiful and treacherous.
Try this: Do a “shake test” — grab the garland firmly and tug. If it moves, add more ties before December does it for you.
Frequently Asked Questions
How much garland do I need for my staircase?
For draped garland, buy about 1.5 times your banister’s length — a 12-foot banister needs roughly 18 feet of garland (two 9-foot strands) to get generous swags. For a tight wrap, you need closer to 2 times the length. Always buy one extra strand; running short mid-project is miserable.
How do I hang garland on stairs without damaging the wood?
Floral wire or zip ties looped around balusters — never nails or staples in the wood. For the handrail itself, removable adhesive hooks on the underside work, but most people wire to the balusters and let the garland rest on the rail. Test any adhesive in a hidden spot first; some finishes react badly.
Can I put real candles on a staircase garland?
No — open flame and dried greenery on a high-traffic staircase is a combination to avoid. Use LED candles and fairy lights instead; the best ones flicker convincingly and many come with timers. Save real candles for the mantel or table where you can watch them.
How do I keep garland from sliding down the banister?
Anchor it at every swag point with floral wire or zip ties to the balusters, spaced no more than 3 feet apart. The garland’s own weight pulls it downhill, so the top anchor carries the most load — double-wire the highest point. Do the shake test before you call it done.
Final Thoughts
A dressed staircase is one of those decorations that makes people assume the rest of the house is equally beautiful — so it’s worth doing properly. Weave your lights in before hanging, secure every swag point like you mean it, and keep the treads clear. The whole project takes an afternoon, and you’ll walk past the result a dozen times a day with a little lift each time.
And when January comes, take it down in reverse order: ornaments off, lights unwound, garland down last. Coil the lights around cardboard before storing and you’ll thank yourself next December — future-you deserves the same care you gave this year’s staircase.
