
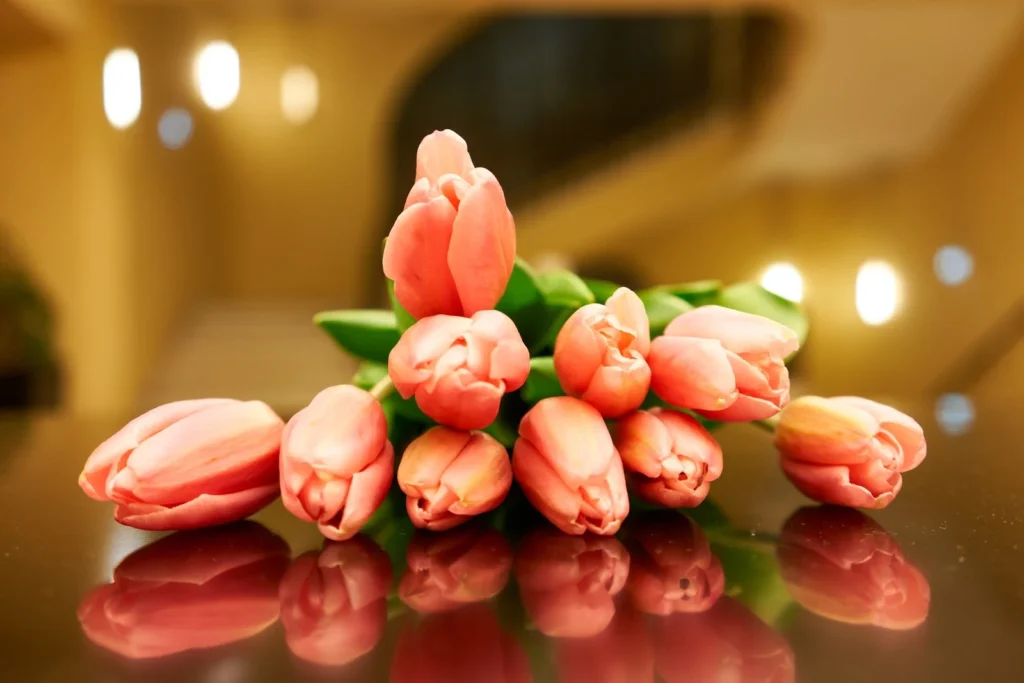
A blank wall in spring is a missed chance. These spring wall decor ideas are all about bringing the outdoors in — botanical prints, fresh branches, soft colour, and a little green — without repainting the whole room or buying new furniture. A wall is the biggest surface in most rooms, so even one framed print or a small shelf of plants can change how bright and lived-in the space feels.
Below you will find 15 ideas that work in real homes, not just in photos. Some take ten minutes and a single nail, some take a weekend afternoon, and most of them use things you can find at a garden centre, a charity shop, or your own garden. Pick one idea and try it this weekend, or mix two or three together on different walls. The goal is a wall that feels fresh and personal, not staged.
1. Framed Botanical Prints in a Row
A row of framed botanical prints is the easiest spring wall ever, and it works in a hallway, a bedroom, or above a sofa. Pick three or four prints in the same style — fern, leaf, or flower studies — and hang them in a straight line with equal gaps. The repetition is what makes it look calm and put together, even if the frames came from different shops. Keep the frames simple, in wood, white, or black, so the plants do the talking.
First, lay the prints on the floor and space them about two inches apart to check the row. Next, mark the wall with a pencil and spirit level first. I tried this and learned not to hang the row too high — centre it at eye level. A row above a sideboard or sofa looks settled, not floating.
Try this: Use the same mat colour in every frame, even if the frames themselves do not match.

2. A Gallery Wall That Mixes Prints and Photos
A gallery wall sounds grand, but at home it just means a group of frames hung close together on one wall. Mixing botanical prints with family photos and a small piece of art keeps it personal instead of looking like a shop display. The trick is a common thread — the same frame colour, or the same warm tones in every picture — so the mix still feels like one collection.
Start by tracing your frames on paper and taping the shapes to the wall to test the layout. Then hang the biggest frame first, slightly off-centre, and build around it. I tried this and learned that a gallery wall with no breathing room looks cluttered fast. Leave a couple of inches between frames, step back often, and stop when the wall feels full but not crowded. One small plant on a shelf below ties the whole group together.
Try this: Add one empty frame in a different size — it breaks the grid just enough to feel relaxed.
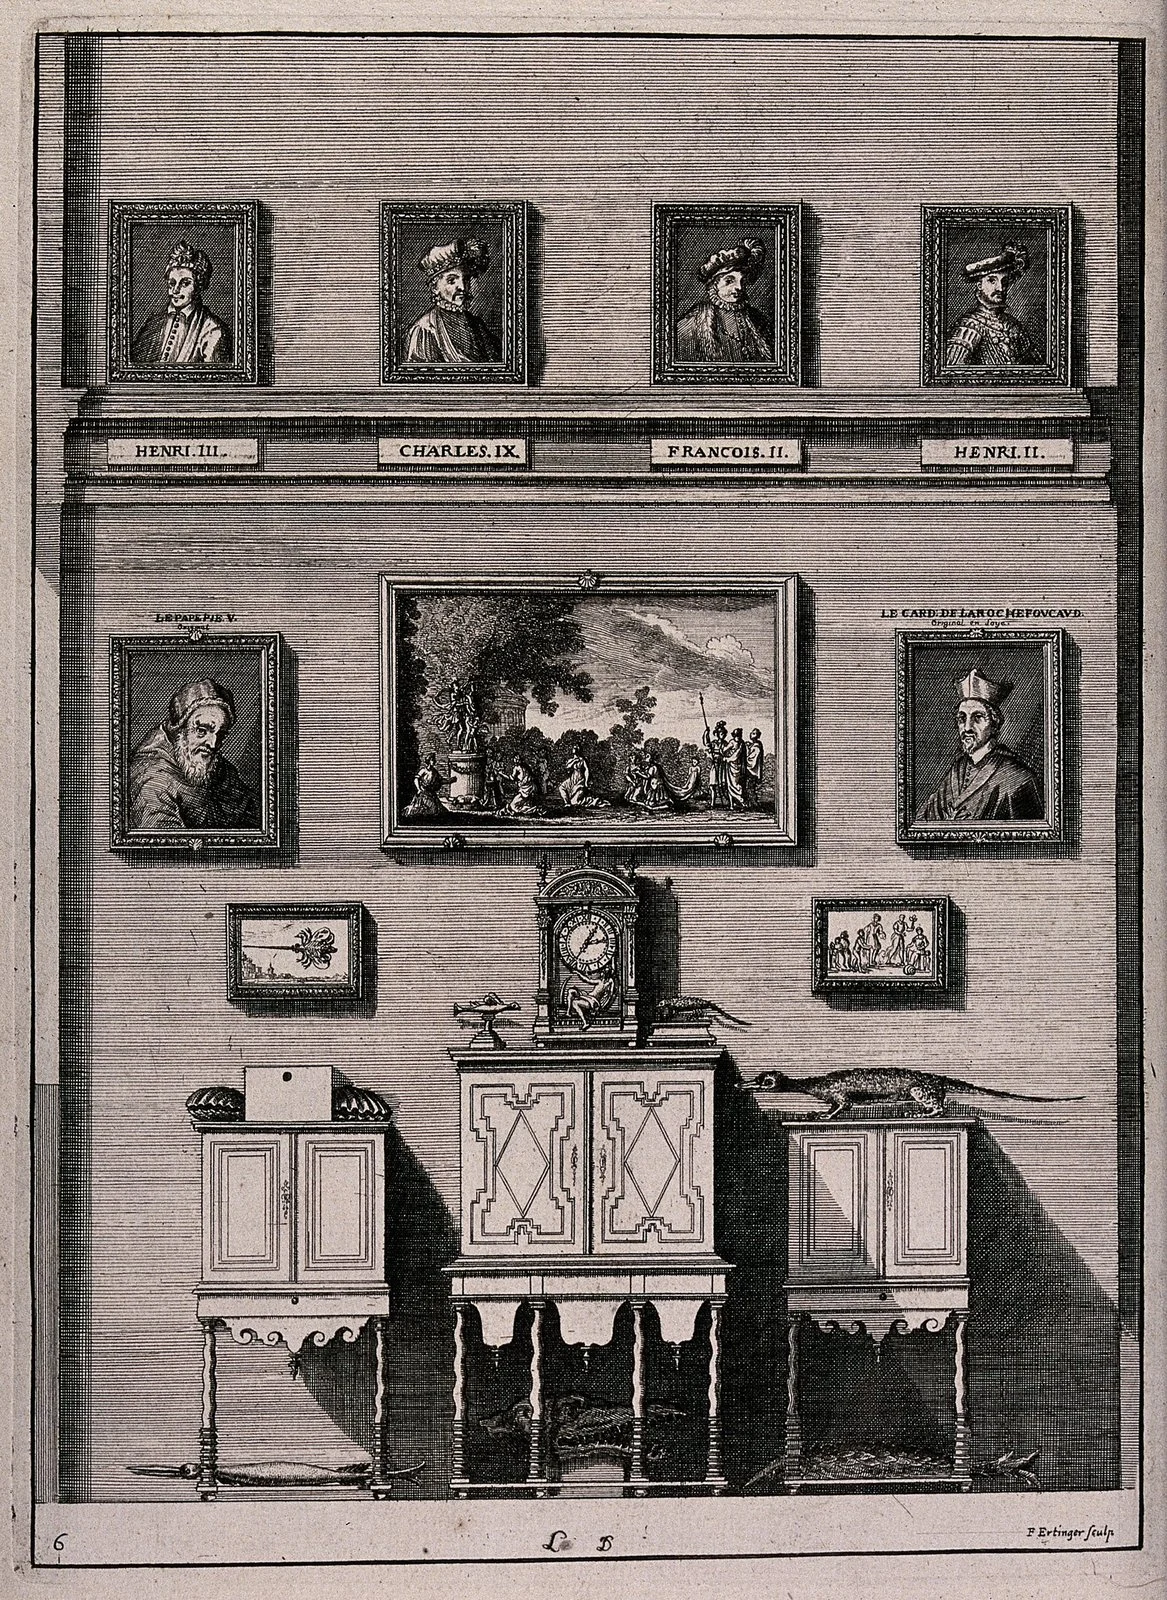
3. Pressed Flowers in Simple Frames
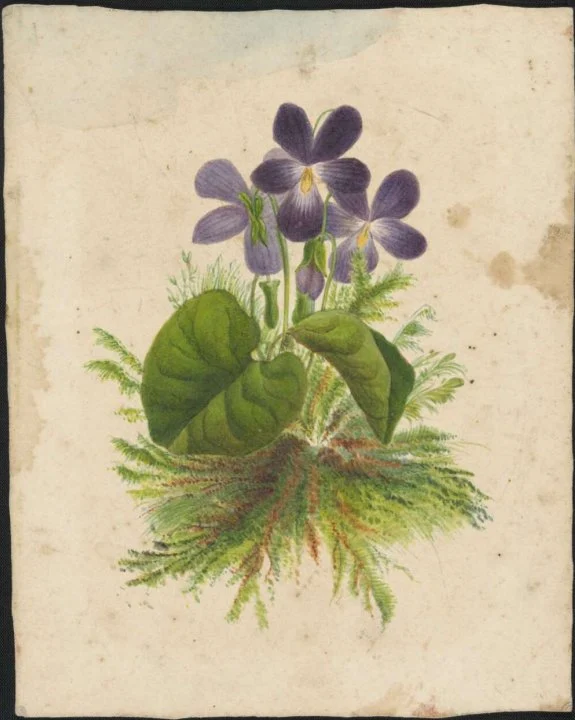
Pressed flowers are spring you can keep. A few blooms flattened between book pages, mounted on plain paper, and slipped into a simple frame look delicate and a bit old-fashioned in the best way. Violets, ferns, and small wildflowers press well because they are flat to start with. This is a lovely idea for a bedroom wall or a narrow hallway where a big print would feel too much.
First, press the flowers for two to three weeks between sheets of paper under a heavy book, changing the paper once. Next, arrange them on cream or white card and glue just the stem, not the petals. I tried this and learned that pressing in a damp room makes the flowers go brown — a dry, airy spot works far better. Hang pressed flowers out of direct sun, or the colours will fade by summer.
Try this: Press one flower from your own garden for each frame, so the wall tells your own spring story.
4. A Spring Wreath Hung Above the Sofa
A wreath does not have to live on a front door. Hung above a sofa or a sideboard, a spring wreath becomes wall art with texture — greenery, buds, and a soft round shape that breaks up a wall of straight frames. It works best when it is not too small for the wall. A wreath that covers about a third of the sofa width looks right; a tiny one gets lost.
First, pick a spot where the wreath will not be knocked when people sit down or walk past. Next, hang it on a small nail or a removable hook, and check it from across the room. I tried this and learned that a wreath hung dead centre above a sofa can look stiff, so I shifted mine a few inches to one side and added a small framed print beside it. The off-centre look feels far more natural.
Try this: Swap the bow on the wreath halfway through spring for a fresh colour, and the whole wall feels new again.

5. Floating Shelves with Small Plants and Prints
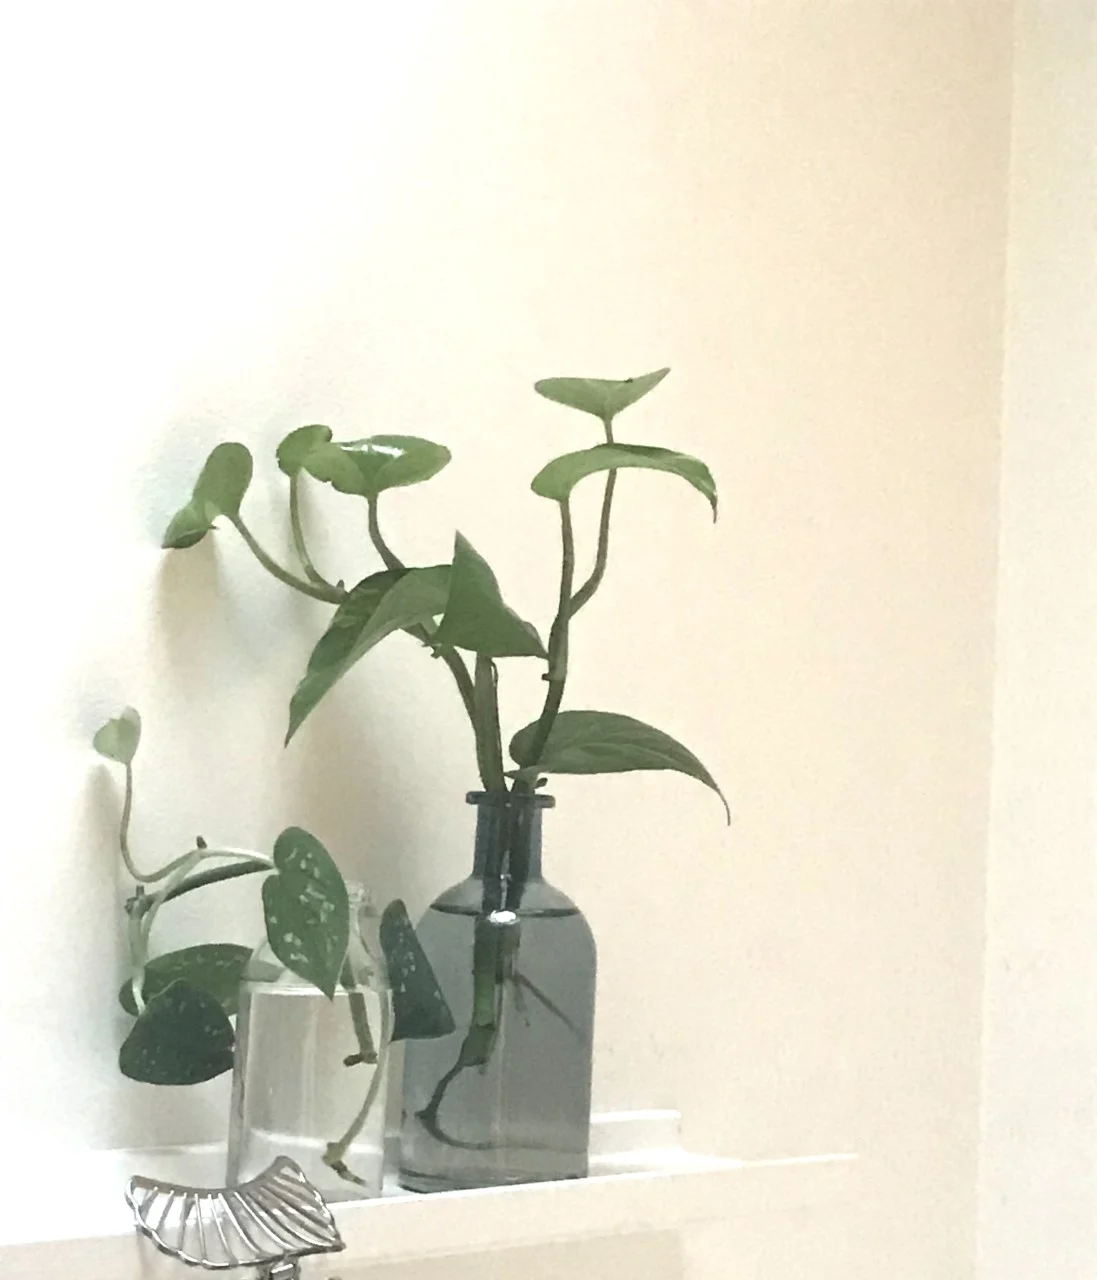
Floating shelves turn a wall into a little garden you can rearrange whenever you like. One or two shelves with small potted plants, a tiny framed print, and a candle give you greenery at eye level without drilling a dozen holes. They work well in kitchens, bathrooms, and small living rooms where floor space is tight but wall space is free.
Start with one shelf and live with it for a week before you add a second. Next, group plants in odd numbers and vary the heights, so the shelf does not look like a row of soldiers. I tried this and learned to check the weight before loading a shelf with pots — soil and water get heavy fast. Use light pots, or pots in glass jars, and water them over the sink, not on the shelf.
Try this: Trail one plant over the edge of the shelf so the greenery softens the straight shelf line.
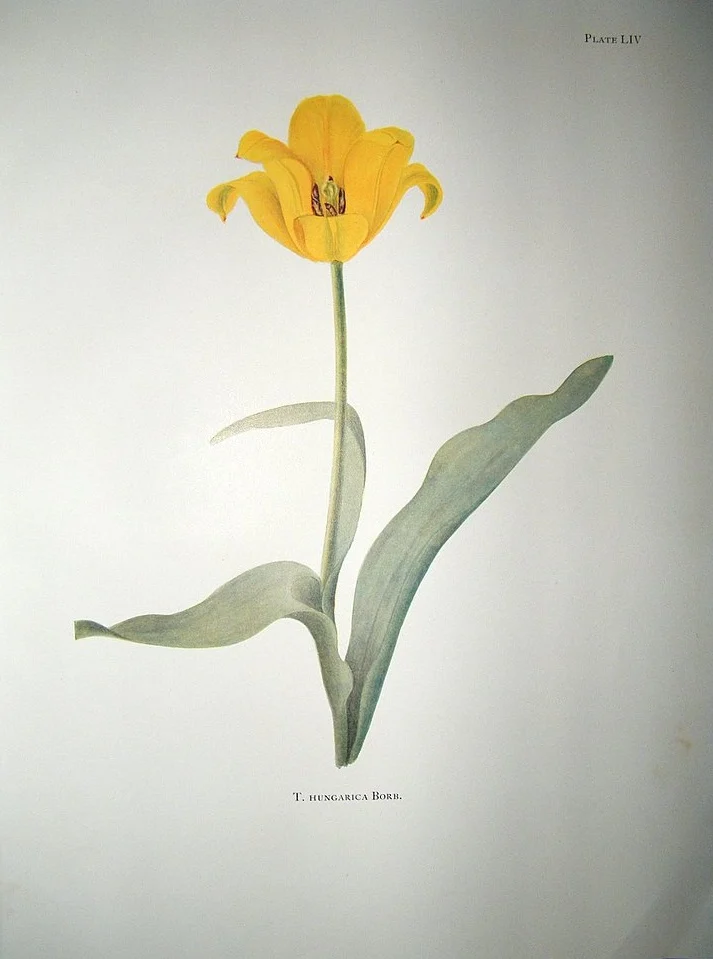
6. Bright Tulip Art Above the Sofa
If your living room feels dull after winter, one bright tulip print above the sofa can wake the whole wall up. Tulips in pink, red, or yellow read as spring instantly, and a single large print is easier to hang — and easier to live with — than a busy gallery wall. Pick a print with a plain background so the flower shape stays clear from across the room.
First, measure the sofa and choose a print about two-thirds its width, so it does not look too small or too wide. Next, hang it so the centre sits at eye level when you are standing. I tried this and learned that a print hung too close to the ceiling makes the sofa and the art feel like strangers. Lower is almost always better here, with just a few inches between the sofa back and the frame.
Try this: Echo the tulip colour once more in the room — a cushion, a throw, or a vase of real tulips nearby.
7. Cherry Blossom Branches in a Wall Vase
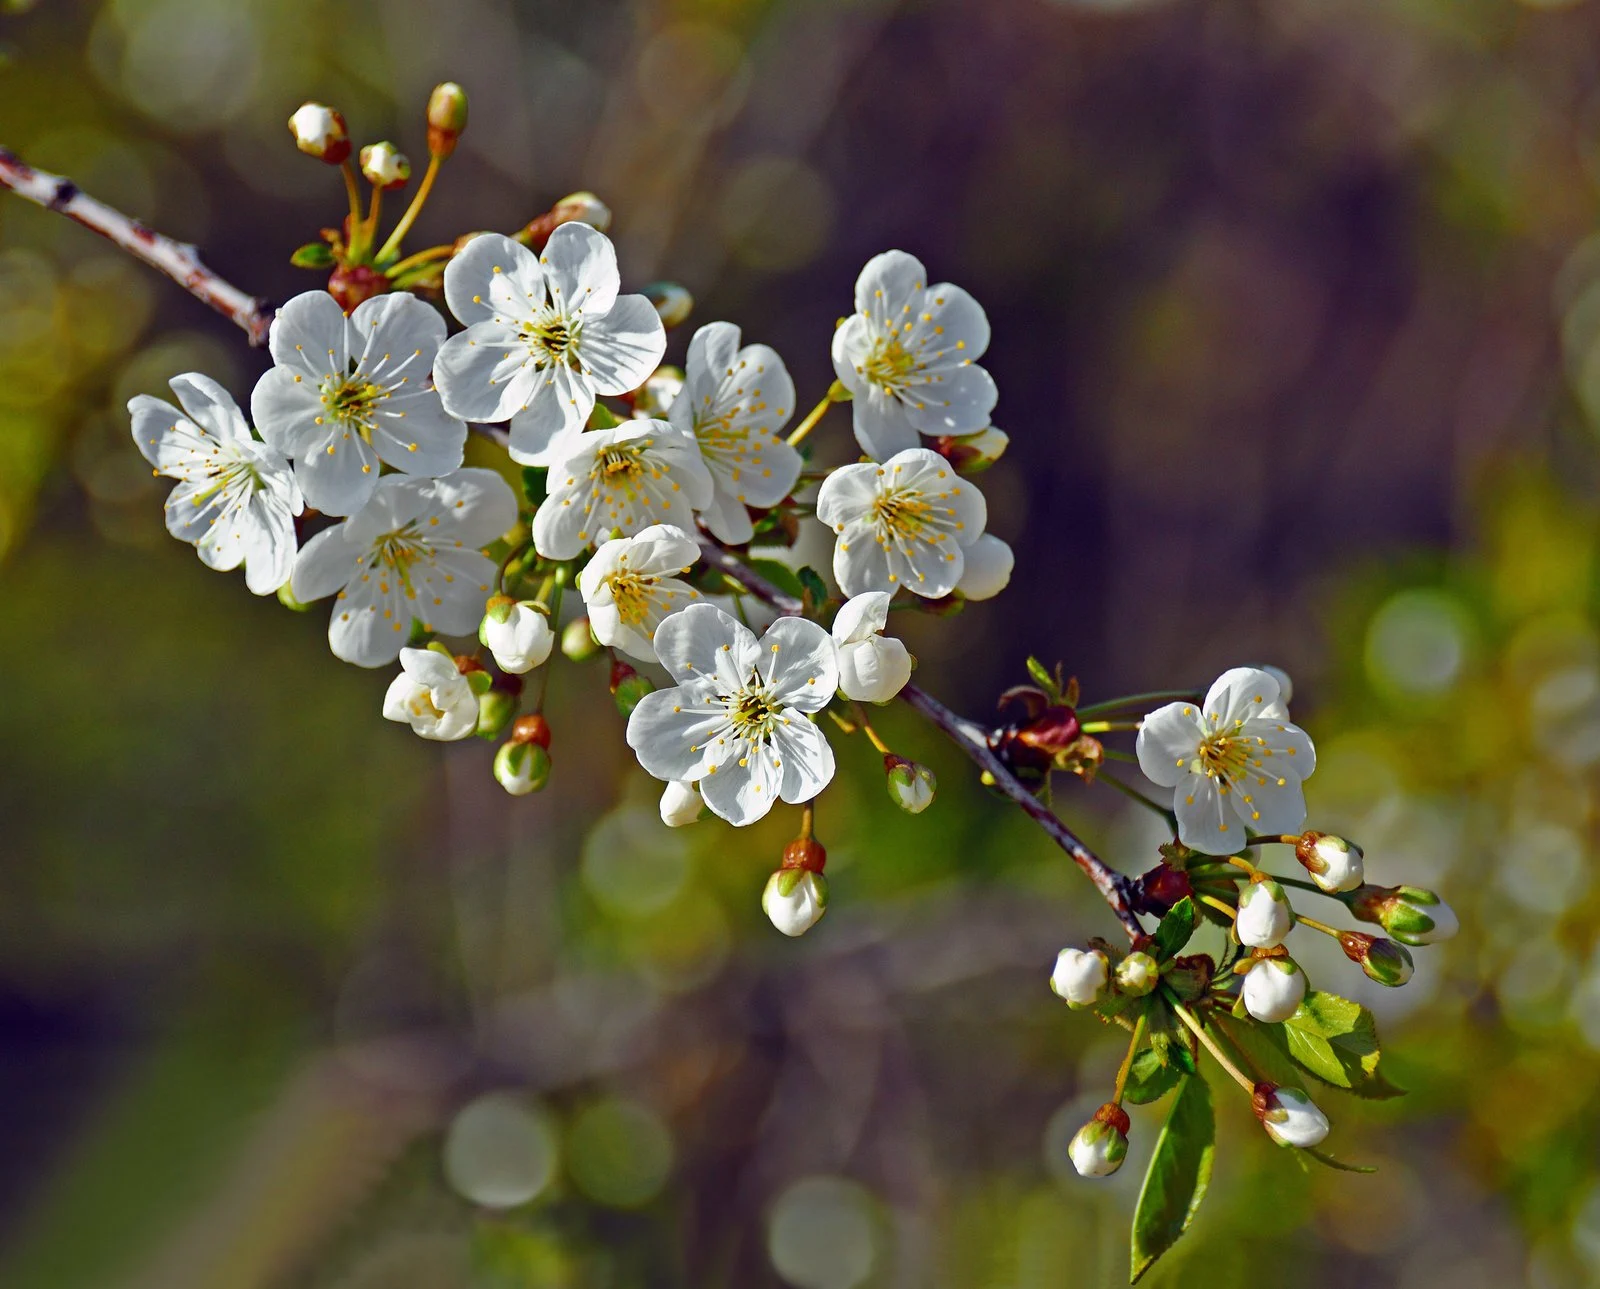
A wall vase is a small glass or ceramic pocket that hangs flat on the wall, and it is perfect for a few cherry blossom branches. The branches bring height and soft pink colour to a wall without a frame at all, and they look lovely in a hallway or beside a front door. Fresh branches last a week or two in water; faux branches last all season.
First, hang the wall vase firmly, since a vase full of water is heavier than it looks. Next, trim the branches to different lengths so they fan out instead of standing in a stiff bunch. I tried this and learned to check the height against anything above the vase — branches that brush a picture frame look messy. Keep the tallest branch a few inches below the next frame or shelf.
Try this: Add a single green stem among the blossom branches so the pink does not look too sweet on its own.
8. A Wall of Hanging Planters
Hanging planters turn a plain wall into a living one. Small pots hung in a grid, or at staggered heights on hooks, fill a wall with green without taking up a single inch of floor. Trailing plants work best here — pothos, string of hearts, or ivy — because their vines soften the wall and fill the gaps between pots.
Start with three planters and see how the light falls on that wall before you add more. Next, hang them at slightly different heights so the wall feels planted, not lined up. I tried this and learned to put a small saucer or a drip tray inside each planter, because watering a wall of plants without one ends with marks on the paint. Water lightly, and check the wall behind the pots once a month.
Try this: Mix one flowering plant among the green trailers for a single bright spot on the wall.

9. Dried Flowers in Wall-Mounted Vases
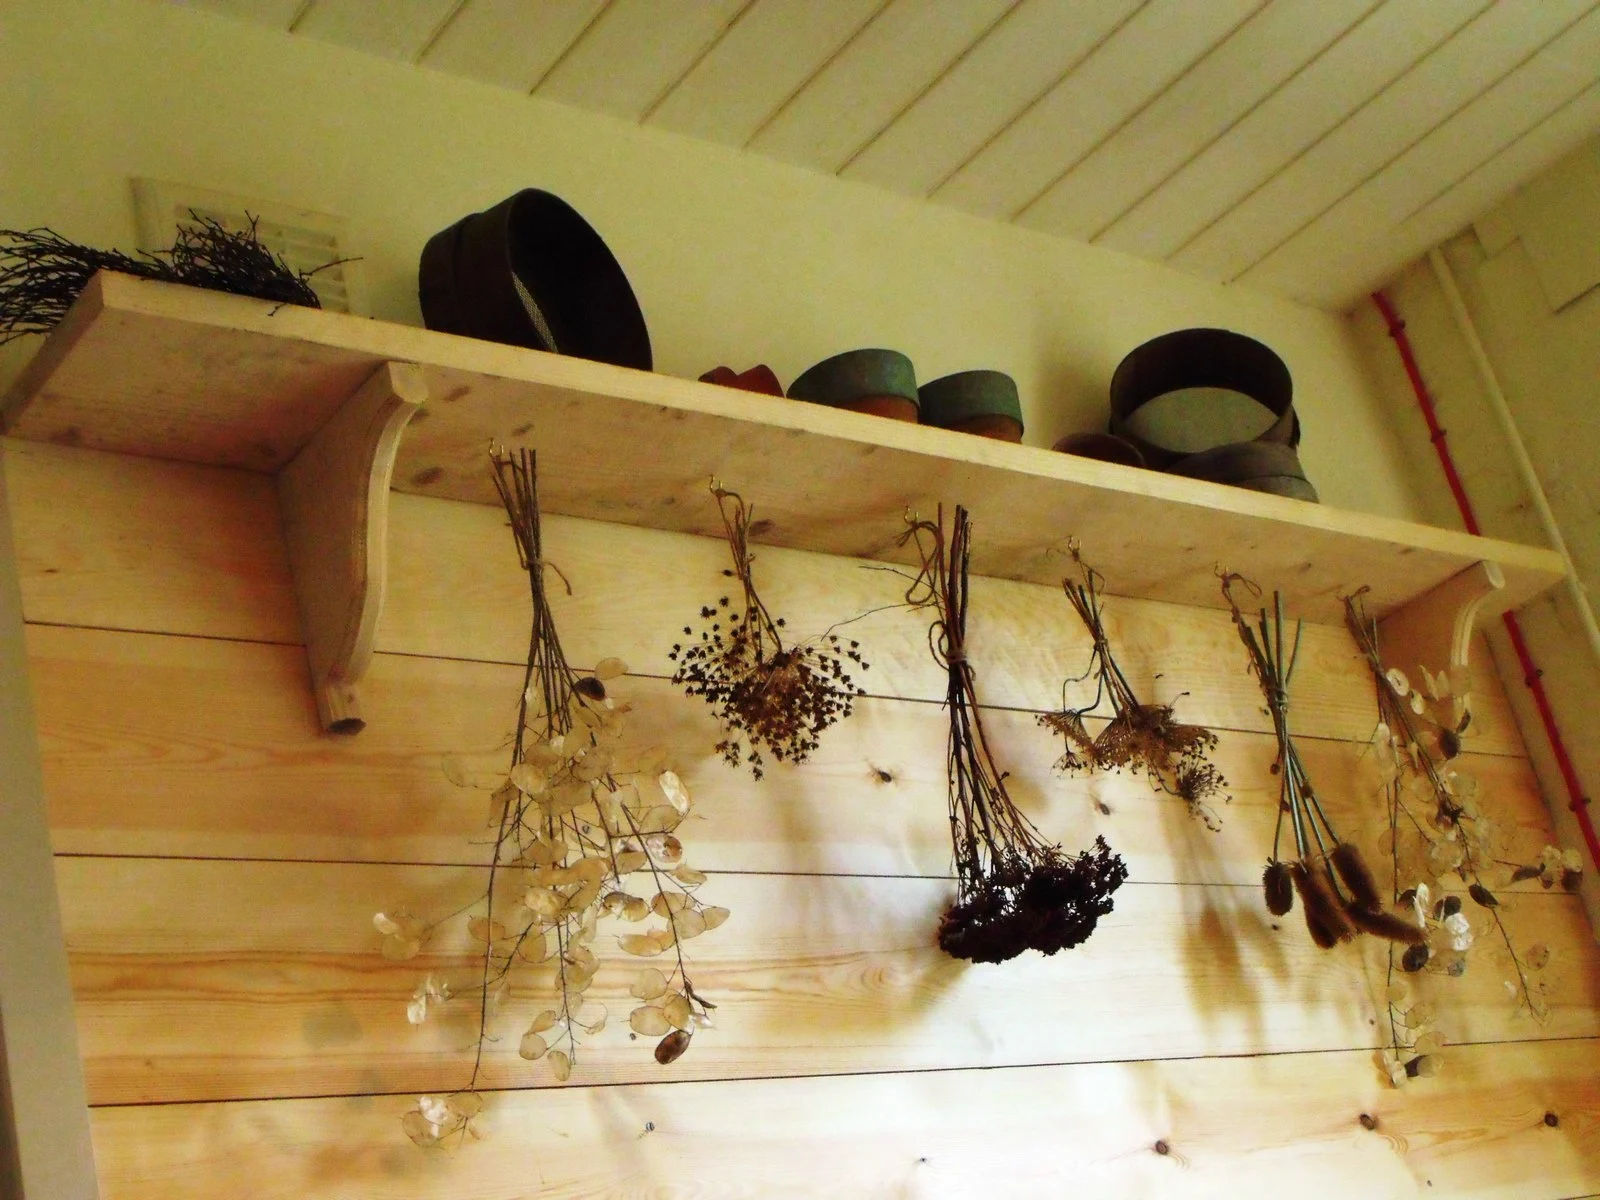
Dried flowers on a wall are the low-effort version of fresh spring colour. A few wall-mounted vases or small bunches hung on hooks keep their shape and colour for months, with no watering at all. They suit a bedroom, a landing, or a bathroom where fresh flowers would fade fast in heat or steam.
First, pick sturdy dried stems — lavender, grasses, and strawflowers hold up better than delicate petals. Next, hang them where they will not be brushed by shoulders or bags, since dried flowers are brittle. I tried this and learned not to hang dried flowers on a wall that gets full afternoon sun through a window. The colour bleached out in a few weeks, while the same bunch in a shaded hallway still looked good in July.
Try this: Dust dried wall flowers with a hair dryer on cool, from a foot away, once a month.
10. A Lavender Print Wall for a Calm Corner
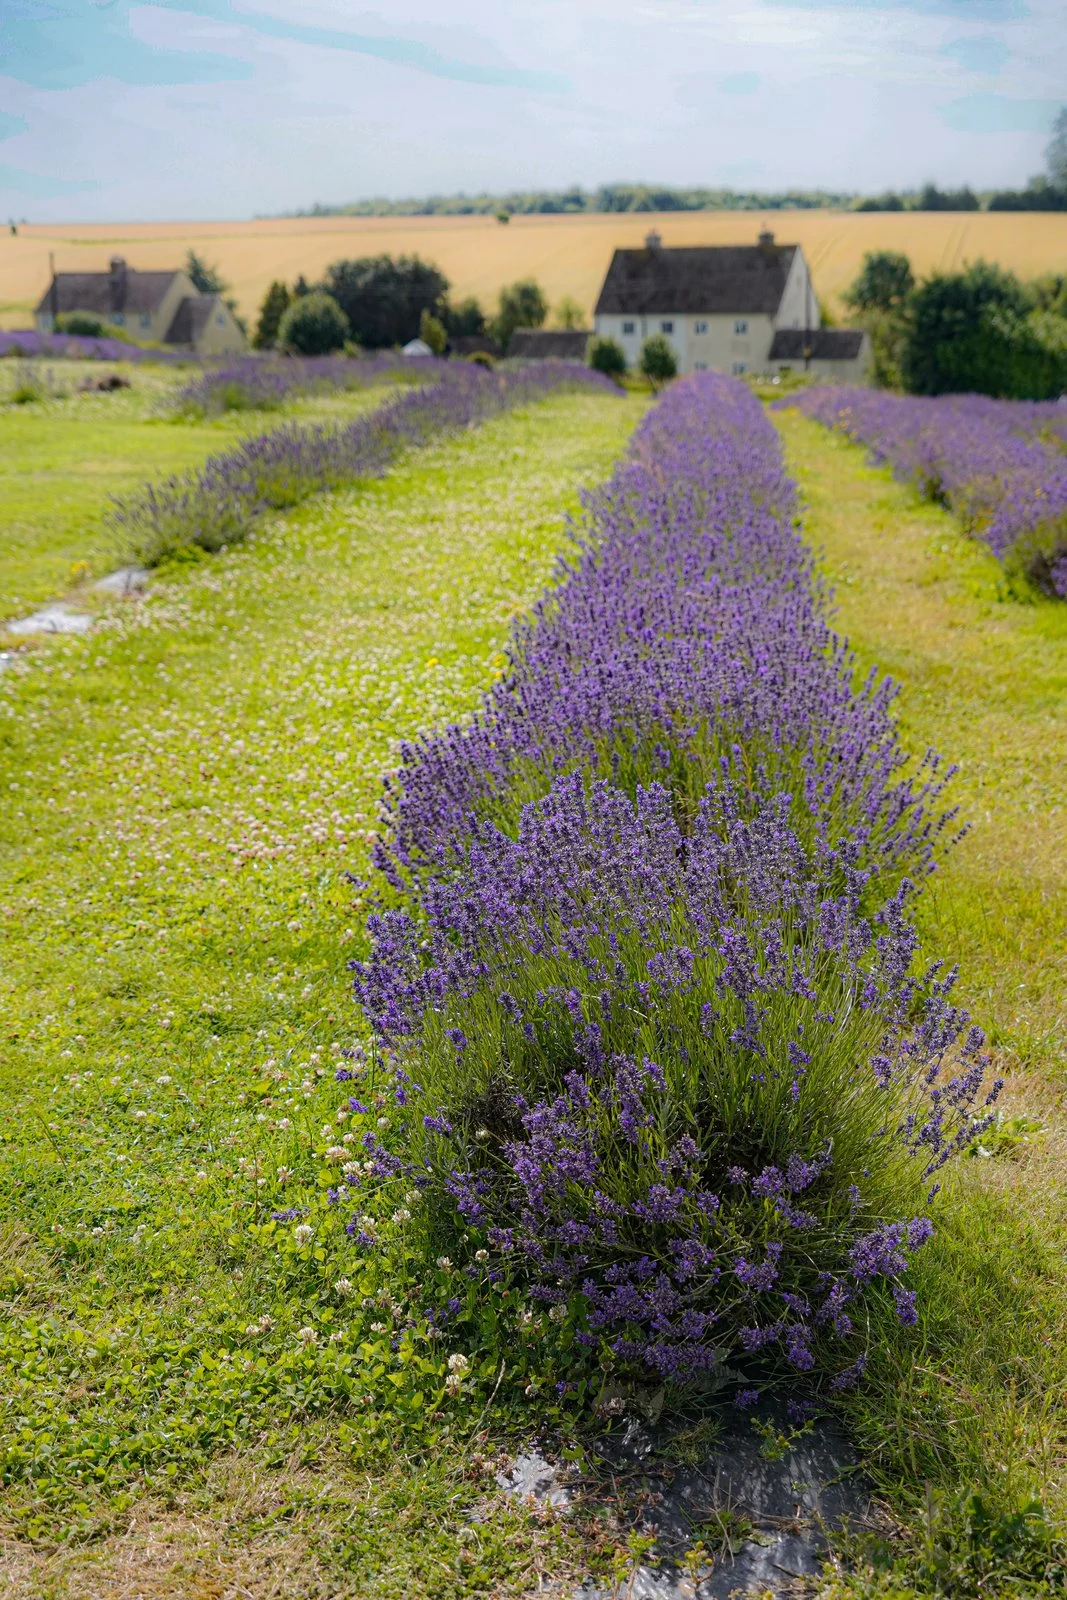
Lavender is the calm version of spring wall decor. Soft purple and grey-green tones suit a reading corner, a bedroom, or a bathroom wall, and they pair well with white bedding, wood, and linen. One large lavender print, or two smaller ones side by side, is enough — lavender works best when the wall around it stays quiet.
First, hold the print against the wall in daylight before you hang it, since purple can look very different under warm evening light. Next, keep the frame plain and pale so it does not fight with the soft colour of the flowers. I tried this and learned that a lavender print next to a bright, busy pattern loses its calm completely. Give it its own corner, with plain cushions and a simple lamp nearby.
Try this: Add a small bunch of real dried lavender on a shelf below the print — the scent sells the whole corner.
11. Big Monstera Leaves as Living Wall Art
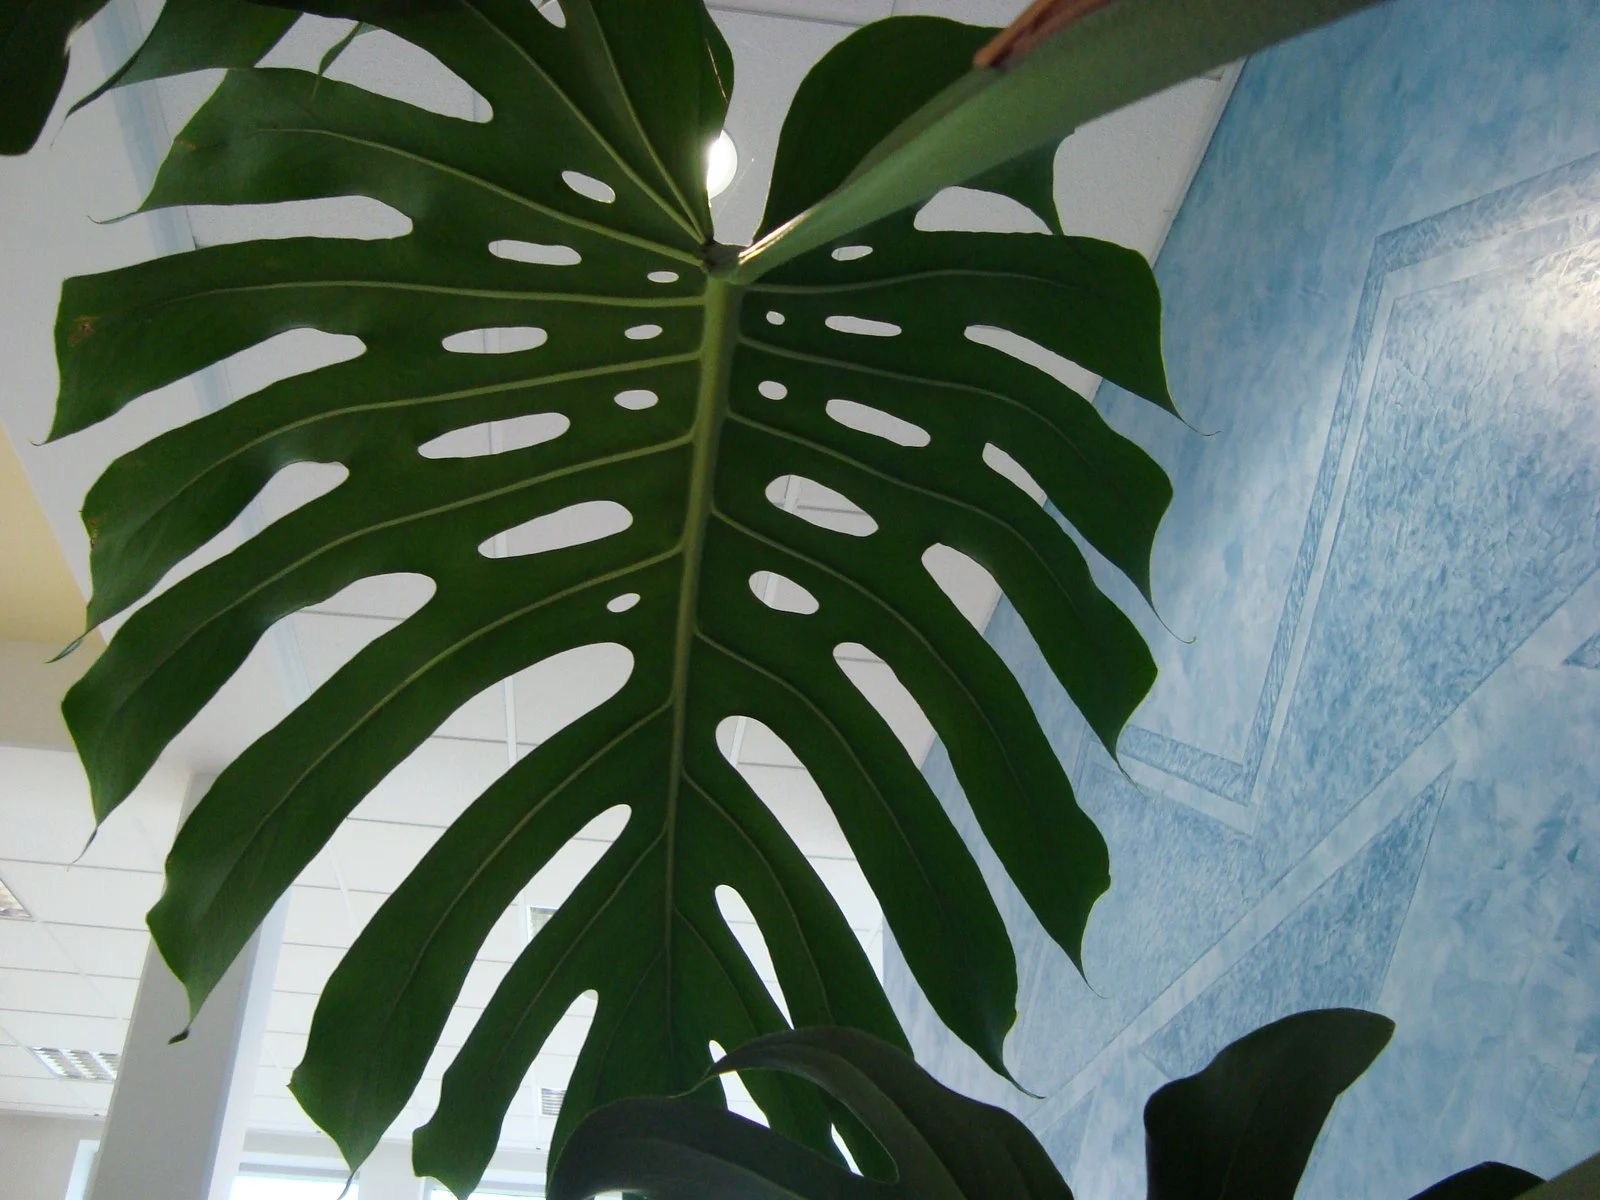
Monstera leaves are big, bold, and unmistakably green, which makes them perfect wall art for a room that needs life but not more colour. A single monstera leaf in a tall frame, or a real monstera plant trained up a wall trellis, gives you a botanical focal point that still feels modern. The split leaves cast lovely shadows in sunlight, too.
First, decide whether you want a framed leaf or a living plant — a framed leaf needs no care, a living one needs light and room to grow. Next, give a living monstera a trellis or a few wall clips and guide the stems gently, never forcing them. I tried this and learned that monstera grows fast toward light, so I turn the pot a quarter turn every week to keep the growth even on the wall.
Try this: Pair a monstera leaf print with one plain green cushion, and nothing else green, for a clean look.
12. A Wildflower Meadow Print for a Bright Hallway
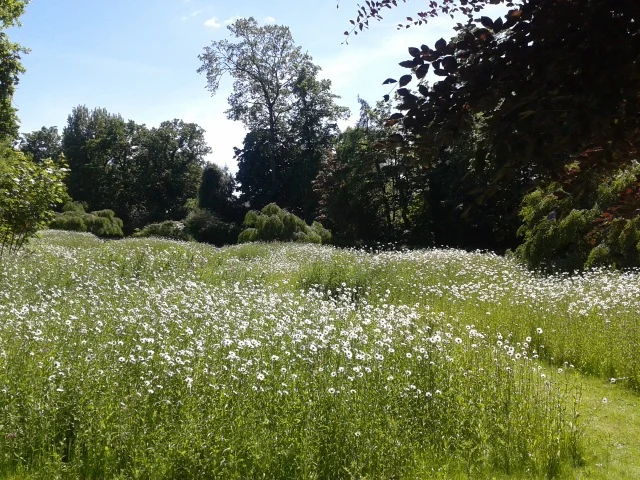
Hallways are often the dullest walls in a house, and a wildflower meadow print is an easy fix. Mixed blooms in pink, yellow, white, and purple bring colour into a narrow space without needing furniture or floor room. A wide, horizontal print suits a long hallway best, since it follows the shape of the wall.
First, measure the hallway wall and leave at least a hand’s width of plain wall on each side of the frame, so the print does not feel squeezed in. Next, hang it at eye level and check it from the end of the hallway, not just up close. I tried this and learned that a meadow print hung too high in a hallway is barely seen at all — people look straight ahead, not up, when they walk through. Eye level wins every time.
Try this: Pick a meadow print with one colour that matches your front door or hallway runner, so the space feels joined up.
13. Pink Peonies as a Soft Focal Point
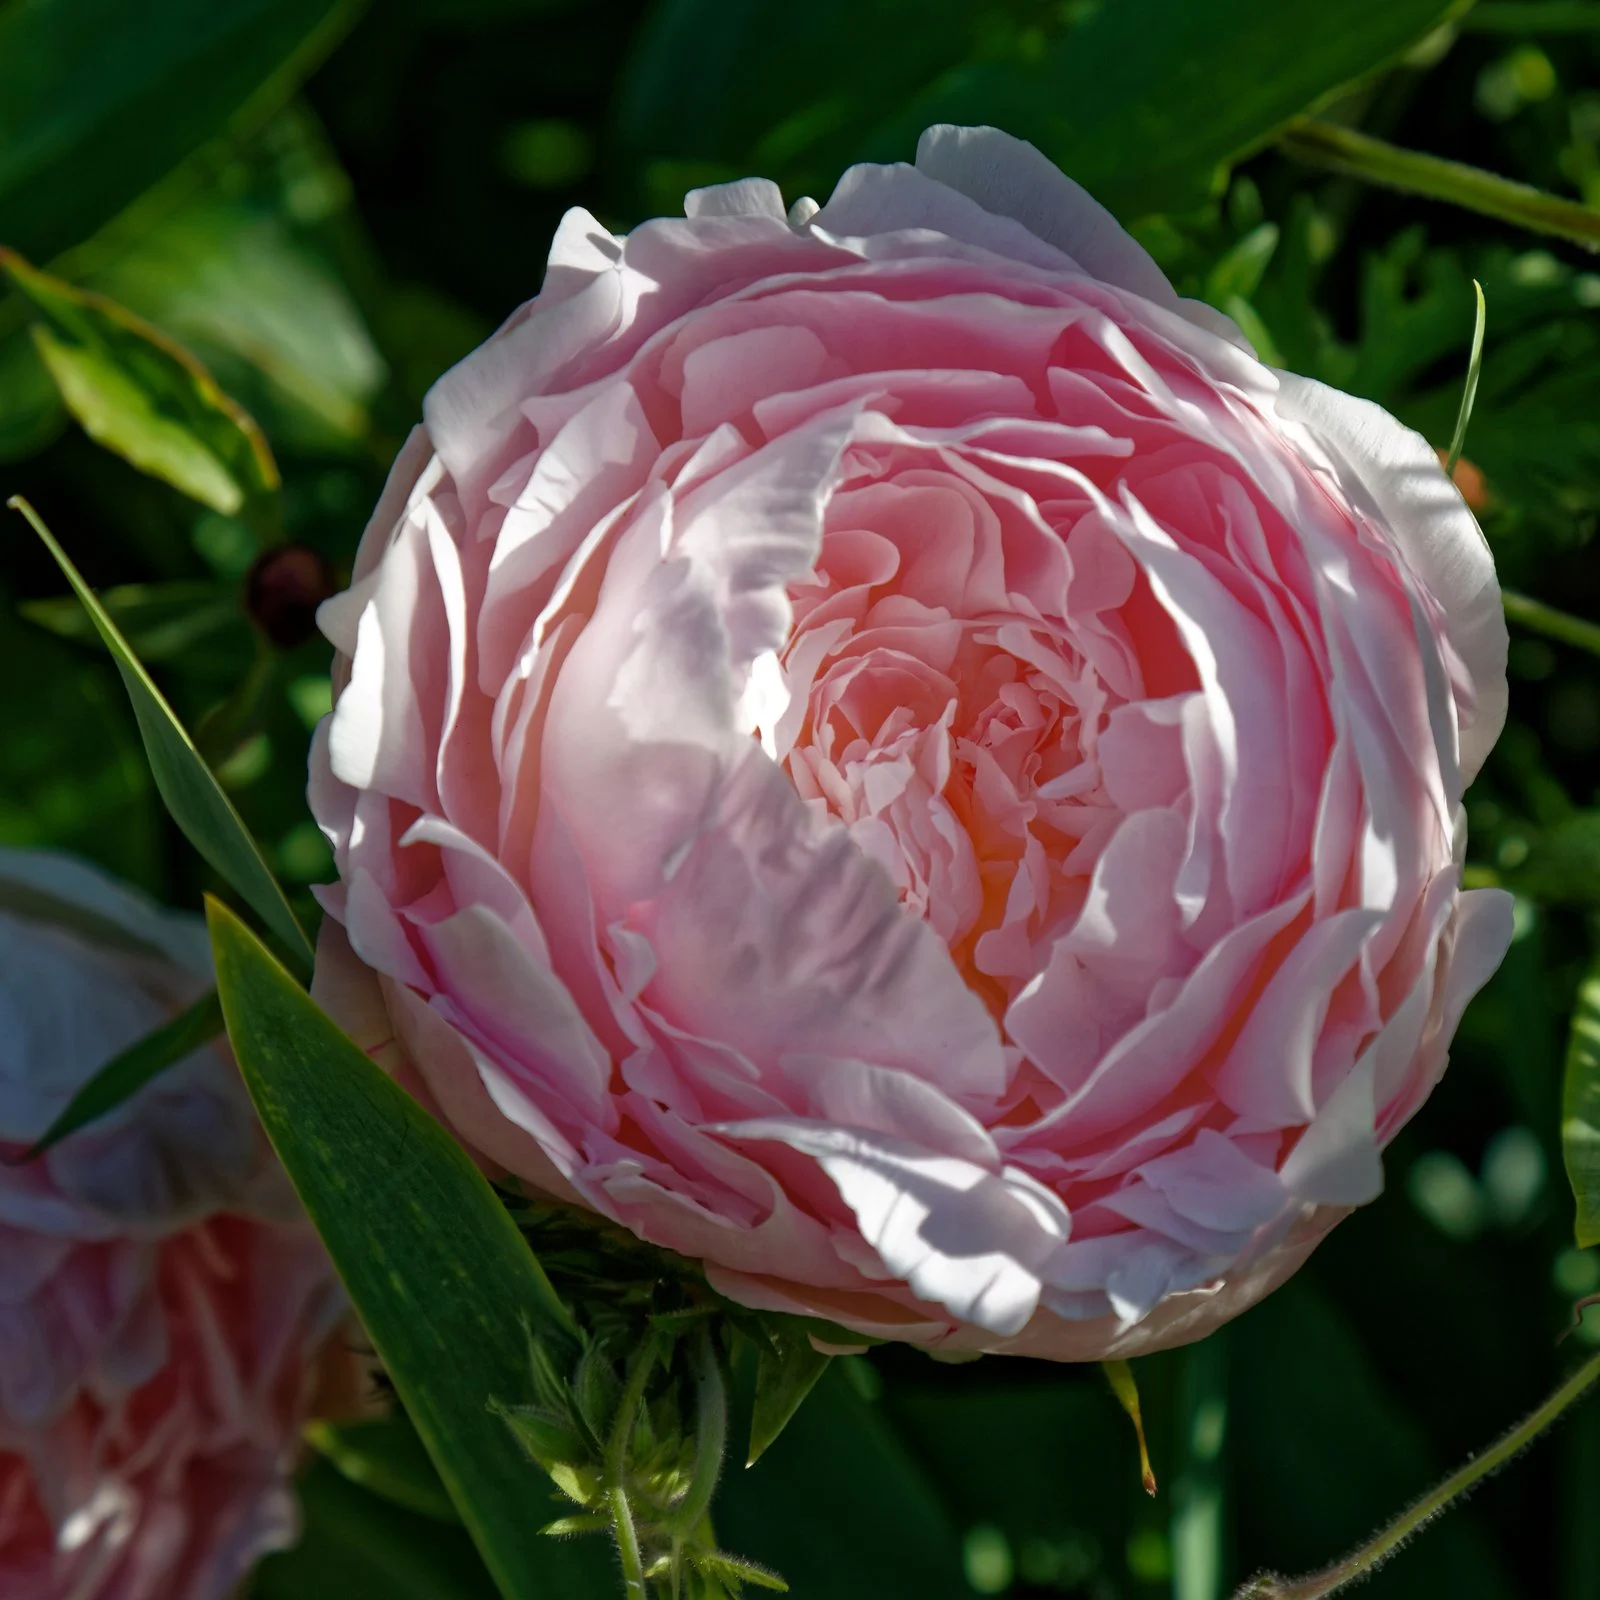
Pink peonies are soft, full, and romantic without being fussy, which makes them a lovely focal point for a bedroom wall. One large peony print above a bed, or a pair of smaller prints on either side of a mirror, adds warmth without shouting. Pale pink works with white, cream, and grey bedding, so you do not need to change anything else in the room.
First, choose a print where the peony fills most of the frame, so the flower reads clearly from the door. Next, hang it centred above the bed, with the bottom of the frame about six inches above the headboard. I tried this and learned that a peony print hung too far above the bed floats away from the furniture. Keep the gap small, and the bed and the art will feel like one grouping.
Try this: Add a single real peony stem in a bud vase on the bedside table to echo the print.
14. Sunshine Yellow: Daffodils on a Pale Wall
Daffodils are spring’s yellow alarm clock, and a daffodil print on a pale wall brings instant sunshine into a kitchen, a breakfast nook, or a child’s room. Yellow needs a calm background to shine — white, pale cream, or soft grey walls work best, while a busy patterned wall will fight with it. Keep the frame white or light wood.
First, pick a print with plenty of green stems as well as yellow heads, so the yellow does not look flat. Next, hang it where morning light hits it, if you can, since yellow glows in sunlight. I tried this and learned that a daffodil print in a dark corner looks dull no matter how bright the flowers are. Move it to the brightest wall you have, even if that wall was not your first choice.
Try this: Pair the print with a yellow mug or a small yellow vase on a nearby shelf, and the colour will feel planned, not random.
15. One Big Sunflower Canvas, Nothing Else
Sometimes the boldest spring wall is the simplest one: one big sunflower canvas and nothing else. A large, bright flower on a plain wall holds the whole room on its own, and the empty wall around it is part of the look. This works best on the main wall of a living room, where the canvas is the first thing you see when you walk in.
First, choose a canvas big enough to hold the wall — a small print on its own gets lost, so go larger than you think you need. Next, centre it on the wall and give it room on both sides. I tried this and learned that the hardest part is stopping. The first time I did it, I kept adding a small frame beside it, then a shelf, until it was a normal crowded wall again. One canvas, on its own, is the whole idea.
Try this: Pick a sunflower image with a dark centre and bright petals, so it reads clearly even from the doorway.

Frequently Asked Questions
What are the easiest spring wall decor ideas for beginners?
Start with a row of framed botanical prints or one large flower print above the sofa. Both take under an hour, need only a few nails, and instantly make a room feel like spring. You can add shelves or hanging planters later once you see how the first piece looks.
How high should I hang wall art in spring?
Centre the art at eye level when you are standing, about 57 inches from the floor to the centre of the piece. Above a sofa or a bed, leave about six inches between the furniture and the bottom of the frame, so the art and the furniture feel like one grouping.
Can I use real plants on a wall without damaging the paint?
Yes, if you use proper hooks or wall planters with drip trays, and water plants over a sink rather than on the wall. Check behind the pots once a month for damp marks, and avoid hanging plants on a wall that stays damp or gets no airflow.
Do botanical prints fade in sunlight?
Yes, prints and pressed flowers fade in direct sun, so hang them on walls that get bright but indirect light, or use glass with UV protection for a sunny wall. Dried flowers fade fastest, so keep them in shaded hallways and bedrooms.
Final Thoughts
Spring wall decor does not need to be complicated or expensive. Start with one botanical print or a small shelf of plants, hang it at eye level, and leave enough empty wall around it for the piece to breathe. The best walls I have seen are not the ones with the most frames on them — they are the ones where someone picked a flower or a leaf they genuinely liked and gave it a good spot.
Try one idea from this list this weekend, live with it for a few days, and tweak it until it feels like yours. Swap the branches when they fade, change the print next season, and let your walls grow with spring. That is the whole secret: a wall that changes a little with the season will always feel fresh.