
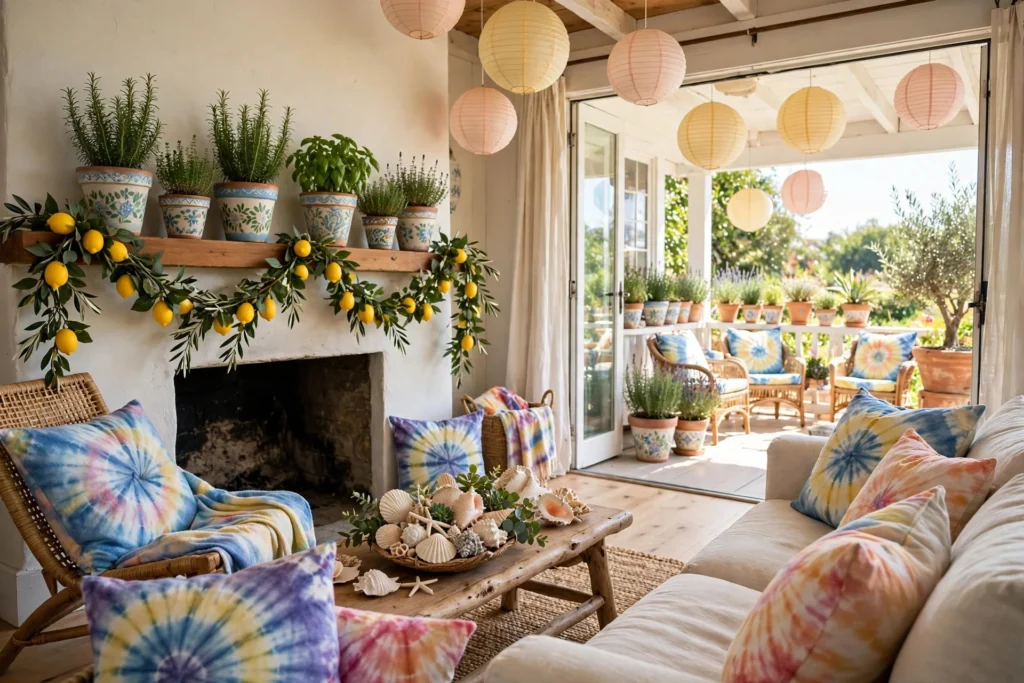
Summer is the one season when a house can look fresh and full of life without spending much at all. A few lemons, a handful of shells from last year’s beach trip, and a can of paint you already own can change a room more than a big shopping trip. That is what these diy summer decorations on a budget are all about: small projects using cheap materials and things you probably have at home.
I made most of these in my own house over the last few summers, usually on a Saturday afternoon with the windows open and a glass of iced tea nearby. Some took twenty minutes, some took an hour, and none of them cost more than a few dollars. Pick the ones that fit your home and start with two or three.
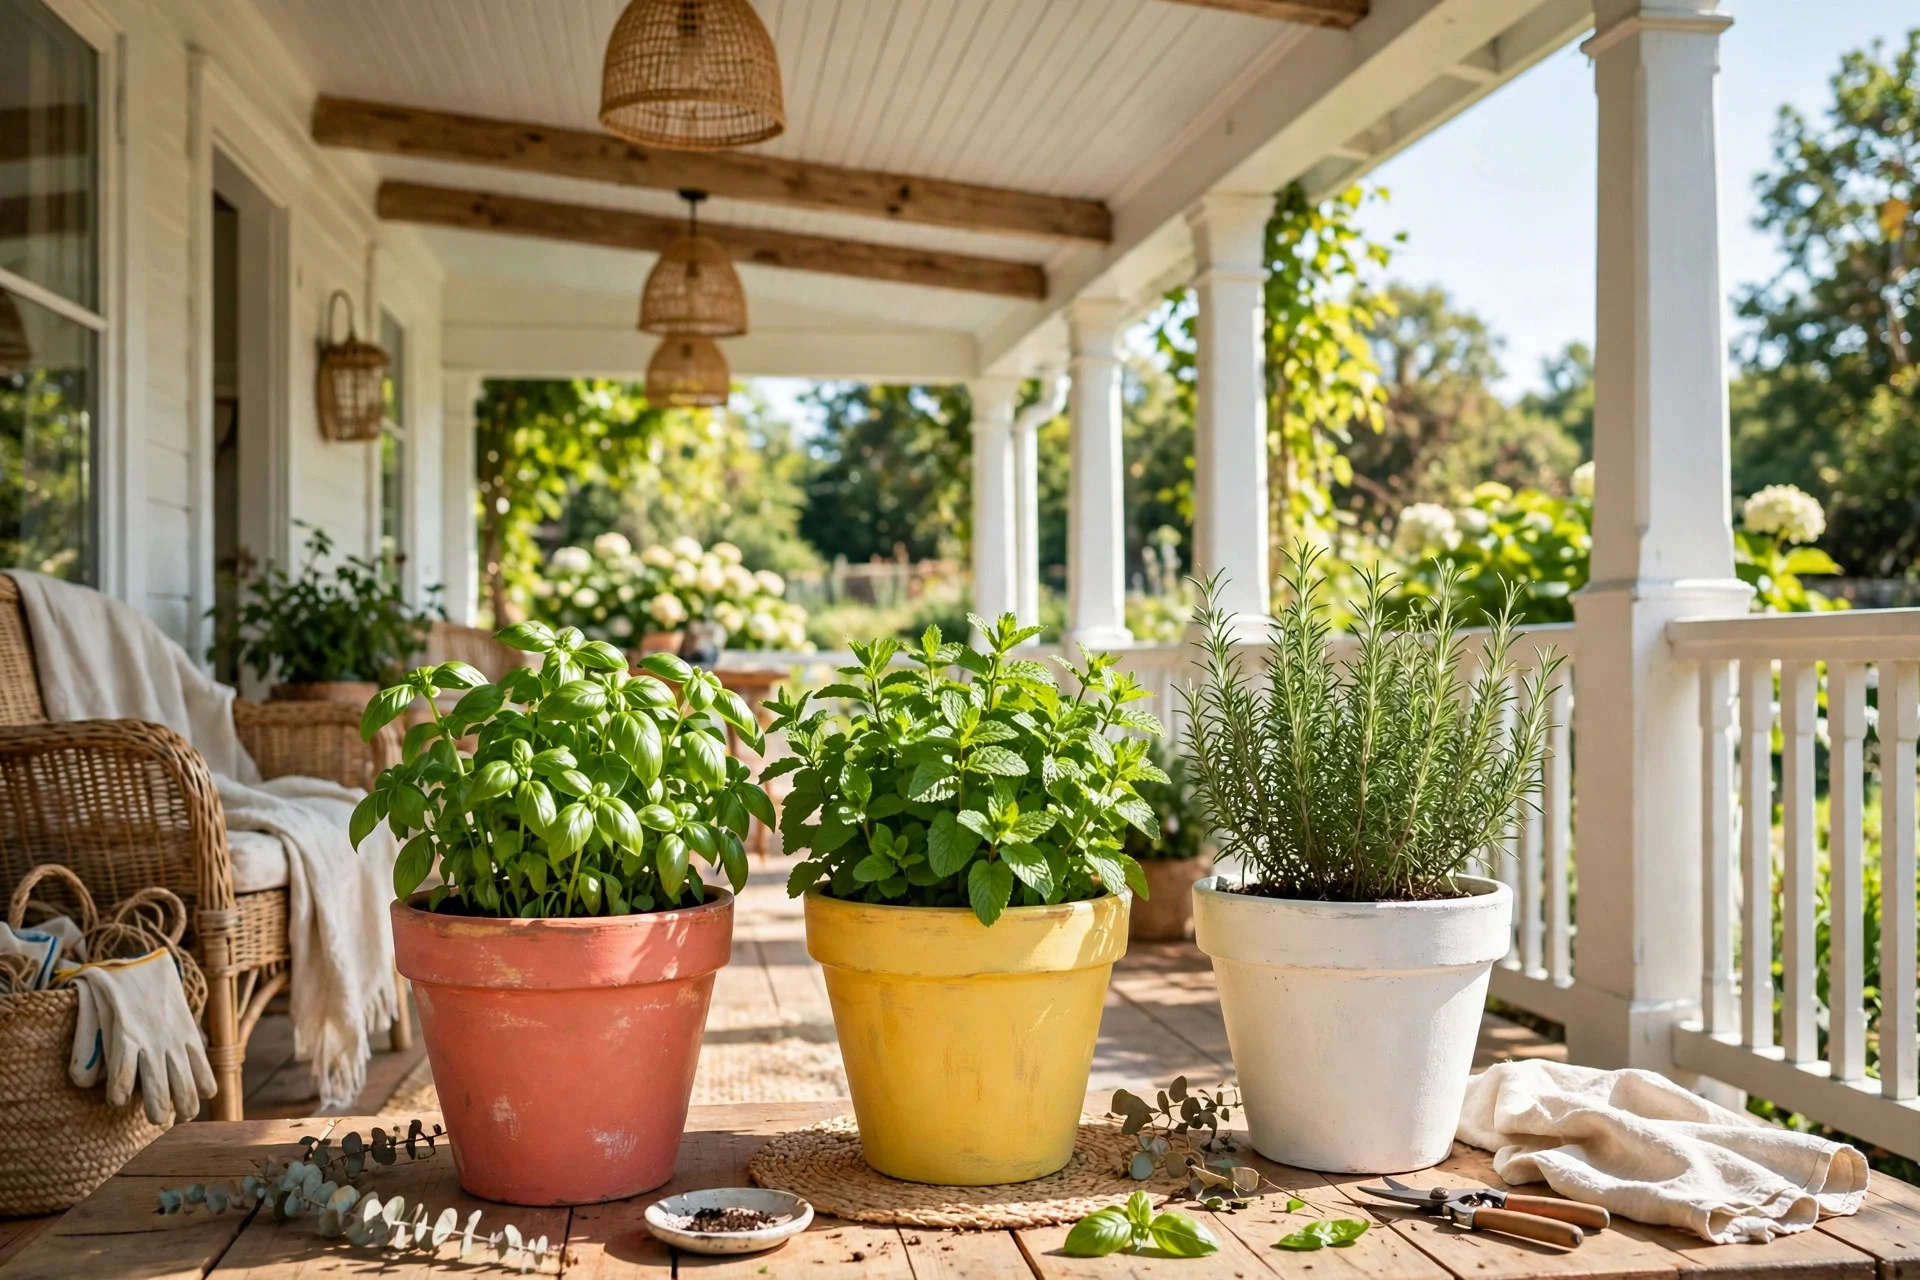
1. Painted Terracotta Pots with Citrus Herbs: DIY Summer Decorations on a Budget
Plain terracotta pots are about a dollar each at the garden center, and a coat of paint turns them into the prettiest summer planters on the porch. I paint mine in soft white, coral, or sunny yellow, then plant basil, mint, or rosemary in each one. First, brush the dust off the pot and let it dry in the sun. Next, paint two thin coats of outdoor acrylic, letting the first coat dry fully before the second. Then add the plant and a little potting soil. Thin coats last all season, and the herbs smell wonderful every time you brush past them.
Try this: Paint a stripe or a few dots around the rim in a second color. It takes five extra minutes.
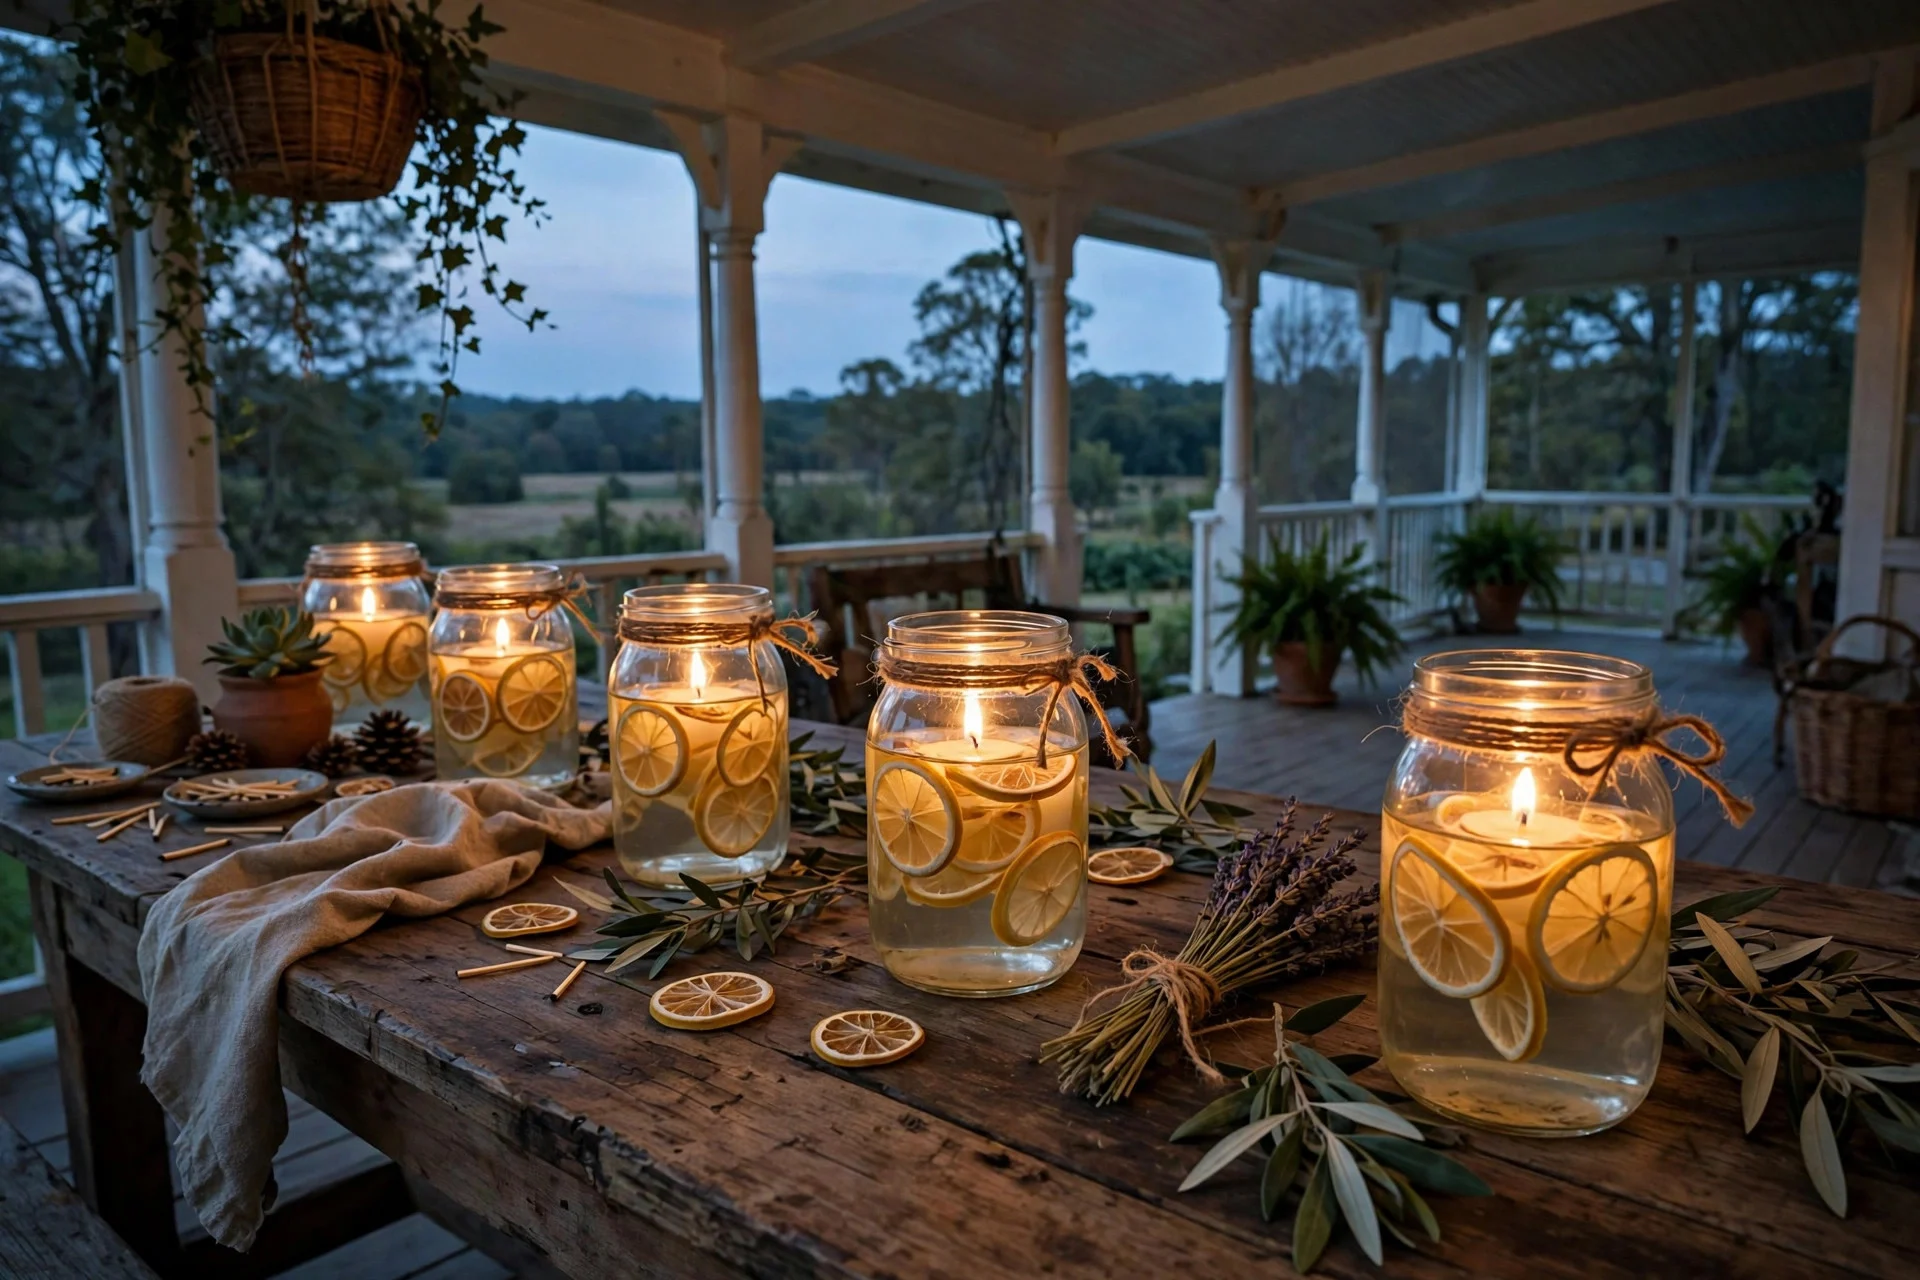
2. Mason Jar Citronella Candles for the Porch
Mason jar citronella candles are the easiest summer project I know, and they actually get used every single evening. I melt a few citronella tea lights or a block of citronella wax in a double boiler, pour it into clean mason jars, and drop in a wick before it sets. A strip of twine tied around the rim and a few dried lemon slices pressed against the glass make them look like something from a shop. Let the wax cool a few minutes before pouring, or the jars can crack as they cool. Set two or three on the porch table and light them just before sunset.
Try this: Use jars in different heights for a cluster. The mix looks far better than three identical jars.
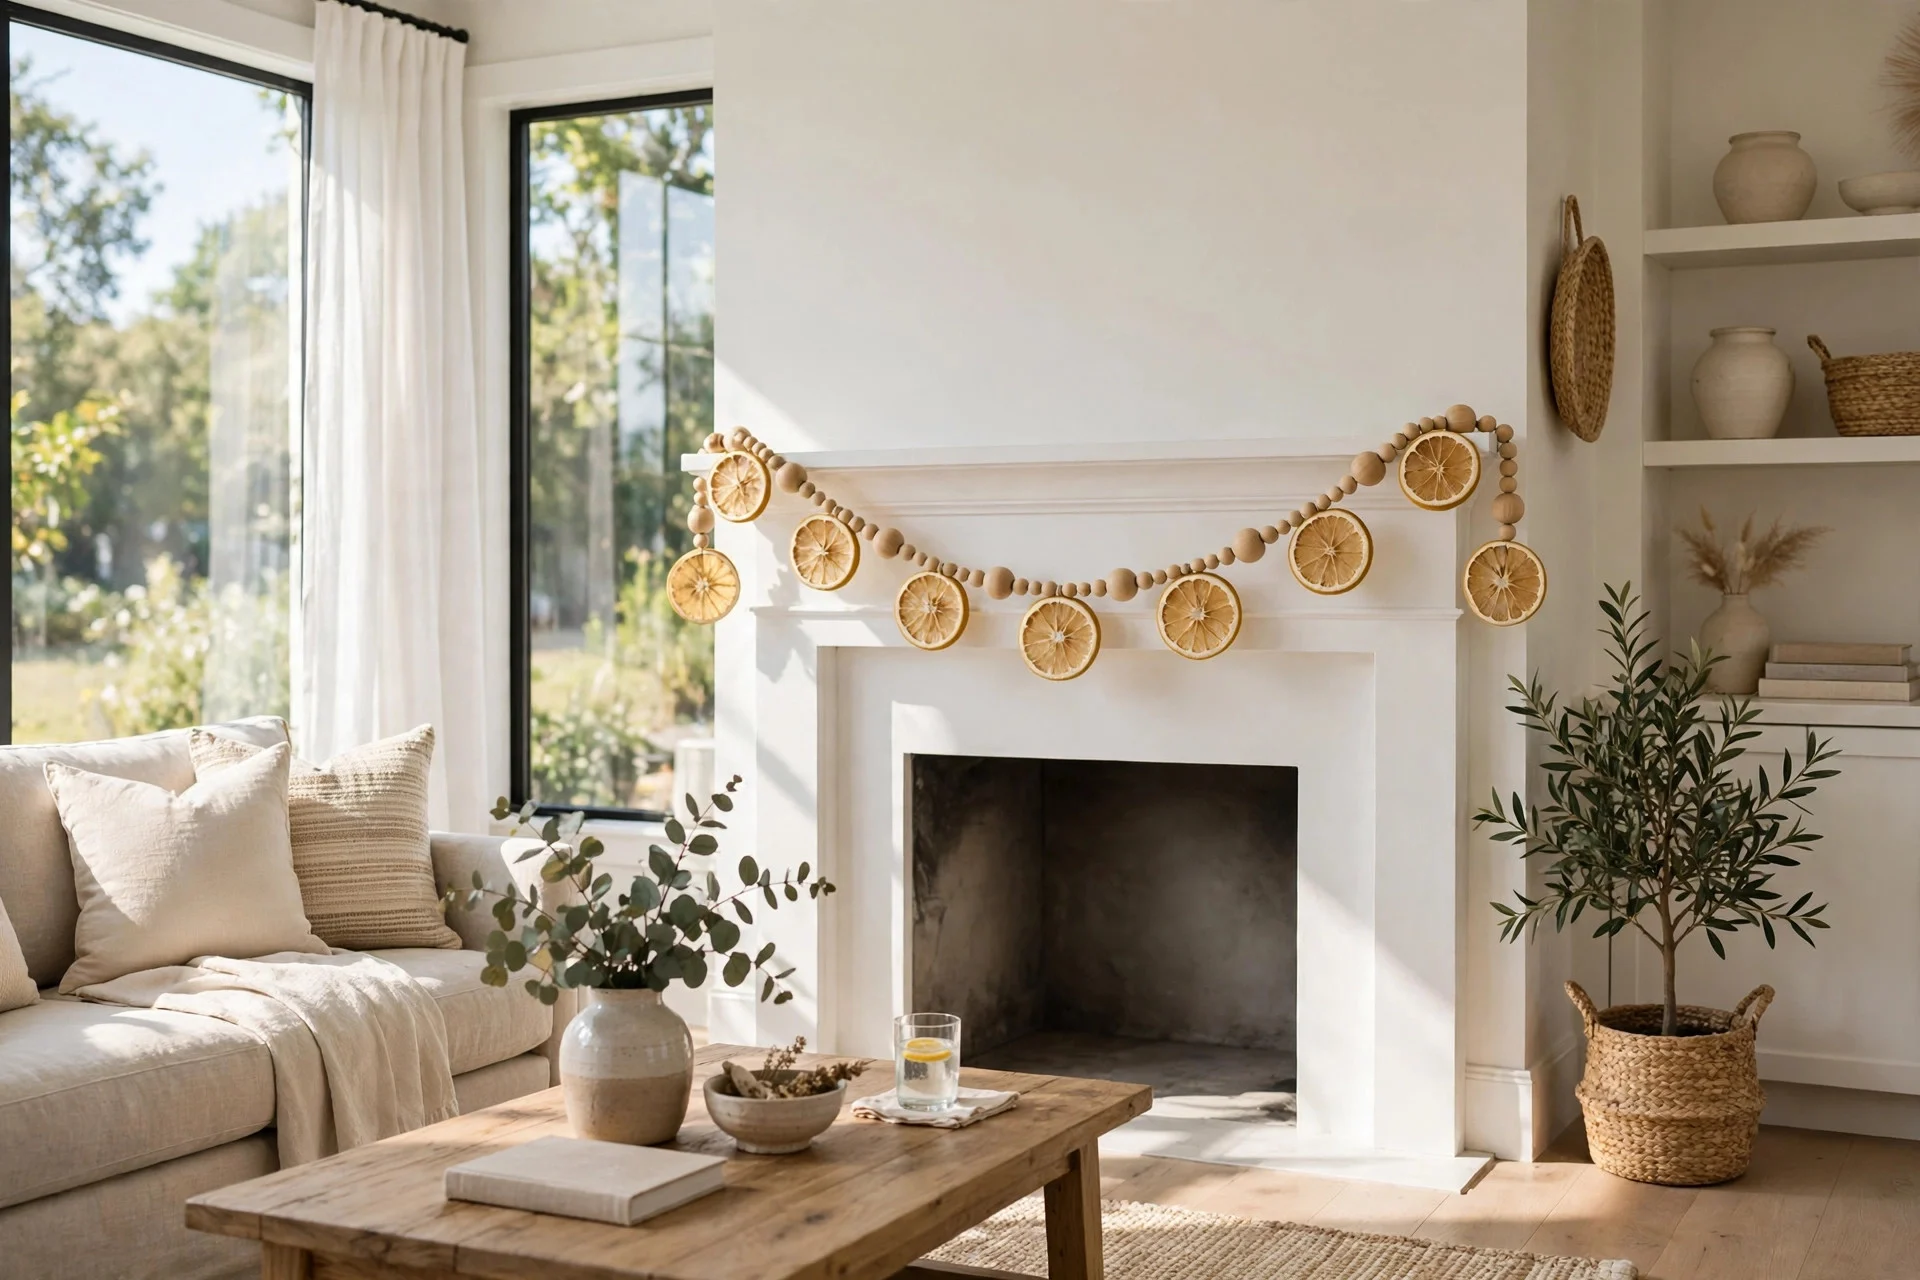
3. Lemon Slice Garland for the Mantel
A lemon slice garland brings instant summer to a mantel, a doorway, or a bare wall, and it costs almost nothing to make. I slice two or three lemons thin, dry them in a low oven for a couple of hours until they feel crisp, then thread them onto twine with a large needle, spacing them out with a few small green leaves or wooden beads. I once tried threading fresh slices straight onto the string. They drooped and turned brown within a day. Dried slices keep their color for weeks, and the garland folds away neatly for next summer.
Try this: Mix in a few dried orange slices for a warmer color.
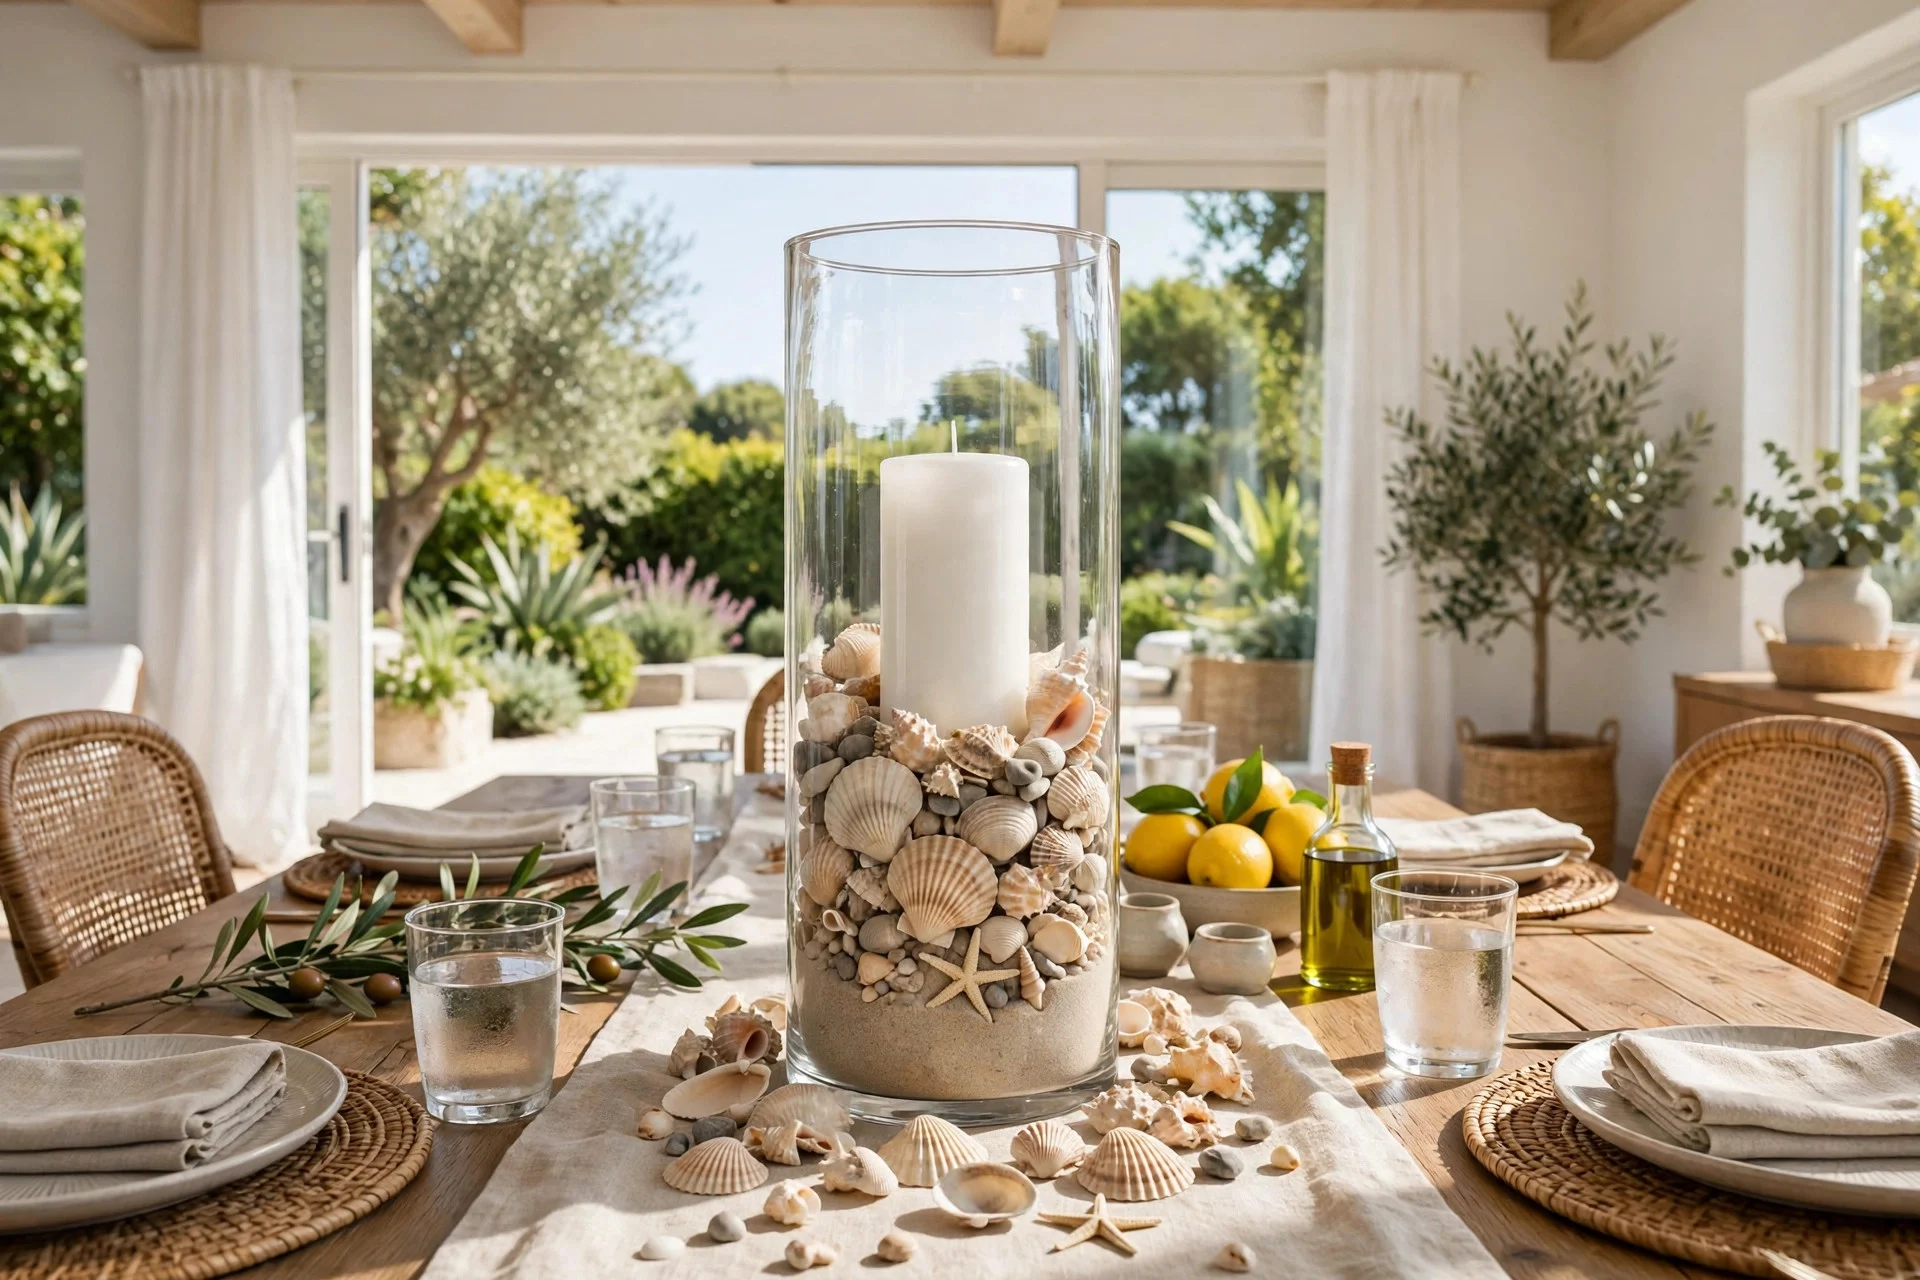
4. Seashell and Sand Centerpiece in a Glass Vase
If you have a jar of shells sitting in a drawer from a beach trip, this is the moment to use them. I fill a tall glass vase about a third full with clean sand, nestle in a few shells of different sizes, and set a plain white pillar candle in the middle. The whole thing takes five minutes and looks like a seaside shop display. Rinse the shells first and let them dry fully, or damp shells will fog up the glass. A few sprigs of dried sea grass tucked behind the shells finish it off, and it sits happily on a coffee table all season.
Try this: Use soft natural sand rather than bright dyed sand. It lets the shells do the talking.
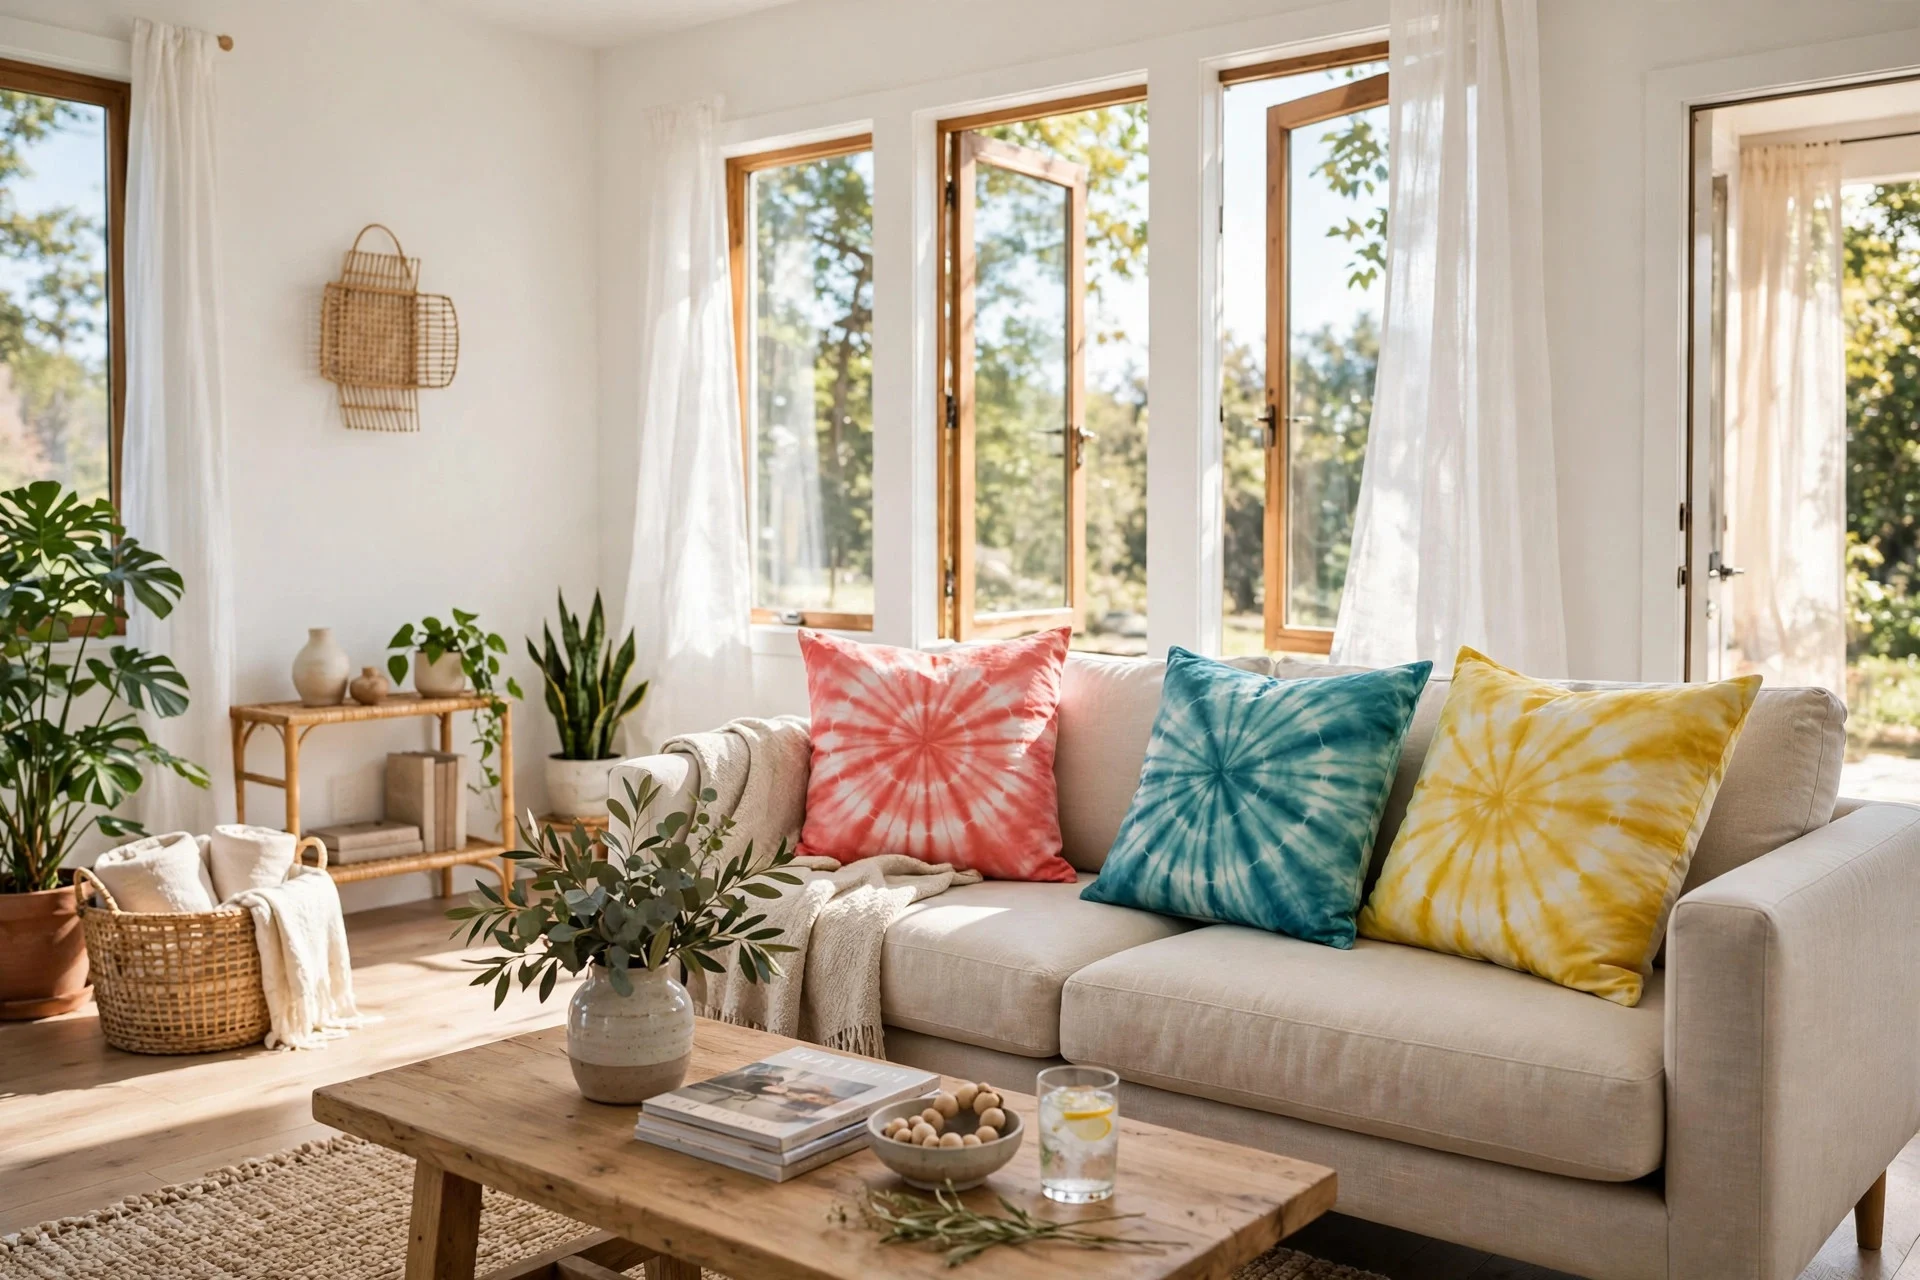
5. Tie-Dye Pillow Covers from Old T-Shirts
Old white T-shirts make the best tie-dye pillow covers, and this is a great project for a hot afternoon outside. I cut the shirts into large squares, bunch them up with rubber bands, and dip them into a bucket of fabric dye in coral, teal, or sunny yellow. After rinsing and drying, I sew two squares together, leaving one side open, and slip them over a plain pillow insert. Ten minutes in the dye gives soft, sun-faded colors; my first batch sat for an hour and came out far too dark. The covers cost nothing but the dye, and they wash fine all summer.
Try this: Try a simple spiral fold first. It is the easiest pattern and always looks good.
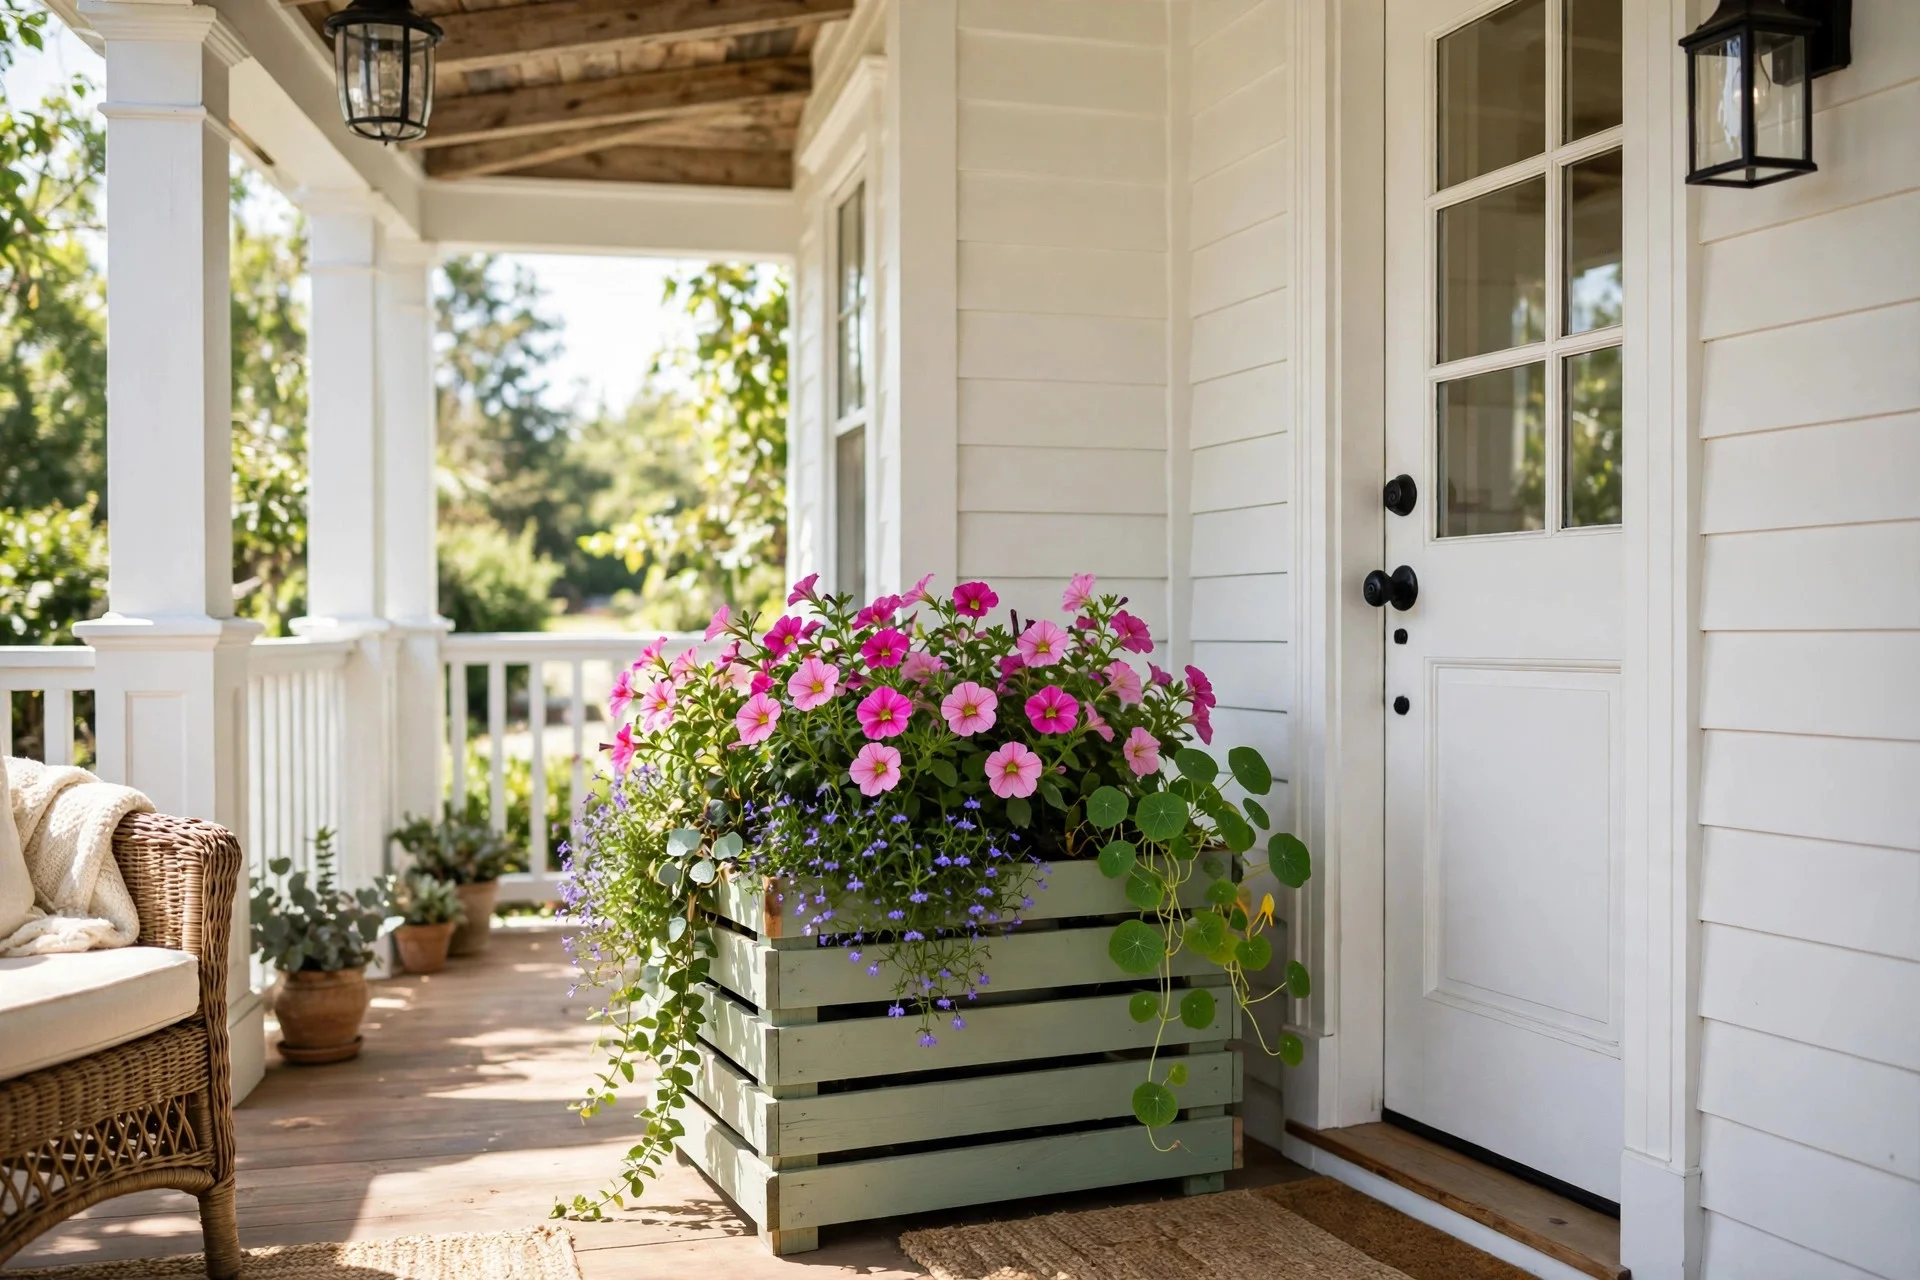
6. Painted Wooden Crate Porch Planter
A plain wooden crate from the craft store or the back of a grocery store becomes a charming porch planter with a little paint and a liner. I sand the rough edges, paint the outside in white or soft sage green, and line the inside with a plastic bag with a few holes poked in the bottom for drainage. Then I fill it with potting soil and a mix of trailing plants and bright petunias. Skip the liner and the soil leaks through the slats onto the porch every time you water, as I learned the first year. With it in place, the crate lasts for years, and two flanking the front door look professionally done.
Try this: Stencil a house number or the word “bloom” on the front. It adds a personal touch.
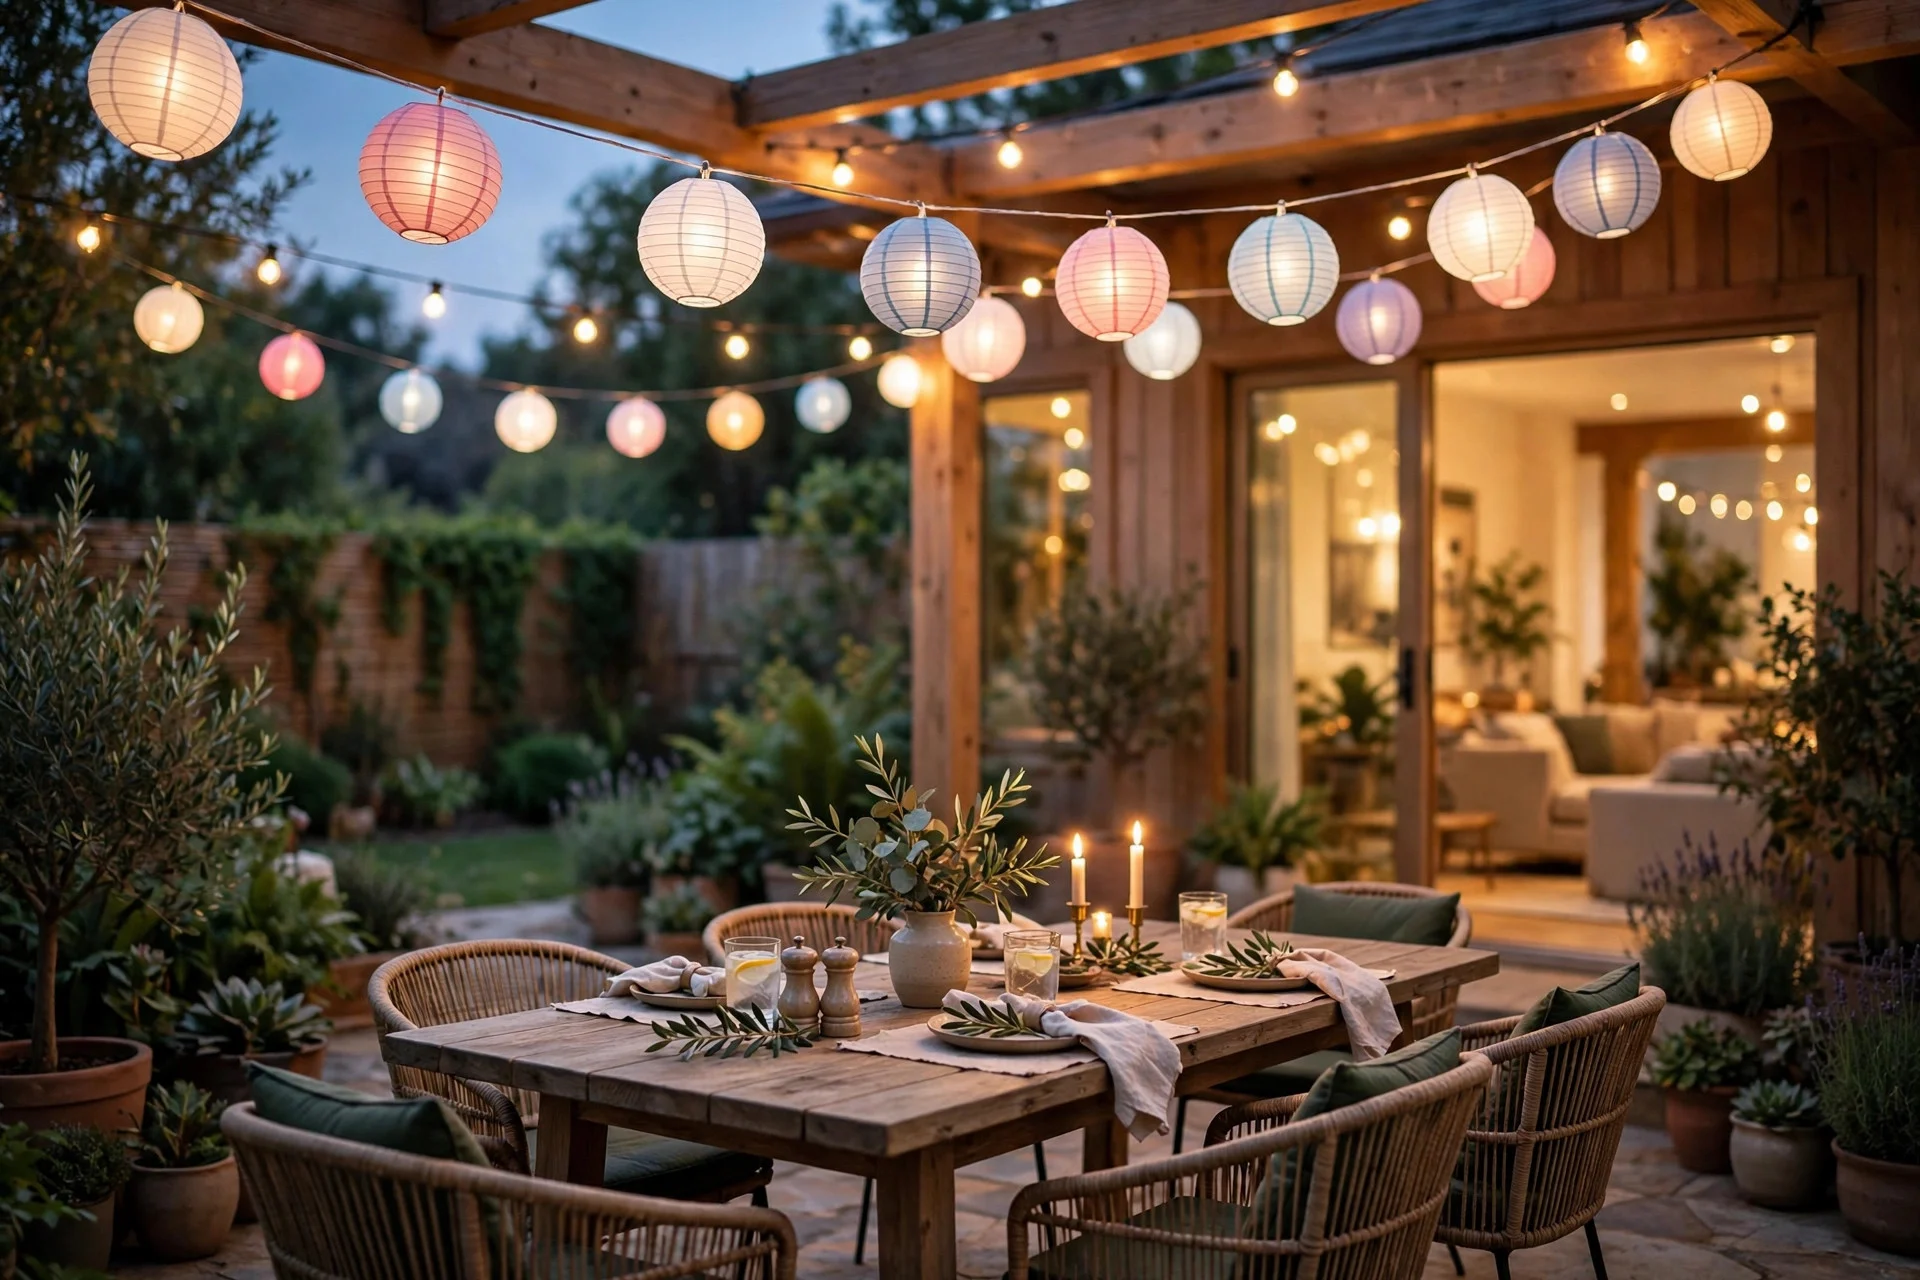
7. Paper Lantern String Lights for Evenings Outside
Paper lanterns strung along a porch or a backyard fence turn an ordinary evening into something special, and a pack of lanterns costs less than a takeout dinner. I buy plain white or pastel paper lanterns in a few sizes, thread them onto a string of warm white fairy lights, and hang the string from hooks or along a fence rail. The soft glow makes dinner outside feel like a little occasion. Bring them in when rain is coming, though, because one summer storm turned my favorite lanterns into soggy paper in an hour. Now they live in a basket by the back door, ready to hang in five minutes.
Try this: Mix in two or three colored lanterns among the white ones for a cheerful feel.
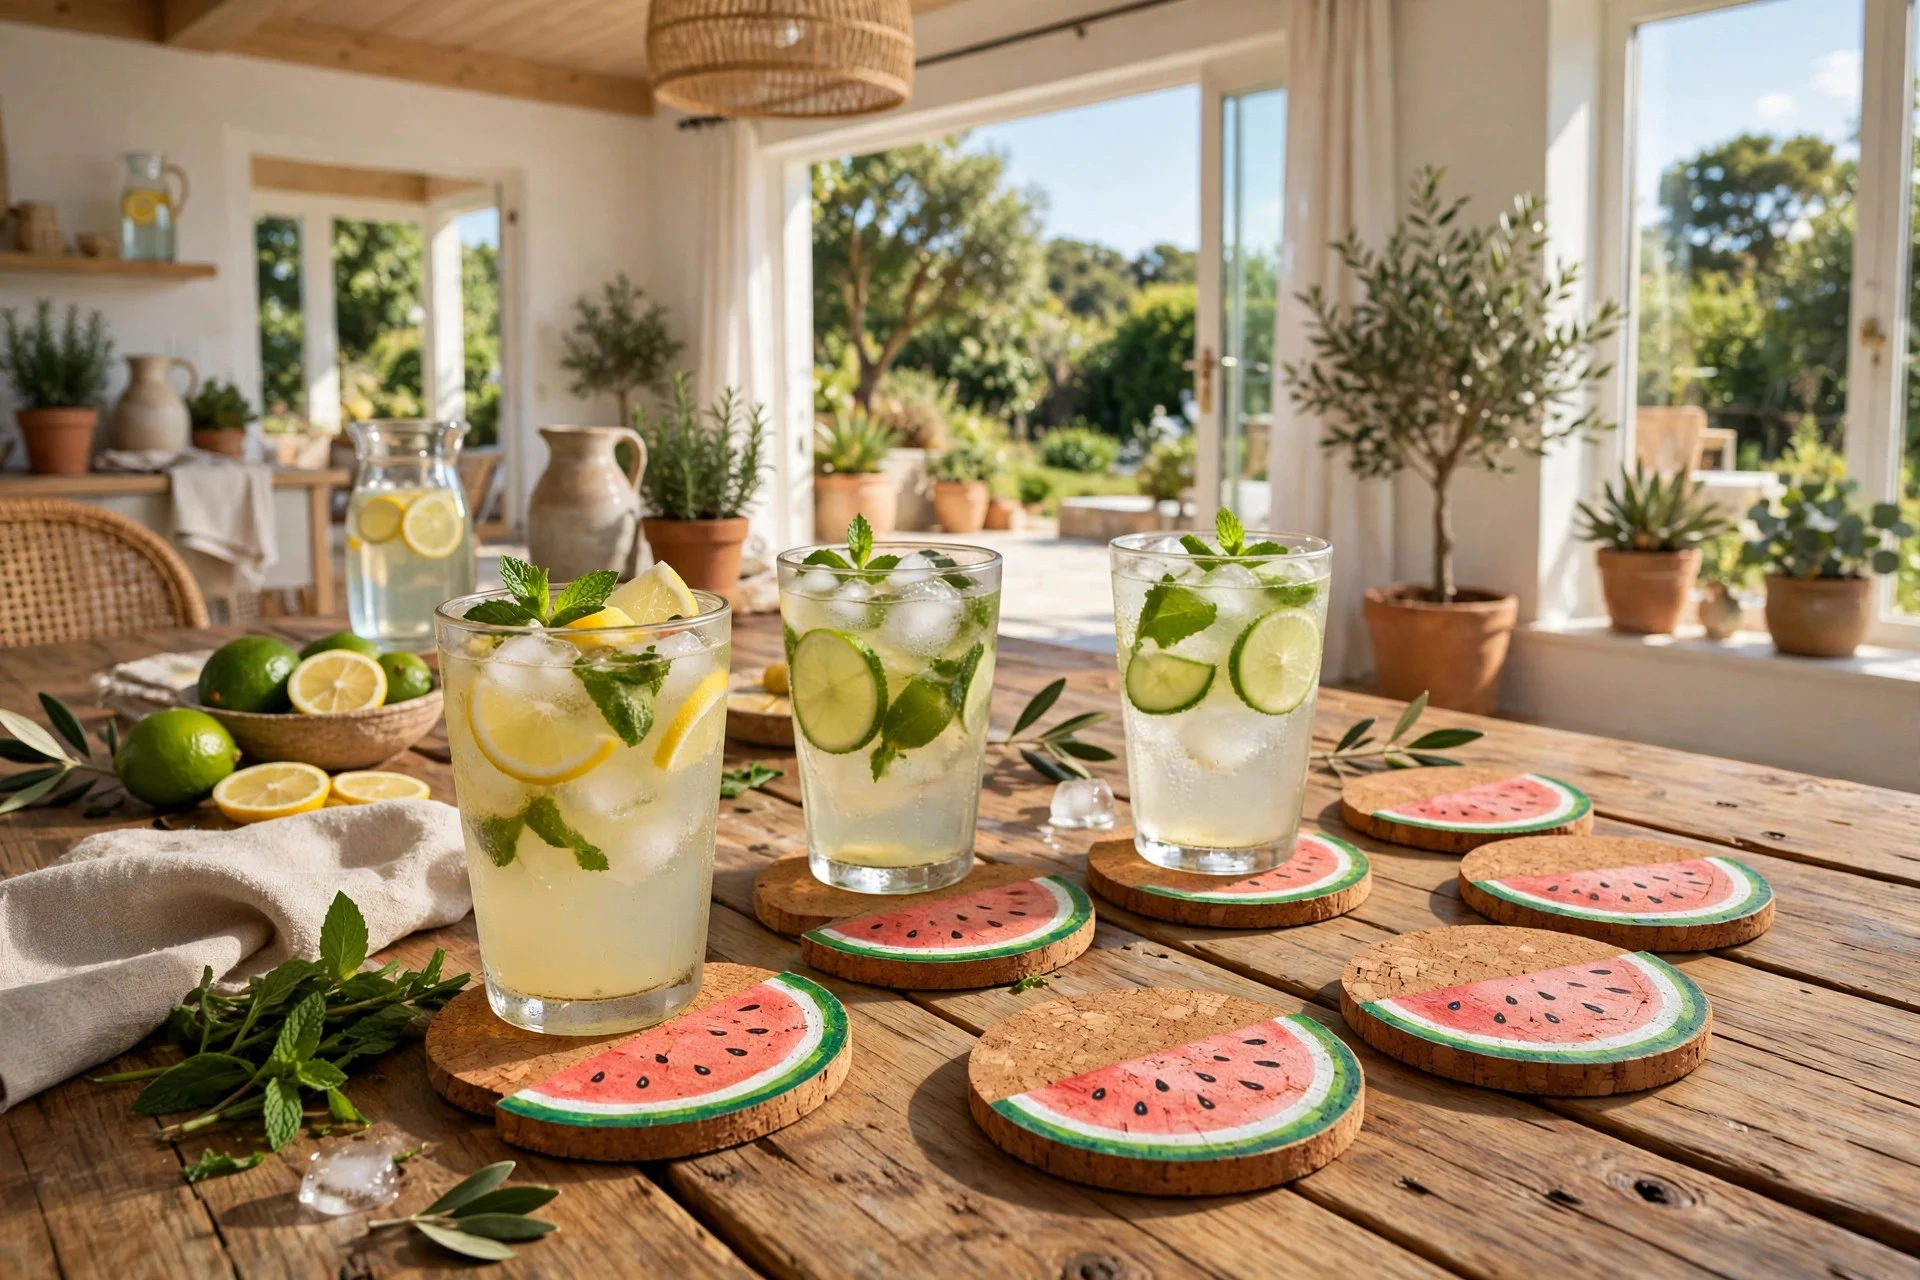
8. Watermelon Slice Coasters from Cork Tiles
Watermelon coasters are a small project with a big payoff, because guests notice them every time they set down a glass. I cut cork tiles into circles, paint the top bright pink-red with a green rind edge, and add tiny black dots for seeds with the end of a paintbrush. A coat of clear sealant on top keeps them safe from condensation rings. Without sealant, the paint on my first set started to lift after a week of iced drinks. With it, they survive a whole summer of lemonade glasses. Four coasters take about half an hour, and they make a sweet gift wrapped in twine.
Try this: Make a set of six instead of four. A summer table always needs two more than you think.
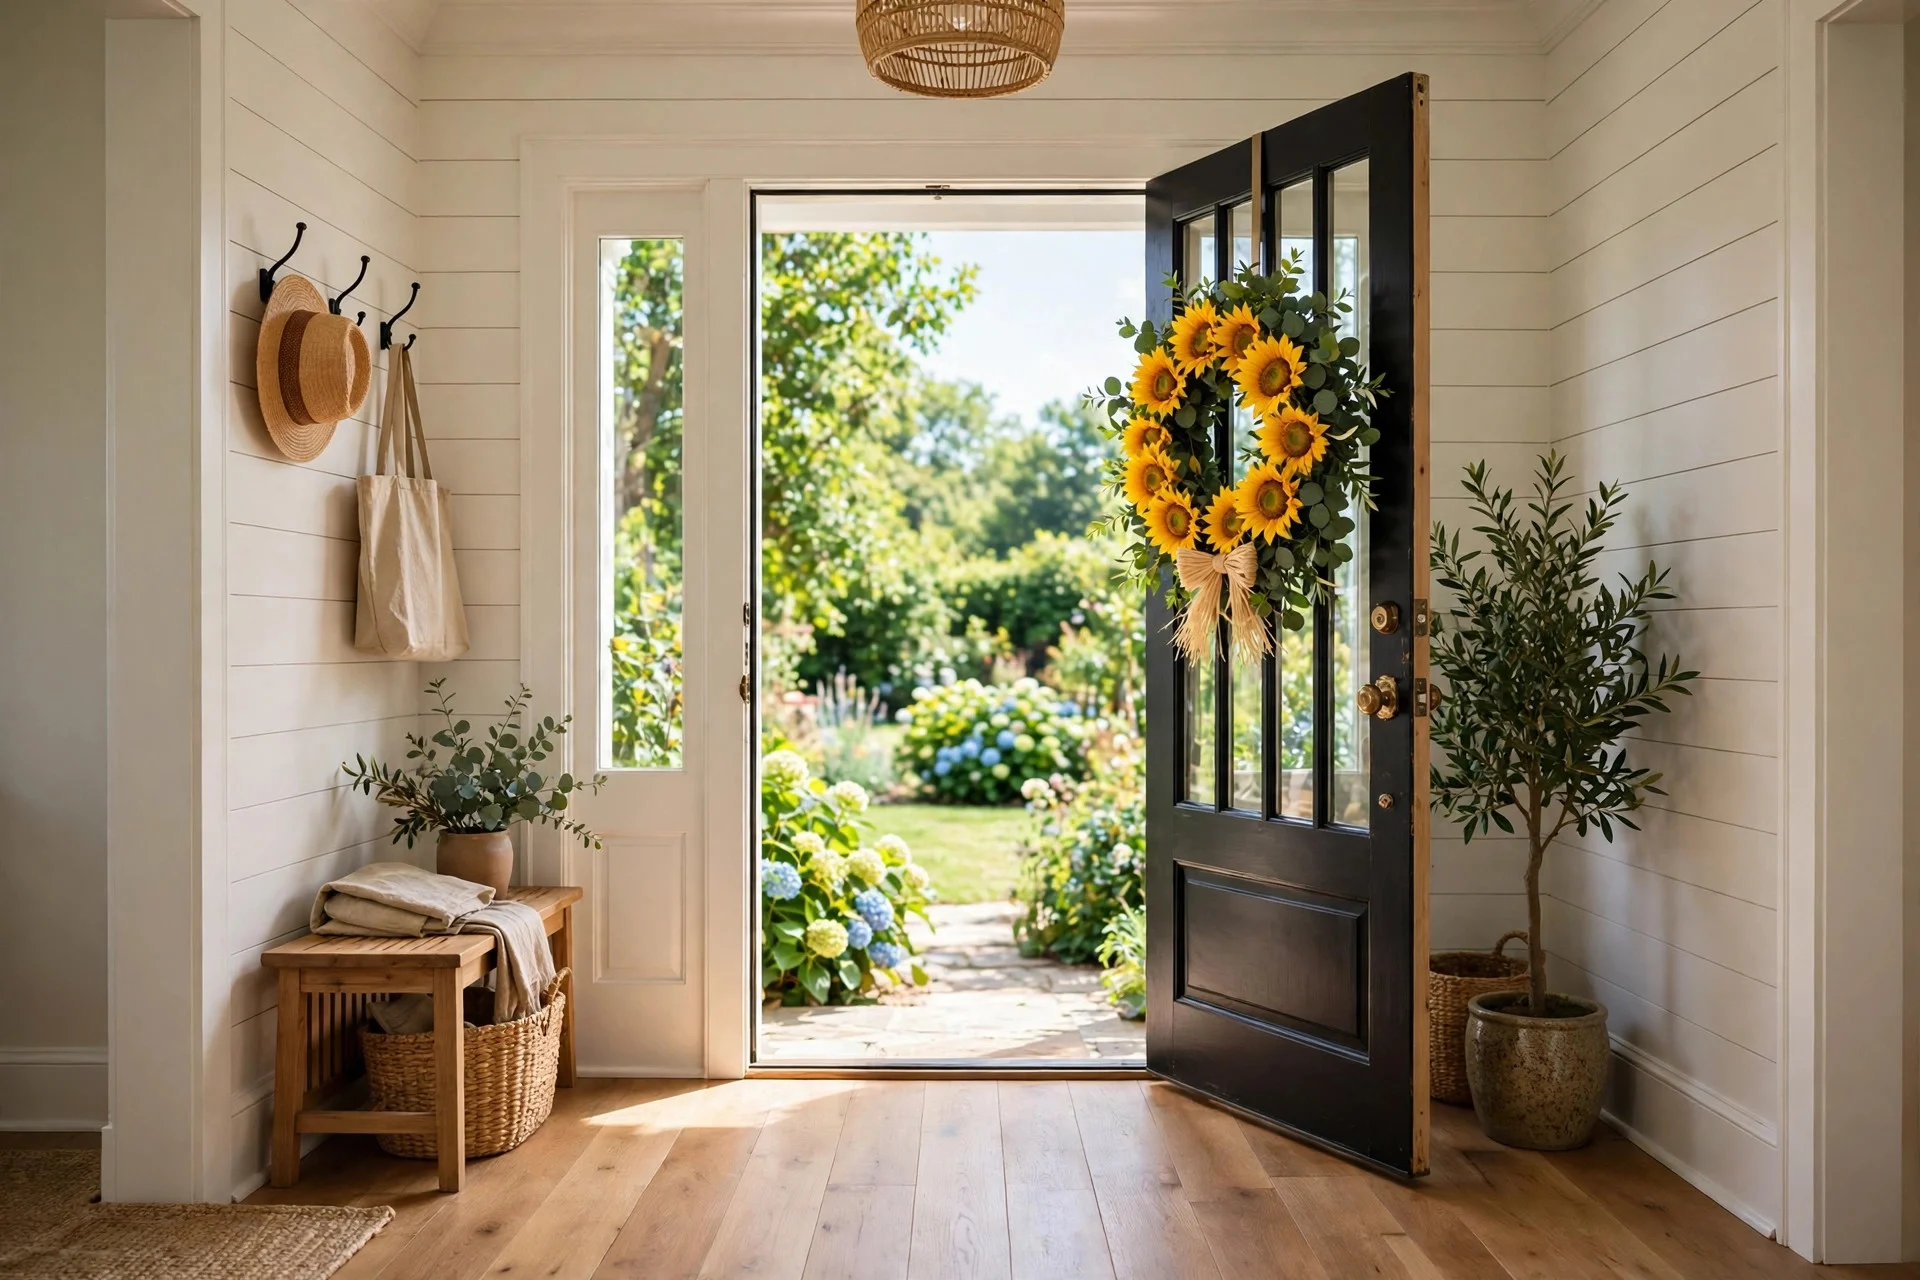
9. Sunflower Wreath on a Dollar Store Frame
A sunflower wreath on the front door says summer louder than almost anything else, and the dollar store sells everything you need to make one. I start with a plain foam or wire wreath frame, hot-glue faux sunflowers around it in a full circle, and tuck in a few green leaves and a small raffia bow at the bottom. Overlap the flowers so no bare frame shows through; my first wreath had gaps and looked patchy from the street. Buy one extra bunch to fill every gap, and the wreath looks full and generous all summer.
Try this: Add a few tiny white daisies between the sunflowers. They break up the yellow and make the wreath look more like a real bouquet.
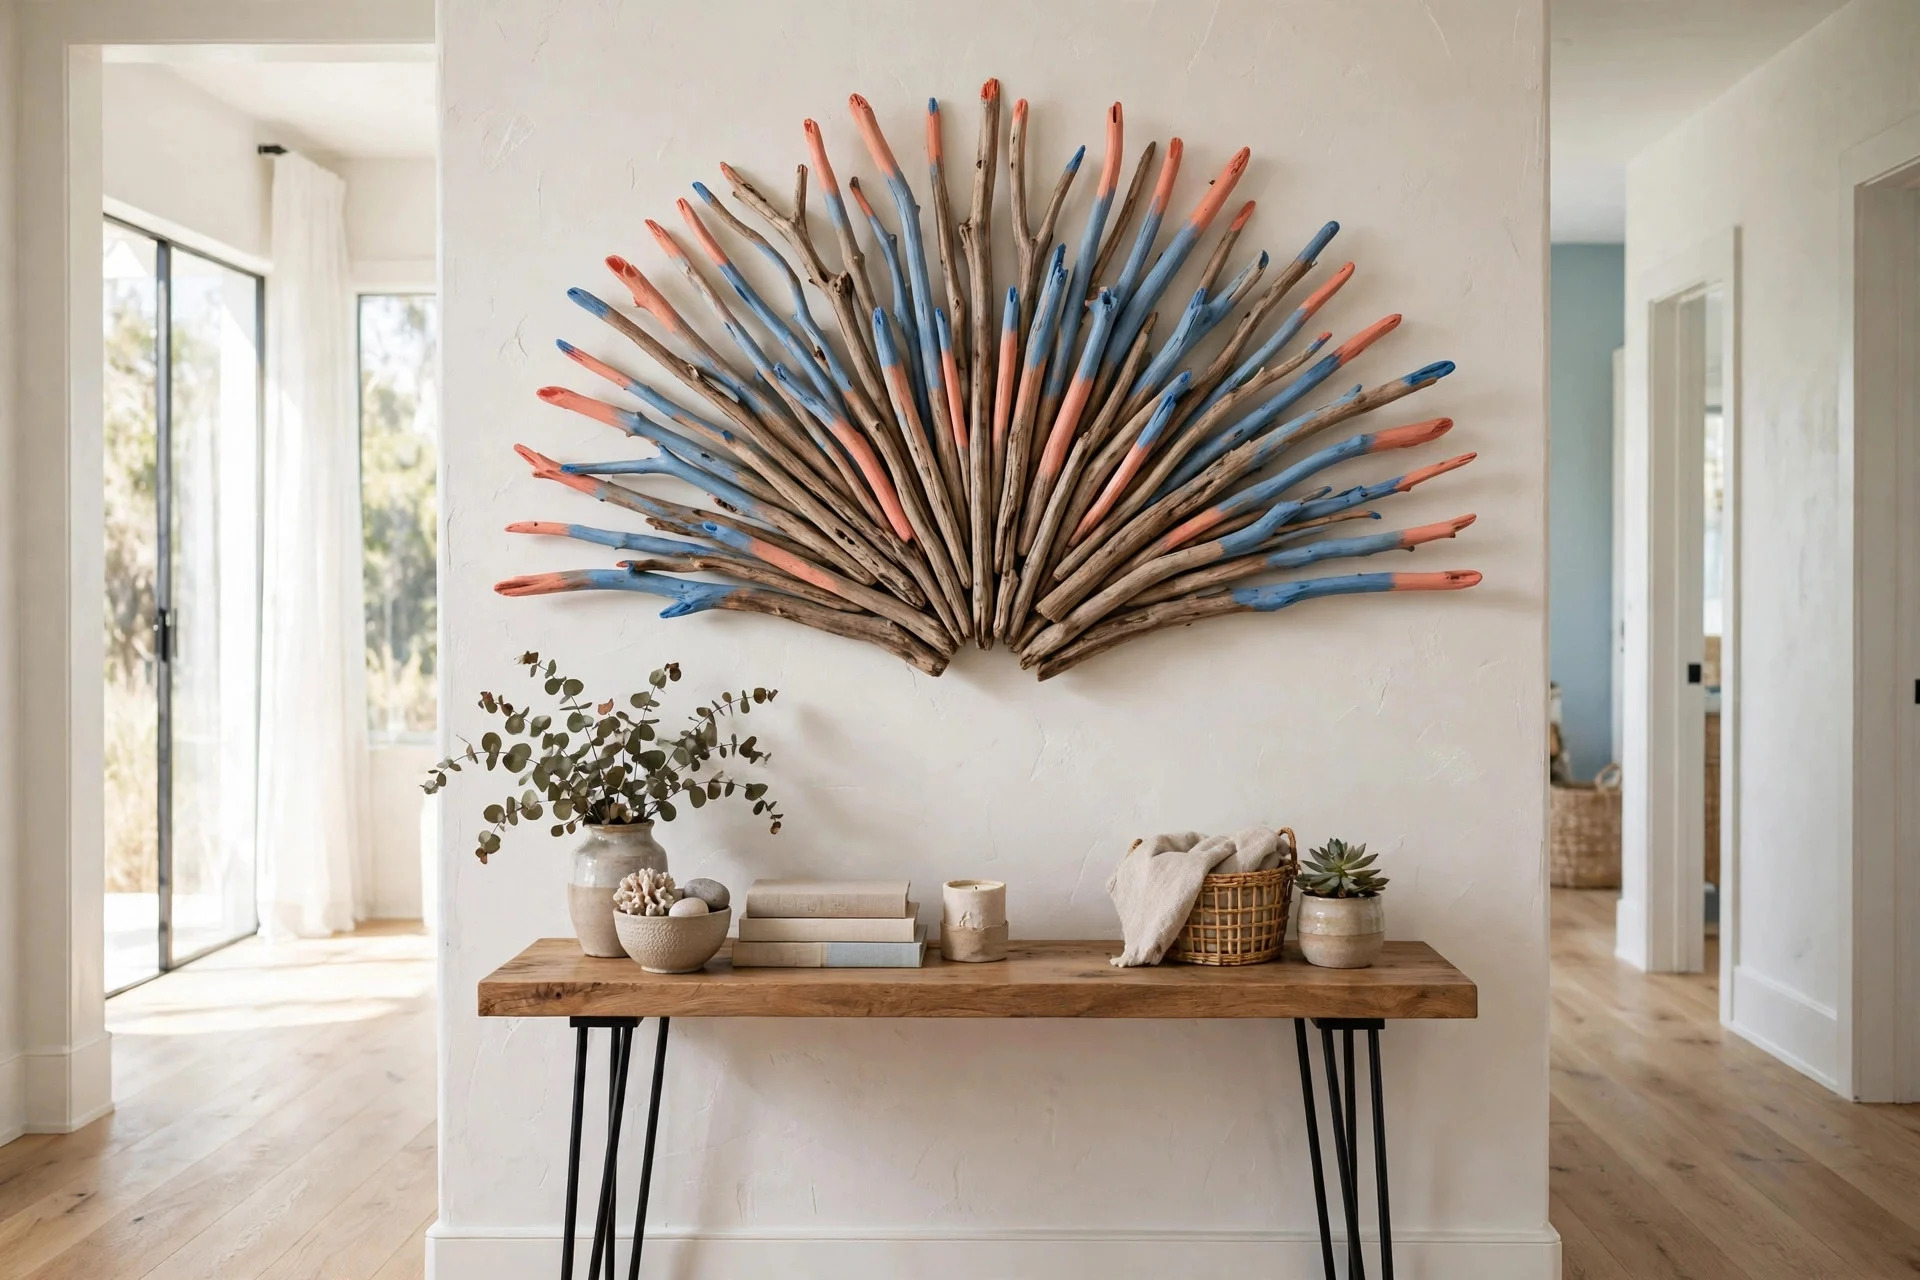
10. Painted Driftwood Wall Art
Driftwood wall art is free if you live near a beach, and it costs only a little paint if you buy the wood at a craft store. I lay a few pieces of driftwood on a table and paint the tips in white, coral, or soft blue, then arrange them in a loose fan shape and glue them to a backing board or tie them together with twine. A couple of small shells glued at the base finish the piece. Lay the pieces out first and shift them around until the shape feels natural, then glue; I glued mine down too early once and the shape came out stiff and lopsided. It hangs in the hallway and gets more compliments than anything else in the house.
Try this: Keep the painted part to just the tips of each piece. A little color goes a long way and the wood still looks natural.
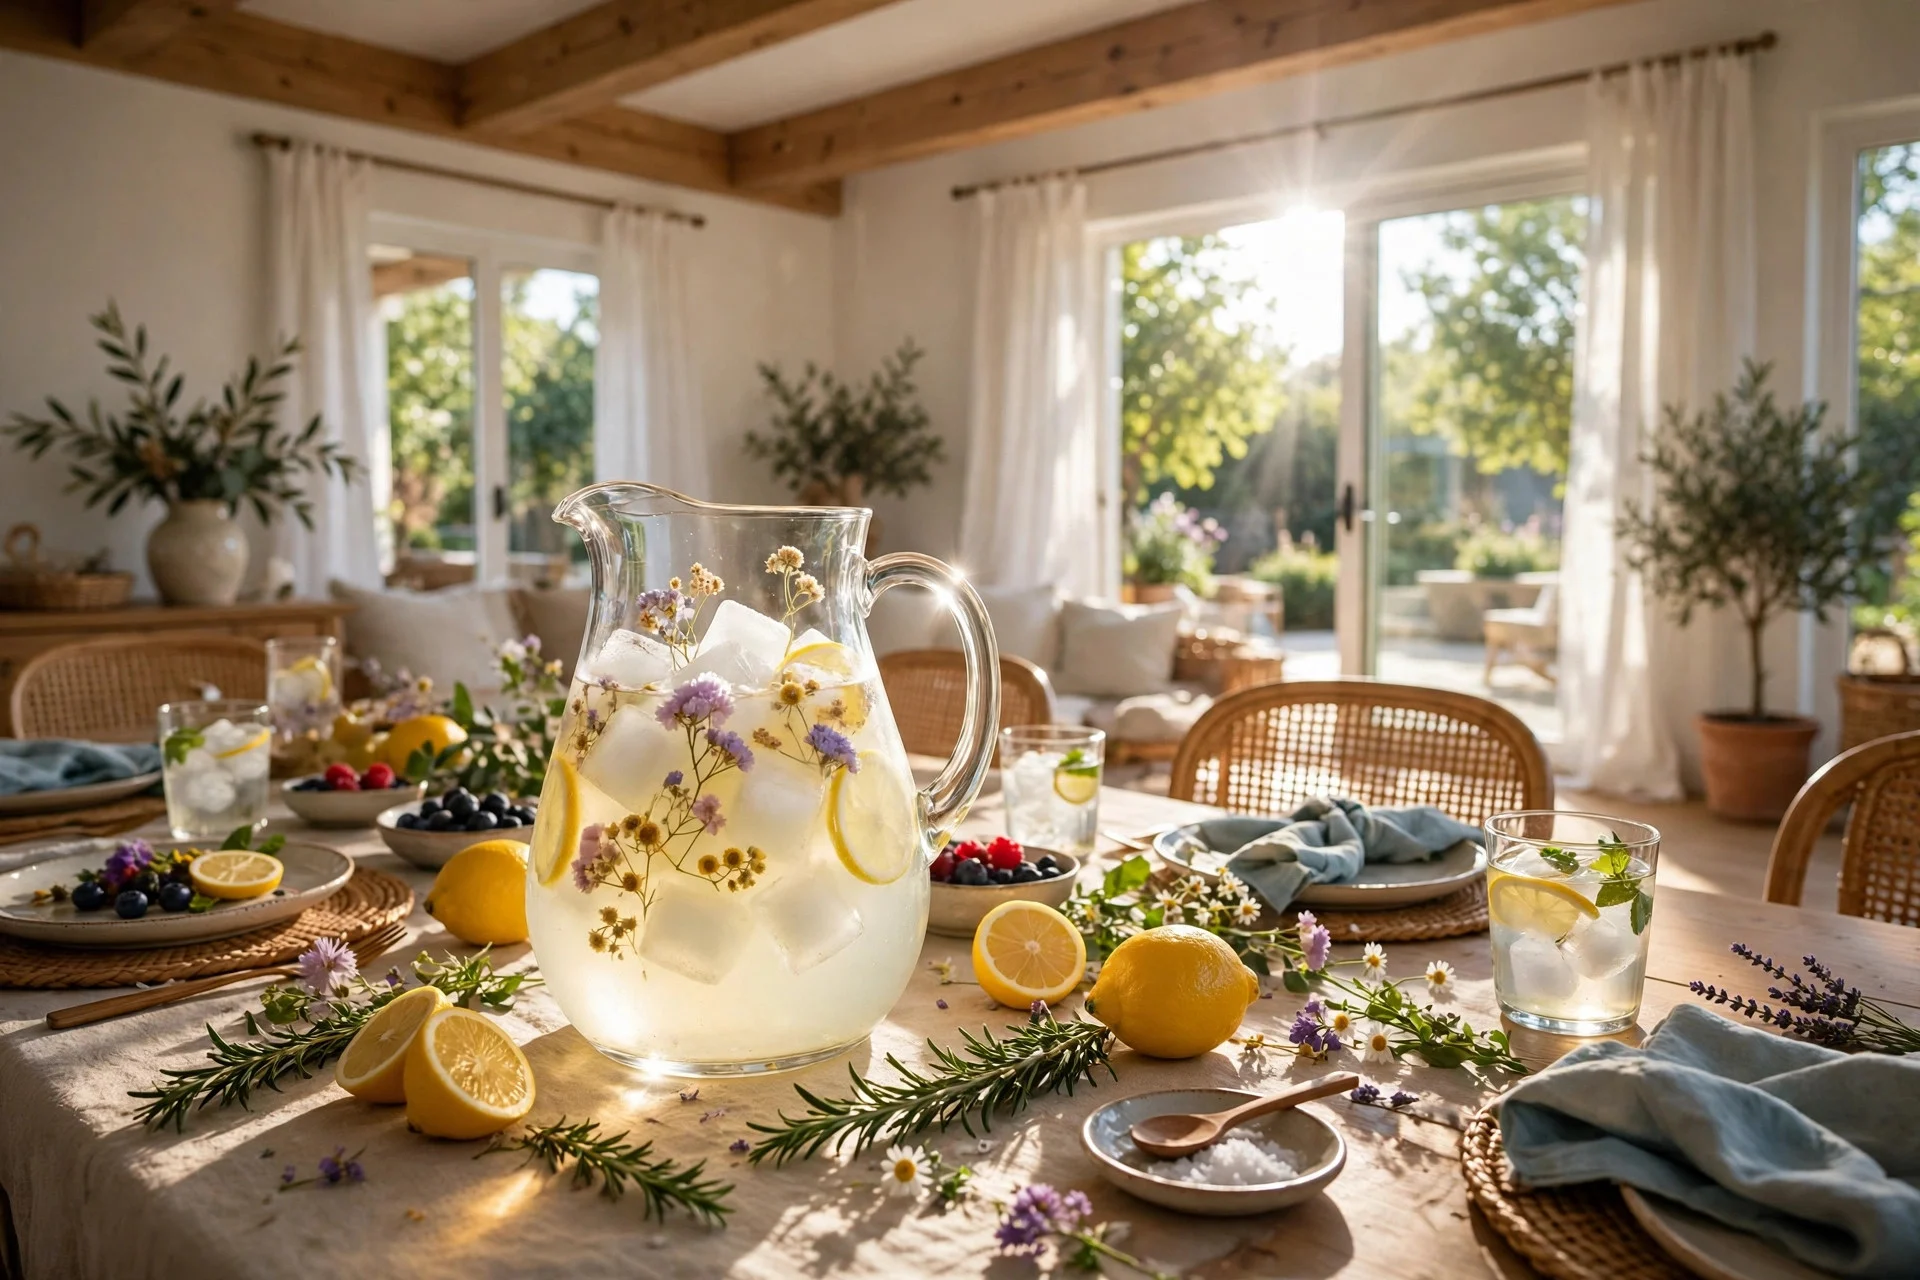
11. Frozen Flower Ice Cubes in a Glass Pitcher
Frozen flower ice cubes turn a plain glass pitcher into a summer centerpiece that guests talk about all afternoon. I place a few small edible flowers, like pansies or violets, in an ice cube tray, fill it halfway with water, and freeze it. Once that layer is set, I fill the rest of the way so the flowers stay in the middle instead of floating to the top. Then I drop the cubes into a pitcher of lemonade or iced water. Freeze them in one go and every flower floats to the surface; the two-step freeze keeps them suspended like little jewels. It is pretty, it is free, and it keeps drinks cold.
Try this: Use flowers from your own garden only if you are sure they were never sprayed. Store-bought edible flowers are the safe choice.
12. Rope-Wrapped Vases for a Beachy Look
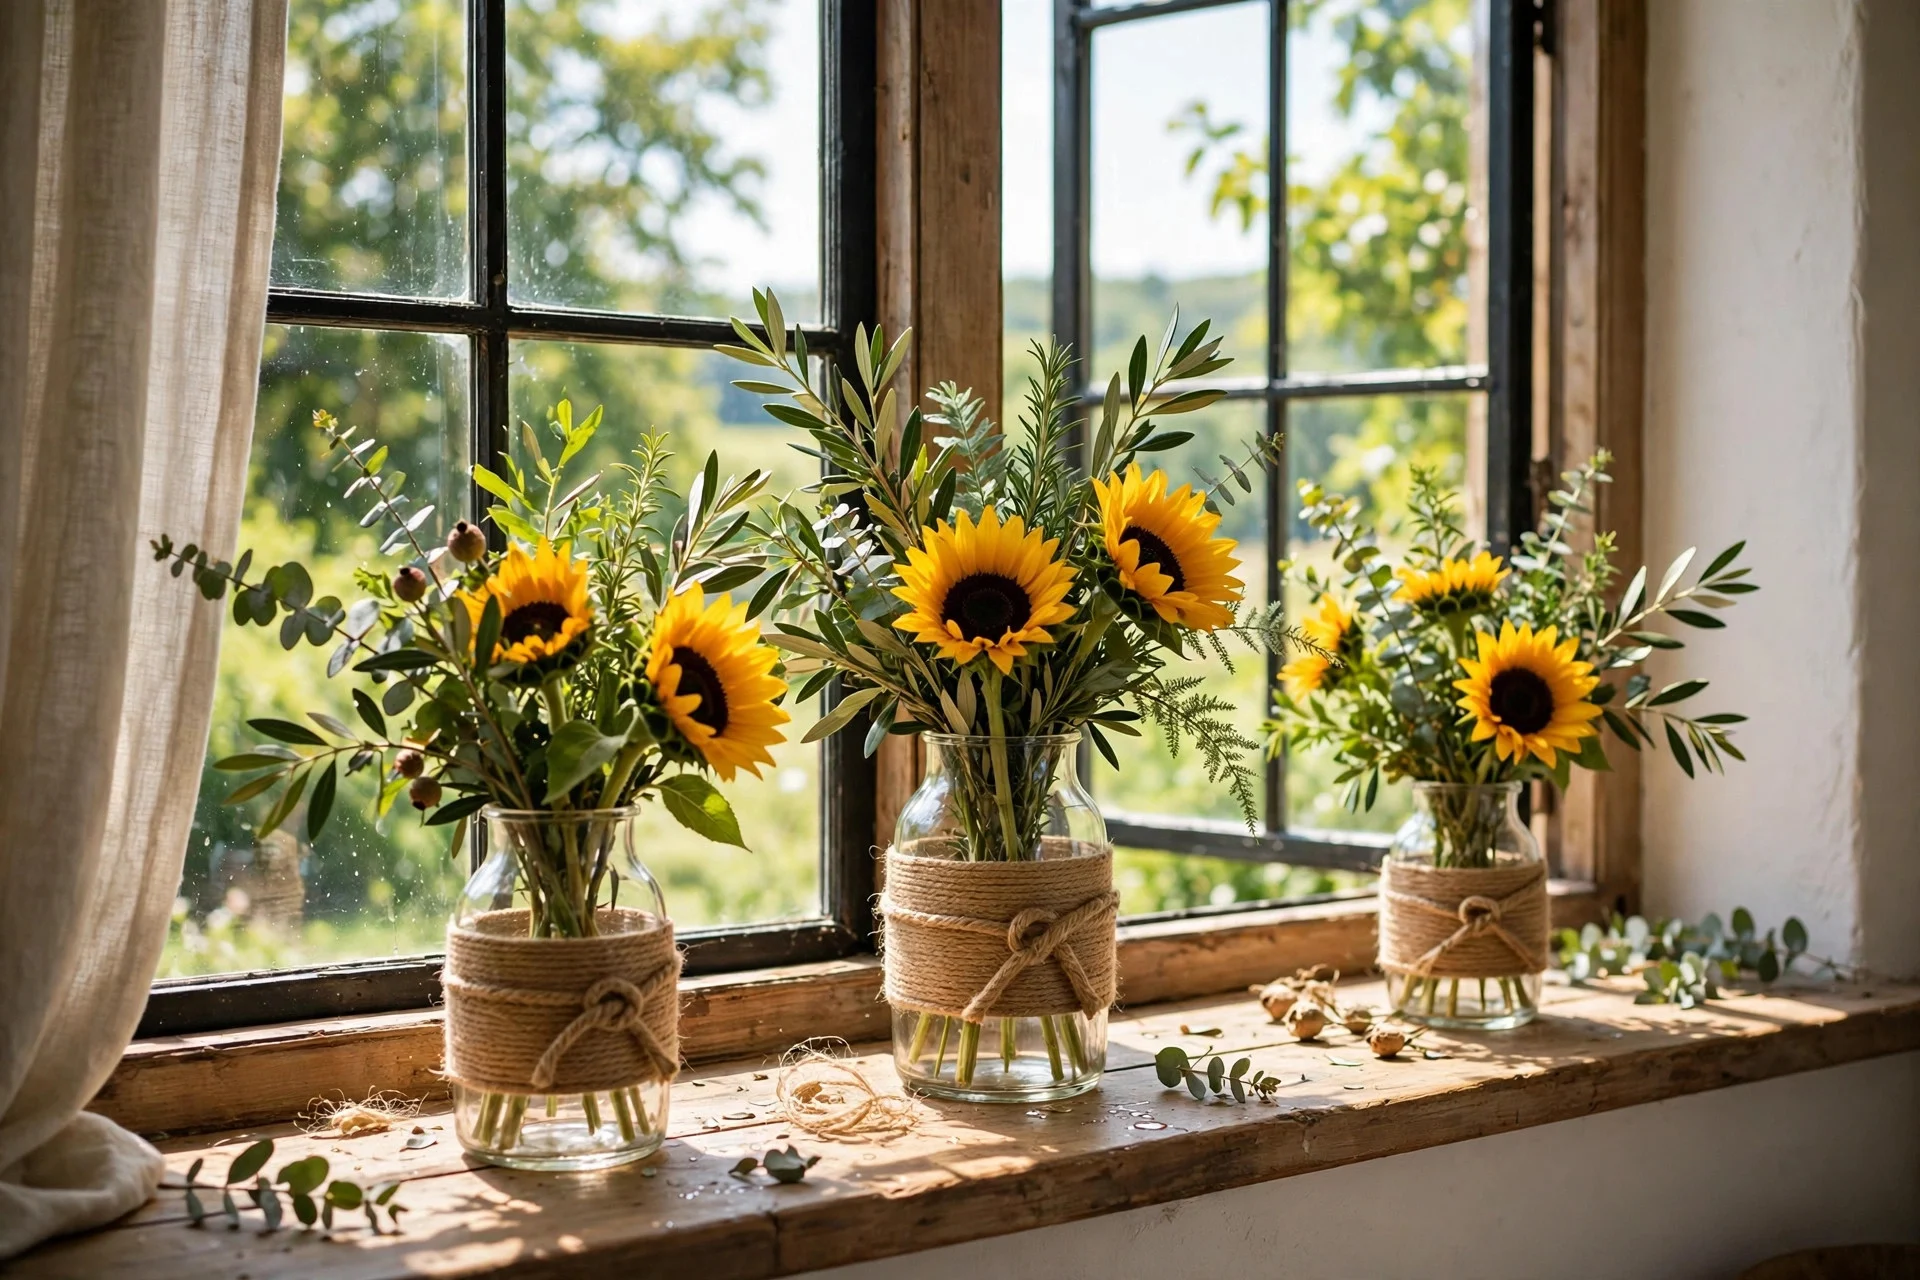
Rope-wrapped vases give any plain glass jar a beachy, handmade look in about fifteen minutes. I start at the bottom of a clean jar, dab on a little hot glue, and wind natural jute rope around and around, adding a dot of glue every few turns to hold it in place. When I reach the neck, I tie off the end and trim it neatly. A few stems of fresh greenery or a single sunflower in each vase is all they need. Wind the rope tight, with the coils touching each other; wound loosely, it slid down the glass within a day when I first tried it. A group of three in different heights looks lovely on a windowsill.
Try this: Leave the top inch of the jar unwrapped. The bare glass rim looks clean and makes the rope section stand out more.
13. Fabric Scrap Bunting for the Porch
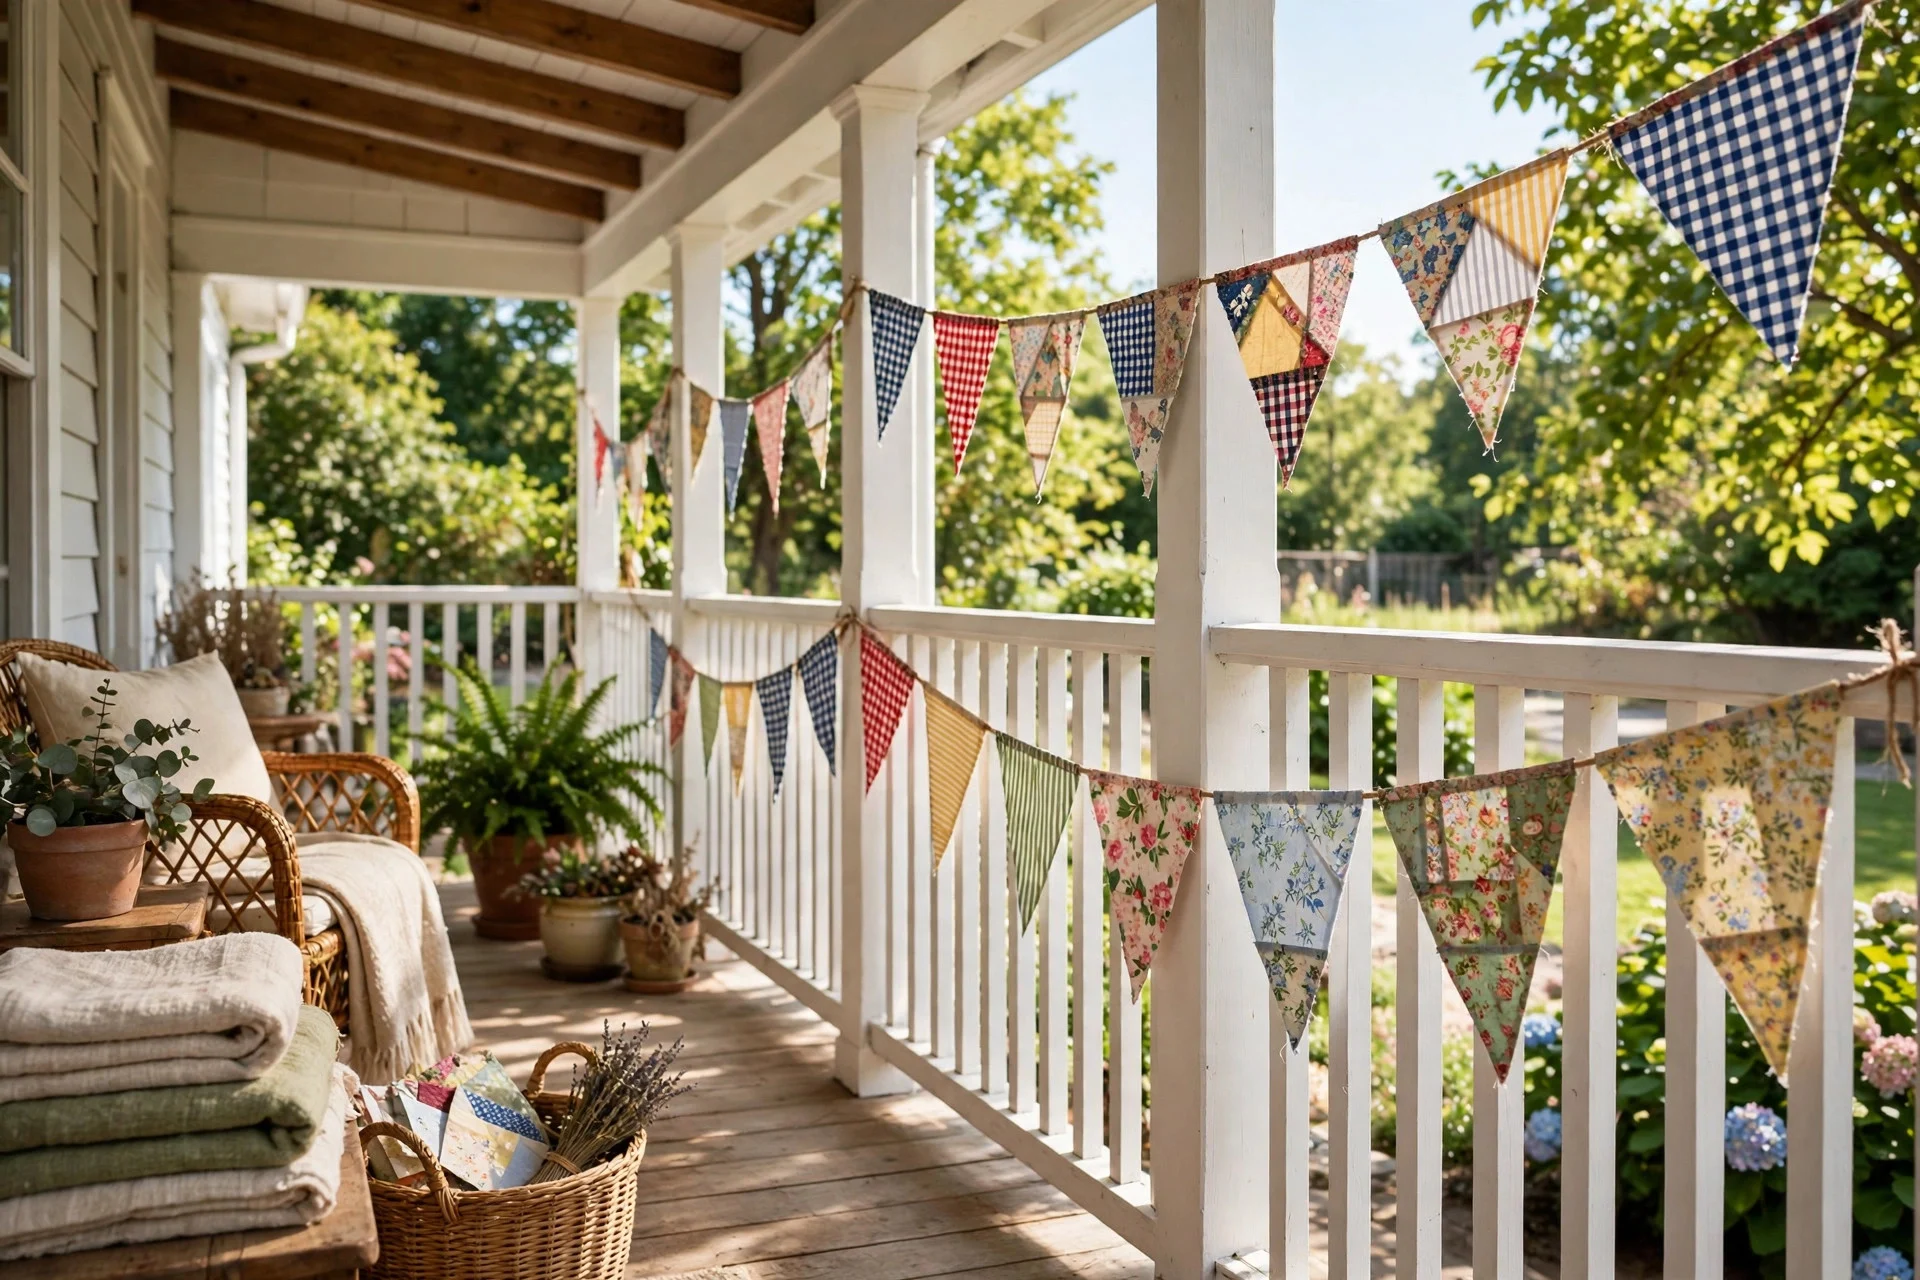
Fabric scrap bunting is the perfect use for the leftover fabric pieces sitting in a drawer, and it makes a porch feel like a party. I cut the scraps into triangles, fold the top edge over a length of twine, and stitch or glue it down so each flag hangs evenly. I mix gingham, stripes, florals, and a few plain solids, because a mixed set looks far more charming than one matching fabric; my first bunting, all one pattern, looked flat from the street. Hang it along the porch rail or across a doorway.
Try this: Cut all the triangles the same size using one cardboard template. Even flags make the whole string look neat and finished.
14. Painted Clay Pot Candle Holders
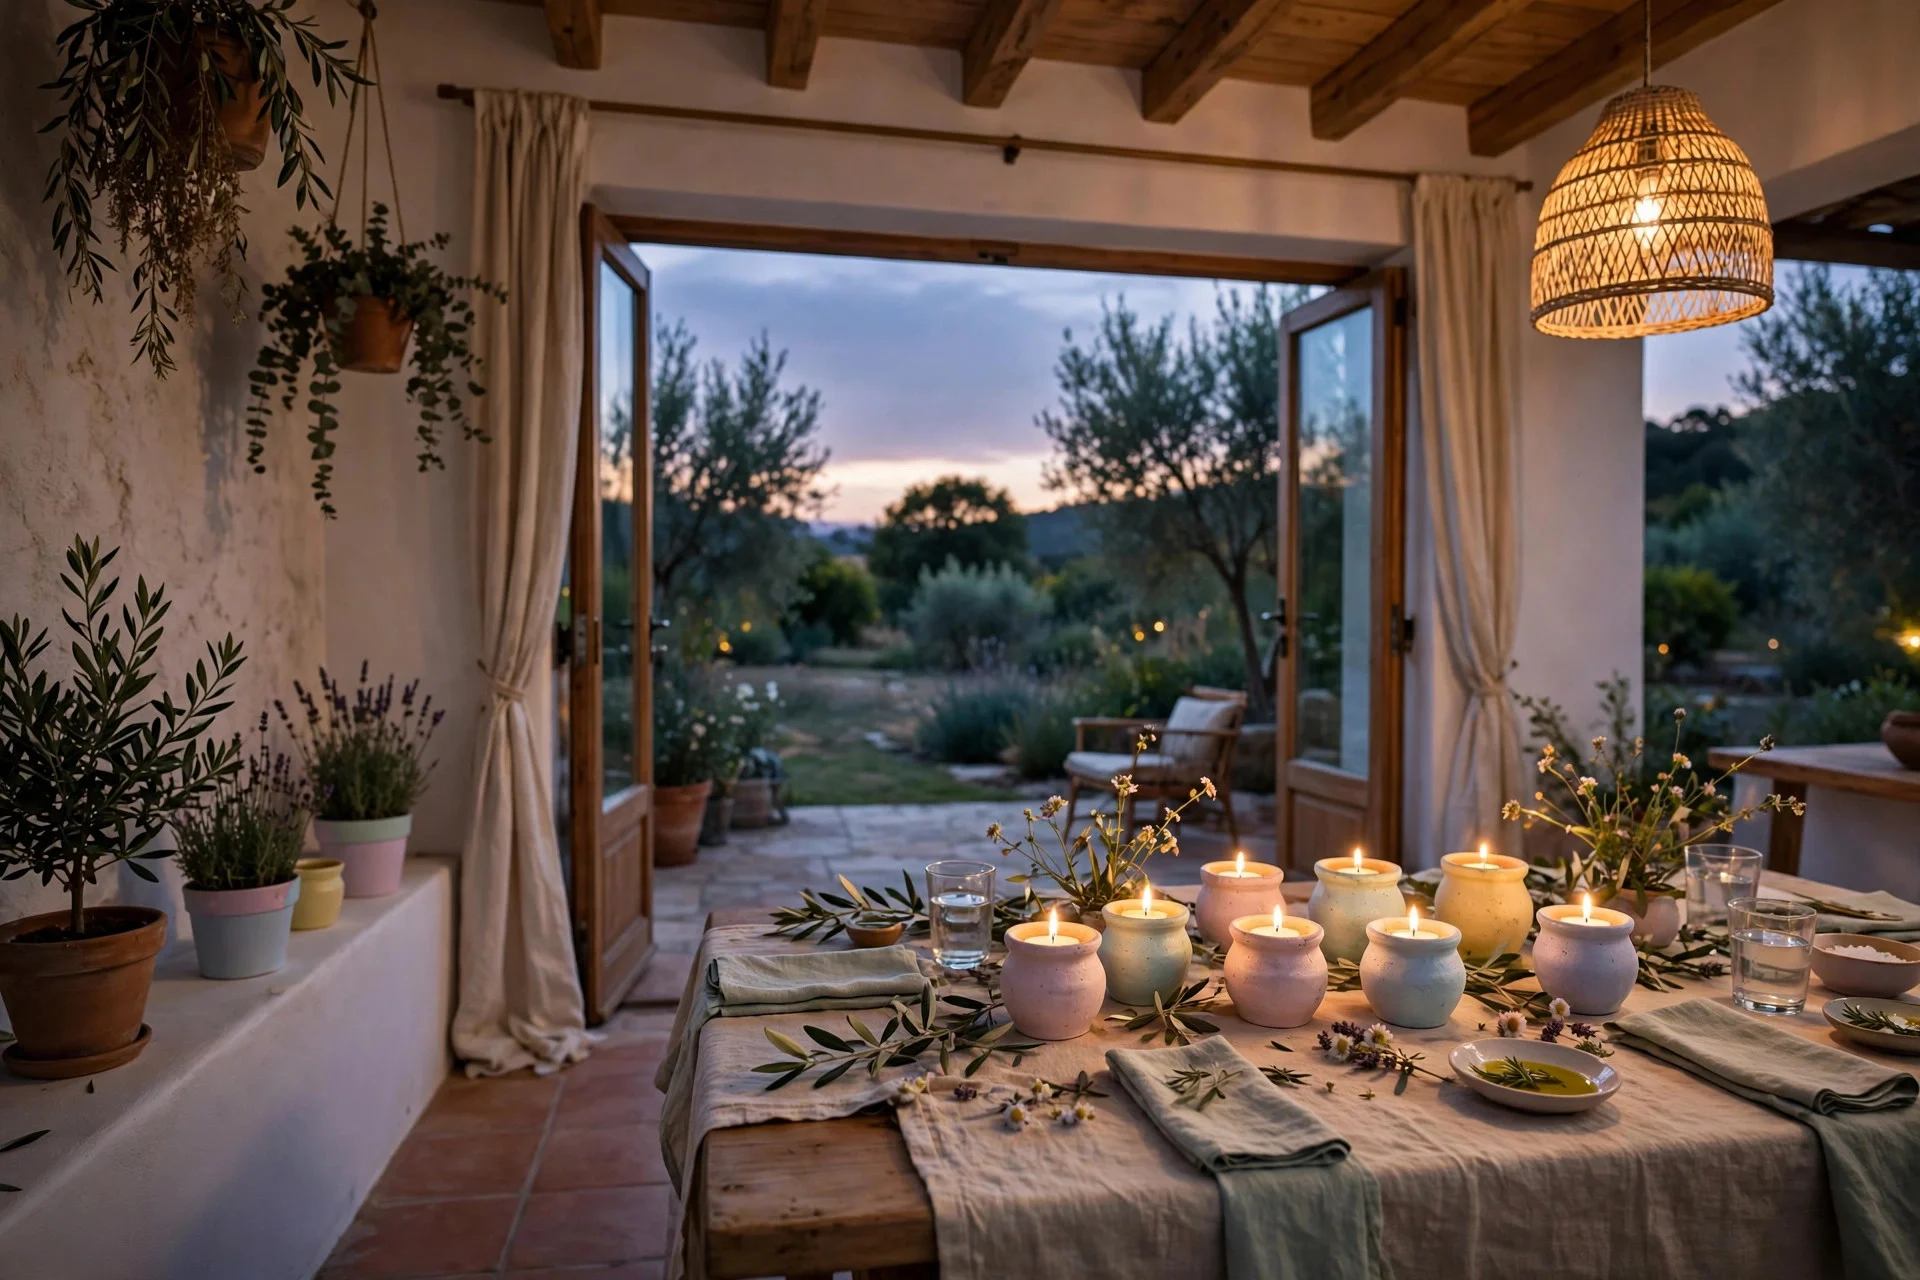
Small clay pots make the prettiest candle holders for summer evenings, and they cost less than a dollar each. I turn a mini terracotta pot upside down, paint it in a bright color or a soft pastel, and set a tea light on top, in the flat base. A ring of small shells or pebbles around the base keeps it steady on the table. Paint only the outside; I painted the inside once and the paint softened from the candle heat. A row of four or five down the middle of the table gives a warm glow that feels like a summer evening at a seaside cafe.
Try this: Use citronella tea lights in these holders outside. They look the same and help keep the bugs away while you eat.
15. Pallet Herb Garden for the Kitchen Wall
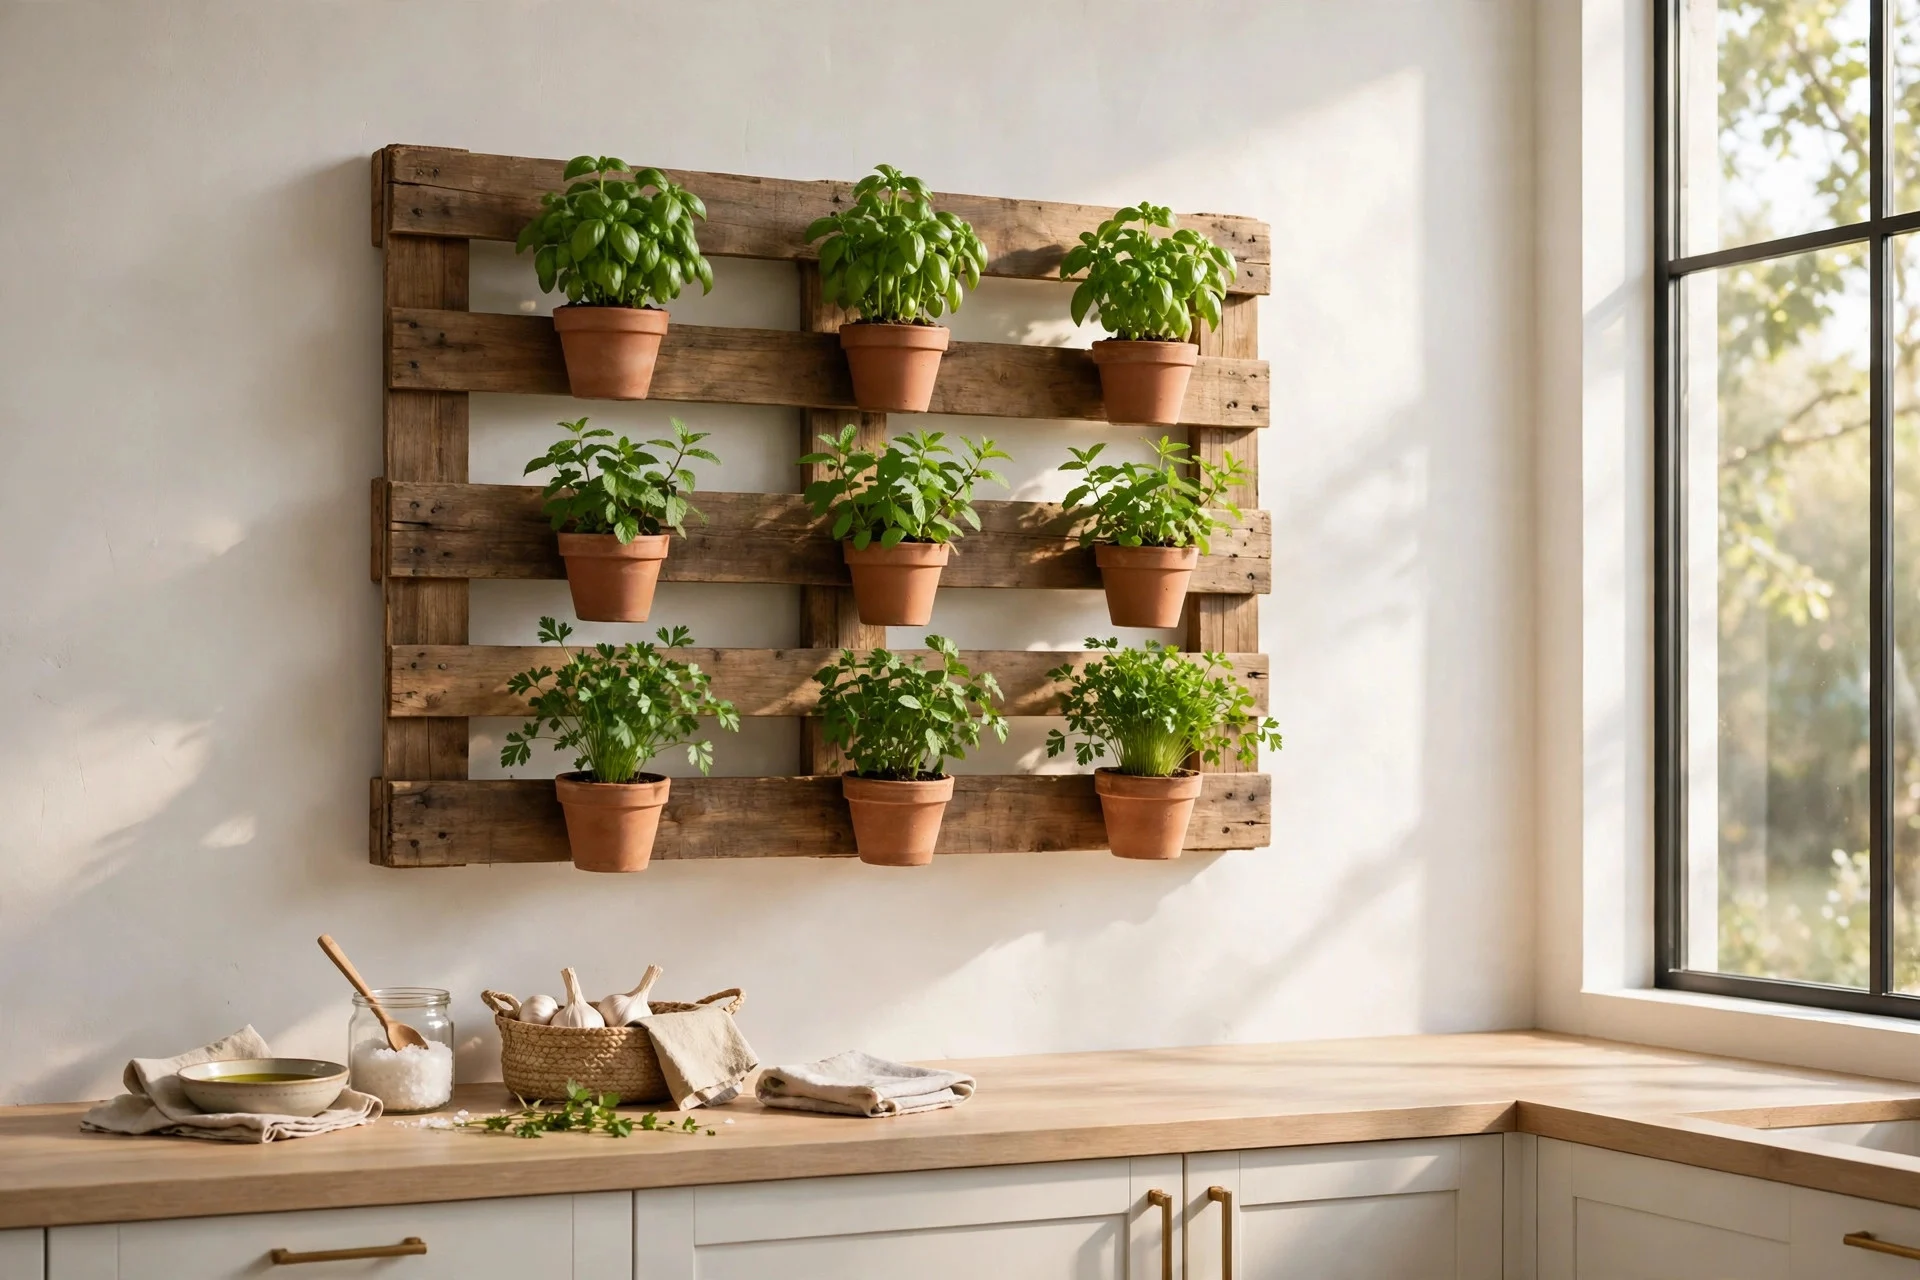
A small wooden pallet hung on a kitchen wall becomes a herb garden that is both useful and pretty. I sand the pallet well, give it a coat of white or pale green paint, and screw on a few small pots or mason jars with metal clamps. Then I plant basil, mint, parsley, and chives, and label each one with a little wooden tag. Sand until the pallet feels smooth; I skipped that step once and spent a week picking out splinters every time I reached for the basil. The garden sits by the window in the morning sun, and fresh herbs within arm’s reach change how you cook all summer.
Try this: Plant mint in its own pot, never in a shared planter. It spreads fast and will crowd out everything else within a month.
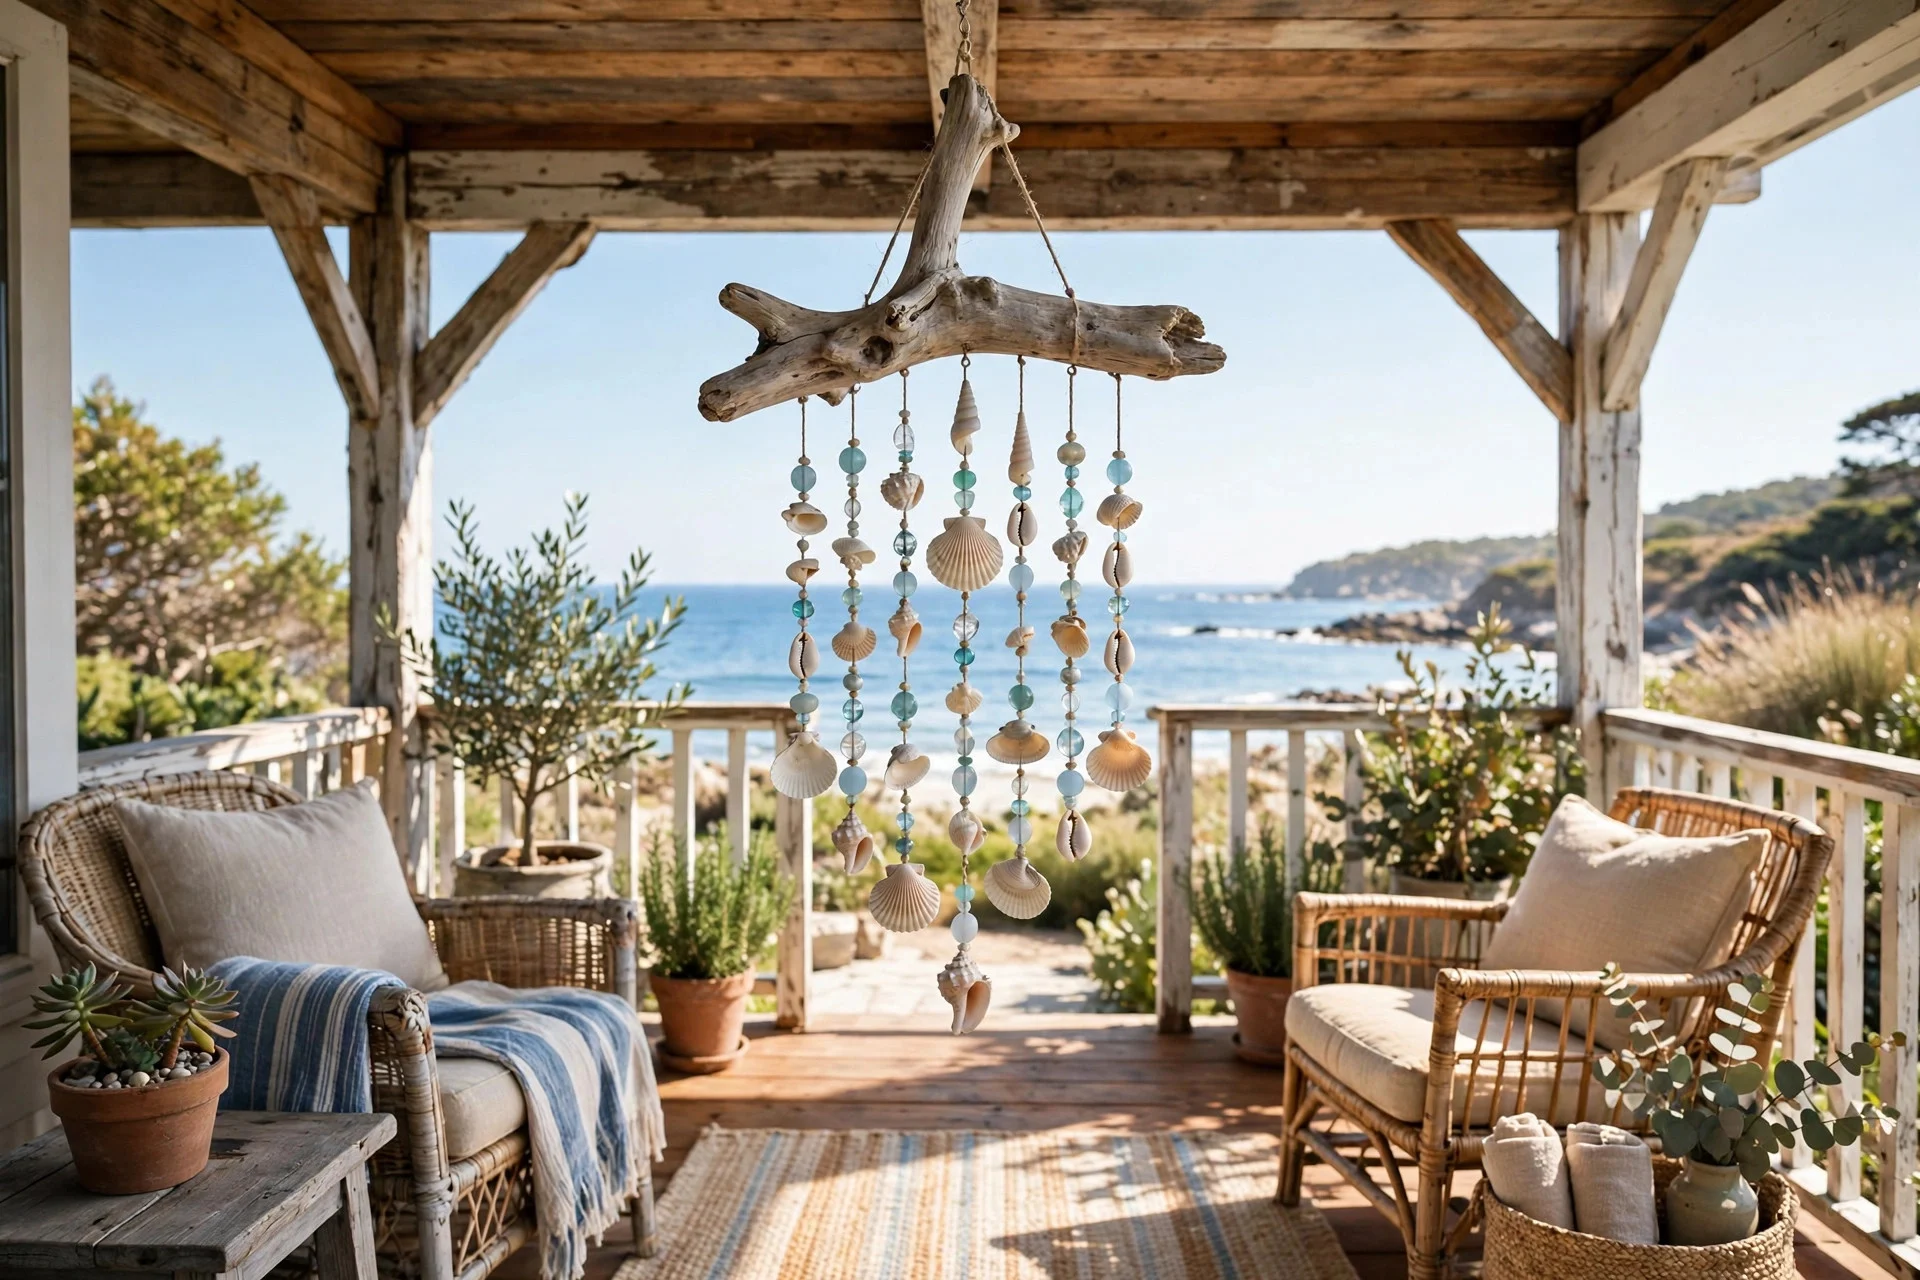
16. Seashell Wind Chime for the Porch
A seashell wind chime is the sound of summer, and it is easy to make from shells you already have. I drill a tiny hole in each shell with a small craft drill, thread them onto fishing line at different lengths, and tie the lines to a piece of driftwood or a small wooden hoop. A few glass beads between the shells catch the light and add a soft sparkle. Hang the shells close enough to tap each other in a breeze but not so close that they tangle. My first chime had lines too long and knotted within a week; six to eight inches stays tidy and sounds gentle.
Try this: Hang the chime where it catches a light breeze but not a strong wind. A sheltered porch corner is perfect.
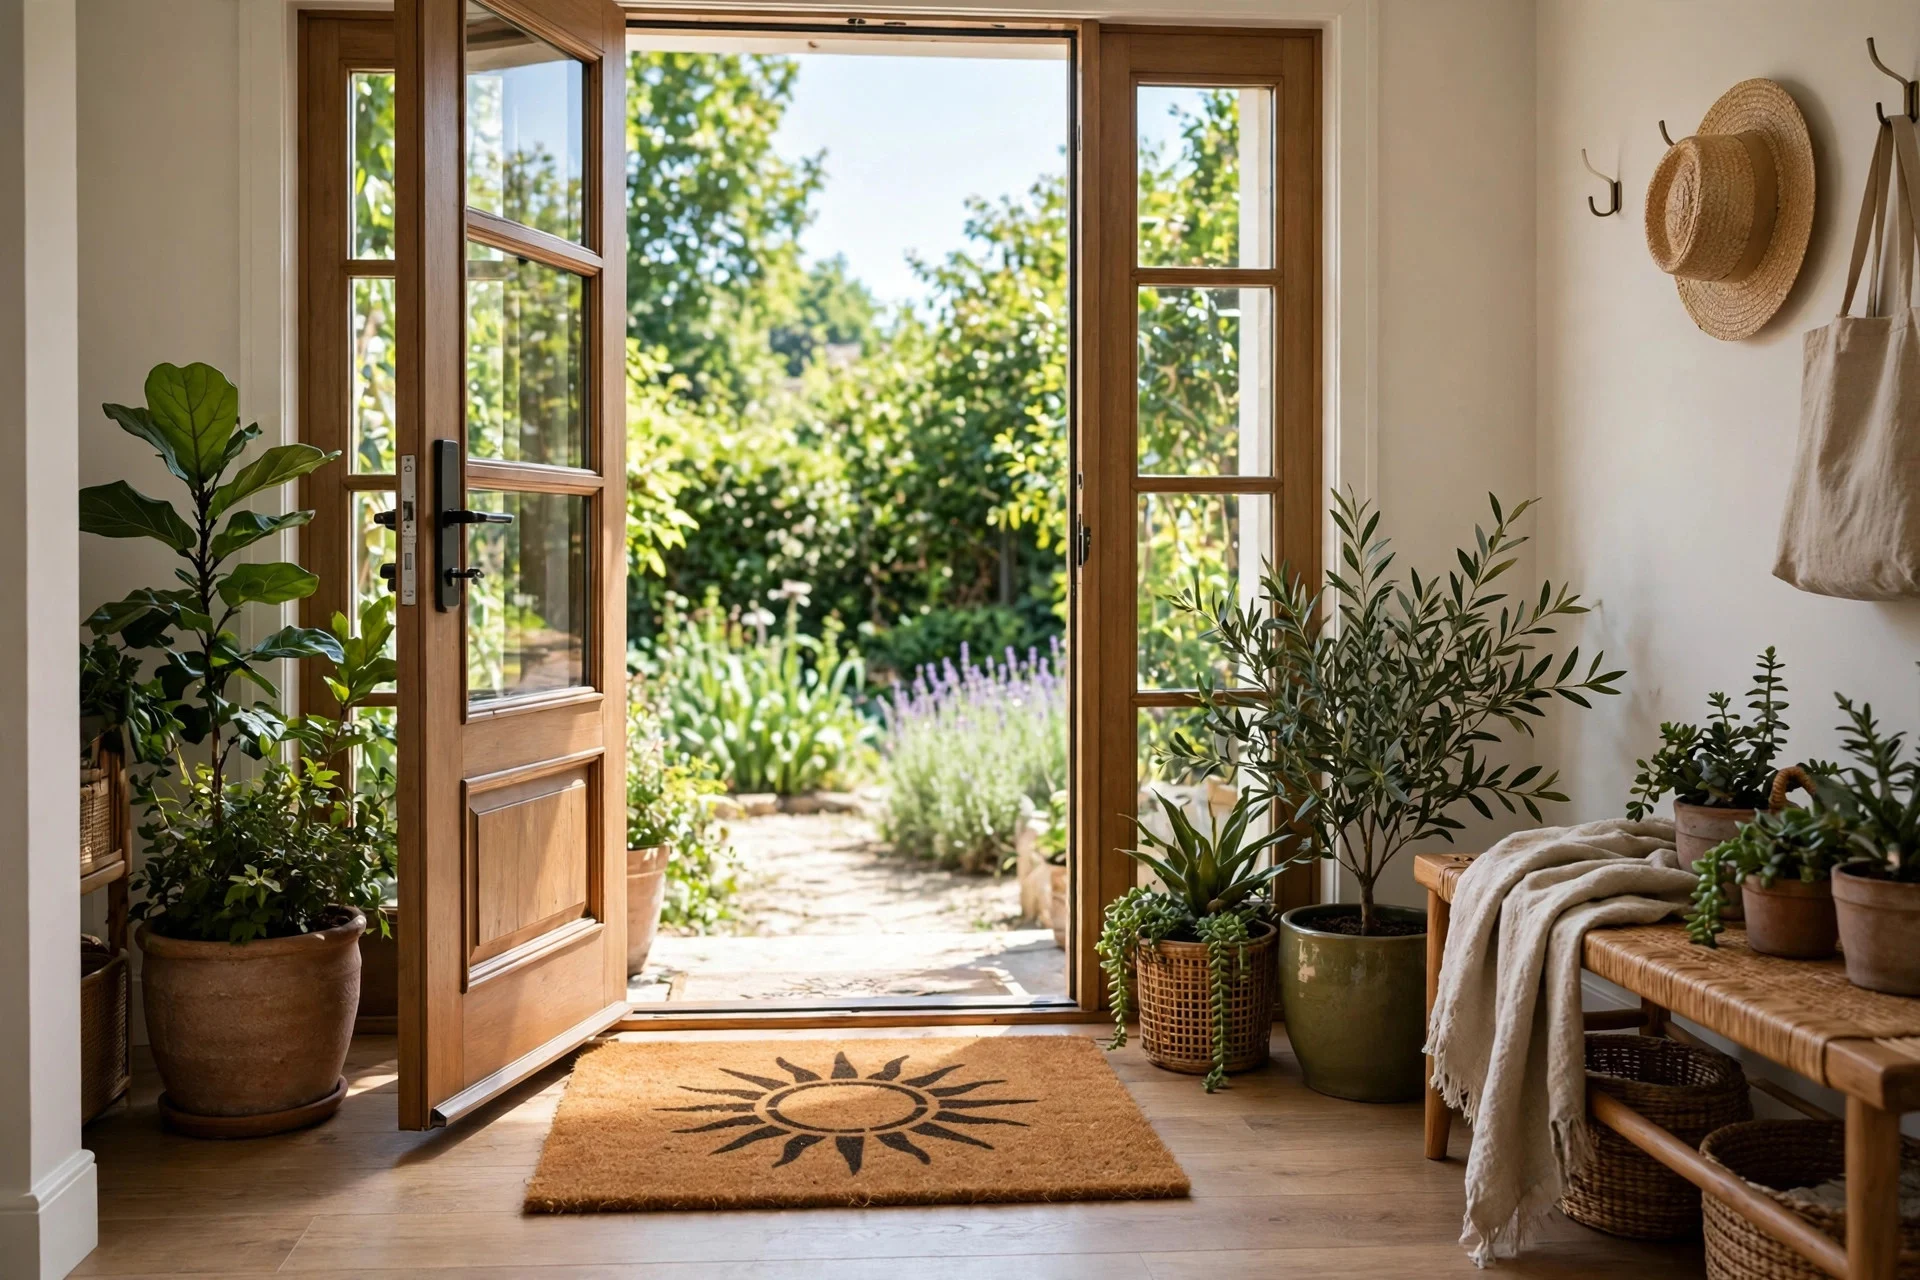
17. Stenciled Outdoor Doormat
A stenciled doormat is a quick way to give the front door a summer welcome without buying a new mat. I buy a plain coir doormat, tape a stencil with a simple word or pattern onto it, and dab outdoor paint over it with a stiff brush. Two thin coats work better than one thick one, which bleeds under the stencil edges; my first “hello” came out blurry and I had to start over with a fresh mat. Let it dry in the sun for a full day before you put it back by the door.
Try this: Tape the stencil down on all four sides before you start. Even a small shift halfway through will blur the letters.
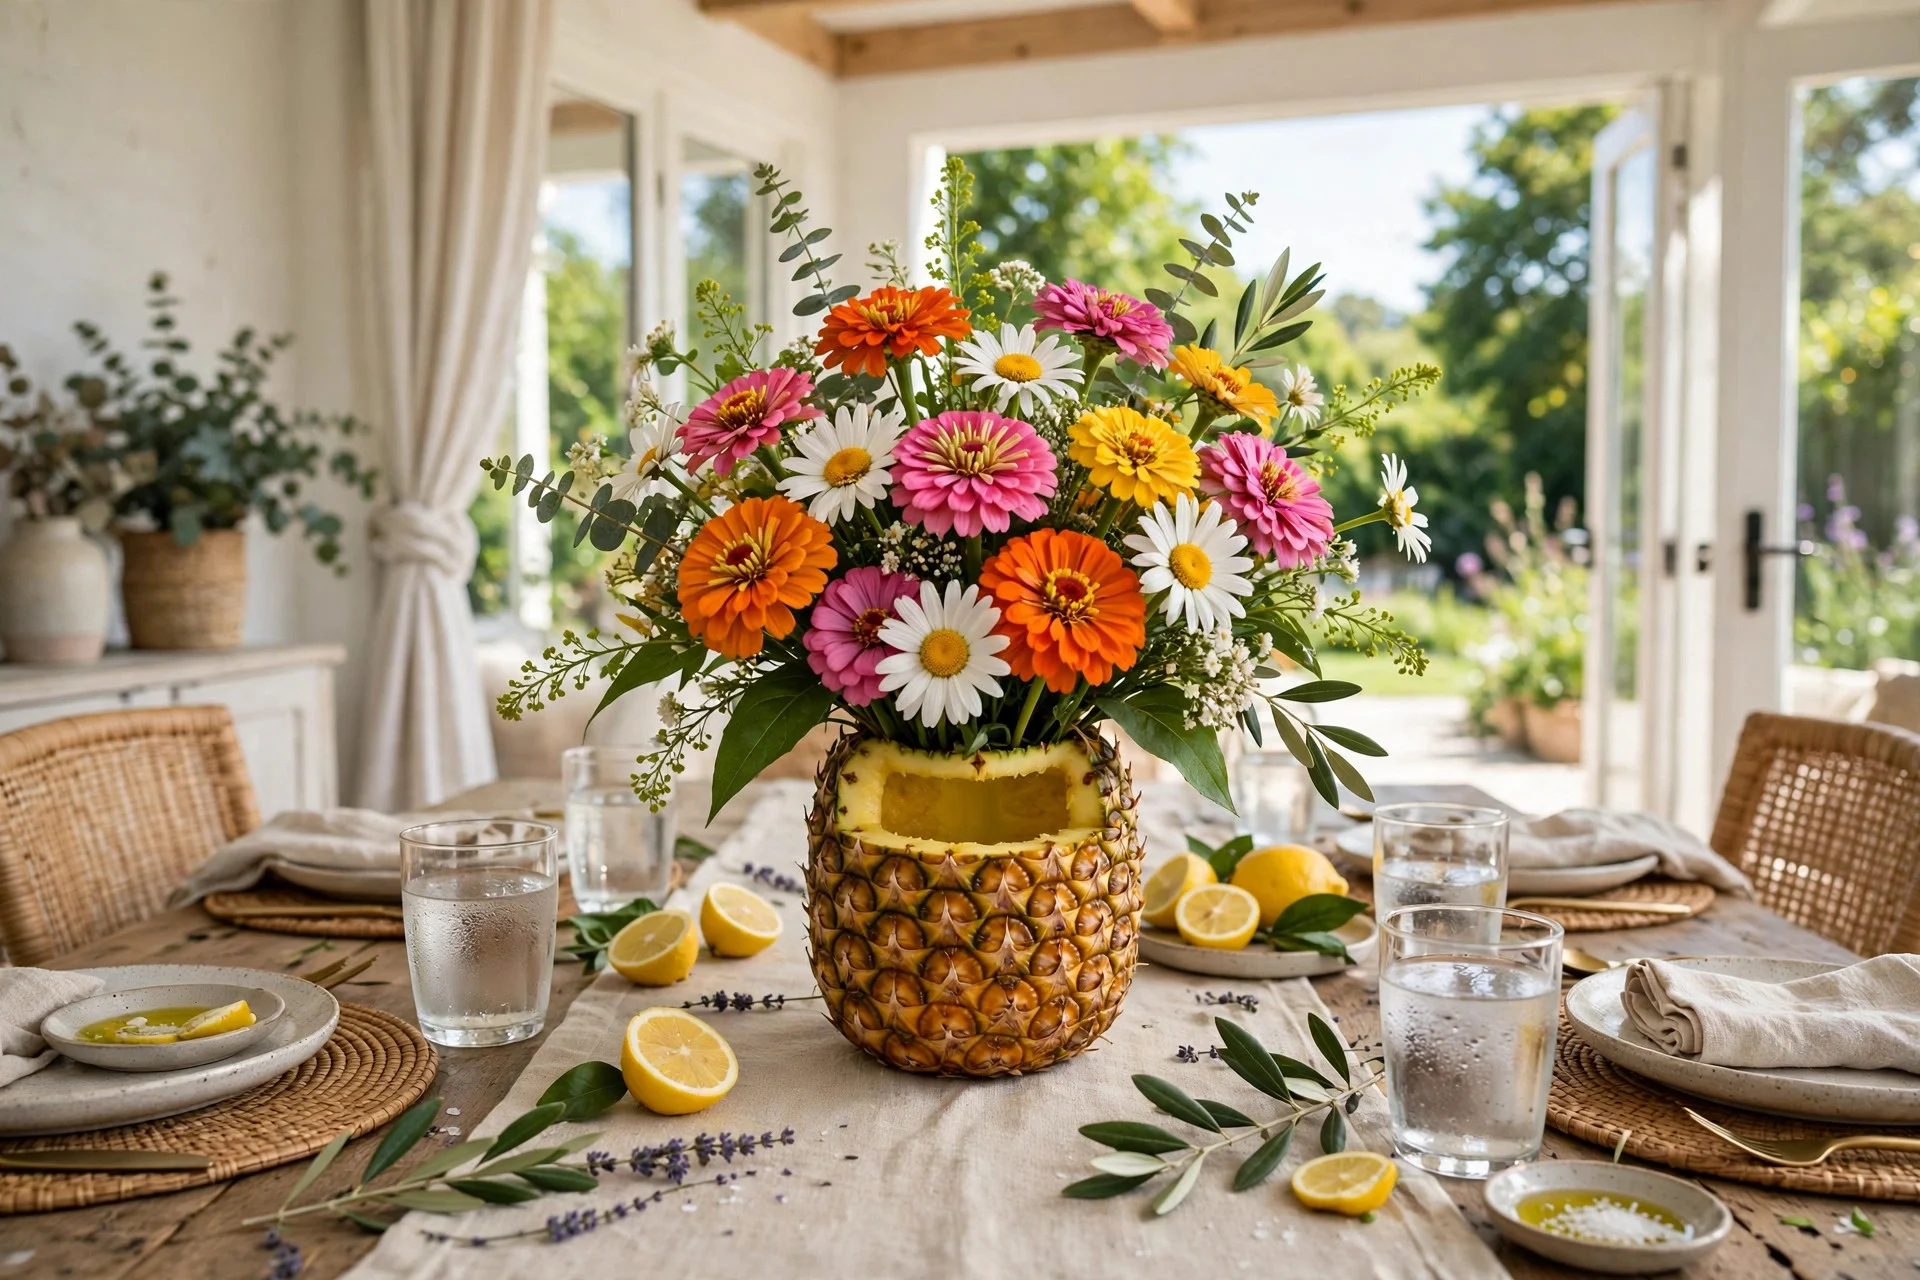
18. Hollowed Pineapple Vase as a Table Centerpiece
A hollowed pineapple makes the most cheerful summer centerpiece, and it costs about the same as a bunch of flowers. I cut the top off a fresh pineapple, scoop out the fruit with a spoon, and set a small glass or jar inside to hold water. Then I fill it with bright flowers, zinnias, daisies, or a few sunflowers, and set the leafy top back on at an angle behind the blooms. The glass keeps everything dry and the pineapple stays fresh-looking for days; without it, the water leaked through within an hour when I first tried it. Save the scooped fruit for a smoothie and the centerpiece costs you almost nothing extra.
Try this: Make two small ones instead of one big one for a long table. They frame the middle of the table nicely and cost the same.
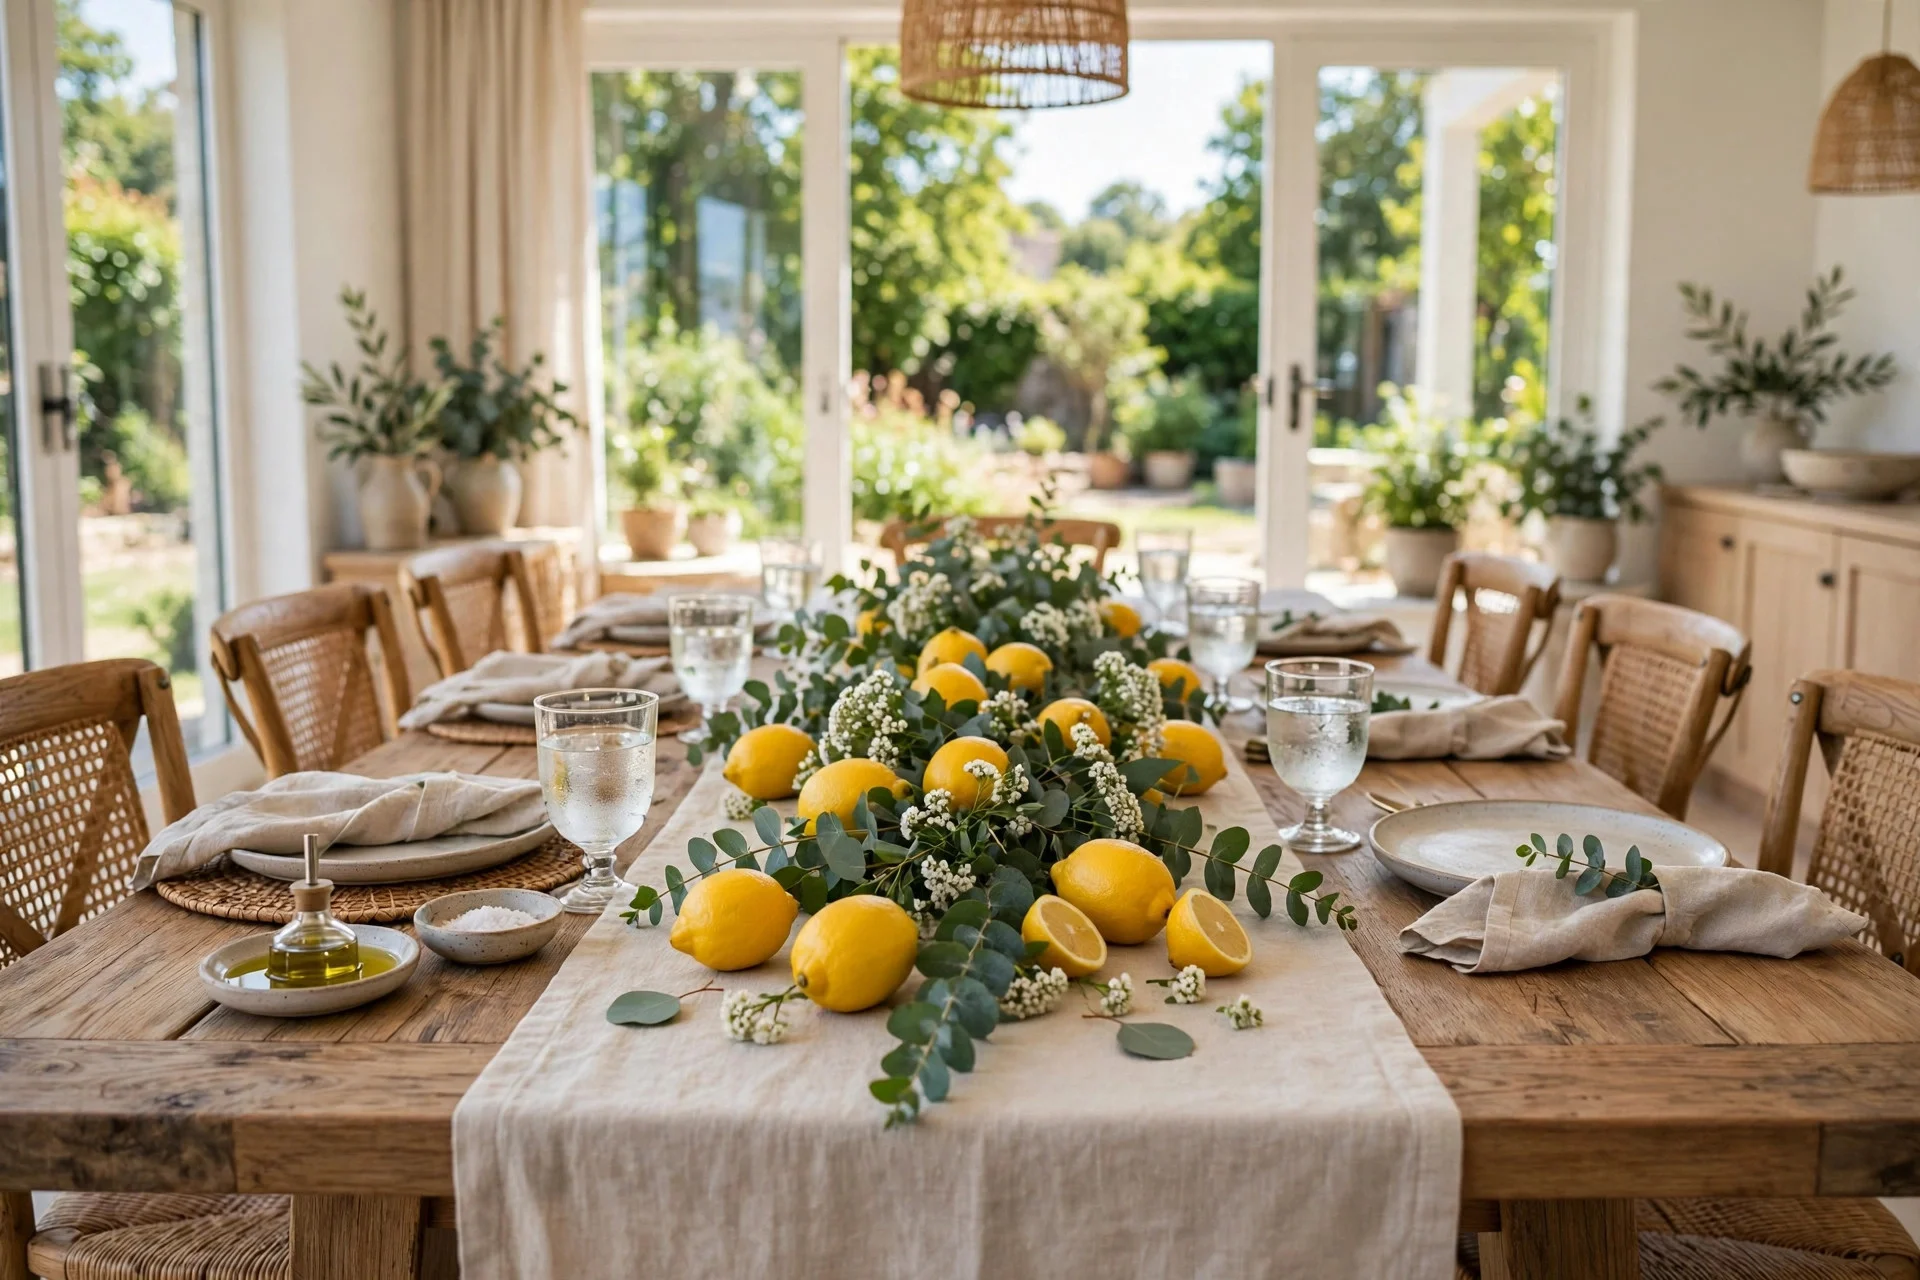
19. Lemon and Eucalyptus Table Runner
A lemon and eucalyptus table runner is the simplest idea on this list, and it might be my favorite. I lay a strip of plain linen or cotton down the middle of the table, then arrange fresh lemons, a few sprigs of eucalyptus, and some small white flowers along it in a loose line. No glue, no sewing, no tools at all, and it takes five minutes. Space the lemons out with gaps of greenery between them; piled in the middle, as I did the first time, it just looks crowded. When dinner is over, the lemons go back in the fruit bowl.
Try this: Add two or three small tea lights in glass holders along the runner for evening meals. The light through the leaves is lovely.
Frequently Asked Questions
How much should I budget for DIY summer decorations?
Most of these ideas cost under five dollars each, and several cost nothing if you use materials you already have. Start with two or three, use what you own first, and only buy the paint, twine, or jars you need.
What are the easiest DIY summer decorations for beginners?
The seashell centerpiece, the lemon table runner, and the frozen flower ice cubes are the easiest places to start. None need tools or special skills, and each takes less than fifteen minutes.
How do I make DIY summer decor last all season?
Bring paper and fabric pieces inside when rain is coming, seal painted surfaces with a clear coat, and save fresh fruit and flower projects for the day you need them. Painted wood, rope, and shell pieces last all summer with little care.
Can I use these DIY summer decorations outdoors?
Yes, most were made for porches, patios, and garden tables. Use outdoor paint and sealant on anything that sits outside, keep candles in sheltered spots, and bring delicate pieces in during heavy rain or strong wind.
Final Thoughts
Summer decorating does not need a big budget or a shopping spree. A painted pot, a jar of shells, a string of paper lanterns, and a few lemons on the table can make a house feel like the season has arrived. Make the projects that make you smile, use what you already have, and let the rest wait for next summer.