
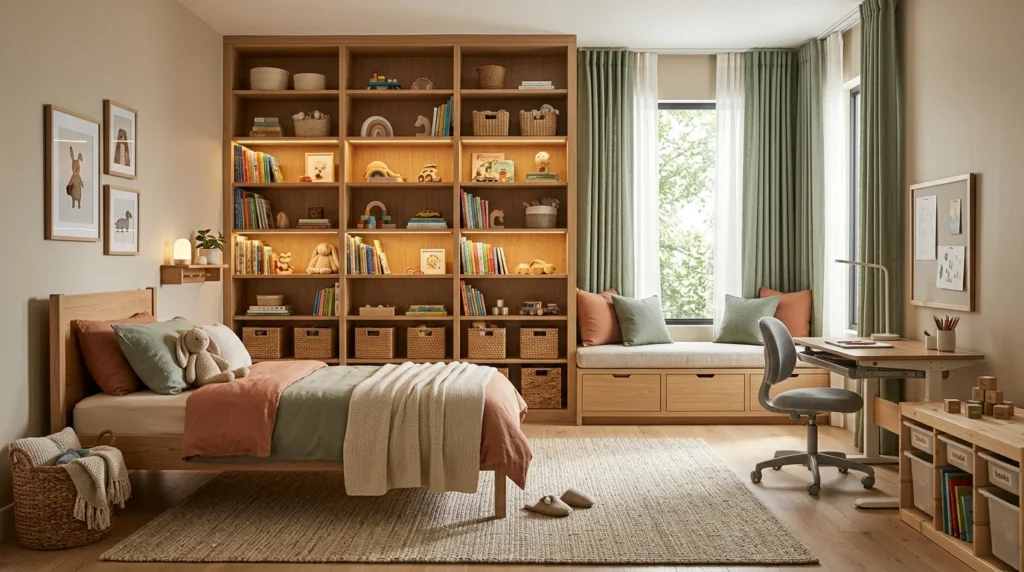
When my daughter was born, I did what most new parents do — I decorated her nursery in the most adorable, baby-specific way imaginable. Soft pink walls, a crib with a canopy, cloud-shaped wall decals, a tiny rocking chair in the corner. It was genuinely beautiful, and I was incredibly proud of it.
She outgrew it in about eighteen months.
By the time she was three, she wanted nothing to do with the pastel pink nursery. She wanted dinosaurs. Then at five, it was mermaids. At seven, she announced that pink was “for babies” and demanded something “cooler.” I lost count of how many times I repainted that room.
That experience — expensive, time-consuming, and endlessly repeated — taught me the single most important lesson about designing a child’s bedroom: build for flexibility, not for a moment.
The best kids’ rooms are not the ones that look perfect in a photograph taken the week they’re finished. They’re the ones that adapt gracefully as the child grows — from infant to toddler, toddler to school-age, school-age to teenager — without requiring a complete overhaul every few years.
These 16 kids room renovation ideas are built around that principle. Some are about smart design choices. Some are about clever furniture. Some are about creating systems that accommodate change. All of them are ideas I’ve either used myself or wish I’d known about before I started repainting that room for the fourth time.
Why “Grows With Your Child” Is the Right Design Philosophy
Most children’s room design advice focuses on making the room look great right now — for the age the child currently is. That’s understandable. It’s human nature to want things to be perfect in the present.
But children’s tastes, needs, and physical dimensions change at a remarkable pace. A room designed perfectly for a two-year-old is often completely wrong for a five-year-old. A room that works beautifully at eight is cramped and childish by twelve. A room renovated for a teenager is usually the first one that’s actually kept long enough to feel worth the investment.
The renovation ideas in this guide are specifically chosen because they either:
- Work across multiple developmental stages without modification
- Can be easily and affordably updated as the child grows
- Create the structural and functional foundations that serve a child at any age
Design once, update intelligently, and avoid the cycle of full renovations every few years. That’s the goal.
1. Choose Neutral Wall Colors as Your Base
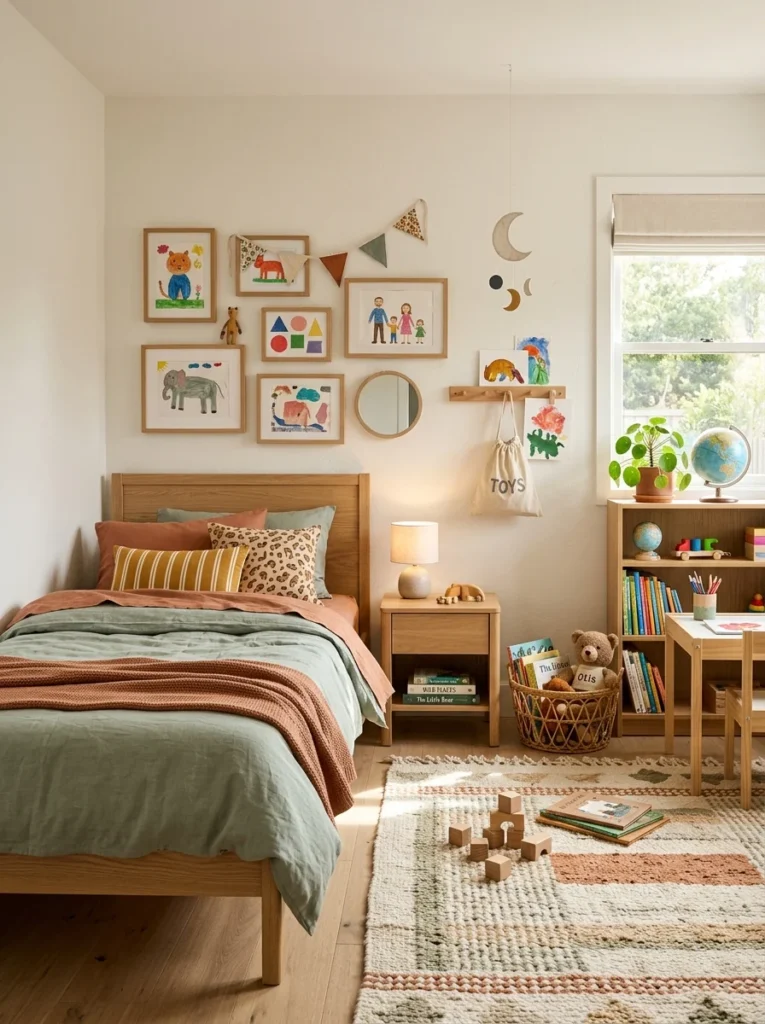
The single most important decision you’ll make in a child’s room renovation is the wall color — and the single most common mistake parents make is choosing something too specific.
Bright yellow, cartoon-character blue, princess pink — these colors look wonderful in the moment and become problems almost immediately as the child’s tastes evolve.
The smarter approach: choose a warm neutral as your base — soft white, warm cream, light greige, pale sage green, or warm putty — and add the personality and color through accessories, bedding, rugs, and art. These elements are cheap and easy to change. Repainting walls is not.
Neutral walls don’t have to be boring. A beautifully painted warm white with interesting texture, paired with colorful bedding and vibrant art, looks just as exciting as a themed room — and it can be updated for $30 in new cushions rather than $300 in new paint and decor.
When I finally repainted my daughter’s room for the last time (I hope), I chose a warm white and resolved to add all the personality through layered, changeable accessories. Two years later, she’s changed her “theme” three times — each time costing almost nothing because the walls stayed the same.
2. Invest in a Convertible Crib-to-Bed
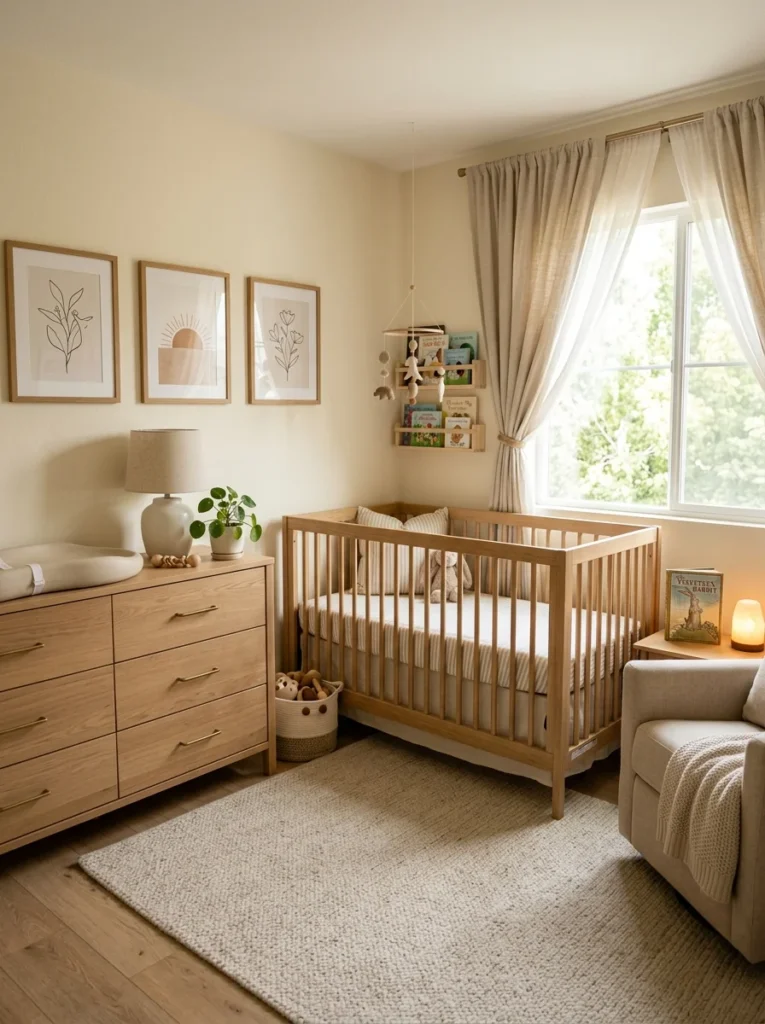
If you’re renovating a nursery or toddler room, a convertible crib is one of the smartest investments you can make.
Convertible cribs — also called 4-in-1 cribs — transform from a standard infant crib into a toddler bed, a daybed, and eventually a full-size bed, using the same frame and simply changing the configuration. A good one will serve your child from birth through to approximately age eight or nine.
The cost savings over buying separate pieces of furniture at each stage are significant. The design continuity is also valuable — the room doesn’t need to be completely redesigned every time the furniture changes.
I didn’t know about convertible cribs when my daughter was born. I bought a beautiful standard crib that we used for about eighteen months and then replaced entirely. It was an expensive lesson I’ve since passed on to every new parent I know.
3. Install a Loft Bed With Functional Space Below
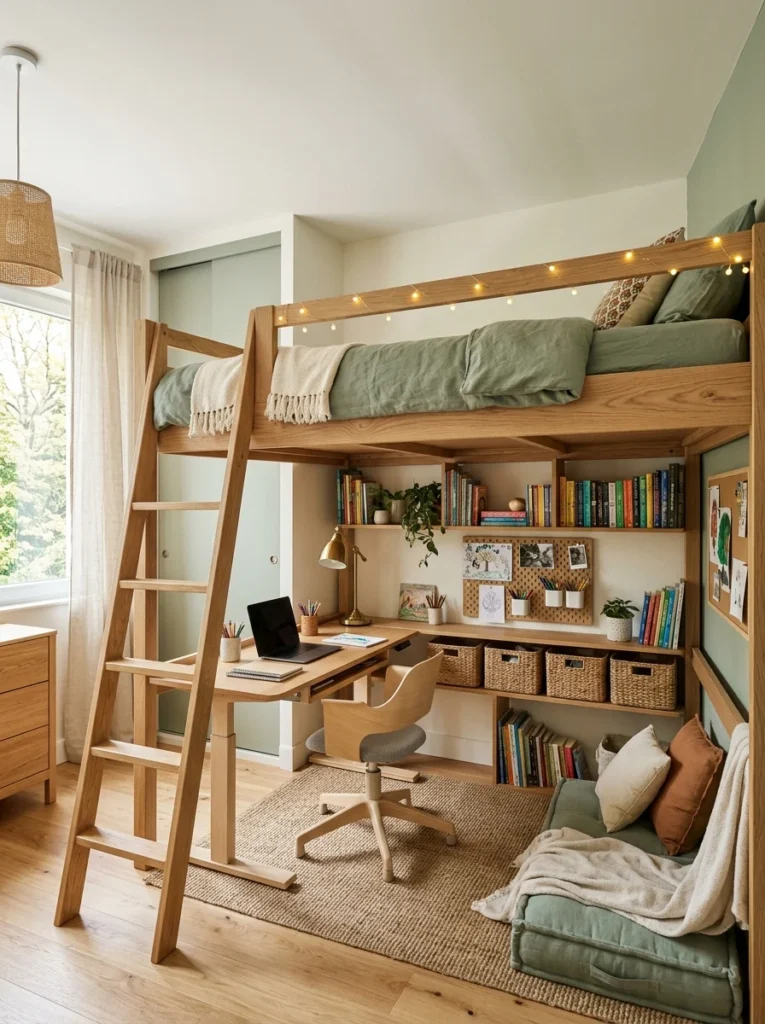
For children from approximately age five upward, a loft bed — a raised sleeping platform with usable space underneath — is one of the most effective ways to maximize a child’s room.
The space beneath a loft bed can be configured in multiple ways as the child grows:
- Ages 5-8: A play area with a small table, storage for toys, and a reading nook with cushions
- Ages 9-12: A dedicated desk and study space with shelving for books and school materials
- Ages 13+: A more private, teen-appropriate space — perhaps a gaming setup, a vanity area, or a relaxation zone
The loft bed itself doesn’t change. The use of the space beneath it evolves naturally as the child grows. This is exactly the kind of design flexibility that makes a room genuinely long-lasting.
My nephew has had a loft bed since he was six. He’s now twelve, and the space beneath it has transformed three times — from a play shop, to a Lego building zone, to a gaming desk. The bed has never moved.
4. Build Floor-to-Ceiling Bookshelves
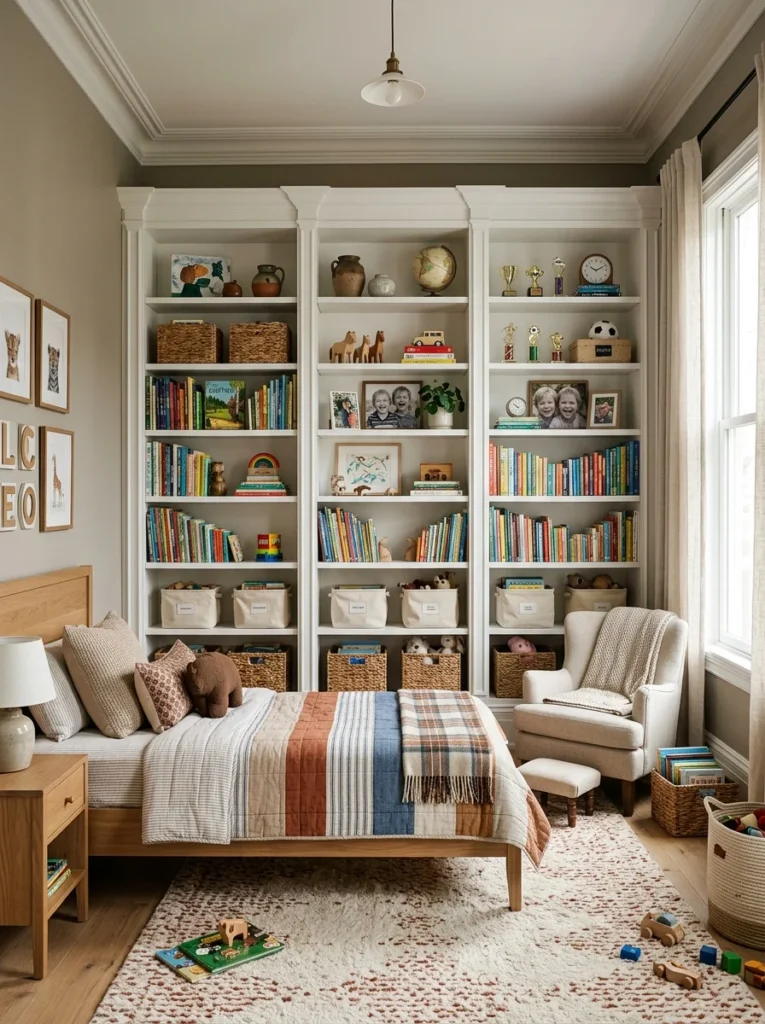
Floor-to-ceiling bookshelves are one of those installations that look beautiful, serve a child at every age, and add genuine value to the room and property.
Young children need shelving for picture books, toys, and storage baskets. School-age children need it for a growing book collection, school supplies, and display space for collections and trophies. Teenagers need it for textbooks, personal items, and more sophisticated display.
The shelves themselves don’t change. What goes on them does — and that’s a completely painless, free update.
Built-in floor-to-ceiling shelves look genuinely custom and architectural. They can be created relatively affordably using IKEA BILLY bookcases fitted floor to ceiling with a plinth at the base and trim at the top to create a built-in look.
5. Create a Dedicated Study Zone From the Start
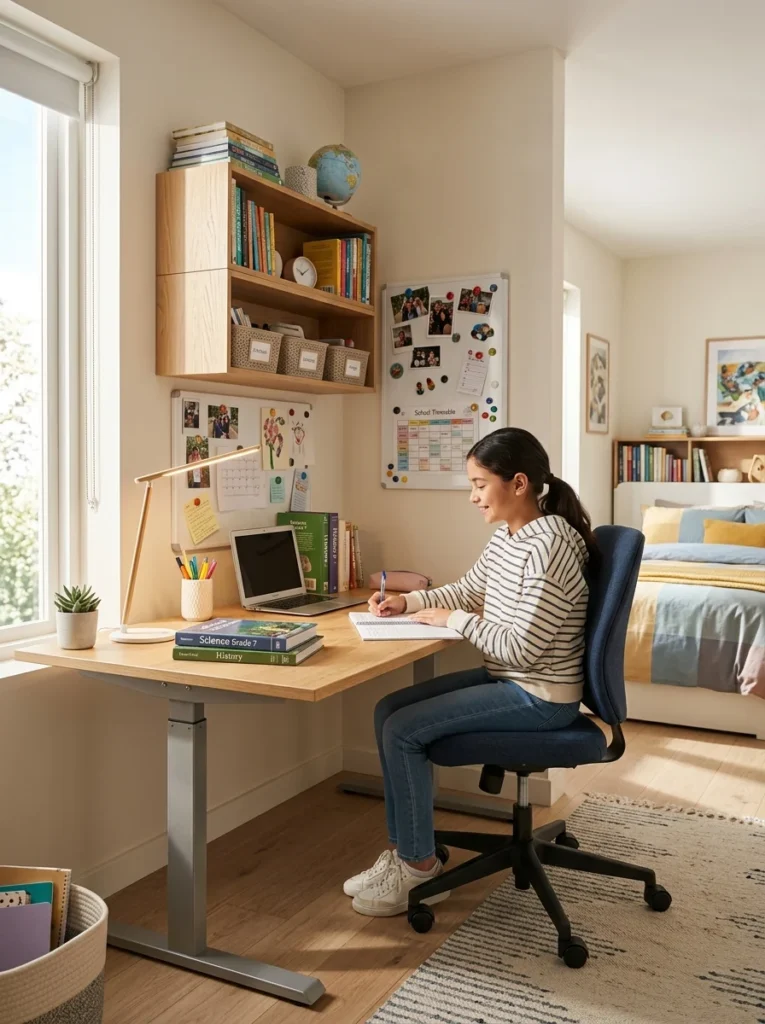
One of the most forward-thinking things you can do in a child’s room renovation is to designate and properly design a study zone from the beginning — even if your child is currently too young to use it for studying.
A well-designed study zone includes: a proper desk (not too small — children grow quickly), a height-adjustable chair, good task lighting, adequate shelving for books and supplies, and a pinboard or magnetic surface for displaying work and reminders.
Installing this infrastructure early means the room is ready when school begins, rather than requiring a disruptive retrofit later. A desk that’s the right size and properly positioned from age five will serve a child through their teenage years if chosen well.
Adjustable-height desks are a particularly smart investment — they can be raised as the child grows, eliminating the need to replace the desk as the years pass.
6. Use Pegboards for Flexible Wall Storage
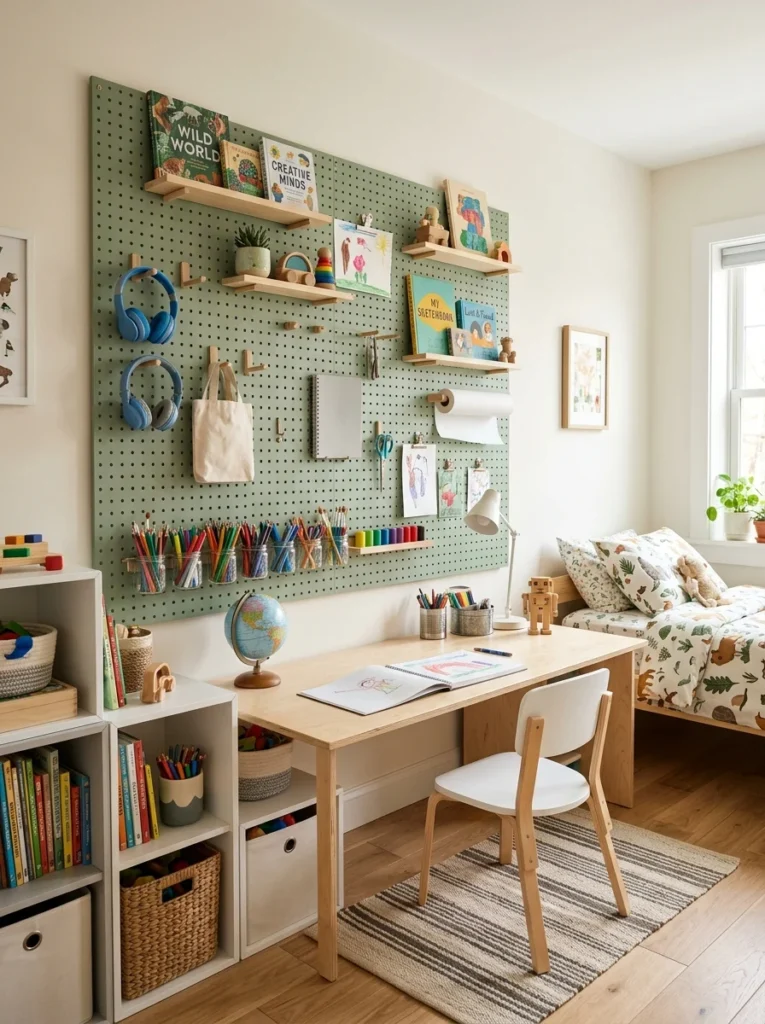
A pegboard wall — a large panel of perforated board fitted with hooks, shelves, and bins in various configurations — is one of the most flexible storage and display solutions available for a child’s room.
The key advantage is complete reconfigurability. The same pegboard that holds art supplies and small toys at age four can be reorganized to hold sports equipment, craft materials, or tech accessories at fourteen. Nothing needs to be reinstalled — just rearranged.
Pegboards also serve as a display surface, a creative organizing tool, and a tactile element that children find genuinely engaging. They’re practical for parents and fun for kids — a combination that’s hard to find.
Paint the pegboard in a color that complements the room, and it becomes a genuine design feature rather than just a functional panel.
7. Install Blackout Blinds With Decorative Curtains Layered Over
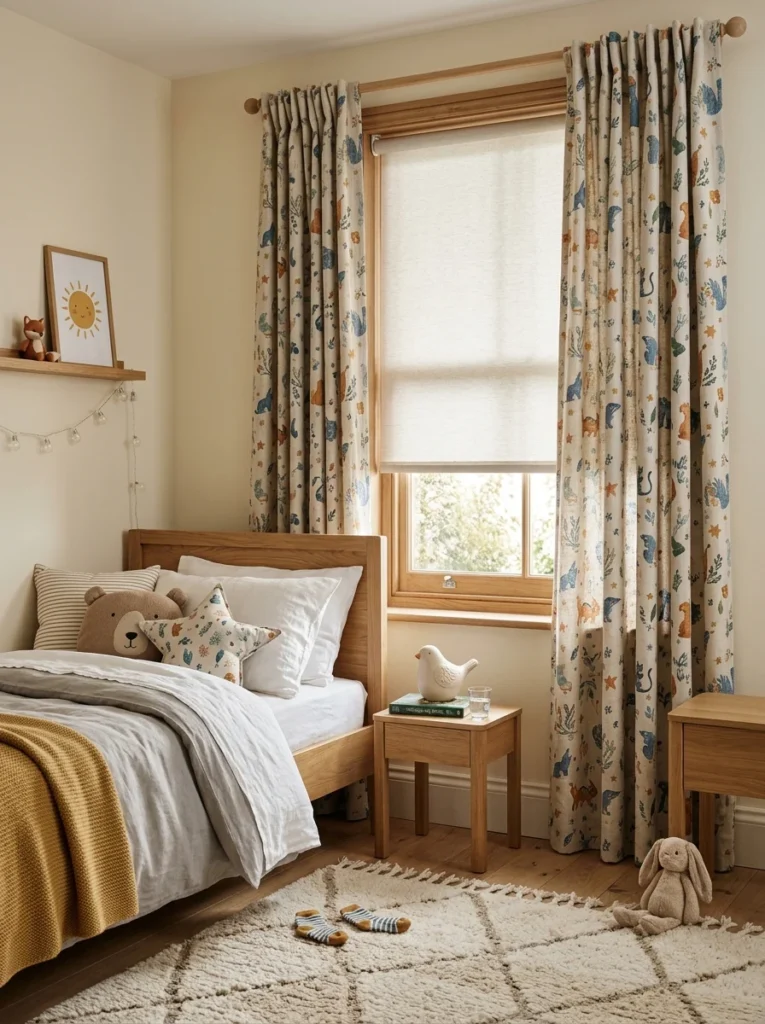
Sleep is critical for children at every age, and blackout window treatments are one of the most genuinely impactful things you can install in a child’s room.
The smart approach for longevity: install a functional blackout blind behind a set of decorative curtains. The blackout blind does the practical work. The curtains do the design work and can be changed cheaply and easily as the child’s tastes evolve.
Curtains in a fun, bold pattern can be swapped for a more sophisticated design when the child gets older — without touching the blackout blind behind them. The functional infrastructure stays. The aesthetic layer changes.
This principle — functional core, changeable aesthetic layer — is the underlying philosophy behind most of the best ideas on this list.
8. Choose Durable, Wipeable Flooring
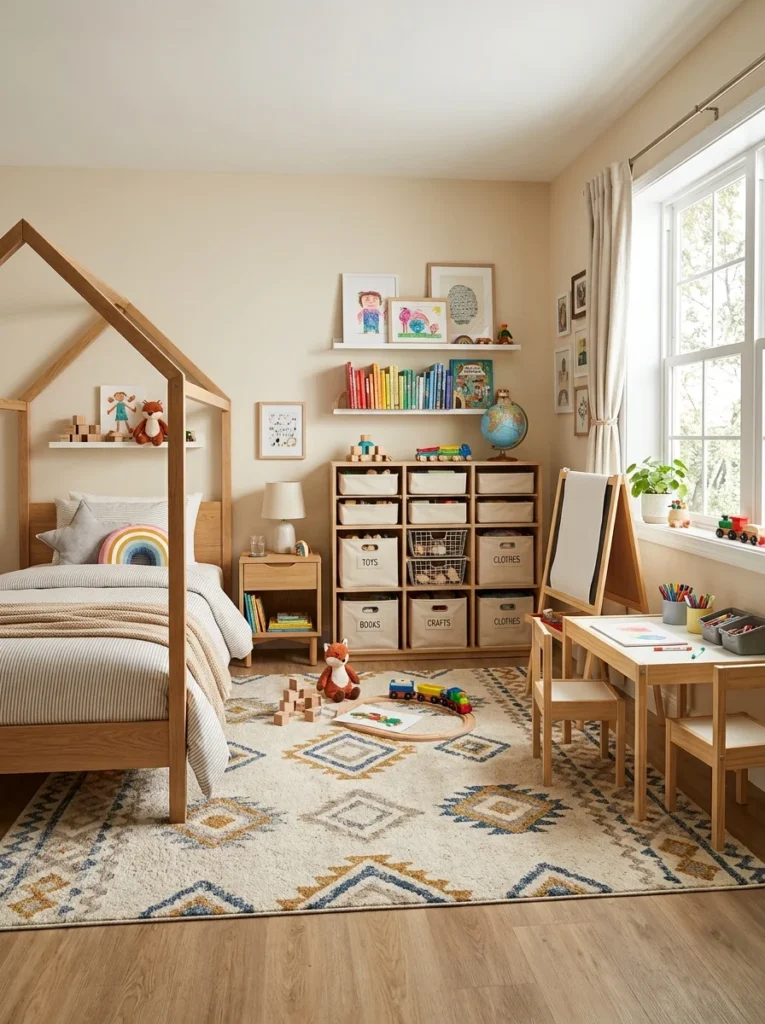
Children are extraordinarily hard on floors. Paint, craft glue, food, mud, pet mess, and the occasional flooding incident from an overturned water bottle — the floor of a child’s room experiences everything.
Choose flooring that can handle this reality. Luxury vinyl plank (LVP) flooring is the current gold standard for children’s rooms: completely waterproof, extremely durable, comfortable underfoot, easy to clean, and available in designs that look almost identical to real wood.
Add a large, washable area rug for warmth, softness, and design personality. The rug can be changed as the child grows — and most can be machine washed, making cleaning genuinely manageable.
Avoid carpet in children’s rooms if at all possible. It traps allergens, stains permanently, and cannot be deep-cleaned effectively in most domestic settings.
9. Add a Reading Nook
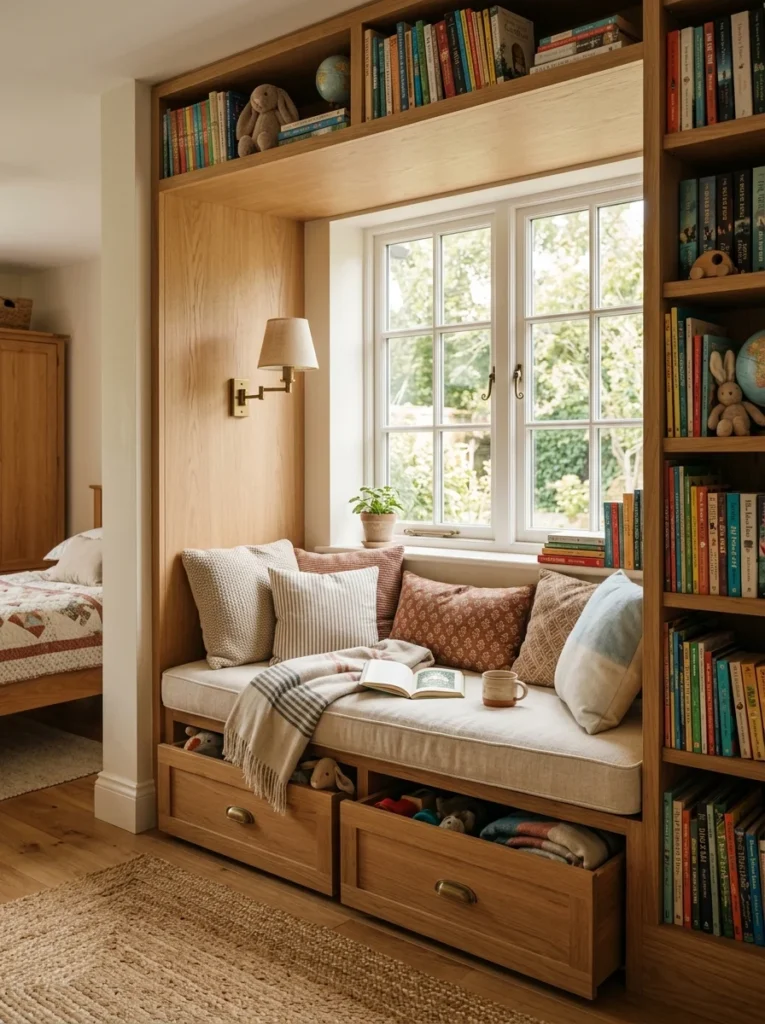
A reading nook — a small, defined, cozy corner dedicated to reading and quiet time — is one of those features that children love at every age, even if what they read changes dramatically.
At three, it’s picture books and storytime with a parent. At eight, it’s chapter books and independent reading. At thirteen, it’s novels, graphic novels, and the first taste of genuine literary taste.
A reading nook can be as simple as a cushioned window seat with storage beneath, a built-in alcove with a fitted bench and shelving, or a canopy over a corner of the floor with floor cushions underneath. The more enclosed and defined it feels, the more children value it as their own private space.
I built a simple reading nook for my daughter using a KALLAX shelving unit on its side as the base, a custom-cut foam cushion on top, and a small curtain hung from the ceiling to create an enclosed feel. She spent more time in that reading nook than anywhere else in the room for about three years.
10. Paint an Accent Wall in Chalkboard Paint
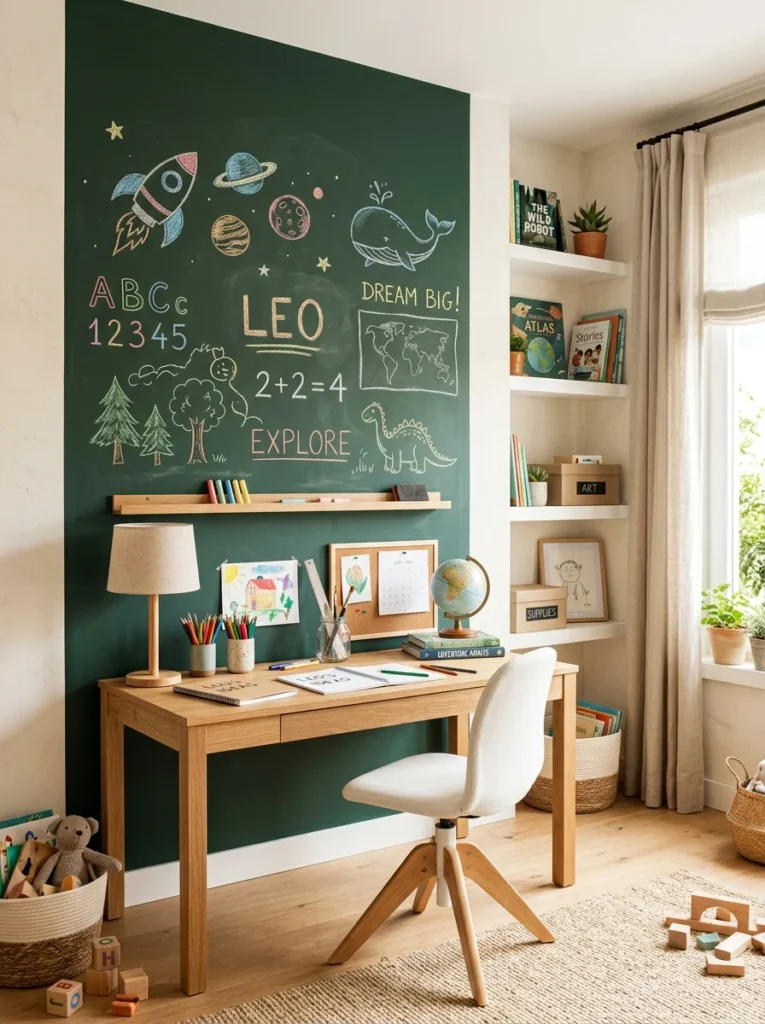
A chalkboard accent wall is one of those features that works beautifully at almost every age and costs very little to create.
At three to five years old, it’s a giant drawing surface that contains the chalk and crayons. At six to ten, it’s a creative space for art, messages, and storytelling. At eleven to fifteen, it becomes a homework planning surface, a quote wall, or a social space to write messages to friends.
Chalkboard paint is available in most hardware stores in black and a range of colors — particularly dark green, navy, and grey. Apply it to one wall, add a small rail at the bottom to hold chalk, and the feature is complete.
The best placement: behind the desk or study area, where it doubles as a functional planning surface during the school years.
11. Use Modular Storage Systems That Expand Over Time
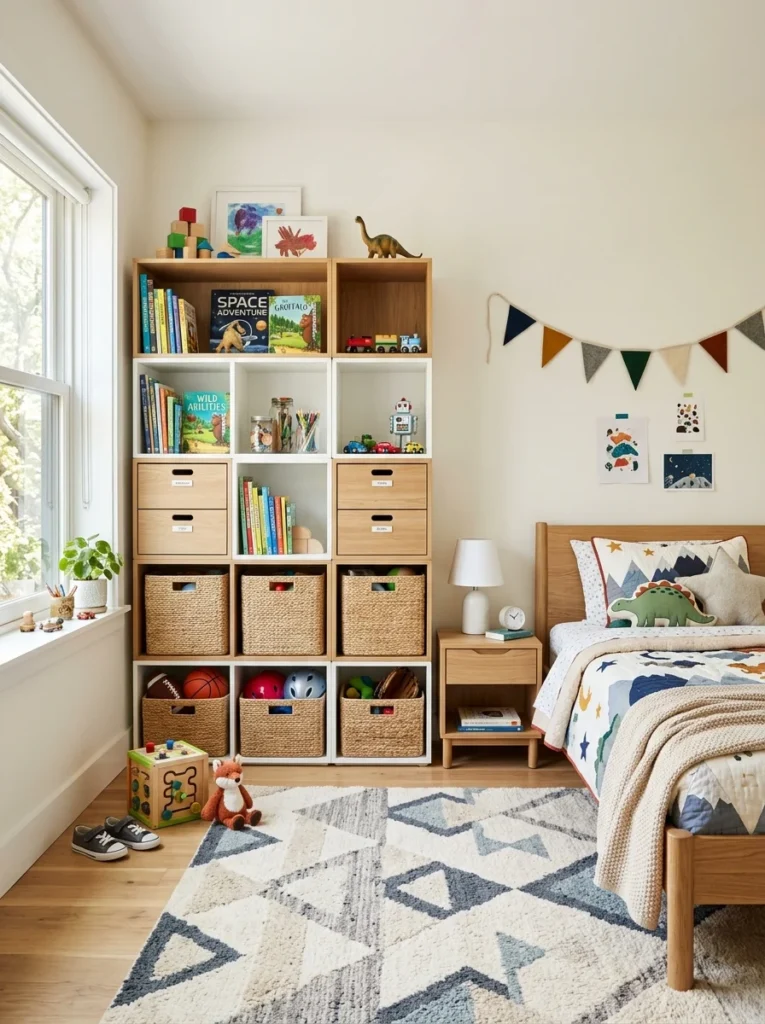
Children accumulate an extraordinary volume of belongings over time — toys at three, books and sports equipment at eight, tech and clothes at fourteen. The storage system that works for one stage rarely works for the next.
The solution: invest in a modular storage system from the beginning and add to it as the child’s needs grow.
IKEA’s KALLAX and TROFAST systems are particularly well-suited to children’s rooms. They can be configured and reconfigured in numerous ways, expanded by adding units, and fitted with different inserts — open shelves, drawers, bins — to suit changing needs.
Label bins and baskets clearly with pictures for young children, transition to word labels as they learn to read, and phase out the labels entirely as they get older. The same storage system, evolving naturally.
12. Install a Height Chart That’s Also Art
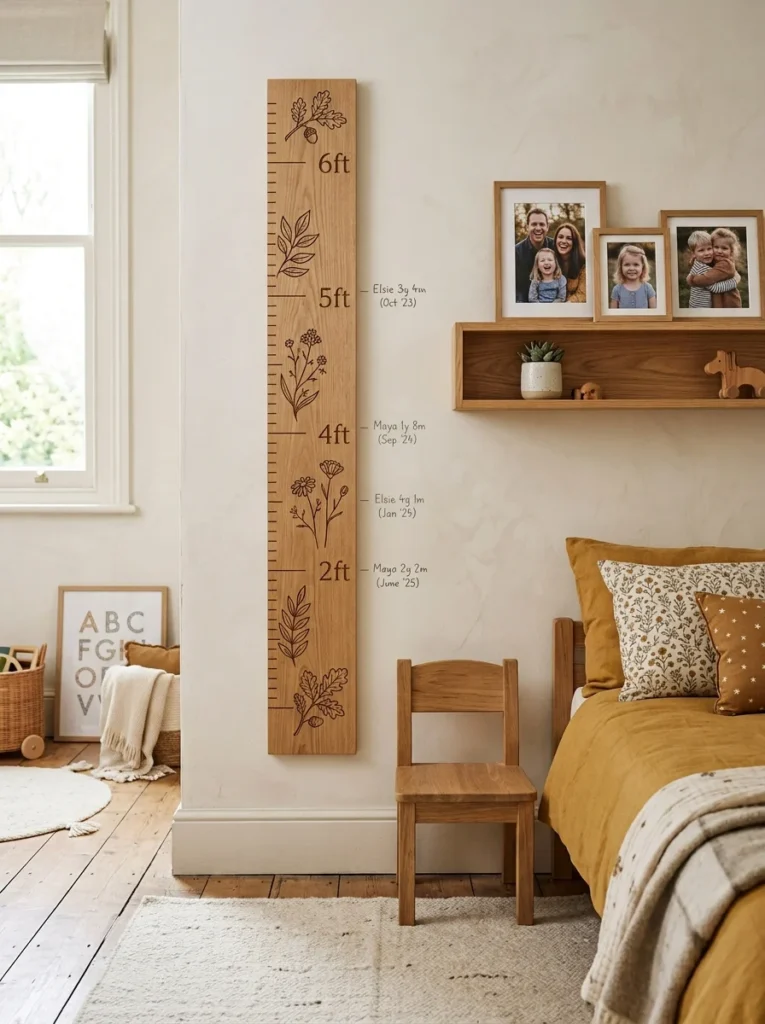
A height chart — a wall-mounted ruler or mark system for tracking your child’s growth over time — is a small detail that becomes one of the most cherished elements of any child’s room.
Rather than a generic peel-and-stick chart from a discount store, commission or create a beautiful, illustrated height chart that fits the room’s aesthetic. Many independent artists and Etsy sellers create stunning examples in watercolor, illustration, or graphic design styles.
Choose one that will still look beautiful as the child ages — something illustrated with a natural, timeless aesthetic rather than a character or trend that will date quickly.
A height chart is also one of those deeply personal elements that transforms a renovated room from a generic interior into a space with genuine emotional meaning. Years from now, those pencil marks will be among the most cherished records of your child’s growing up.
13. Add Soft Lighting Options Beyond the Main Ceiling Light
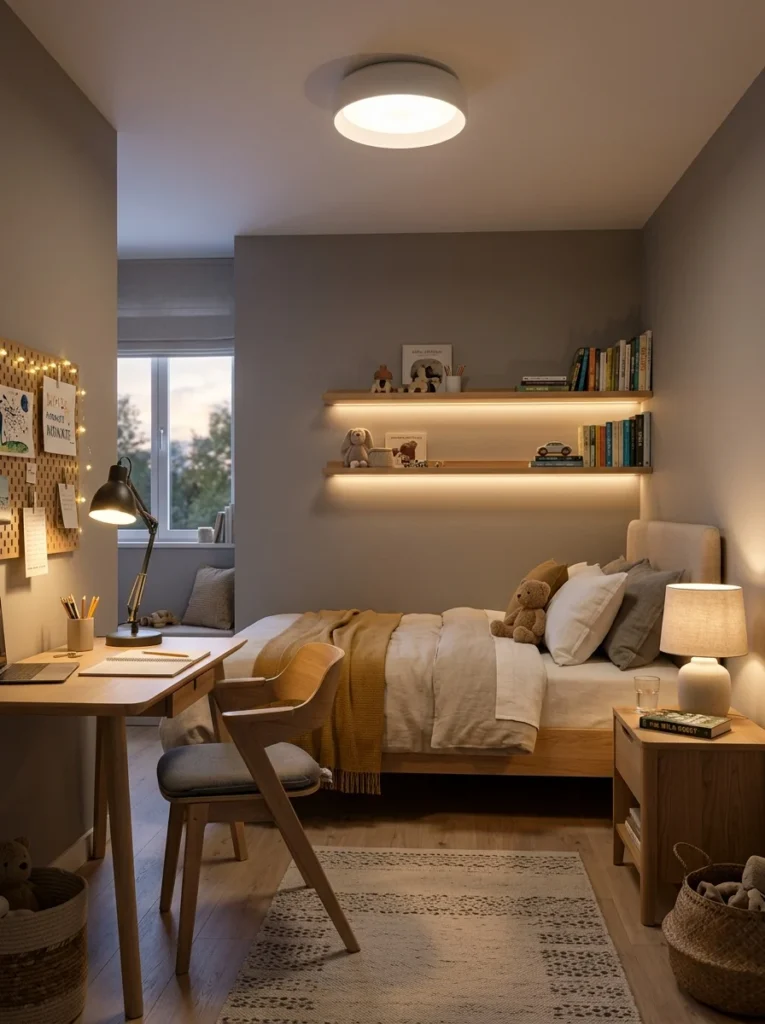
A single ceiling light is rarely the right choice for a child’s room at any age.
Young children benefit from a soft, low-level nightlight that provides enough illumination to navigate to the bathroom at night without being bright enough to disturb sleep. School-age children need good task lighting at their desk for reading and homework. Teenagers often want atmospheric, adjustable lighting that suits both study and relaxation.
The solution: install a ceiling light for general illumination, a desk lamp for task lighting, and a small plug-in lamp or LED strip for ambient and nighttime lighting. Smart bulbs — controllable via a phone or voice assistant — allow the lighting mood to be adjusted instantly.
This layered lighting approach works at every age, with each layer being used differently as the child grows.
14. Create a Craft and Art Corner
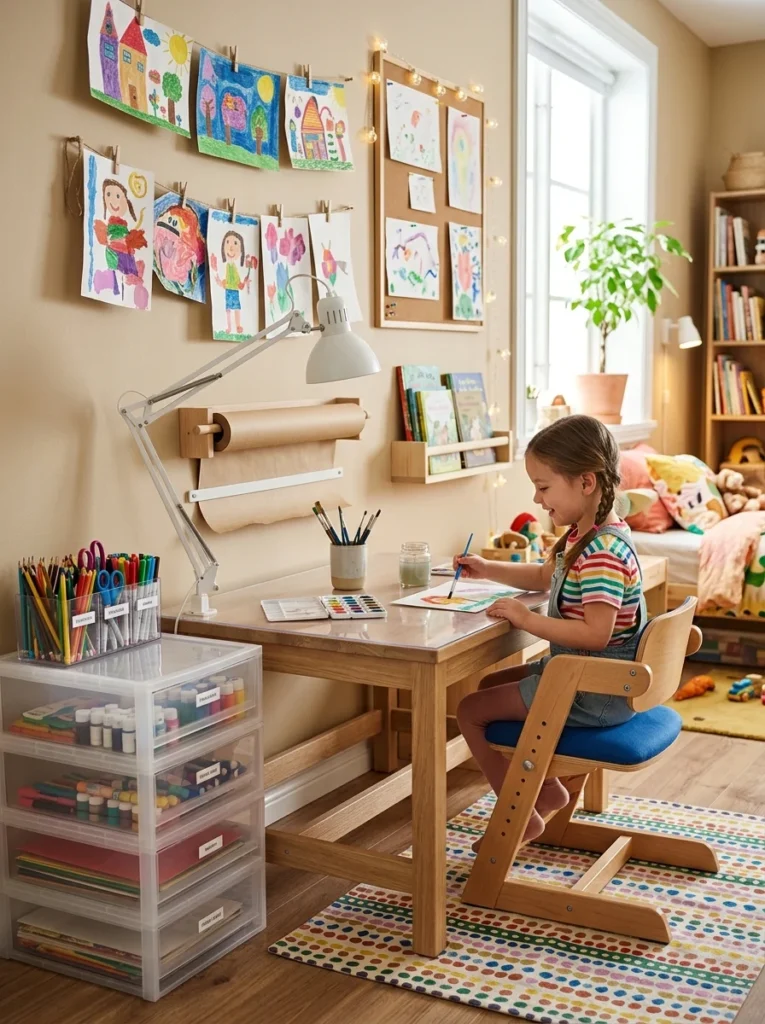
Children are creative at every age — the medium just changes. Toddlers paint with their fingers. Eight-year-olds do watercolors and collage. Twelve-year-olds might be into sewing, model-making, or digital art. Teenagers sometimes discover a serious craft or artistic passion.
A dedicated craft corner — a table with good lighting, storage for supplies, a washable surface, and a mat on the floor beneath — accommodates all of these phases with minimal modification.
The table surface should be protected (a sheet of glass or acrylic over the top works well) or made from a material that can handle craft mess without permanent damage. The storage should be organized and accessible — clear bins or drawers with easy labeling.
15. Install Proper Wardrobe Storage With Adjustable Rails
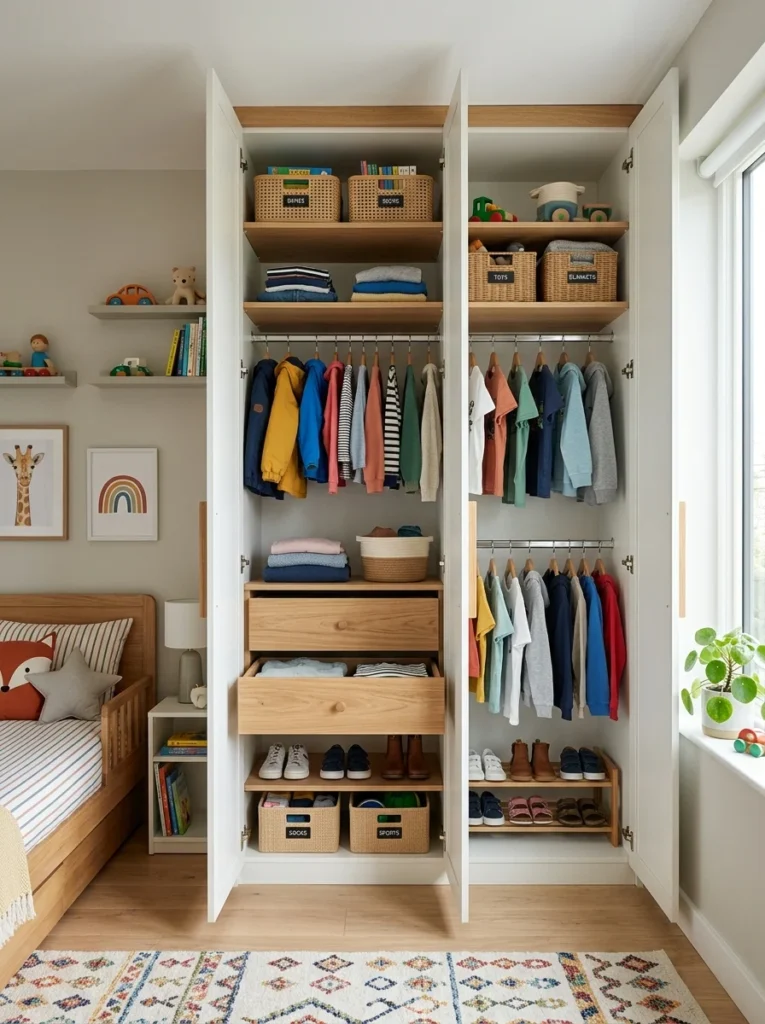
Children’s clothing dimensions change rapidly. A five-year-old’s hanging rail needs to be very low. A fifteen-year-old needs full-height hanging space.
An adjustable wardrobe rail system — with rails that can be repositioned at different heights as the child grows — eliminates the need to modify or replace the wardrobe as the years pass.
Many flat-pack wardrobe systems (IKEA PAX is the most well-known example) offer adjustable internal configurations. Invest in the largest wardrobe that the room can reasonably accommodate — children accumulate clothes, shoes, and accessories rapidly, and inadequate wardrobe storage is one of the most common sources of bedroom clutter.
16. Hang a Gallery Wall of Changing Art and Photos
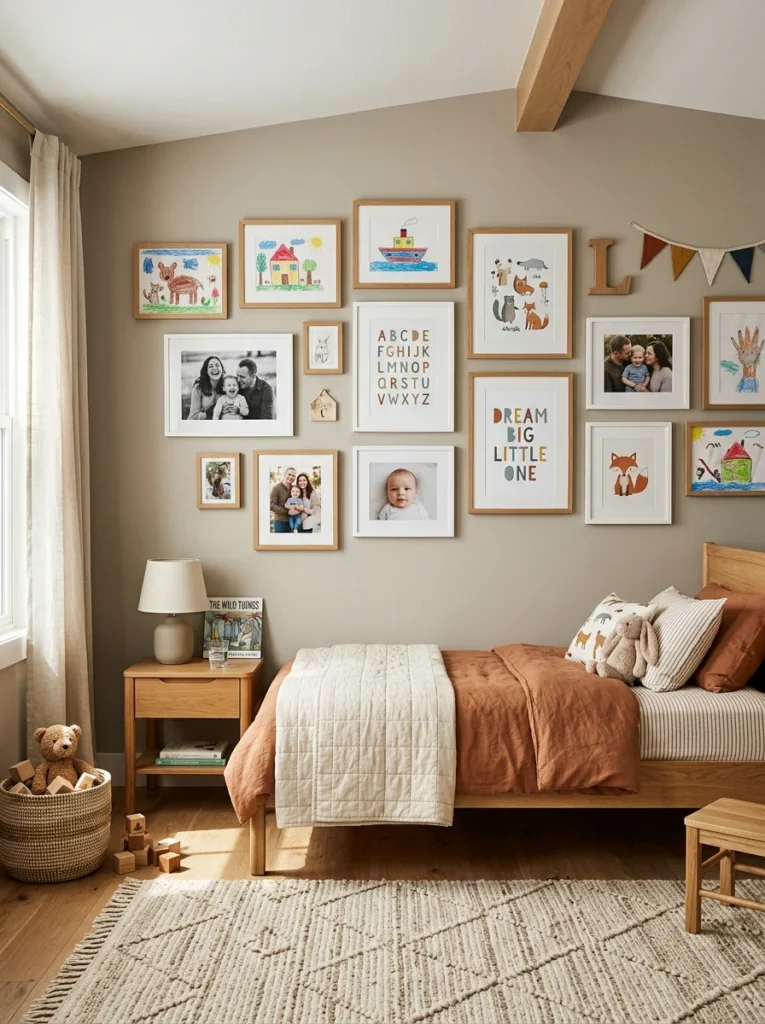
A gallery wall — a curated collection of framed art and photographs — is one of those design elements that adds personality and warmth to a child’s room at any age.
The key for longevity: use frames that stay fixed and swap the art inside them as the child grows.
Start with a collection of the child’s own artwork, some family photographs, and a few simple prints. As they develop their own tastes and interests, let them choose what goes on the wall. By the time they’re teenagers, a gallery wall that includes their own chosen art, concert posters (properly framed), photographs of friends, and personal mementos becomes a genuine expression of identity.
The frames never move. The art inside evolves. The wall grows with the child.
A Framework for Planning a Kids Room That Lasts
Here’s the practical approach I now recommend to anyone renovating a child’s room for the first time:
Think in decades, not years. Ask yourself: will this work when my child is five? And ten? And fifteen? If the answer is no at any stage, reconsider.
Separate the permanent from the changeable. Floors, built-in storage, window treatments, and lighting infrastructure are permanent investments. Bedding, rugs, curtains, art, and accessories are changeable. Invest heavily in the permanent elements. Keep the changeable ones affordable.
Build in flexibility everywhere. Adjustable shelving, modular storage, convertible furniture — these are the tools that let a room adapt without full renovation.
Leave some walls blank. Blank wall space is an invitation for the child to make the room their own as they grow. A room that’s completely filled and decorated by the parent leaves no room for the child’s personality to emerge.
Plan for technology. Even if your child is currently very young, plan sufficient power outlets, good WiFi coverage, and appropriate desk space for the technology that will inevitably become part of their room in the coming years.
Final Thoughts
A child’s room renovation is one of the most rewarding projects in the home — but only if it’s designed to last.
The 20 ideas in this guide are specifically chosen because they serve children at multiple stages of development, adapt gracefully as tastes and needs change, and avoid the cycle of expensive, exhausting renovations every few years.
Start with the foundation: neutral walls, durable floors, flexible storage, and good lighting. Then layer in personality through the changeable elements — bedding, rugs, art, and accessories — that can be updated as your child grows and changes.
The goal is a room your child grows into, not out of. A space that evolves with them rather than being left behind. A room they’ll remember not just for how it looked on the day it was finished, but for how it felt to grow up in — comfortable, personal, and entirely theirs.
Which of these 20 ideas resonates most with you? Tell me in the comments — I’d love to know what you’re planning for your child’s room.
