
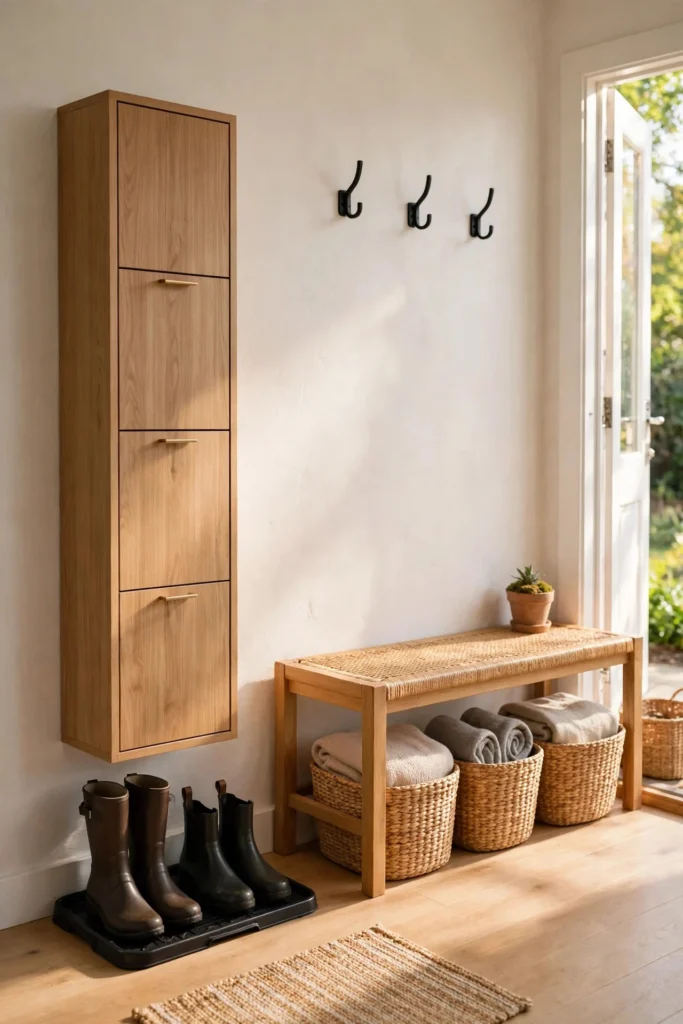
Shoes are the first thing you see when you walk in — and in a small entryway, a pile of them makes the whole house feel messy. The fix isn’t a bigger entryway. It’s giving every pair a specific home that fits the inches you actually have.
These 15 ideas are designed for tight entryways: narrow halls, small foyers, apartments with no mudroom at all. Every solution is compact, most are under $60, and all of them beat the leaning tower of sneakers by the door.
1. A Slim Tilt-Out Shoe Cabinet
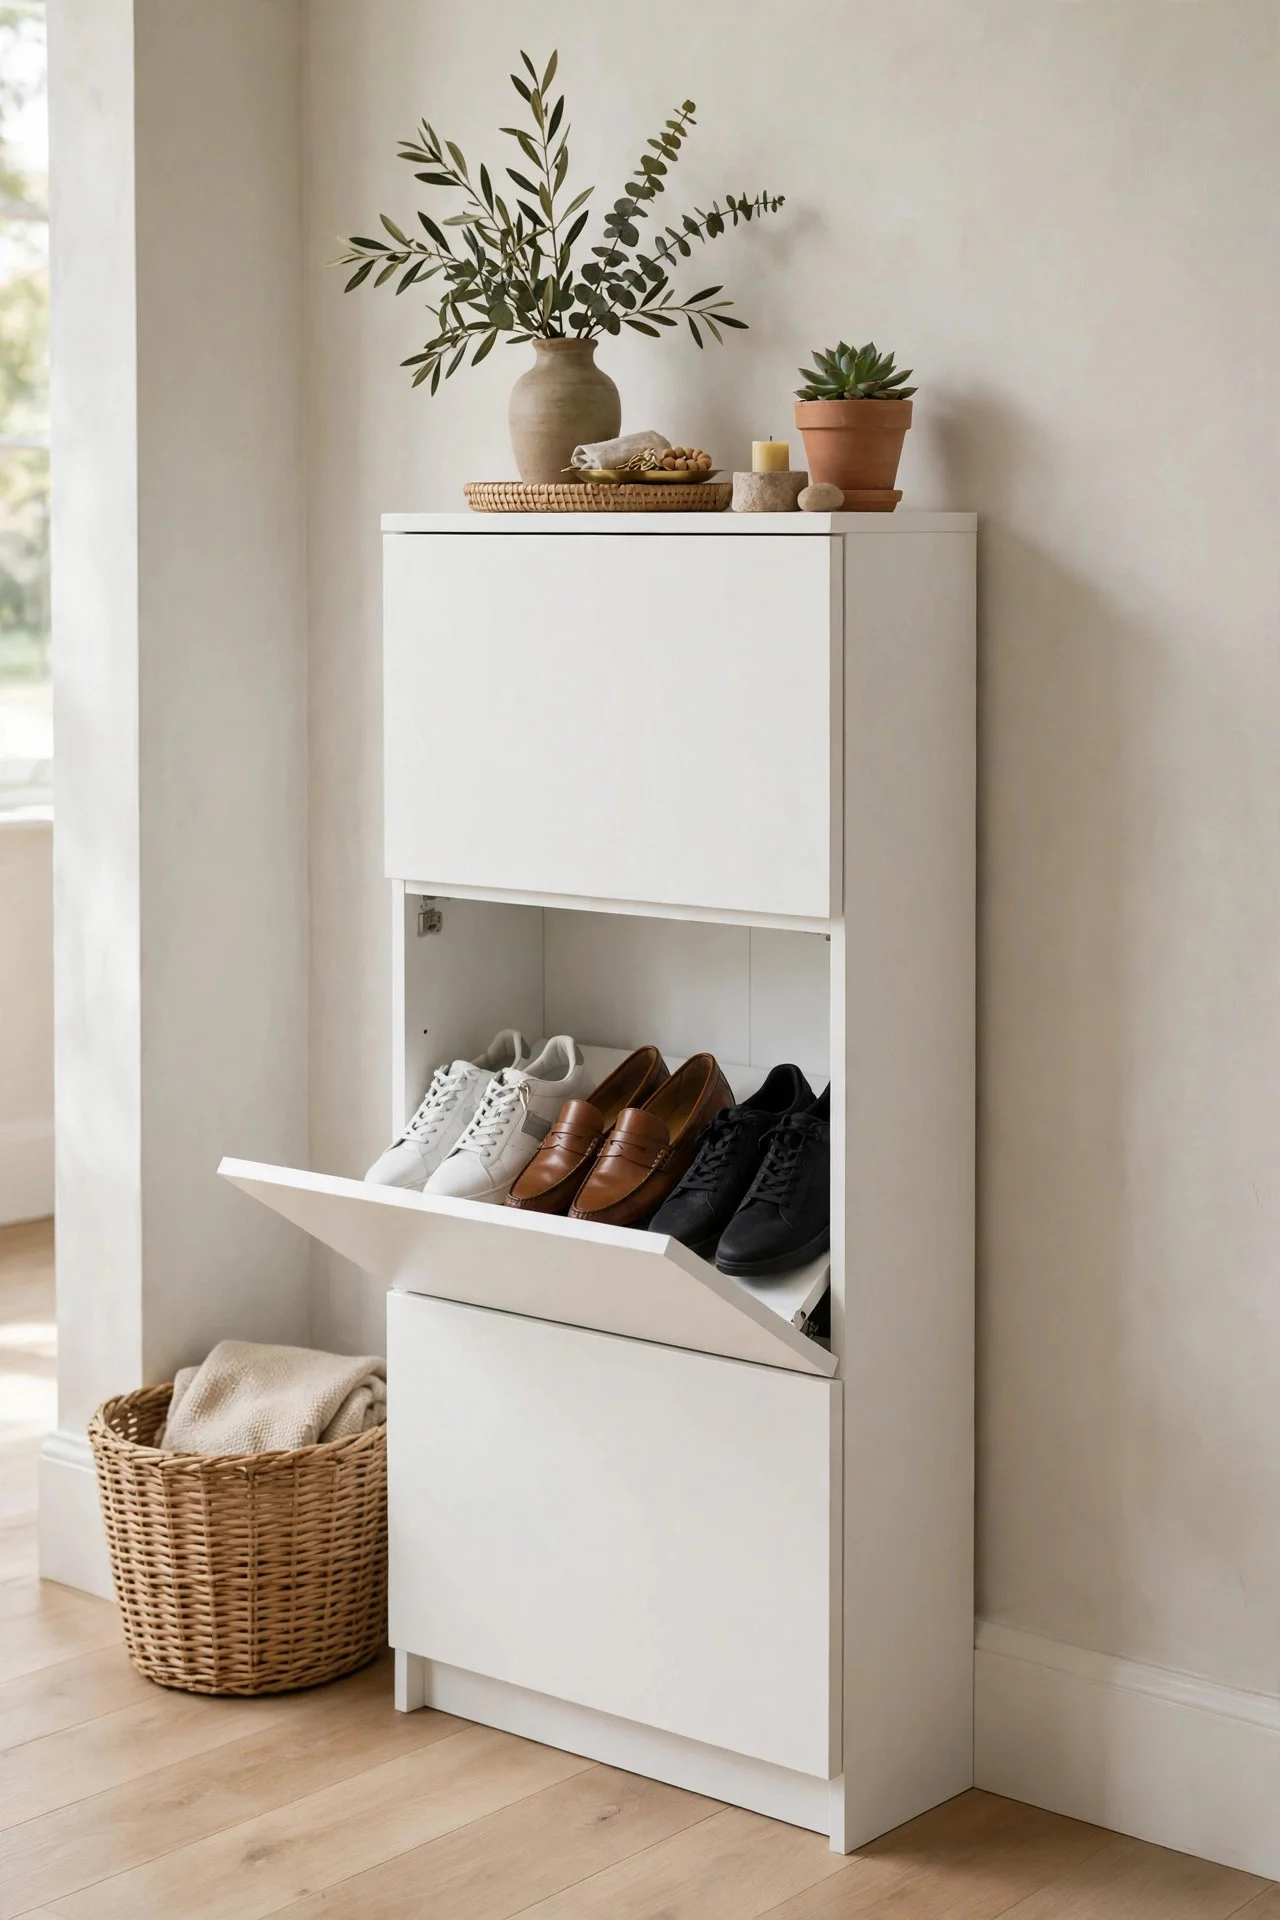
The classic small-entryway hero: a tilt-out cabinet only 7–9 inches deep that holds 6–12 pairs behind doors that look like a console table. Shoes slide into angled compartments, doors close, and the pile disappears.
Wall-anchor it for safety, and keep the top styled with a tray and a small plant. Measure your narrowest spot first — many models come in 24-inch widths that fit beside a door frame. Ventilation slots stop odor buildup.
Measure twice: tilt-out compartments fit most adult shoes, but tall boots and high-tops often don’t. Keep one open shelf or the boot tray for the pairs that won’t fold into the cabinet.
Try this: Assign one compartment per person so nobody’s shoes migrate to the floor.
2. Stackable Shoe Shelves in the Closet
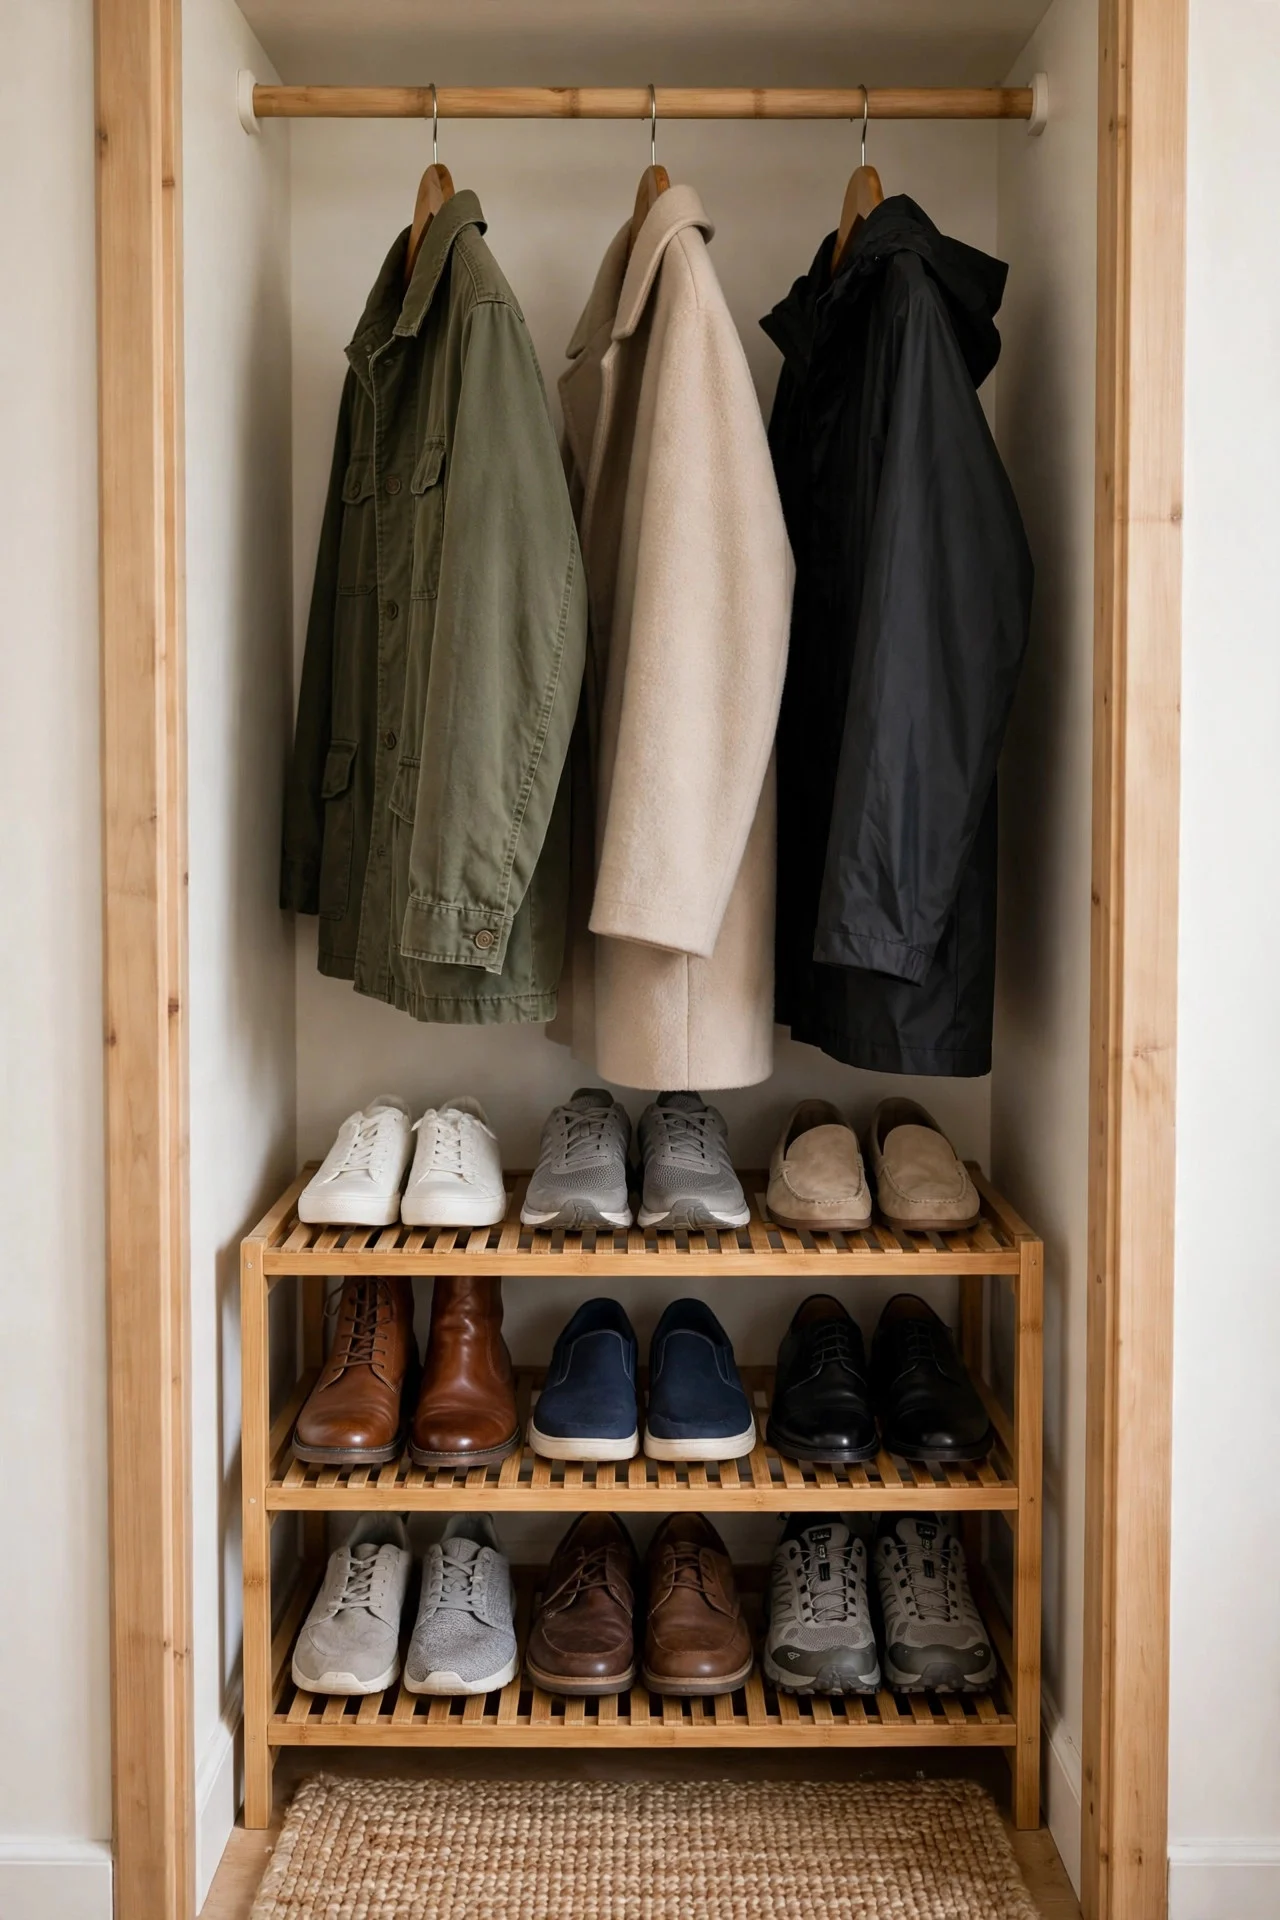
If your entryway has even a small coat closet, stackable wire or bamboo shelves turn the floor of it into vertical shoe storage. Three tiers hold about 9 pairs in the footprint of two.
Keep daily shoes on the bottom tier for grab-and-go, and rotate seasonals up top. A small boot tray on the closet floor catches winter melt. This keeps shoes entirely out of sight — the entryway looks shoe-free.
Wire shelves leave grid marks on soft soles over time — line them with shelf liner. Bamboo shelves cost more but look better if the closet door stays open. Either way, leave the bottom shelf empty for the bag you grab daily.
Try this: Line each tier with a washable mat so mud and salt don’t stain the shelves.
3. An Over-the-Door Shoe Rack (Done Right)
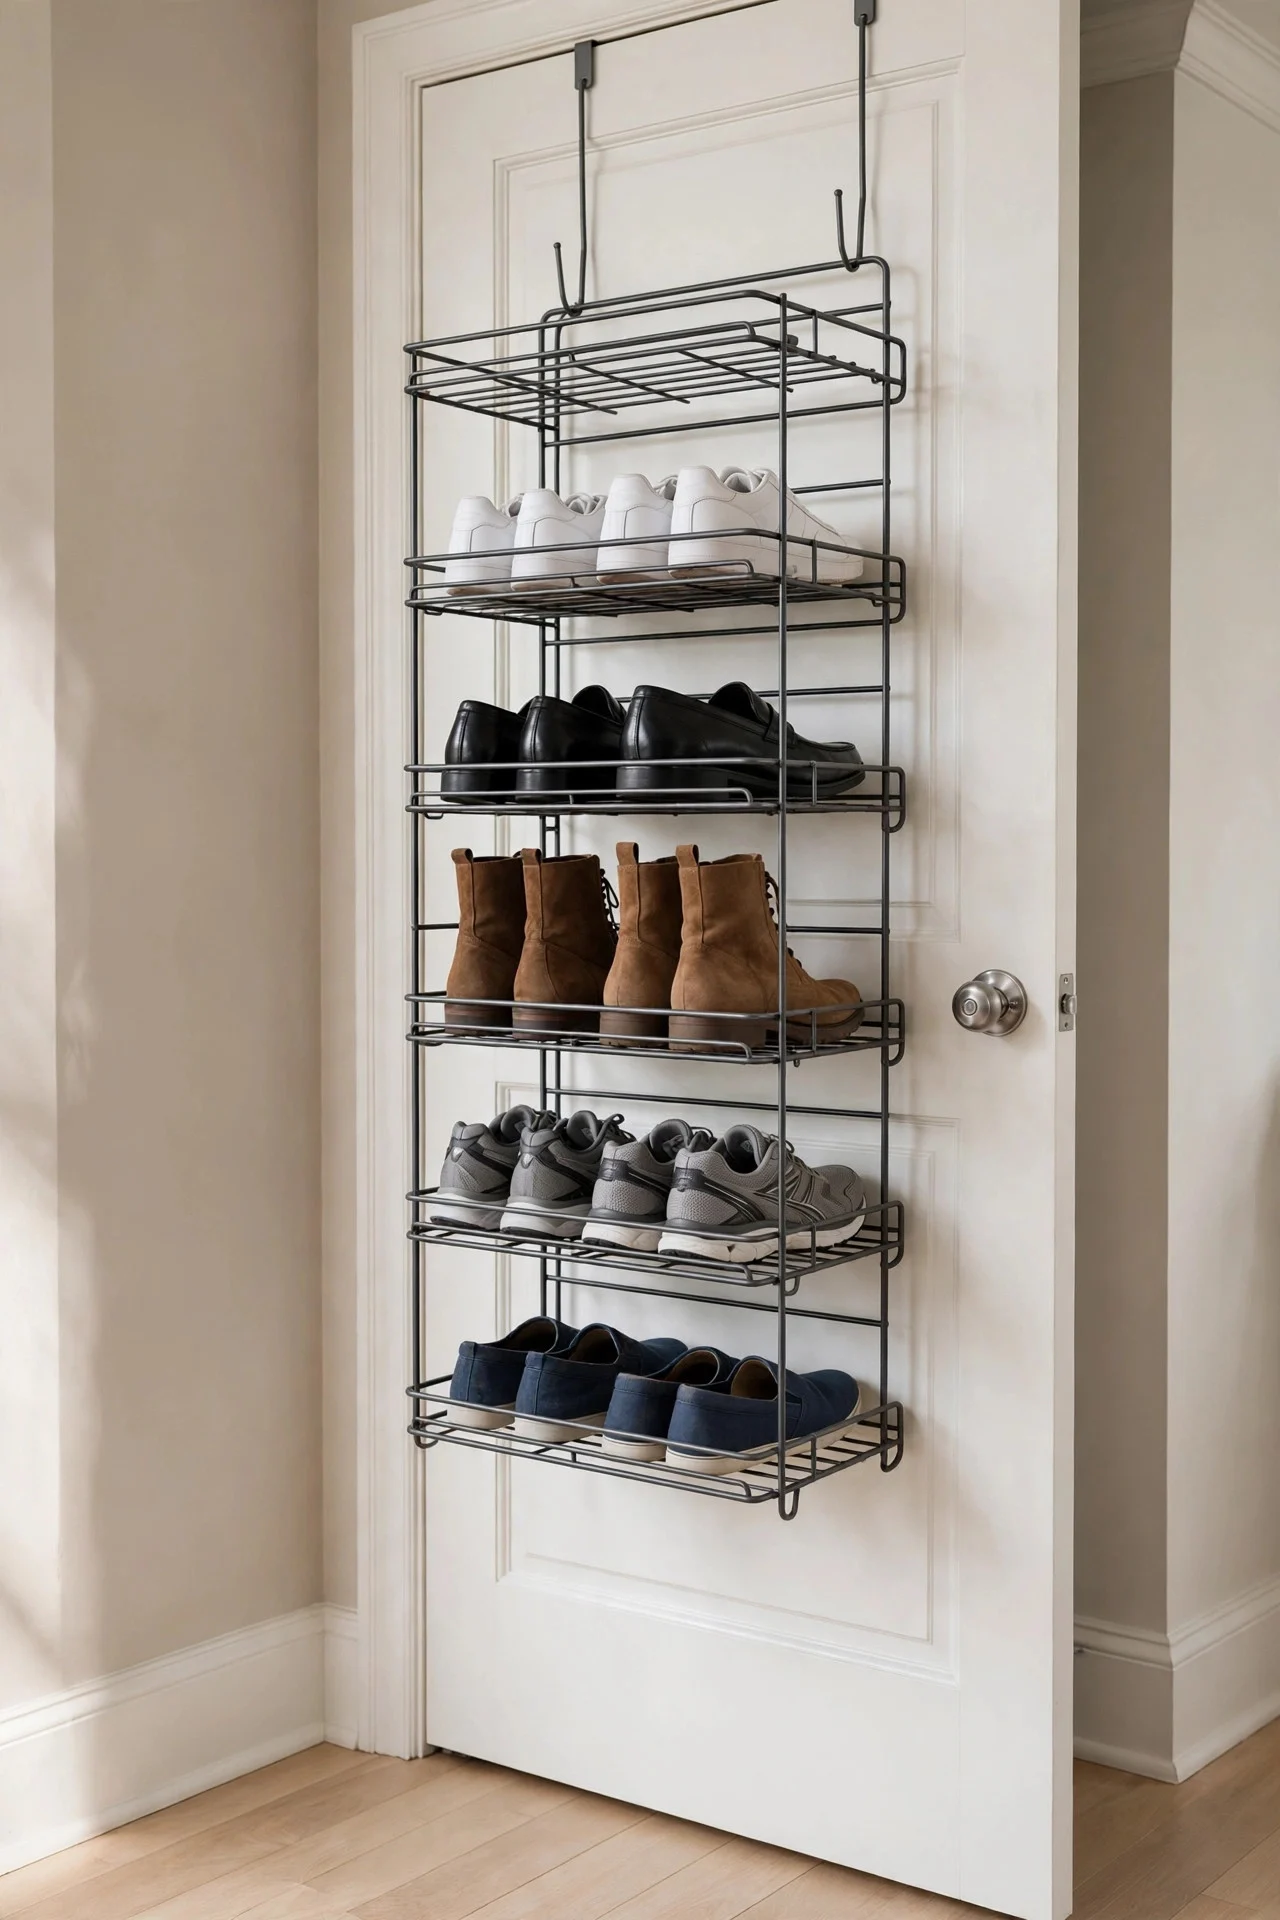
Over-the-door racks get a bad rap because the cheap fabric ones sag. A rigid metal or wooden over-the-door rack with individual pockets or bars holds 12+ pairs on the back of a closet or bedroom door.
Use it for the overflow — guest shoes, seasonal pairs — not your daily rotation. Felt pads on the hooks protect the door finish. Check the door still closes fully; some frames are too tight for the brackets.
The best over-door racks have individual hooks per pair rather than deep pockets — shoes stay visible and don’t pile. Avoid the fabric kind with dozens of pockets; they sag within months under real weight.
Try this: Hang it inside the coat closet door so it’s invisible from the entryway.
4. A Boot Tray With a Raised Edge
For the shoes in active winter rotation, a boot tray is non-negotiable. Choose one with a raised lip and a ribbed surface so water pools below the shoes instead of under them. A 30×15-inch tray fits four pairs.
Place it right inside the door — the first thing shoes touch. Empty and wipe it weekly; standing water warps floors and smells. Galvanized metal or heavy rubber trays last years longer than thin plastic.
Rubber trays crack in freezing garages; bring the tray inside during deep winter or buy galvanized metal. A tray with a 2-inch lip contains even the sloppiest snow boots.
Try this: Keep a microfiber cloth on the tray edge for a quick wipe before shoes go on the shelf.

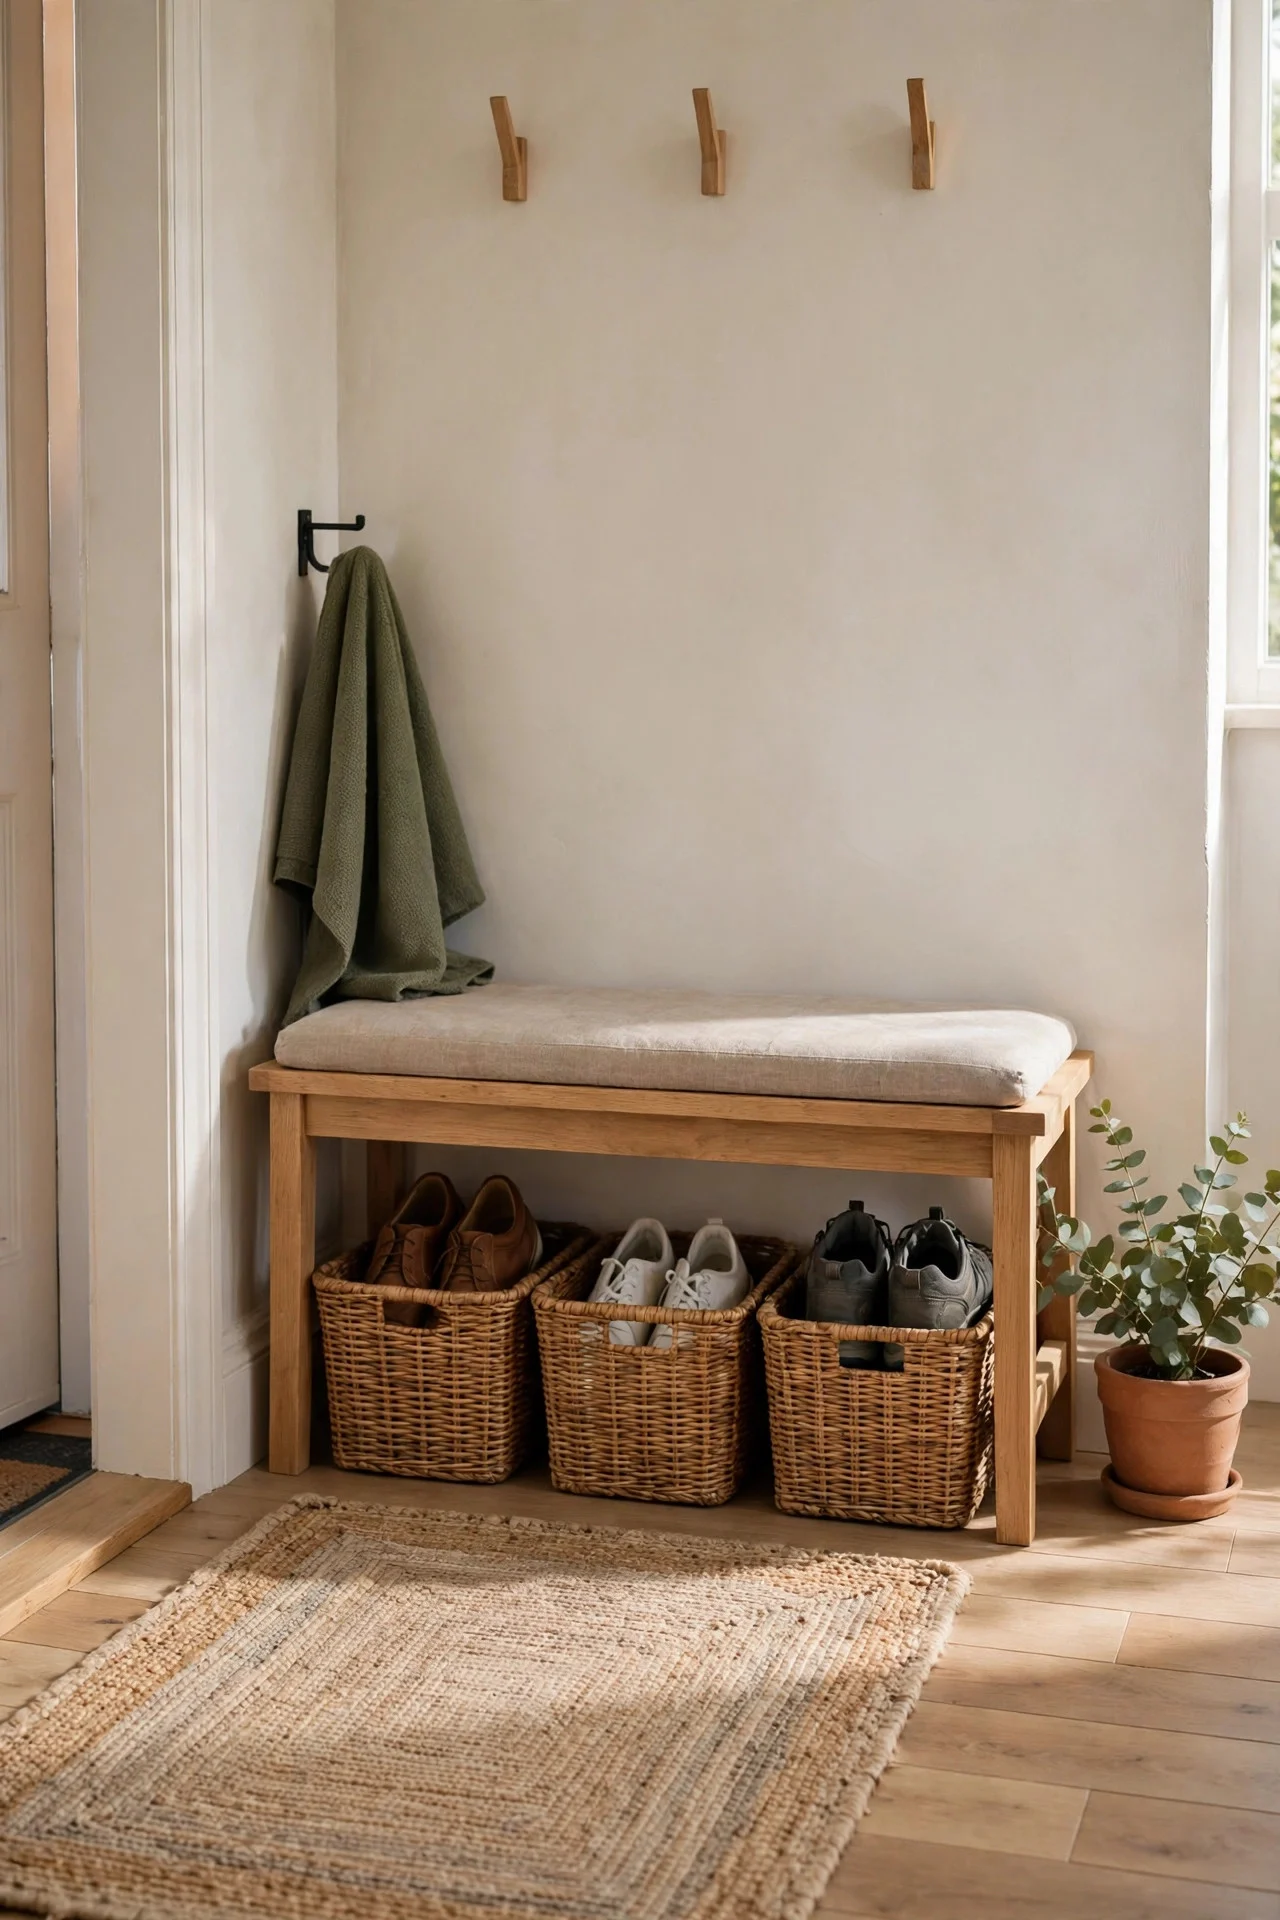
5. Under-Bench Baskets
A small entry bench with open space beneath is made for baskets. Two lidded or open baskets — one per adult, one for kids — hold daily shoes where they’re reachable but contained. The bench doubles as a sit-to-tie spot.
Choose baskets that slide in and out smoothly; measure the opening before buying. Open-top baskets work best for kids who won’t close a lid. A 36-inch bench fits two standard baskets side by side.
A bench with a solid top (not slatted) gives you a surface for the mail tray and keys. Cushion the top with a washable pad — you’ll sit here daily in winter. Bolt the bench to the wall if kids climb it.
Try this: Label the baskets with small brass tags — it looks intentional and ends the “whose basket” debate.
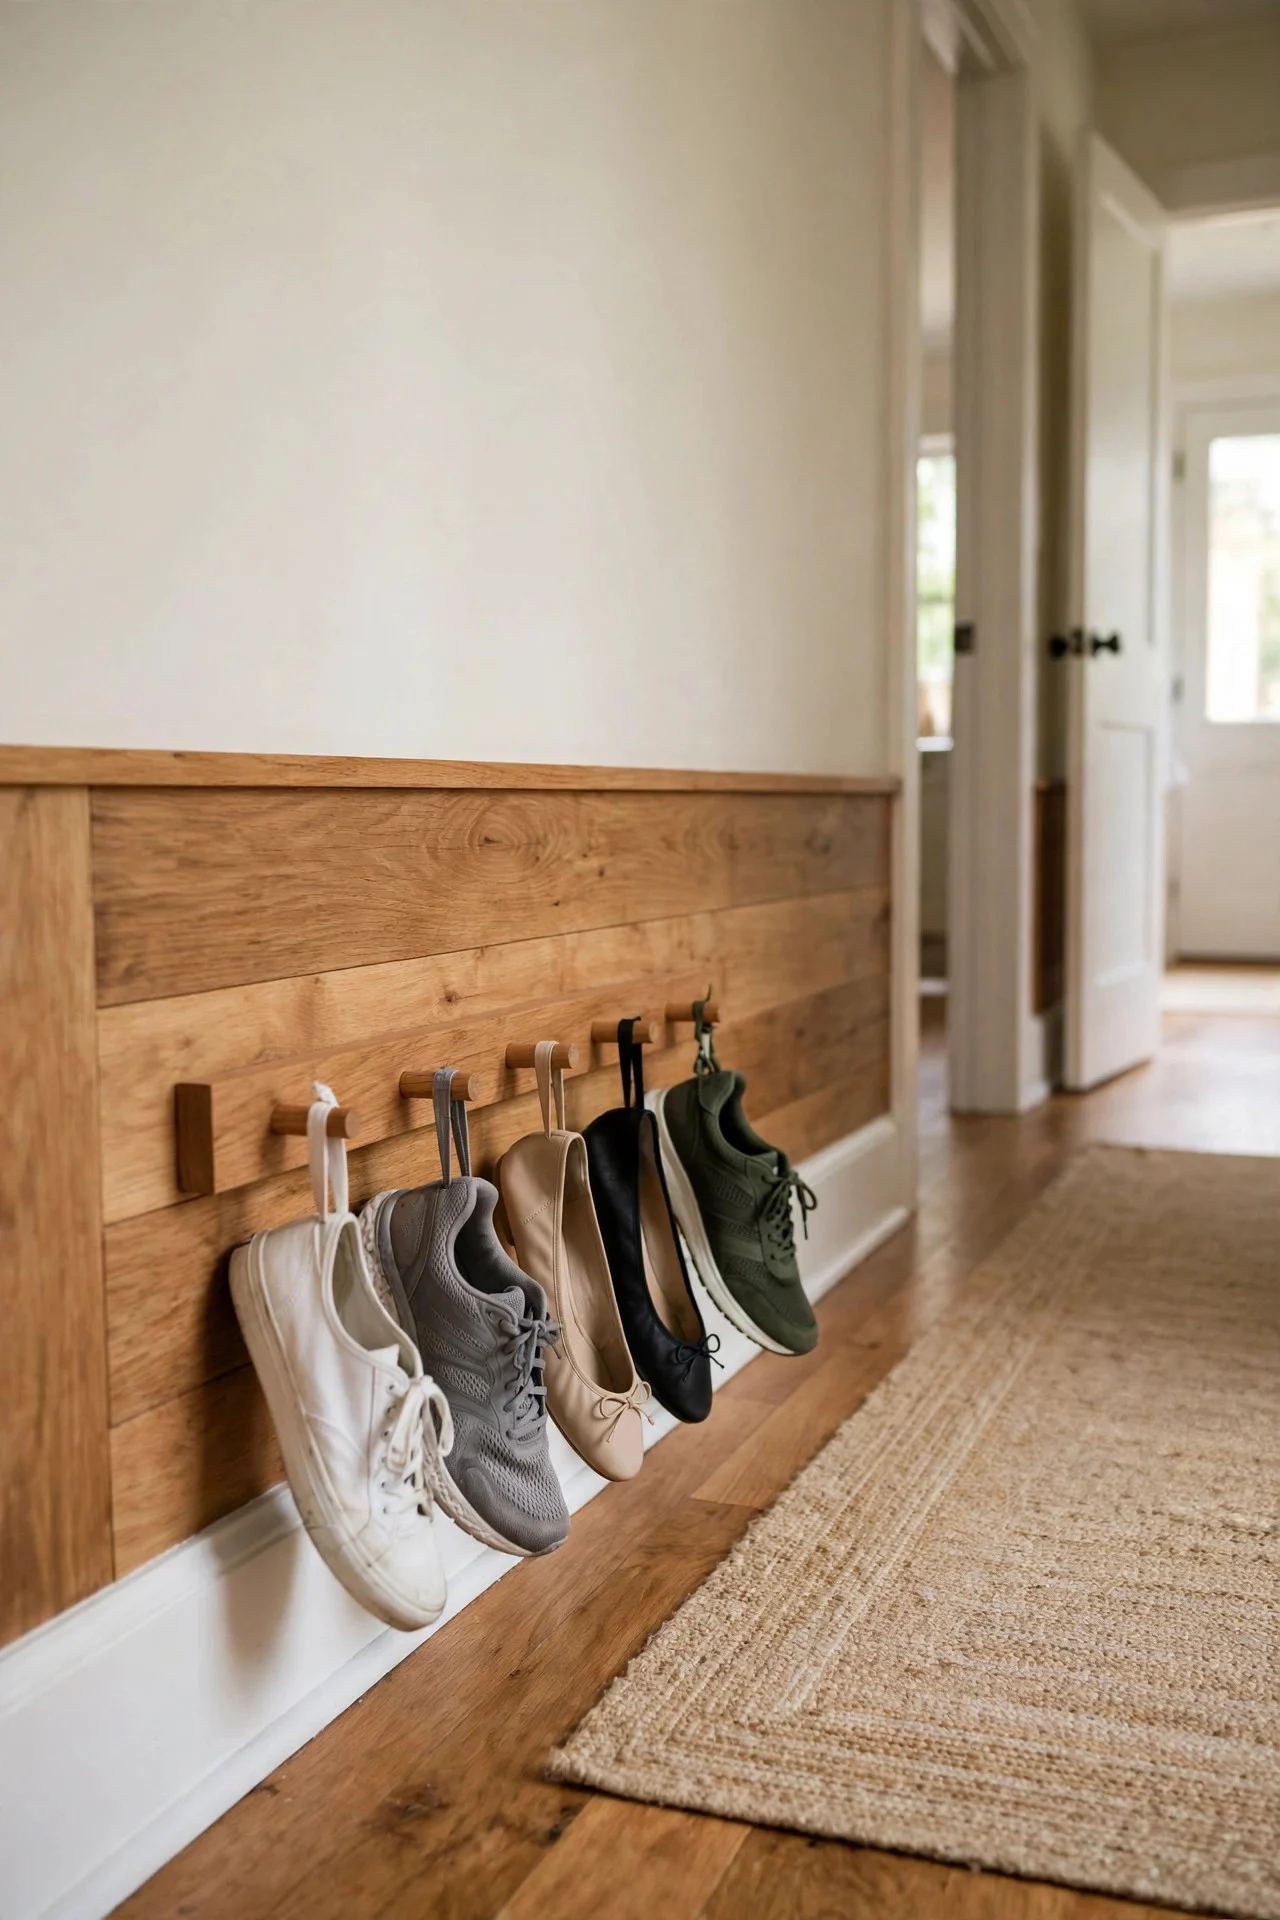
6. Wall-Mounted Shoe Pegs
A row of sturdy wooden pegs mounted at baseboard height holds shoes by their heels or straps — sneakers, flats, and sandals all hang fine. It uses zero floor space and turns shoes into a display.
Space pegs 6 inches apart and mount into studs; a full row of shoes gets heavy. This works best for a curated daily rotation of 4–6 pairs, not the whole collection. Keep it in a hallway nook rather than the main sight line.
Cast-iron pegs hold more weight than wood and suit boots hung by their pull loops. Seal raw wood pegs with polyurethane so wet shoes don’t stain them. Either type needs a stud — drywall anchors won’t hold a row of shoes.
Try this: Hang only your prettiest pairs on the pegs — function doubles as decor.
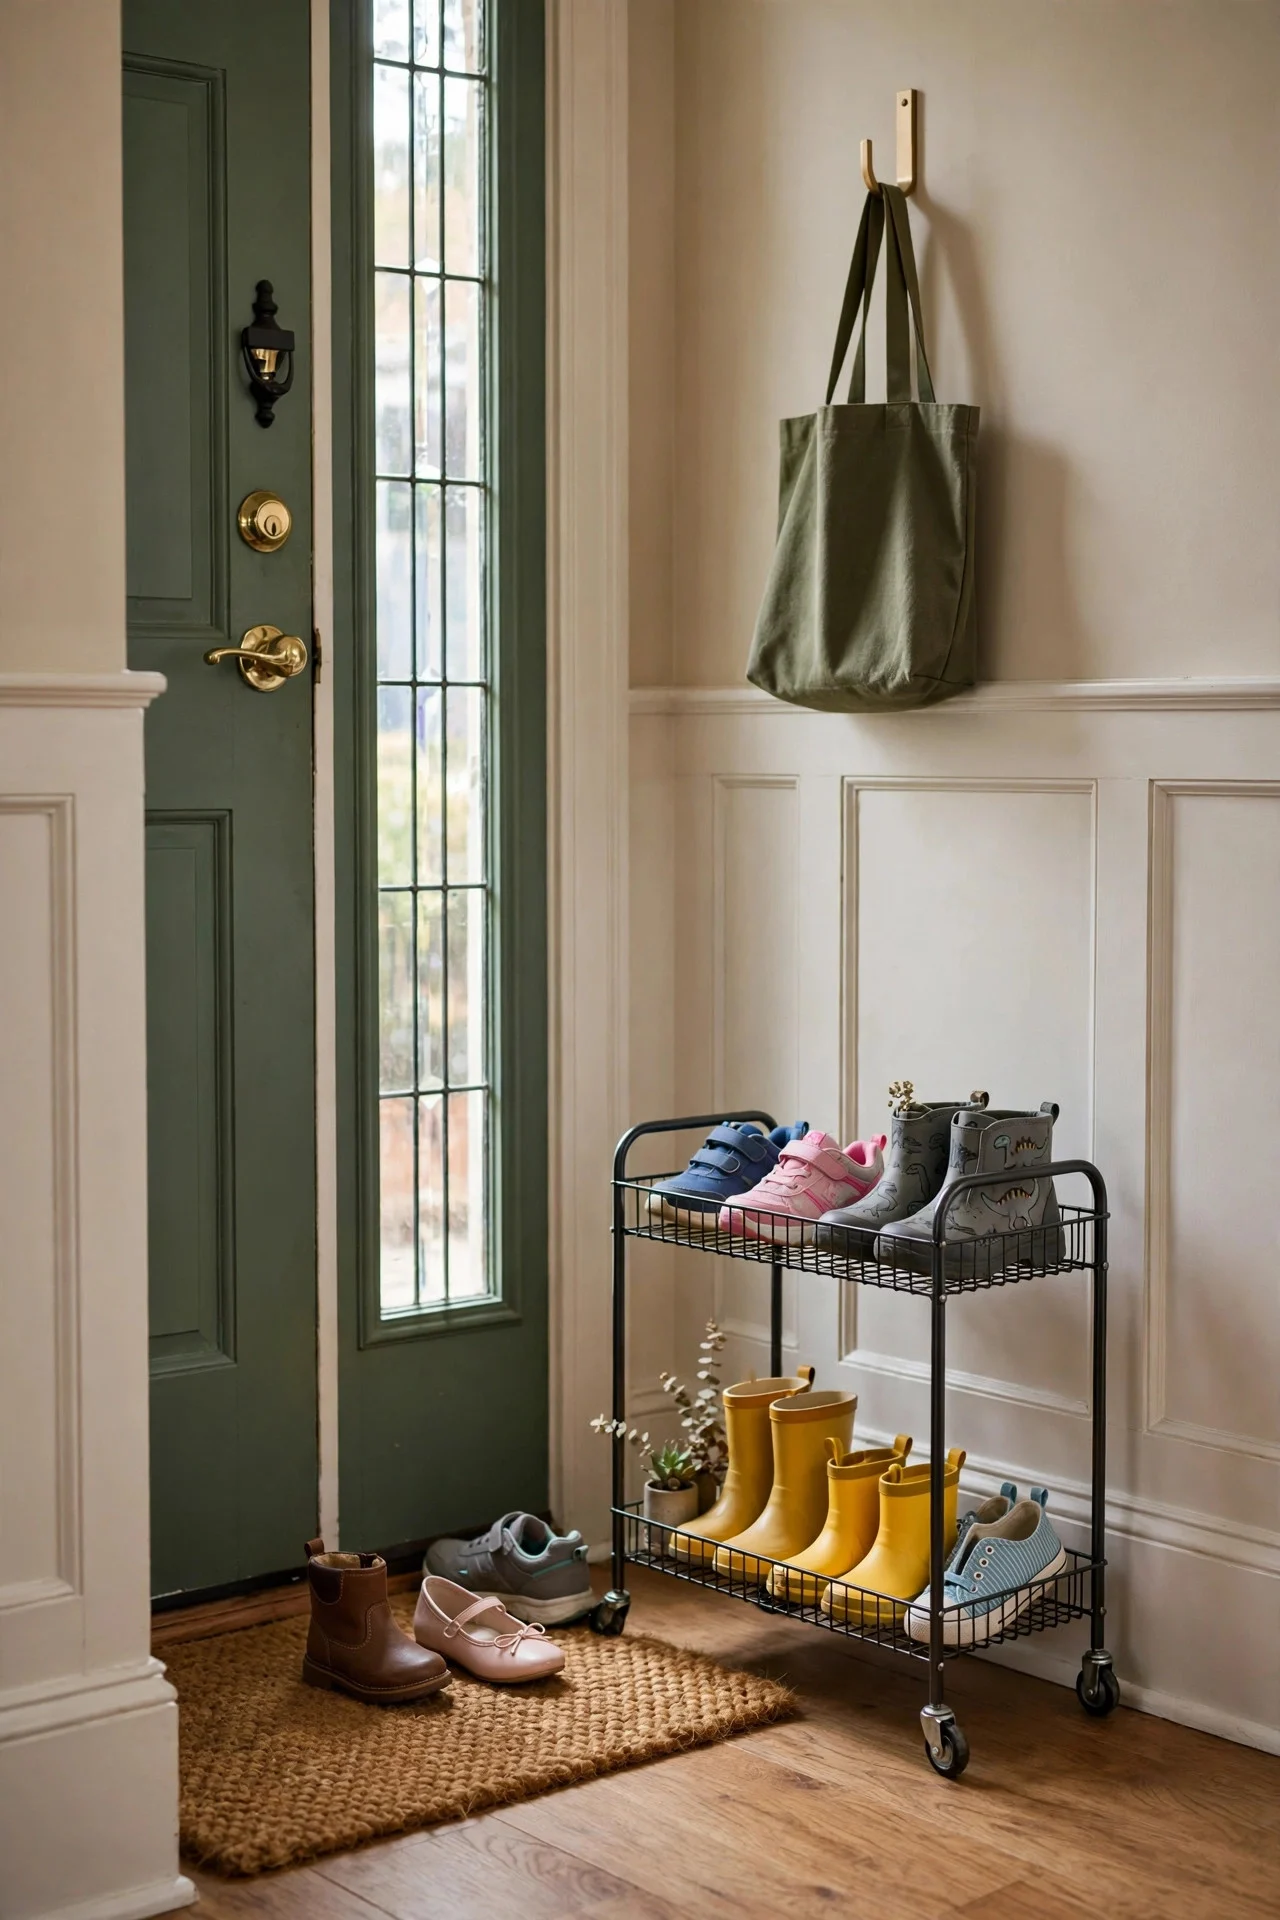
7. A Rolling Cart for Kids’ Shoes
Kids’ shoes are small, numerous, and always in the way. A narrow two-tier rolling cart parked by the door holds each child’s shoes on their own tier — and rolls to the closet when guests come.
Assign tiers, not shelves: top for shoes, bottom for boots and rain gear. The cart’s small footprint (about 12×18 inches) fits beside most doors. Locking wheels keep it put on tile floors.
A cart with a top tray doubles as a place to set the bag while you wrangle shoes onto kids. Choose mesh tiers so snow melt drips through to a tray below instead of pooling around the shoes.
Try this: Put a picture label on each tier so even non-readers park their shoes correctly.
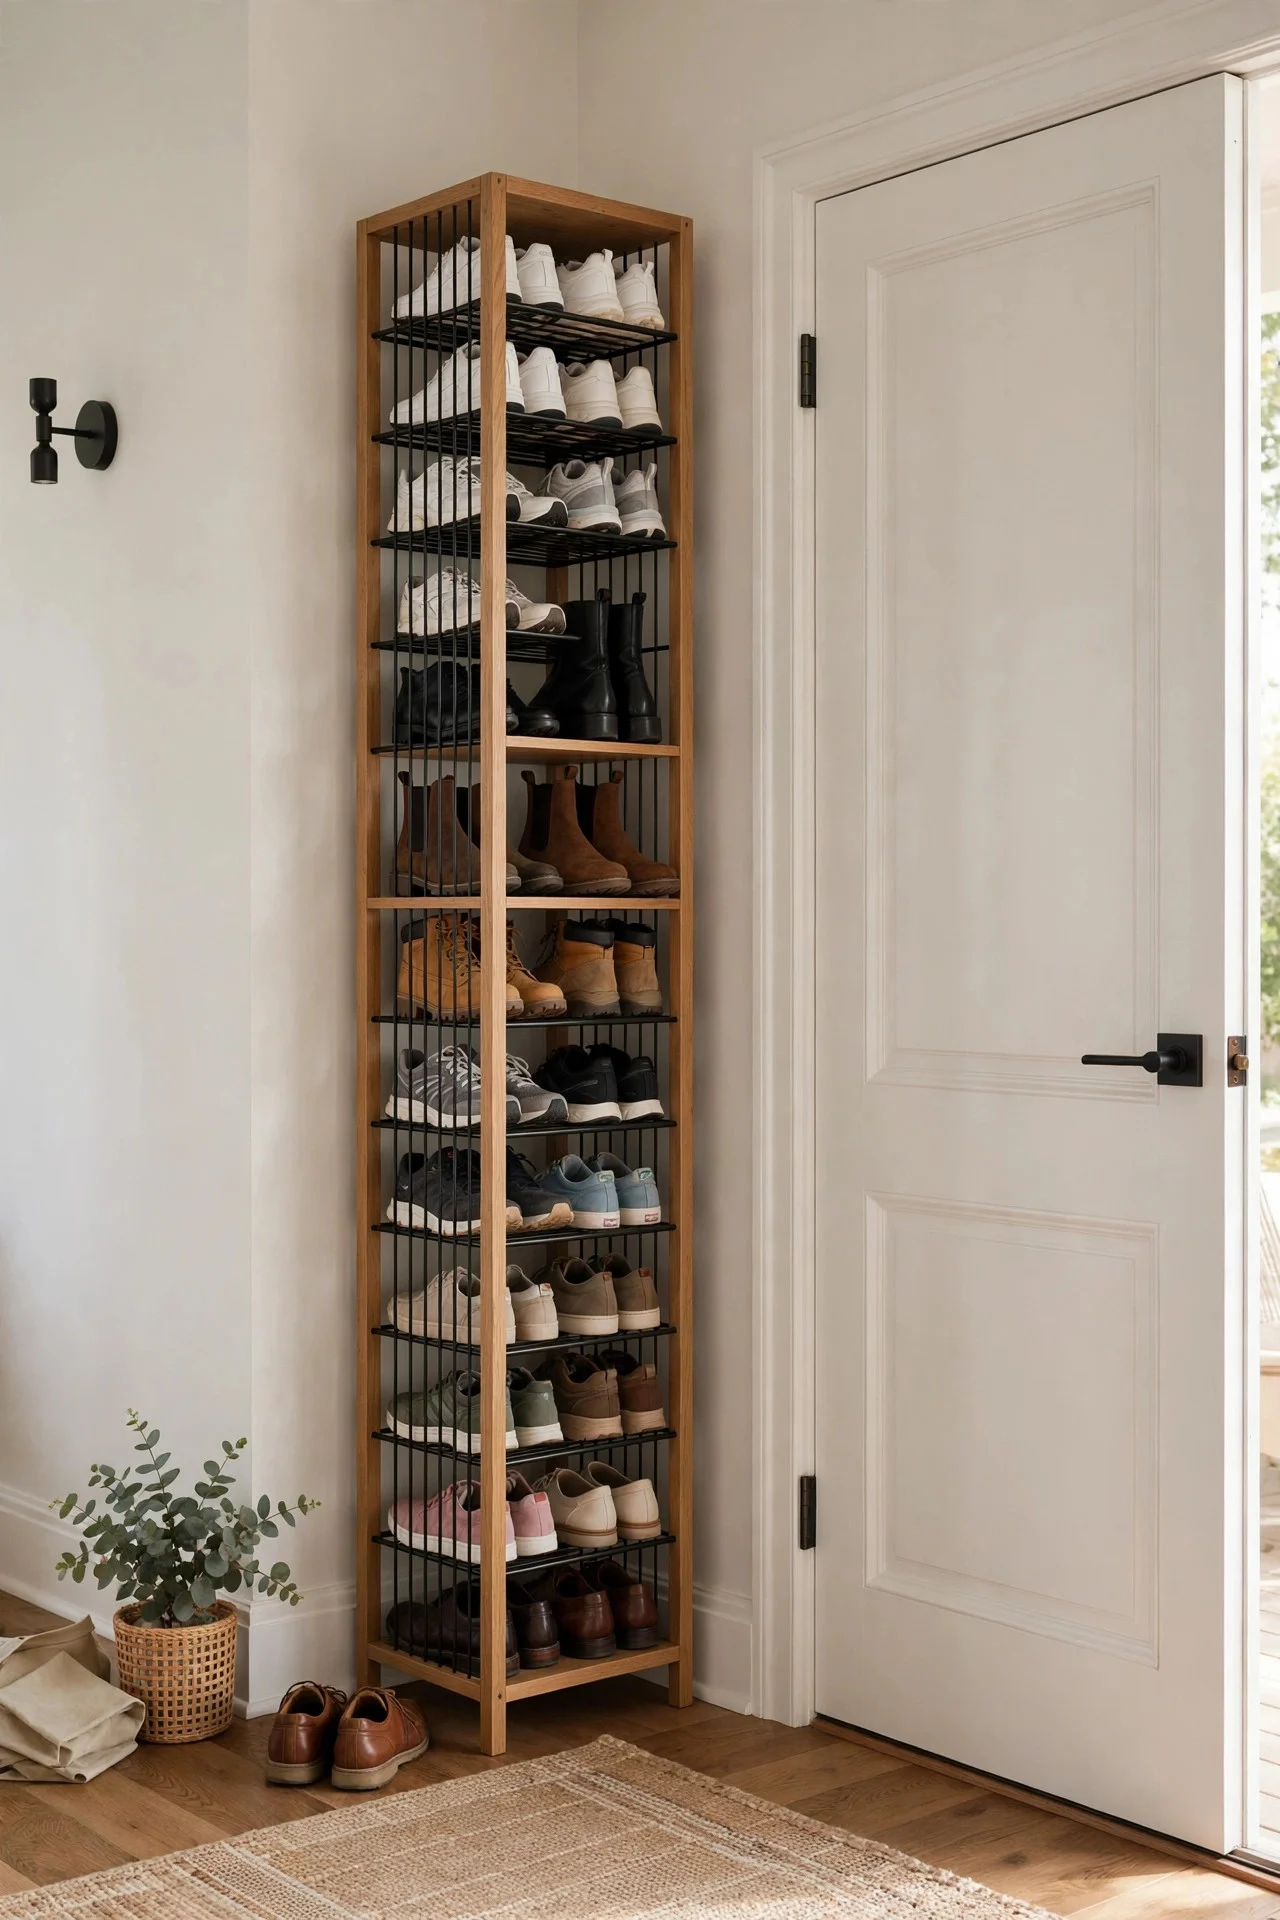
8. Vertical Tower for Narrow Corners
That dead corner beside the door? A vertical shoe tower — 12 inches square, 4–5 feet tall — holds 10–15 pairs in a footprint smaller than a floor lamp. It’s the highest-density storage on this list.
Rotating (lazy Susan) towers let you spin to the pair you want; static ones are cheaper and sturdier. Anchor tall towers to the wall. Keep heavy boots on the bottom tiers for stability.
In earthquake-prone areas, skip tall freestanding towers entirely — wall-mounted is the only safe option. Everywhere else, anchor the tower top to the wall; a 5-foot tower of shoes tips with surprising ease.
Try this: Store off-season shoes in the top tiers where you reach them least.
9. A Lidded Ottoman That Hides Shoes
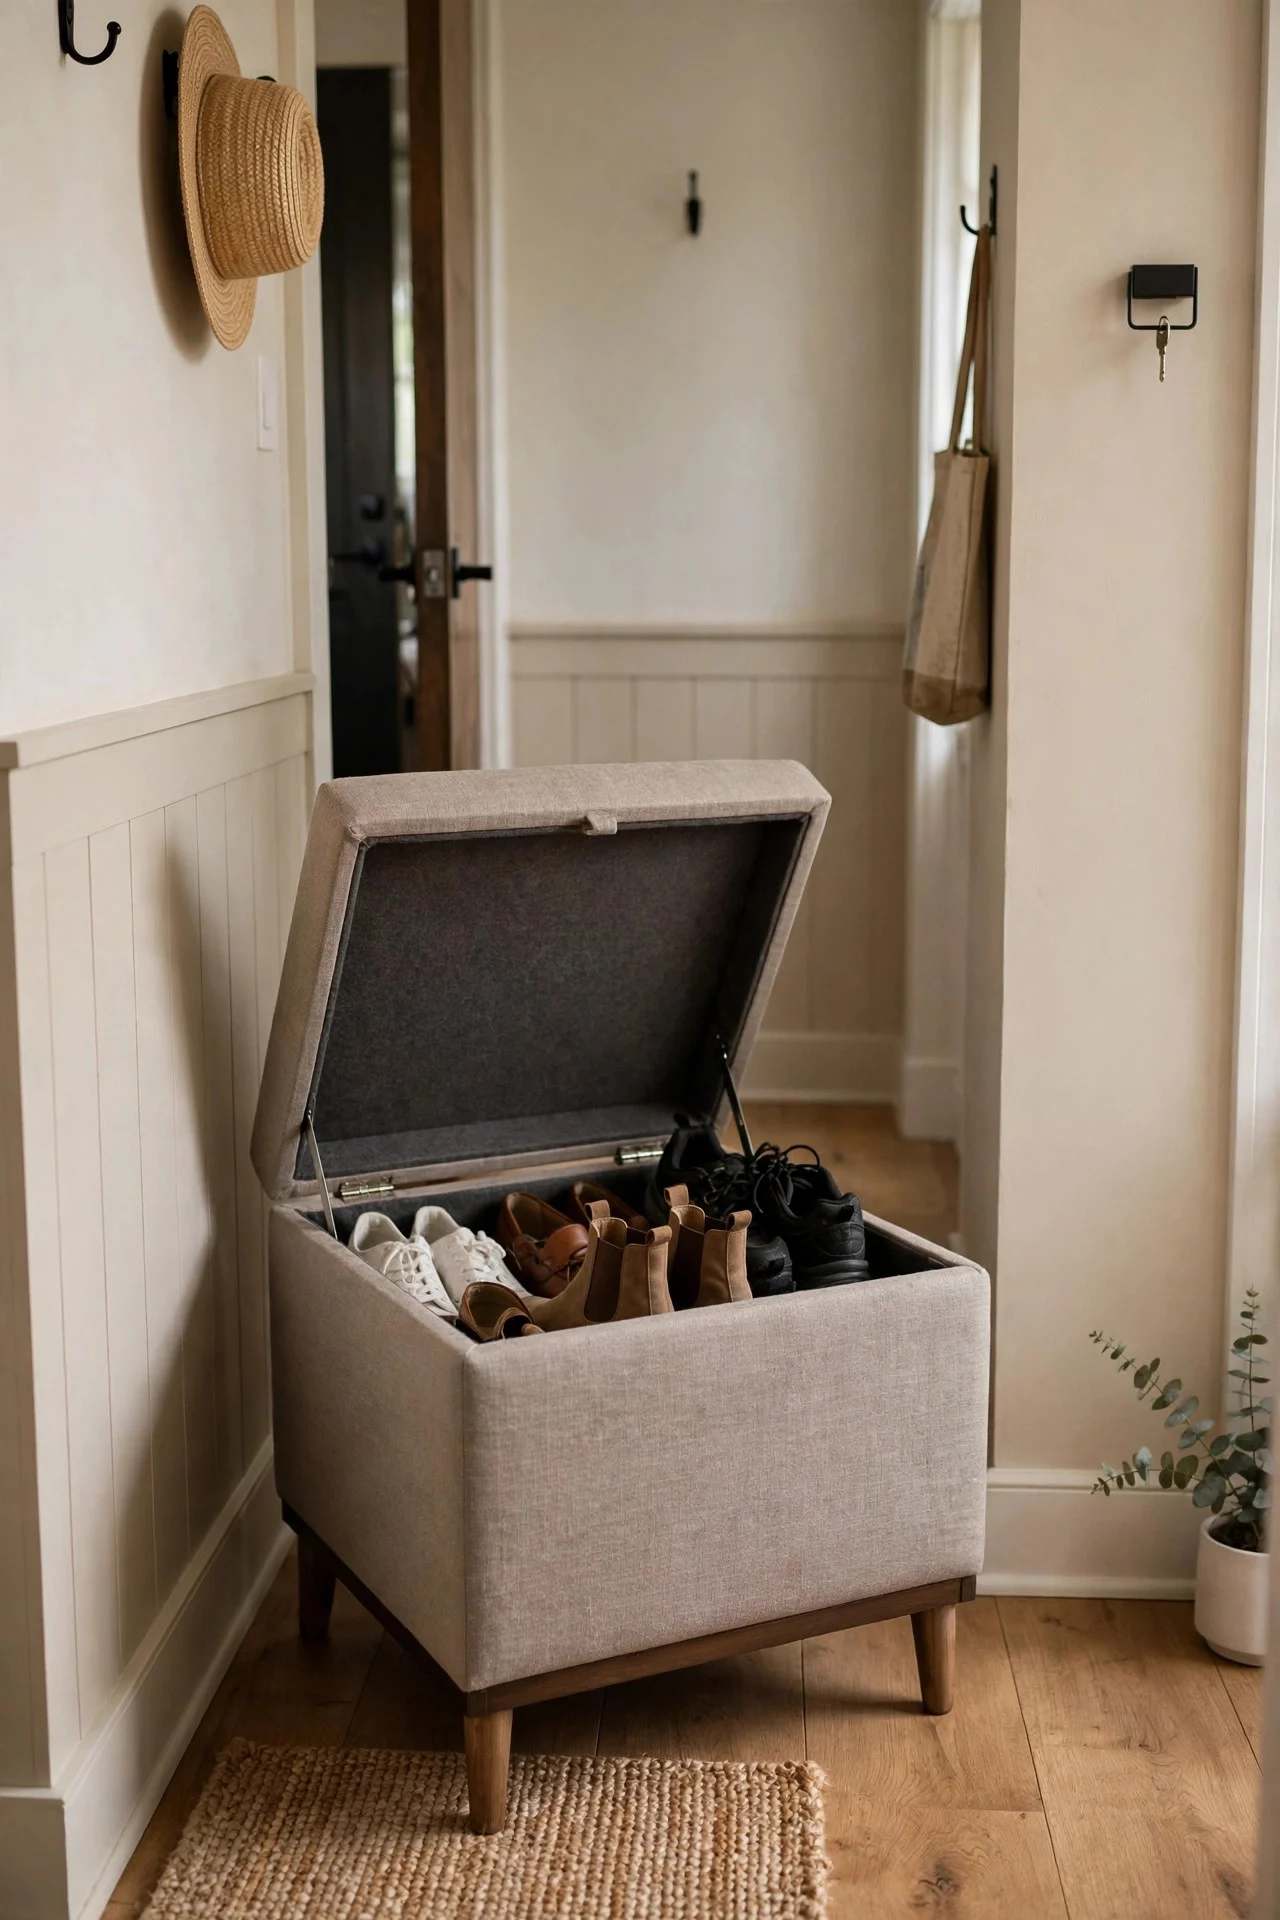
In a truly tiny entryway with no closet, a lidded storage ottoman holds 4–6 pairs of shoes and gives you somewhere to sit while putting them on. It looks like furniture, not storage.
Choose a ventilated design or drill discreet holes so shoes don’t get musty. A flat, firm lid doubles as a surface for keys and mail. Wipe the interior monthly — shoe storage always needs airing.
An ottoman without ventilation grows musty fast — drill six quarter-inch holes in the back panel where nobody sees them. Cedar blocks inside absorb moisture and odor naturally.
Try this: Tuck a dryer sheet inside the ottoman to keep it smelling fresh.
10. Floating Shelves Above the Baseboard
Two or three floating shelves mounted 12 inches apart above the baseboard create a shoe display along a hallway wall. Shoes sit heel-to-wall, and the wall above stays free for art or a mirror.
Make shelves 10 inches deep for adult shoes, 8 for kids. Mount into studs — a shelf of shoes is heavier than it looks. This is best for households with a manageable collection; 20 pairs need a different system.
Stagger shelf depths — 10 inches for adult shoes, 8 for kids — so small shoes don’t get lost on deep shelves. A small lip on each shelf stops shoes from sliding off when the door slams.
Try this: Alternate shelf heights for boots and heels so tall shoes fit without cramping.

11. A Shoe Sling Under a Console Table
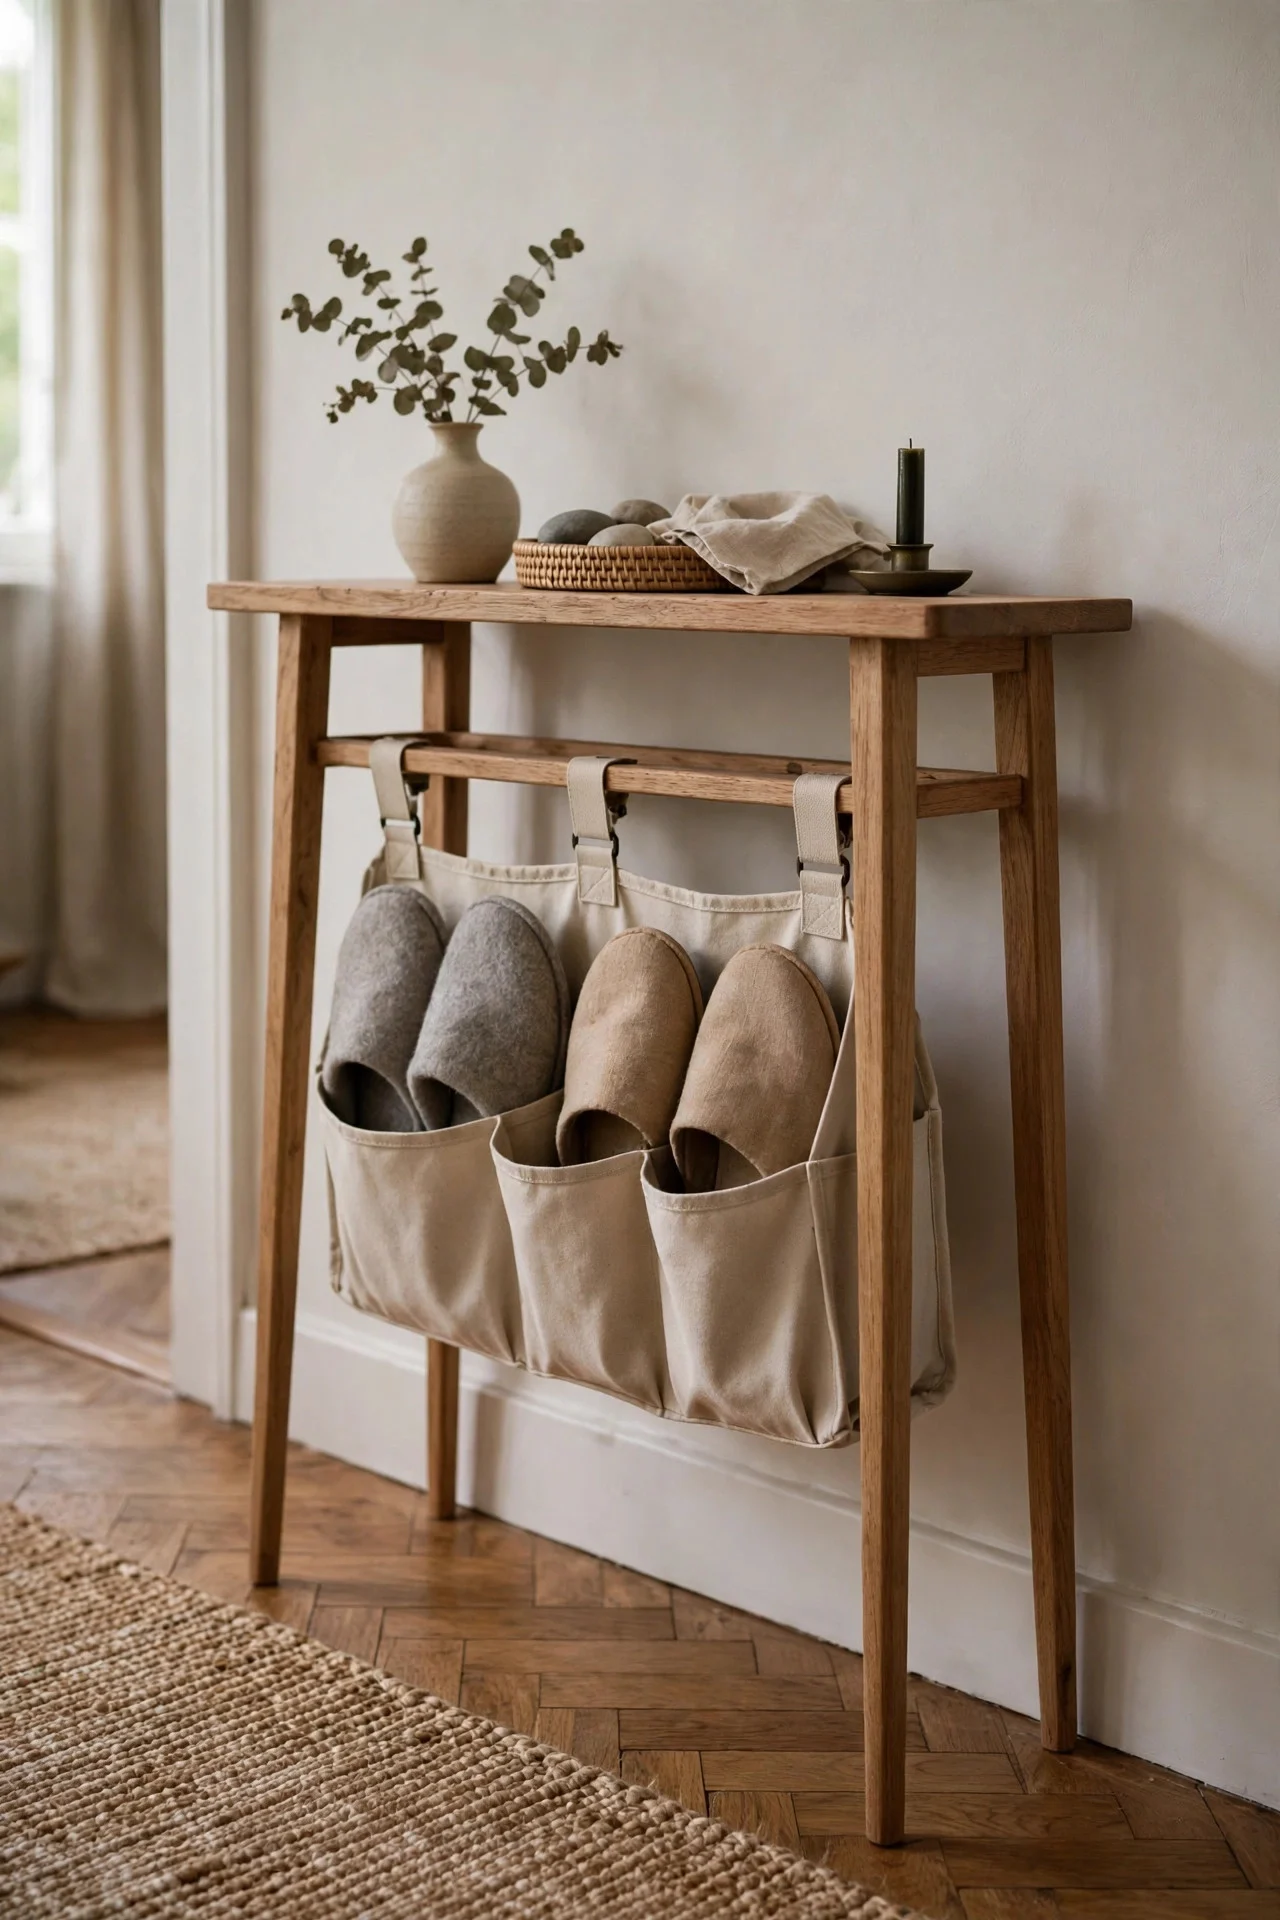
A narrow console table (10–12 inches deep) with a fabric shoe sling or hammock hung underneath turns dead air into storage for 3–4 pairs. The sling is invisible from the front.
DIY it with a sturdy canvas rectangle and cup hooks screwed under the table, or buy a ready-made sling. Keep only clean, dry shoes here — it’s a display-adjacent spot. The console top stays free for your keys and a lamp.
A sling rated for at least 20 pounds handles four pairs of adult shoes safely. Canvas stretches over time; retighten the hooks monthly. This trick also works under bathroom vanities for slippers.
Try this: Use the sling for guest slippers so visitors always find a pair.
12. Repurpose a Bookshelf as a Shoe Cubby
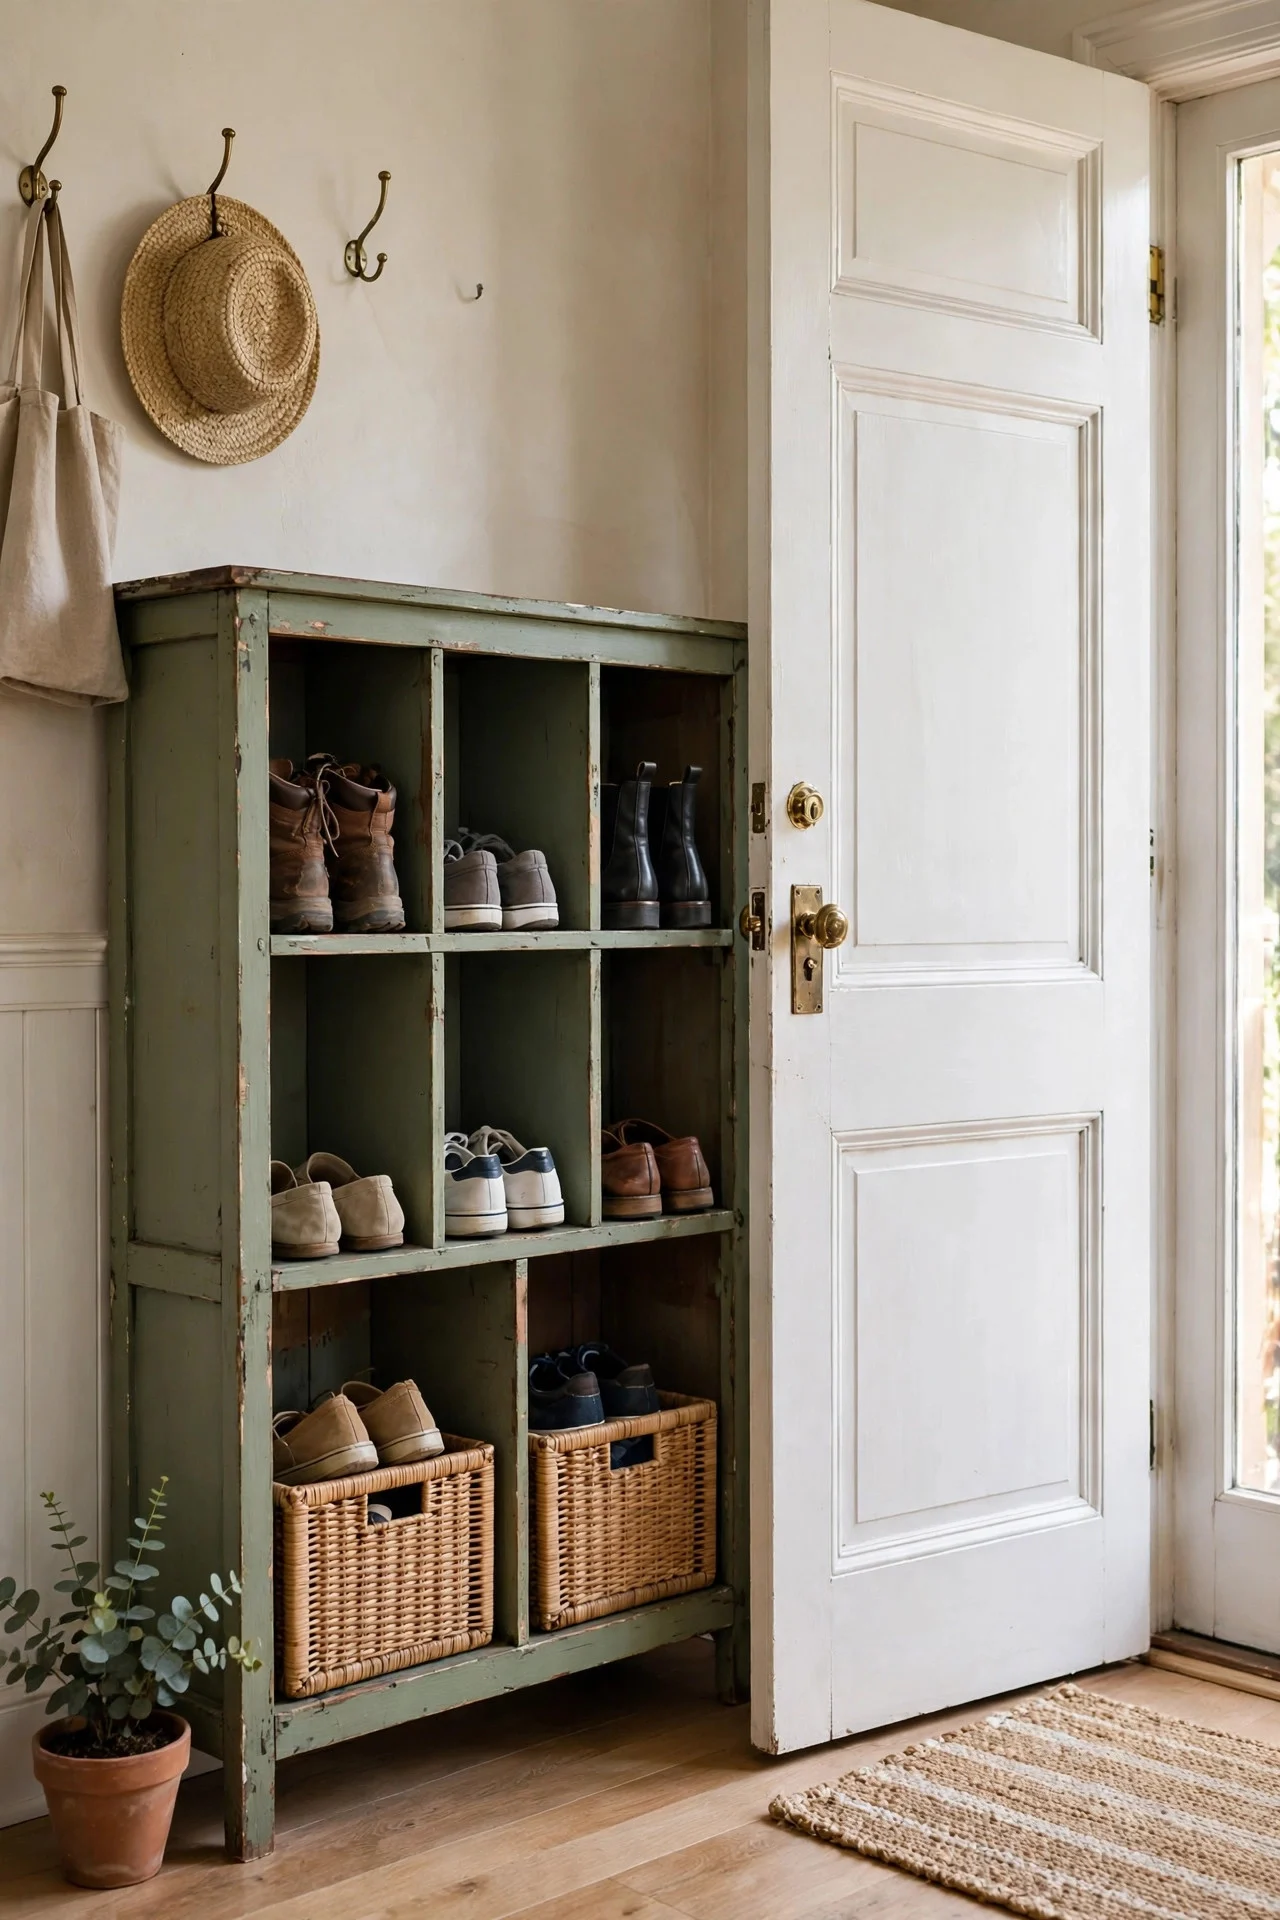
A short, wide bookshelf (the kind headed for donation) makes an excellent shoe cubby. Remove one shelf for boots, and each cubby holds one pair. Paint it to match the entryway and it looks built-in.
A 30-inch-wide, 24-inch-tall bookcase holds about 8 pairs. Face it against the wall beside the door, not blocking it. Add small casters if you want to roll it to the closet during parties.
Sand and prime the bookcase before painting — shoe scuffs show on rough finishes. Semi-gloss paint wipes clean; matte shows every mark. Add felt pads under the legs to protect floors.
Try this: Line the cubbies with peel-and-stick wallpaper for a custom, finished look.
13. Hanging Organizer on a Coat Rack Pole
A freestanding coat rack with a lower hanging shoe organizer (the kind with tiered fabric shelves) combines coats and shoes in one 16-inch footprint. Perfect for apartments with literally no entry furniture.
Weight the base or choose a wide-leg design so it doesn’t tip with shoes loaded. Hang coats on top, shoes on the lower tiers. This is a renter-friendly solution — no holes, no installation.
A weighted base (at least 15 pounds) is non-negotiable for a coat rack holding shoes — top-heavy racks tip onto kids. Test it loaded in the store before you buy; wobble there means disaster at home.
Try this: Place a small rug underneath to catch drips and define the entry zone.

14. Stair-Step Shelves for a Hallway Nook
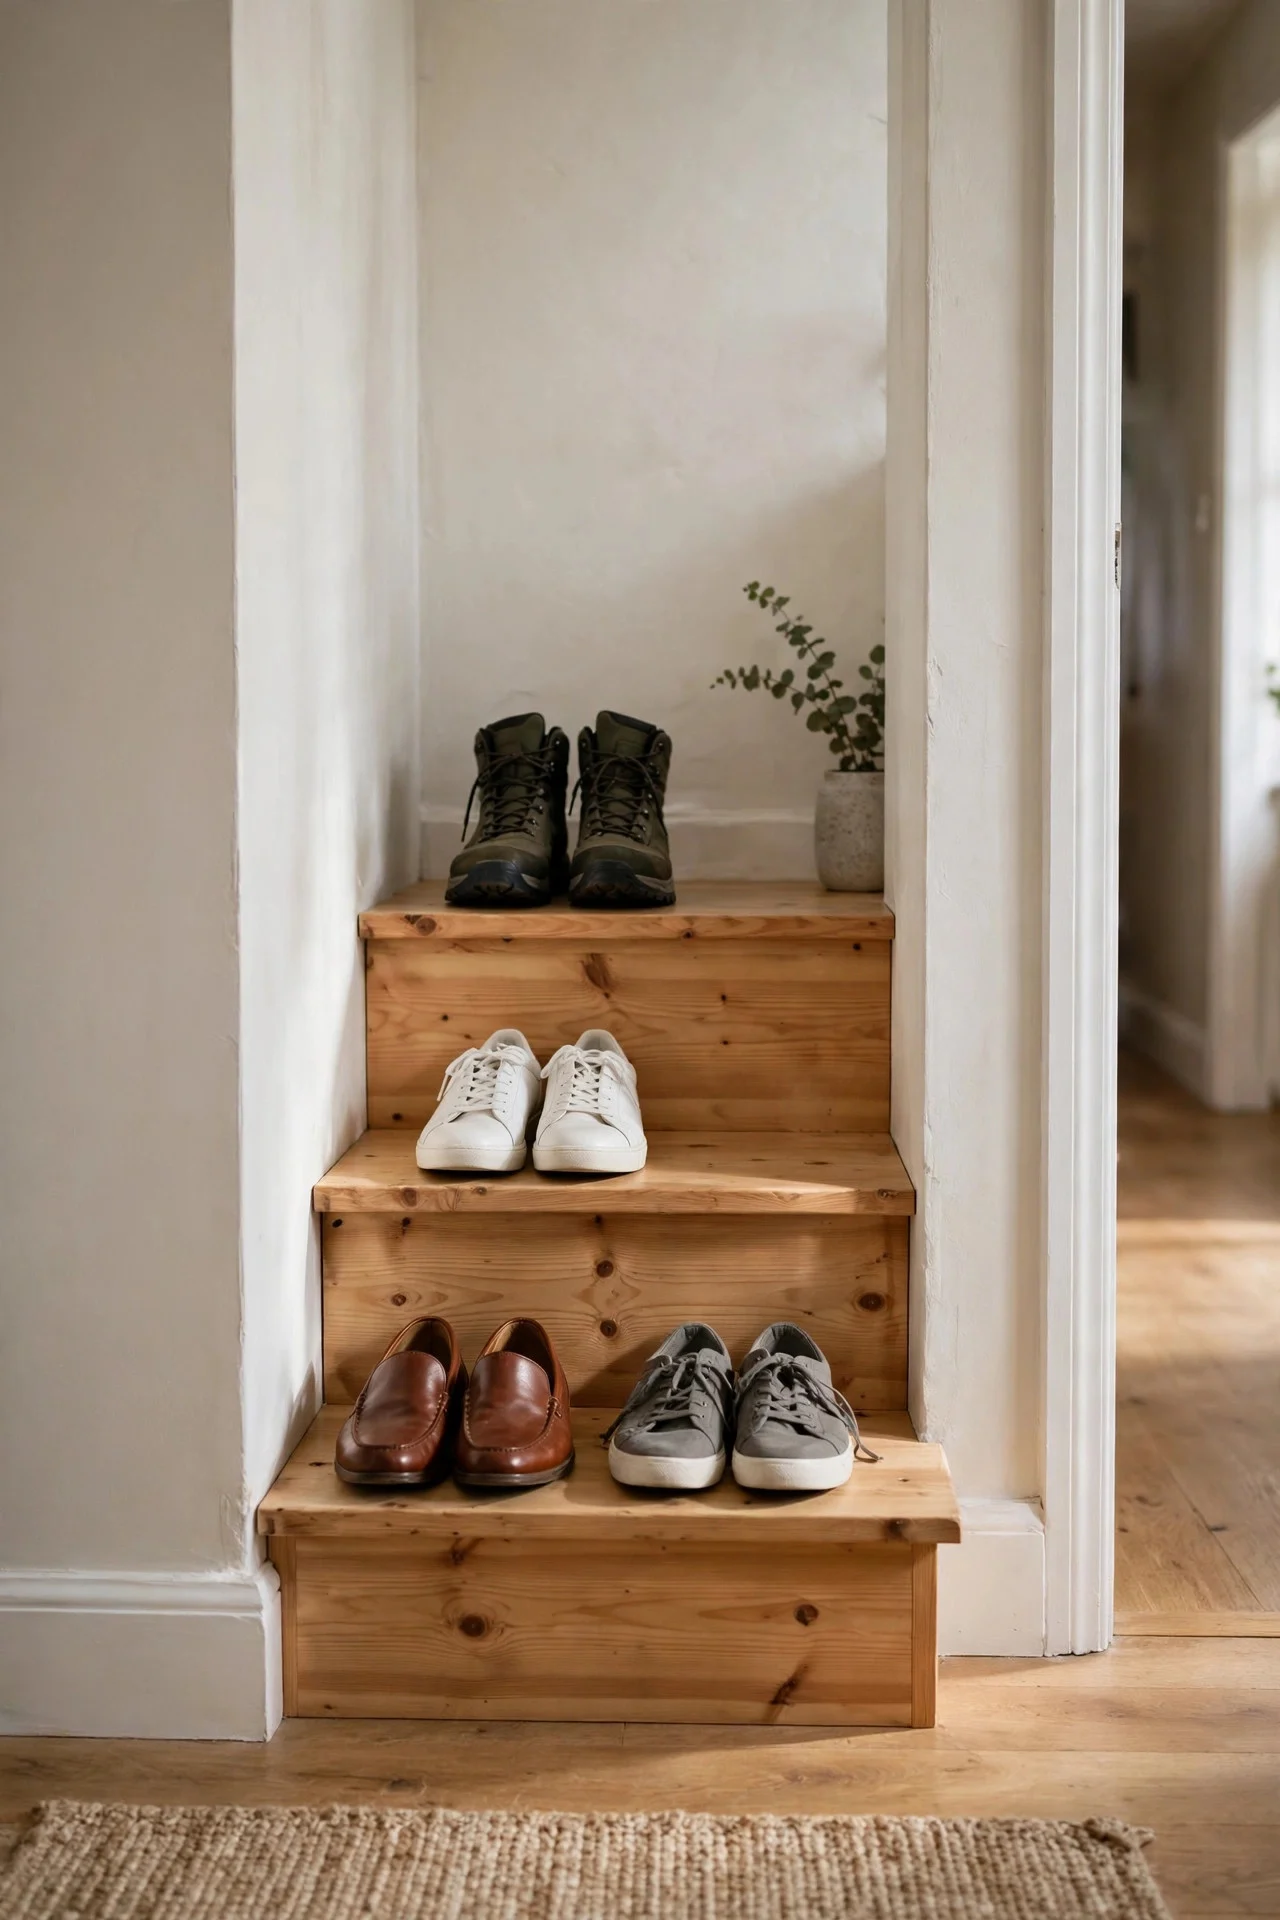
A small stair-step shelf (three ascending tiers) fits against the wall in a hallway nook and holds 6–9 pairs with each pair visible. The stepped design means you can see and grab any pair without moving others.
Look for solid wood or metal — particle board sags under shoe weight within a year. About 24 inches wide and 30 inches tall fits most nooks. Keep the top step for the prettiest pair; it’s at eye level.
Solid wood step shelves last decades; MDF versions swell and sag in damp entryways within two years. The price difference ($40 vs $25) pays for itself the first time you don’t replace it.
Try this: Face the steps toward the door so shoes go on shelves in the order you take them off.
15. The One-In-One-Out Rule
The best storage system in the world fails if the collection never stops growing. Adopt the rule: every new pair in means one pair donated, tossed, or stored elsewhere. A small entryway simply can’t hold 30 pairs.
Do a shoe audit twice a year — spring and fall. Anything unworn in a year, anything that hurts, anything with worn soles goes. Keep a donation bag in the closet so departures are easy. Fewer shoes, less mess, zero new furniture needed.
Photograph your shoe collection before the audit — the visual makes it easier to let go. Set a number that fits your storage (say, 12 pairs) and treat it as a hard cap, not a suggestion.
Try this: Count your pairs before buying storage — the number tells you exactly which system fits.
Frequently Asked Questions
How do I store shoes in an entryway with no closet?
Use furniture that hides shoes: a slim tilt-out cabinet, a lidded ottoman, or an under-bench basket system. A boot tray handles the daily rotation. Vertical towers and wall pegs work when floor space is truly zero.
How do I keep my entryway shoe area from smelling?
Ventilation is everything: ventilated cabinets, drilled ottoman holes, and never storing damp shoes in closed containers. Baking soda sachets in each compartment and a weekly tray wipe-down keep odors down.
What’s the best shoe storage for a narrow hallway?
Anything under 9 inches deep: tilt-out cabinets, wall-mounted pegs, floating shelves, or a shoe sling under a console. Vertical towers fit in dead corners. Avoid anything that narrows the walkway below 30 inches.
How many pairs should live in the entryway?
Only the daily rotation — roughly 2–3 pairs per person. The rest belongs in a bedroom closet or stored seasonally. If shoes are piling on the floor, you have too many out, not too little storage.
Final Thoughts
A small entryway doesn’t need more space — it needs every pair to have a home and a rule that keeps the collection in check. Pick the system that fits your inches, enforce one-in-one-out, and your first impression will finally match the rest of the house.