
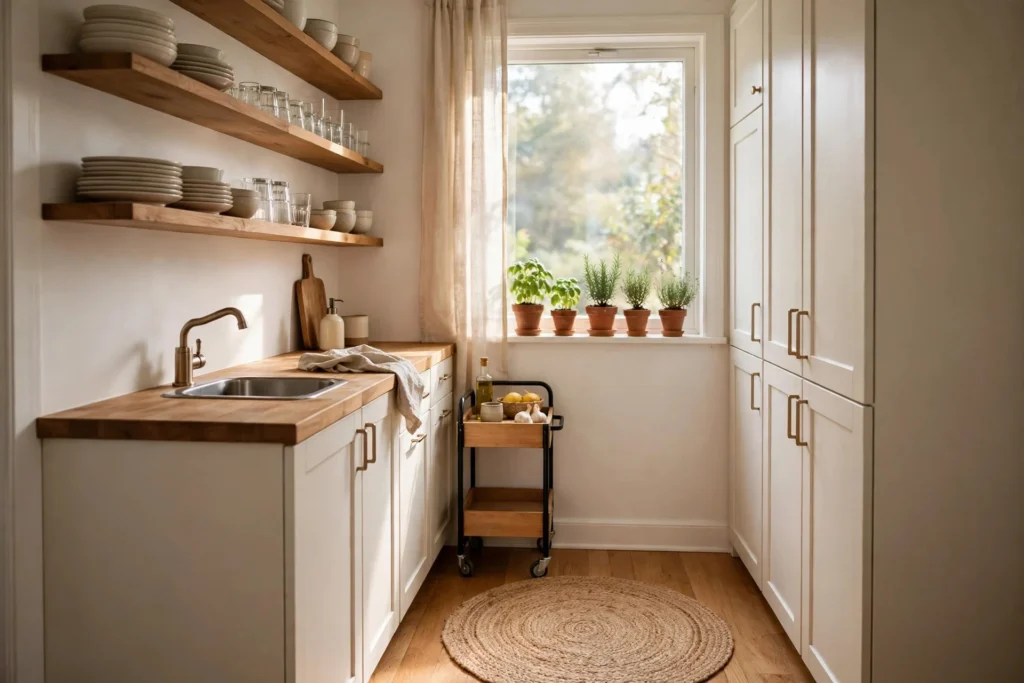
Good small kitchen decor ideas start with honest thinking about how you actually cook, not how a showroom looks. My own kitchen is barely bigger than a parking space, and for years I treated it like a storage cupboard with a stove in it. The day I stopped fighting the size and started working with it, the room finally felt like mine.
Everything below is a change I have either tried myself or watched a friend pull off in a kitchen just as tight. None of them needs a full remodel or a big budget. Pick one, live with it for a week, and add the next only when the first one earns its keep.
1. Small Kitchen Decor Ideas Start With Open Shelving Instead of Upper Cabinets
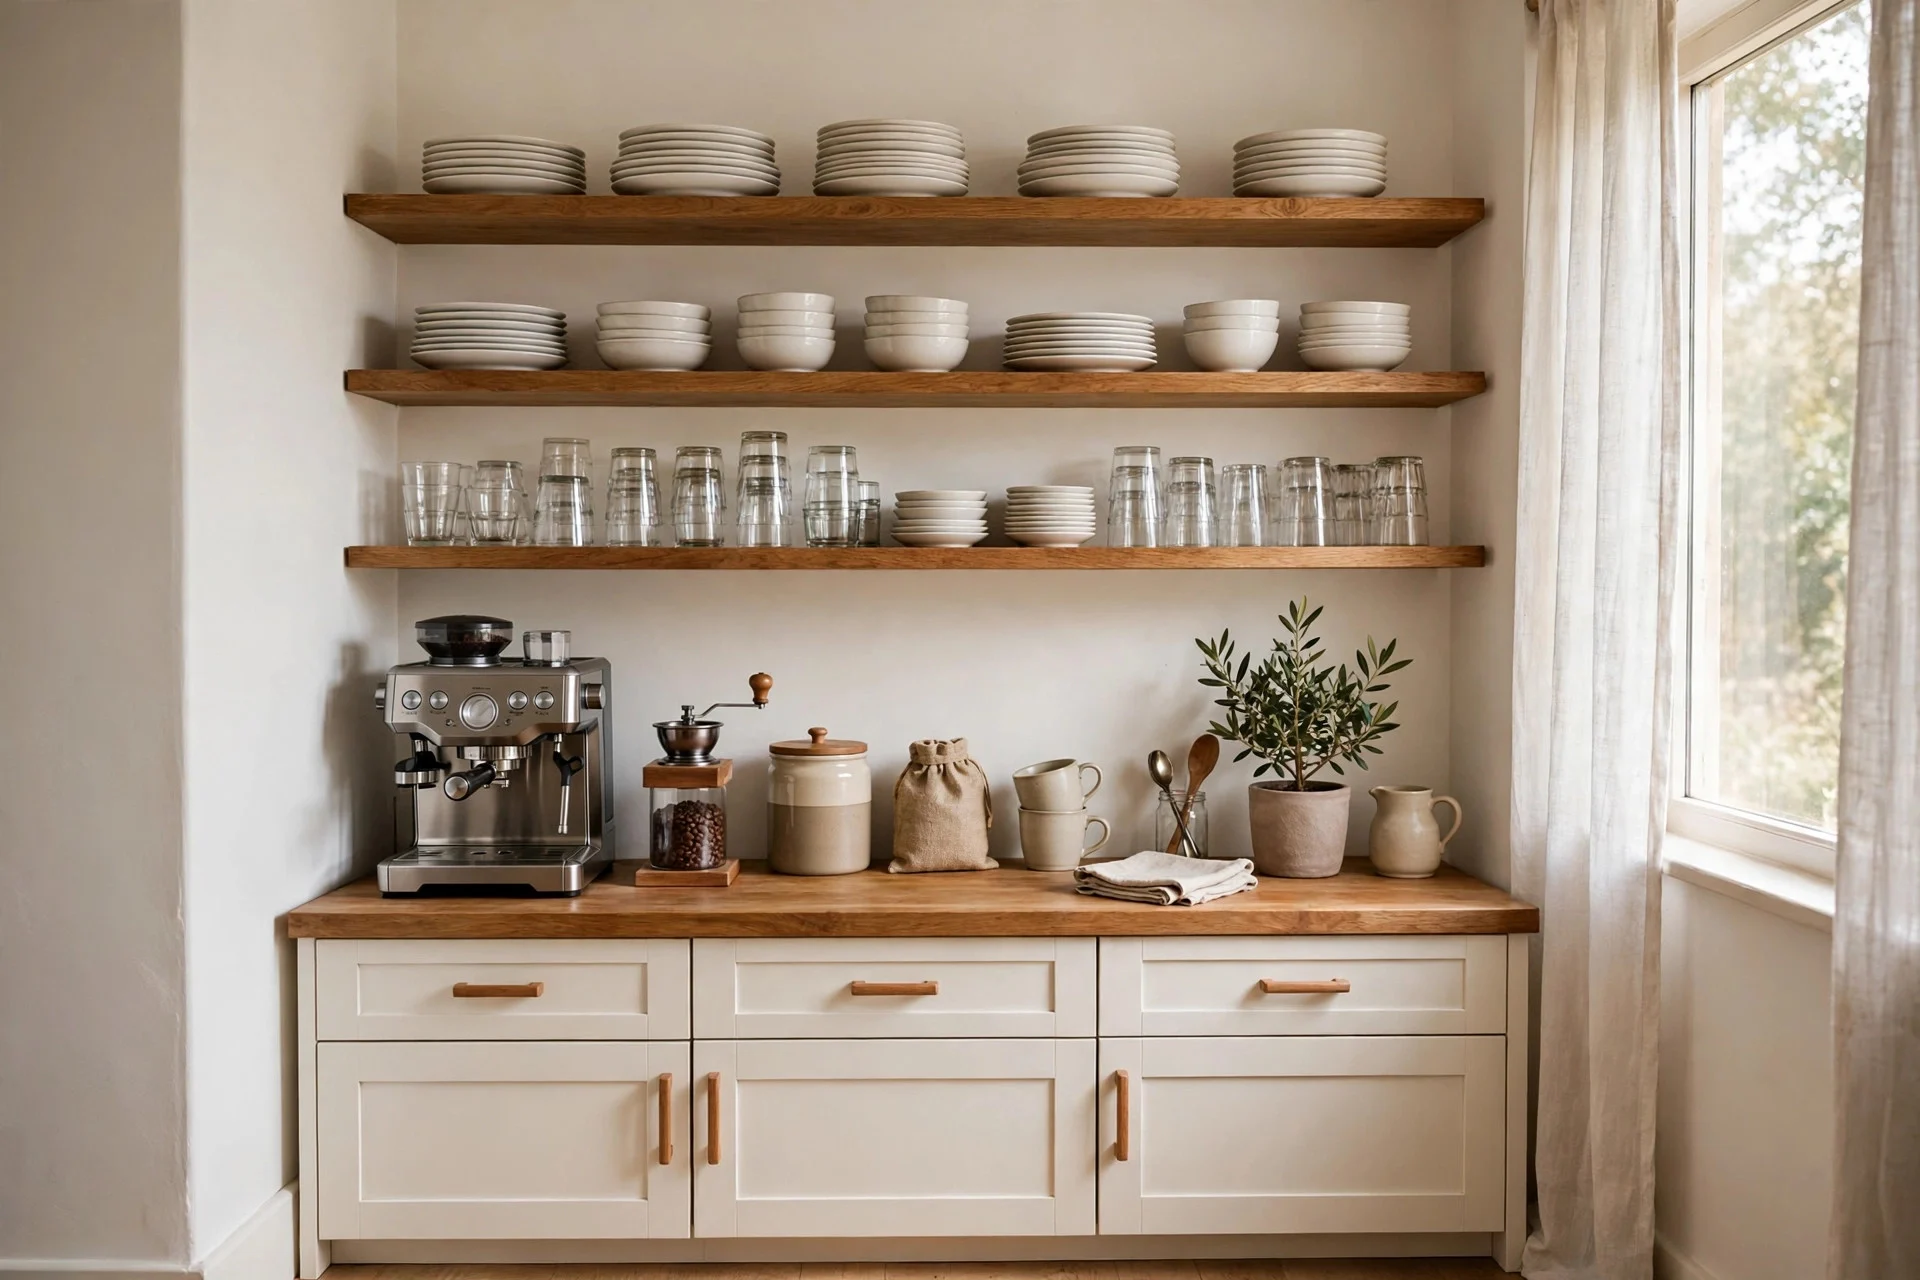
Taking the upper cabinets off one wall changed my kitchen more than any paint job ever did. The room felt twice as big overnight, and I could finally see the dishes I owned instead of guessing what hid behind solid doors. Open shelves force you to keep only what you love and use, which is exactly what a small kitchen needs.
Start with a single wall, usually the one above the sink or the coffee station. Pick two sturdy wood or metal shelves, fix them into studs, and leave generous gaps so plates and bowls breathe. I packed my first set shelf to shelf, and it looked like a shop display. Keep the bottom shelf for everyday plates and glasses, the top one for things you reach for once a week.
Try this: keep only your prettiest dishes on show and move the rest into a closed cupboard.
2. Add a Slim Rolling Cart for Extra Counter Space
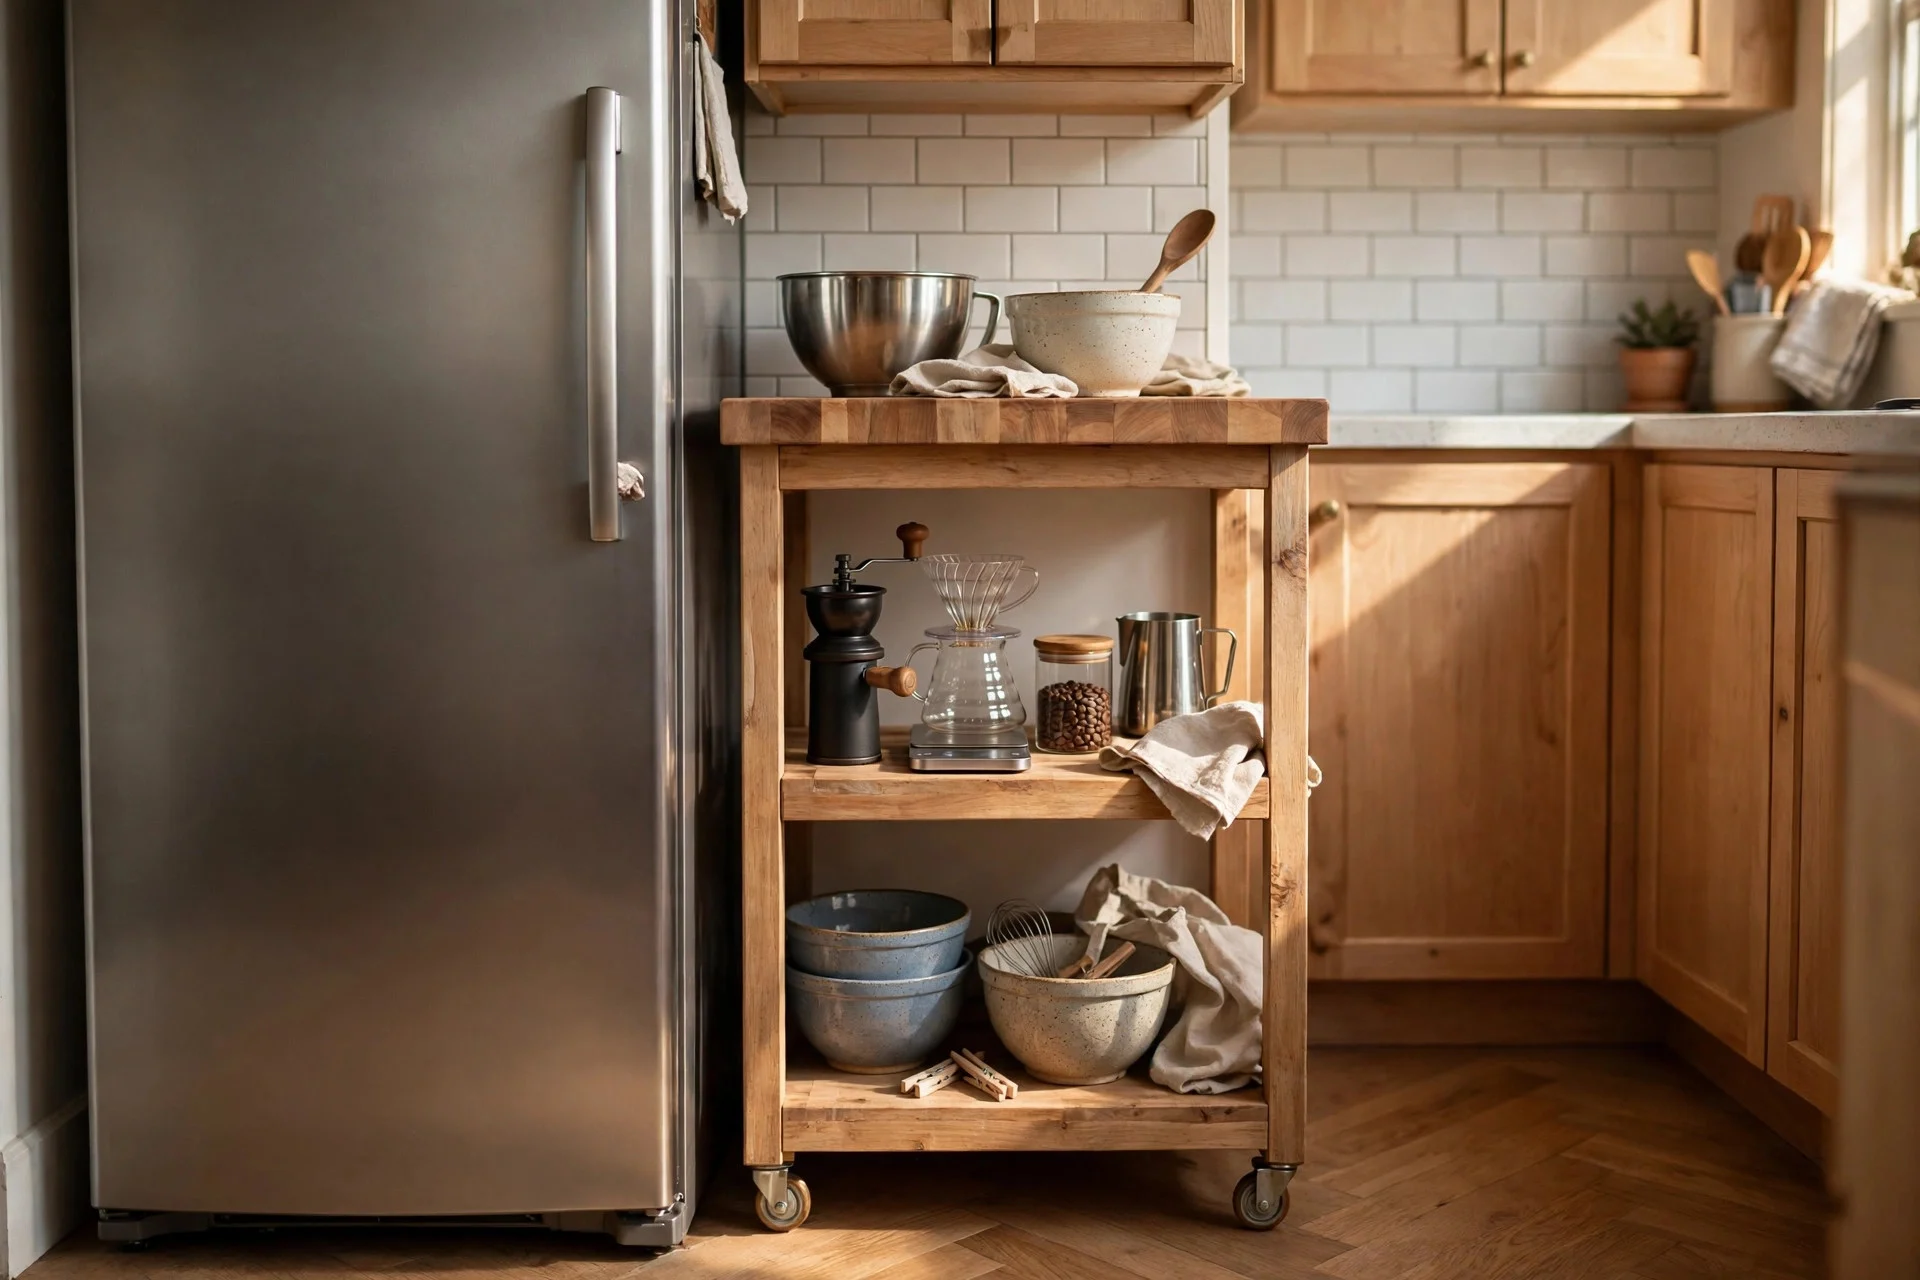
A slim rolling cart is the closest thing to a magic trick for a small kitchen. Mine is only about a foot wide, yet it holds my mixing bowls, baking trays, and the coffee gear that used to crowd the counter. When I need floor space, it rolls into the gap beside the fridge; when I am cooking, it parks right where I work.
Measure the gap before you buy, because a cart an inch too wide is useless. Look for one with a solid top you can chop on, a lower shelf for heavy items, and wheels that lock so it stays put while you work. I skipped the locking wheels on my first cart and chased it across the floor every time I leaned on it.
Try this: keep the cart stocked with your five most-used cooking tools so it is ready to roll.
3. Hang a Pegboard Wall for Pots and Utensils
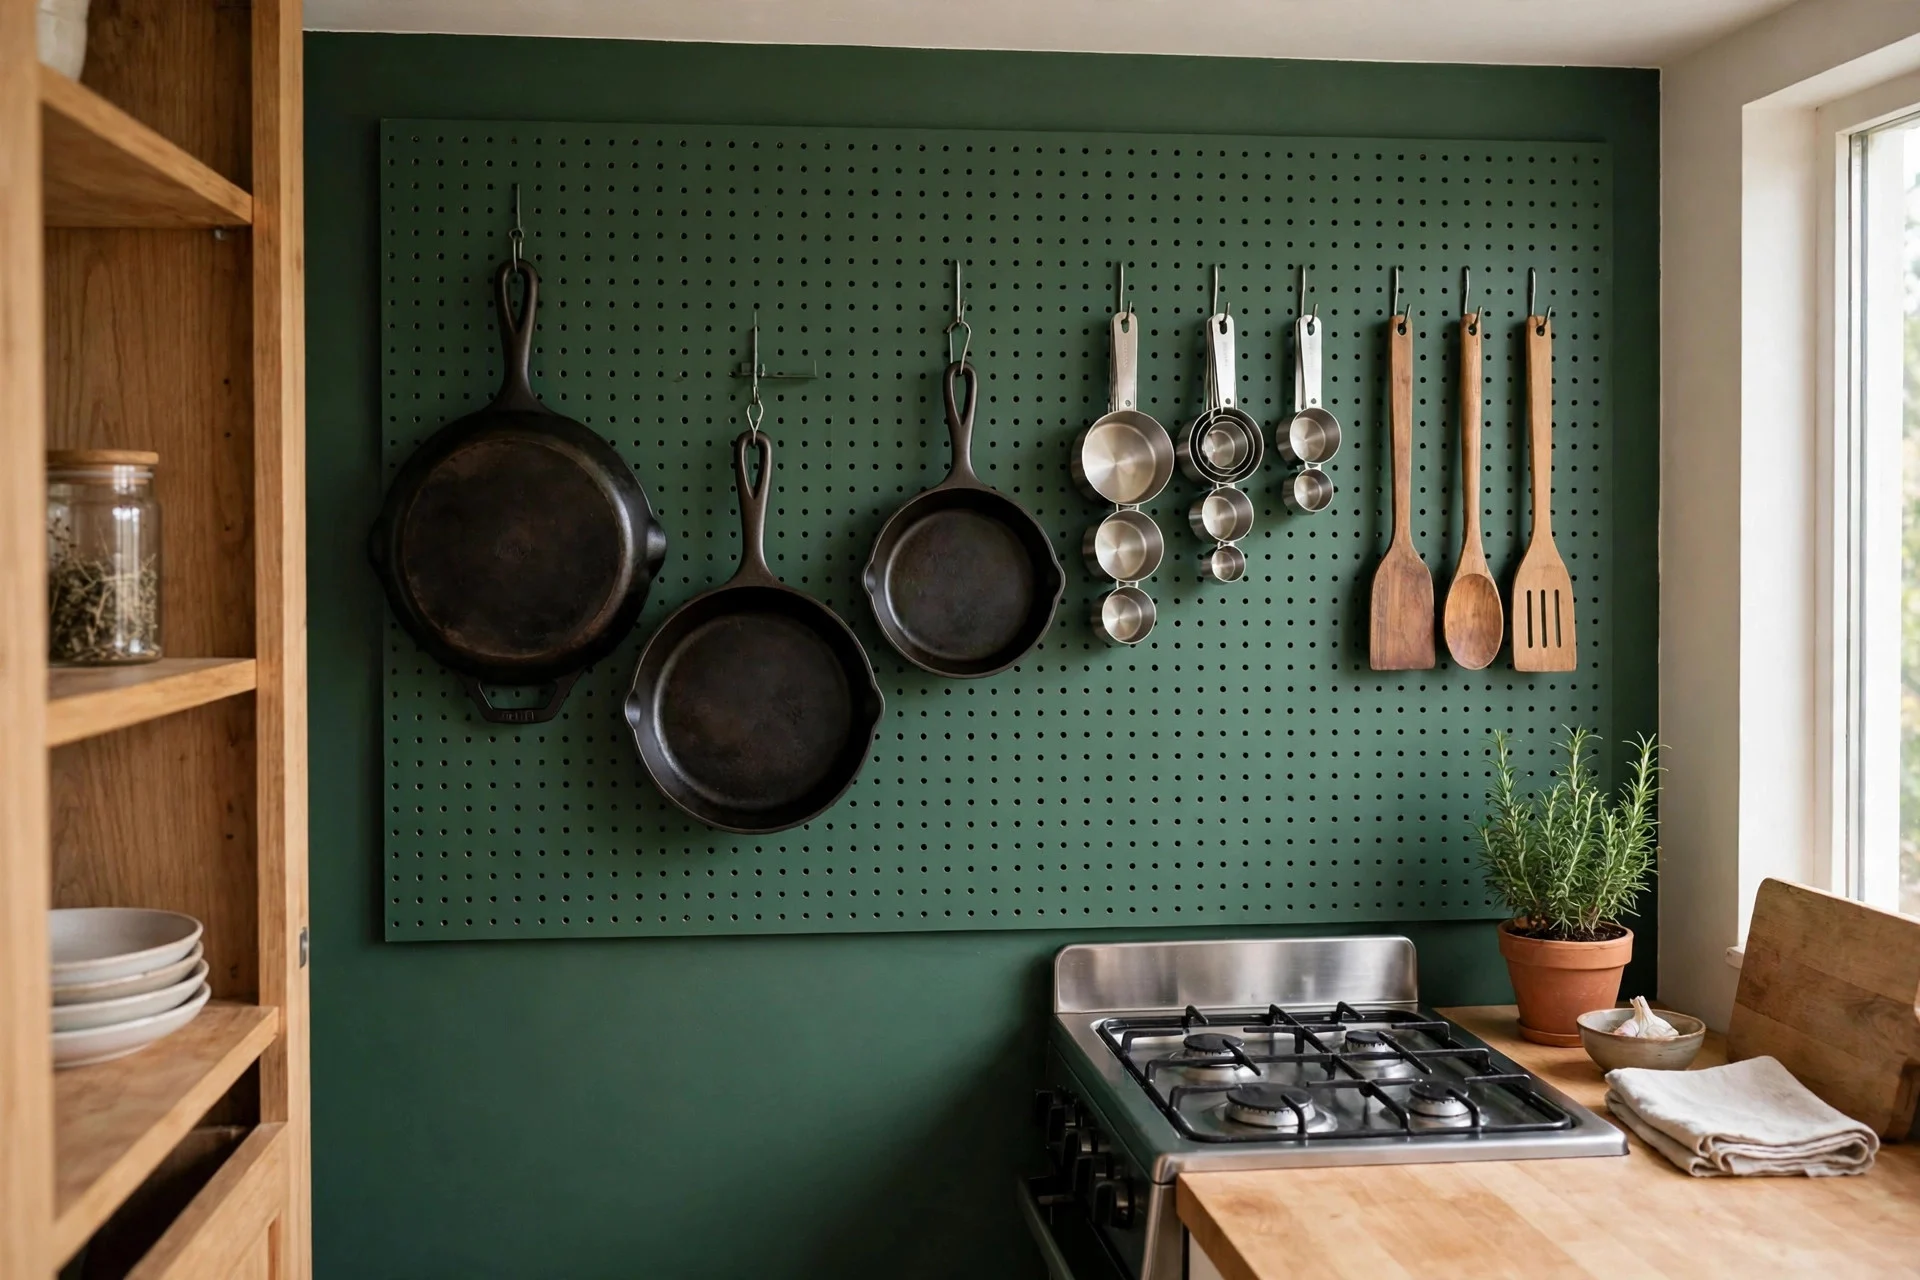
A pegboard wall turns dead wall space into storage without eating a single inch of counter. I put one up on the narrow wall beside my stove, and my pans, measuring cups, and favourite spatulas finally stopped living in a tangled drawer. Everything hangs where I can see it, which means I actually use the tools I own instead of forgetting them.
Paint the board the same colour as your wall so it blends in, or go bold with deep green for character. Use sturdy hooks rated for the weight of cast iron, and hang heavier pans low where they cannot fall far. Start with the tools you reach for every day and leave the rest in a cupboard — a pegboard crammed edge to edge looks messy fast.
Try this: trace each tool’s outline on the board so everything has a home and gaps stay obvious.
4. Use a Fold-Down Table as a Breakfast Spot
A fold-down table gives you a breakfast spot that disappears when you are done with it. I fixed one to the wall under my kitchen window, and two chairs tuck underneath when the table is up. Morning coffee there feels like a small treat, and by nine o’clock the wall is flat again and the floor is free for cooking.
Choose a table at least as deep as a dinner plate with room to spare, and fix the bracket into a stud or use proper wall anchors. A round or oval edge is kinder on hips in a tight walkway than a sharp corner. I bruised my hip on a square corner for a month before I learned. Keep the chairs light so folding everything away takes seconds.
Try this: add a small shelf above the folded table for a plant or a jar of flowers.
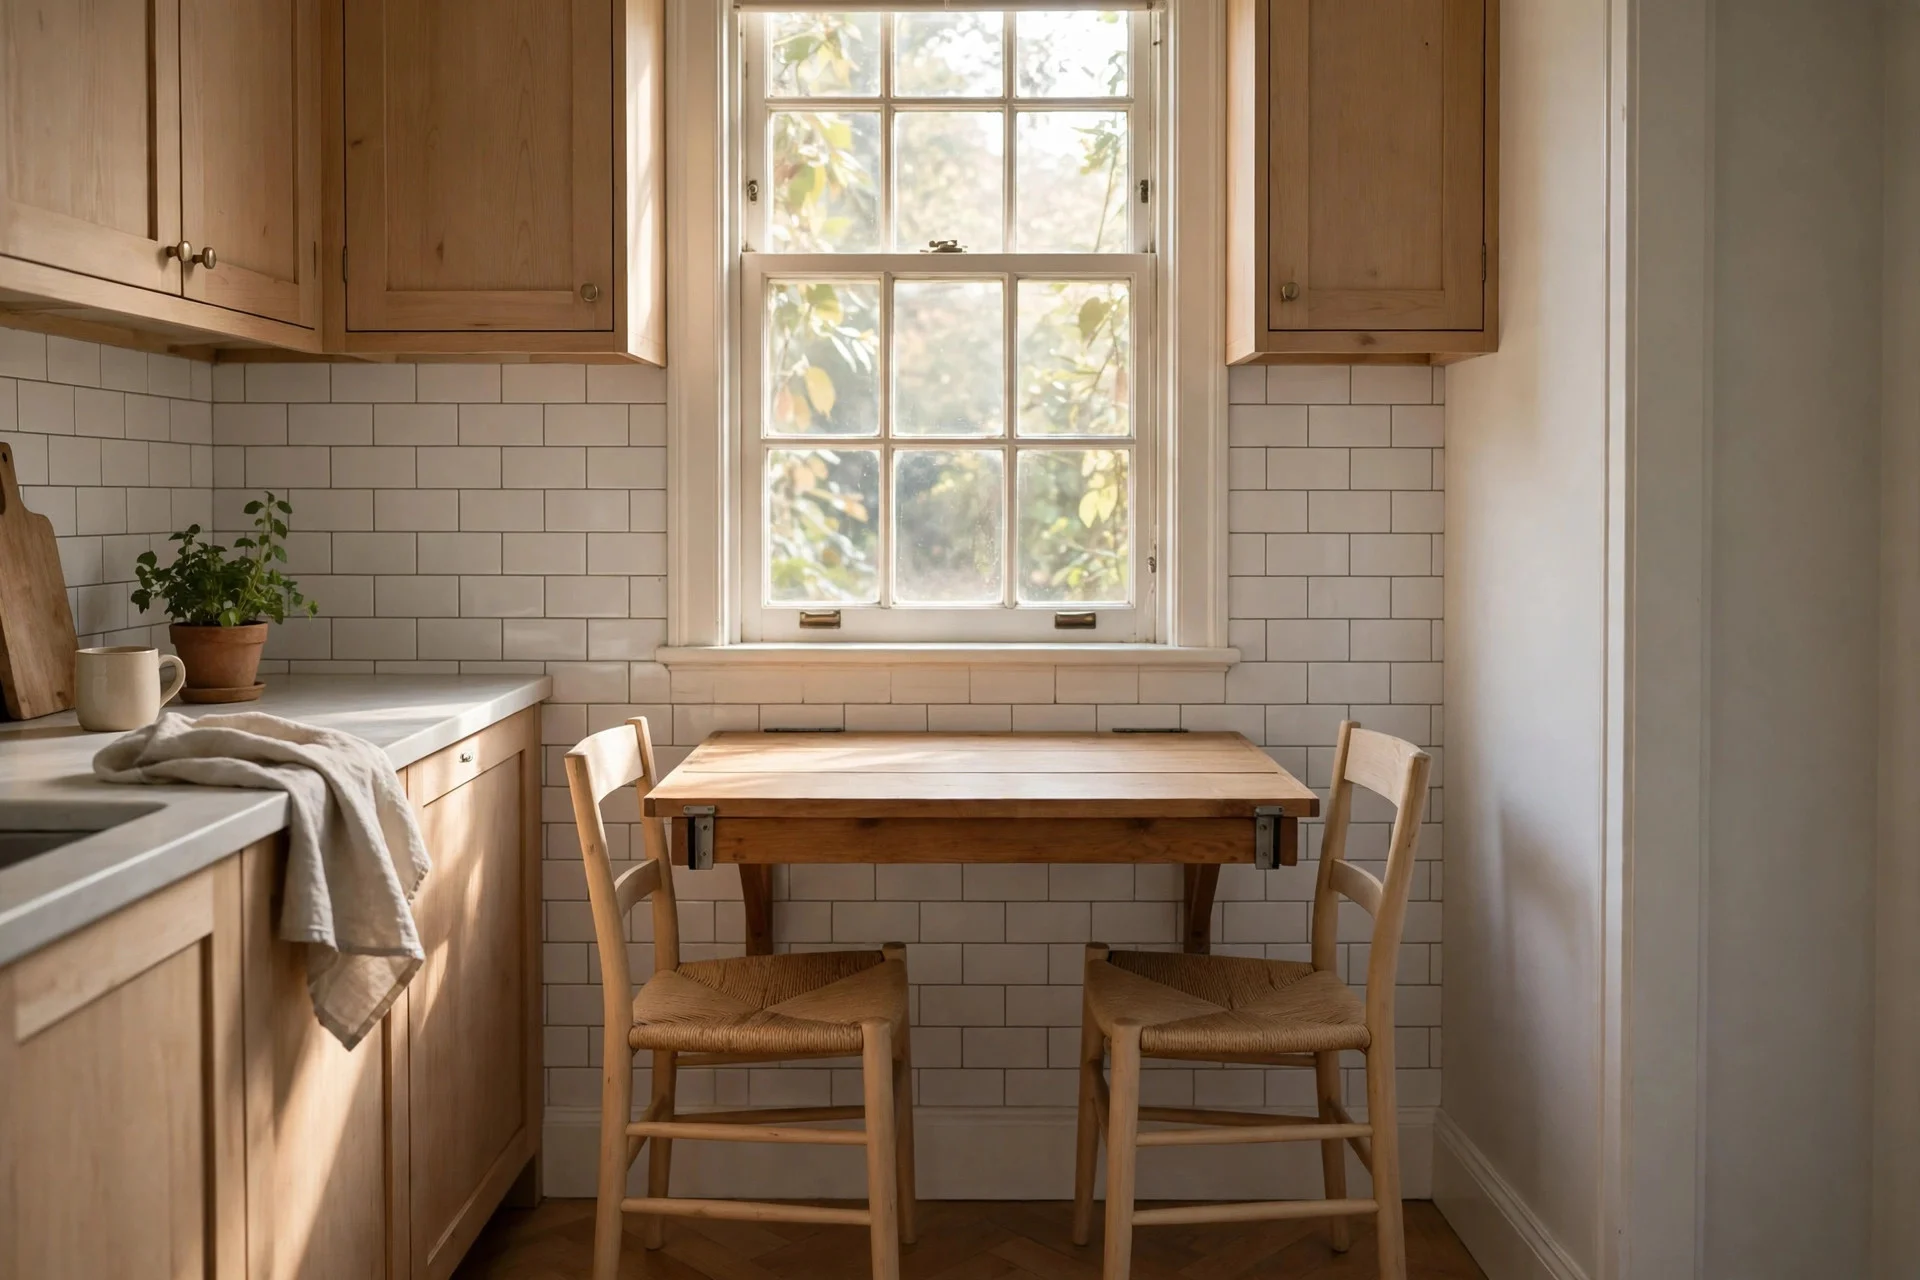
5. Paint the Cabinets a Light Colour to Open the Room
Painting my cabinets a soft warm white was the cheapest way to make my kitchen feel bigger. Dark wood had been swallowing the light for years, and the room always looked smaller than it was. One weekend of sanding and painting later, the same room felt airy, and my old brass handles suddenly looked new again.
Pick a warm white or pale greige rather than a cold blue-white, which can look flat under kitchen lights. Clean and sand the doors properly first, because paint peels off greasy cabinets in weeks. Use a durable satin finish made for kitchens so you can wipe splashes off without scrubbing the colour away. Do one door as a test and live with it for a few days before committing to the whole run.
Try this: swap the handles for brass or matte black at the same time for a fresh finished look.
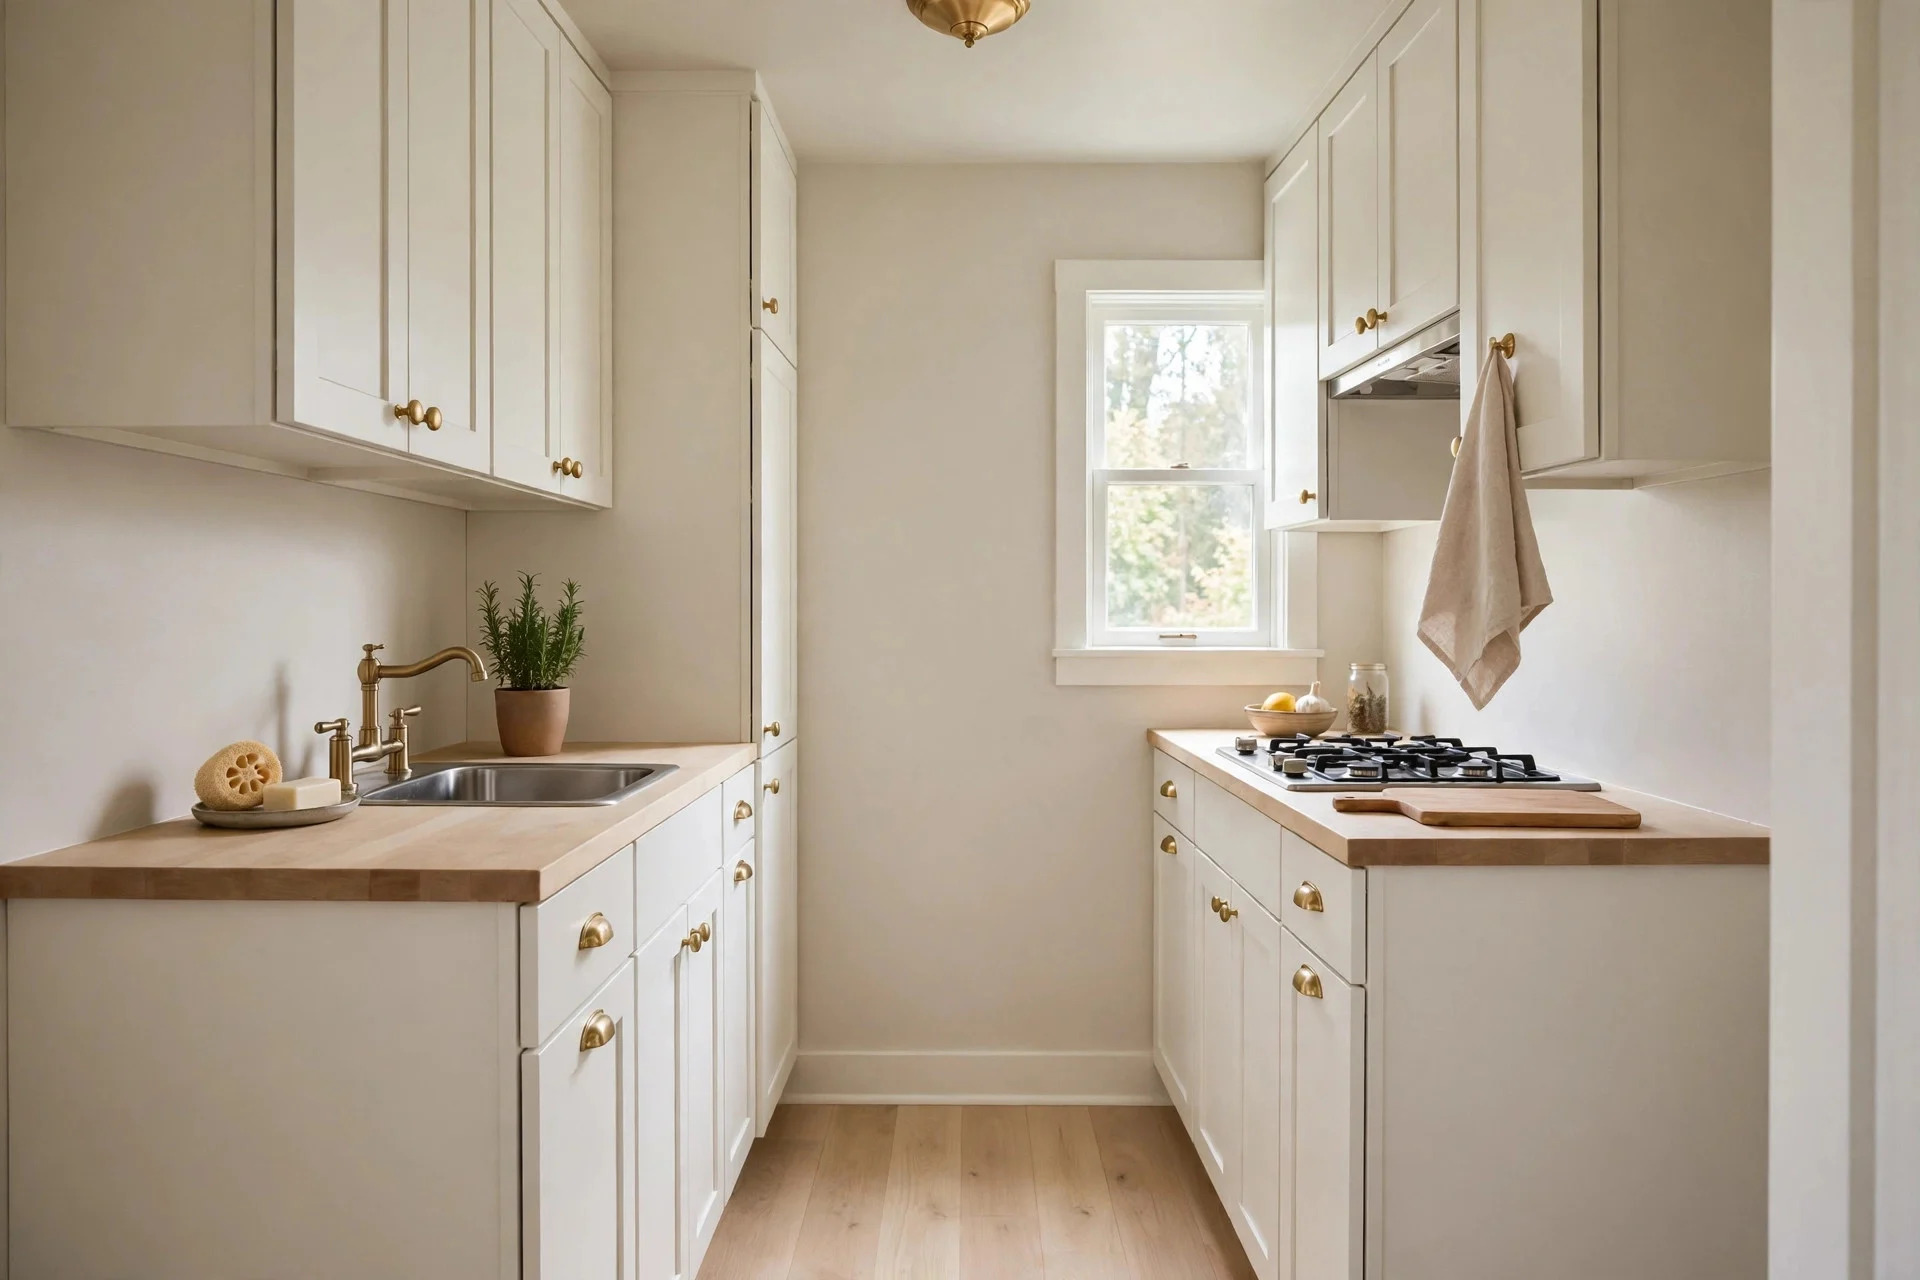
6. Add Under-Cabinet Lighting for a Bigger Feel
Under-cabinet lights changed how my kitchen feels after dark more than any lamp ever did. The worktop glows, chopping is easier, and the whole room looks layered instead of flat. I fitted a simple stick-on strip under the wall cabinets, and the difference was so big that friends asked if I had remodelled.
Go for warm white strips rather than cold blue light, which makes food look grey. Measure the length you need and buy a strip you can cut to size, then stick it right at the front edge of the cabinet so the light falls on the worktop, not the wall. A plug-in dimmer is worth the few extra pounds because bright light at midnight is nobody’s friend.
Try this: run the strip along the full length of the cabinets so there are no dark gaps.
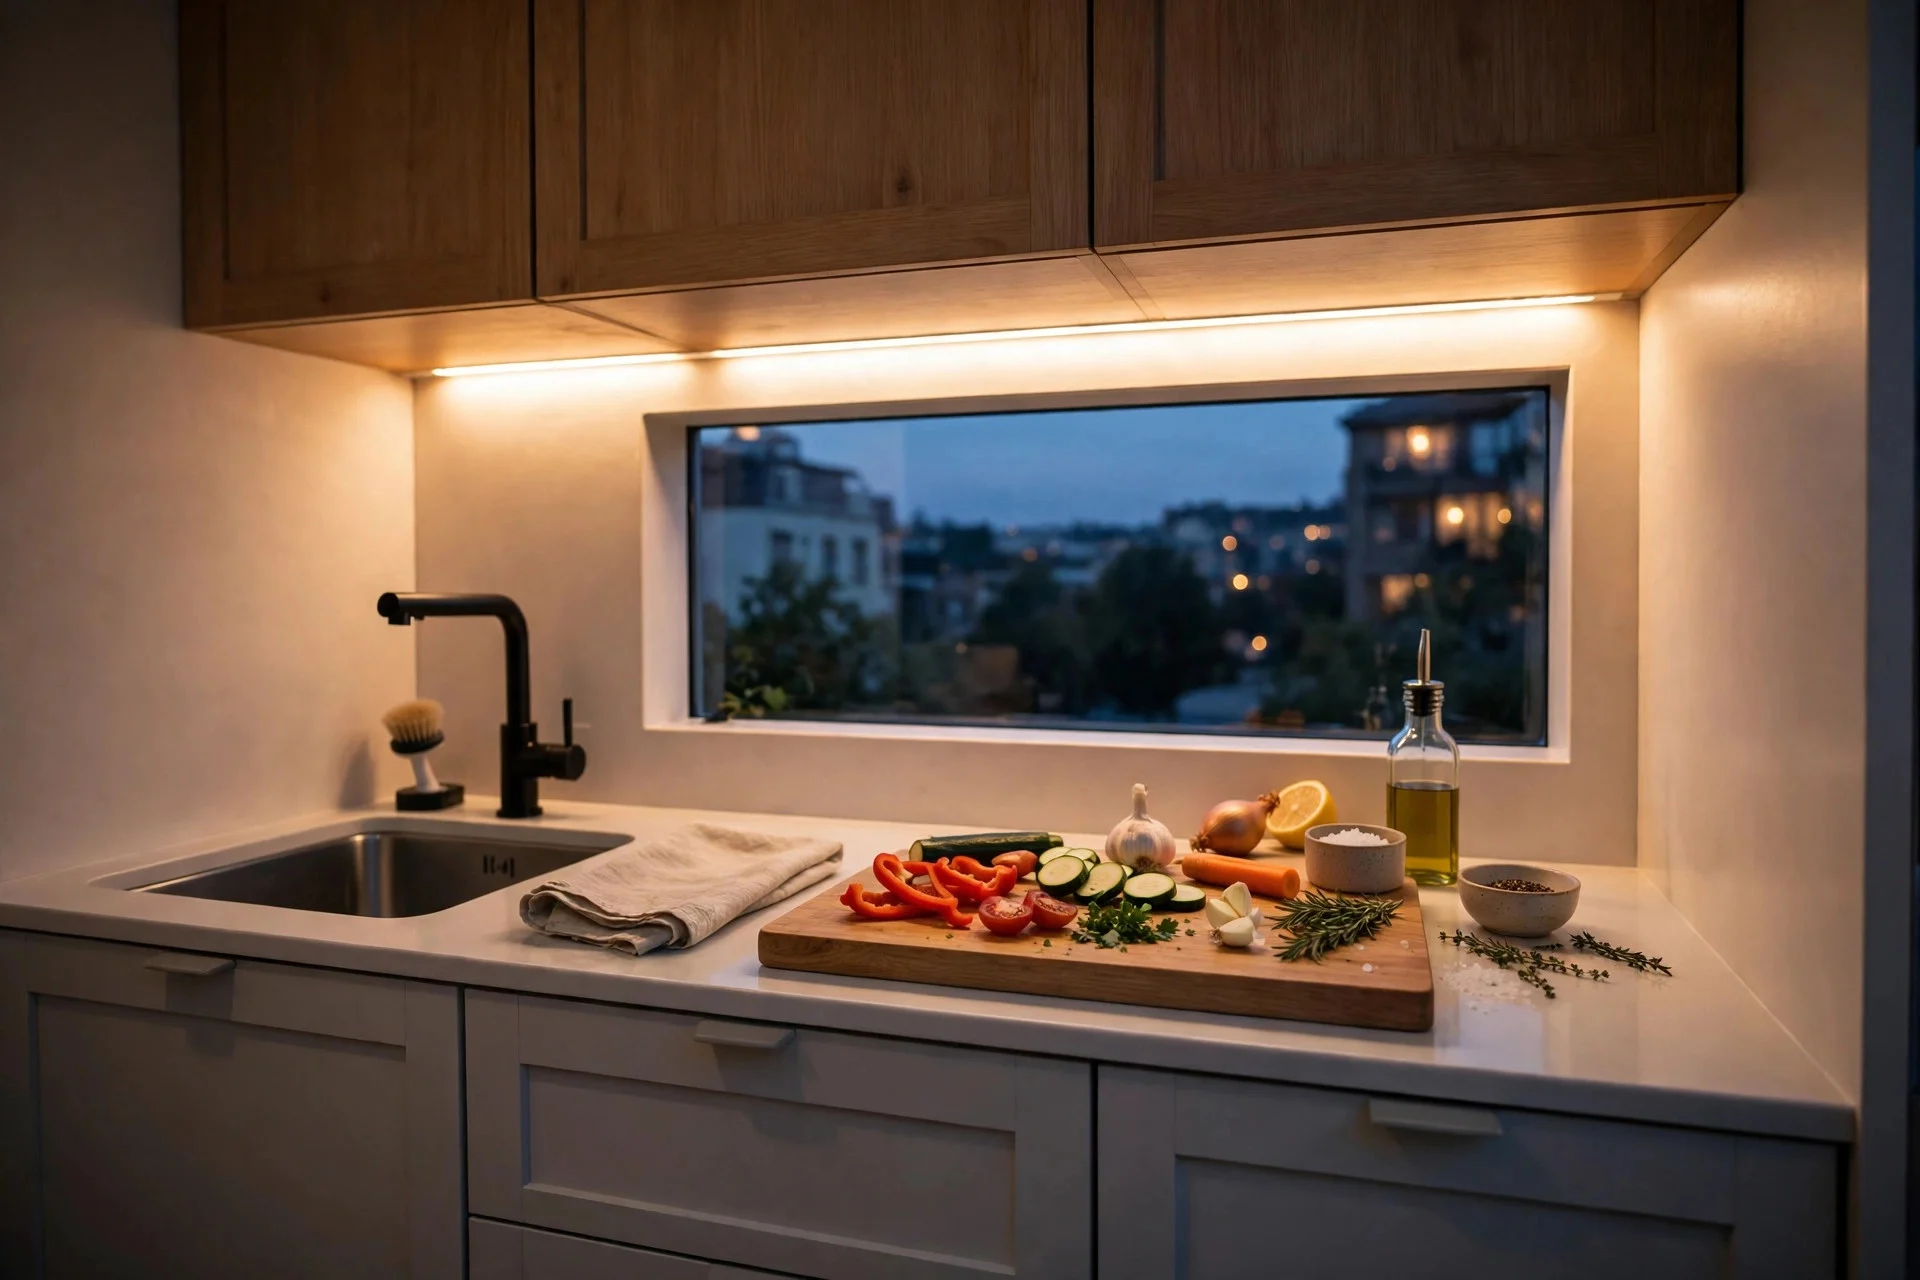
7. Choose a Round Rug to Soften the Floor
A small round rug softens a kitchen floor without stealing space the way a big rectangle does. Mine sits in front of the sink, where I stand longest, and it makes washing up far kinder on my feet. The round shape breaks up all the straight lines of cabinets and counters, and the room feels less like a corridor.
Choose a flat-weave or low-pile rug you can shake out and machine wash, because kitchen rugs earn their dirt honestly. Measure the spot first and leave a clear border of floor around it so the room still reads as open. I bought one too big at first and it curled against the cupboards. A non-slip pad underneath stops it sliding when the floor gets wet.
Try this: pick a washable rug in a pattern that hides crumbs between washes.
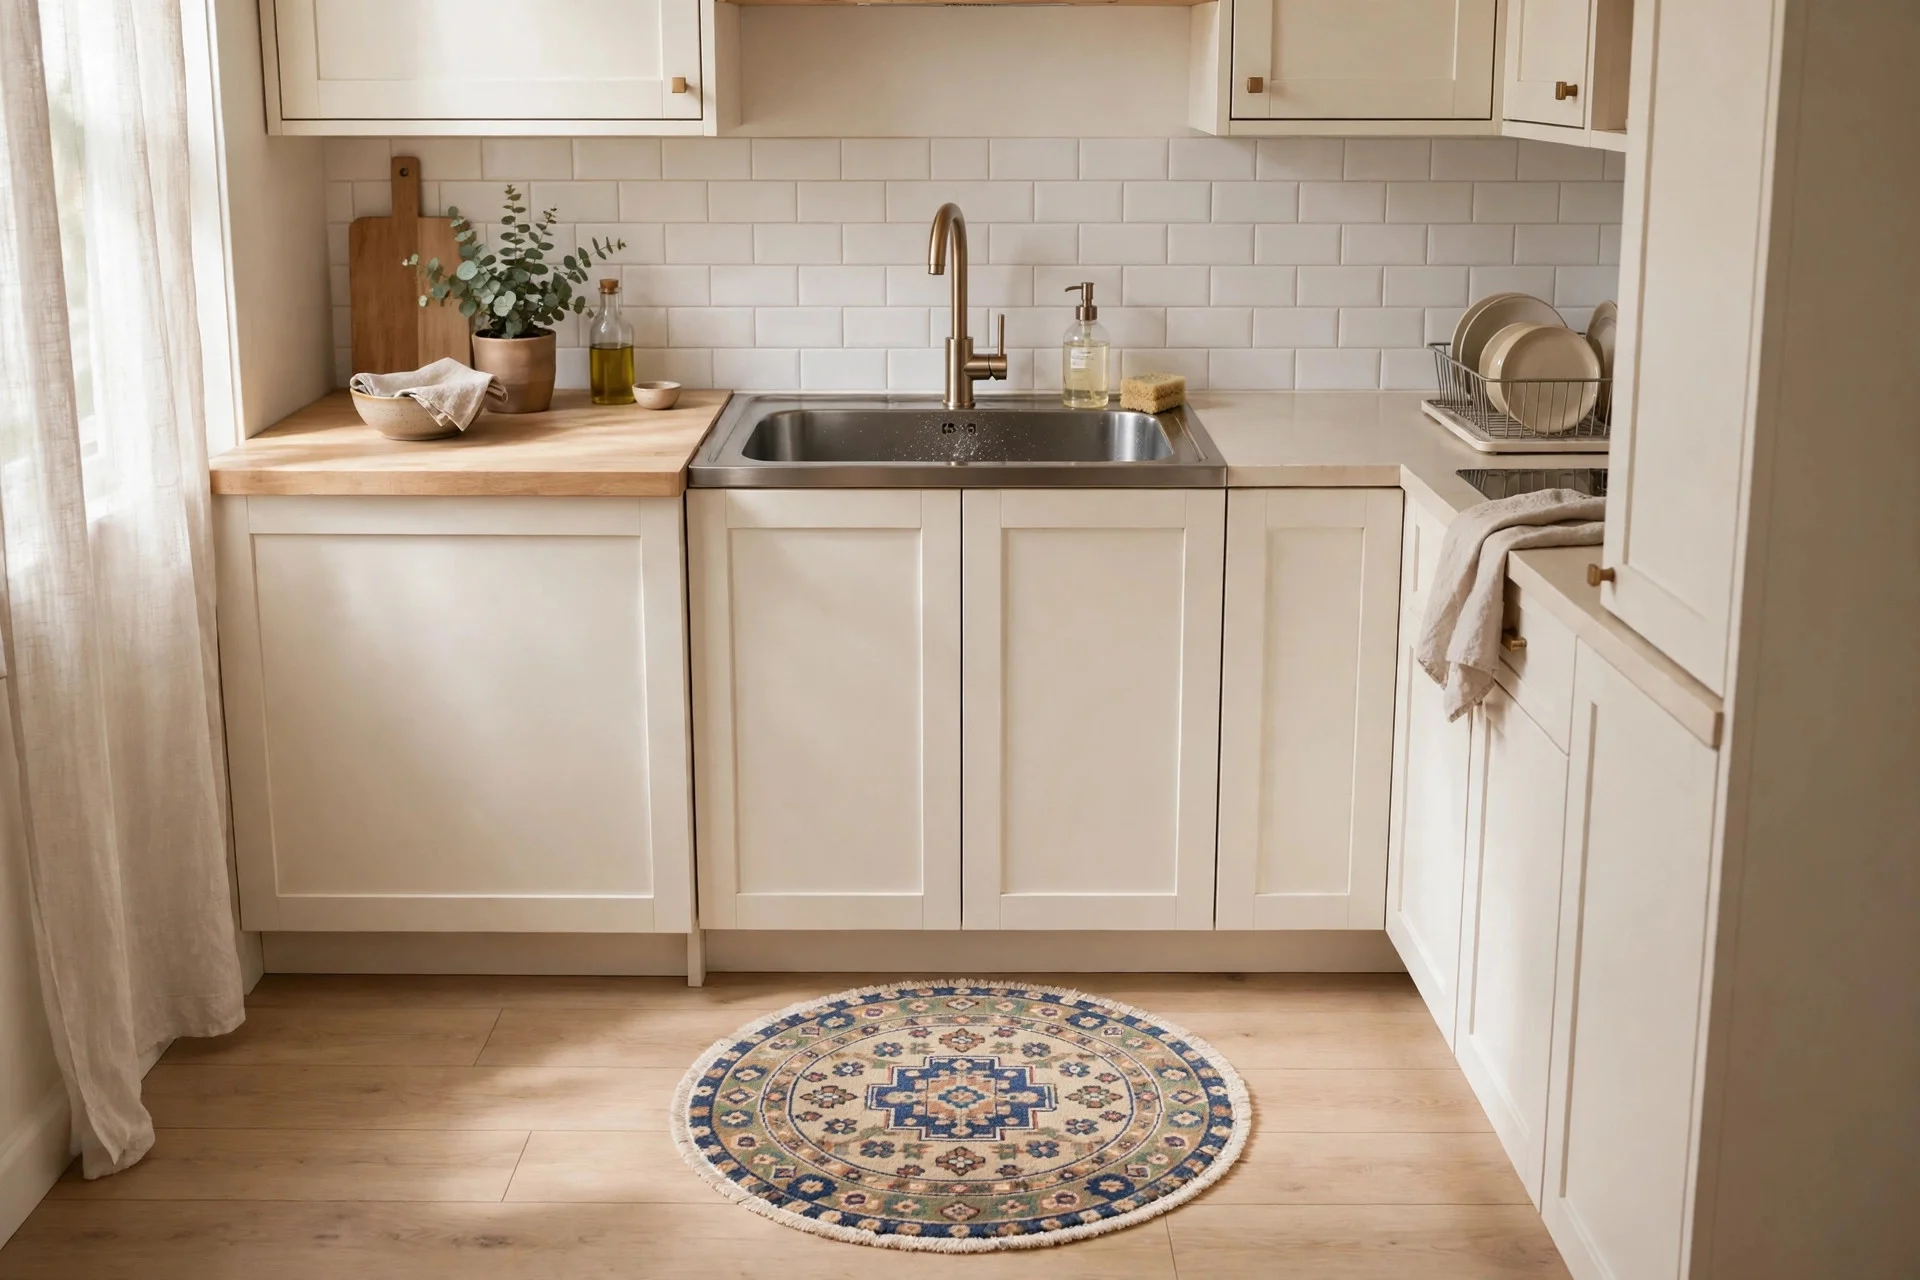
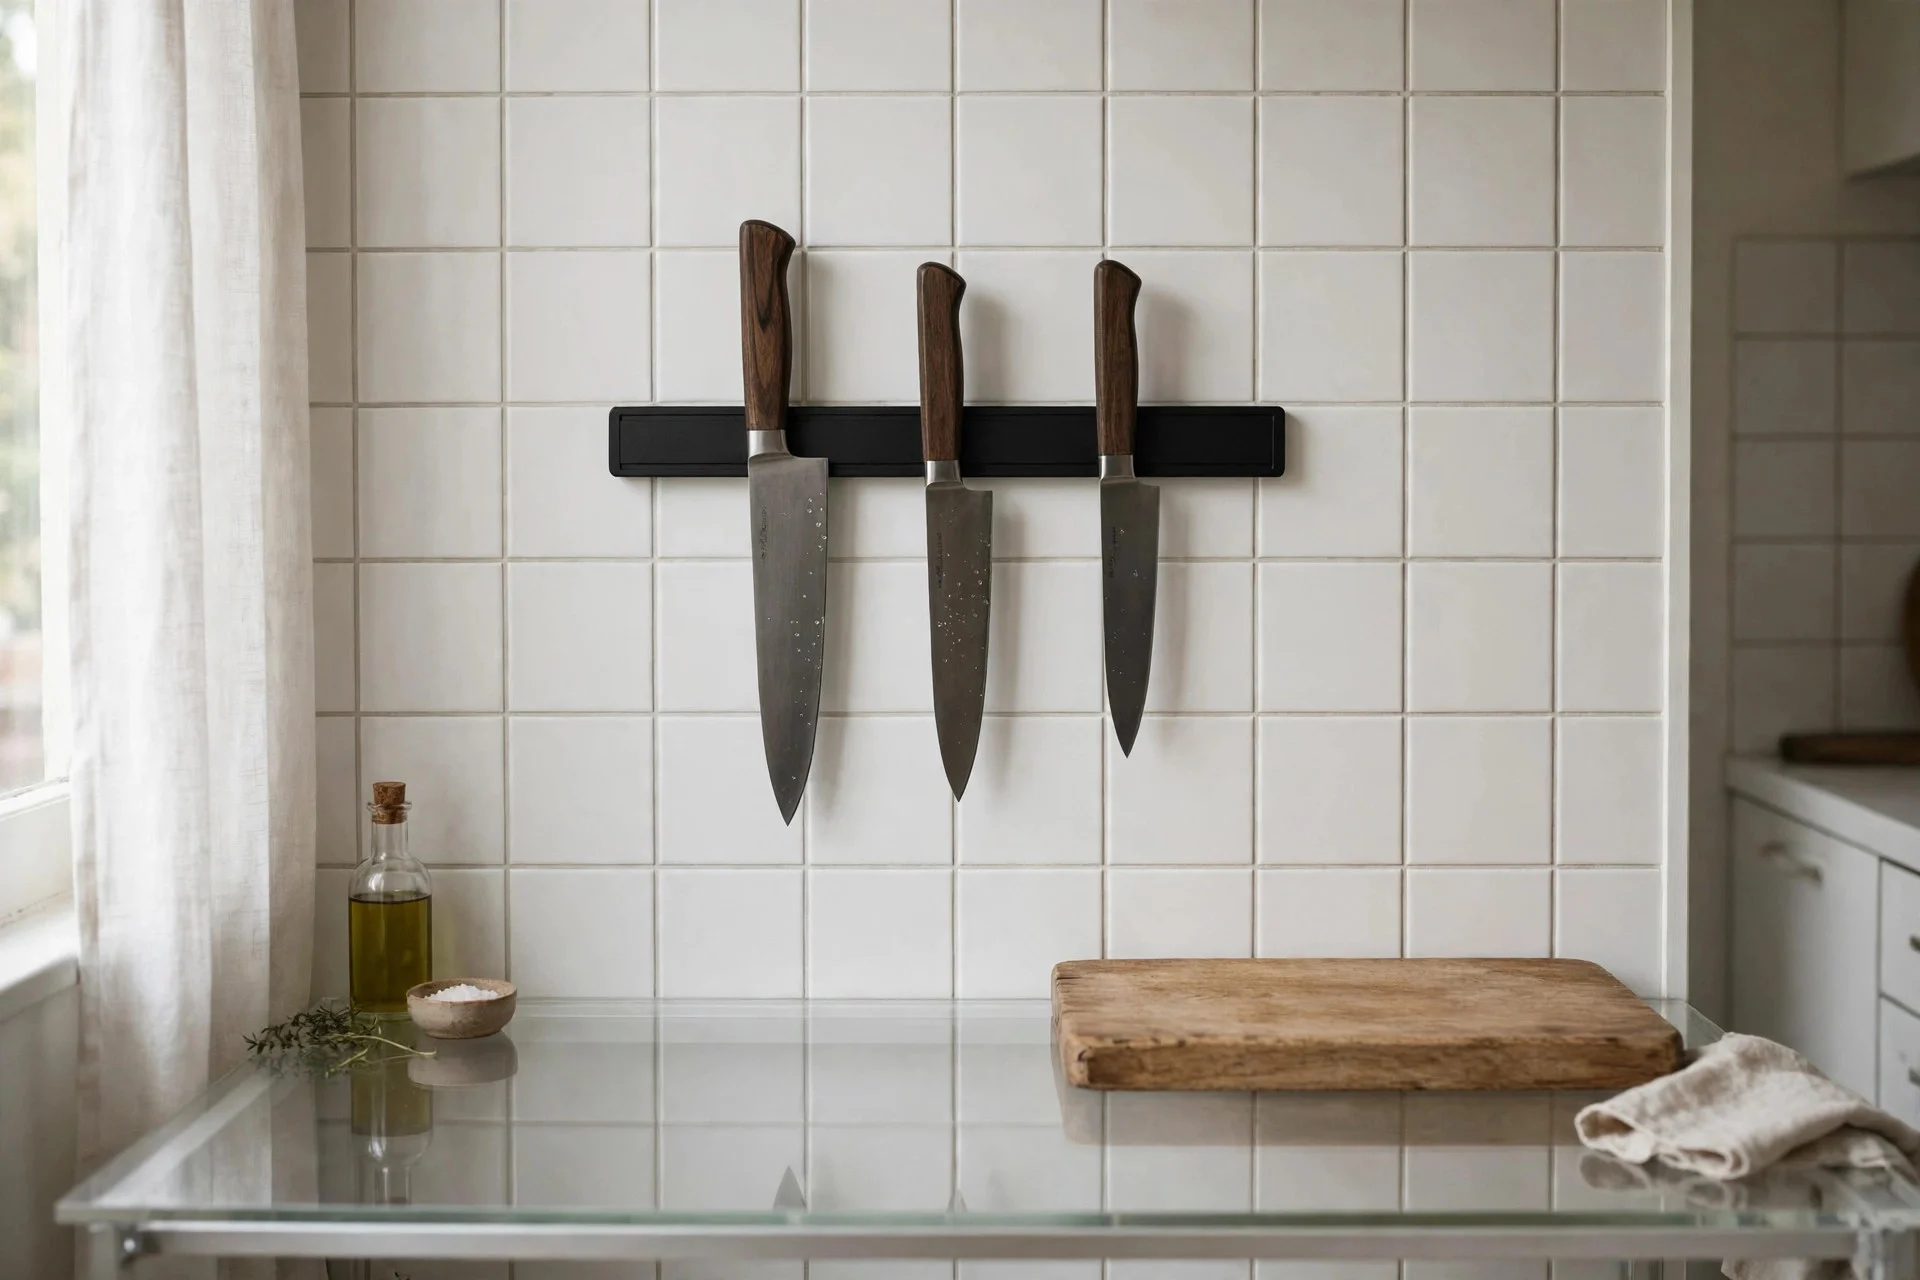
8. Mount a Magnetic Knife Strip to Free the Counter
A magnetic knife strip freed a whole stretch of my countertop in one afternoon. The knife block had been hogging prime space beside the stove for years, and moving the knives to the wall felt strange for about a day. Now I reach for the right blade without thinking, and the counter finally has room for a chopping board.
Mount the strip at a height where the blades sit above curious little hands but within easy reach of yours. Fix it into a stud or use strong wall plugs, because a strip full of knives is heavier than it looks. Keep the blades clean and dry before they go back on the magnet, and leave a finger-width gap between knives so you can grab one without nicking the next.
Try this: keep only the three knives you use daily on the strip and store the rest away.
9. Store Everyday Items in Matching Glass Jars
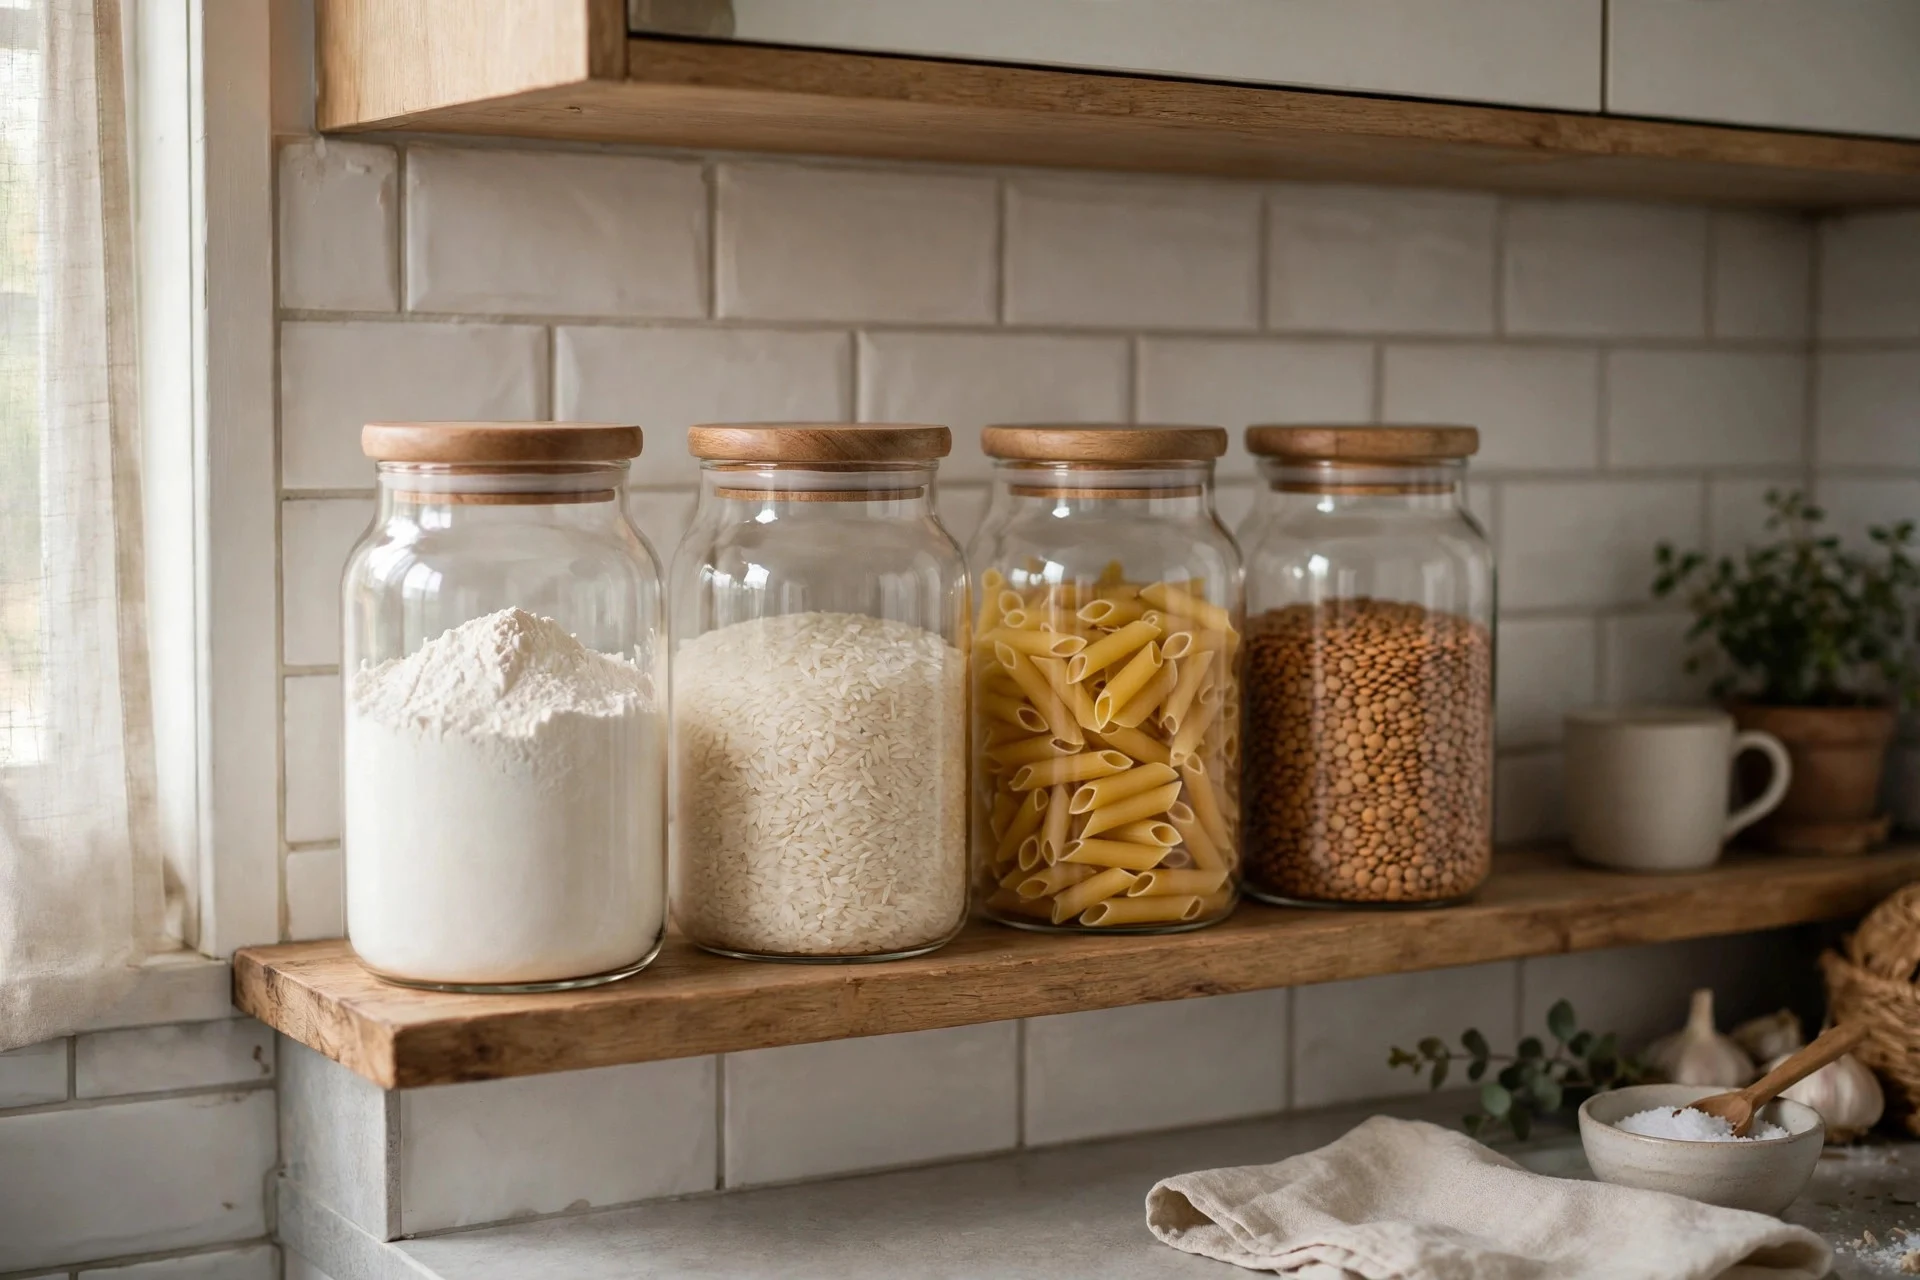
Matching glass jars turned my messiest shelf into the prettiest corner of the kitchen. Flour, rice, pasta, and lentils used to live in half-open bags that spilled every time I reached past them. Now they sit in a neat row of clear jars, and I can see at a glance what needs buying before I start cooking.
Pick jars with airtight lids and one size for staples so the row looks calm instead of chaotic. Decant one bag at a time and label the jars on the lid, not the front, so the food stays the star. I made the mistake of buying fancy jars with weak seals once, and the flour went stale in a month. Keep the jars you use daily at eye level and the rest higher up.
Try this: use one jar size for all staples so the shelf looks neat even when half empty.
10. Use the Inside of Cabinet Doors for Storage
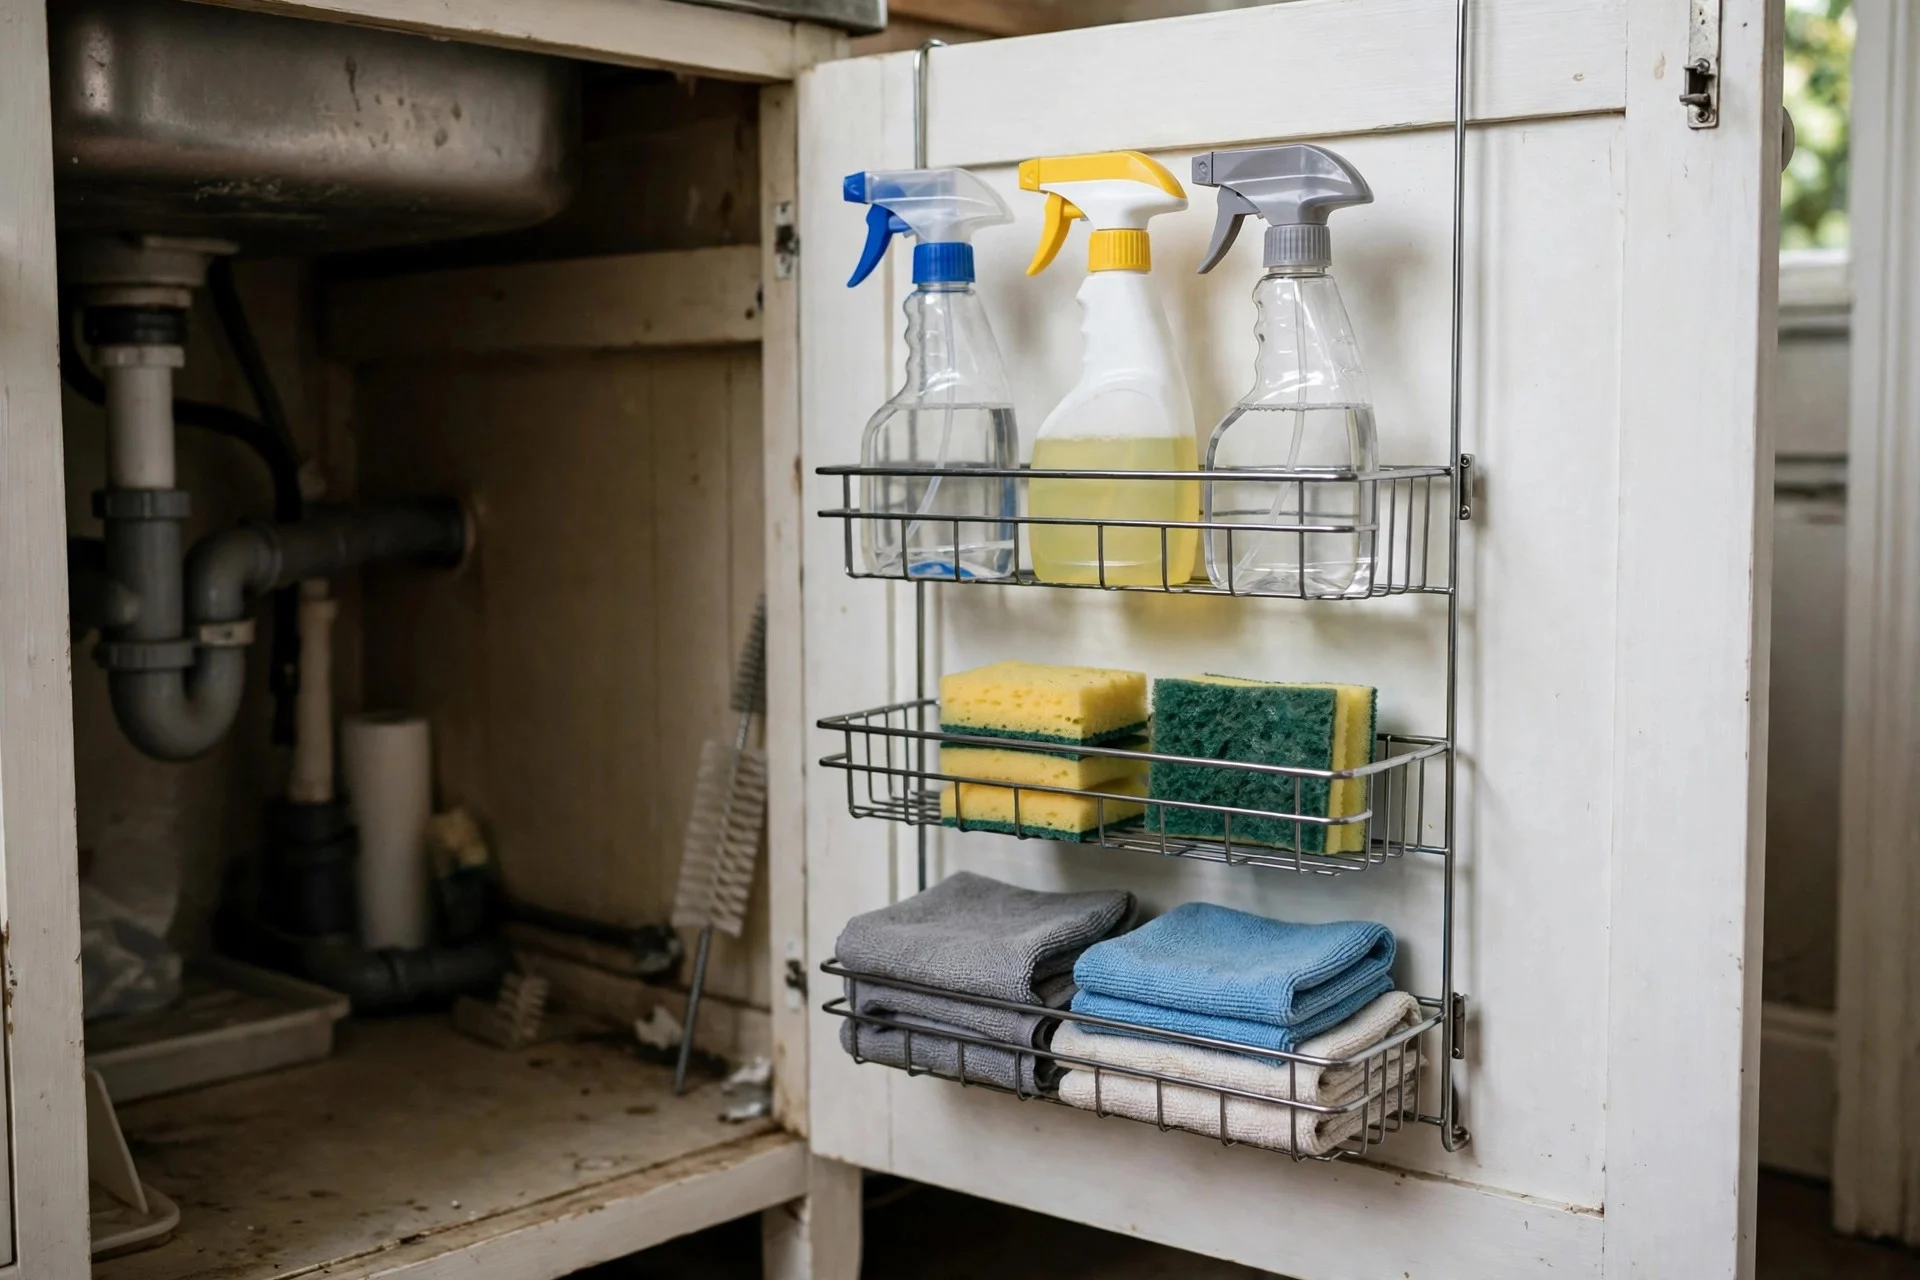
The inside of a cabinet door is free storage hiding in plain sight. I stuck a slim rack on the door under my sink, and suddenly the sponges, cloths, and spray bottles had a home instead of piling up around the taps. It cost almost nothing, took ten minutes, and I still wonder why I waited so long.
Measure the depth carefully before you buy, because a rack that is too deep stops the door closing. Use strong adhesive strips or small screws, and keep the rack light so the hinges do not sag. This spot suits flat things best: measuring spoons, foil, wraps, and cleaning supplies. I keep a small notepad there too, for the shopping list I always forget.
Try this: add a small hook inside the door for the tape measure you always lose.
11. Hang Plants From the Ceiling or a Window Shelf
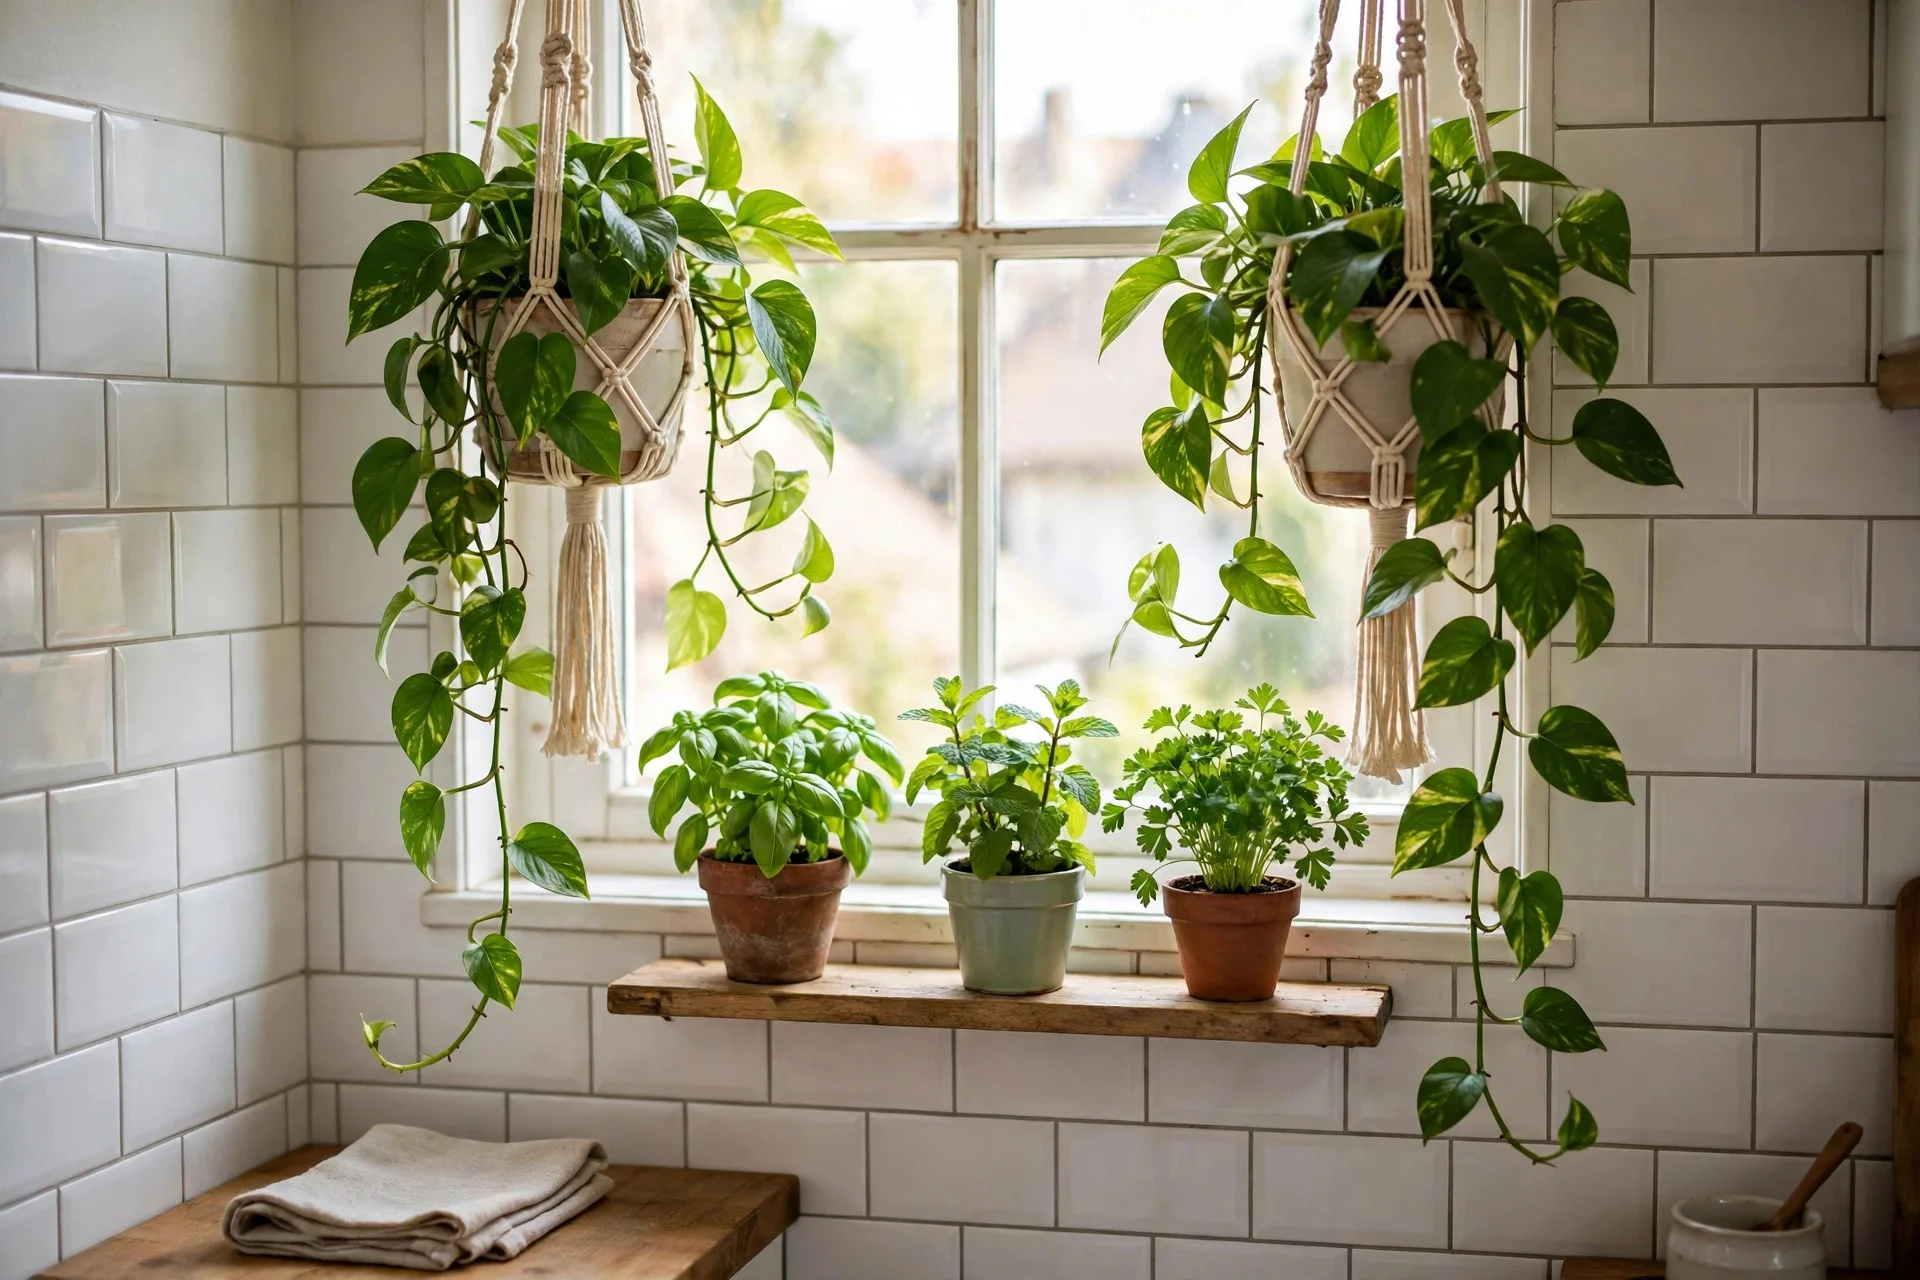
A few hanging plants make a small kitchen feel alive without taking up counter space. I hung a trailing pothos from a hook by the window, and it softened the hard edges of the room within weeks. Green against white tiles and wood does something no ornament can, and it costs less than a takeaway.
Pick plants that like humidity and low light if your window faces away from the sun. Herbs are a smart choice because you can snip them straight into dinner, so try basil, mint, and parsley in small pots on a window shelf. Water them over the sink to avoid drips on the floor, and check the hooks can hold a wet pot. My first hook gave way one morning, and soil went everywhere.
Try this: grow basil, mint and parsley on the window shelf so dinner seasoning is always fresh.
12. Pick Bar Stools That Tuck Fully Under the Counter
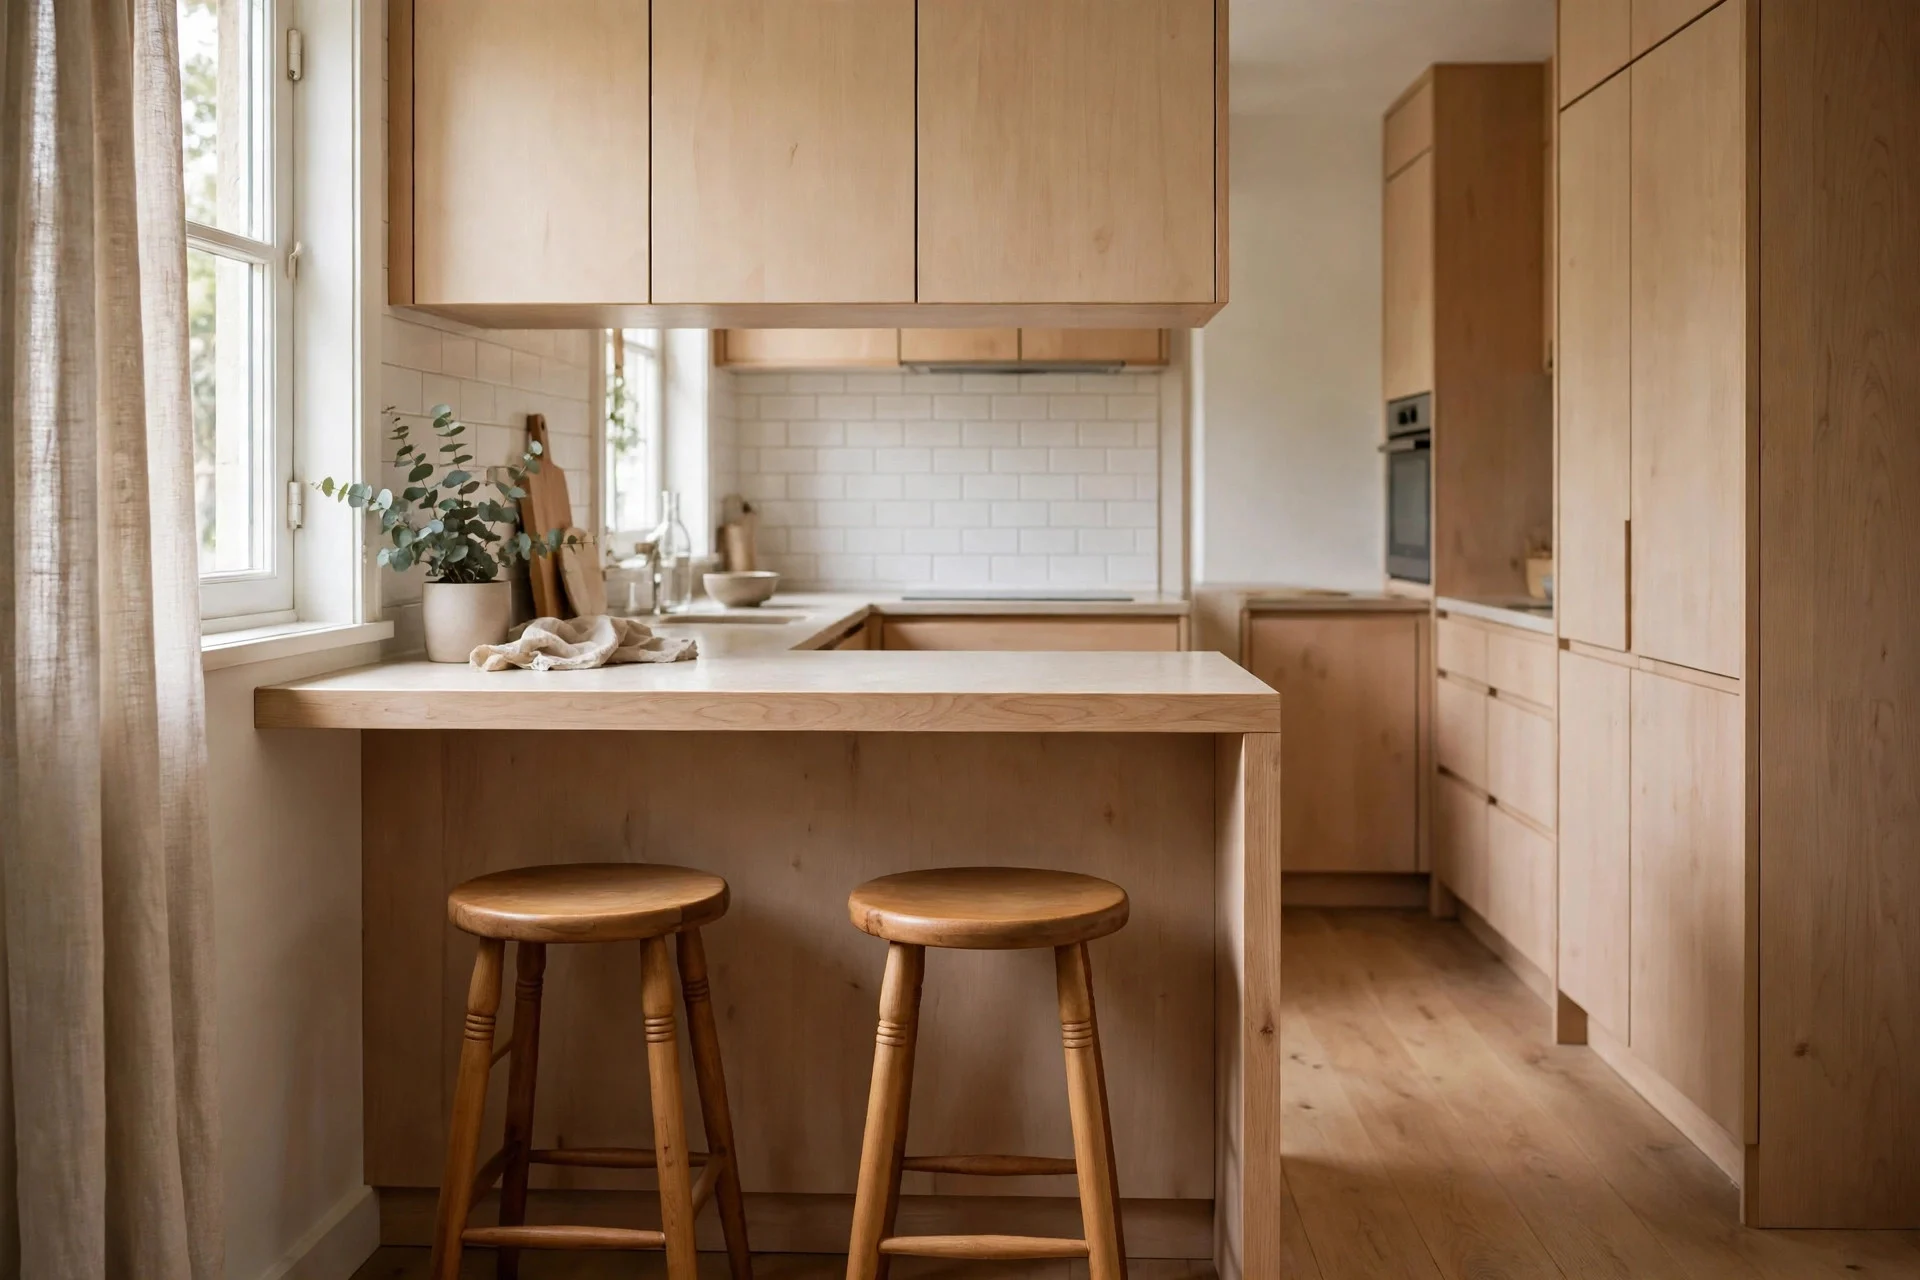
Bar stools that tuck fully under the counter are the reason my kitchen walkway stays clear. The old chairs stuck out into the room and I bumped into them every single day. The new ones slide right under the overhang, and when friends come over they pull out easily and the kitchen becomes a place to sit and talk.
Measure the gap under your counter before you shop, including the height of the seat and the width of the legs. Backless stools tuck the neatest, but a low back is comfier for long chats. Pick a wipeable seat in vinyl or treated wood, because kitchen stools get splashed. I chose light ones I can lift with one hand, which matters more than I expected.
Try this: choose backless stools in a light wood that matches your floor for a calm look.
13. Add a Mirror Backsplash to Bounce the Light
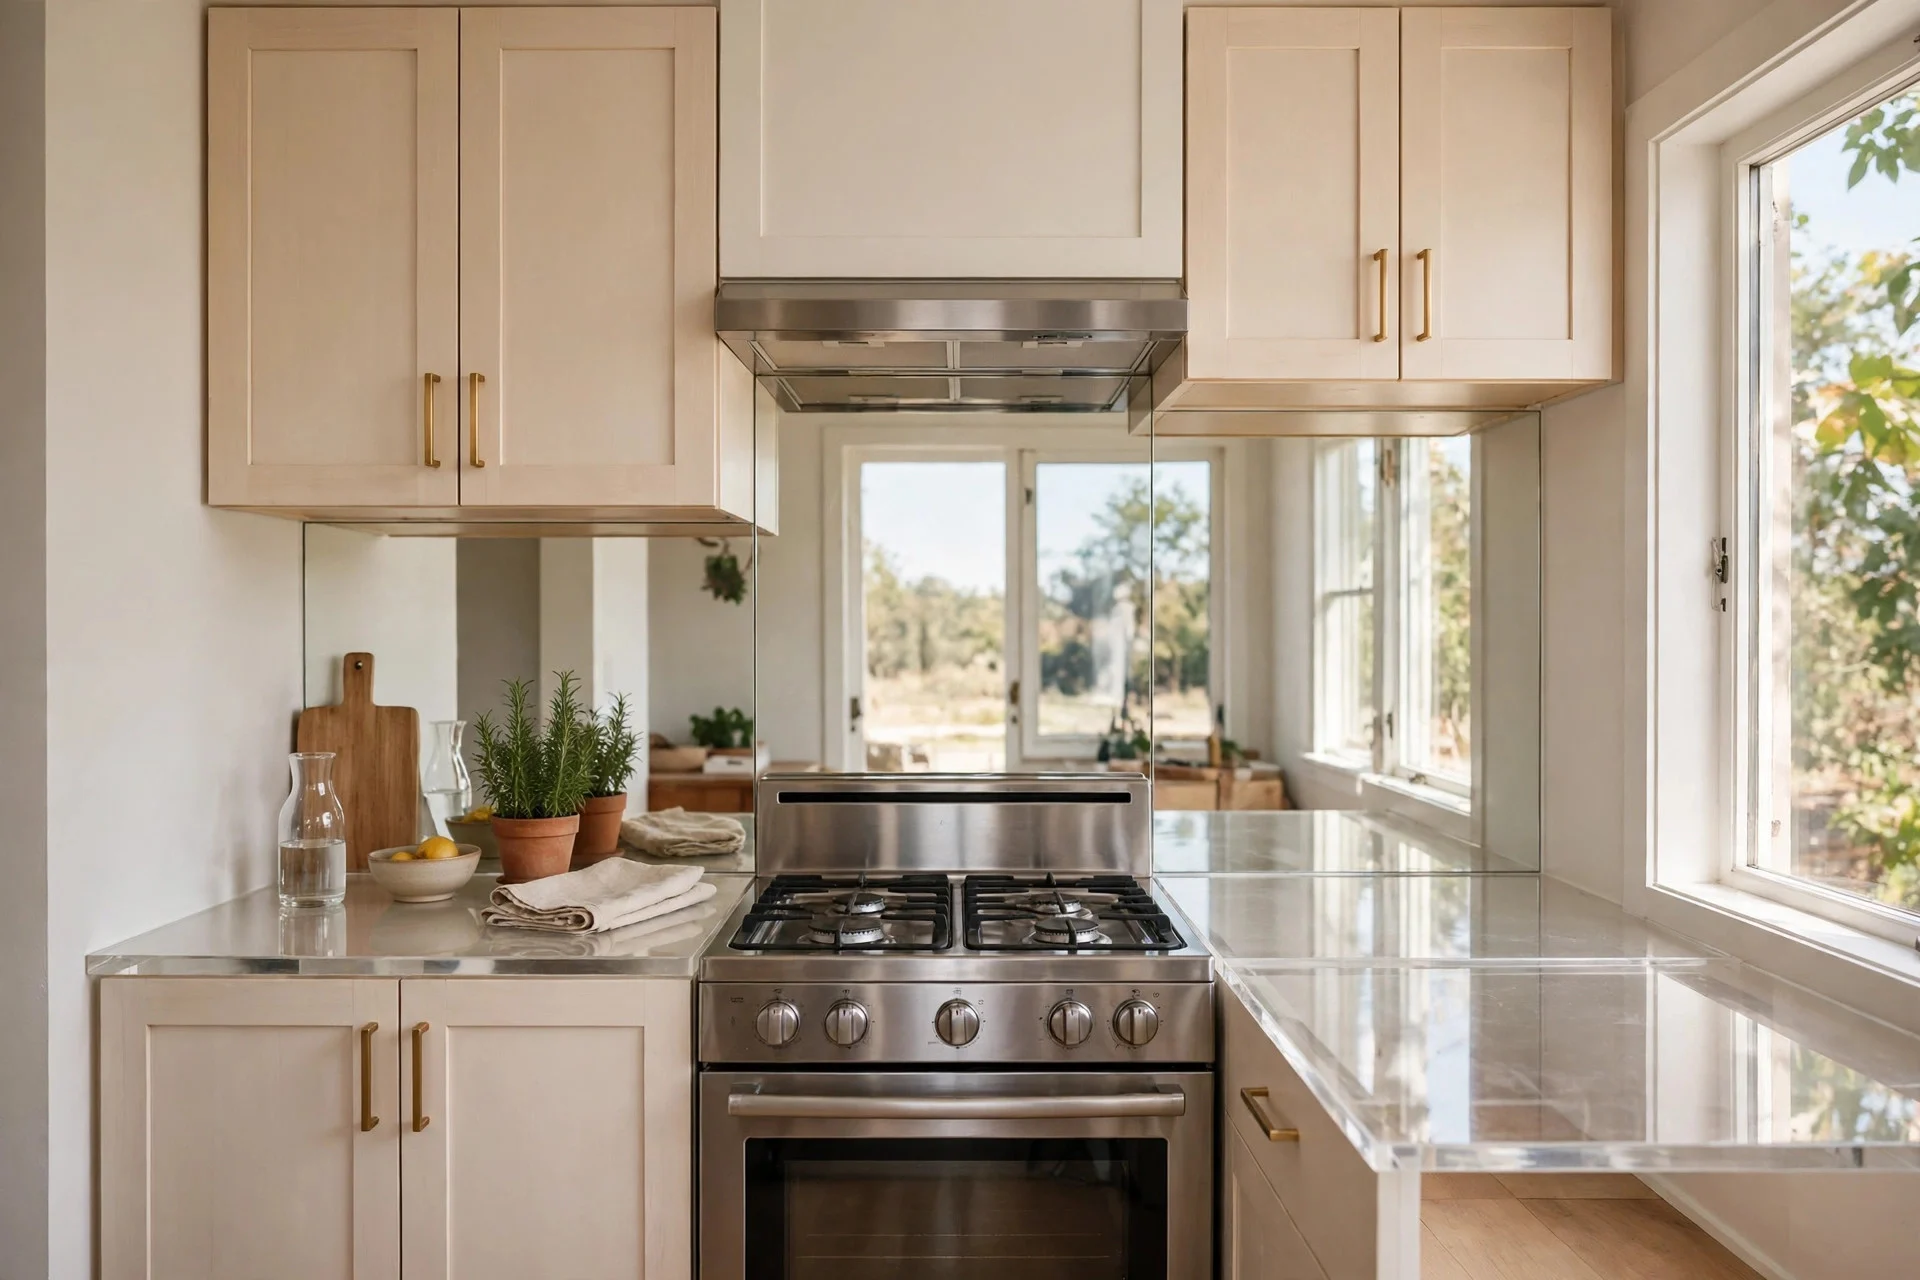
A mirror backsplash sounds bold, but in a tiny kitchen it works like a window you never had. I fitted a mirrored panel behind my stove, and the room instantly looked deeper and brighter. Light from the window bounces across the room now, and washing up feels less like staring at a wall.
Use toughened mirror glass made for kitchens, not a plain mirror, because heat and splashes are part of the deal. Keep it to one run of wall rather than the whole kitchen, or the reflections get dizzy. A quick wipe with glass cleaner after cooking keeps it clear, and I wipe mine while the kettle boils so it never becomes a chore. Avoid it right behind a hob without a proper heat gap.
Try this: keep the mirror to one wall so the reflections stay calm instead of dizzy.
14. Keep the Counters Clear With a Single Tray Rule
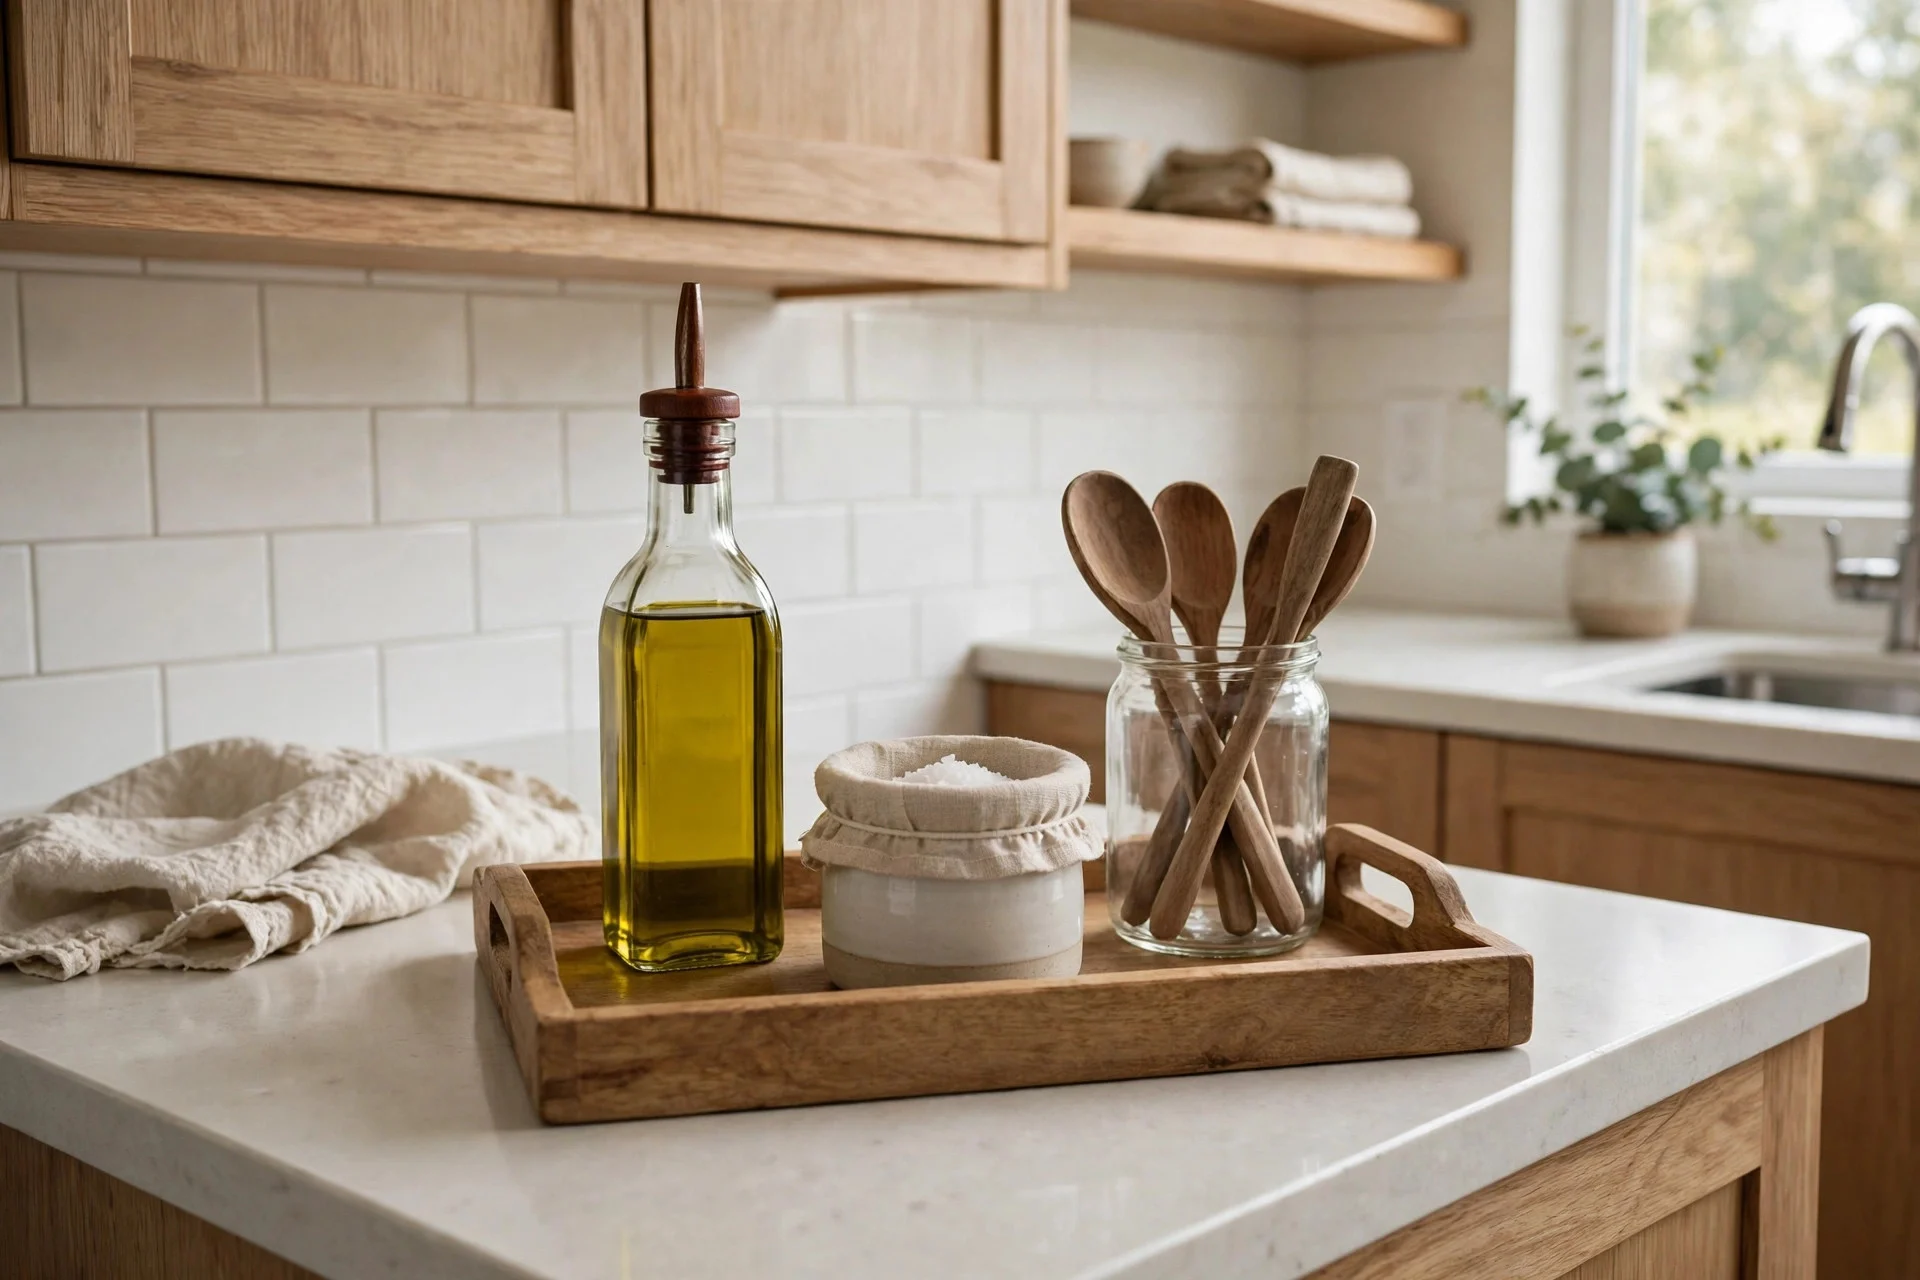
The single tray rule is the simplest habit that keeps my counters clear. Everything that lives on the worktop, the oil, the salt, the wooden spoon jar, sits on one tray. When I cook, I lift the whole tray aside in one move, and when I am done, it goes back. The counter looks tidy even on a busy night.
Choose a tray that fits the corner you use most, with a raised edge so bottles do not slide off. Wood, stone, or metal all work, but pick something you can wipe clean in seconds. I keep mine small on purpose, because a big tray just invites more clutter to move in. Once a week I empty it, wipe it, and only put back what I actually used.
Try this: limit the tray to five items and move anything extra into a cupboard.
15. Style the Windowsill With Herbs and a Small Lamp
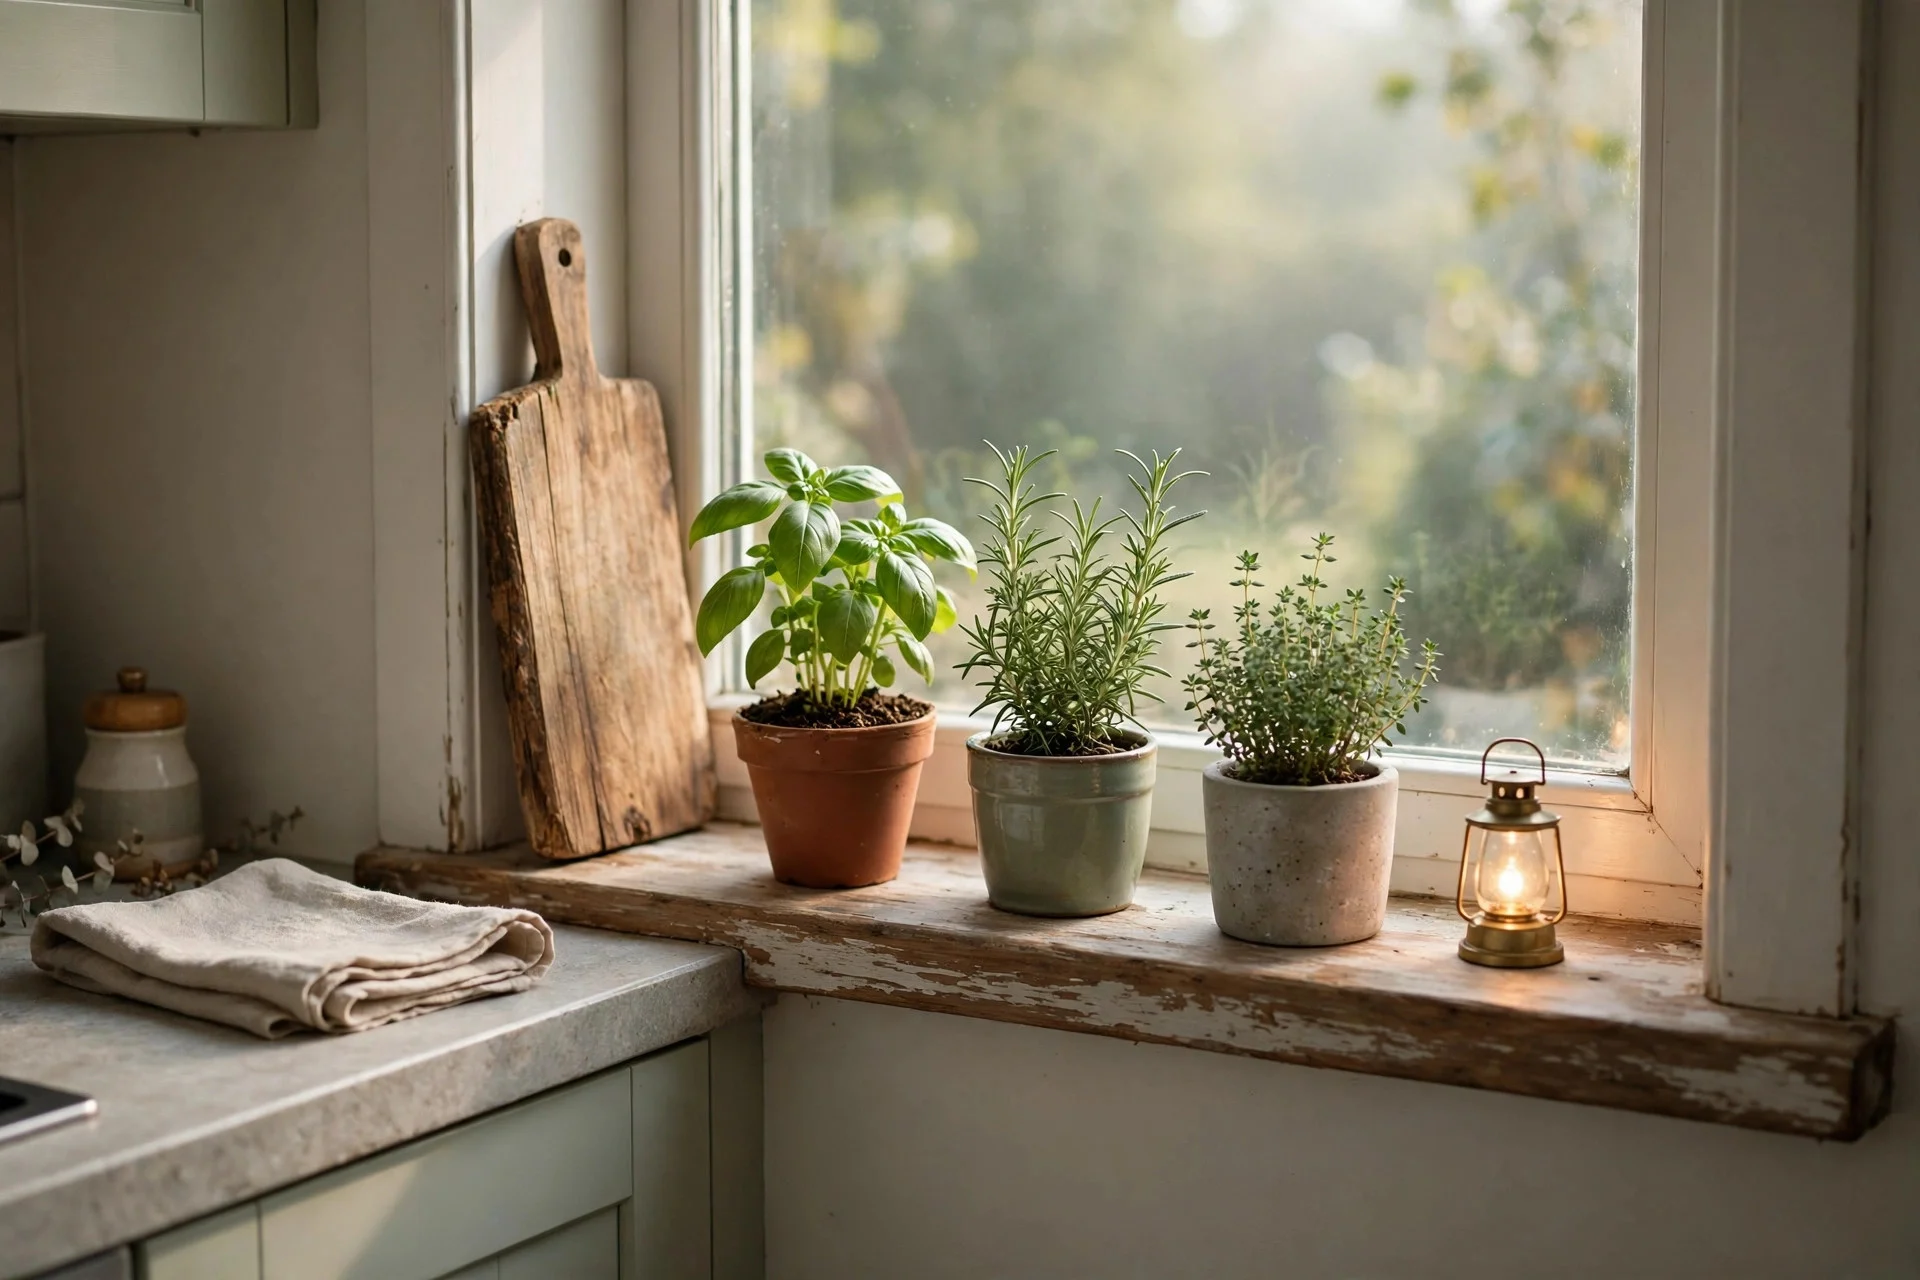
The windowsill is the one spot in a small kitchen that begs to be styled, and it costs almost nothing to get right. Mine holds three small herb pots, a tiny lamp, and a chopping board leaning against the frame. It is the first thing I see in the morning, and it makes the whole room feel cared for instead of just used.
Keep it to three or four items and leave breathing room between them, because a crowded sill blocks the light. A small lamp adds a warm glow on dark winter evenings, and herbs earn their place by flavouring dinner. I water mine on Sunday and trim them while the pasta boils. Skip tall items that block the window, and the sill stays pretty and practical.
Try this: add a tiny lamp to the sill for a warm glow on dark winter evenings.
What colours make a small kitchen look bigger?
Warm whites, pale greys, and soft sage open a room up because they bounce light around instead of soaking it in. Keep the cabinets and walls close in tone so the eye glides across the room without stopping at hard edges. A single darker accent, like brass handles or a deep green shelf, adds character without shrinking the space.
How do I add storage to a small kitchen without remodelling?
Use the walls, the doors, and the gaps you already have. Open shelves, a pegboard, racks inside cabinet doors, and a slim rolling cart add real storage without moving a single wall. Start with the spot that annoys you most each day, fix that first, and only add more once the new storage is full and working.
Can open shelving work in a tiny kitchen?
Yes, if you keep it to one wall and only display what you use every day. Plates, bowls, and glasses look good on open shelves and stay clean because you handle them often. Keep the shelves shallow, leave gaps between items, and move anything you rarely touch into a closed cupboard so the shelves never look crowded.
What is the biggest mistake in small kitchen decor?
Trying to fit in everything you have seen in bigger kitchens. A small kitchen needs fewer, better-chosen pieces and clear counters above all else. Buy the slim version of what you love, keep one clear stretch of worktop at all times, and let the room breathe instead of filling every inch just because the space is there.
Final Thoughts
A small kitchen is not a problem to solve, it is a room to enjoy once you stop comparing it with bigger ones. The ideas here all share one thing: they give you more room to cook, more light to see by, and more pleasure in a space you use every single day. Start with the change that fixes your biggest daily annoyance.
Live with each change for a week before adding the next, and pay attention to what actually makes your mornings easier. The best small kitchens are not the ones with the most clever gadgets, they are the ones where everything you need is within reach and nothing is in your way. Pick your first idea today, and enjoy the extra inches you win back.