
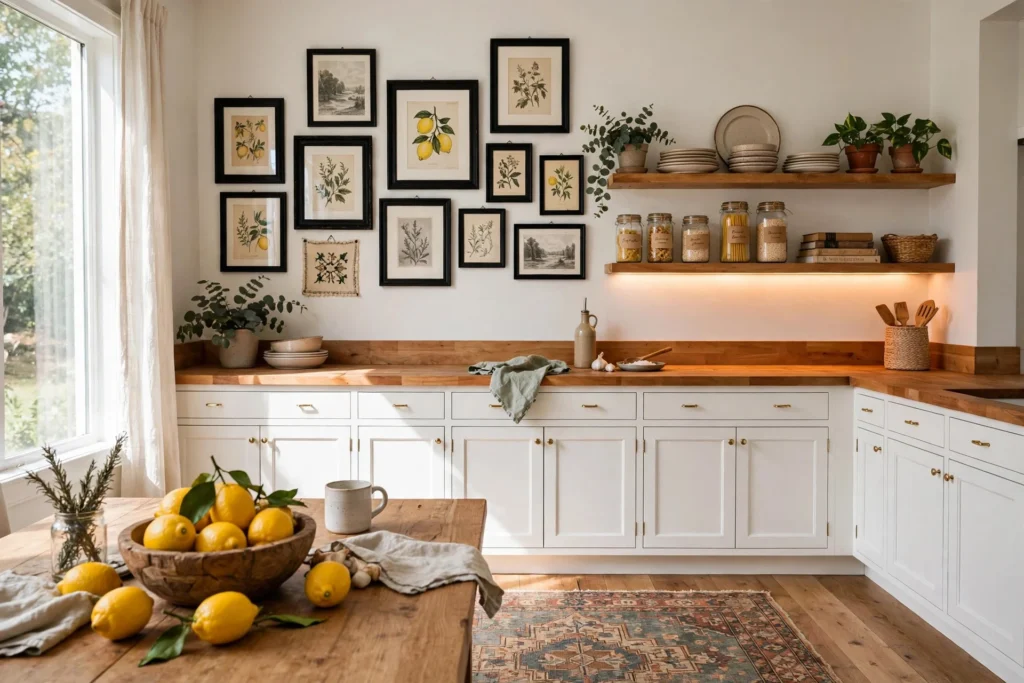
You do not need a full remodel to love your kitchen again. Most of the kitchens that look expensive on Pinterest got there with paint, thrifted finds, and a free weekend — not a five-figure budget. These budget kitchen decor ideas are the ones I actually use in my own home, and every single one costs less than a dinner out.
I have made plenty of mistakes along the way, like buying the wrong shade of white paint twice and hanging shelves that were nowhere near level. So this list skips the vague advice and gets straight to what works, what it costs, and what to watch out for. Pick one idea, try it this weekend, and see how different your kitchen feels by Sunday night.
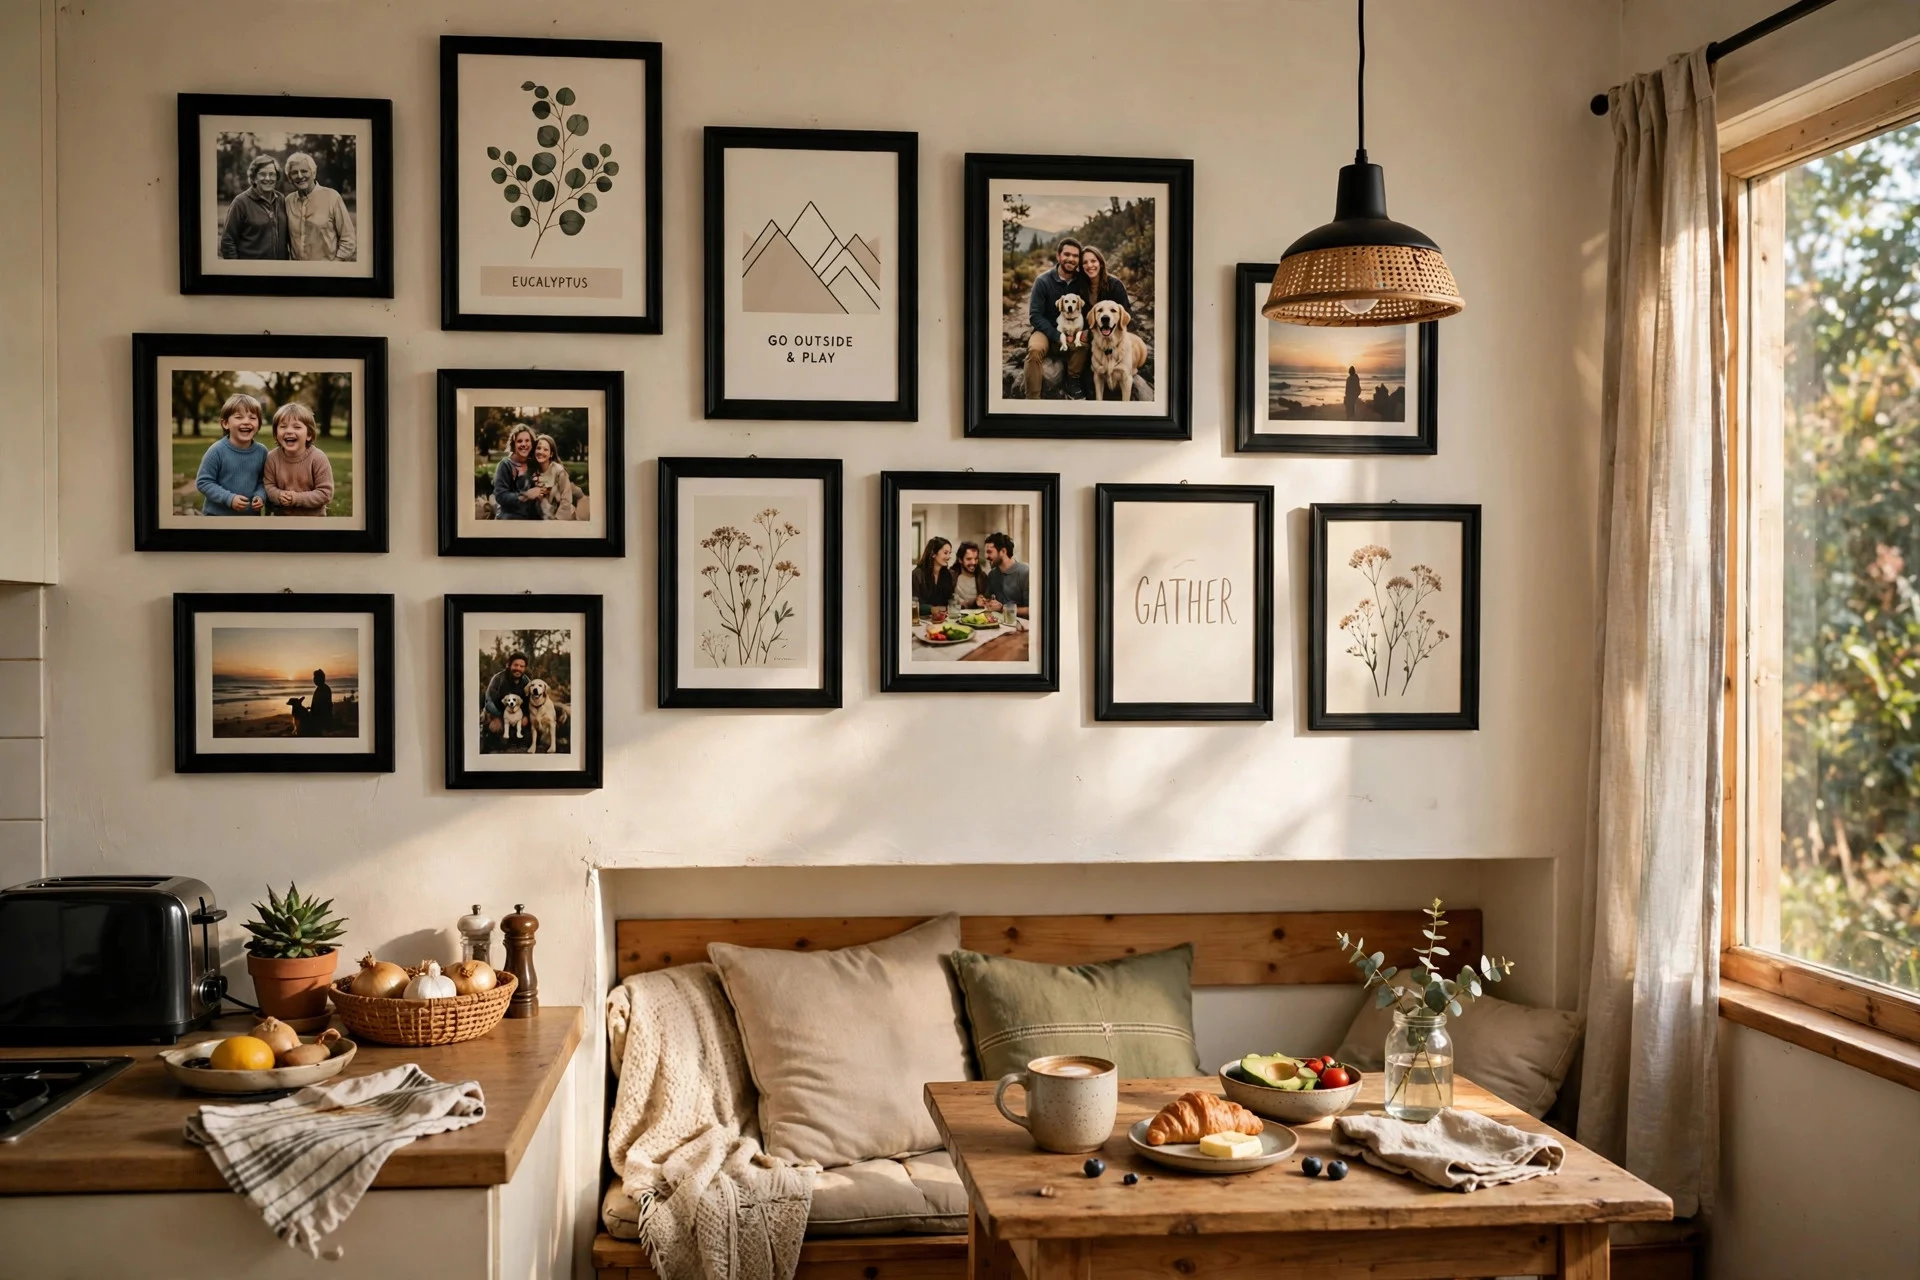
1. Budget Kitchen Decor Ideas That Start With Thrifted Frames
A blank wall above the sink or the breakfast nook is free real estate, and thrift stores are full of solid wood frames for a dollar or two. I grabbed a mismatched bunch one Saturday morning, sprayed them all the same matte black, and hung them in a loose grid with free printable art and a couple of family photos. The whole wall cost me less than twelve dollars, and it looks like something from a home magazine. Measure your space first and lay the frames out on the floor before you hammer a single nail — I learned that the hard way after three extra holes in the drywall.
Try this: pick one frame color and one mat color, then keep every frame the same finish so the mix still looks pulled together.
2. A Fresh Coat of Paint on Old Cabinets
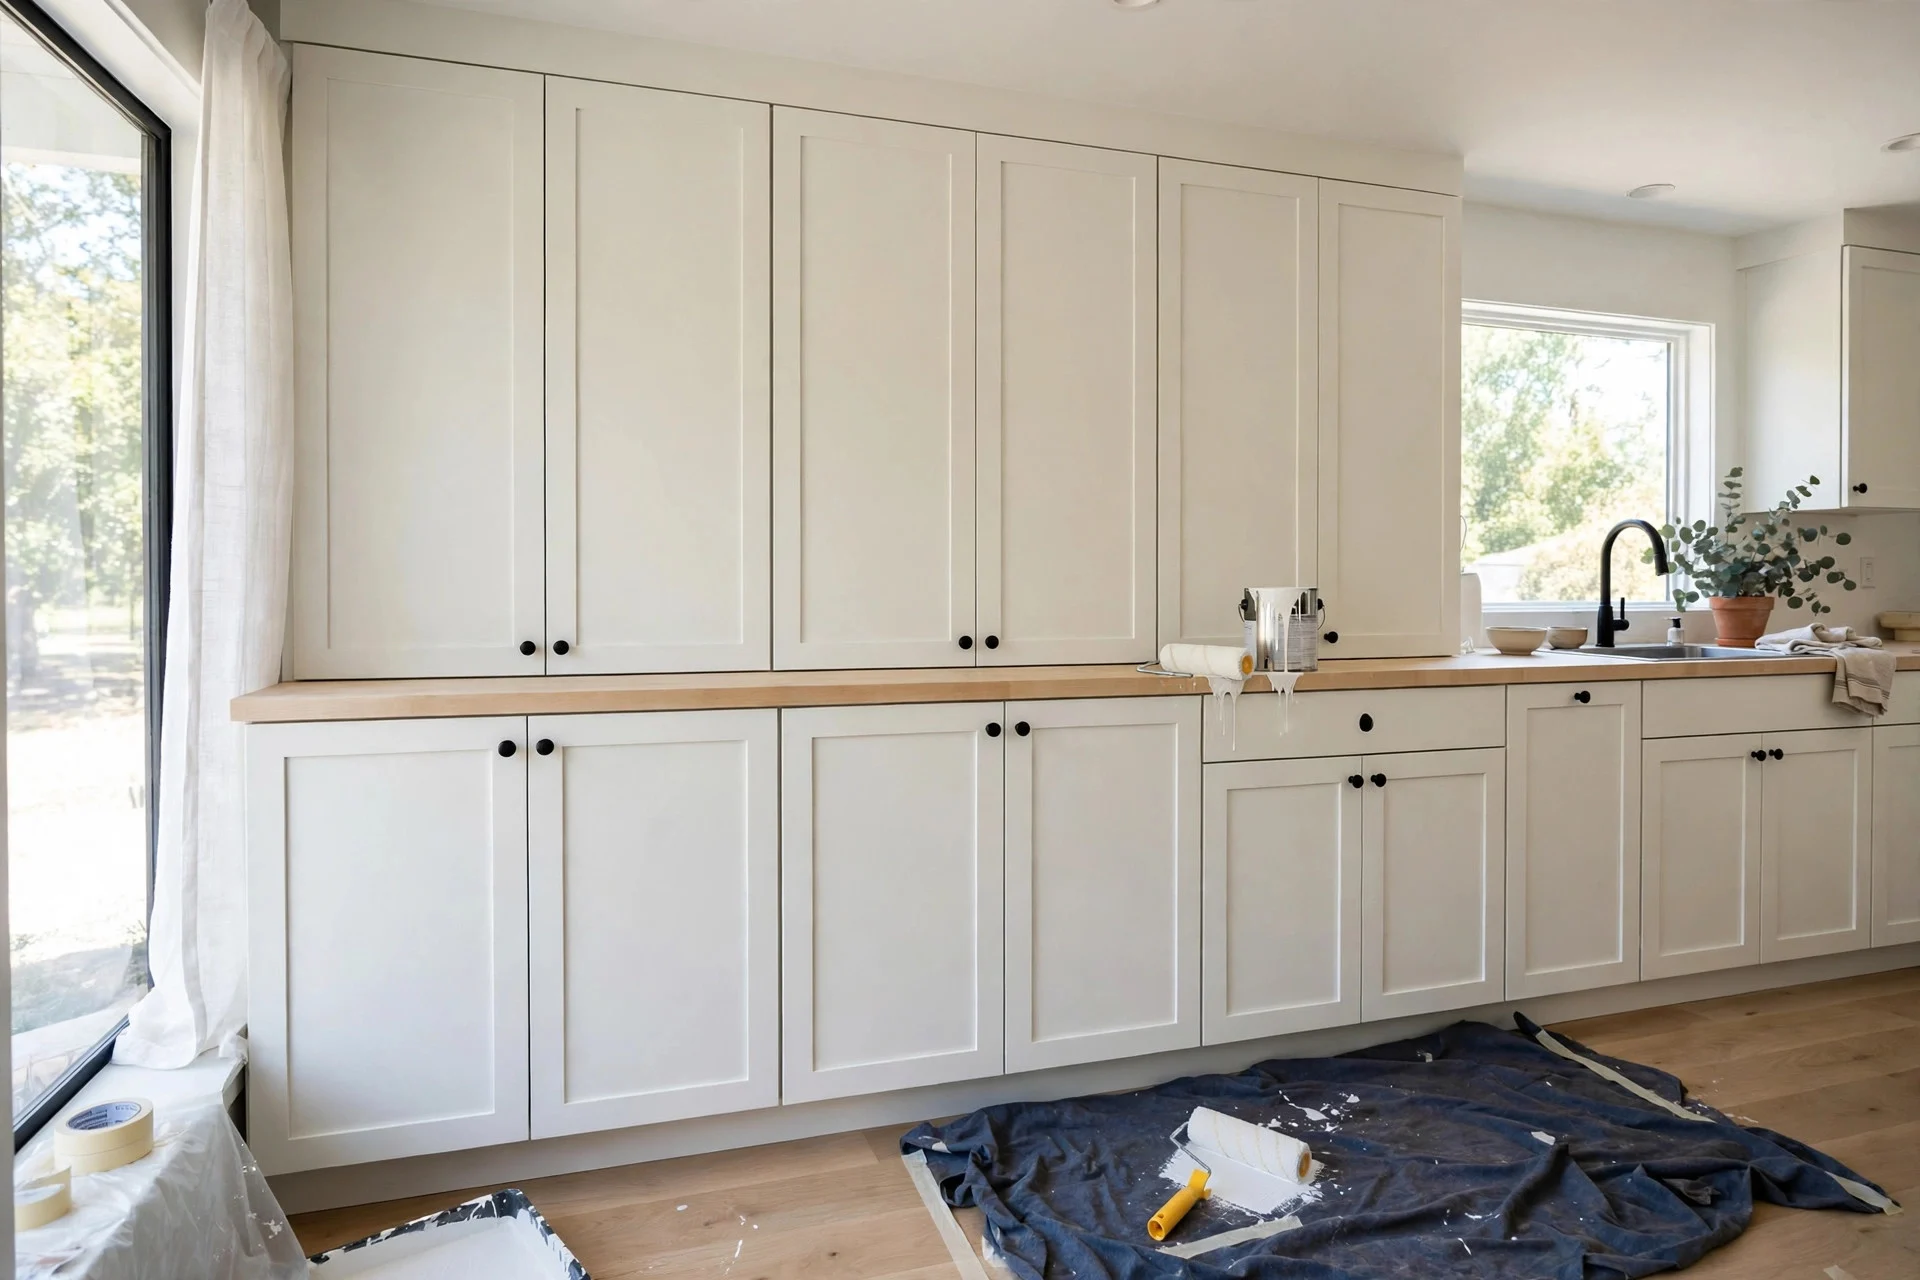
Paint is the cheapest way to change a whole kitchen, and cabinets are where it makes the biggest difference. My oak cabinets were orange-toned and dated, and a weekend of sanding, priming, and two coats of warm white paint made them look brand new. The trick is the prep: clean off the grease with a degreaser, sand lightly so the paint sticks, and use a good primer or the old finish will bleed right through. Take the doors off and label them with tape so you know what goes back where. I skipped labeling on my first cabinet job and spent an hour playing musical chairs with hinges.
Try this: paint just the upper cabinets first if a full job feels too big — the lighter top half alone brightens the whole room.
3. Peel-and-Stick Backsplash That Looks Like Real Tile
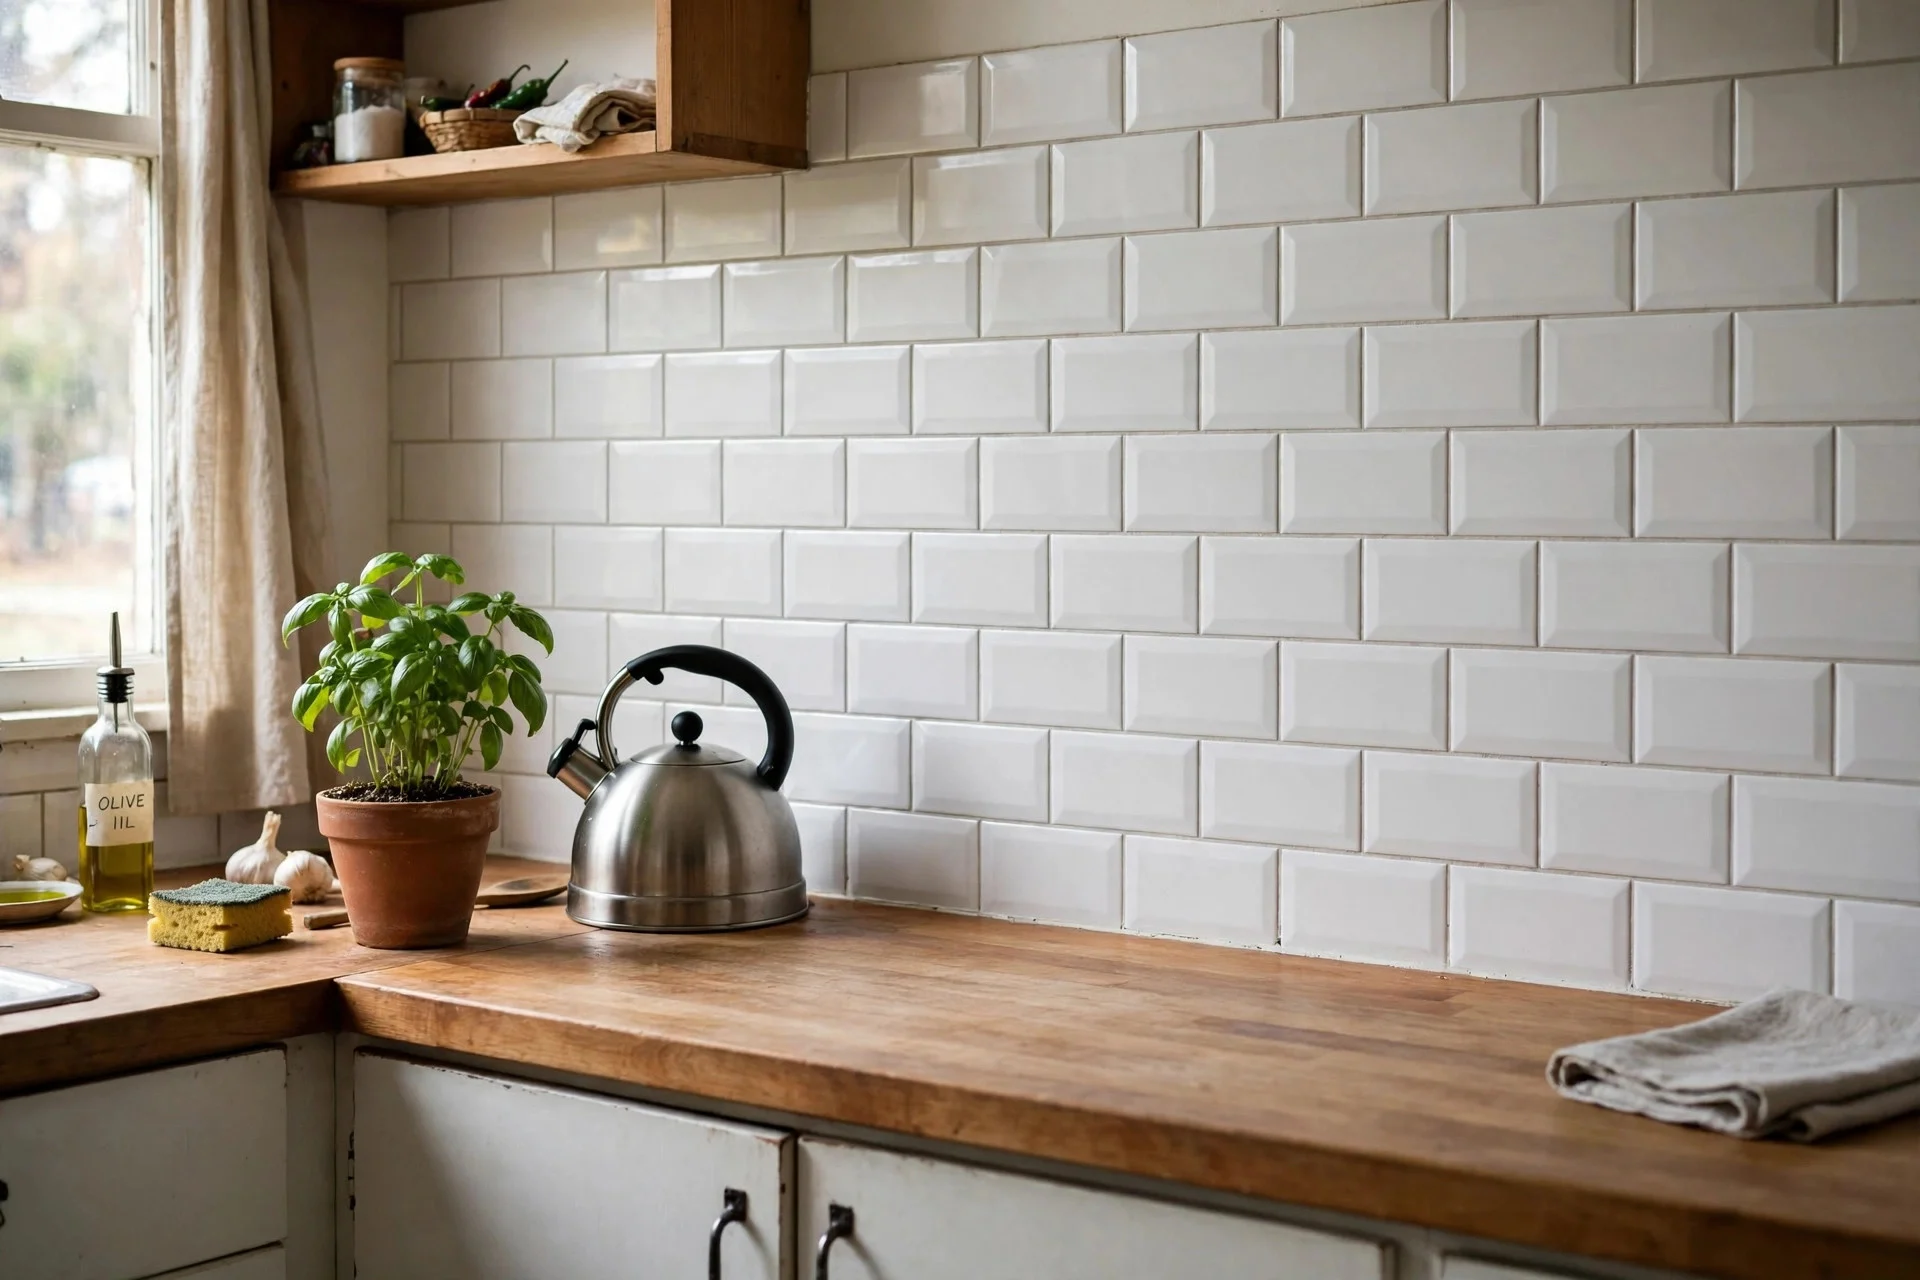
Real tile means thinset, grout, and a mess I was not ready for, so I tried peel-and-stick tiles instead and honestly could not tell the difference from across the room. They come in subway tile, mosaic, and even marble-look sheets, and most cost under thirty dollars for a small kitchen. Clean the wall well, start from the center and work outward, and use a utility knife for neat cuts around outlets. My first sheet went on crooked because I eyeballed it, so now I always draw a level line first and treat it like gospel.
Try this: order one extra sheet so a bad cut or a crooked row does not leave you short at the end.
4. Dollar Store Jars Become Pantry Storage
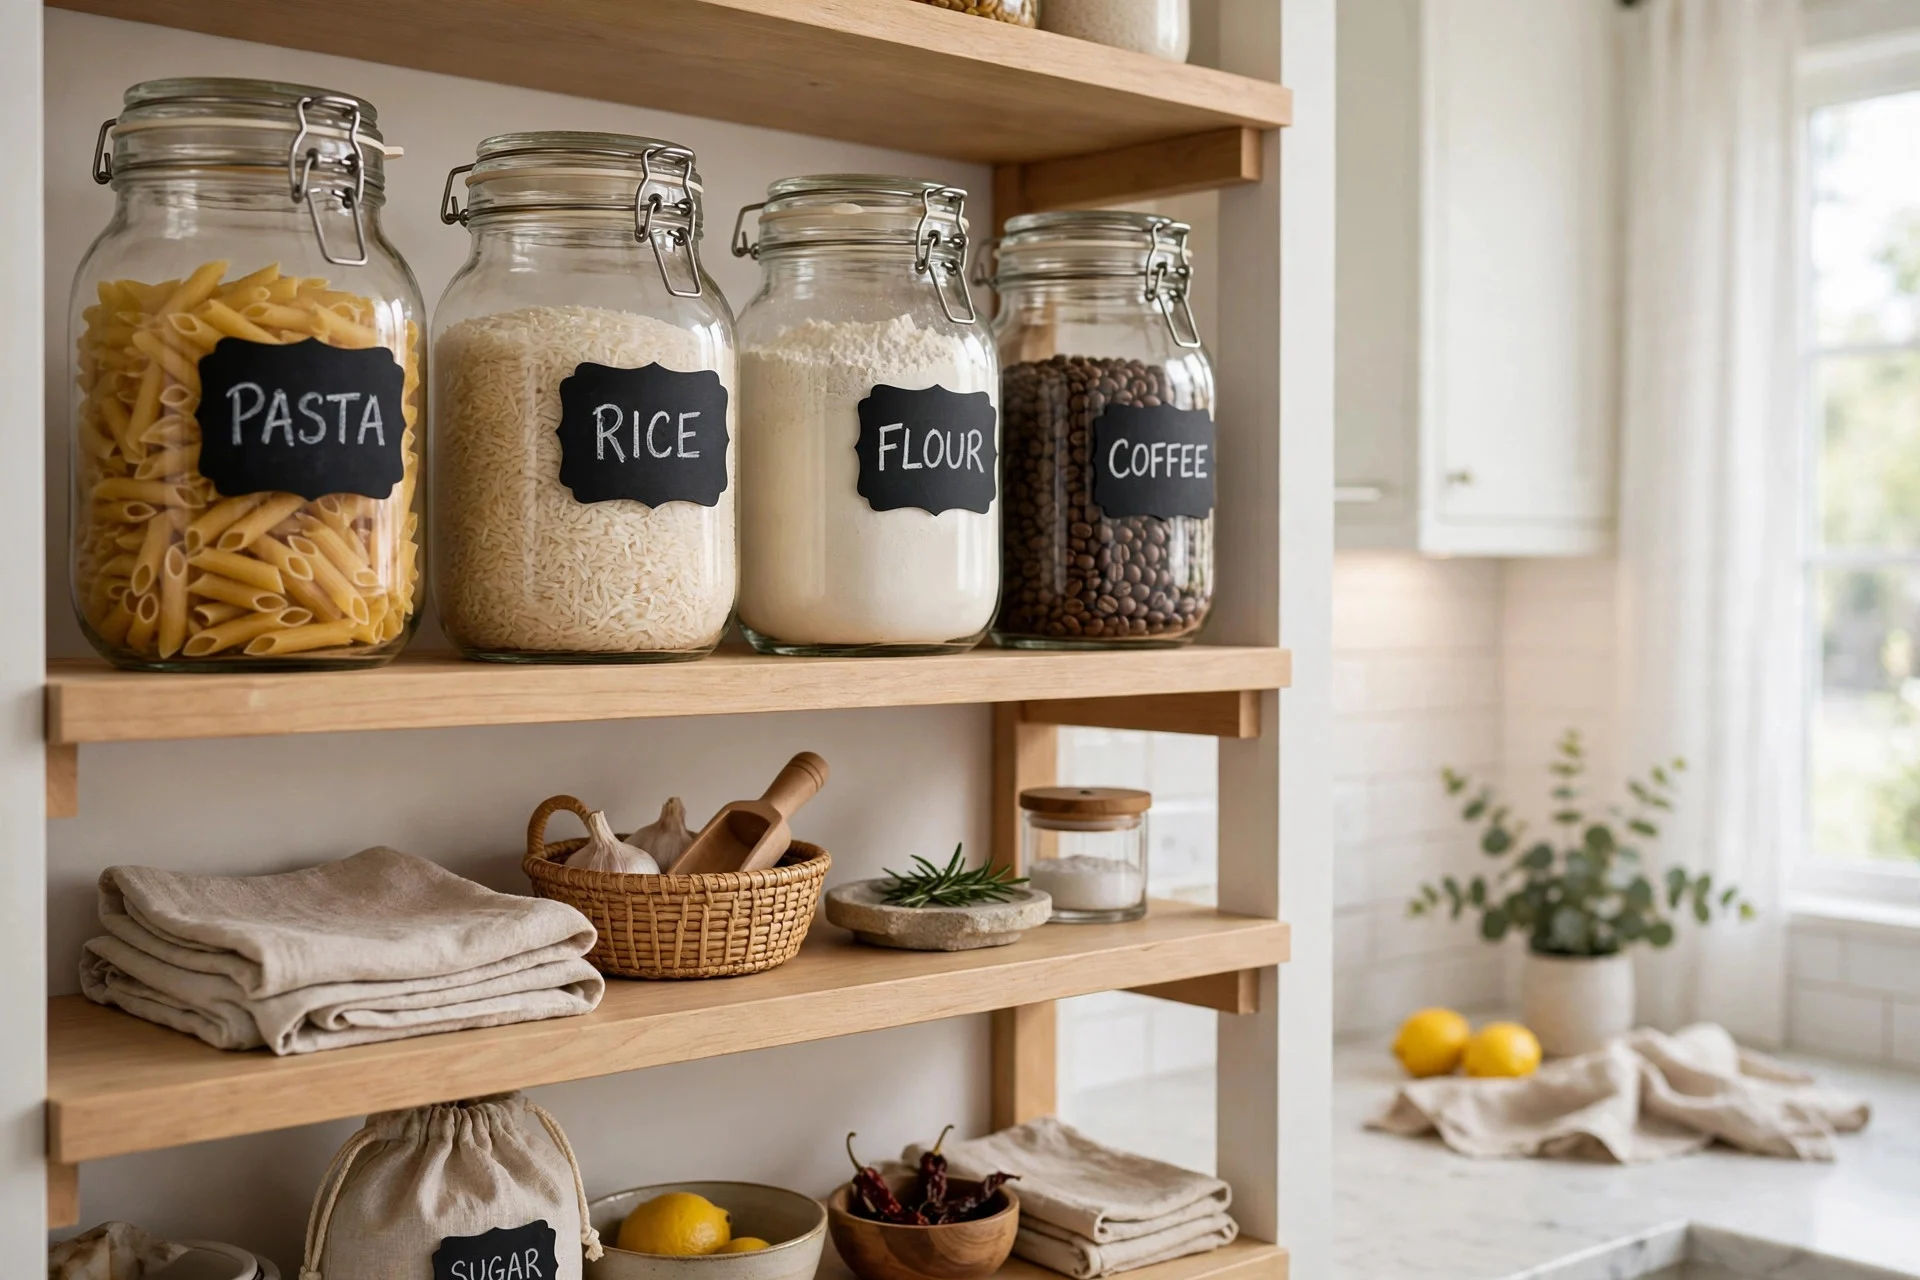
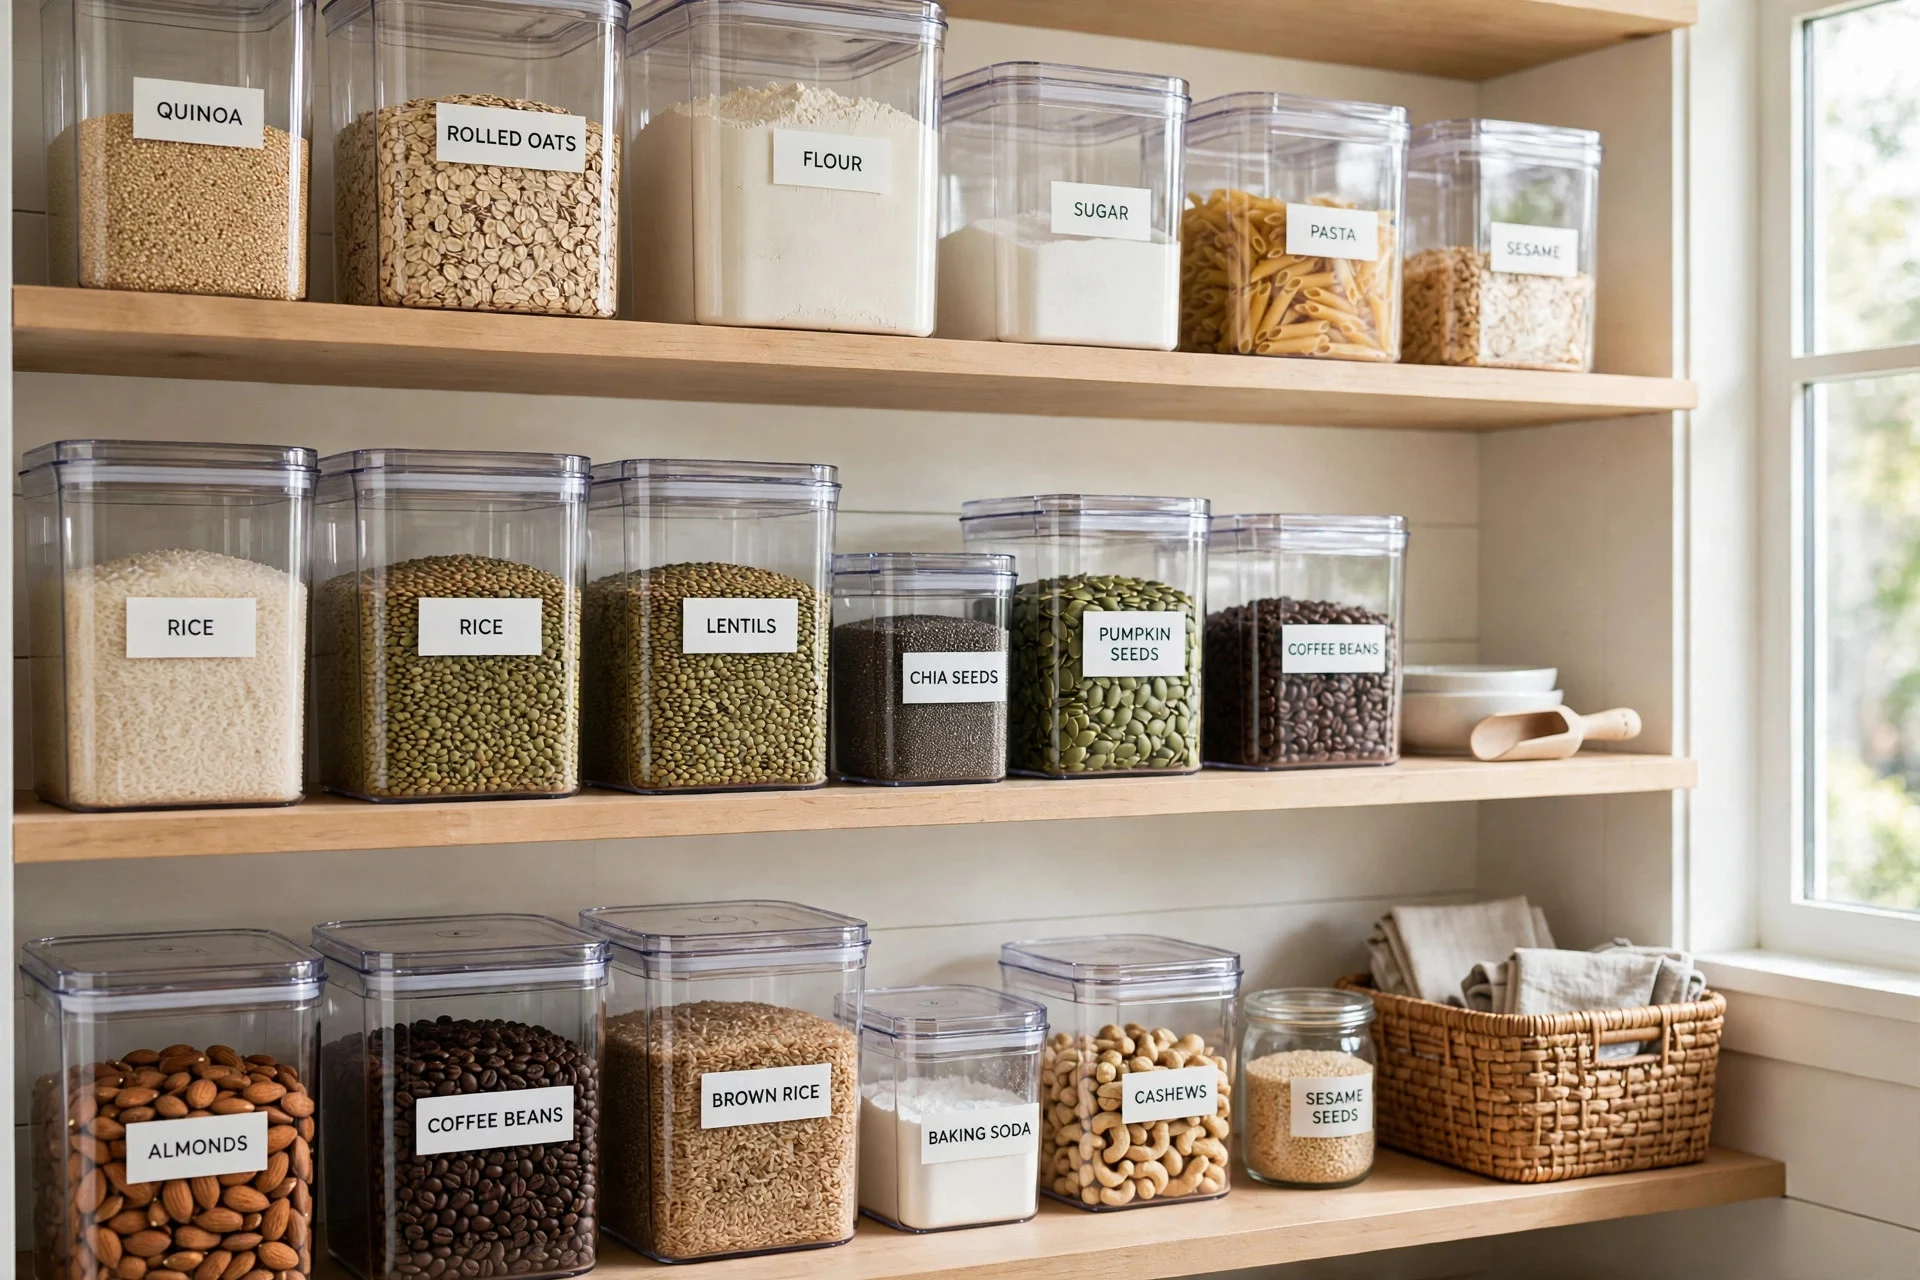
Open a pantry full of half-torn bags and crumpled boxes and it feels messy even when it is clean. I swapped everything into matching glass jars from the dollar store — pasta, rice, flour, sugar, coffee — and the shelves suddenly looked calm and organized. The jars cost a dollar each, and a pack of chalkboard labels finished the job for three more. Pour dry goods into the jars with a funnel, keep the scoop inside the big ones, and write the date on the bottom with a marker so you know what is fresh. My only regret is not doing it sooner, because finding the cumin now takes two seconds instead of a full dig.
Try this: buy jars in two sizes only, tall and short, so the shelves stack neatly and nothing wobbles.
5. Open Shelving Made From Reclaimed Wood
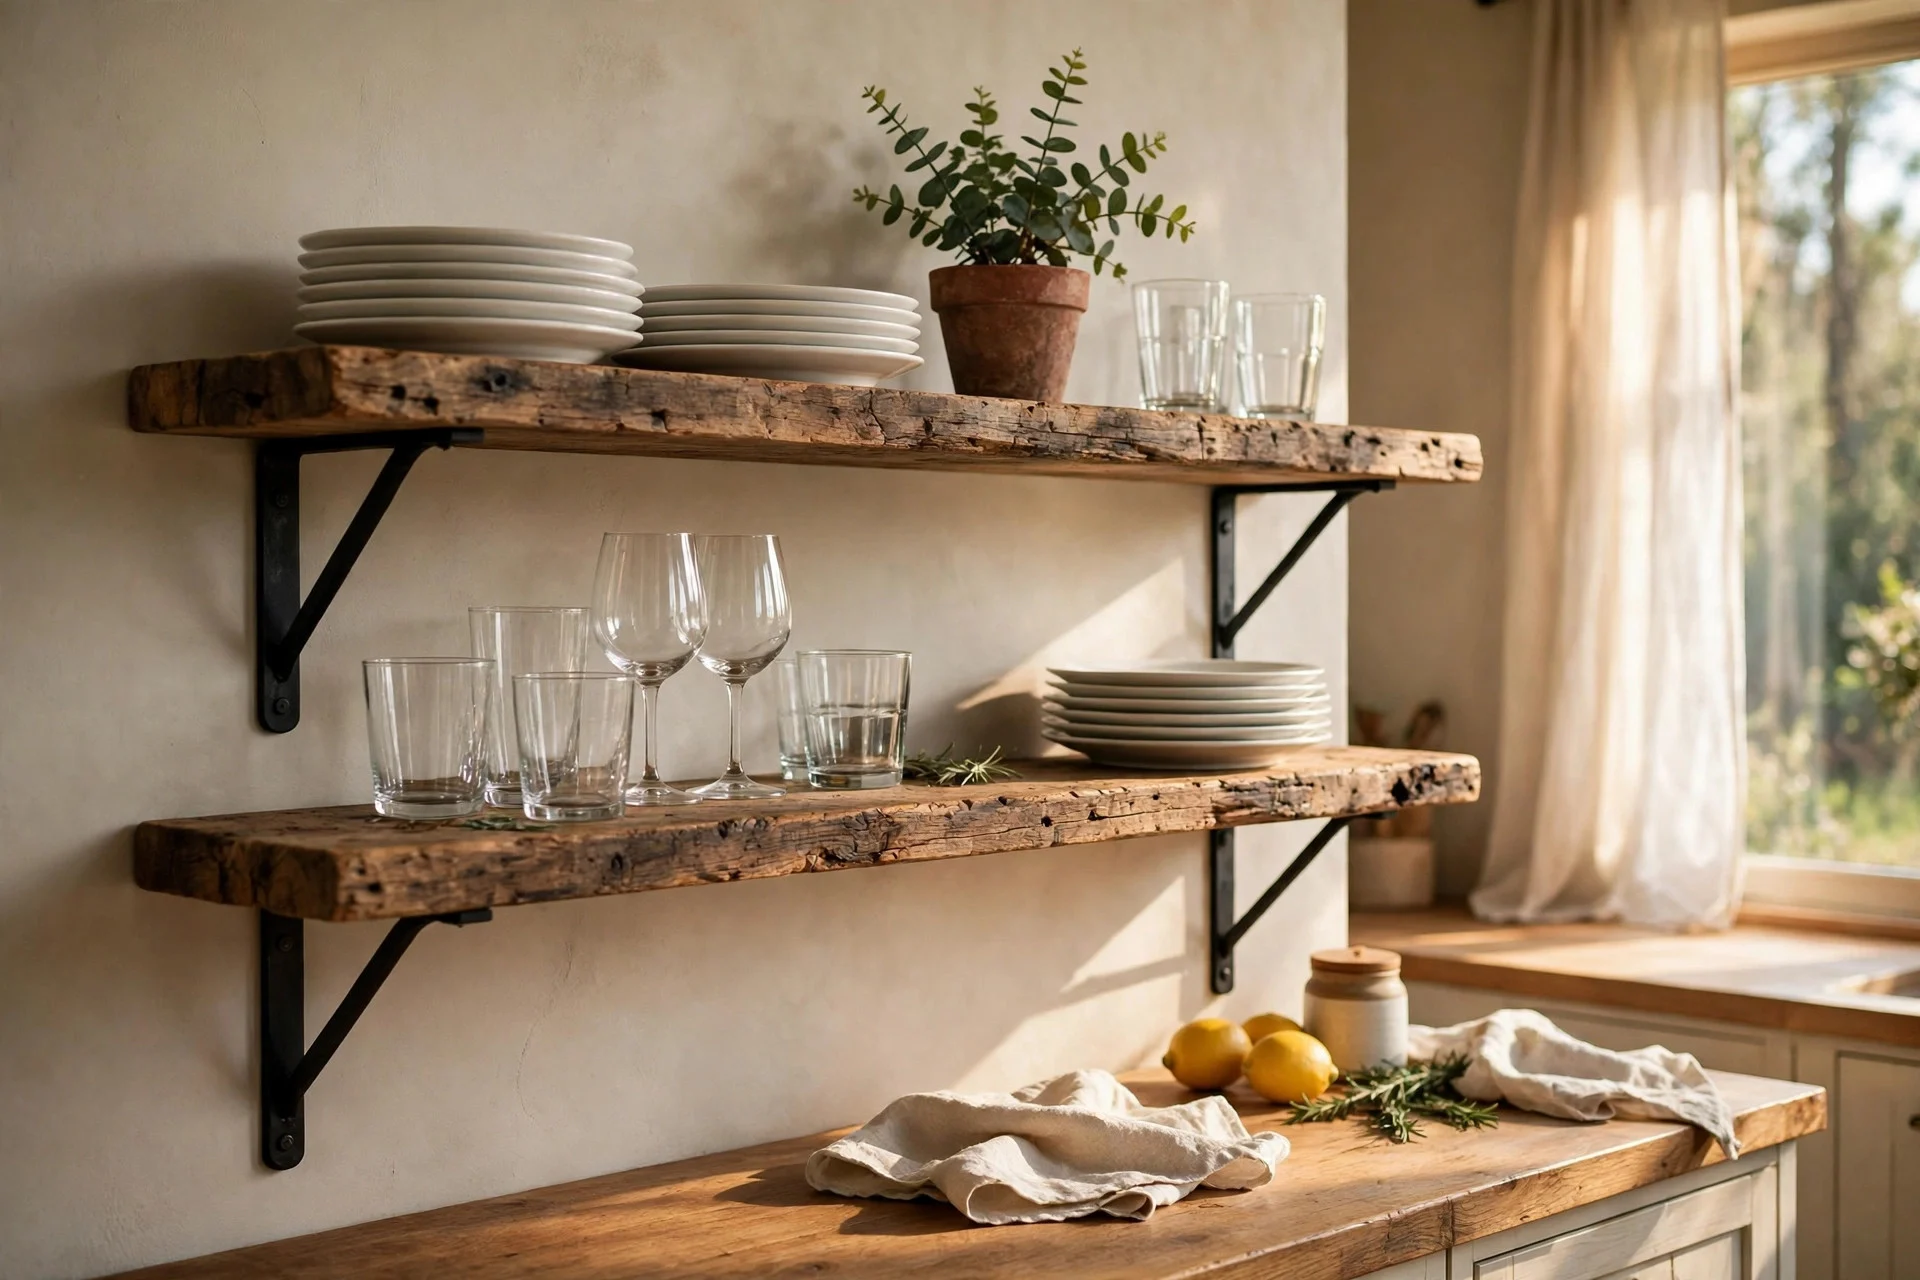
Pulling the doors off one upper cabinet, or swapping it for a couple of wood planks on brackets, makes a small kitchen feel twice as big. I found old scaffold boards at a salvage yard for next to nothing, sanded them smooth, sealed them with food-safe oil, and mounted them with black iron brackets. Now my everyday dishes and a few pretty bowls live there, and the room feels airy instead of boxed in. Keep the shelves styled simply — a stack of plates, a row of glasses, one small plant — because crowded open shelves look messy fast. I had to learn to leave empty space on purpose.
Try this: mount shelves at eye level and keep only the dishes you reach for daily on them, so they stay useful and not just pretty.
6. Spray-Painted Hardware for a Brand-New Look
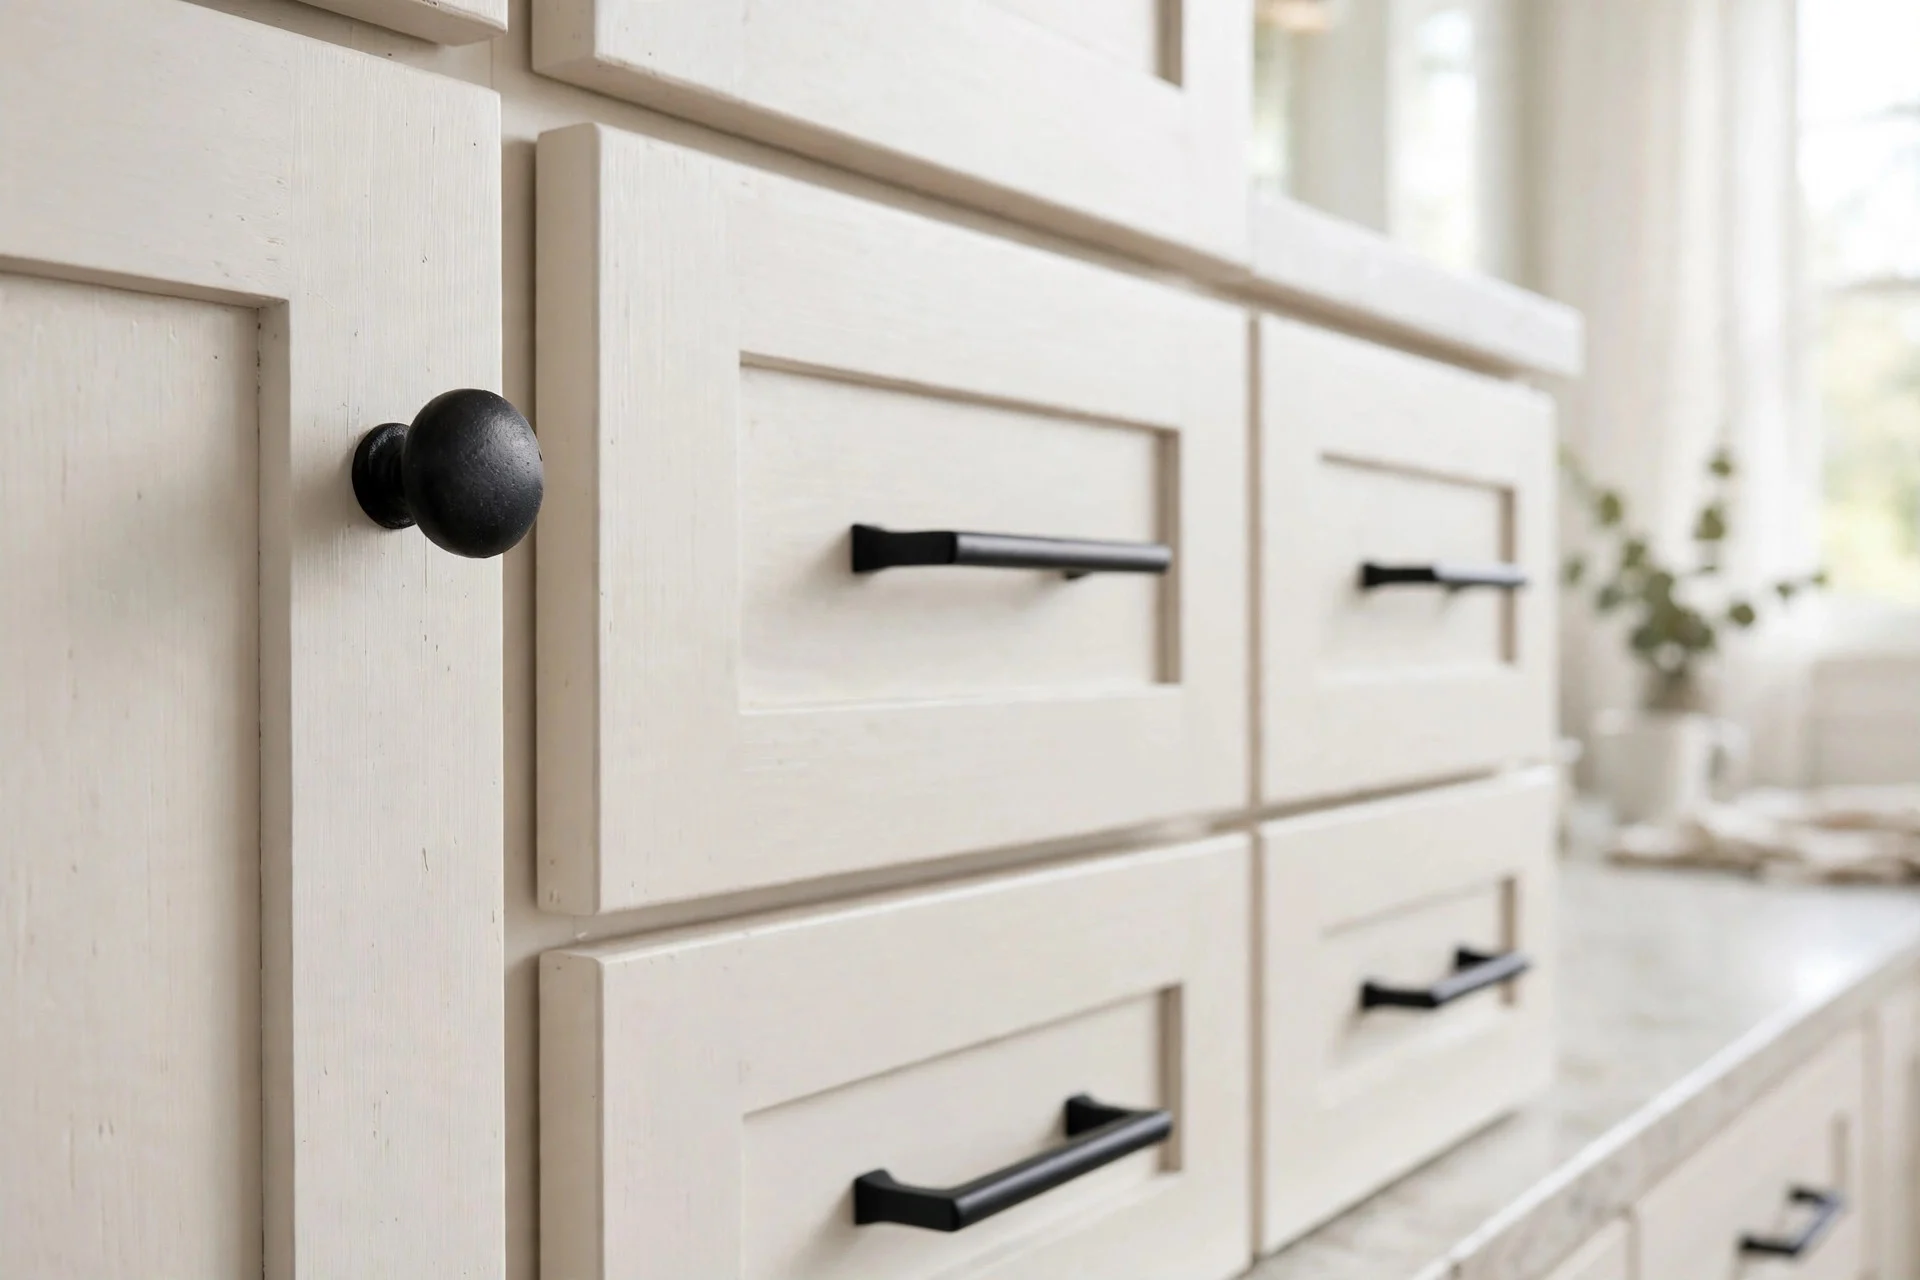
New cabinet knobs and pulls can cost hundreds of dollars, but a can of spray paint costs about eight. I took off every knob and handle in my kitchen, cleaned them with soapy water, laid them on cardboard in the backyard, and gave them two light coats of matte black. The next morning they looked like hardware straight out of a showroom. The key is thin coats — I got impatient once and laid it on thick, and the paint dripped and peeled within a week. Let each coat dry fully, and seal with a clear topcoat if your hands touch them all day long.
Try this: test the color on one knob first and live with it for a day before you commit to the whole kitchen.
7. A Rolling Cart as Extra Counter Space
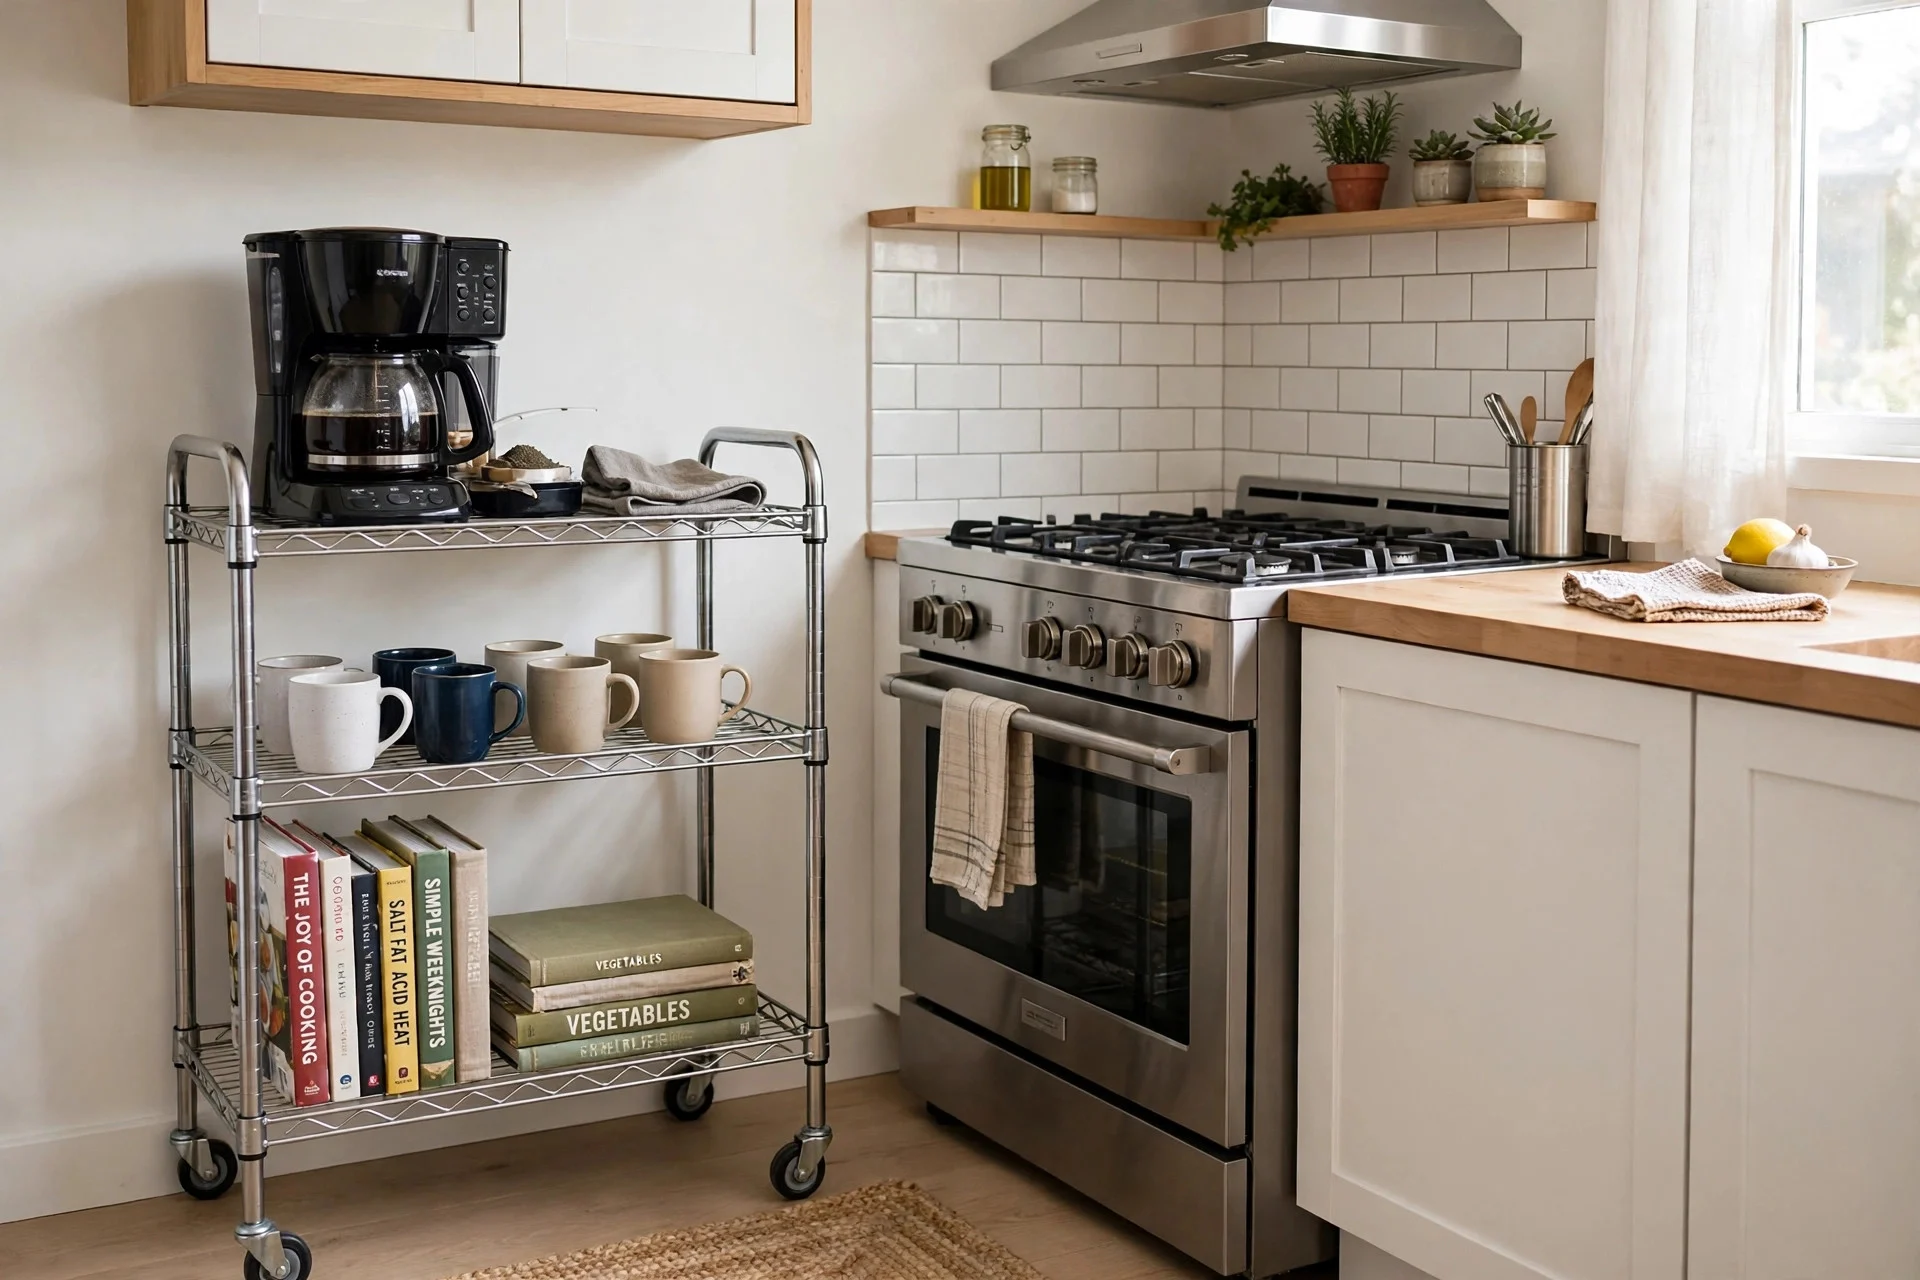
Small kitchens never have enough counter space, and a rolling cart fixes that for the price of a pizza. I found a three-tier metal cart, parked it next to the stove, and now it holds my coffee maker on top, mugs in the middle, and cookbooks on the bottom. When I need floor space, I just roll it out of the way. Look for one with a solid top and locking wheels — I bought a flimsy one first and it wobbled every time I set a plate down. A thrift-store wooden cart works just as well with a quick sand and a coat of paint.
Try this: keep the top of the cart clear except for one or two daily items, so it stays a work surface and not another junk pile.
8. Chalkboard Paint on a Pantry Door
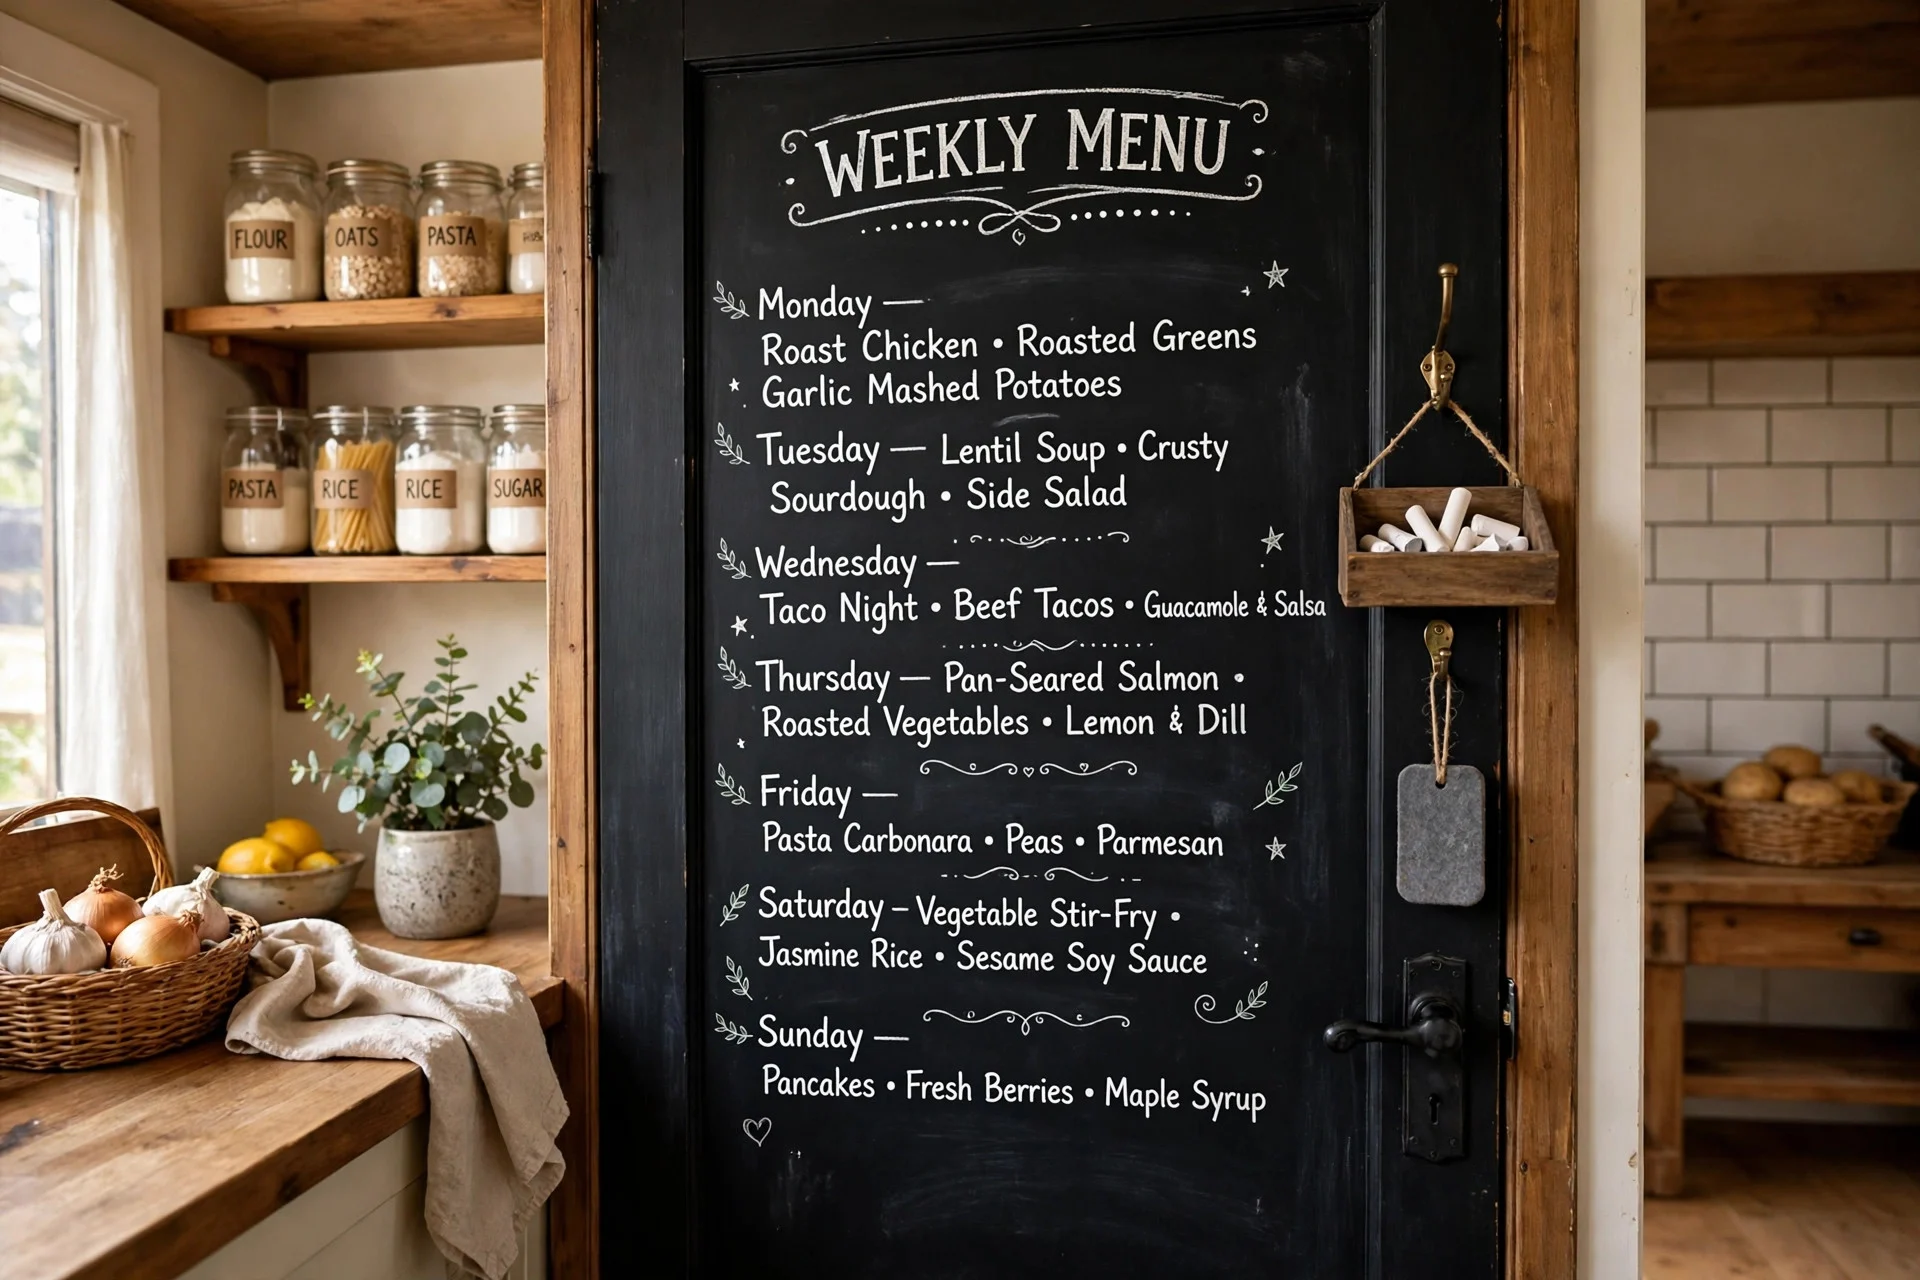
A pantry door is usually the most boring surface in the kitchen, and a tin of chalkboard paint turns it into the most useful one. I painted the inside of my pantry door, and now it holds the weekly menu, the shopping list, and little notes like “we are out of milk.” The kids love drawing on it too, which keeps them busy while dinner cooks. Sand the door lightly, roll on two coats, and let it cure for three days before you write on it — I wrote on mine too soon and the chalk smeared into the paint. A small tray of chalk and an eraser hung on a hook keeps it tidy.
Try this: season the board first by rubbing chalk all over it and wiping it off, so your first words erase cleanly.
9. Secondhand Bar Stools With New Cushions
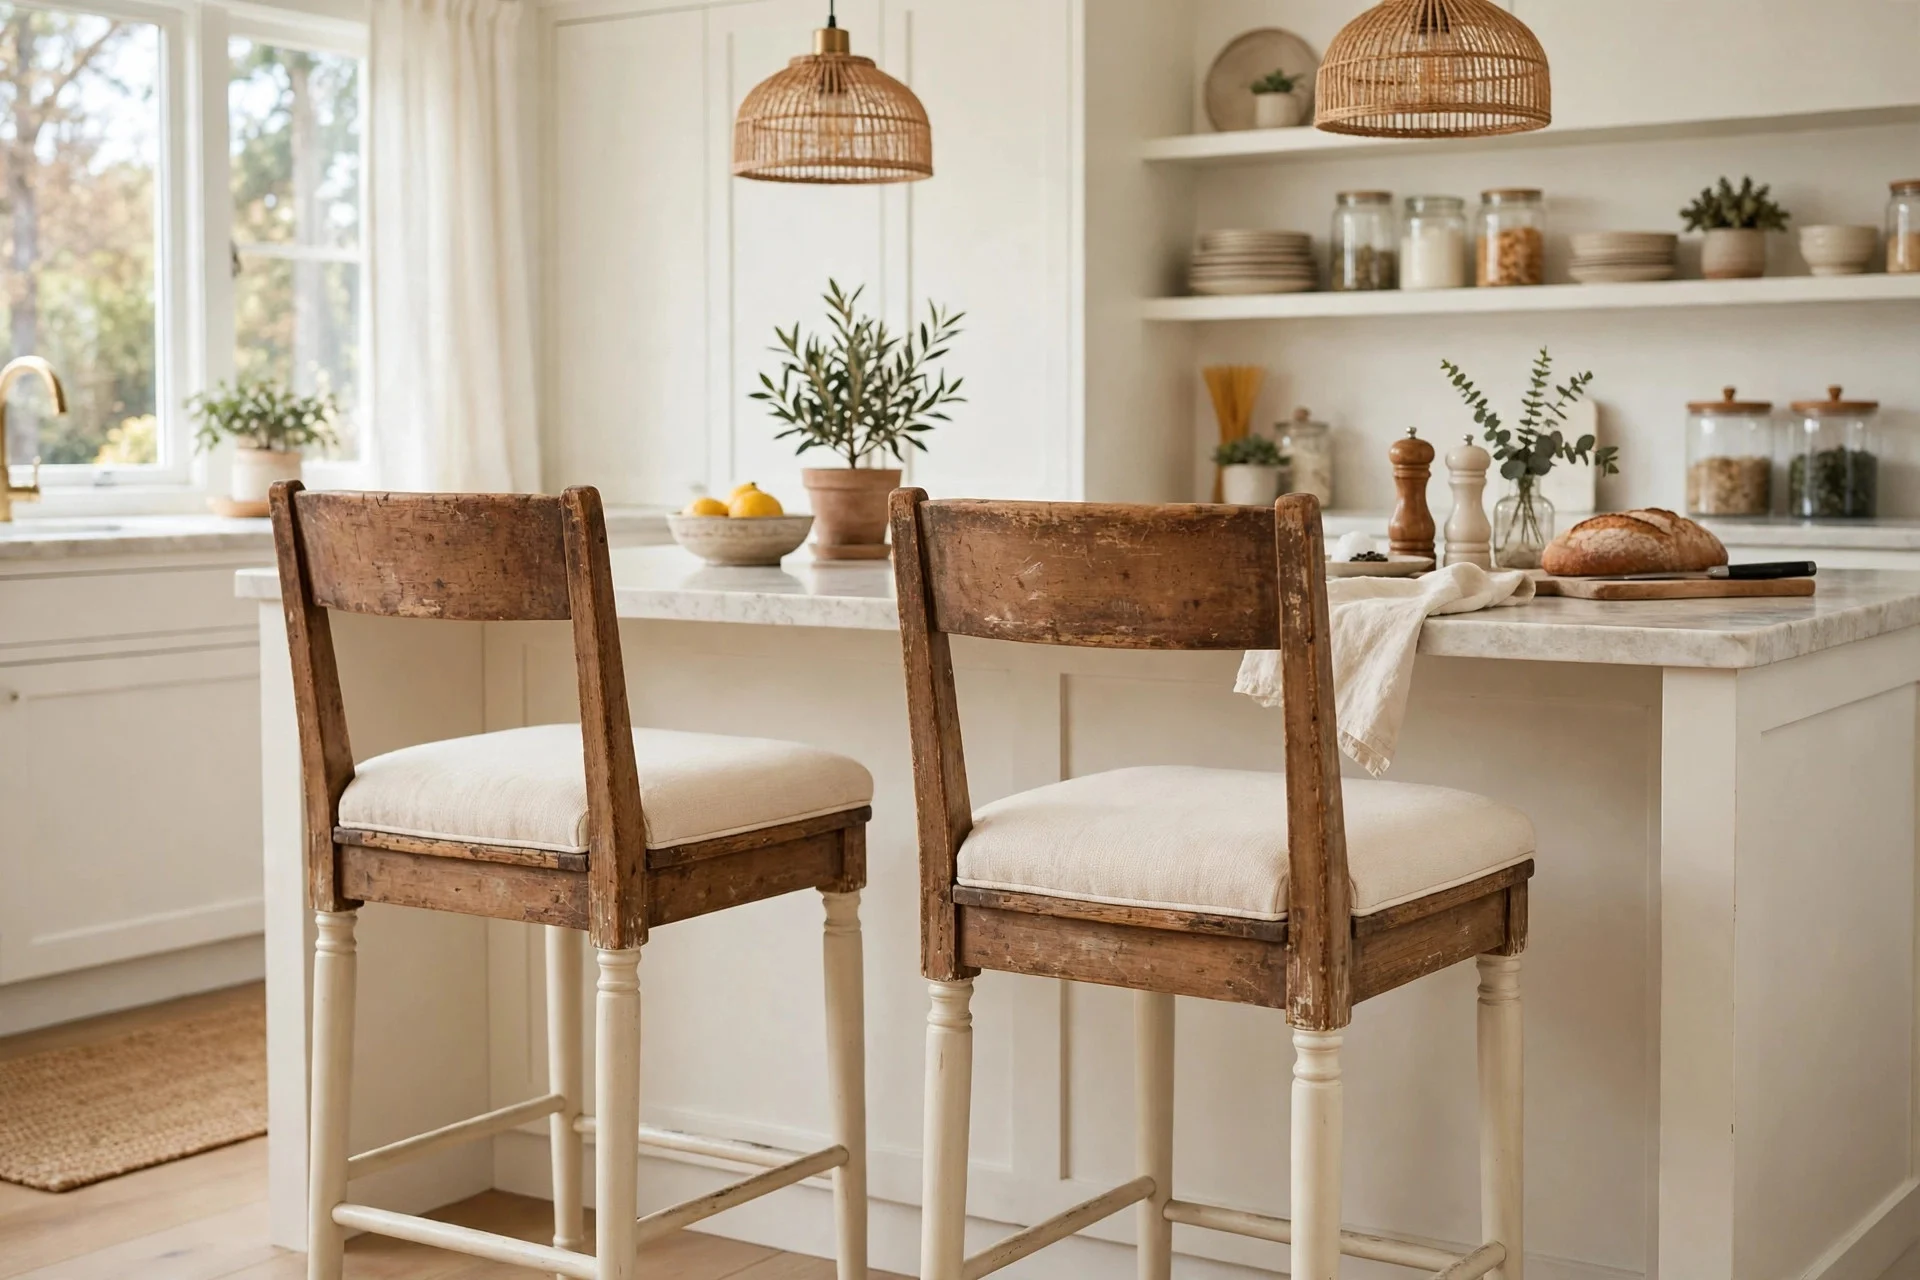
Bar stools are one of those things people sell barely used, so secondhand ones are easy to find and cheap to fix up. I picked up a pair of plain wooden stools for ten dollars each, sanded them down, painted the legs cream, and stapled new foam and a wipe-clean fabric onto the seats. They look custom now, and nobody would guess they came from a garage sale. Measure your counter height before you buy — stools should sit about ten inches below the countertop, and I once brought home a pair that left my knees jammed under the counter. Wipe-clean fabric is worth it in a kitchen, trust me.
Try this: choose a fabric with a small pattern so crumbs and stains do not show between cleanings.
10. Contact Paper That Fakes Marble Counters
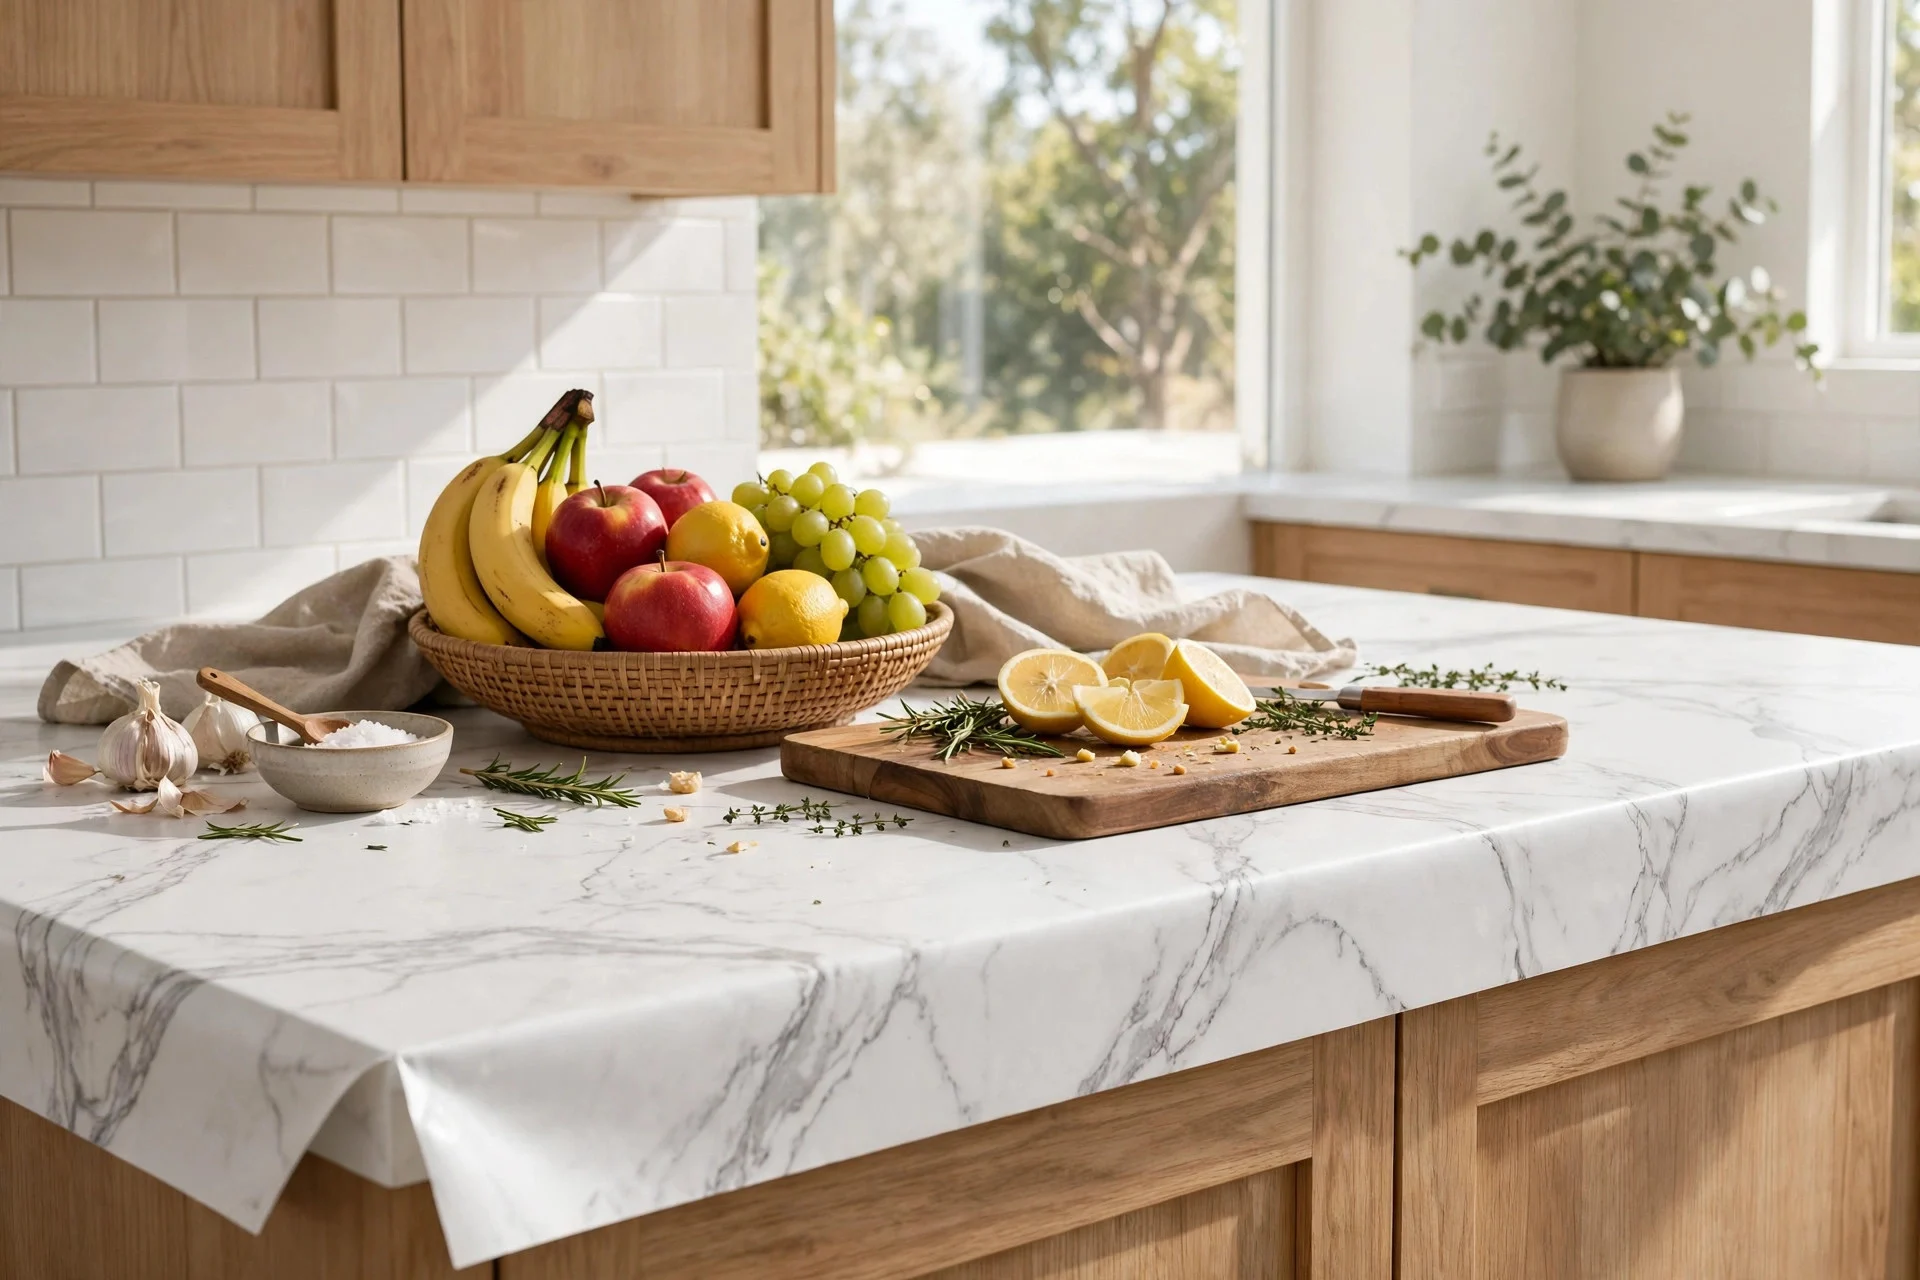
When new counters are years away in the budget, marble-look contact paper buys you the look for about twenty dollars. I covered my old laminate counters with it one afternoon, and guests genuinely asked when I got the marble installed. Clean and dry the surface first, peel a little at a time, and smooth it down with a credit card to push out air bubbles as you go. My first attempt had wrinkles everywhere because I peeled the whole sheet at once — slow and steady is the whole secret. It holds up to daily use if you use cutting boards and wipe spills quickly, and it peels off clean when you are ready for the real thing.
Try this: wrap the paper slightly over the front edge of the counter so the seam stays hidden and the finish looks solid.
11. A Mug Rack Made From a Wooden Pallet
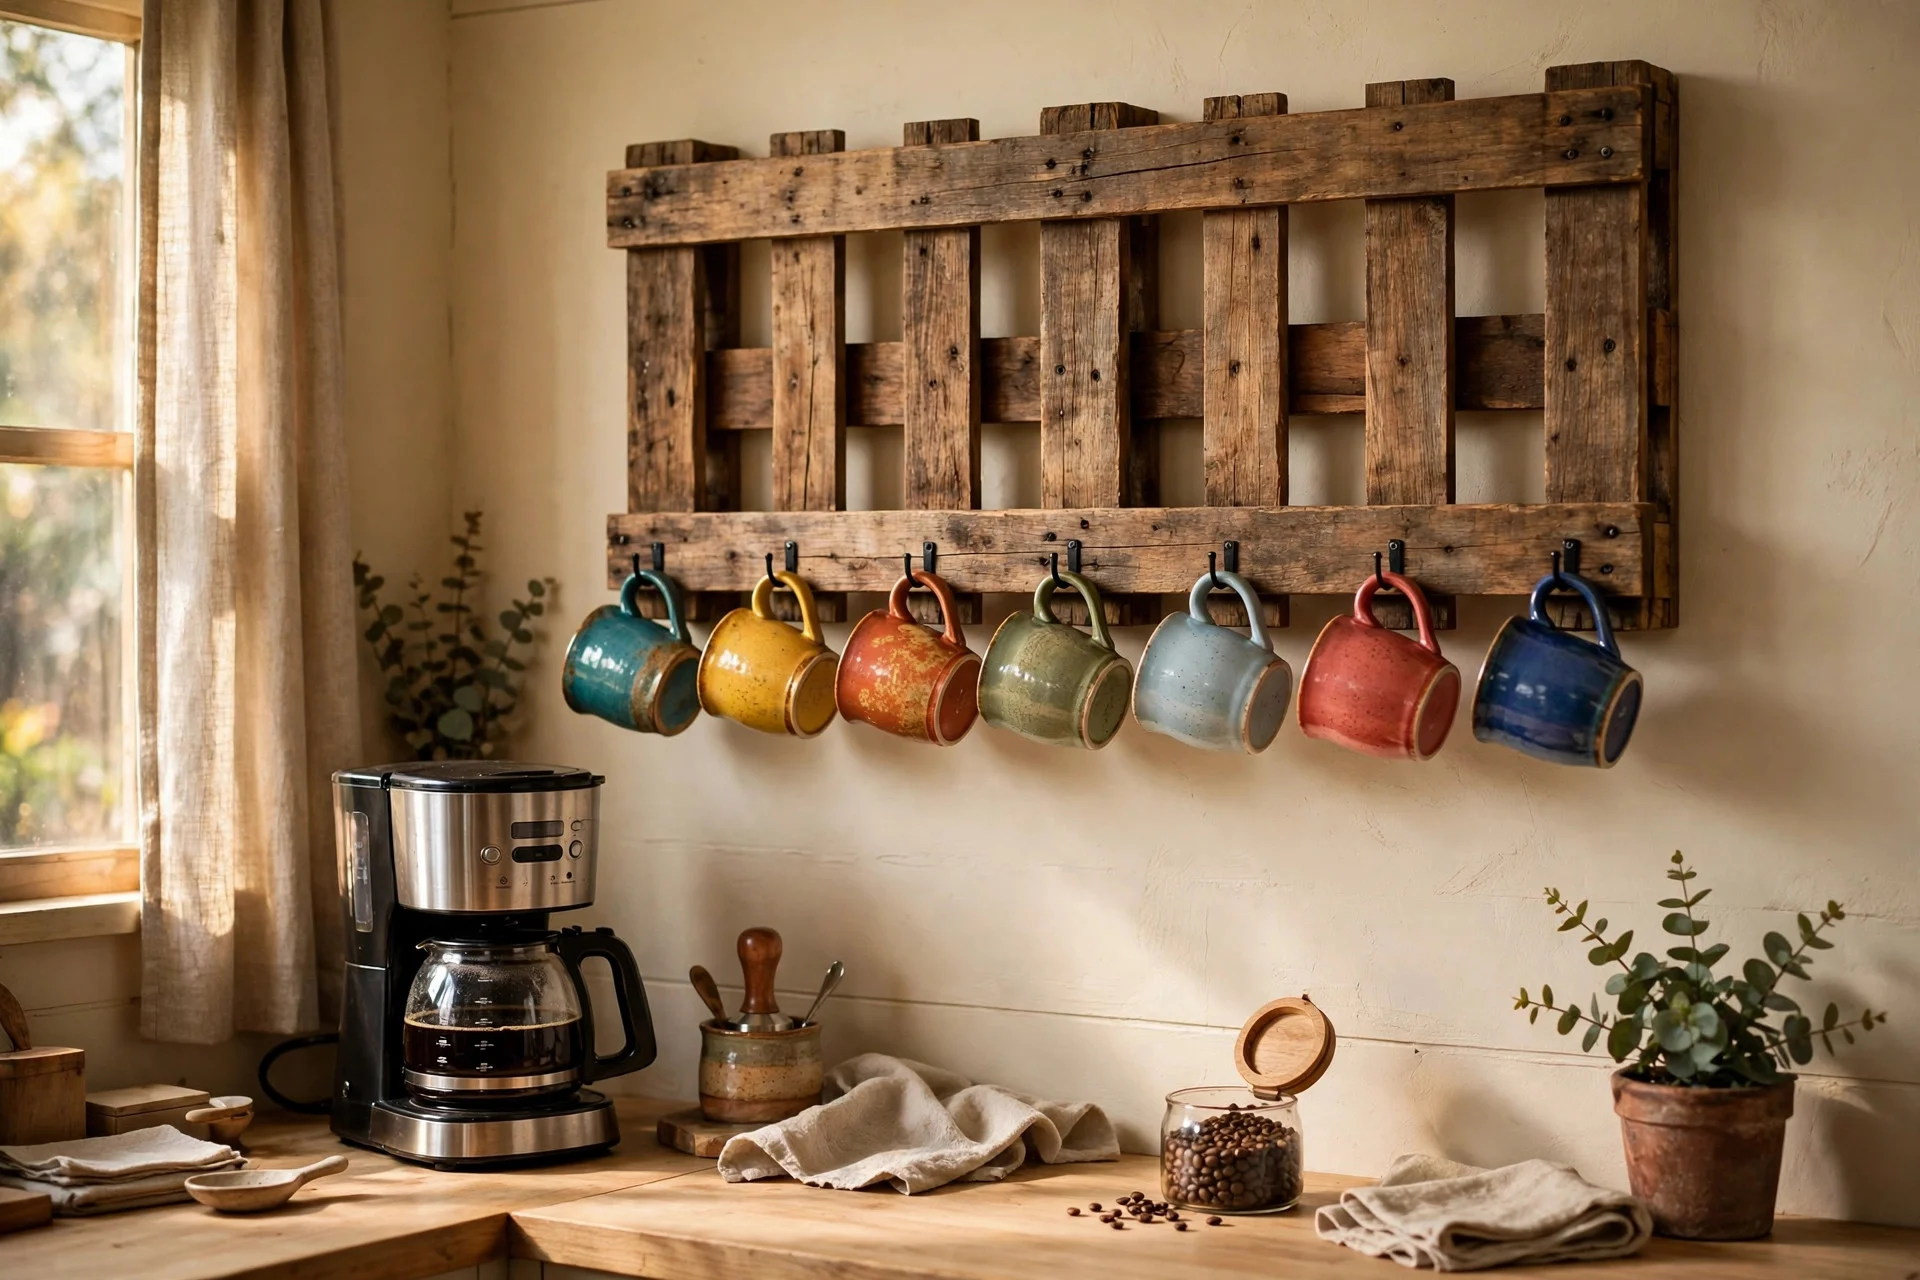
Mugs take over cabinets fast, and a pallet mug rack gets them out where you can see them — and enjoy them. I took apart a free wooden pallet, cut one slat section to size, sanded it smooth, stained it a warm walnut, and screwed in a row of small hooks underneath. It hangs by the coffee maker now, and my favorite mugs double as wall decor. Sand every edge well, because pallet wood is rough and splinters are no joke. I skipped a spot on mine and paid for it with a splinter on day one. Hang it with proper wall anchors so a full row of heavy mugs never pulls it down.
Try this: space the hooks wide enough that mugs do not knock together every time you grab one.
12. Warm LED Strip Lights Under the Cabinets
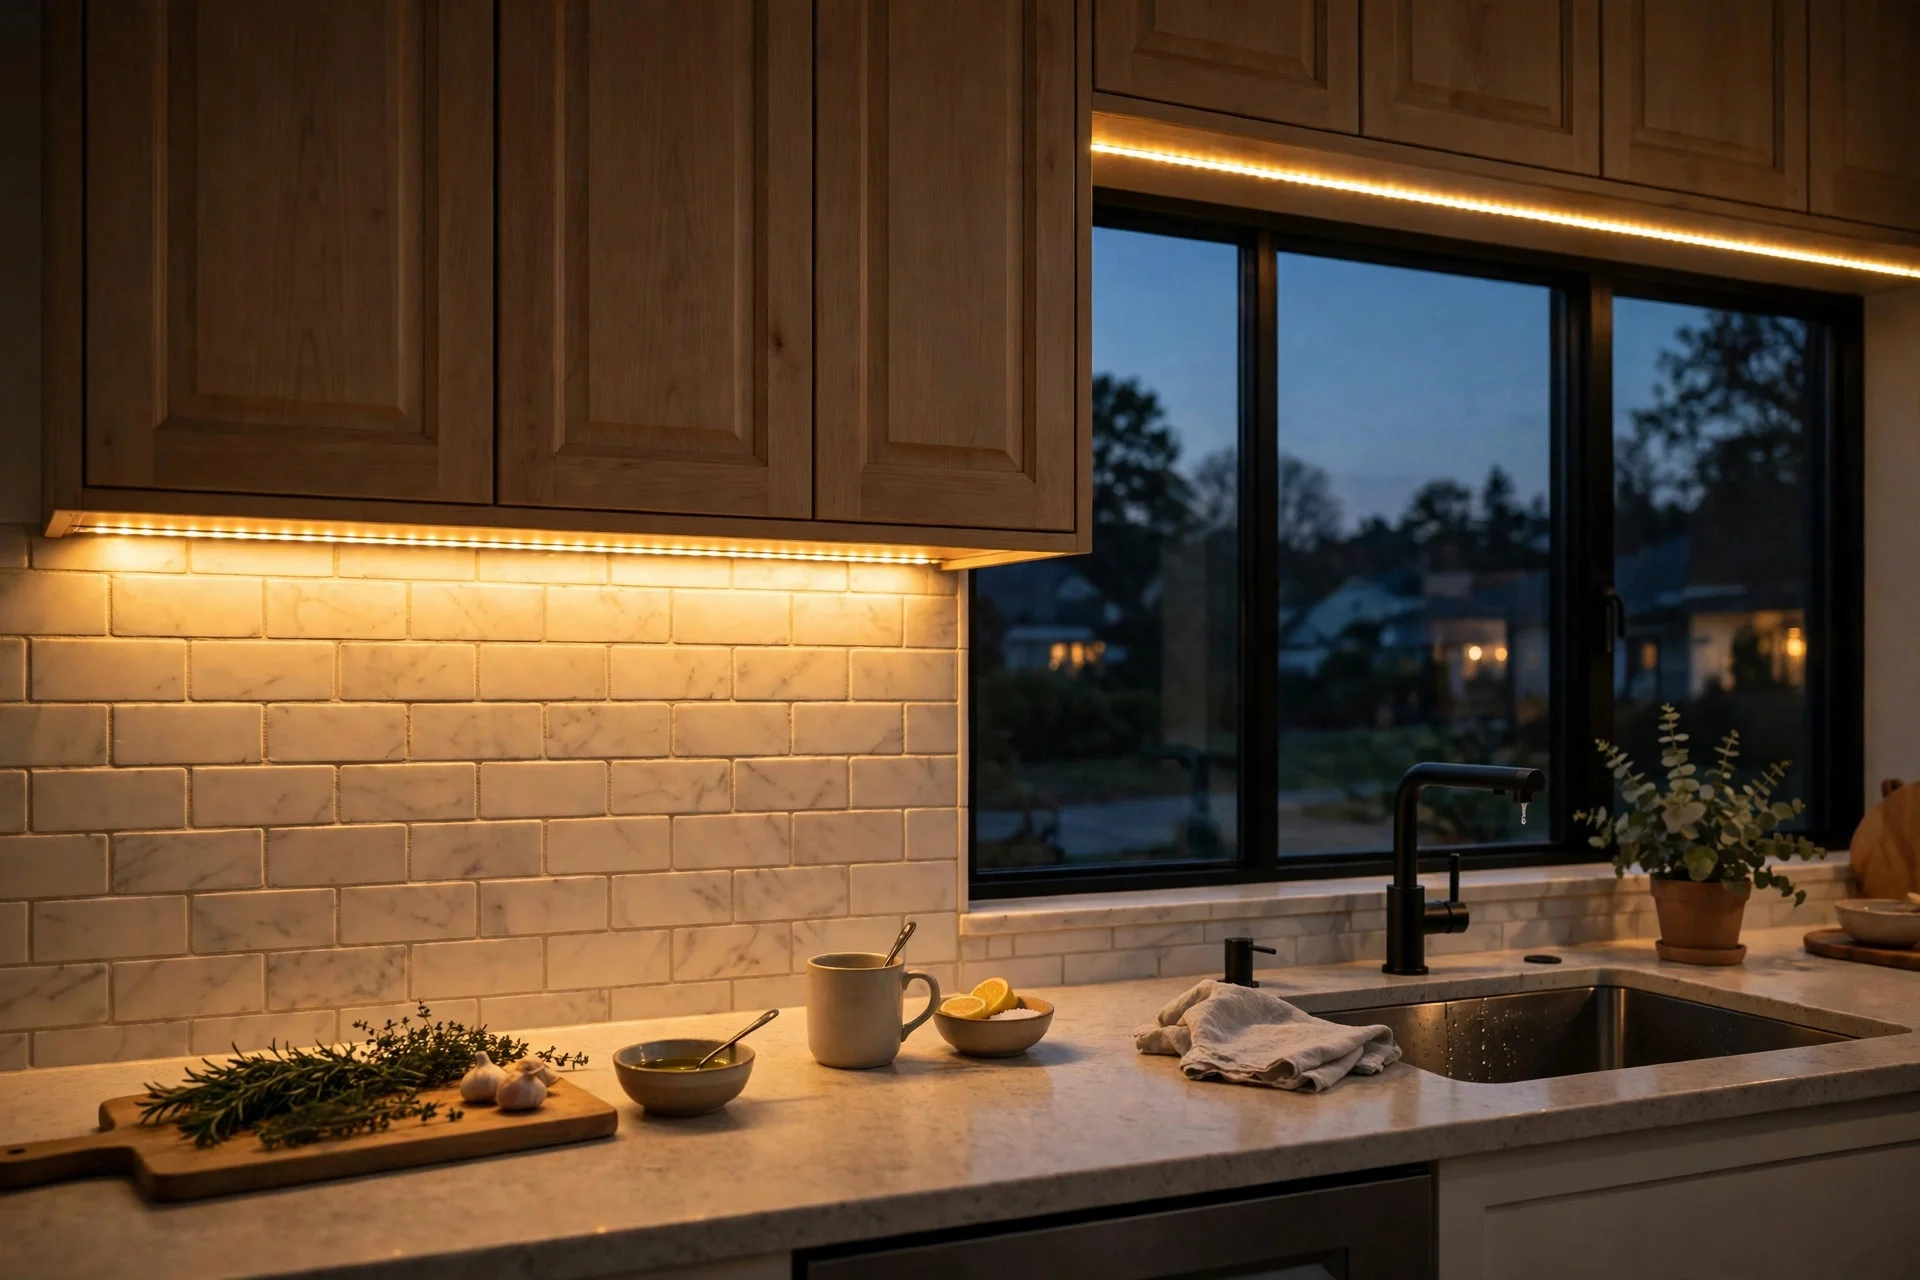
Under-cabinet lighting used to mean an electrician and a big bill, but peel-and-stick LED strips changed all of that. I stuck a warm-white strip under my upper cabinets, plugged it into the outlet behind the coffee maker, and the kitchen glowed like a cozy cafe that same evening. The warm tone matters — cool white makes a kitchen feel like an office, and I learned that after buying the wrong color temperature first. Measure the length you need, clean the surface so the adhesive holds, and hide the wire behind the cabinet with small clips. A strip with a remote or a dimmer is worth the extra few dollars.
Try this: run the strip toward the front edge of the cabinet so the light washes down the backsplash and the counter, not the wall.
13. Curtain Panels Instead of Cabinet Doors
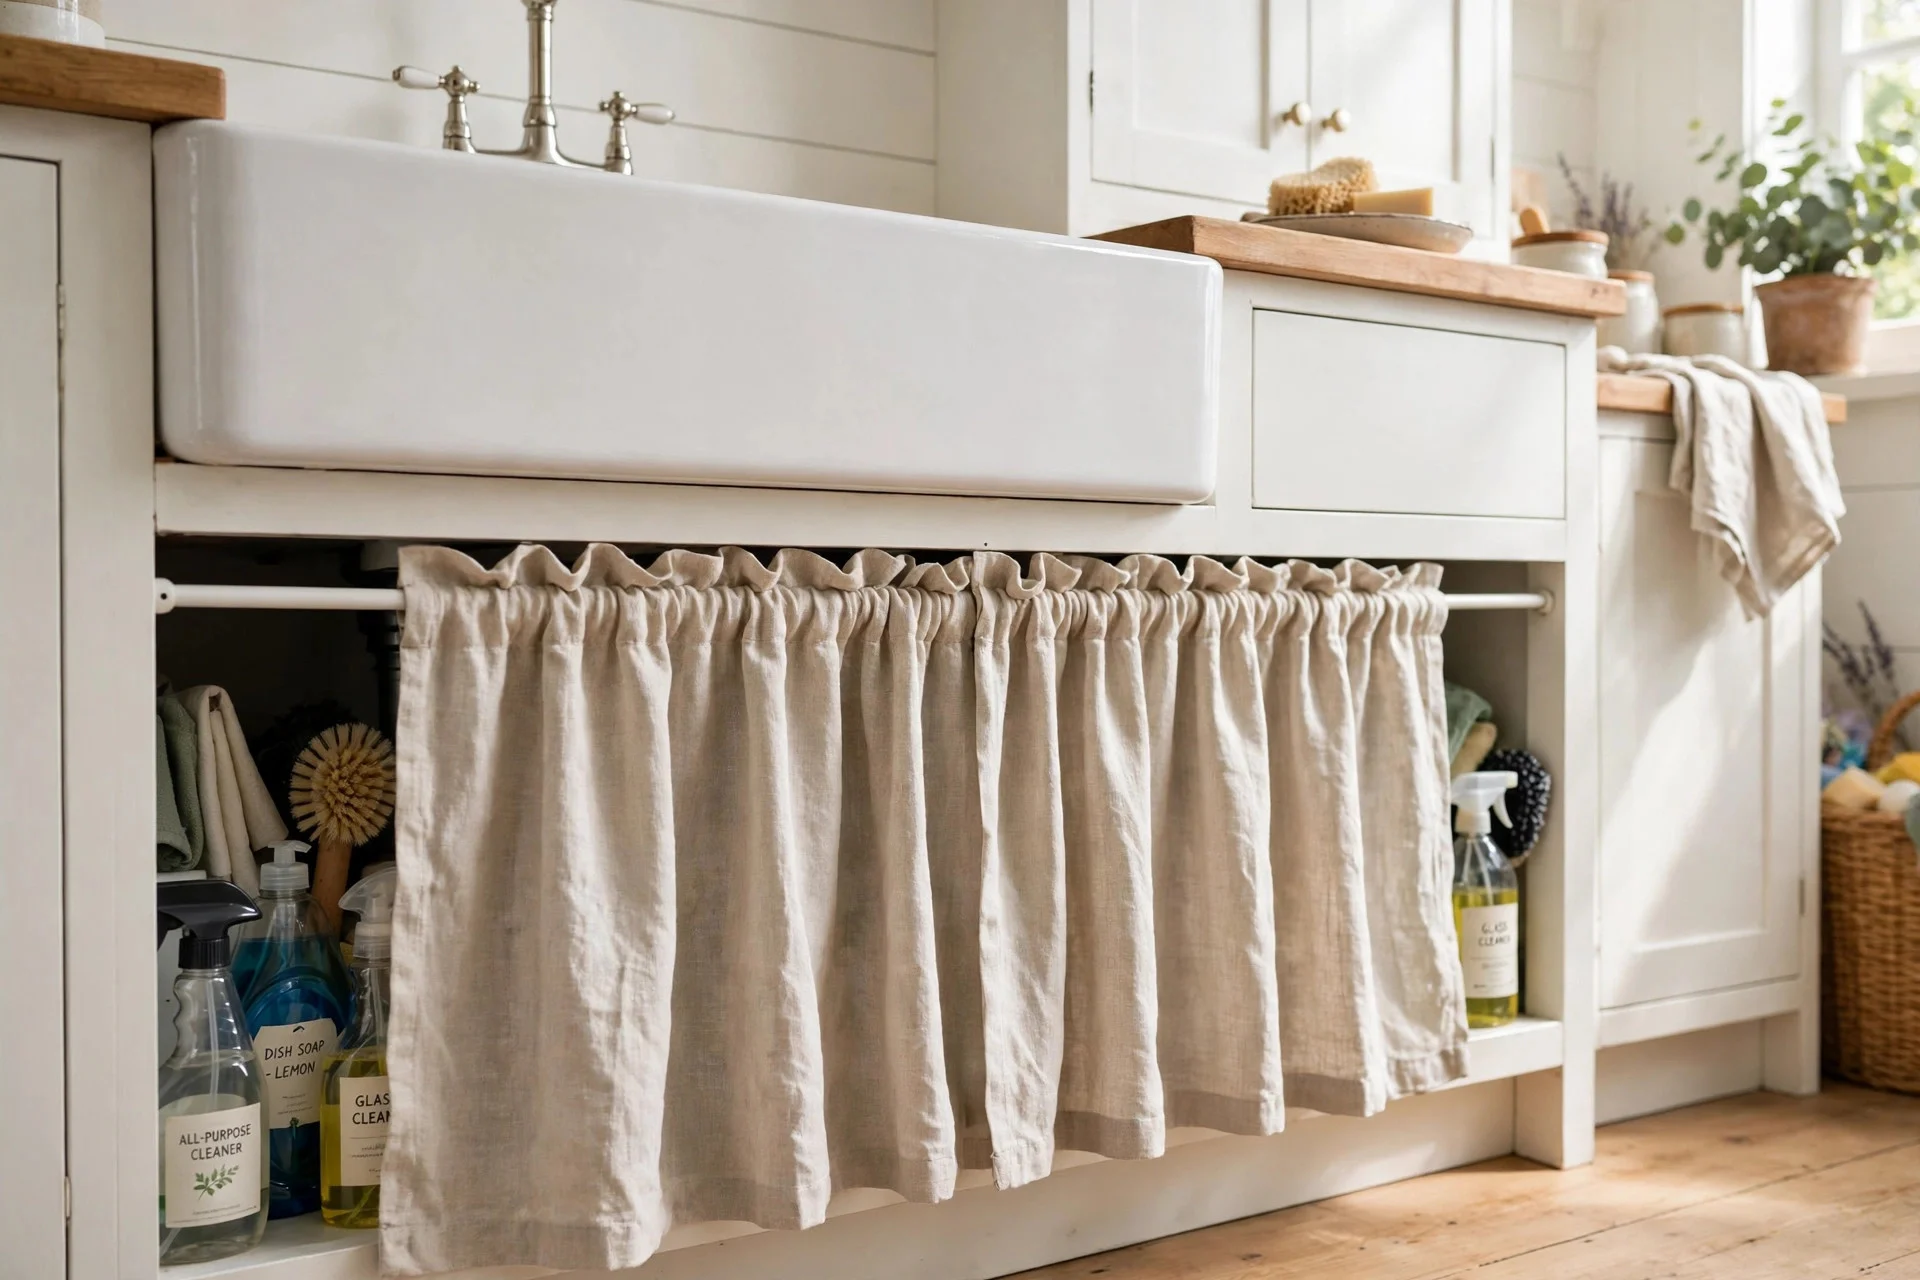
If a cabinet door is broken, warped, or just ugly, you do not have to replace it — take it off and hang a small curtain instead. I did this under my farmhouse sink with a linen-look cafe curtain on a tension rod, and it gave the kitchen a soft cottage feel for under fifteen dollars. Pick a fabric you can wash, because kitchen curtains catch splashes, and hem it so it hangs just above the floor of the cabinet. I measured wrong the first time and the curtain dragged on the floor, so now I always cut a half-inch short. It also hides cleaning supplies better than an open shelf ever could.
Try this: use a tension rod inside the cabinet frame so there are no holes to drill and no hardware to buy.
14. A Thrifted Rug That Warms Up the Floor
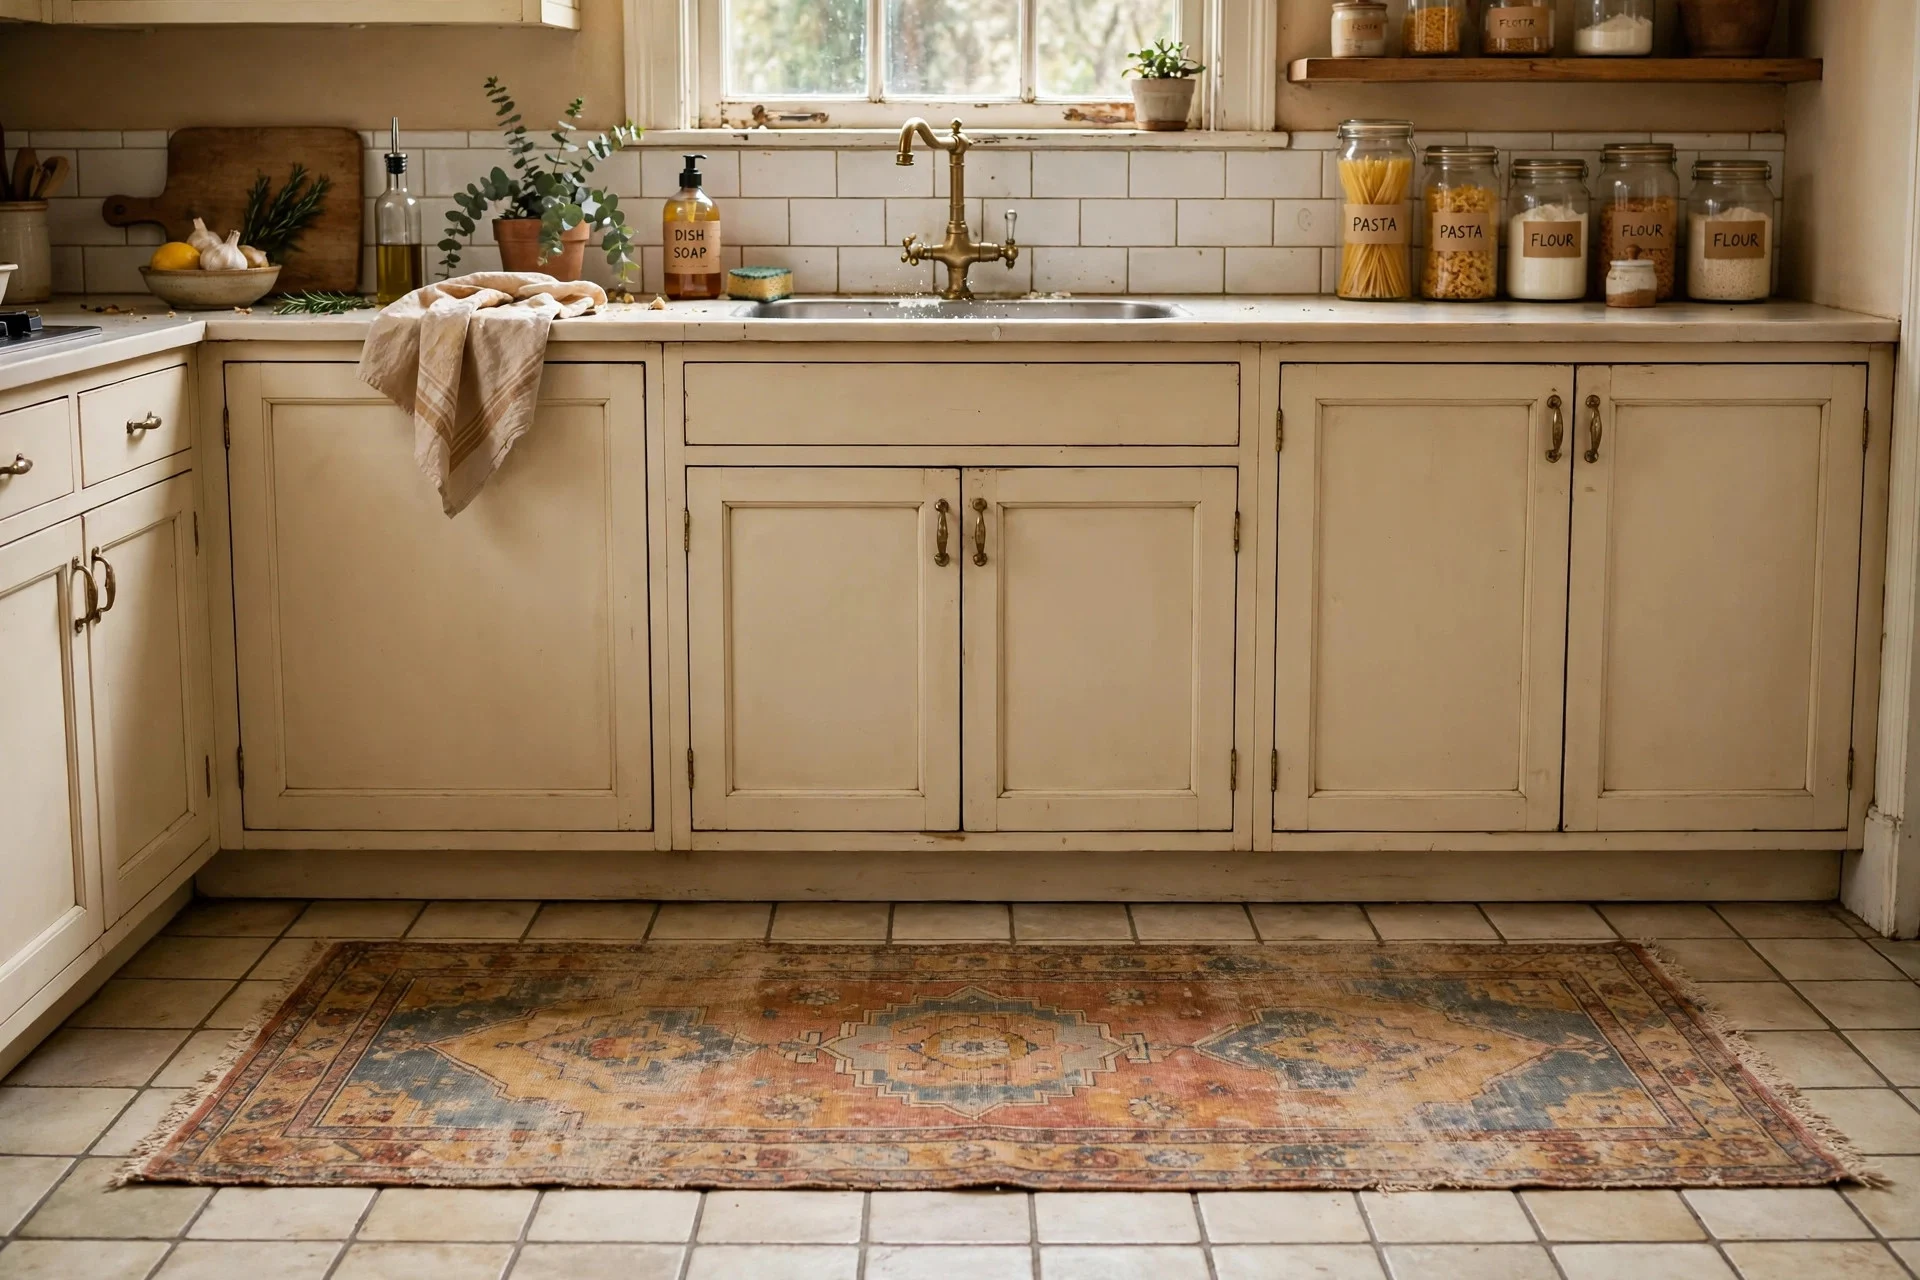
Cold tile under bare feet is the least welcoming part of my kitchen, and a thrifted runner fixed it for seven dollars. I found a faded vintage-style rug at a secondhand shop, washed it well, and laid it in front of the sink where I stand the most. The pattern hides crumbs between vacuums, and the color pulls the whole room together. Washable rugs are the smart pick in a kitchen — mine has survived spaghetti sauce, coffee, and a dropped egg. Shake it outside weekly, and put a non-slip pad underneath so it never slides when your hands are wet. I skipped the pad once and the rug shot across the floor like a magic carpet.
Try this: pick a rug with the same warm tones as your cabinets so it looks planned, not random.
15. Painted Terra-Cotta Pots as Herb Planters
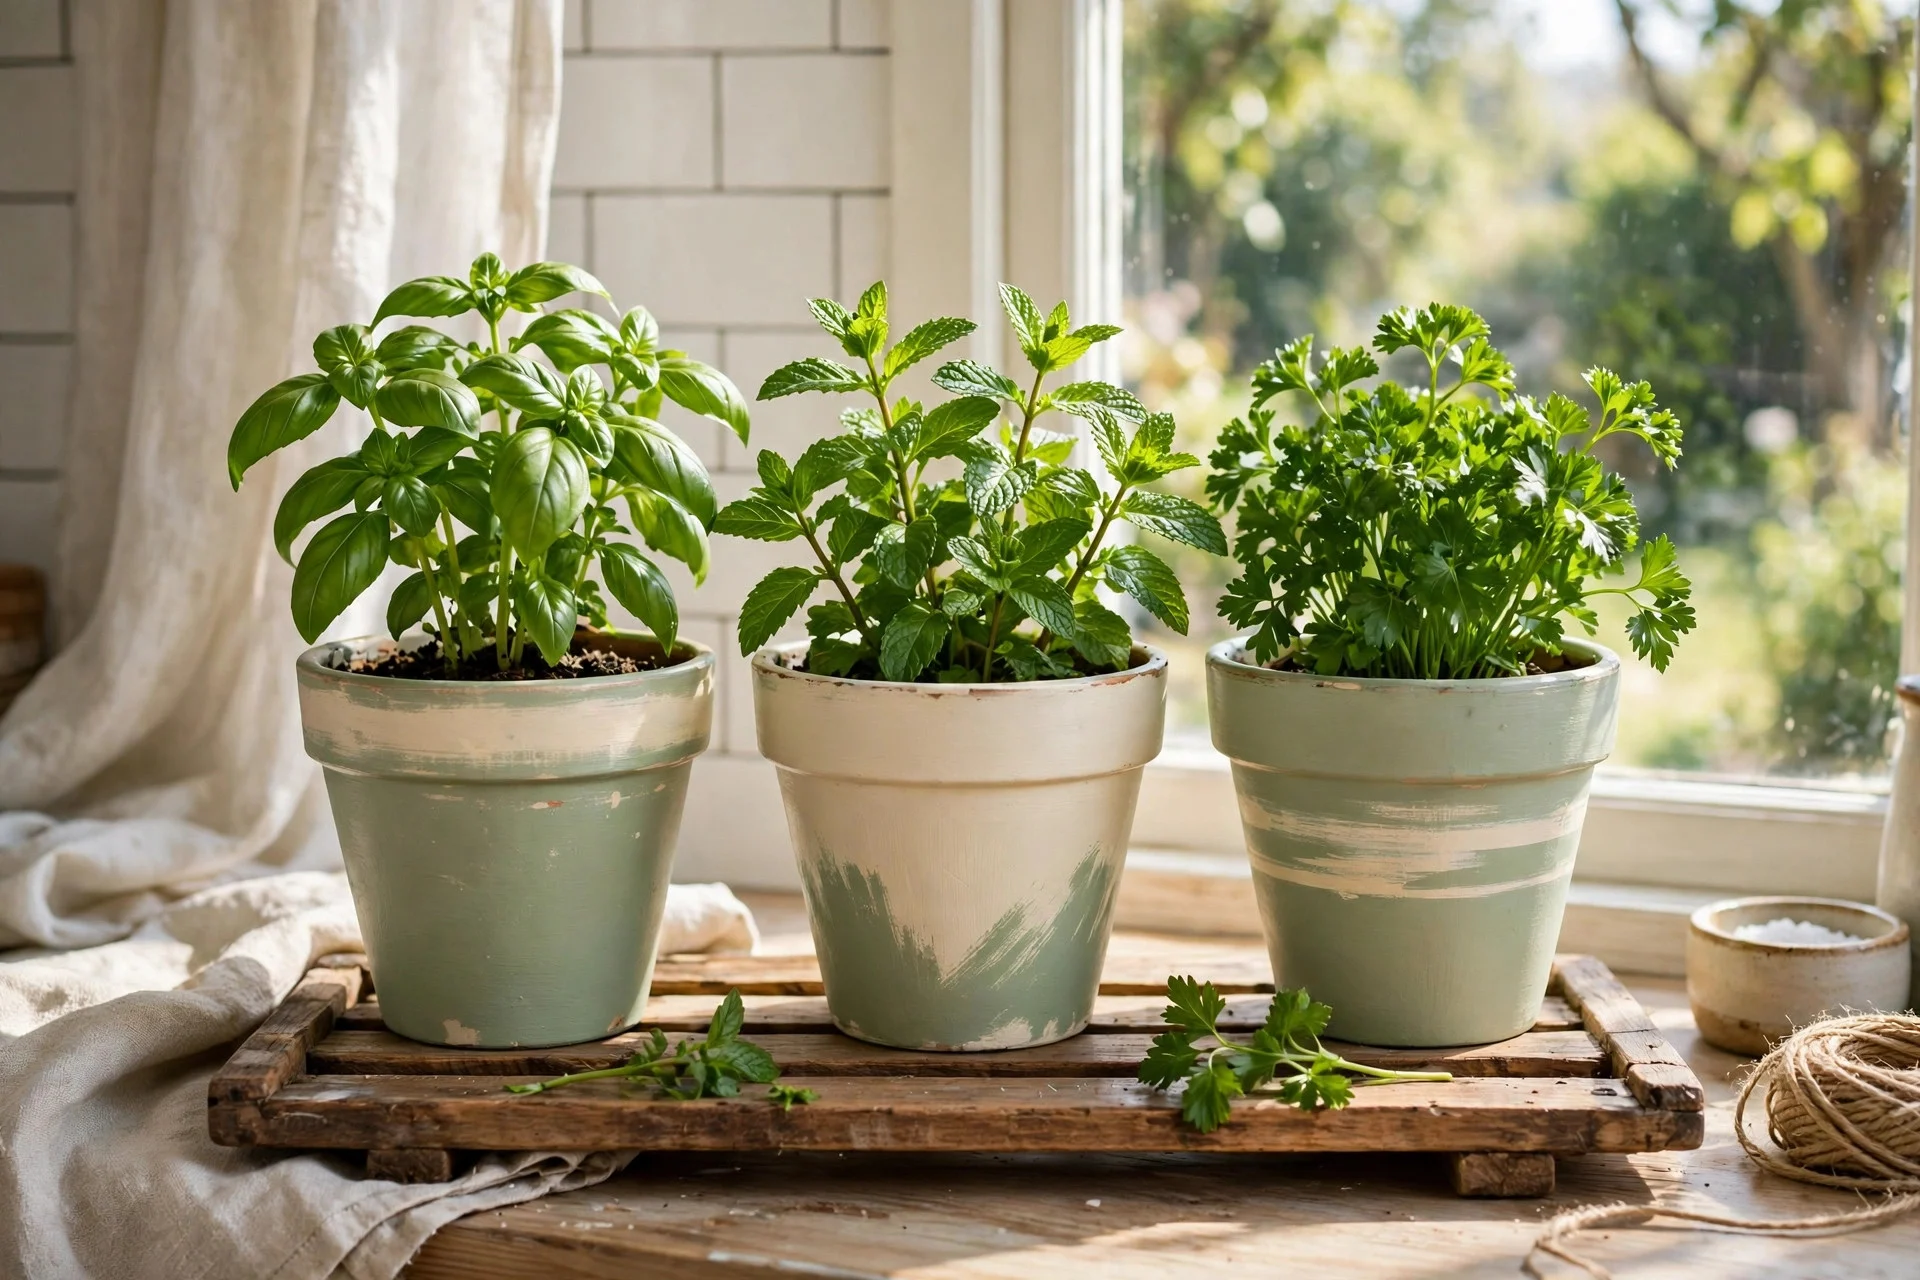
Fresh herbs on the windowsill make a kitchen smell amazing and save a surprising amount of money over those little grocery store packets. I painted a row of plain terra-cotta pots in soft sage and cream, planted basil, mint, and parsley, and set them on a sunny sill in a long wooden tray to catch drips. The paint cost me almost nothing since I used leftover samples from another project. Seal the pots first with a clear coat or the paint will bubble from the moisture — that is the mistake I made on my first batch, and they looked sad within a month. Water lightly and snip often, because herbs grow bushier the more you use them.
Try this: label each pot with a small wooden plant marker so guests know what to snip and nobody eats the wrong leaf.
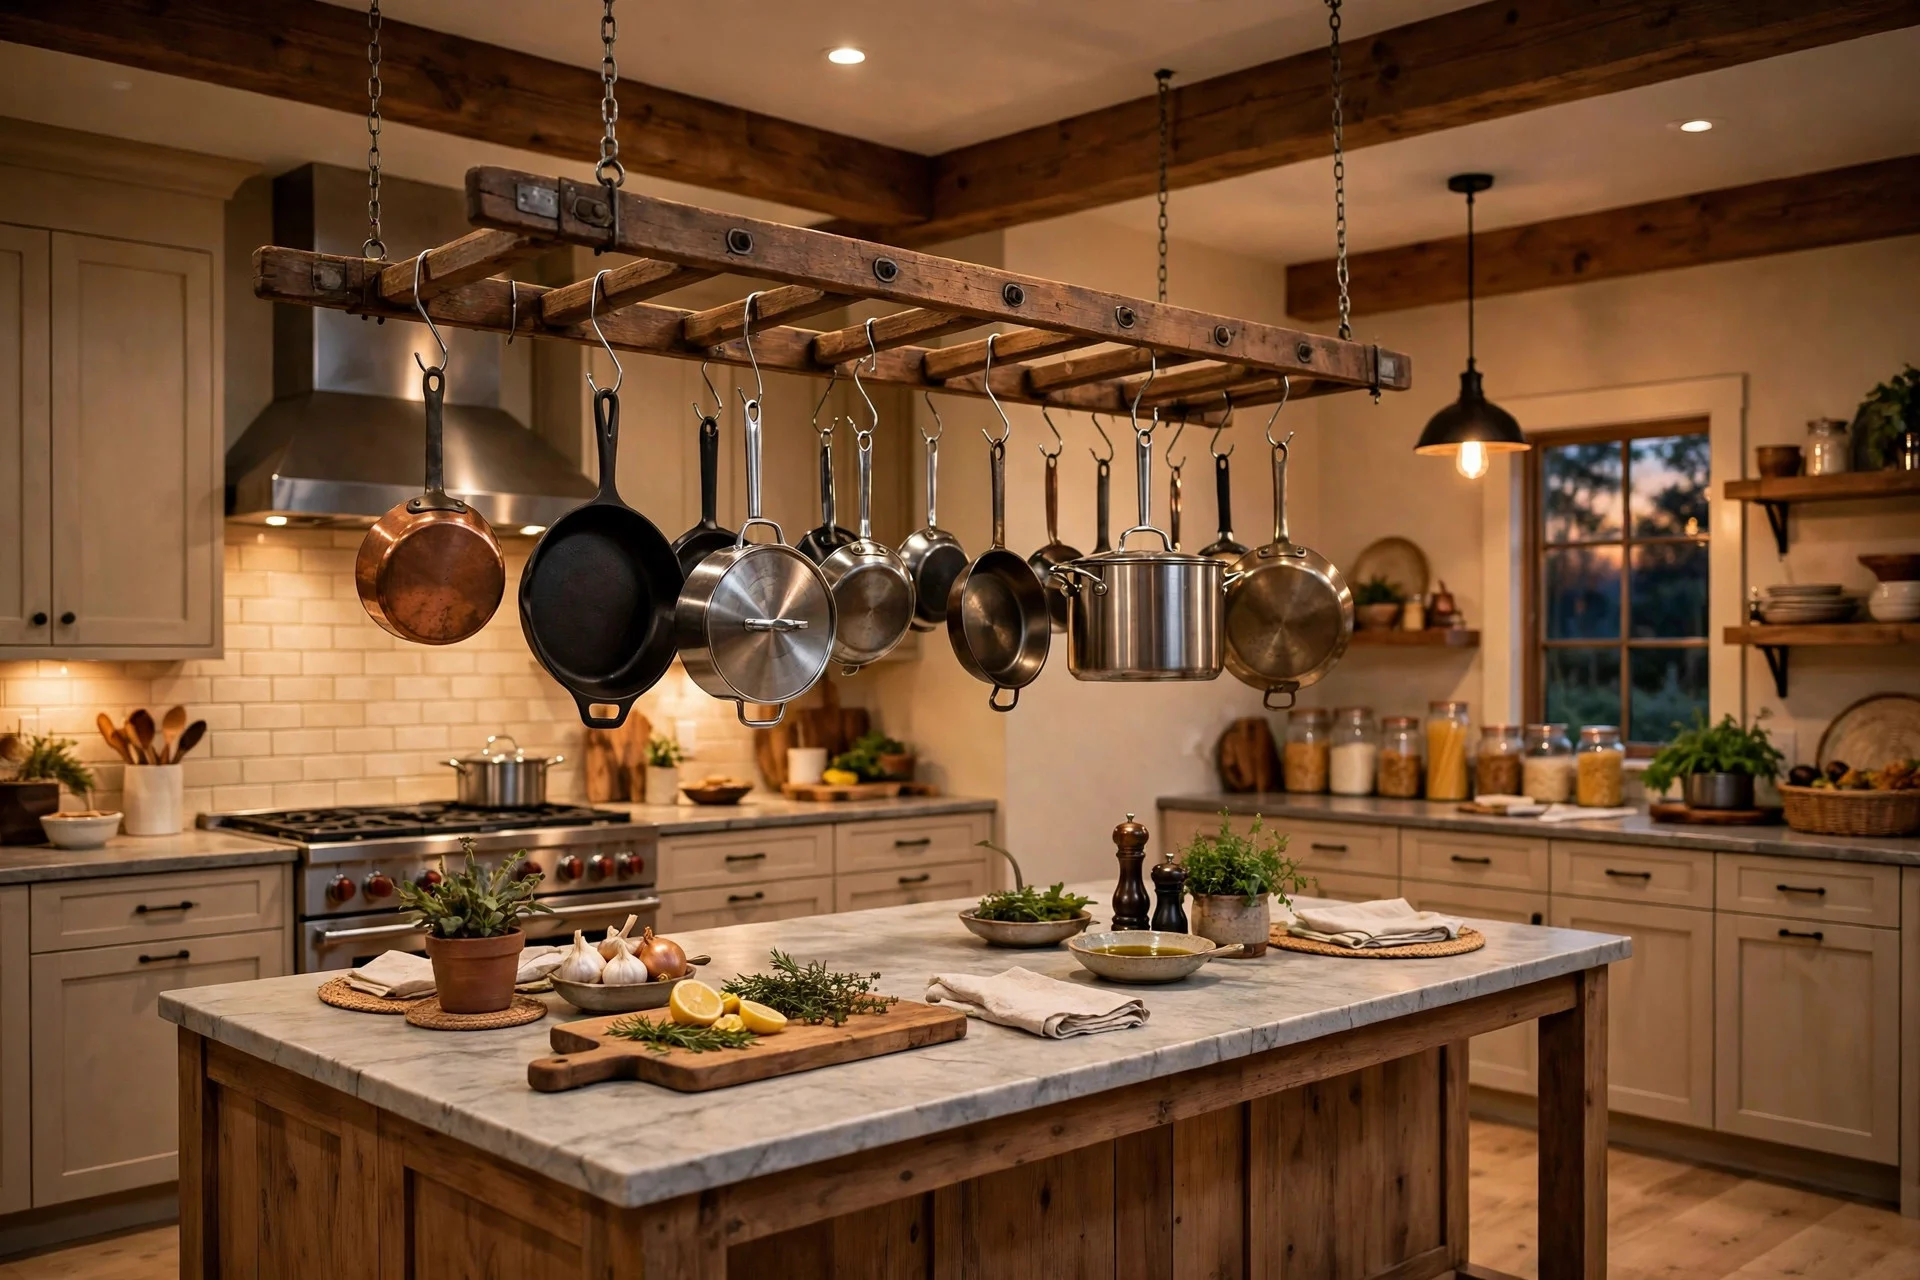
16. A DIY Pot Rack From a Wooden Ladder
Pots and pans eat up cabinet space, and an old wooden ladder hung from the ceiling turns them into decor. I found a short ladder at a flea market for five dollars, stained it, hung it with sturdy chains, and hooked my pots underneath with S-hooks. It freed a whole cabinet and made the kitchen look like a proper cook’s kitchen. This one needs solid ceiling anchors — never trust a drywall screw with a cast iron skillet. Keep heavy pots in the middle, lighter ones at the ends, and hang it high enough that nobody bumps their head. I hung mine too low the first time and learned that lesson with a bruised forehead.
Try this: hang the ladder over the island or the stove, where it looks natural and the pots stay within easy reach.
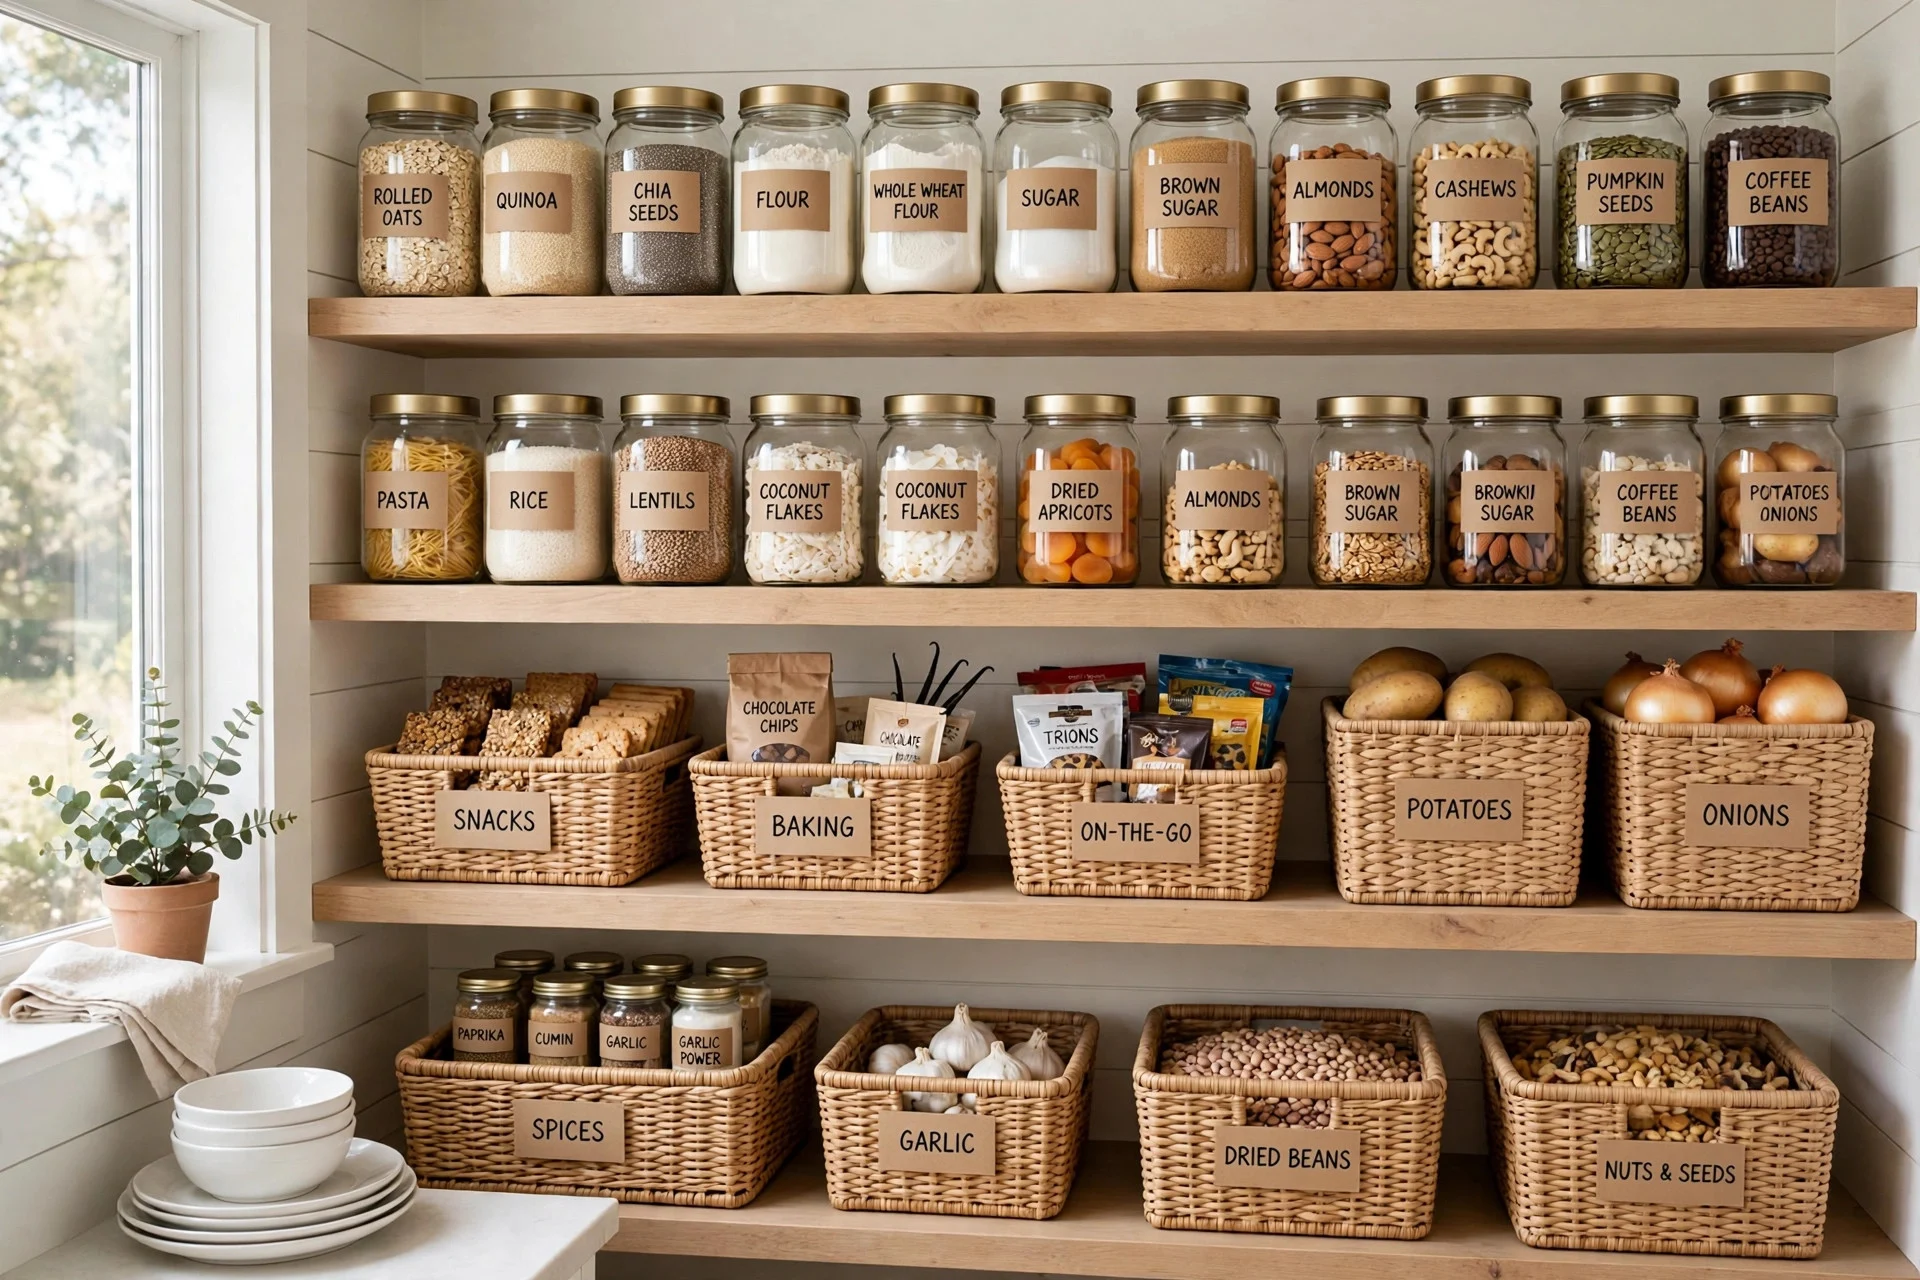
17. Matching Labels on Everything in the Pantry
Labels are a tiny detail that make a pantry look like a professional organizer did it. I printed simple labels on kraft paper, stuck them on every jar, bin, and basket, and suddenly the pantry looked calm and intentional instead of chaotic. The labels cost pennies, but they stop the daily “where is the flour” hunt and keep everyone in the house putting things back in the right spot. Use the same font and the same size for every label, and stick to plain words like oats, sugar, and pasta — fancy names get confusing fast. A label maker works too, but I like the warm look of paper labels on glass jars.
Try this: add the date you filled each jar in small print under the name, so nothing goes stale unnoticed.
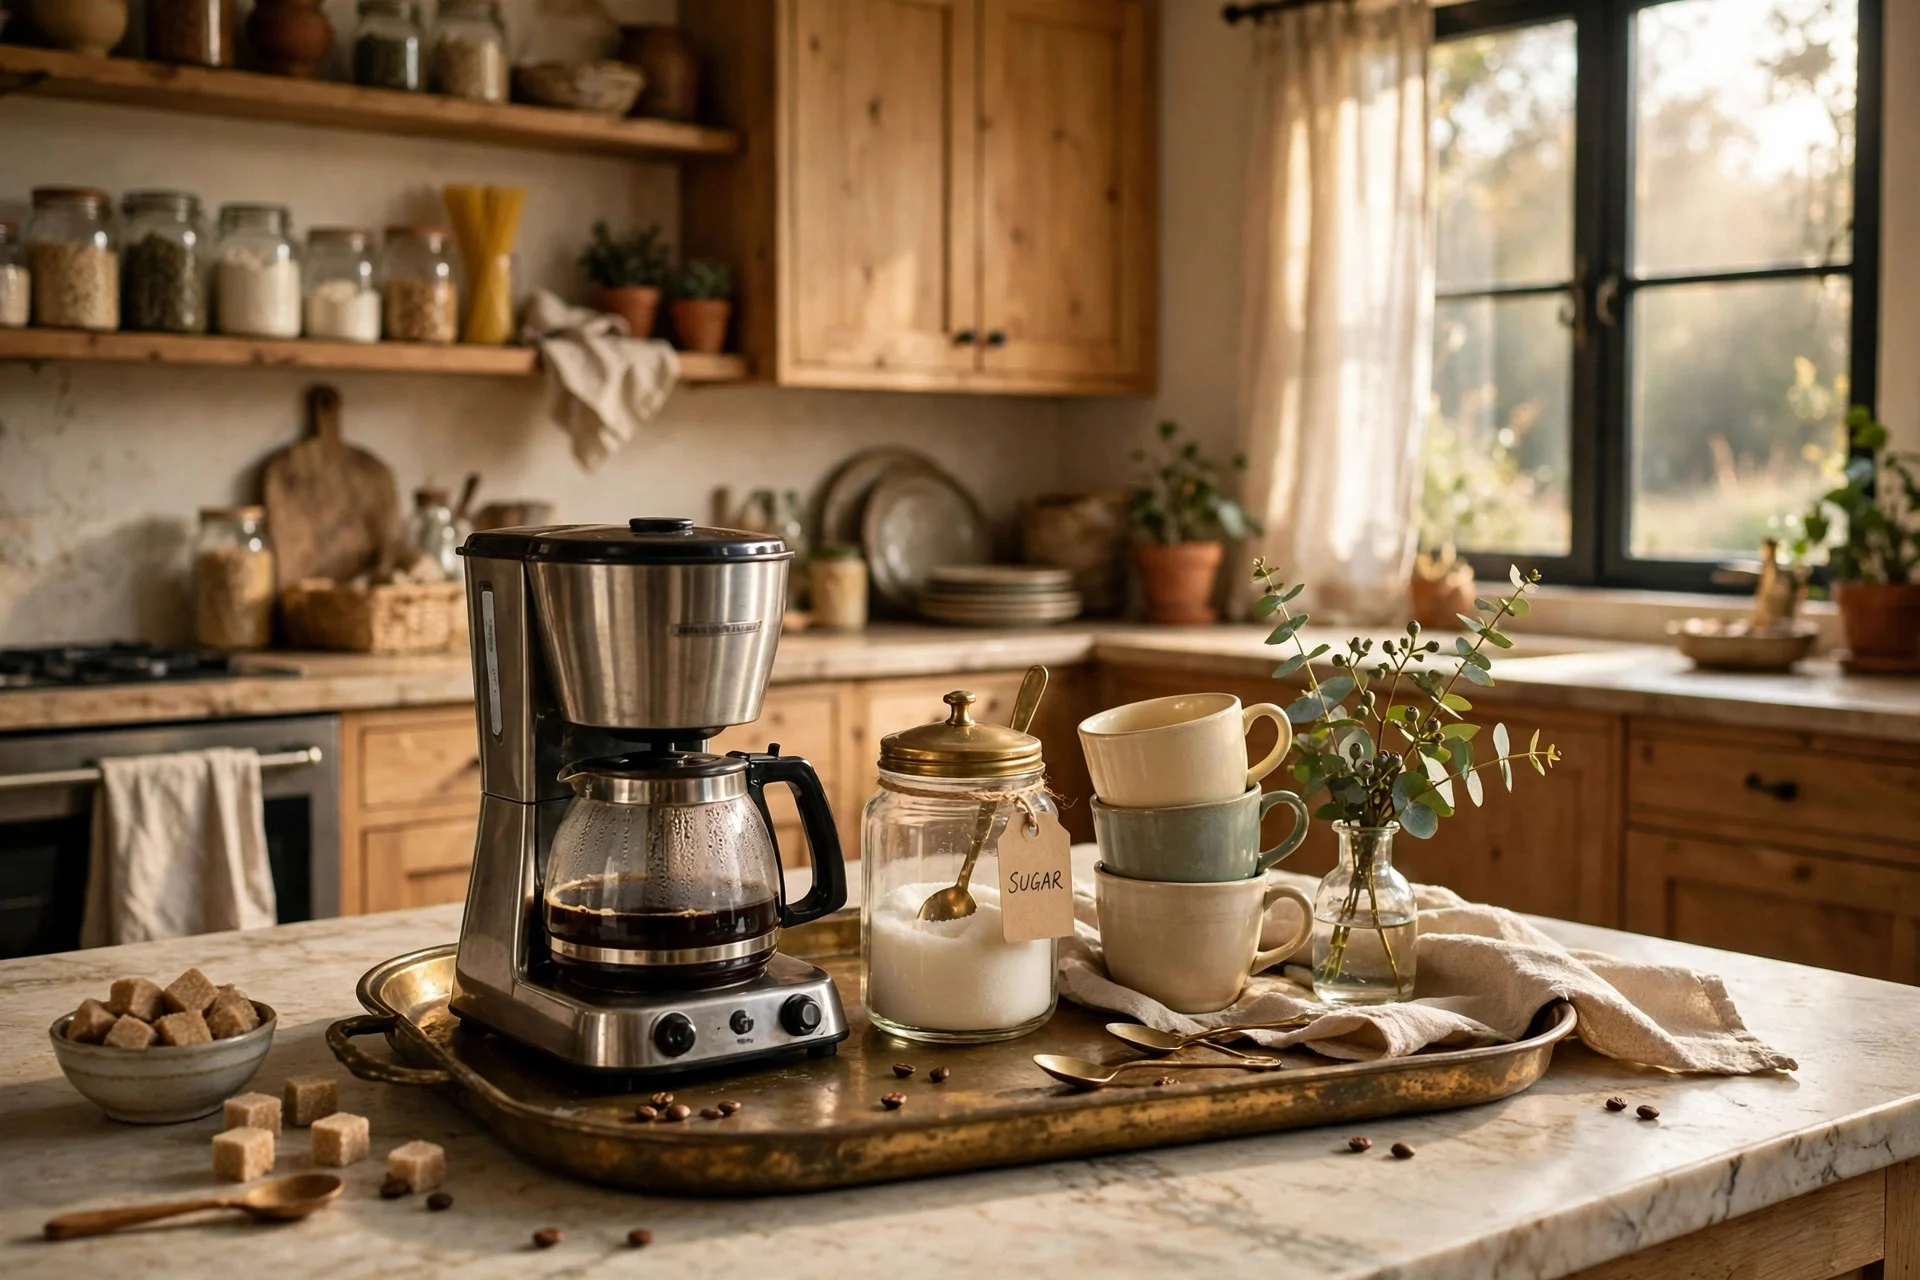
18. A Vintage Tray as a Coffee Station
A coffee station does not need a new piece of furniture — it needs a tray. I found a brass tray at a thrift store for four dollars, set it by the outlet, and grouped the coffee maker, sugar jar, and mugs on it. Now the morning mess stays in one neat spot instead of spreading across the counter, and the tray looks charming. Corral the cords with a small clip behind the tray, and keep a folded linen napkin under the sugar jar to catch spills. I used to leave everything loose on the counter, and it took twice as long to wipe down. Cleaning takes thirty seconds now, because I lift one thing instead of ten.
Try this: add one small vase with a fresh flower or a sprig of eucalyptus to make the station feel like a cafe corner.
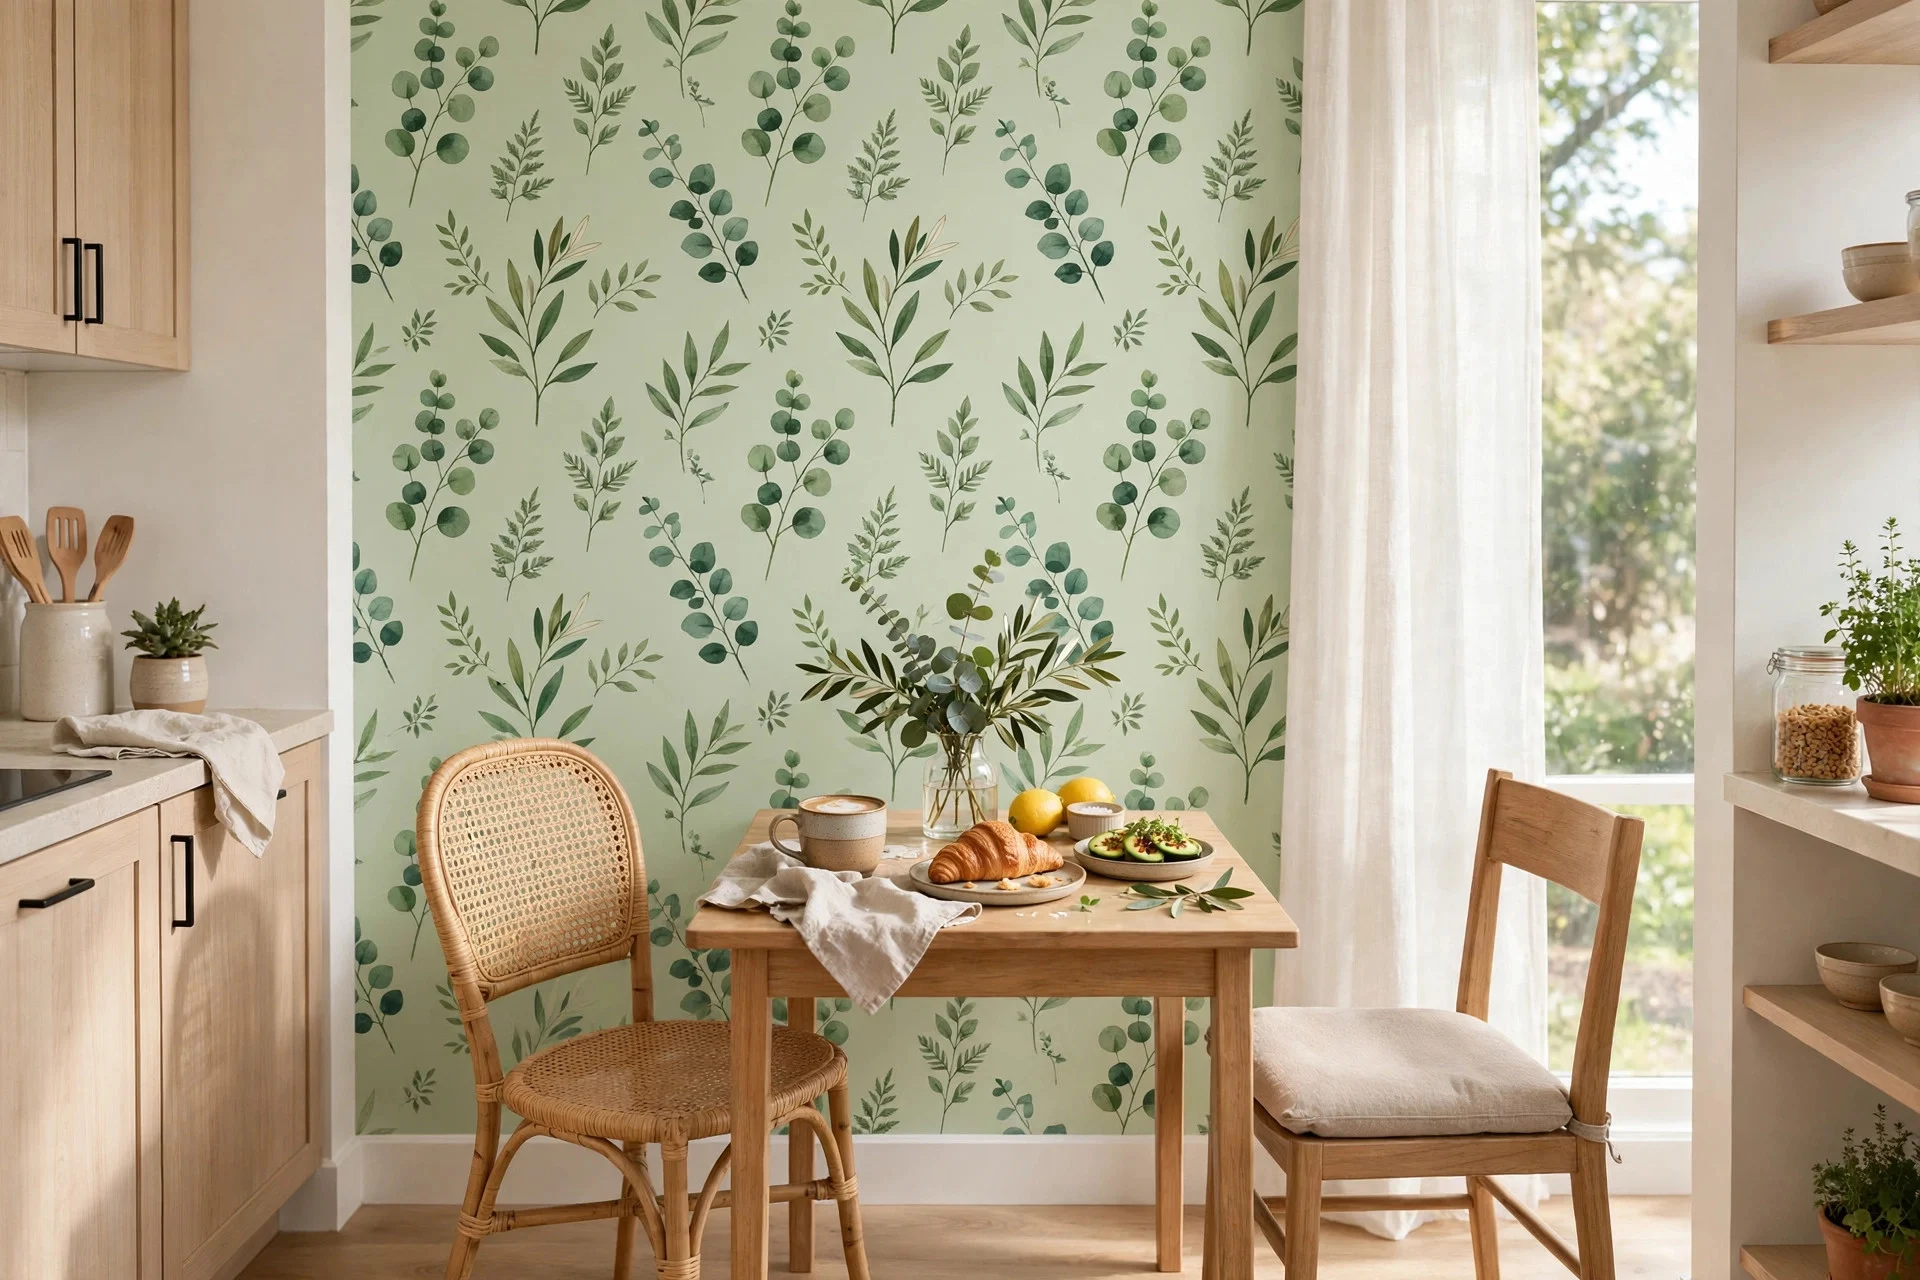
19. Removable Wallpaper on One Accent Wall
One bold wall changes the whole mood of a kitchen, and removable wallpaper lets you try it without the commitment of paste and steam. I put a soft green botanical print on the wall behind my breakfast table, and it turned a plain corner into the prettiest spot in the house. It cost about forty dollars and took an hour to hang, and I can peel it off when I get bored. Line up the pattern carefully and smooth each panel from the center outward with a plastic smoother — my first panel had a bubble I stared at for weeks. If you rent, this is the safest way to add real personality to your kitchen.
Try this: pick a pattern with colors already in your kitchen so the wall ties in instead of clashing.
20. Clear Containers That Make a Small Kitchen Feel Bigger
Visual clutter shrinks a kitchen, and clear containers are the fastest fix I have found. I moved snacks, cereal, and baking supplies into clear bins and canisters, and the pantry and counters suddenly looked open and calm. You can see what you have at a glance, so you stop buying doubles, and the uniform shapes stack neatly instead of tipping over. Buy containers with lids that actually seal, because stale cereal is a sad way to start the day. I measure my shelf height before buying now, after a set of tall canisters that did not fit under the shelf above them. Decant one shelf at a time so the job never feels overwhelming.
Try this: leave the front of each container facing out with the label visible, so the row reads like a tidy little shop shelf.
21. A Simple Centerpiece That Changes With the Seasons
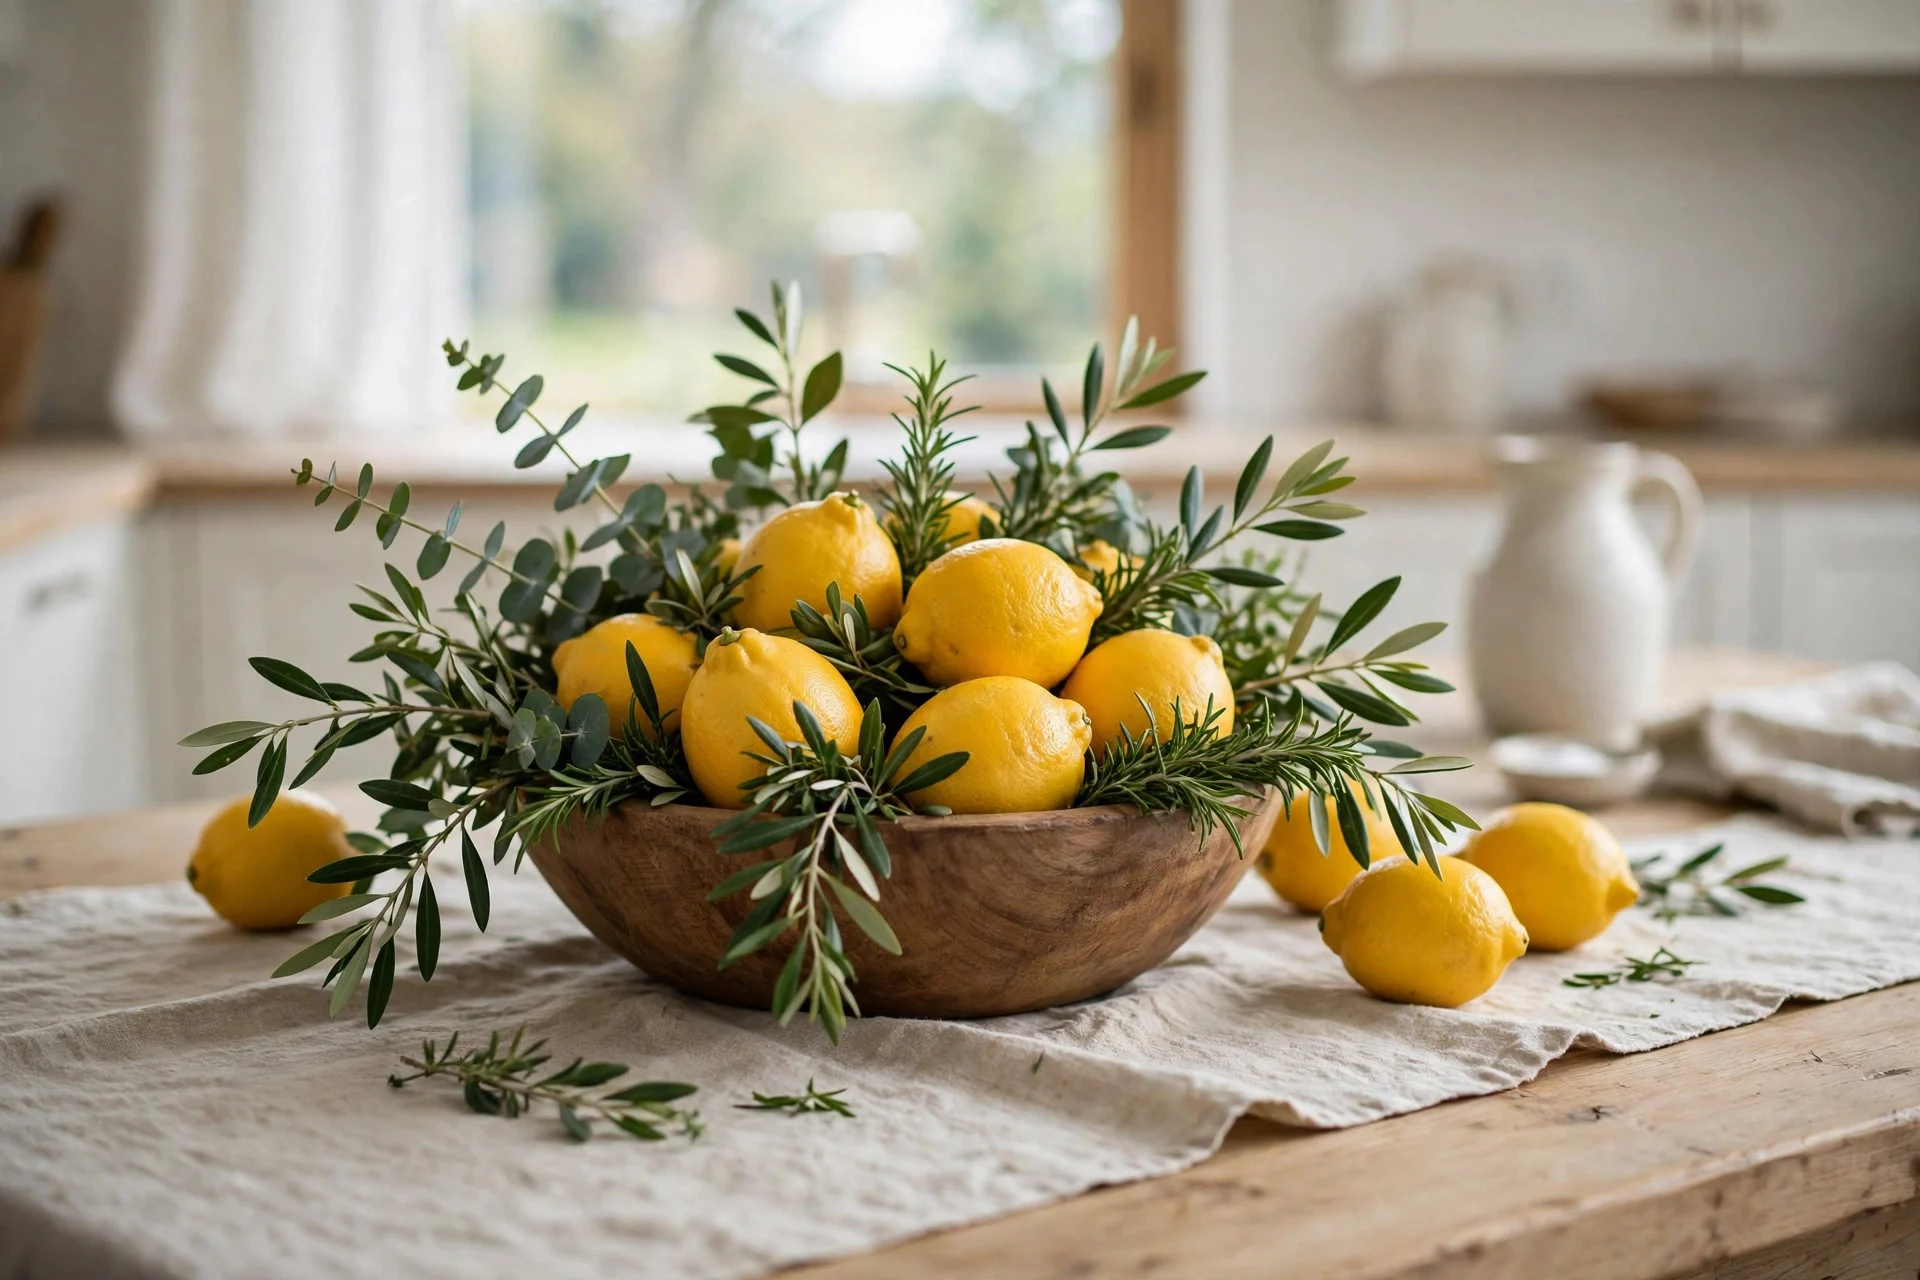
A kitchen table with nothing on it looks unfinished, but a centerpiece does not need to be fancy or expensive. I keep one wooden bowl on my table and change what is inside it with the seasons — lemons in summer, small pumpkins in fall, pinecones in winter, fresh flowers in spring. The bowl cost three dollars at a thrift store, and the fillers come from the grocery store or my backyard. It takes two minutes to swap, and the table always looks dressed. Keep it low so people can talk across the table, and never put anything scented near food — I learned that with a cinnamon candle that made the soup taste strange.
Try this: use what you already have first, like fruit from the fridge or branches from the garden, before you buy anything new.
Frequently Asked Questions
What is the cheapest way to make a kitchen look expensive?
Paint and lighting beat everything else for the money. A fresh coat on the cabinets, warm under-cabinet LED strips, and new hardware — even spray-painted hardware — make a kitchen look far more expensive than the cost suggests. Clear the counters, add one nice tray or plant, and the room reads as calm and high-end.
Can I decorate a rental kitchen on a budget?
Yes, and removable options are your best friends. Peel-and-stick backsplash tiles, removable wallpaper, tension-rod curtains, and a rolling cart all come out cleanly when you move. Stick to things you can take with you, like rugs, trays, and plants, and avoid anything that needs drilling or permanent glue.
How much should I budget for a kitchen refresh?
Most of the ideas in this list cost between five and fifty dollars each, and a full refresh of five or six ideas usually lands between one hundred and two hundred dollars. Start with the one change that bothers you most, then add the next idea only when the first one is done. Small steps keep the spending under control and the results visible.
Where do I find cheap kitchen decor that still looks good?
Thrift stores, flea markets, and garage sales are the best hunting grounds, especially for frames, trays, baskets, and wooden pieces. Dollar stores cover jars, labels, and small storage, and the clearance aisle at home stores often hides good paint and hardware. Buy secondhand first, and only buy new when you cannot find it used.
Final Thoughts
A beautiful kitchen is not about how much money you spend — it is about the small, thoughtful choices that make the room work for your life. Pick the idea that made you smile, give it a try this weekend, and let the rest wait. My kitchen still is not perfect, and honestly I like it better that way, because every thrifted frame and painted pot has a story behind it. Start small, use what you have, and enjoy the process. Your kitchen will thank you every single morning.