
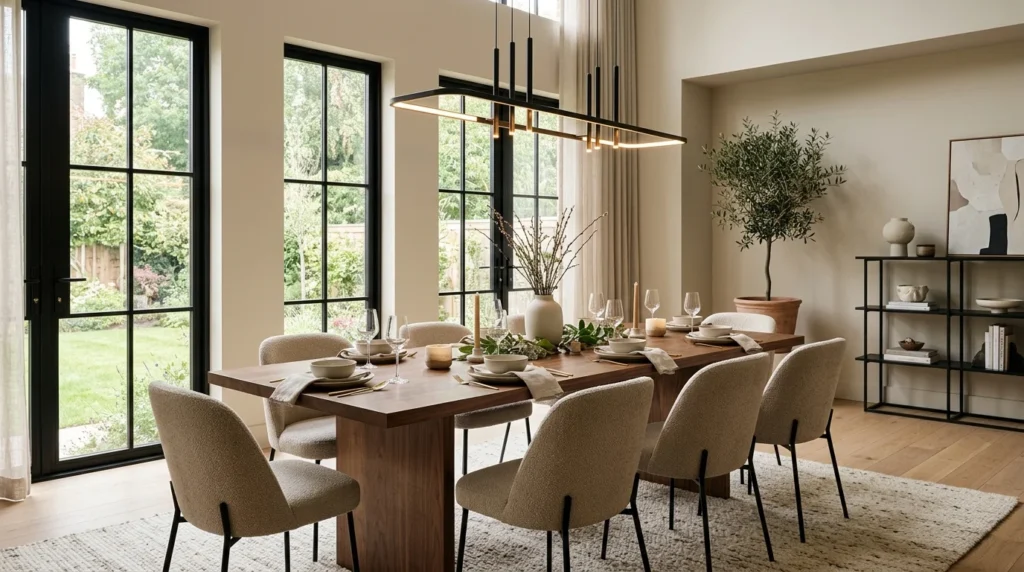
The light fixture that came with my dining room when I moved in was a dated, brass-and-frosted-glass chandelier that hung so low over the table it was genuinely a hazard for taller guests, and so dim that we ended up eating most dinners with a lamp dragged in from the living room just to actually see the food. I lived with it for almost two years, mostly out of a vague intimidation about electrical work, before finally hiring an electrician for what I assumed would be a simple swap. That one afternoon of work ended up changing the entire feeling of the room more than almost anything else I’ve done in this house, and it started me down a genuine rabbit hole of learning about dining room lighting that I never expected to find as interesting as I ultimately did.
If your own dining room is still working with whatever fixture came standard, or dealing with a similarly dim or awkwardly placed light, here are 17 ideas, each explained in detail, based on what I learned replacing my own fixture and researching options since.
1. Get the Height Right Before Anything Else
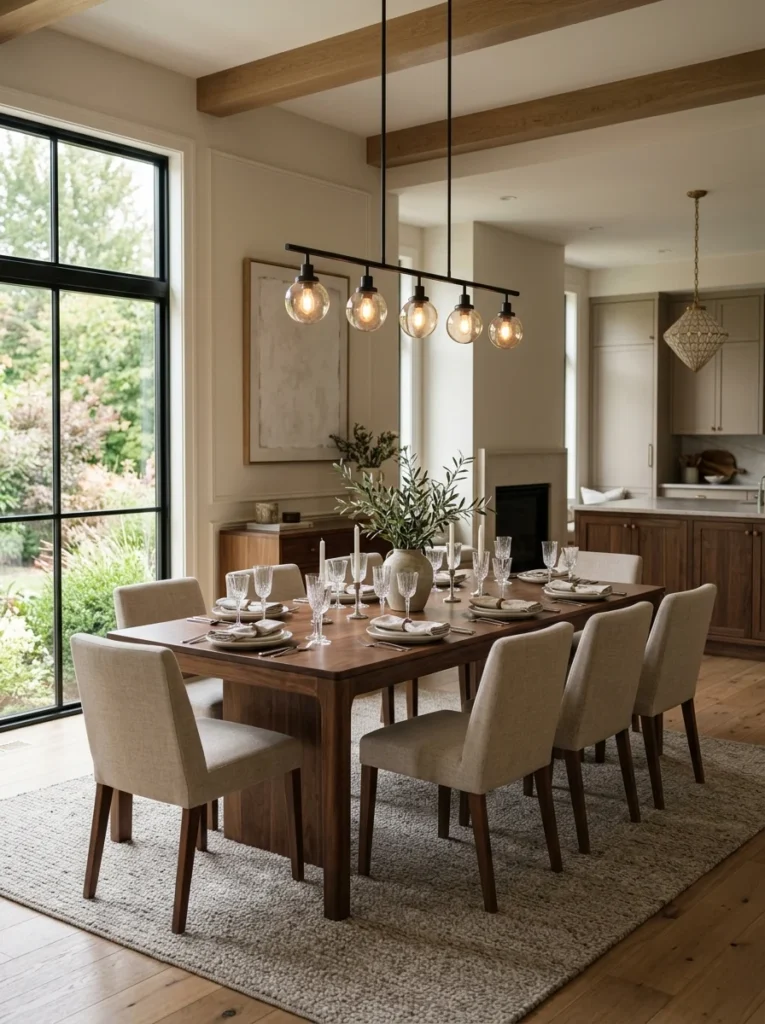
Before choosing a single style or finish, understanding proper hanging height is the foundation that every other decision in this list builds on, and it’s the mistake my previous fixture made most obviously, hanging low enough that reaching across the table meant genuinely ducking around it. The general guideline most electricians and designers use is roughly 30 to 34 inches between the bottom of the fixture and the tabletop surface, though this can adjust somewhat depending on your specific ceiling height, generally hanging slightly higher in rooms with taller ceilings and slightly lower in rooms with standard eight-foot ceilings. My new fixture hangs at 32 inches above the table, and that single adjustment alone dramatically improved both the room’s functionality, no more ducking around it, and its overall visual proportion, since the fixture no longer visually competes with people’s sightlines across the table during actual meals. I’d recommend measuring this height carefully before your electrician installs anything permanently, using painter’s tape to mark the intended bottom edge of the fixture on the wall as a visual reference before committing to the final installation height.
2. Choose the Right Scale for Your Table
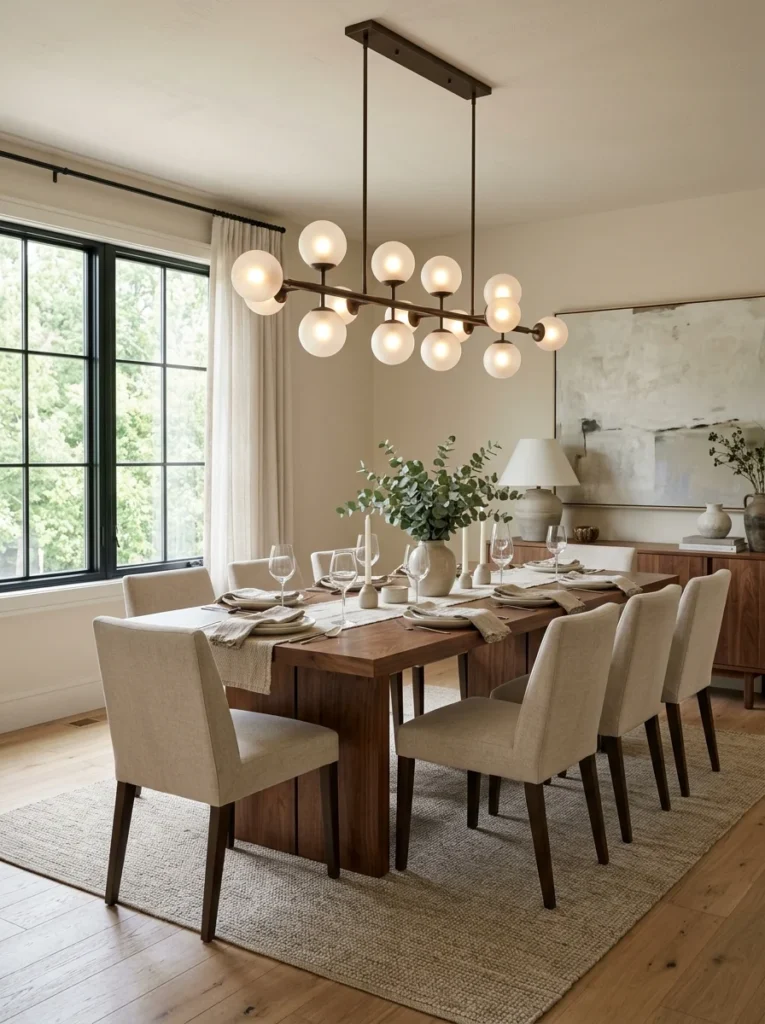
Beyond height, the fixture’s actual width and overall scale relative to your table’s dimensions significantly affects whether the final result looks proportionate or either overwhelming or underwhelming once installed. A common guideline suggests choosing a fixture roughly half to two-thirds the width of your table, giving you a reasonable starting point for what tends to look correctly scaled in most standard dining rooms. My own table is 72 inches long, and I chose a linear fixture spanning about 42 inches, comfortably within that general guideline while still leaving enough clearance from the table’s edges that the light doesn’t feel cramped or tightly proportioned. I’d recommend measuring your specific table’s dimensions before shopping, then filtering your fixture search specifically within that calculated width range, since it’s easy to be drawn toward a fixture’s style or finish in photos without immediately registering whether the actual physical scale will work in your particular room once installed above your specific table.
3. Consider a Linear Chandelier for Rectangular Tables
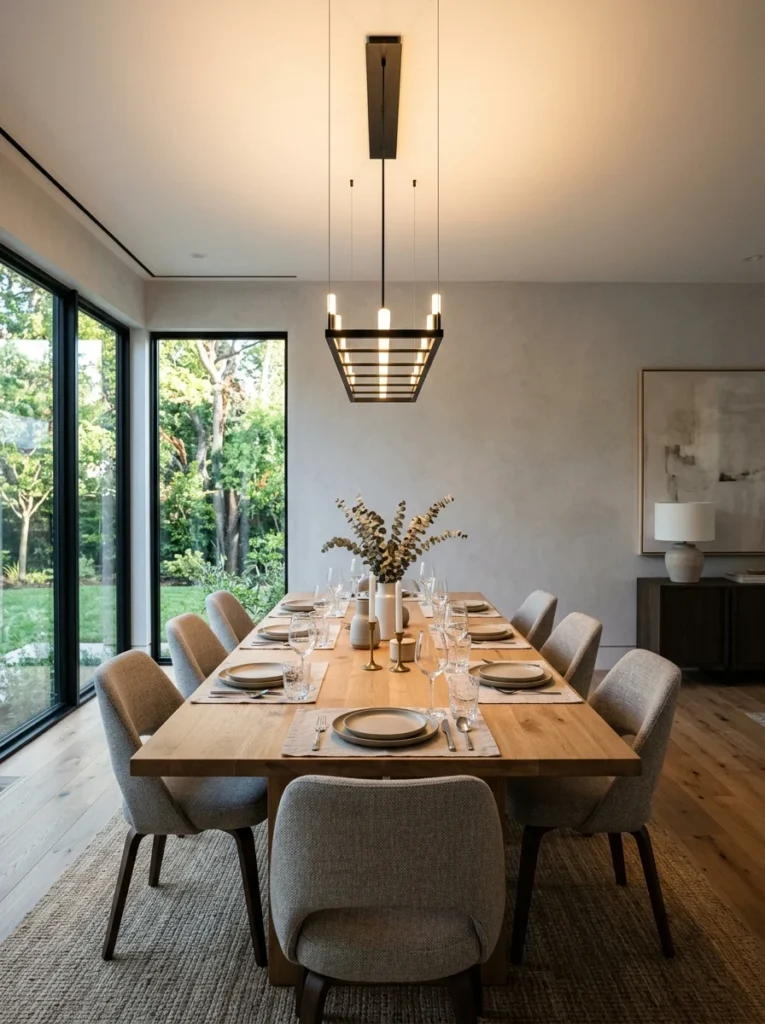
For rectangular dining tables specifically, a linear chandelier, elongated horizontally rather than the traditional round or drum shape, distributes light more evenly across the table’s full length while also echoing the table’s own rectangular proportions rather than creating a mismatch between a round fixture and an elongated table shape. I chose exactly this style for my own rectangular table, and beyond the improved proportional relationship, the elongated light distribution means both ends of my table receive comparable illumination rather than the center getting most of the light while the ends sit relatively dim. This style has become considerably more popular and available in recent years compared to when I first started researching lighting options, with a wide range of finishes and designs now available at various price points, from minimalist single-line fixtures to more elaborate multi-tier linear designs. I’d recommend this specifically for any genuinely rectangular table, reserving round or drum-style chandeliers for round or square tables where that shape relationship makes more proportional sense than it would above an elongated rectangular surface.
4. Install a Dimmer Switch
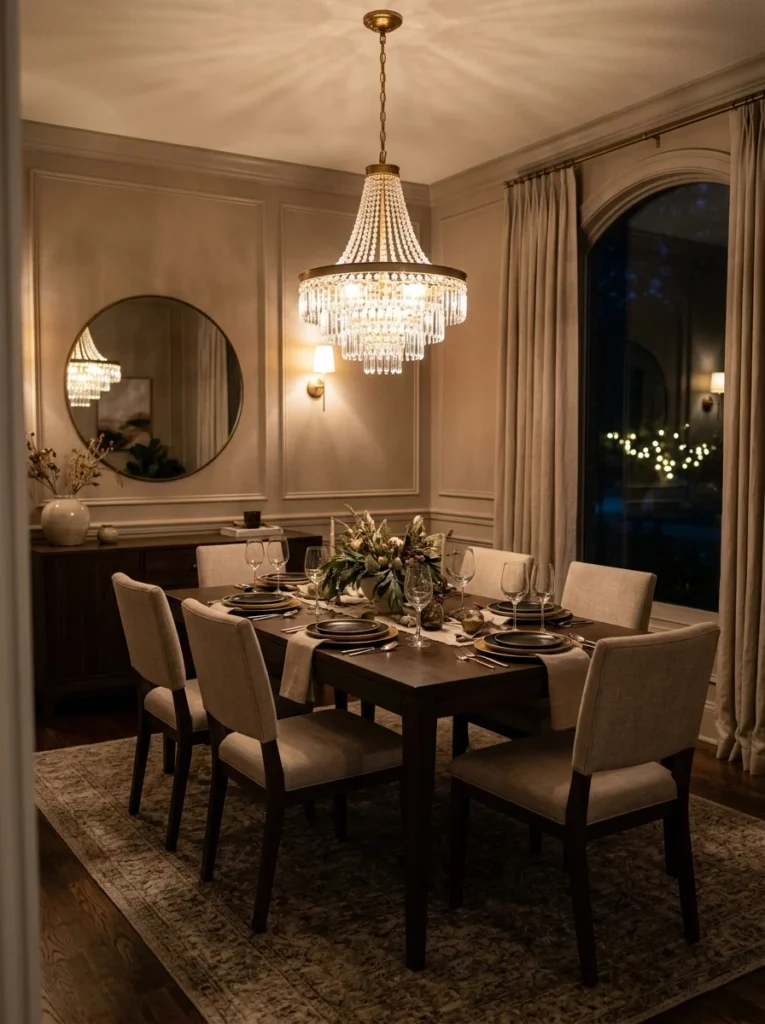
If your budget allows for only one lighting upgrade this year, making it a dimmer switch is genuinely one of the highest-impact, most versatile improvements available, since it lets a single fixture serve multiple different purposes throughout the day and across different types of gatherings. I had my electrician install a dimmer at the same time as my new fixture, and being able to bring the lights up bright for setting the table or doing homework at the dining table, then dim them down considerably for an intimate dinner in the evening, has made the room genuinely more functional across a much wider range of actual daily uses. This is a relatively small additional cost if you’re already having an electrician install a new fixture, and I’d strongly recommend including it in that same project rather than treating it as a separate future upgrade, since the incremental cost is minimal compared to installing it as a standalone project later. Even without replacing your existing fixture at all, simply adding a dimmer to your current lighting setup is one of the most cost-effective lighting improvements available for almost any dining room.
5. Layer in Wall Sconces for Ambient Light
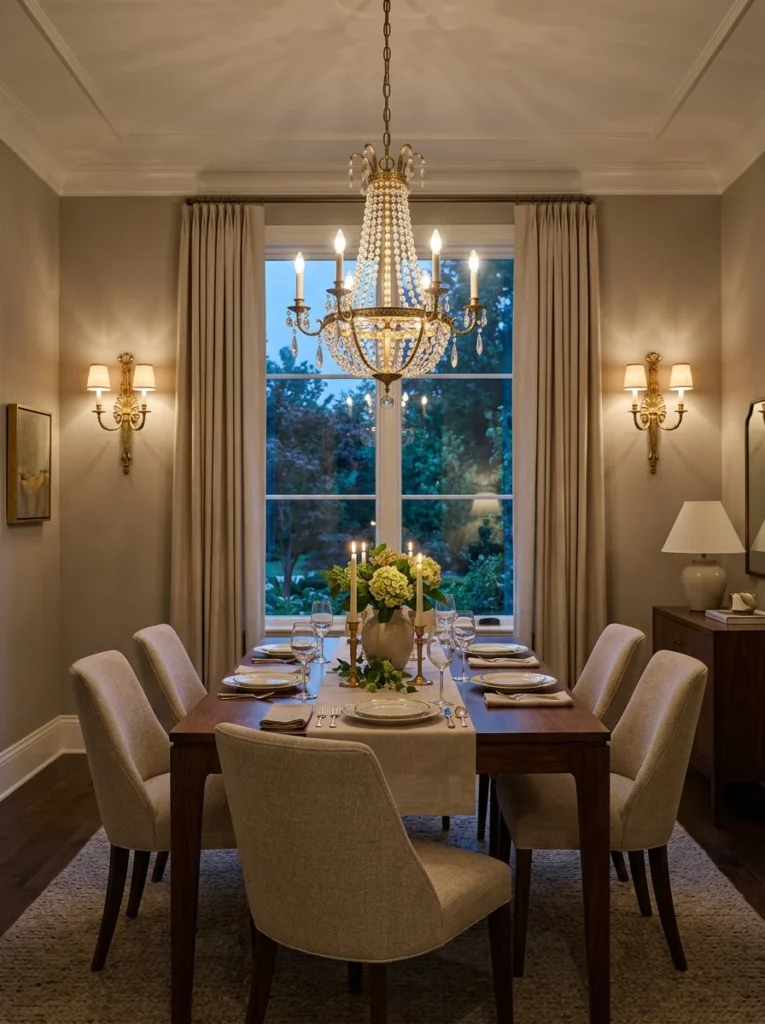
Beyond the primary overhead fixture, adding wall sconces flanking a buffet, a window, or another feature wall in the dining room provides supplementary ambient light that reduces reliance on the overhead fixture alone and adds a softer, more layered quality to the room’s overall lighting. I installed two simple brass sconces flanking my dining room’s window, and having that additional light source has made a noticeable difference during evening meals, filling in some of the shadow that a single central overhead fixture alone tends to leave around a room’s perimeter. This requires additional electrical work beyond just the central fixture, making it a larger project overall, but for anyone already having an electrician in for other work, adding sconce wiring at the same time is considerably more efficient than treating it as an entirely separate future project. I’d recommend choosing a sconce finish that either matches or intentionally coordinates with your main chandelier’s finish, maintaining that same metal consistency principle that matters throughout any well-designed room’s collection of light fixtures and hardware.
6. Use Warm-Toned Bulbs Throughout
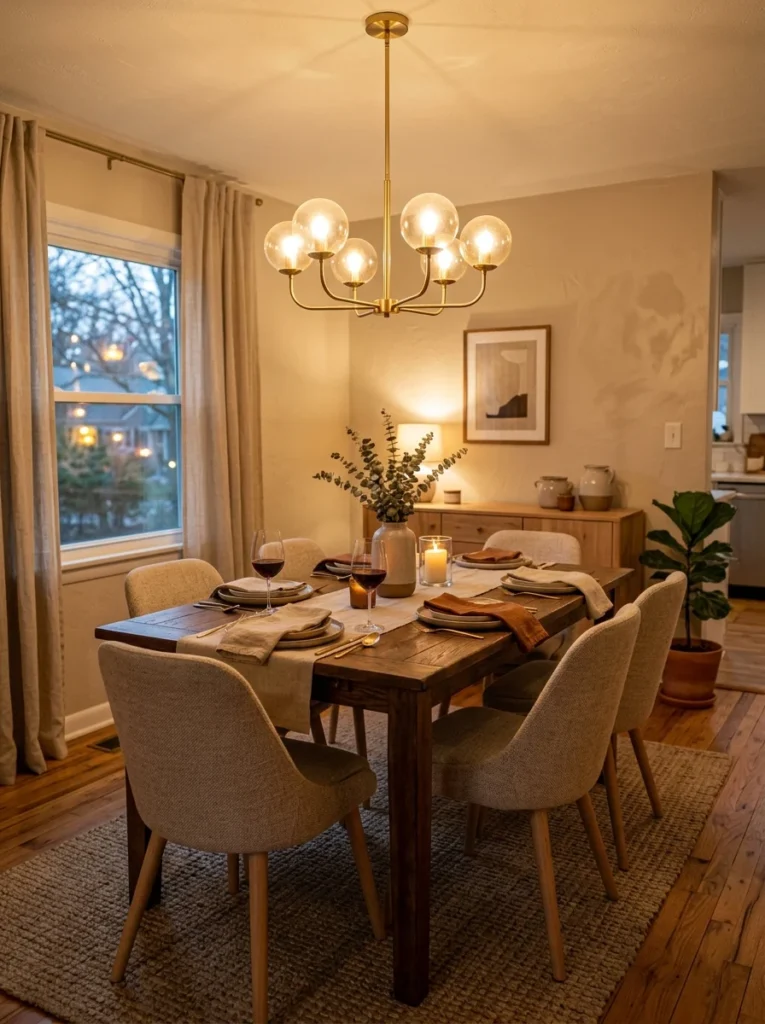
Regardless of which specific fixture style you choose, the actual bulb temperature significantly affects how warm and inviting the finished lighting feels, and I’d strongly recommend staying within the 2700K to 3000K range for dining room lighting specifically, avoiding cooler, bluer-toned bulbs that tend to feel more appropriate for a office or retail environment than a space meant for relaxed, comfortable dining. My previous fixture actually used considerably cooler bulbs than I realized until I compared them directly against my new warm-toned installation, and the difference in how inviting the room feels, even with the exact same overhead fixture position, was more significant than I expected purely from a bulb temperature change. I’d recommend checking your specific bulb’s Kelvin rating, listed on most modern bulb packaging, before installation, rather than assuming any bulb labeled generically as “soft white” will automatically fall within your desired warm range, since labeling conventions vary somewhat between different manufacturers. This is one of the lowest-cost adjustments on this entire list, and it’s worth checking and correcting even if you’re not planning any other lighting changes to your dining room in the near future.
7. Consider a Statement Pendant Cluster
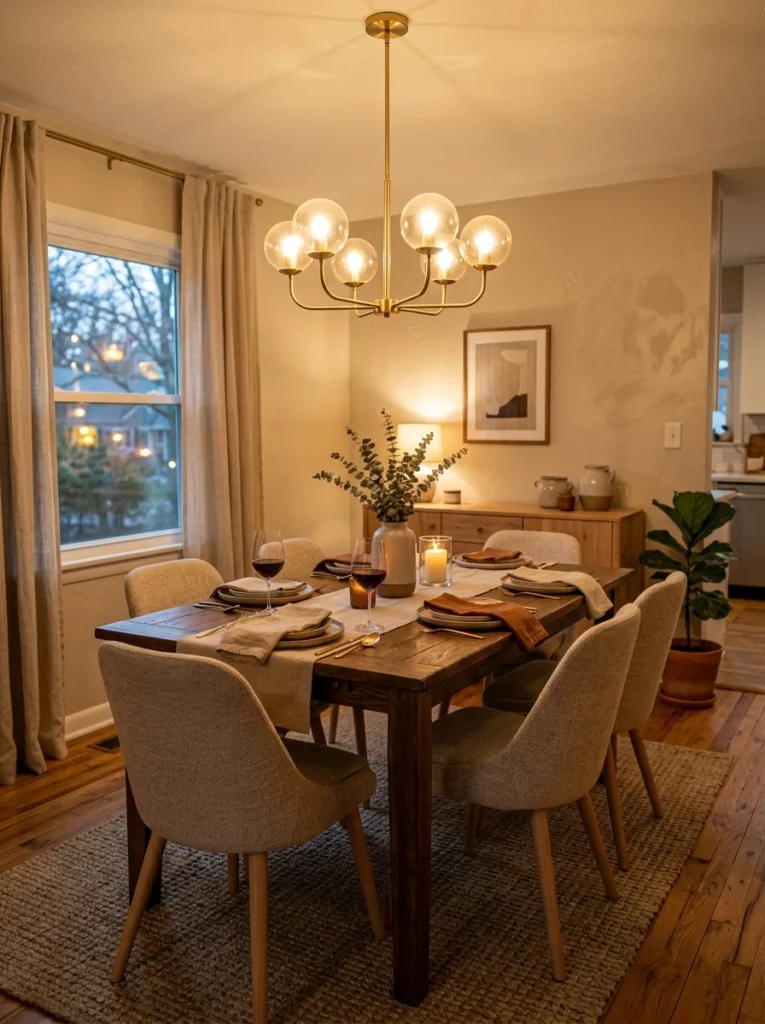
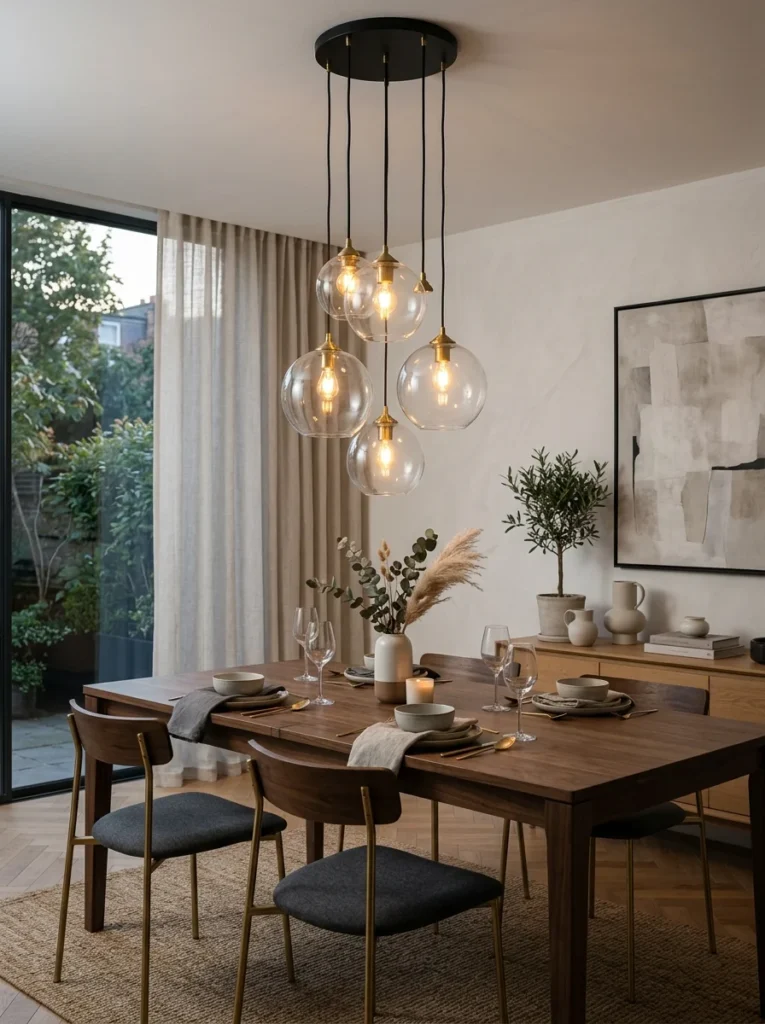
Rather than a single traditional chandelier, clustering several individual pendant lights together at slightly varying heights creates a more contemporary, artistic lighting moment above the table, with the visual interest coming from the arrangement and variation rather than one elaborate fixture. A friend used this approach in her more modern dining room, clustering five simple glass globe pendants in an asymmetrical grouping, and the effect reads as considerably more current and design-forward compared to a traditional single chandelier centered directly above the table. This installation requires careful planning around wiring and mounting for multiple individual fixtures rather than one central point, making it a somewhat more involved electrical project, and I’d recommend working with an experienced electrician specifically familiar with multi-pendant installations to ensure proper spacing and height variation that reads as intentional rather than simply mismatched or poorly planned. This style works particularly well in dining rooms with a more contemporary or eclectic overall design aesthetic, though it can feel out of place in a more traditional or formal dining room where a single cohesive chandelier tends to read as more appropriate to that specific style.
8. Choose a Fixture That Complements Your Table’s Material
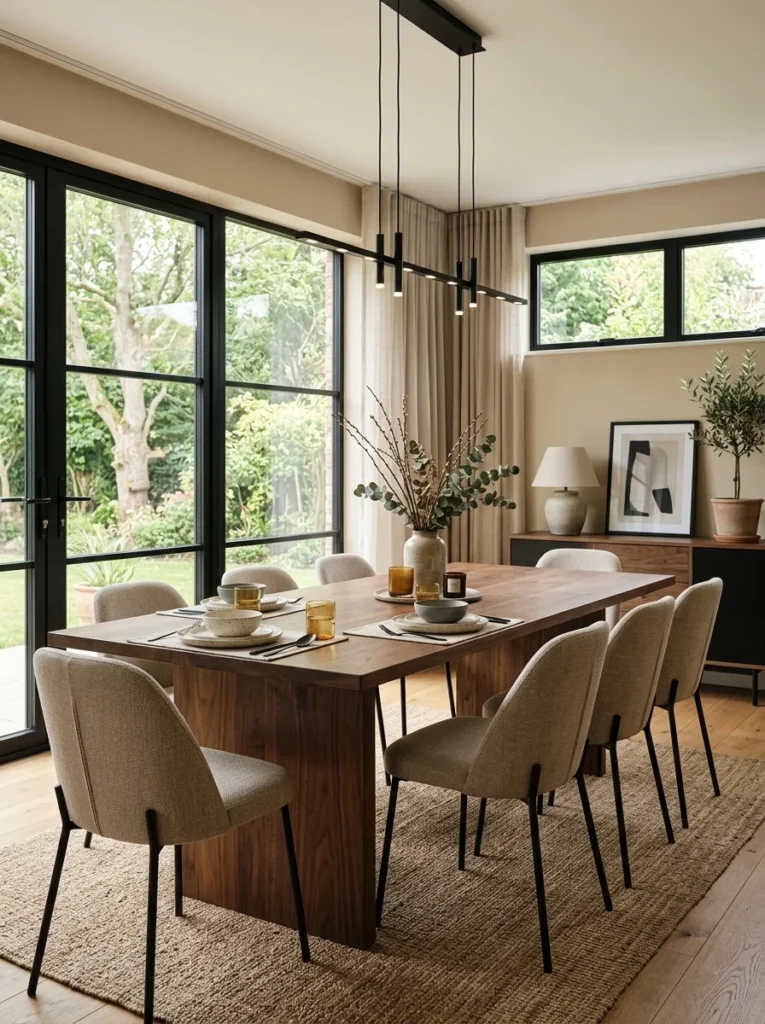
Just as with coffee table styling and kitchen cabinet hardware, considering how your chandelier’s material and finish relates to your dining table’s own material creates a more cohesive overall room, whether through intentional contrast or complementary coordination. My dining table is a warm walnut, and I chose a black metal linear fixture specifically to provide contrast against that warmth, similar to the black window frames and hardware I’ve used elsewhere throughout the room. For a more traditional or formal dining room with an ornate, detailed table, a crystal or more decorative chandelier might complement that existing formality better than a stark, minimalist black metal fixture would, while a farmhouse-style wood table often pairs particularly well with fixtures incorporating wood or rattan elements alongside metal components. I’d recommend bringing a photo of your existing table, or ideally a small material sample if you can obtain one, when shopping for fixtures in person, since the relationship between your table’s material and your chosen fixture matters considerably more once both are actually installed together in the same room than either might suggest viewed independently.
9. Add a Ceiling Medallion for Traditional Rooms
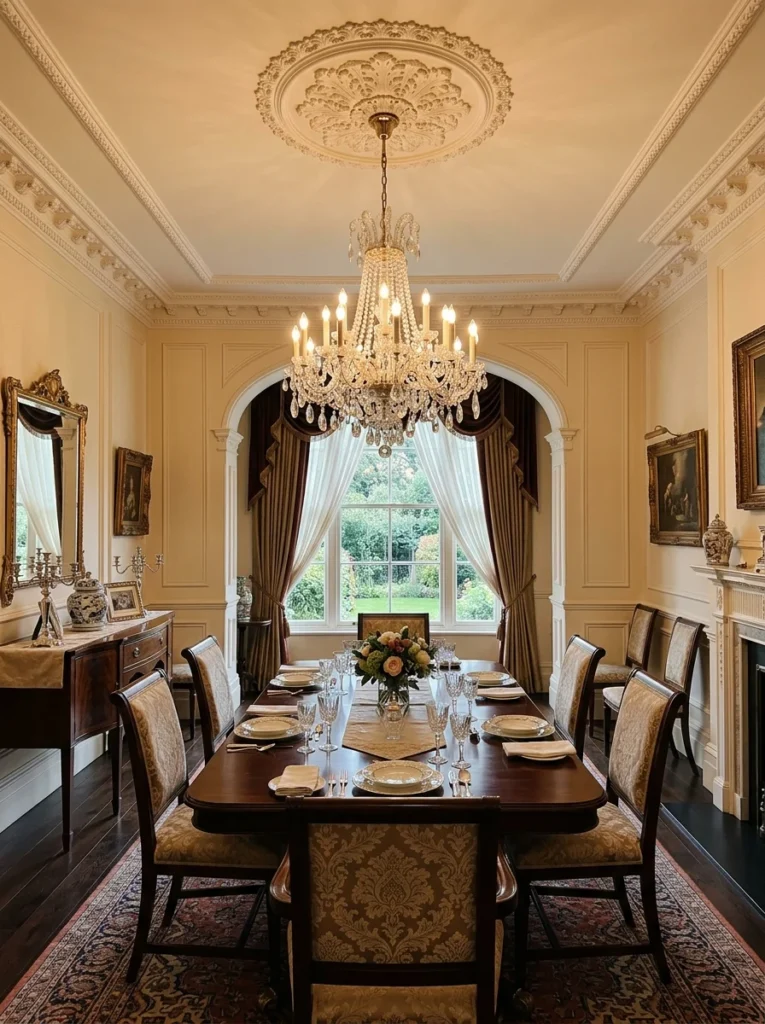
For dining rooms with a more traditional or formal architectural style, installing a decorative ceiling medallion directly around the base of your chandelier’s mounting point adds an additional architectural detail that elevates the installation beyond a simple fixture hanging from a plain ceiling. A friend with a more traditional dining room added a substantial plaster medallion specifically to complement her existing crown molding and other architectural details throughout the room, and the medallion genuinely ties the ceiling into that same level of detail rather than leaving it as the one plain, undecorated surface in an otherwise ornately finished room. This is purely an aesthetic addition rather than a functional necessity, and it makes the most sense specifically in rooms that already lean traditional or formal in their overall architectural style, since a medallion would likely feel mismatched and unnecessarily ornate in a more minimalist, modern dining room. I’d recommend choosing a medallion sized appropriately relative to your chandelier’s own base, generally extending a few inches beyond the fixture’s canopy on all sides, rather than one so large it becomes its own competing visual element separate from the actual light fixture itself.
10. Use a Fixture With Adjustable or Dimmable LED Integration
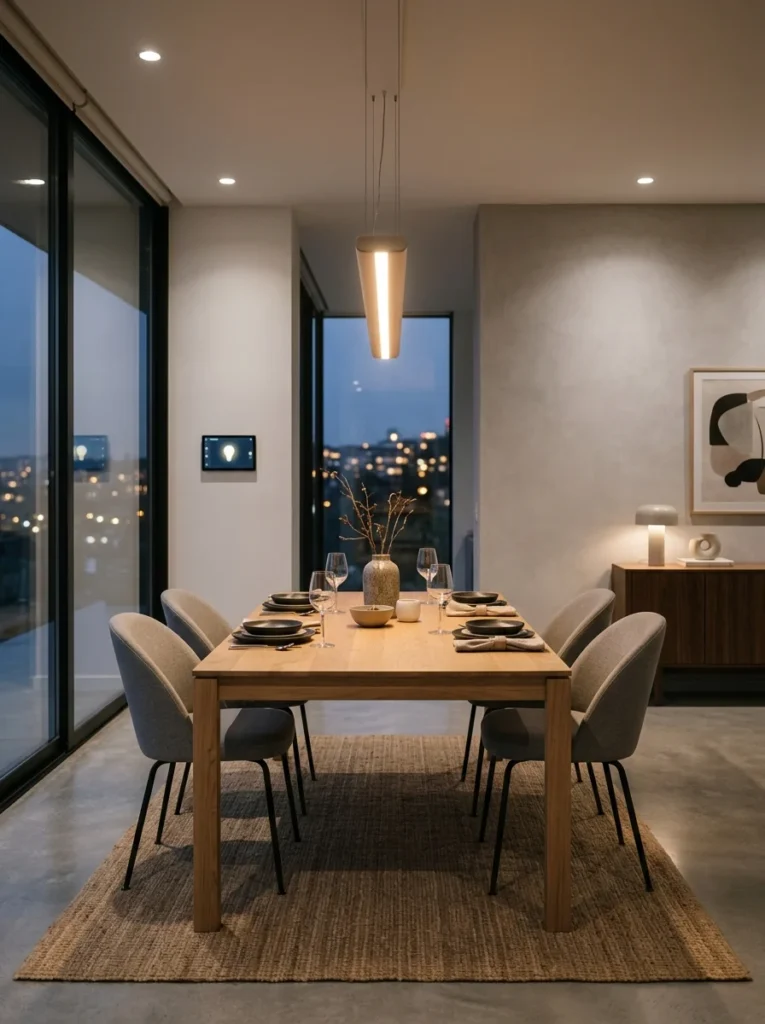
Beyond a traditional fixture paired with a separate dimmer switch, some modern chandeliers now come with fully integrated LED lighting and smart dimming capabilities built directly into the fixture itself, controllable via an app or smart home system rather than requiring a separate physical dimmer switch installation. I considered this route during my own research but ultimately preferred a traditional fixture with standard replaceable bulbs paired with a separate wall dimmer, mainly because integrated LED fixtures can be more expensive to eventually replace or repair if the built-in lighting components fail after several years of use. That said, for anyone comfortable with smart home technology and wanting the convenience of adjusting color temperature as well as brightness, some of these fully integrated systems now offer that additional flexibility, letting you shift from a cooler, brighter setting during a daytime work session at the table to a considerably warmer, dimmer setting for evening meals, all from the same fixture without any bulb swapping required. I’d recommend researching the specific warranty and repair process for any integrated LED fixture carefully before purchasing, since this technology, while increasingly reliable, still generally costs more to service than a traditional fixture with simply replaceable standard bulbs.
11. Consider a Drum Shade for Diffused, Even Light
A drum-shaped chandelier, essentially a cylindrical fabric or metal shade surrounding the actual light source, diffuses light more evenly and softly across the room compared to an open, exposed bulb design, which can create a more flattering, gentler quality of light particularly appreciated during dinner parties and evening gatherings. A friend chose a linen drum shade fixture specifically for this softening quality, and she’s mentioned that the diffused light genuinely feels more flattering during dinner parties compared to her previous, more exposed bulb chandelier design. This style tends to read as slightly more traditional or transitional compared to some of the more exposed, industrial-style fixtures that have become popular in recent years, making it a good choice for dining rooms that want warmth and softness rather than a more architectural, exposed-bulb aesthetic. I’d recommend this specifically for households that prioritize flattering, gentle ambient lighting over a more dramatic, sculptural fixture design, since the drum shade’s primary benefit is really about the quality and diffusion of the light itself rather than serving as a bold standalone visual statement piece.
12. Incorporate Candlelight as a Supplementary Layer
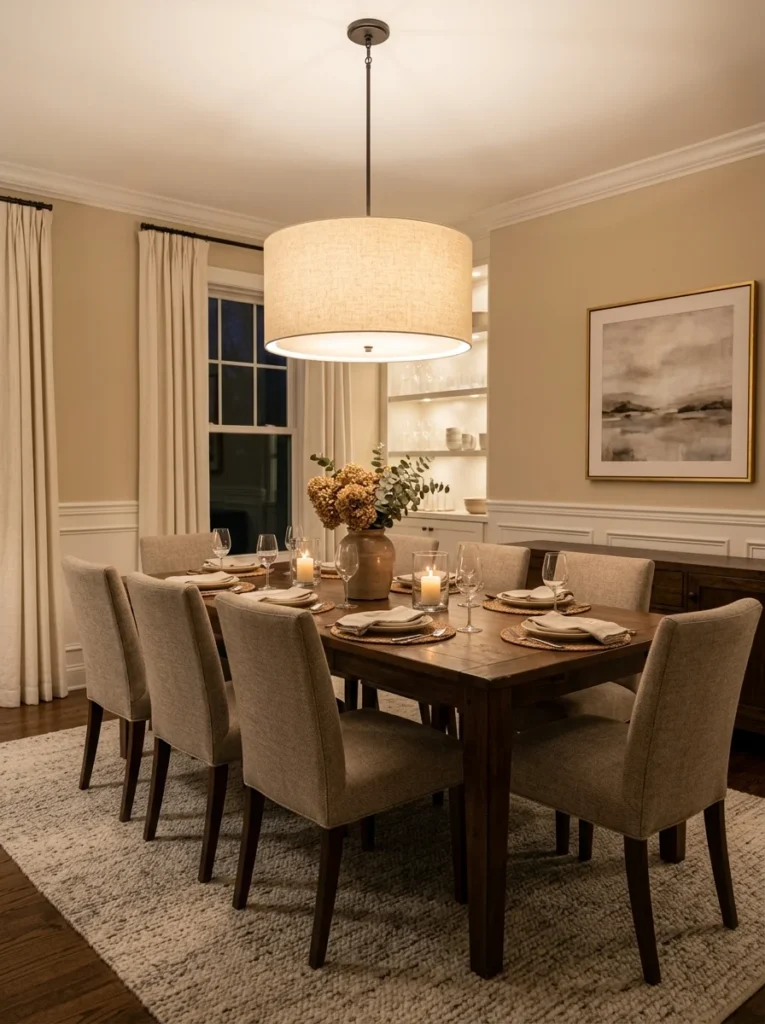
Beyond electric lighting entirely, incorporating actual or flameless candles as a supplementary evening lighting layer, whether through taper candlesticks or a cluster of votives, adds a warmth and flicker that even the best dimmed overhead fixture can’t fully replicate on its own. I keep a set of taper candlesticks that come out specifically for evening dinners, dimming my overhead fixture considerably and relying partly on that candlelight for the room’s actual illumination during more intimate meals, which creates a noticeably different atmosphere than the same fixture at a brighter, more functional daytime setting. This is a relatively low-cost way to add genuine lighting variety and atmosphere to your dining room without any additional electrical installation, simply requiring the candles themselves and a designated spot for them, whether that’s directly on the table as covered in the table decor ideas or on a nearby buffet or sideboard. I’d recommend this specifically as a complement to good overhead lighting with proper dimming capability, rather than a replacement for it, since candlelight alone typically doesn’t provide enough consistent illumination for actually eating a meal comfortably without some level of supplementary overhead light as well.
13. Choose a Fixture Finish That Ties to the Whole Home
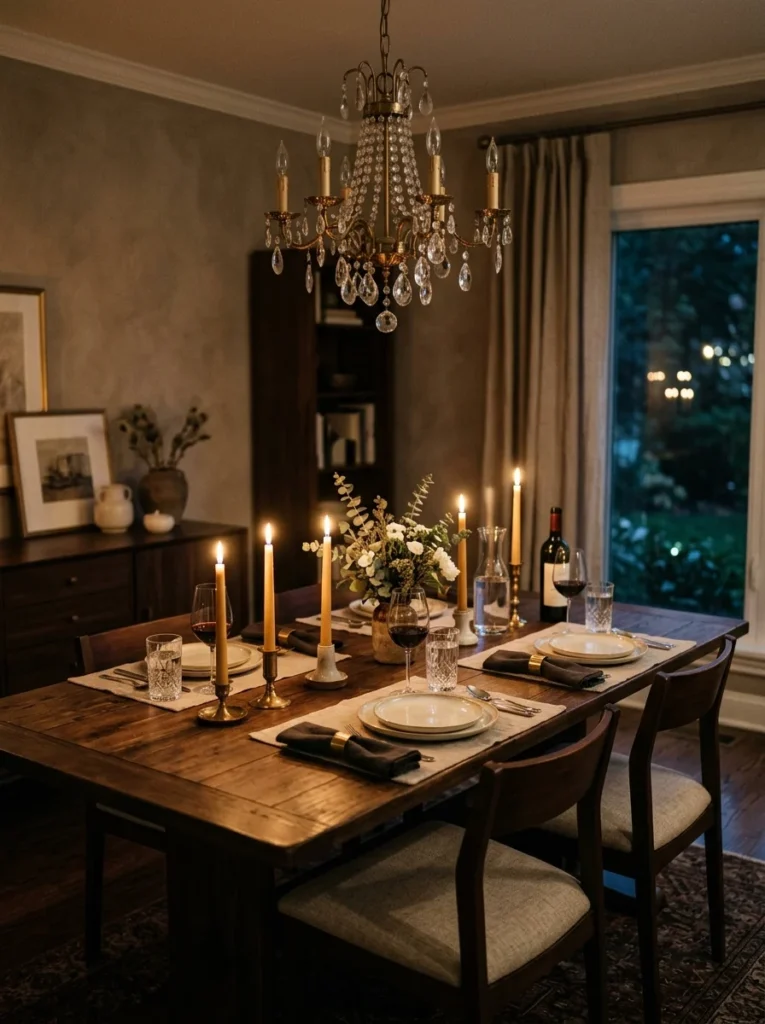
Rather than selecting your dining room fixture in complete isolation from the rest of your home’s design, choosing a finish that relates to fixtures and hardware used elsewhere throughout your house creates a sense of continuity as guests move from room to room during a visit or gathering. My black metal dining room fixture echoes similar black accents I’ve used in my kitchen and living room, creating that same thread of visual consistency that ties the whole home together as a cohesive space rather than each room existing as a completely separate design project. I’d recommend taking stock of your predominant metal finishes throughout adjacent rooms specifically, kitchen, entryway, living room, before finalizing your dining room fixture choice, since a jarring finish mismatch becomes particularly noticeable in homes with a more open floor plan where multiple rooms and their respective lighting are visible simultaneously from a single vantage point. This doesn’t mean every single fixture throughout your home needs to match exactly, but a general sense of coordinated finishes creates a noticeably more polished, professionally designed feeling throughout the whole home rather than room by room.
14. Add Uplighting for Dramatic Ceiling Effects
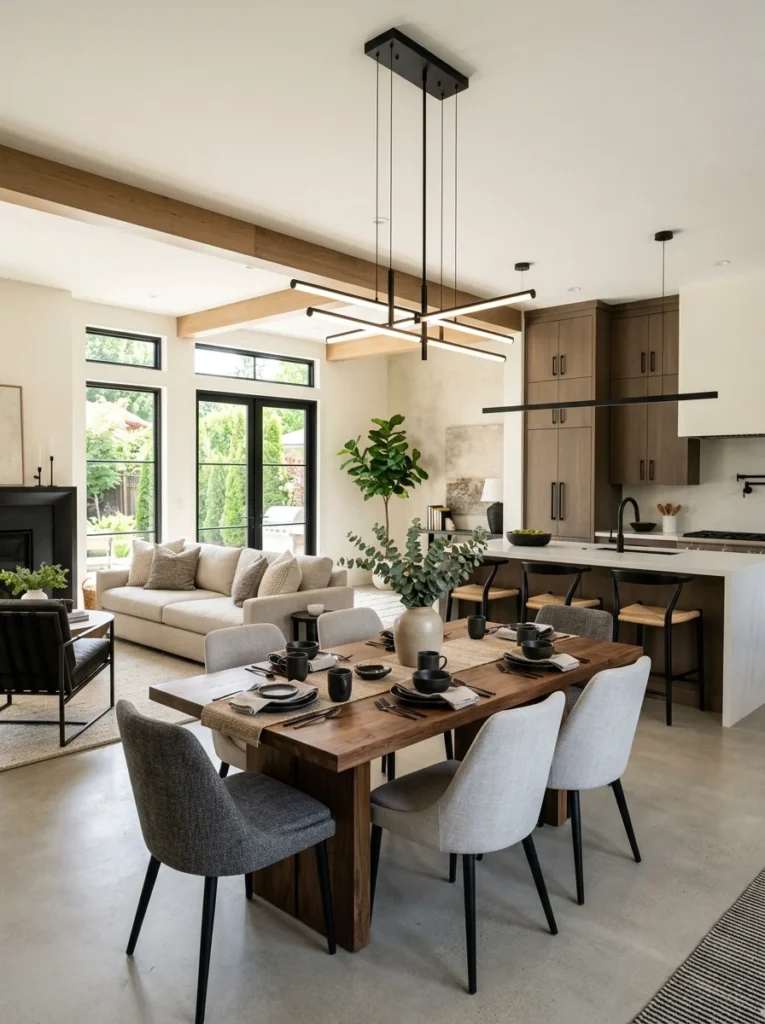
For dining rooms with particularly interesting ceiling details, exposed beams, an interesting paint color, or decorative molding, incorporating uplighting, whether through a fixture design that directs some light upward or supplementary small uplights positioned around the room’s perimeter, draws attention to and highlights those ceiling details that might otherwise go unnoticed in a room lit purely from a single downward-facing central fixture. A friend with exposed wood beams throughout her dining room added small uplights specifically positioned to highlight the beam’s texture and grain, and the resulting shadow play across the ceiling adds a genuinely dramatic quality to the room during evening gatherings that a purely downward-focused lighting scheme wouldn’t achieve on its own. This is a more specialized addition that makes the most sense specifically for rooms with genuinely interesting architectural ceiling details worth highlighting, since uplighting a plain, undetailed ceiling doesn’t provide the same dramatic payoff that it does when there’s actual texture and detail for the light to interact with and emphasize.
15. Use Multiple Smaller Fixtures Over a Long Table
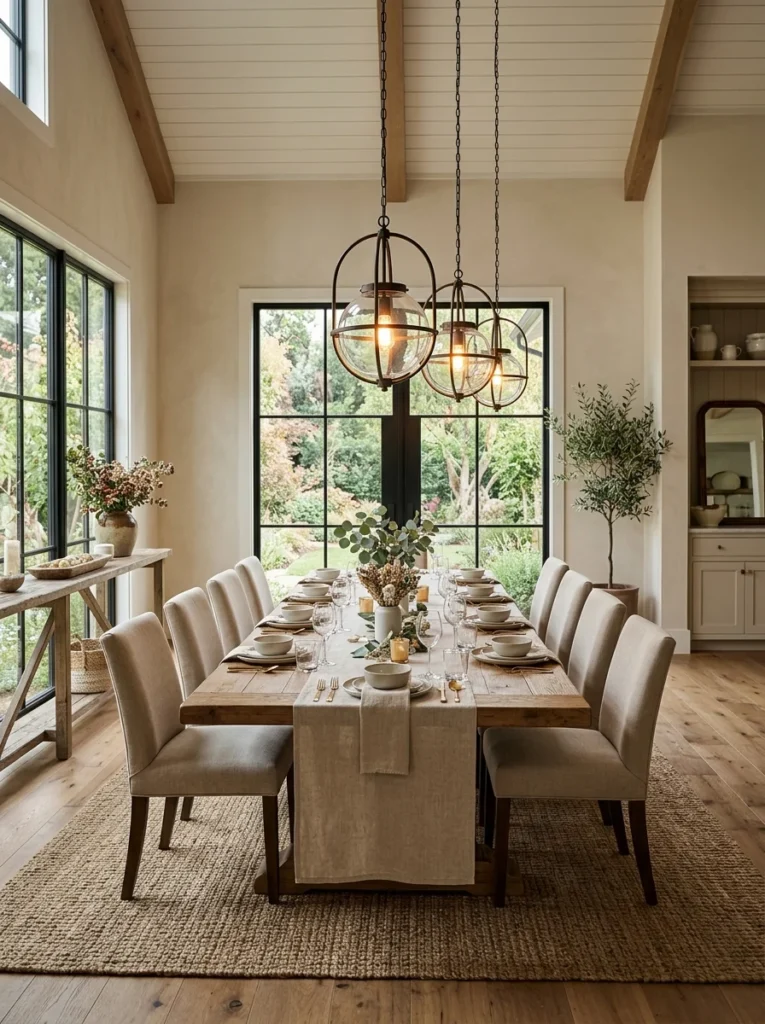
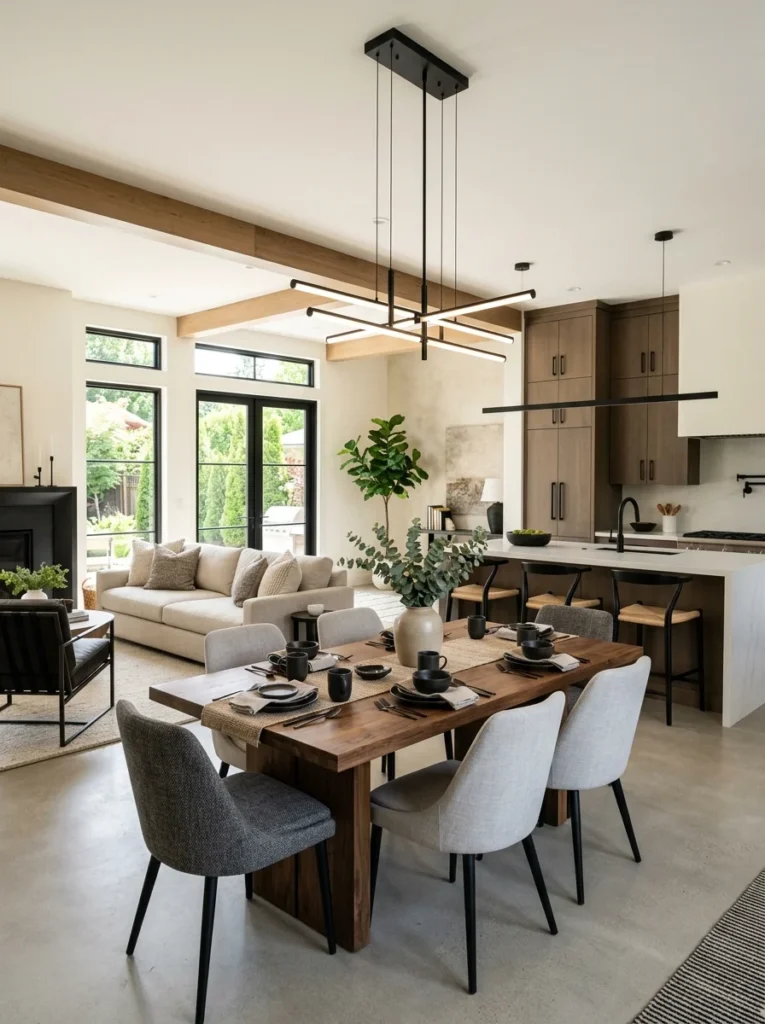
For particularly long dining tables that a single central fixture can’t adequately illuminate along its full length, installing two or three smaller matching fixtures spaced evenly along the table’s length ensures even illumination across the entire surface rather than concentrating all the light at one central point while the table’s far ends remain comparatively dim. A friend with an especially long farmhouse table used exactly this approach, three matching pendant lights spaced evenly along the table’s length, and the resulting even distribution of light means guests seated at either end of her long table experience the same quality of illumination as those seated closer to the center. This requires more extensive electrical planning than a single central fixture, since you’re essentially wiring multiple mounting points rather than one, making it a more involved and typically more expensive installation project overall. I’d recommend this specifically for tables exceeding roughly eight feet in length, where a single fixture, regardless of how wide or elaborate, genuinely struggles to provide adequate even illumination across the entire table’s full surface without this kind of multi-point approach.
16. Consider Natural Light and Window Placement
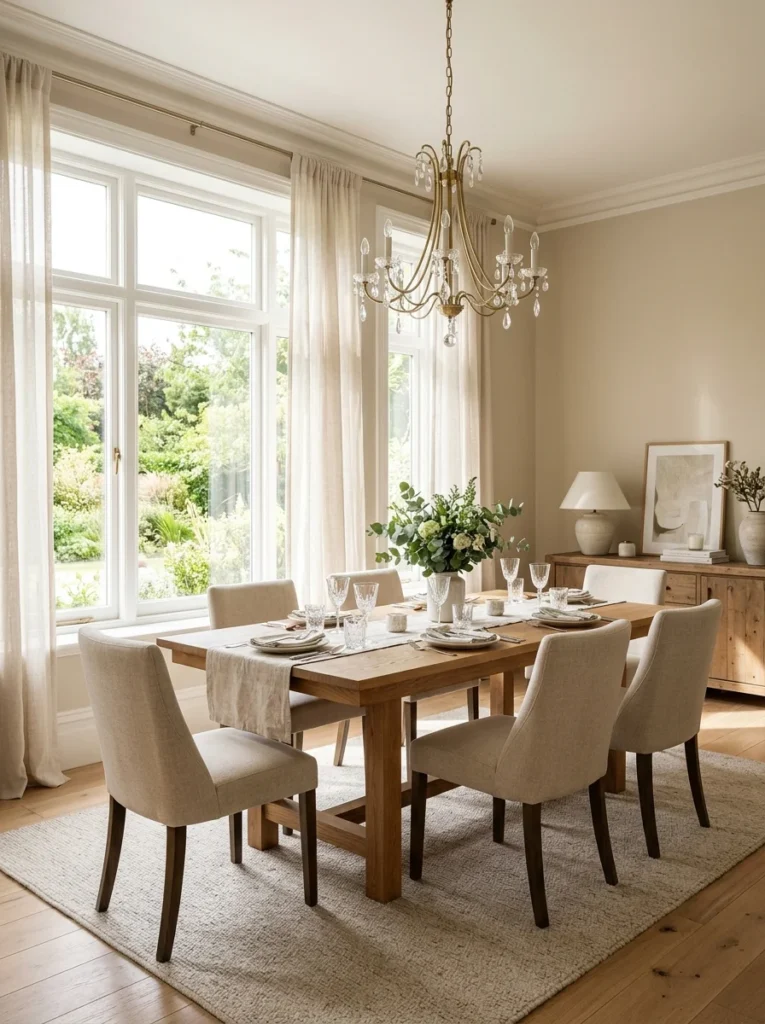
Beyond artificial fixtures entirely, considering how your dining room’s existing windows and natural light interact with your table’s position and your planned artificial lighting affects how the room actually feels throughout different times of day, not just in the evening when artificial light becomes the primary source. My dining table sits near a large window, and I specifically chose sheer rather than heavy blackout curtains for that window, allowing natural light to remain a meaningful contributor to the room’s overall lighting during daytime meals rather than relying entirely on artificial light even when it’s bright outside. I’d recommend considering your dining table’s position relative to any existing windows before finalizing your artificial lighting plan, since a table positioned to take good advantage of natural daylight might reasonably need a slightly less powerful primary overhead fixture than one in a windowless or naturally darker room where artificial lighting needs to carry the entire load throughout the day. This consideration also matters for photography and general daytime ambiance, since a dining room that looks beautiful under warm evening artificial lighting should ideally also feel pleasant during a bright midday lunch relying primarily on whatever natural light the room’s windows actually provide.
17. Hire a Professional for Anything Beyond a Simple Swap
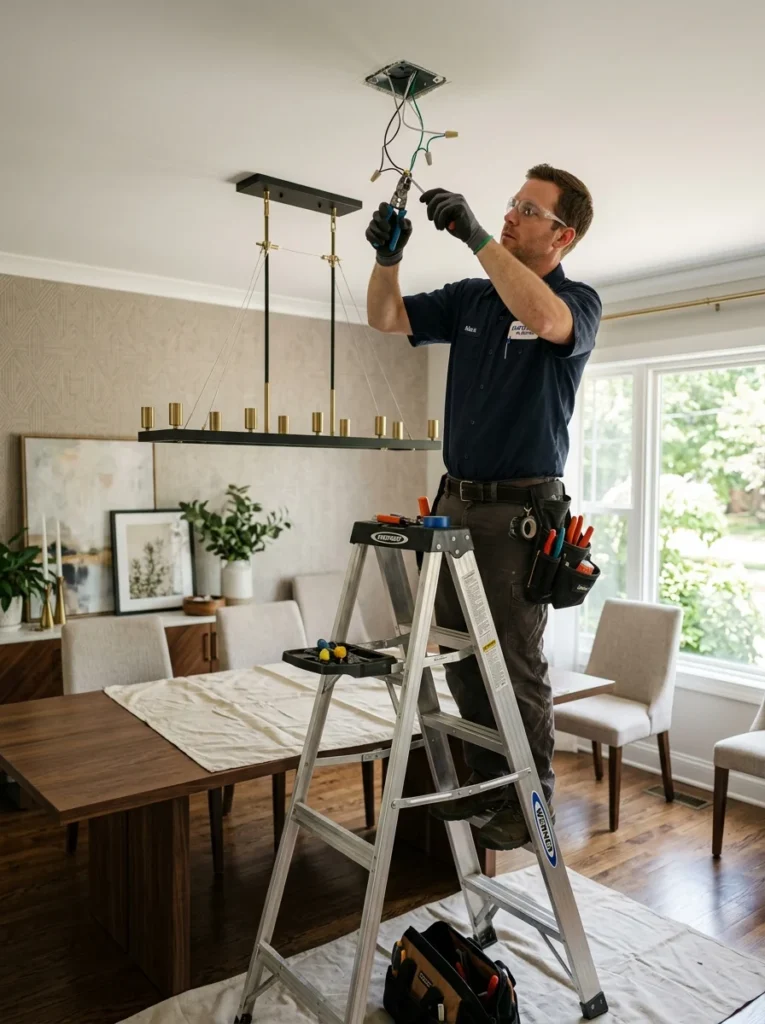
While a straightforward fixture swap using the same existing electrical box is often manageable for a reasonably handy homeowner comfortable with basic electrical work, anything involving new wiring, additional fixtures like sconces or multi-pendant installations, or dimmer switch installation genuinely benefits from professional electrical work, both for safety reasons and to ensure the final installation actually functions reliably long term. I hired an electrician for my own project specifically because it involved both a new dimmer installation and confirming my existing electrical box could safely support my heavier new linear fixture, and having that professional confirmation and installation gave me genuine confidence in the final result beyond what I would have felt attempting it entirely myself. I’d recommend getting at least a consultation from a licensed electrician even if you’re planning to handle some portions of the project yourself, specifically to confirm your existing electrical setup can safely support whatever new fixture and additional features you’re planning, before purchasing anything or beginning any actual installation work. This is genuinely one area of home improvement where the cost of professional help is worth the investment, given both the safety considerations involved with electrical work and the disappointment of installing an expensive new fixture only to discover afterward that it wasn’t properly supported by your home’s existing electrical infrastructure.
18. Final
Looking back at that dim, dated brass fixture I lived with for two years longer than I should have, purely out of intimidation about the electrical work involved, it’s genuinely remarkable how much a single afternoon with an electrician changed the entire feeling of my dining room. Between all 17 of these ideas, the underlying theme is really that dining room lighting deserves more consideration than most people give it, since it affects not just how the room looks but how comfortable and functional it actually is for the meals and gatherings that happen underneath it every single day.
If your own dining room is still working with a dim, dated, or poorly positioned fixture, I’d suggest starting with the height and scale guidelines covered in the first two ideas before anything else, since getting those foundational proportions right matters more than any specific style choice that follows. From there, adding a dimmer switch alongside whatever new fixture you choose is genuinely worth the small additional investment, giving you the flexibility to adjust the room’s entire feeling depending on the occasion, the same flexibility that’s made my own dining room considerably more functional and enjoyable than it ever was under that old, dim brass chandelier.
