
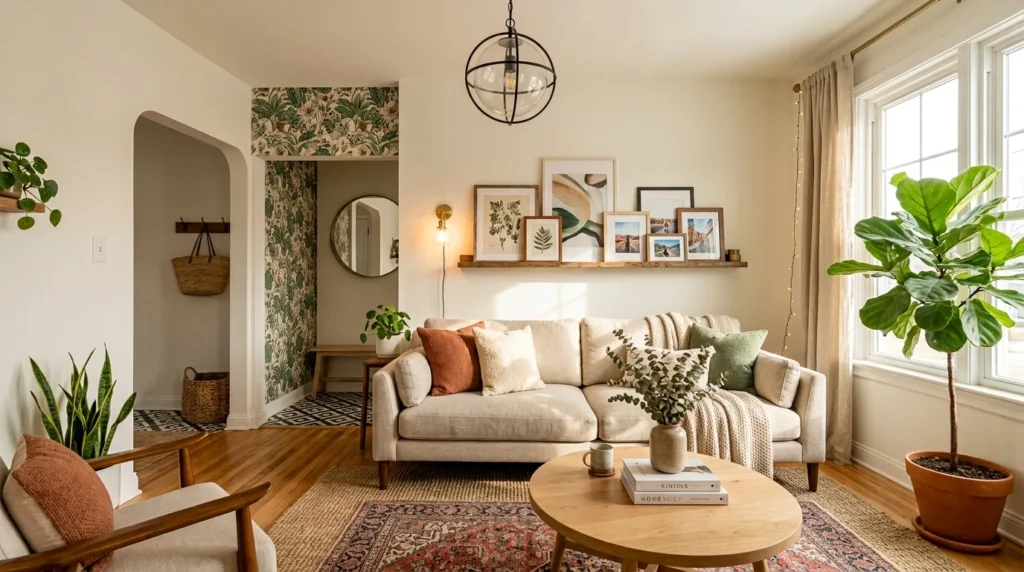
A friend of mine once asked me how much I spent turning my rental apartment from “sad landlord special” into something that actually felt like mine. When I told her the real number, she didn’t believe me. It wasn’t thousands of dollars. It was mostly weekends, a few trips to the hardware store, and a willingness to try things I’d never done before, including a cabinet painting project that went badly wrong the first time and much better the second.
I’ve rented four different apartments over the last several years, and none of them let me knock down walls or install new flooring. What I did have was permission to make small, mostly reversible changes, and a limited budget that forced me to get creative instead of just buying my way to a better-looking space. Along the way I made plenty of mistakes, wasted a bit of money on things that didn’t work, and slowly figured out which projects were actually worth the weekend. Here’s everything I’ve done, roughly in the order I tackle it whenever I move somewhere new.
1. Paint the Cabinets Instead of Replacing Them
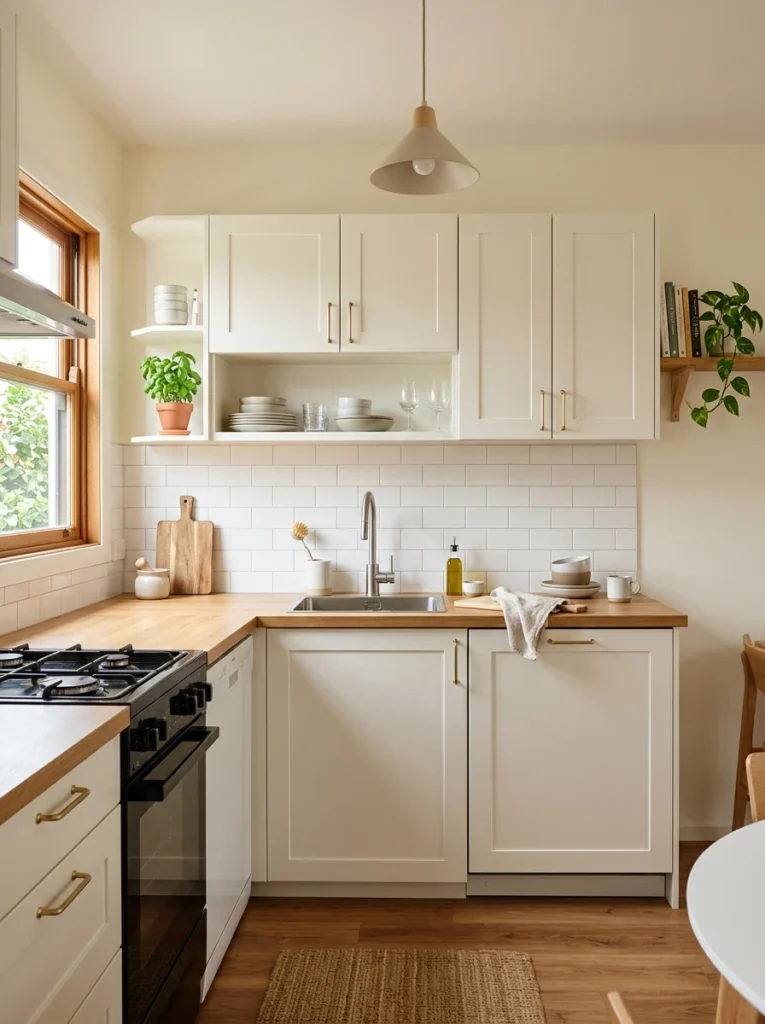
My first attempt at painting kitchen cabinets was rushed. I skipped sanding, used a wall paint instead of a proper cabinet-grade product, and it started chipping around the handles within two months. The second time I did it, in a different apartment, I took the doors off, sanded every surface lightly, wiped them down with a degreaser, and used an actual cabinet and trim paint with a built-in primer. That set has held up for over two years now without a single chip, even with daily use. This one project changed the entire feel of my kitchen more than anything else on this list, and it cost less than a hundred dollars in supplies. The lesson I keep repeating to friends is that prep work is genuinely more important than the paint itself.
2. Swap the Cabinet Hardware
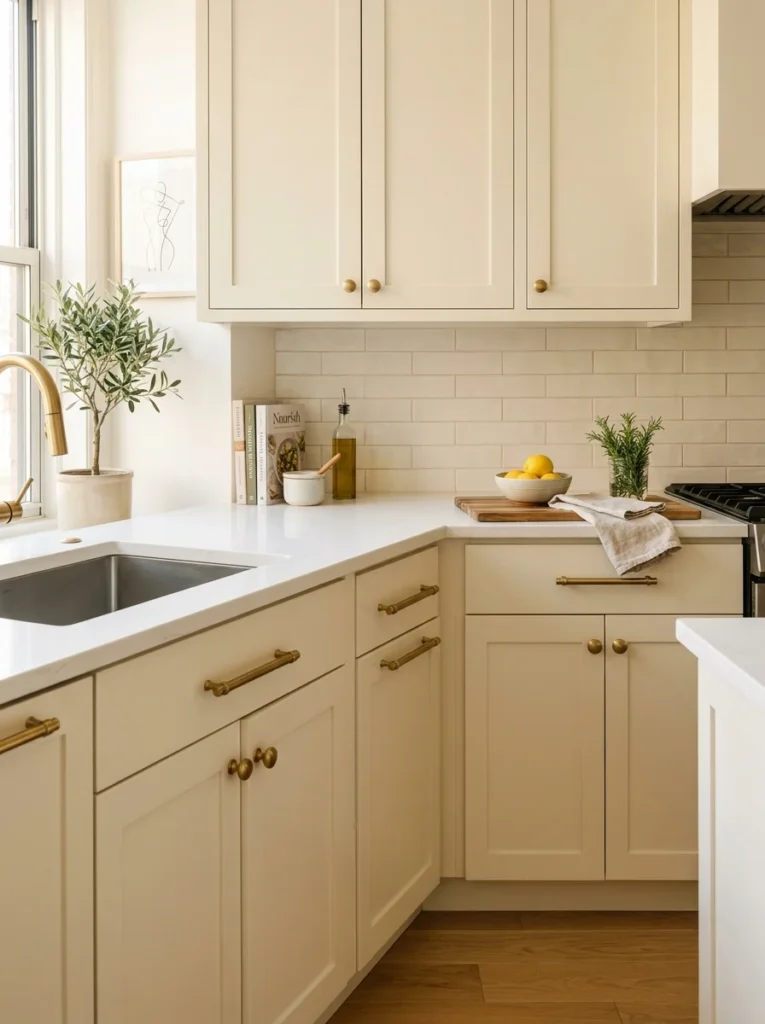
New knobs and pulls cost me less than a nice dinner out, and they made the “new” cabinet paint look even more finished and intentional. I went with simple brushed brass pulls instead of the original plastic knobs, and the difference in how the whole kitchen read was surprisingly large for such a small purchase. I kept the old hardware in a labeled zip-lock bag taped inside a cabinet, which is a habit I’d recommend to anyone renting, since most leases require the unit to go back to its original condition.
3. Add a Peel-and-Stick Backsplash
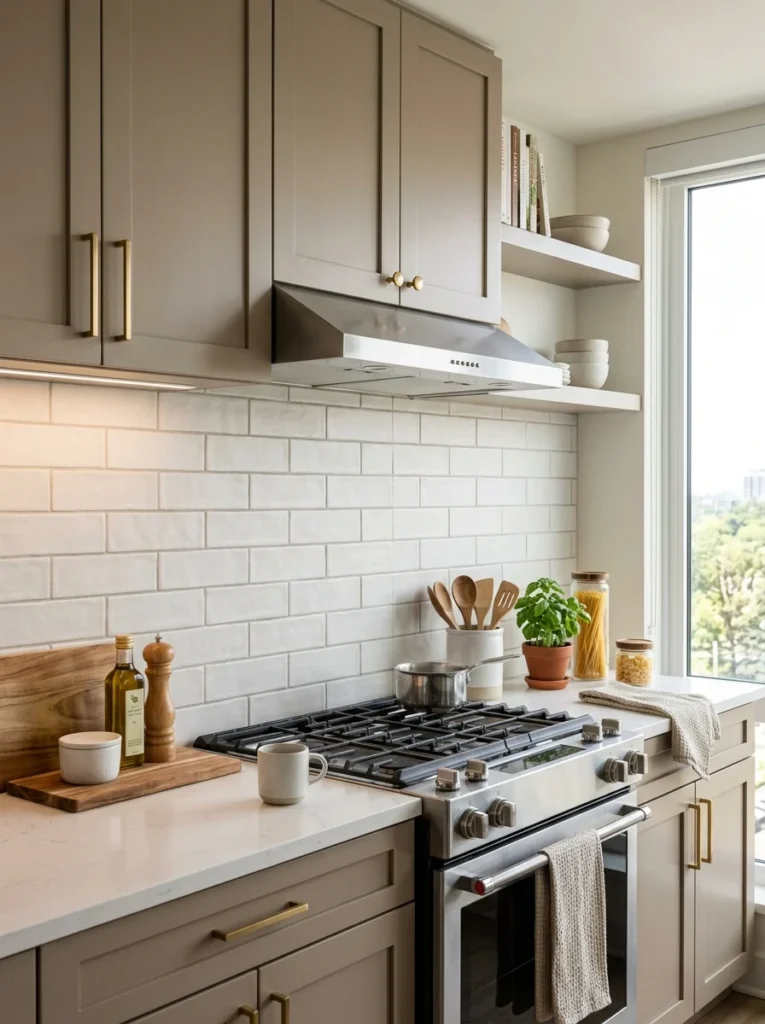
I was skeptical this would look cheap, but a textured peel-and-stick tile behind my stove ended up looking convincingly real both in photos and in person, to the point where a few guests assumed it was actual tile. The trick I learned the hard way, after redoing one section twice, is to press firmly along every single edge and use a small plastic roller to push out any trapped air bubbles before they set. I also learned to measure twice and dry-fit the sheets before peeling the backing, because once they stick, repositioning them cleanly is nearly impossible.
4. Use Contact Paper on Drawer Interiors and Open Shelving
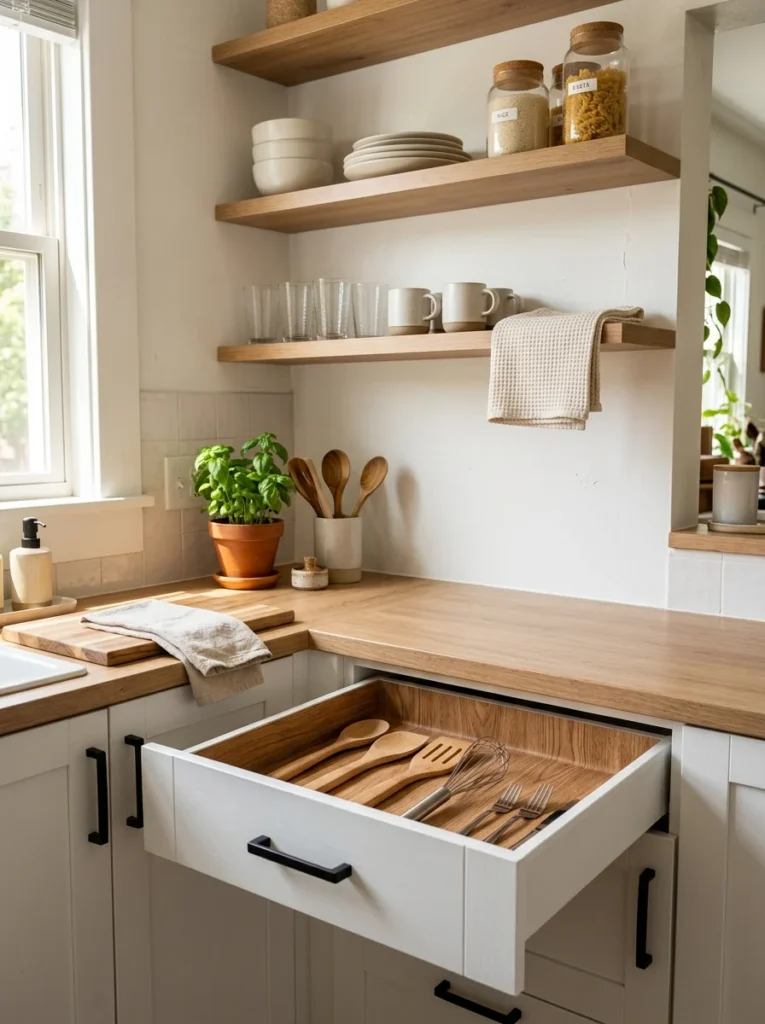
My kitchen drawers came with warped, stained shelf liner left behind by a previous tenant, and it bothered me every time I opened one. Replacing it with a simple wood-grain contact paper made even the inside of my drawers feel intentional rather than neglected, and the whole kitchen took less than an hour to redo. I did the same thing on a set of open shelves in my bathroom, and it made cheap wire shelving look noticeably more finished.
5. Install an Under-Cabinet Light Strip
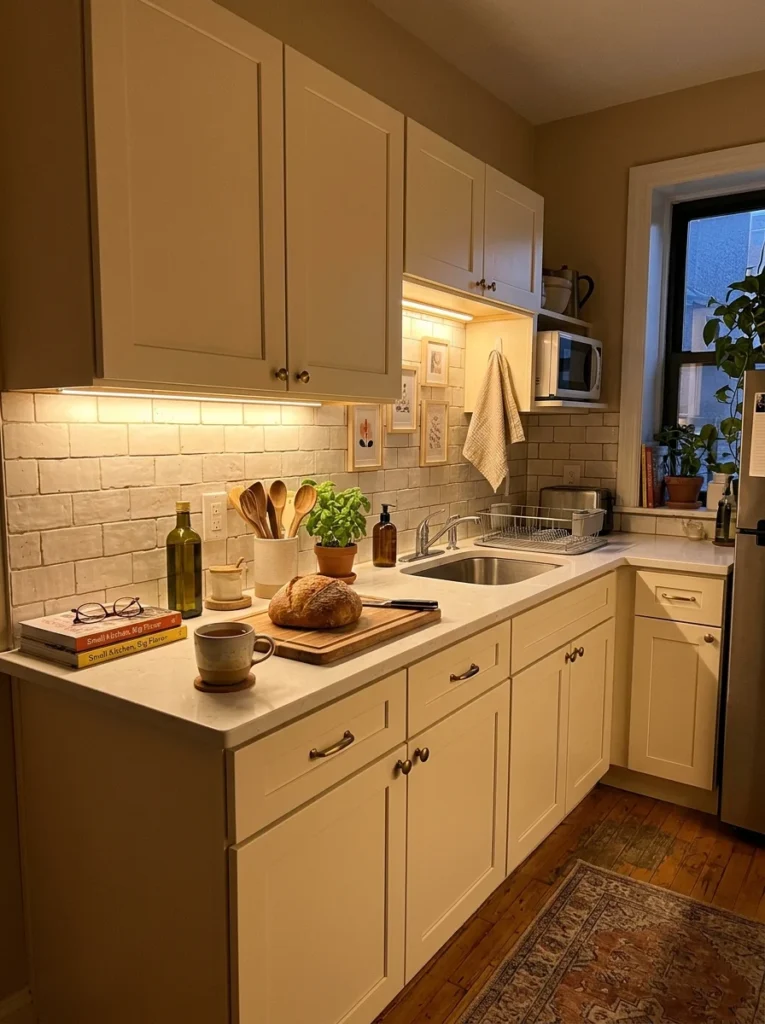
This was a twenty-minute, battery-powered fix that made my counters dramatically more usable at night and gave the kitchen a warmer, more finished look after dark. No electrician, no drilling, just adhesive mounting strips and a remote to control the brightness. I’ve since added one under my bathroom mirror cabinet too, and it’s made getting ready in the morning noticeably easier.
6. Use Large-Scale Removable Wallpaper on One Wall
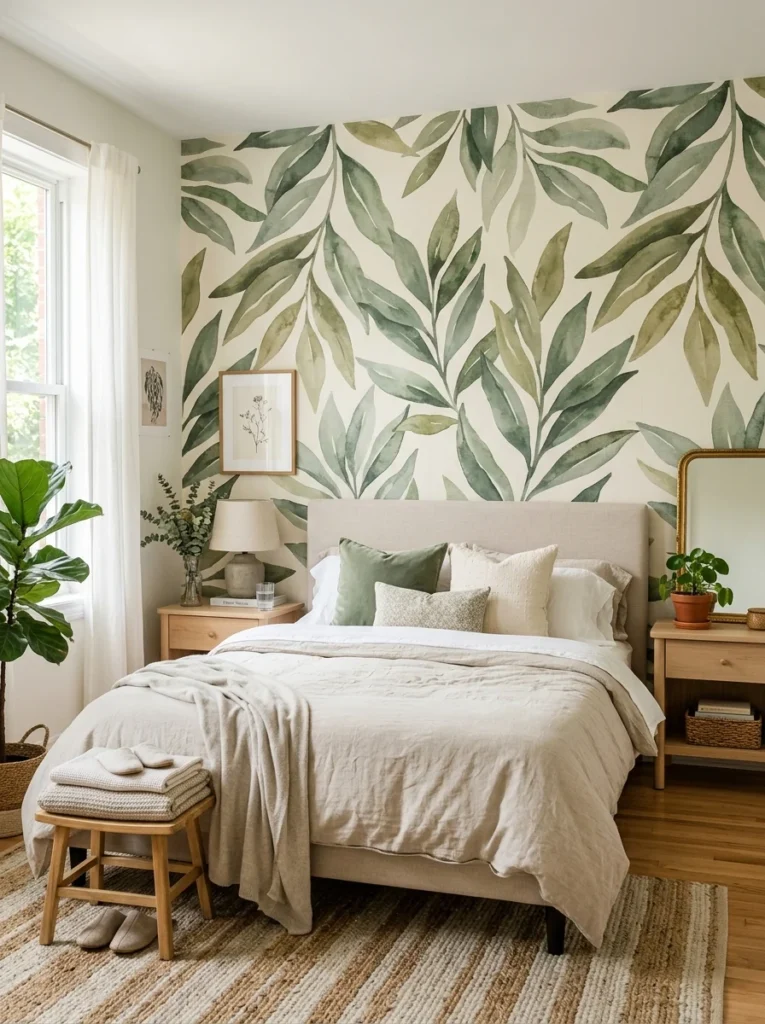
I put a botanical print removable wallpaper on the wall behind my bed, and it became the first thing people commented on when they walked into my bedroom. It took an entire Saturday afternoon and two people to get it perfectly smooth, so I’d recommend having help the first time you try it. My biggest mistake was working too slowly on the first strip, which let the adhesive start to grip before I had it aligned, leaving a slight bubble I never fully fixed. On the second wall I did later, I worked in smaller sections and it went on almost perfectly.
7. Try Picture Ledges Instead of a Full Gallery Wall
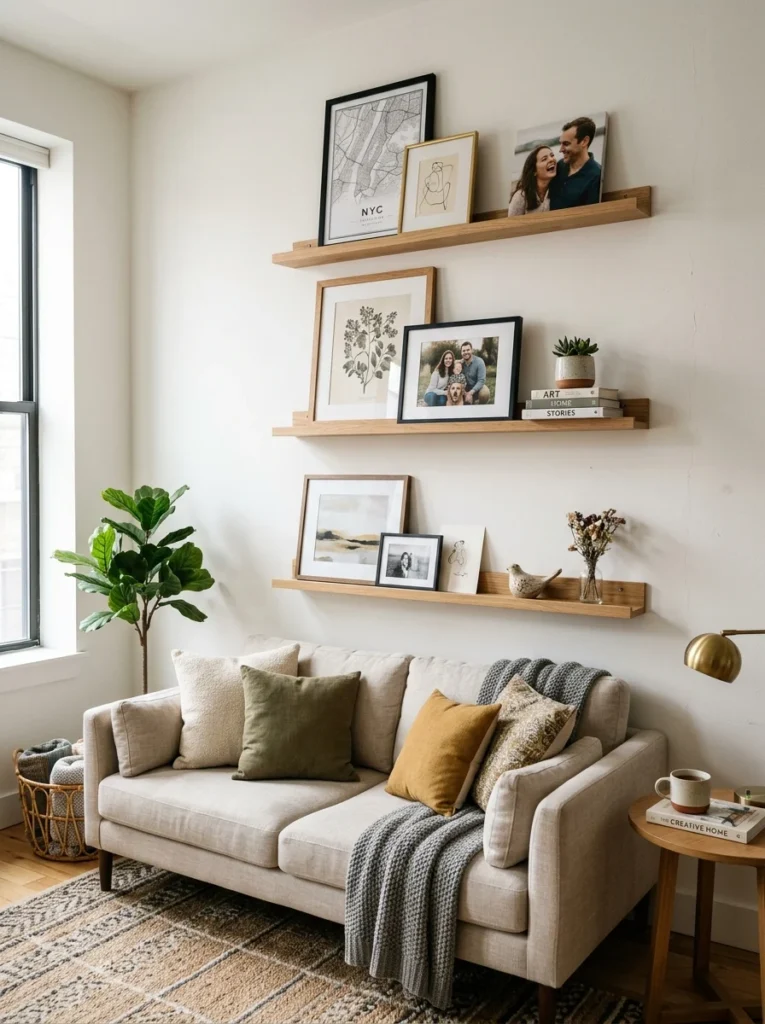
Renting means I’m cautious about how many holes I put in the walls. A few picture ledge shelves let me lean and layer frames without committing to a fixed arrangement, and I can rearrange the whole display completely whenever I get bored with the look, which happens more often than I’d like to admit. Three ledges of slightly different lengths, staggered at different heights, gave me a gallery-wall look with only six total holes instead of the dozen or more a traditional layout would need.
8. Paint the Ceiling if the Walls Are Off Limits
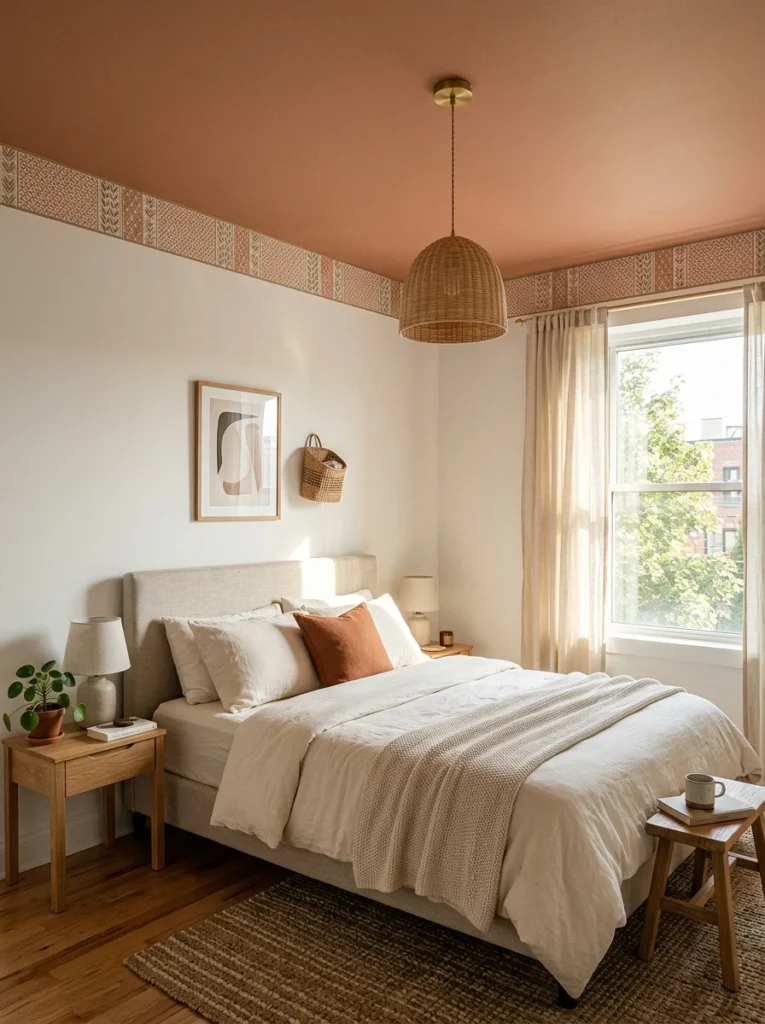
In one apartment, I wasn’t permitted to paint the walls at all, but the lease didn’t specifically mention ceilings. A soft, warm color on the ceiling of my bedroom created a surprisingly cozy, almost tent-like feeling in the room that I still miss in my current place. It took two coats and a full day to dry between them, but it was one of the more unexpected upgrades I’ve done, and almost nobody expects to look up and see color.
9. Distract From an Ugly Ceiling Patch With a Statement Light
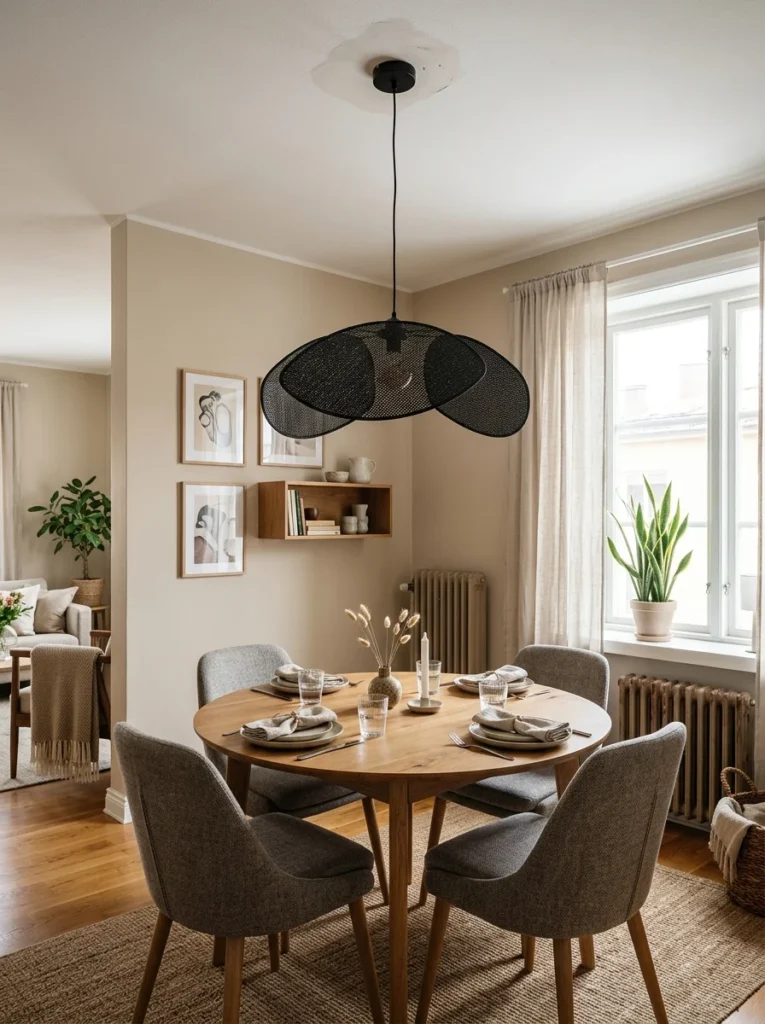
Rather than trying to fix a rough ceiling repair spot left by a previous tenant’s light fixture, I hung a statement pendant light directly below it, and it drew the eye away from the imperfection almost completely. Nobody has ever mentioned the patch since, and it turned what used to bother me every time I looked up into something I don’t even think about anymore.
10. Layer Rugs Over Old or Damaged Flooring
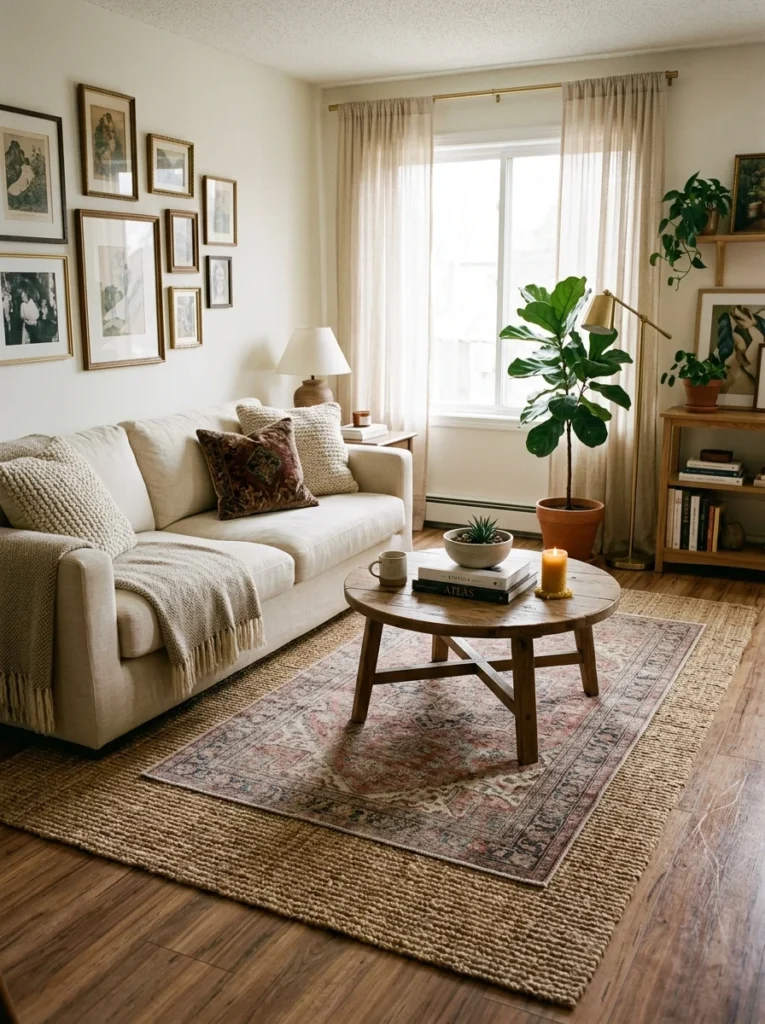
My first apartment had scratched, sun-faded laminate that I couldn’t replace or refinish. Two overlapping rugs of different sizes and textures hid most of the damage and made the living room feel considerably more layered and intentional, rather than like an obvious cover-up. I chose a large jute rug as the base layer and a smaller patterned rug on top, offset slightly, and it became one of the most complimented parts of that apartment.
11. Add Stick-On Vinyl Tiles in a Small Entryway
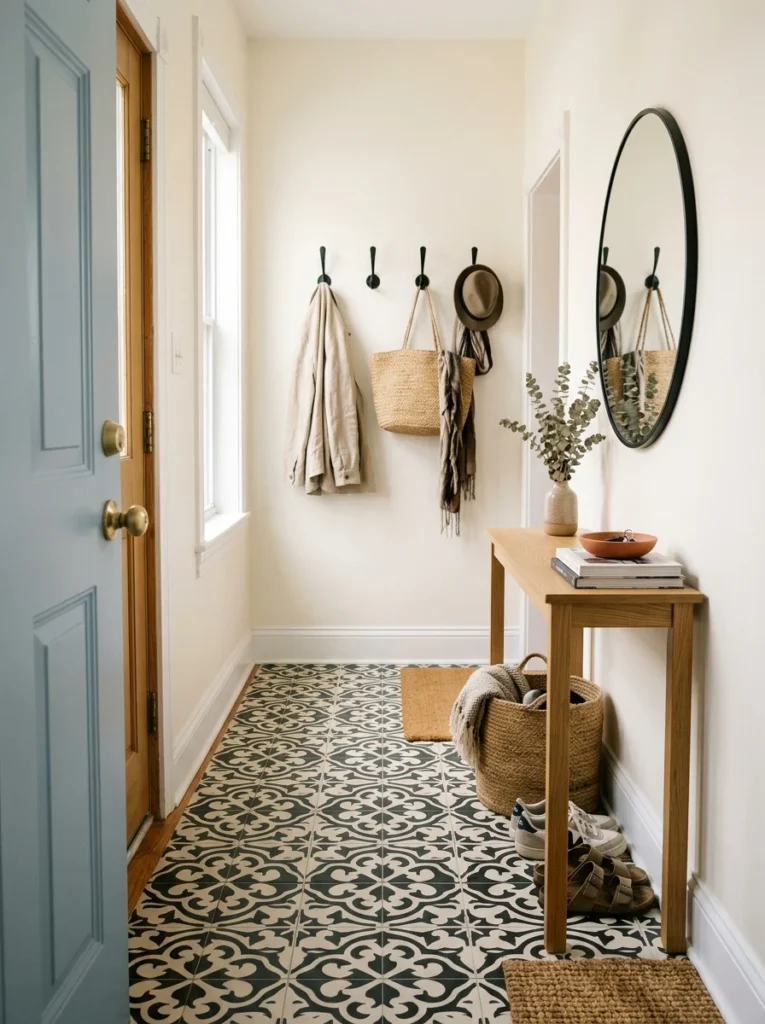
I did this in my current apartment’s tiny entryway, and it’s a removable layer that sits directly over the existing tile without any adhesive residue left behind. It’s held up well through an entire winter of wet, muddy boots, which honestly surprised me given how inexpensive the tiles were. I’d recommend starting with a small, low-traffic area like this before committing to a full room.
12. Replace the Shower Head
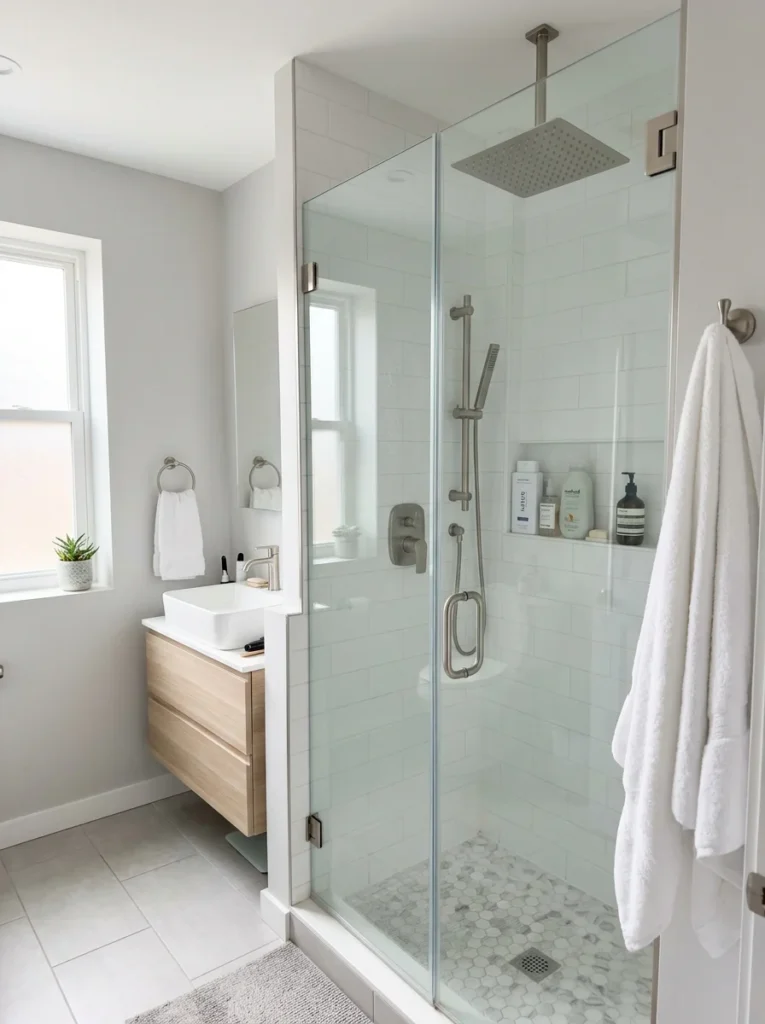
This sounds too simple to matter, but swapping a weak, mineral-crusted shower head for a new one was one of the most immediately satisfying upgrades I’ve made, and it took about five minutes with a wrench and some plumber’s tape. I kept the old one in a bag in a kitchen drawer, ready to swap back whenever I eventually move out.
13. Add Over-the-Toilet or Tension Rod Storage
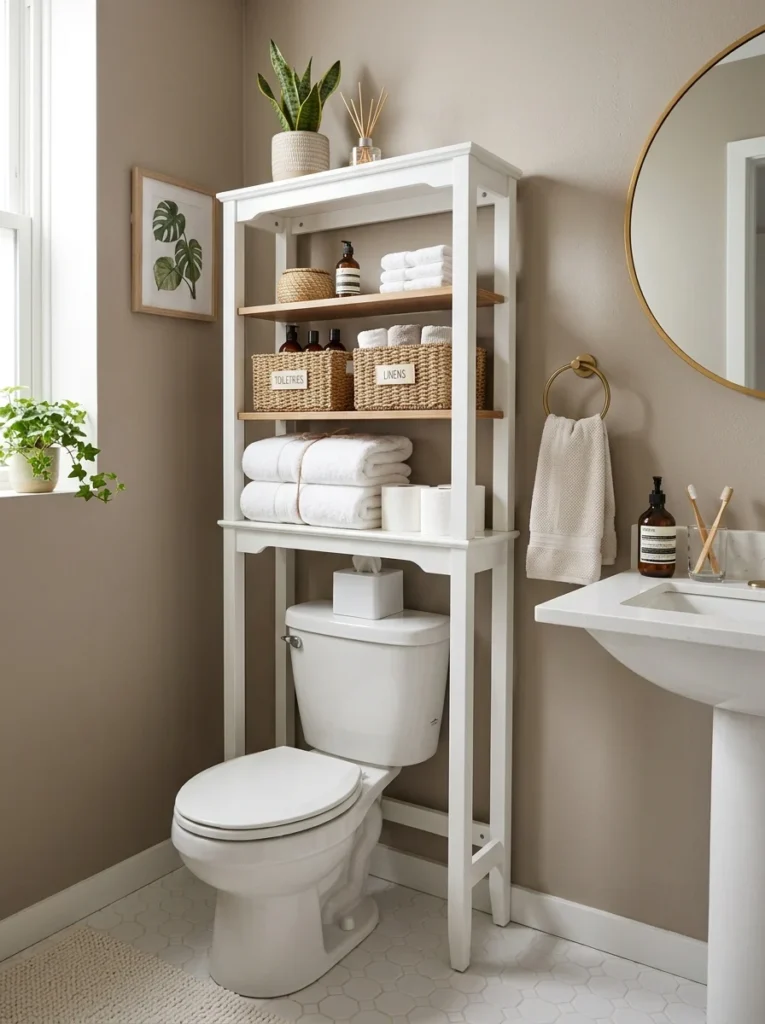
Bathroom storage in rentals is almost always inadequate, and mine was no exception. A simple over-the-toilet shelving unit gave me enough storage that I finally got my counter clutter under control, and it didn’t require a single hole in the wall since it stands on its own legs around the toilet. I added woven baskets to the shelves to keep smaller items from looking messy, which made a noticeable difference in how organized the whole bathroom felt.
14. Re-Caulk the Tub or Shower
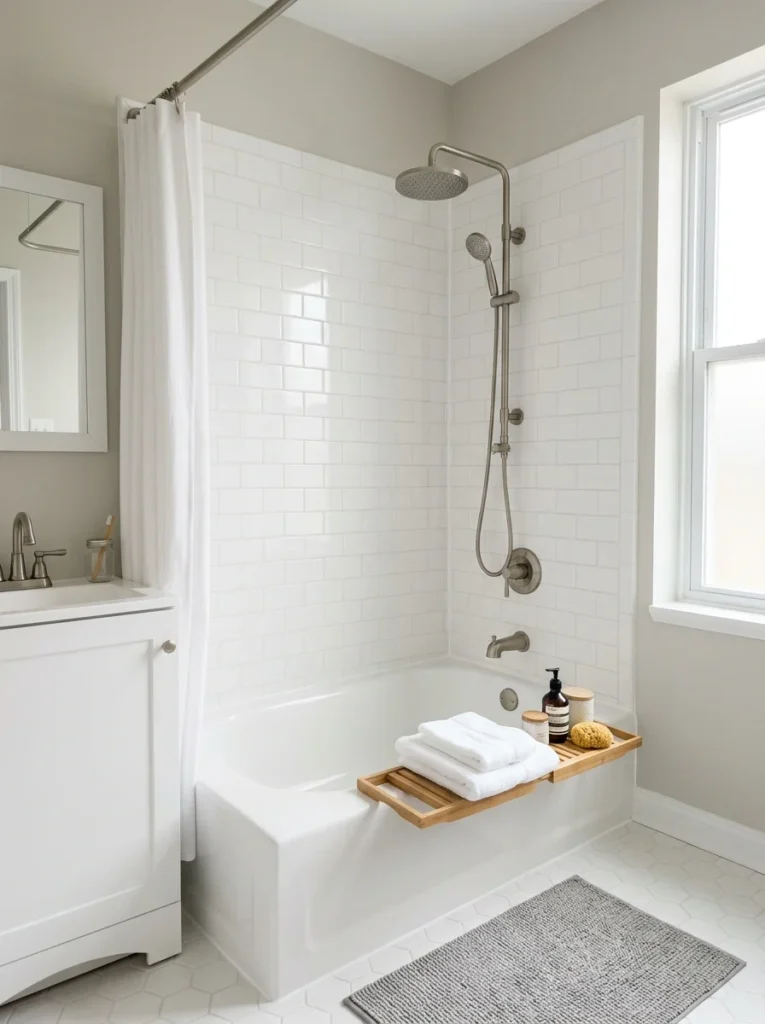
I put this off for months because it seemed intimidating, and I’d never done it before. A fresh, clean line of caulk around my tub made the entire bathroom look newer and better maintained than almost any other single change I made in that space. It took about an hour total, including letting the old caulk soften with a caulk remover before scraping it out, and the supplies cost under fifteen dollars.
15. Swap Builder-Grade Light Fixtures and Save the Originals
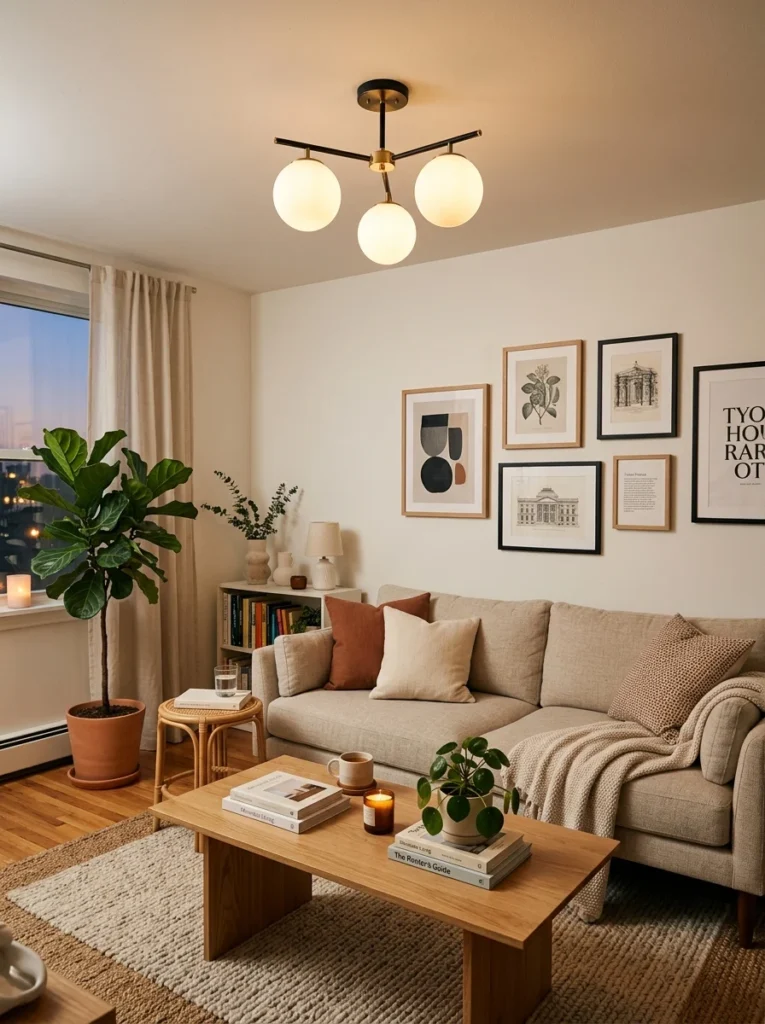
Most rentals come with the same flat, uninspired flush-mount ceiling fixtures. I replaced mine with a slightly more interesting fixture from a discount home store and kept the original safely stored in a labeled box on the closet shelf to reinstall right before I moved out. I made sure to take a photo of the original wiring setup before removing anything, which saved me a headache when it came time to put it back.
16. Use Plug-In Sconces Where Hardwiring Isn’t Allowed
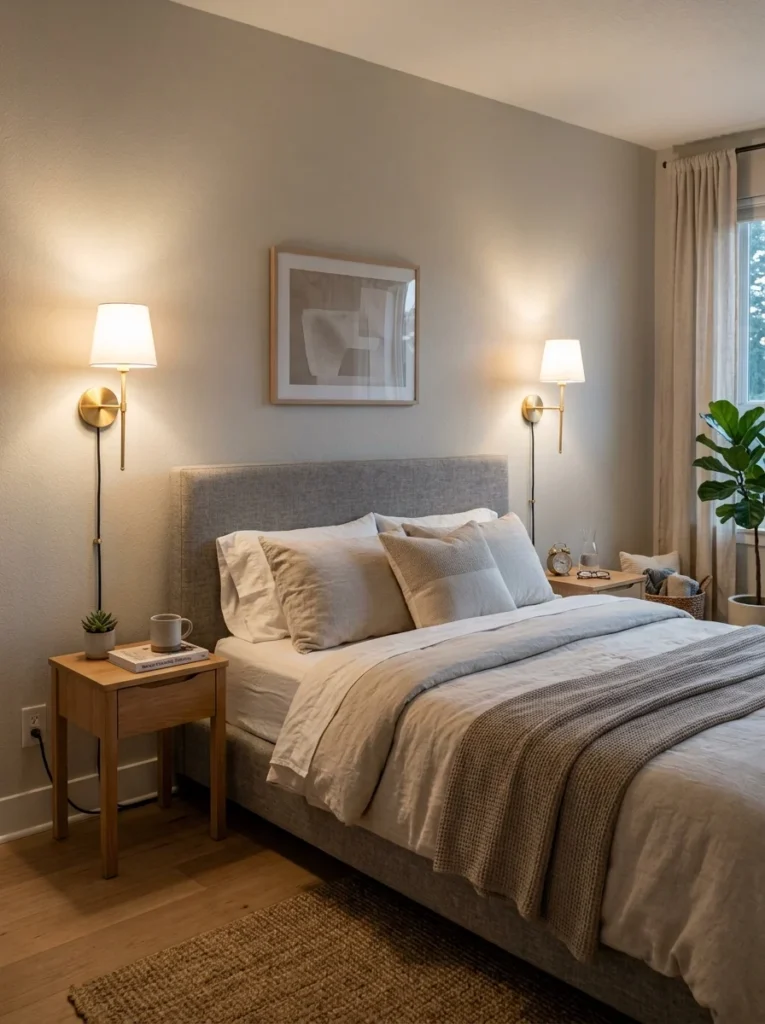
I genuinely didn’t know these existed until a few years ago. Plug-in wall sconces let me get the look of proper wall lighting without any electrical work, just a small hook to hold the cord neatly along the wall or baseboard. I used two on either side of my bed as makeshift bedside lighting, and it freed up nightstand space that used to be taken up by lamps.
17. Paint or Replace an Old Interior Door
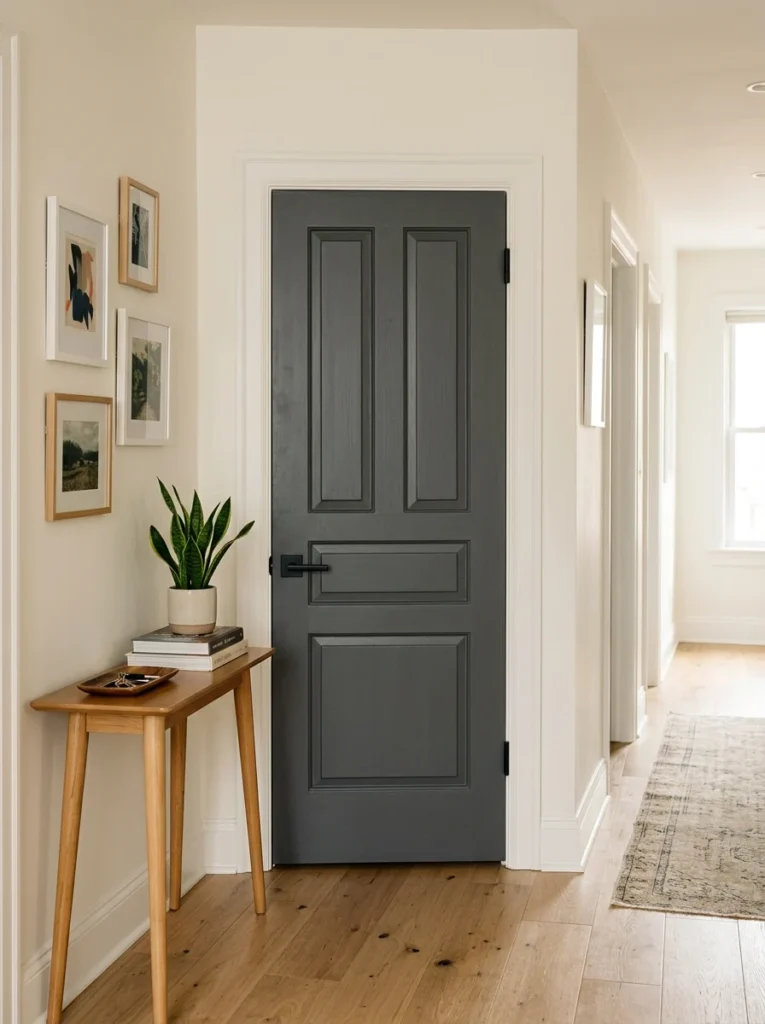
The hollow, dinged-up bedroom door in one of my apartments bothered me more than almost anything else in the unit, mostly because I looked at it every single day. A fresh coat of paint in a deep charcoal color and new, simple black hardware made it look like a completely different door, and it was one of the cheapest projects on this entire list at under thirty dollars total.
A Few Honest Lessons From Doing This Repeatedly
Not every one of these projects worked perfectly the first time. I ruined one roll of removable wallpaper by not smoothing it out fast enough before the adhesive set, and I had to repaint my cabinets after rushing the prep work the first round. What I’ve learned moving through four different rentals is that the projects with the biggest visual payoff are almost never the most expensive ones. Cabinet paint, hardware swaps, and lighting changes have consistently made a bigger difference in how a space actually feels to live in than anything I’ve bought off a furniture showroom floor.
I’ve also learned to keep everything I remove — old hardware, light fixtures, faucet parts, even leftover paint samples — in a labeled box in the closet. Every rental eventually needs to go back to its original state, and having those pieces ready has saved me from losing part of my security deposit more than once. It also means I’m not scrambling the week before a move-out inspection trying to remember what the apartment looked like when I first walked in.
Where to Start If You’re Overwhelmed
If you’re staring at a rental that feels stuck in a previous decade, my honest advice is to start with just one project from this list, ideally something reversible like hardware or lighting, and see how it changes the way the room feels before committing time and money to anything bigger. Small, budget-friendly changes have a way of adding up faster than people expect, and you genuinely don’t need permission to knock down a wall to make an apartment feel like yours. Give yourself permission to make mistakes along the way too — some of my favorite parts of my current apartment came from projects I almost gave up on halfway through.
