
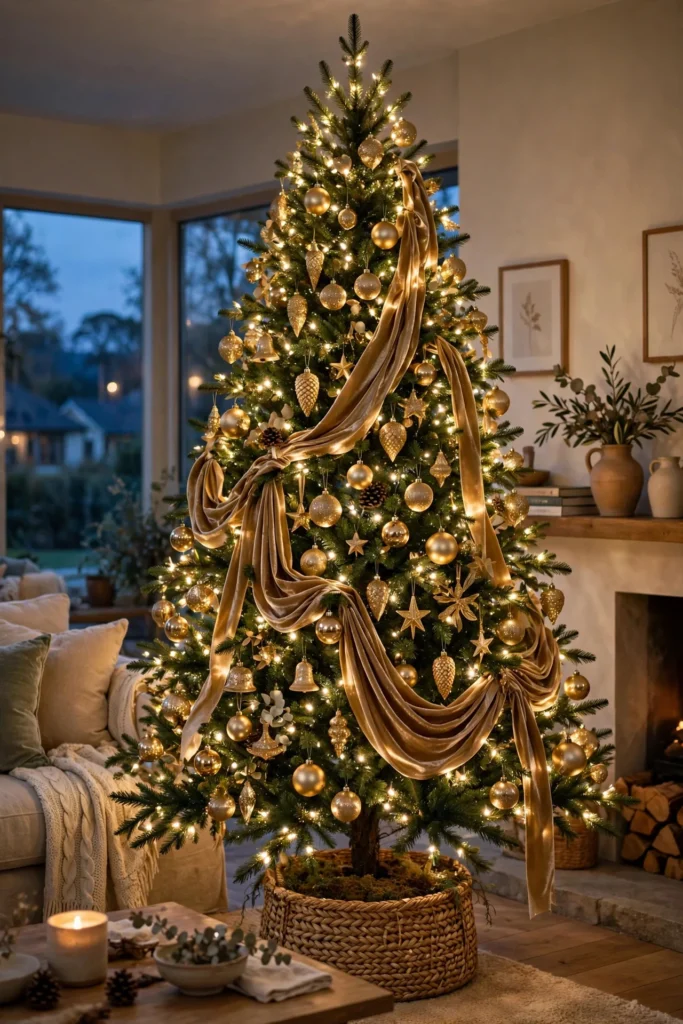
There’s a reason the tree is the centerpiece of Christmas — it’s the one decoration big enough to carry the whole season on its branches. And yet most of us decorate the exact same way every year: lights, ornaments tossed on, topper, done. The difference between a nice tree and a stunning one isn’t money. It’s technique.
These 27 ideas cover the how, not just the what: lighting methods the pros use, ribbon tricks, ornament placement rules, and the 2026 looks designers are actually excited about — chocolate browns, velvet bows, natural textures, and warm light. Work through them in order and your tree will look like you hired someone.
1. Light in Layers, Not in Spirals
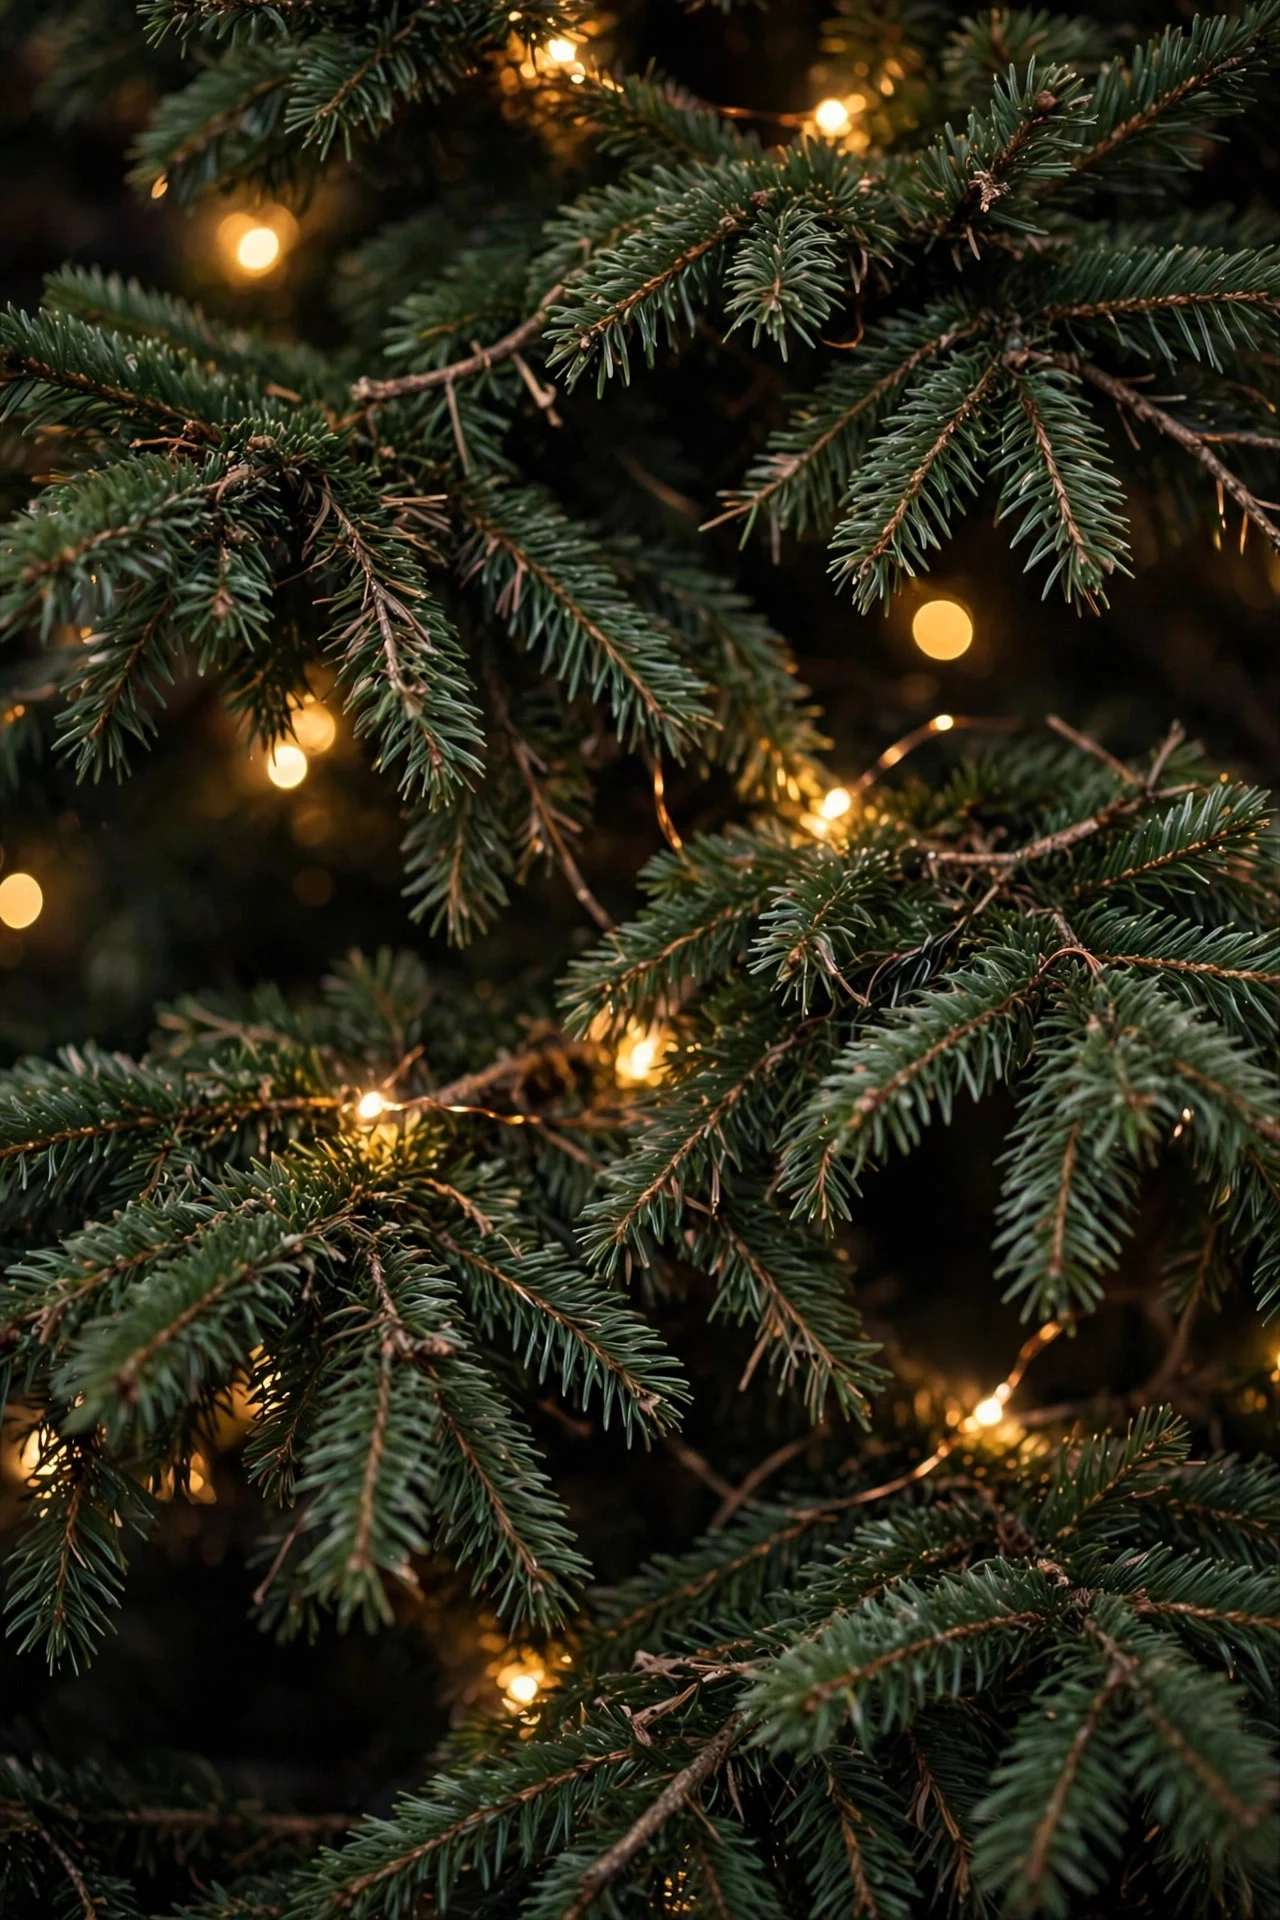
The amateur move is winding one long string around the tree in a spiral. The pro move is lighting in layers: start at the trunk and work outward, pushing lights deep into the branches first, then adding a second pass near the tips. Depth of light is what makes a tree glow instead of just sparkle.
Count on 100 mini lights per foot of tree — a 7-foot tree needs about 700 lights, which is usually three to four strands. Warm white (2700K) flatters every ornament color; multicolor is a separate, bolder choice. Replace any dead bulbs before wrapping — one dark section in a strand creates a shadow stripe you’ll notice all season.
Try this: Plug the lights in and step back after every strand — gaps are obvious from across the room and invisible up close.
2. The Ribbon Waterfall
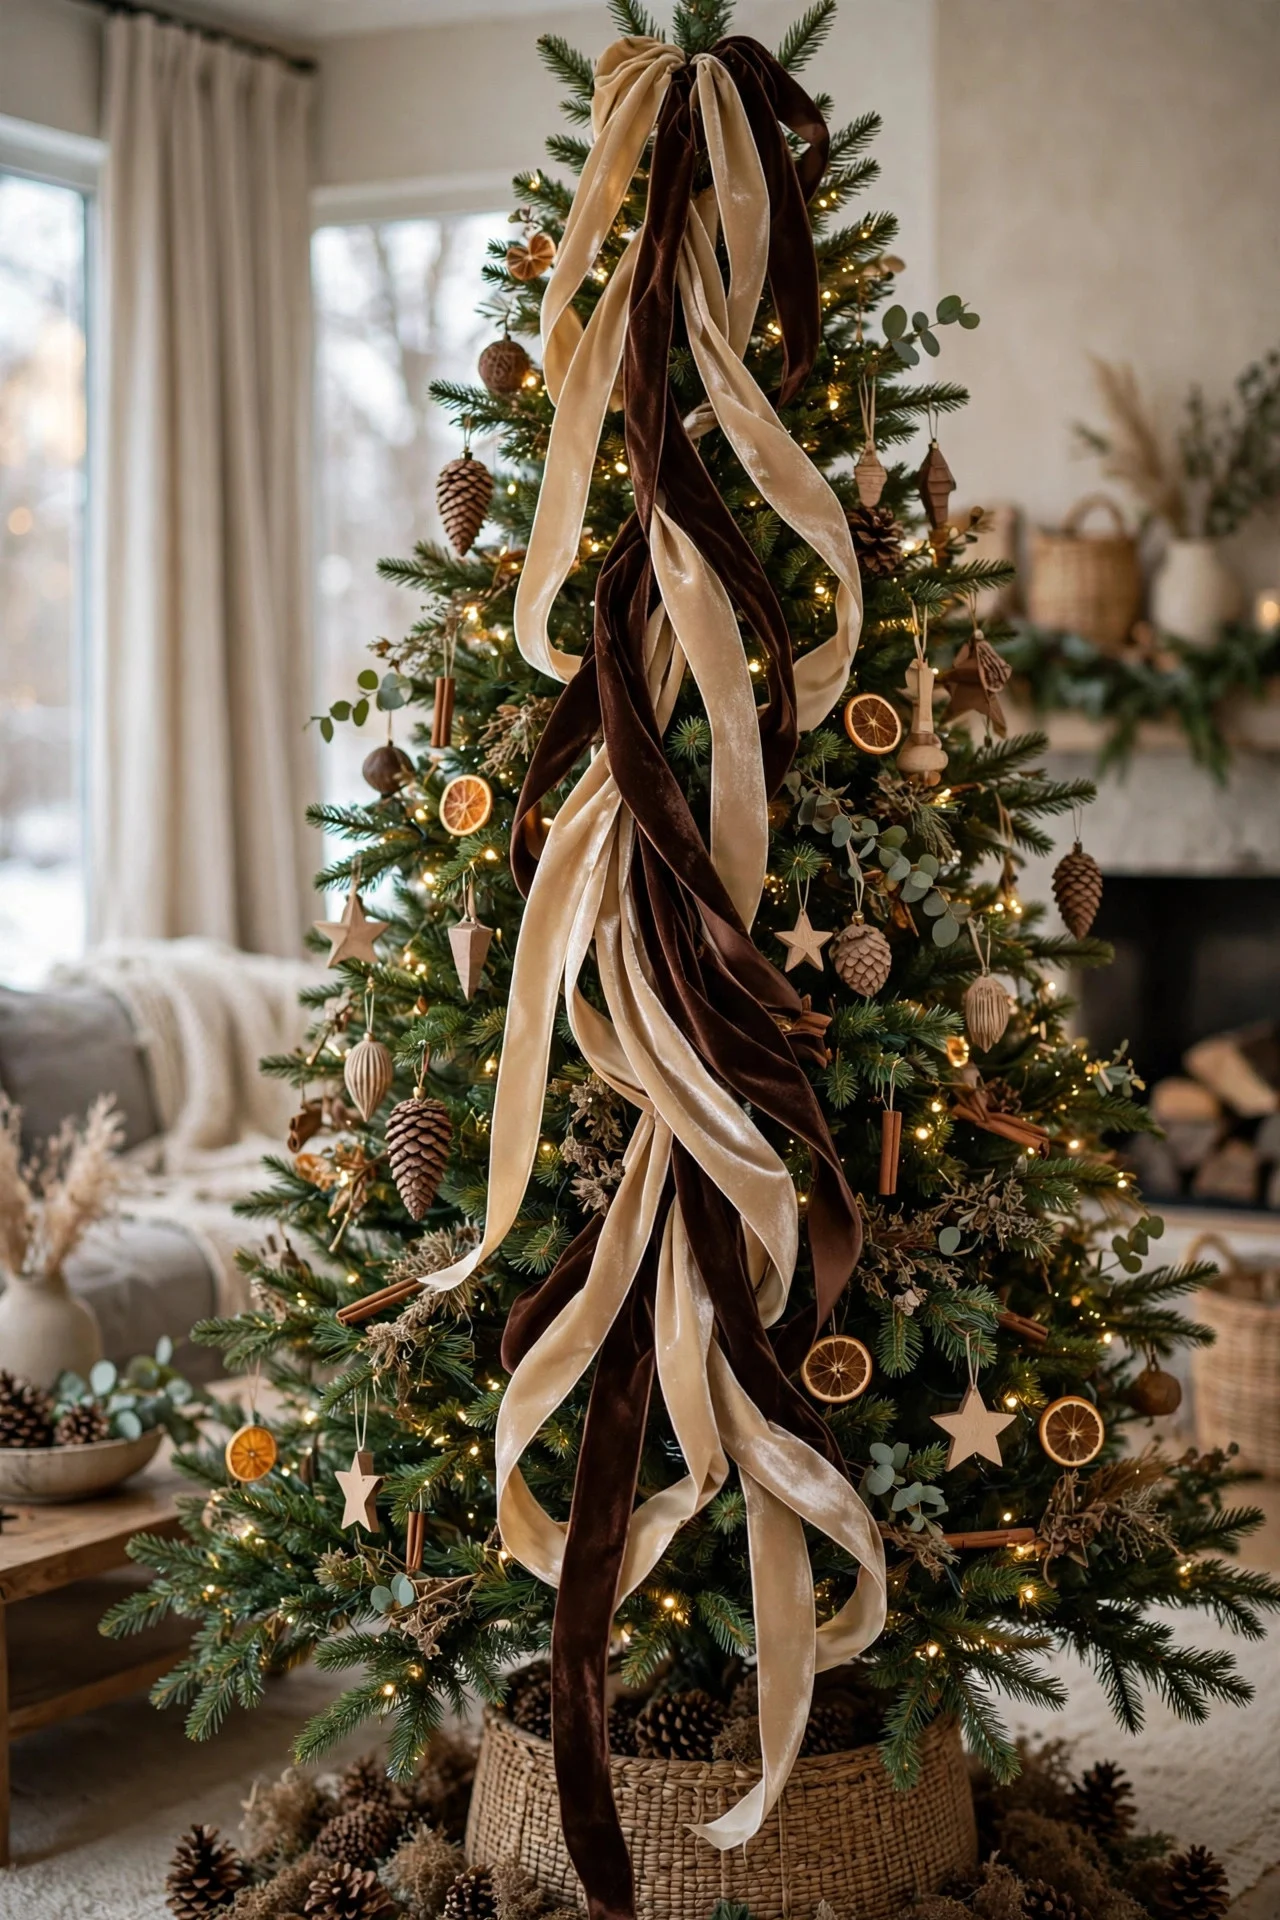
Wired velvet ribbon, 2.5 inches wide, tucked vertically down the tree in flowing “waterfalls” is the fastest way to a designer look. Cut 6-foot lengths, pinch one end into the top branches, and let the ribbon cascade, tucking it into the branches every 12 inches so it weaves in and out.
Use two coordinating ribbons — say, champagne velvet and chocolate satin — for depth. You’ll need about 3 rolls for a 7-foot tree. Wired edges hold their shape; non-wired ribbon goes limp by New Year’s. Buy one extra roll beyond your estimate — running out mid-tree means a visible difference between dye lots.
Try this: Twist the ribbon once at each tuck point — the spiral catches light and looks intentional rather than stuffed.
3. Oversized Ornament Clusters
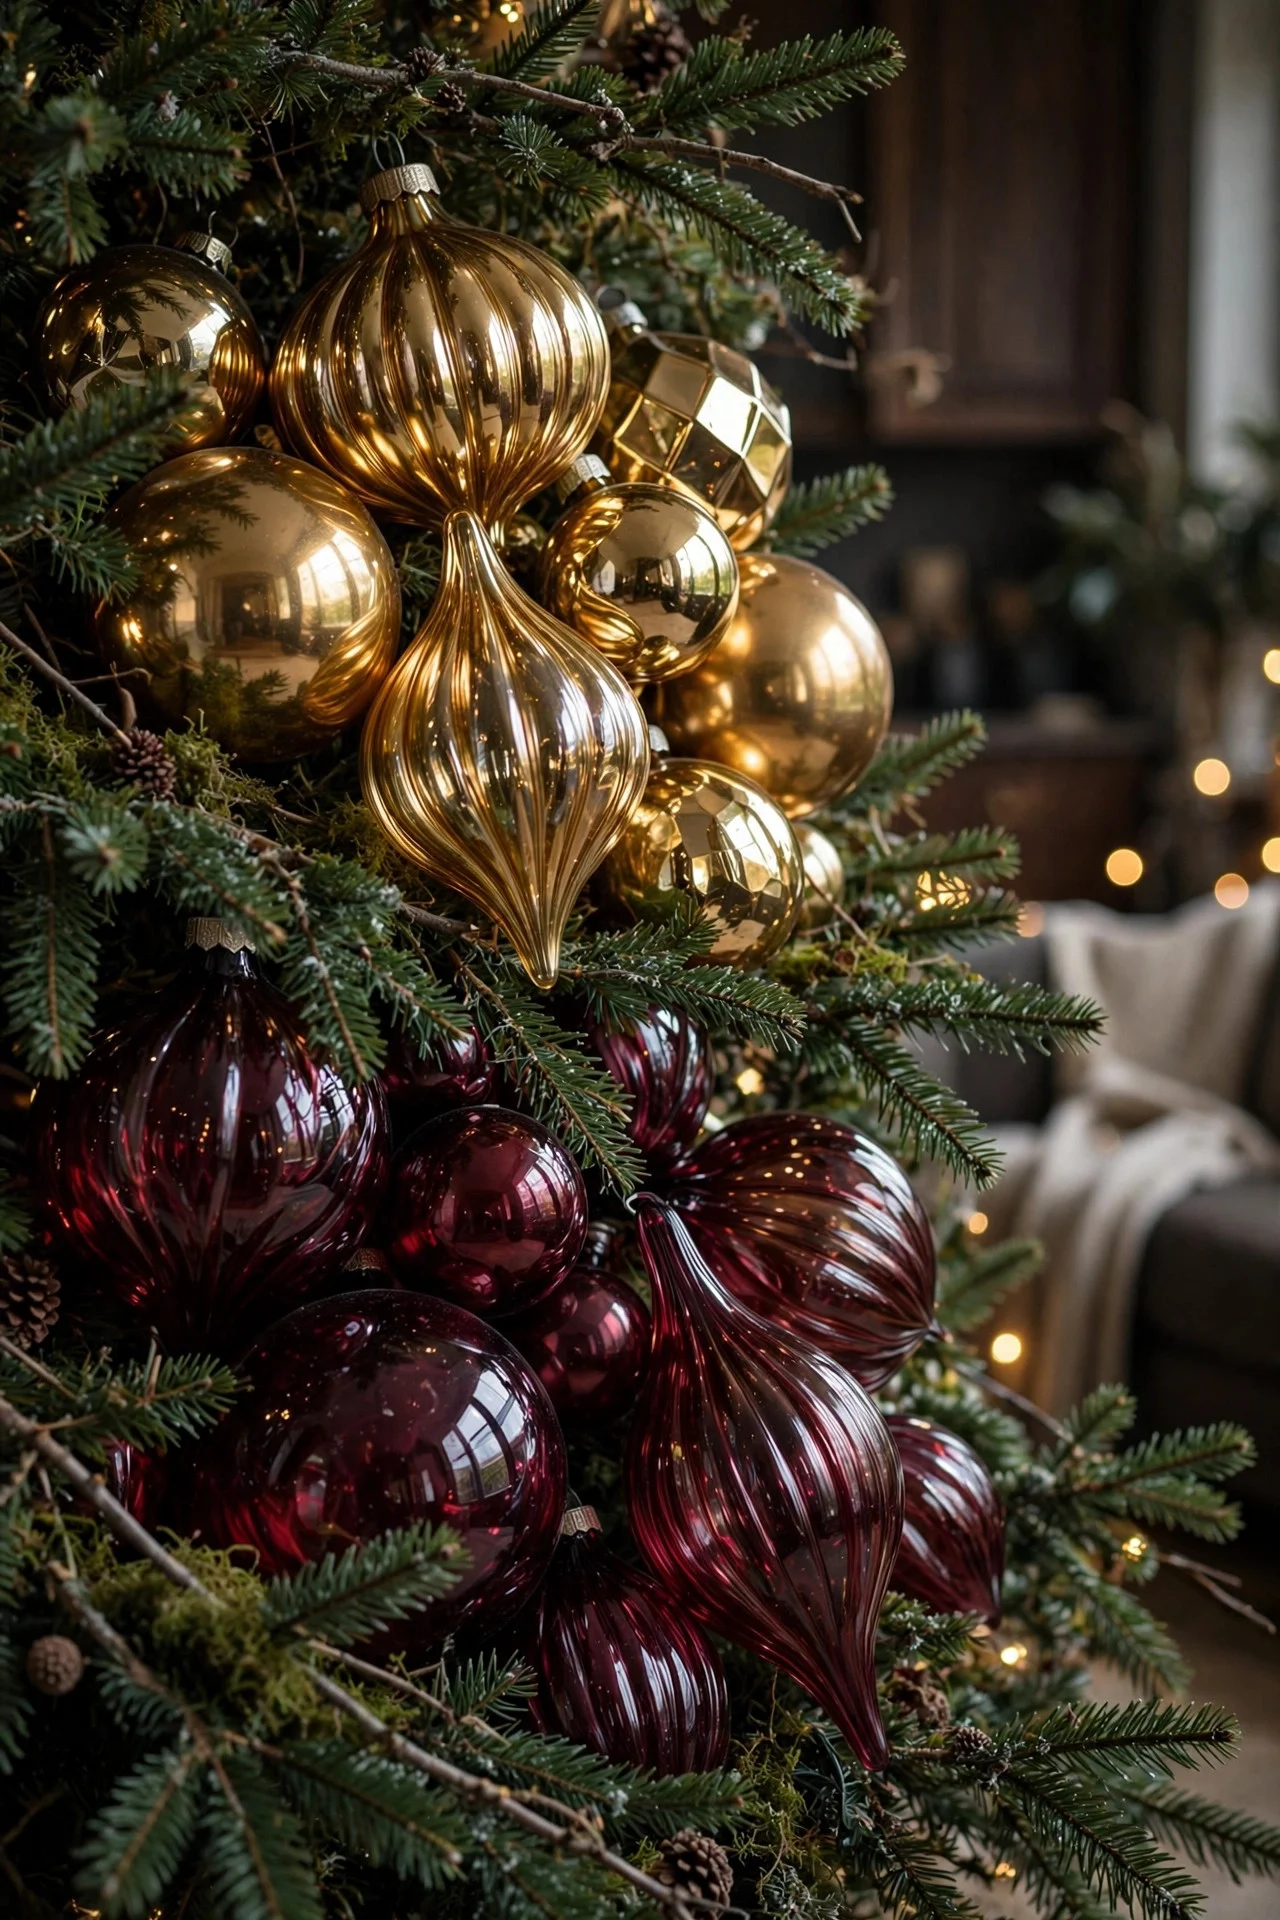
One big ornament makes more impact than six small ones. Group three to five large baubles — 4 to 6 inches across — in a tight cluster, wiring their caps together, and nestle the cluster deep into the branches. Three clusters per tree section is plenty.
Clusters create focal points that draw the eye, and they fill the visual holes that small ornaments can’t. Glass looks richest, but shatterproof jumbo baubles work for the lower branches if you have kids or pets. Wire clusters to the branch, not just the ornament caps — caps pull off under the weight of a five-bauble cluster.
Try this: Hang clusters at different depths — one near the trunk, one mid-branch — for a layered, dimensional look.
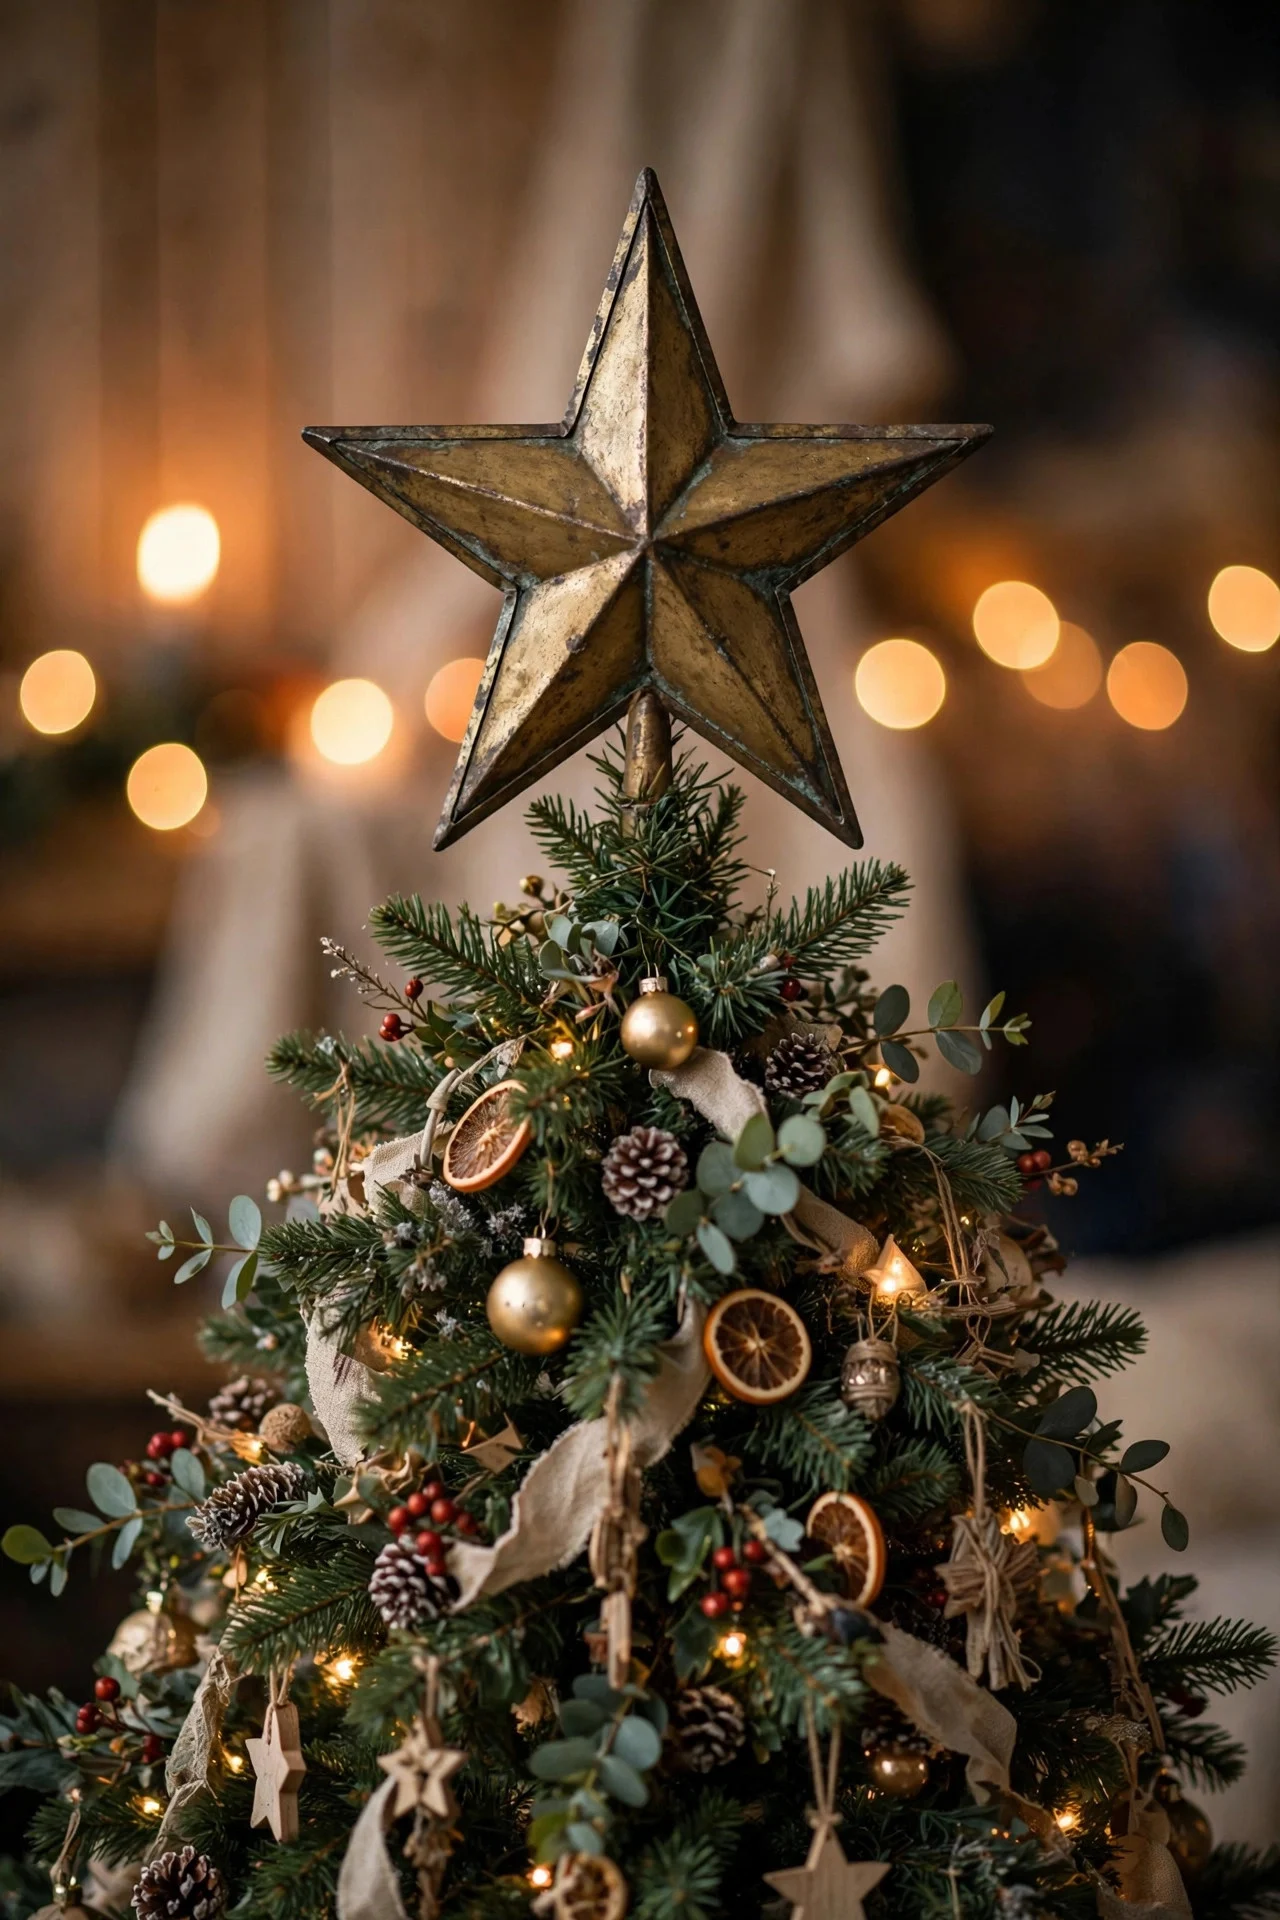
4. A Brass Star Topper
The topper sets the tone for the whole tree, and a simple aged-brass star beats a fussy angel for most modern trees. It catches the light, works with every color scheme, and never looks dated in photos.
Size matters: the topper should be about one-tenth of the tree’s height — a 7- to 8-inch star on a 7-foot tree. Secure it to the top branch with floral wire, not just the built-in clip, so it stays straight all season. Dust the topper when you dust the tree’s top branches — toppers collect a visible gray film by mid-December.
Try this: Angle the star slightly toward the room’s main seating — toppers look best from where people actually sit.
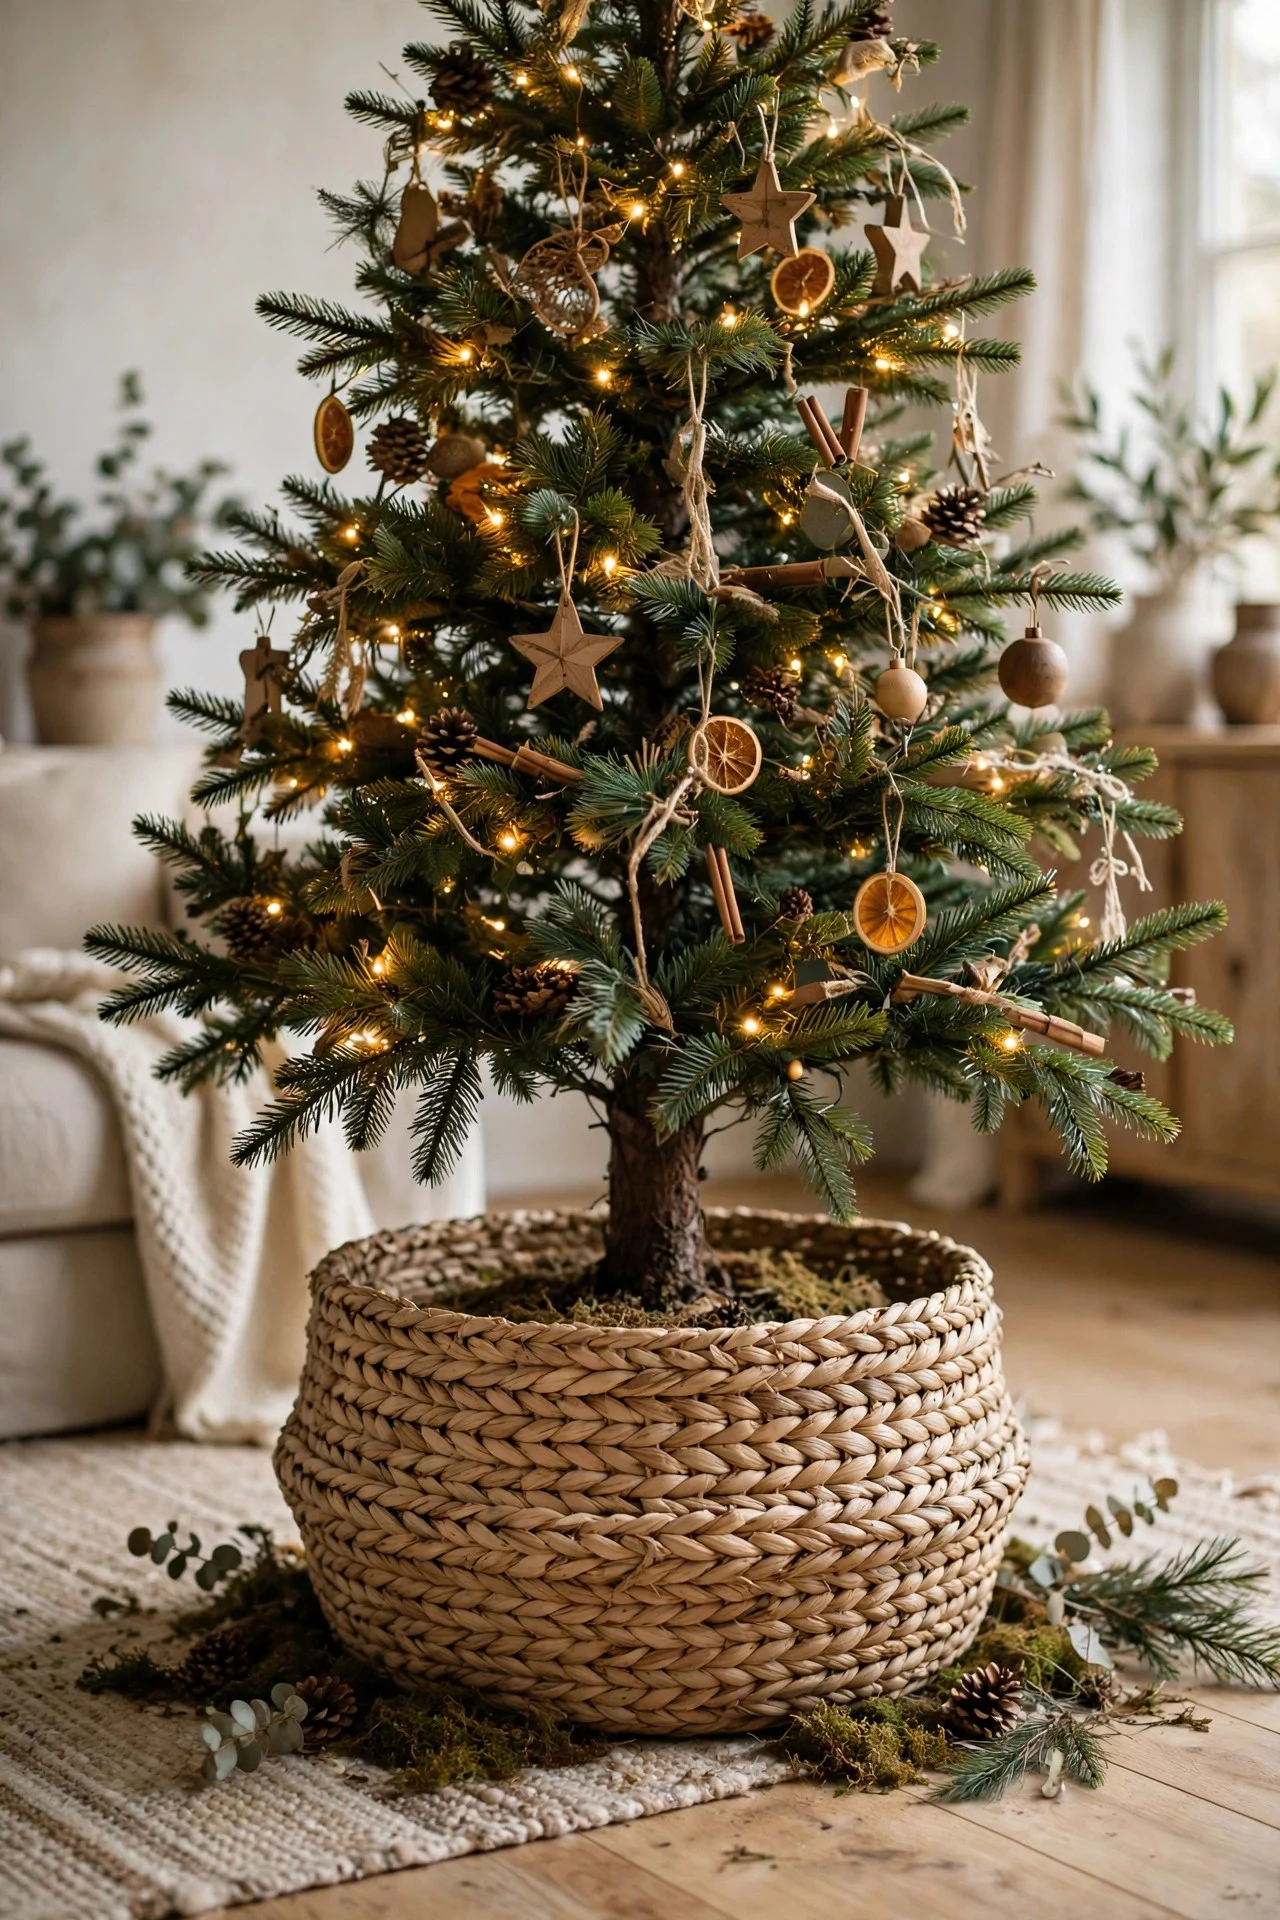
5. A Woven Basket Tree Collar
Trade the fabric skirt for a woven basket collar — it hides the tree stand, grounds the whole tree visually, and takes thirty seconds to set up. Seagrass, rattan, or galvanized metal all work; the natural texture suits every style from farmhouse to modern.
Measure your stand’s footprint before buying: the collar should be 2–3 inches wider than the stand on each side. A 7-foot tree typically needs a 24-inch collar, running about $40. Stuff crumpled kraft paper between the stand and collar walls — it stops the collar from rattling when the tree gets bumped.
Try this: Tuck the tree’s lower branches slightly up into the collar — it hides any gap and makes the tree look fuller at the base.
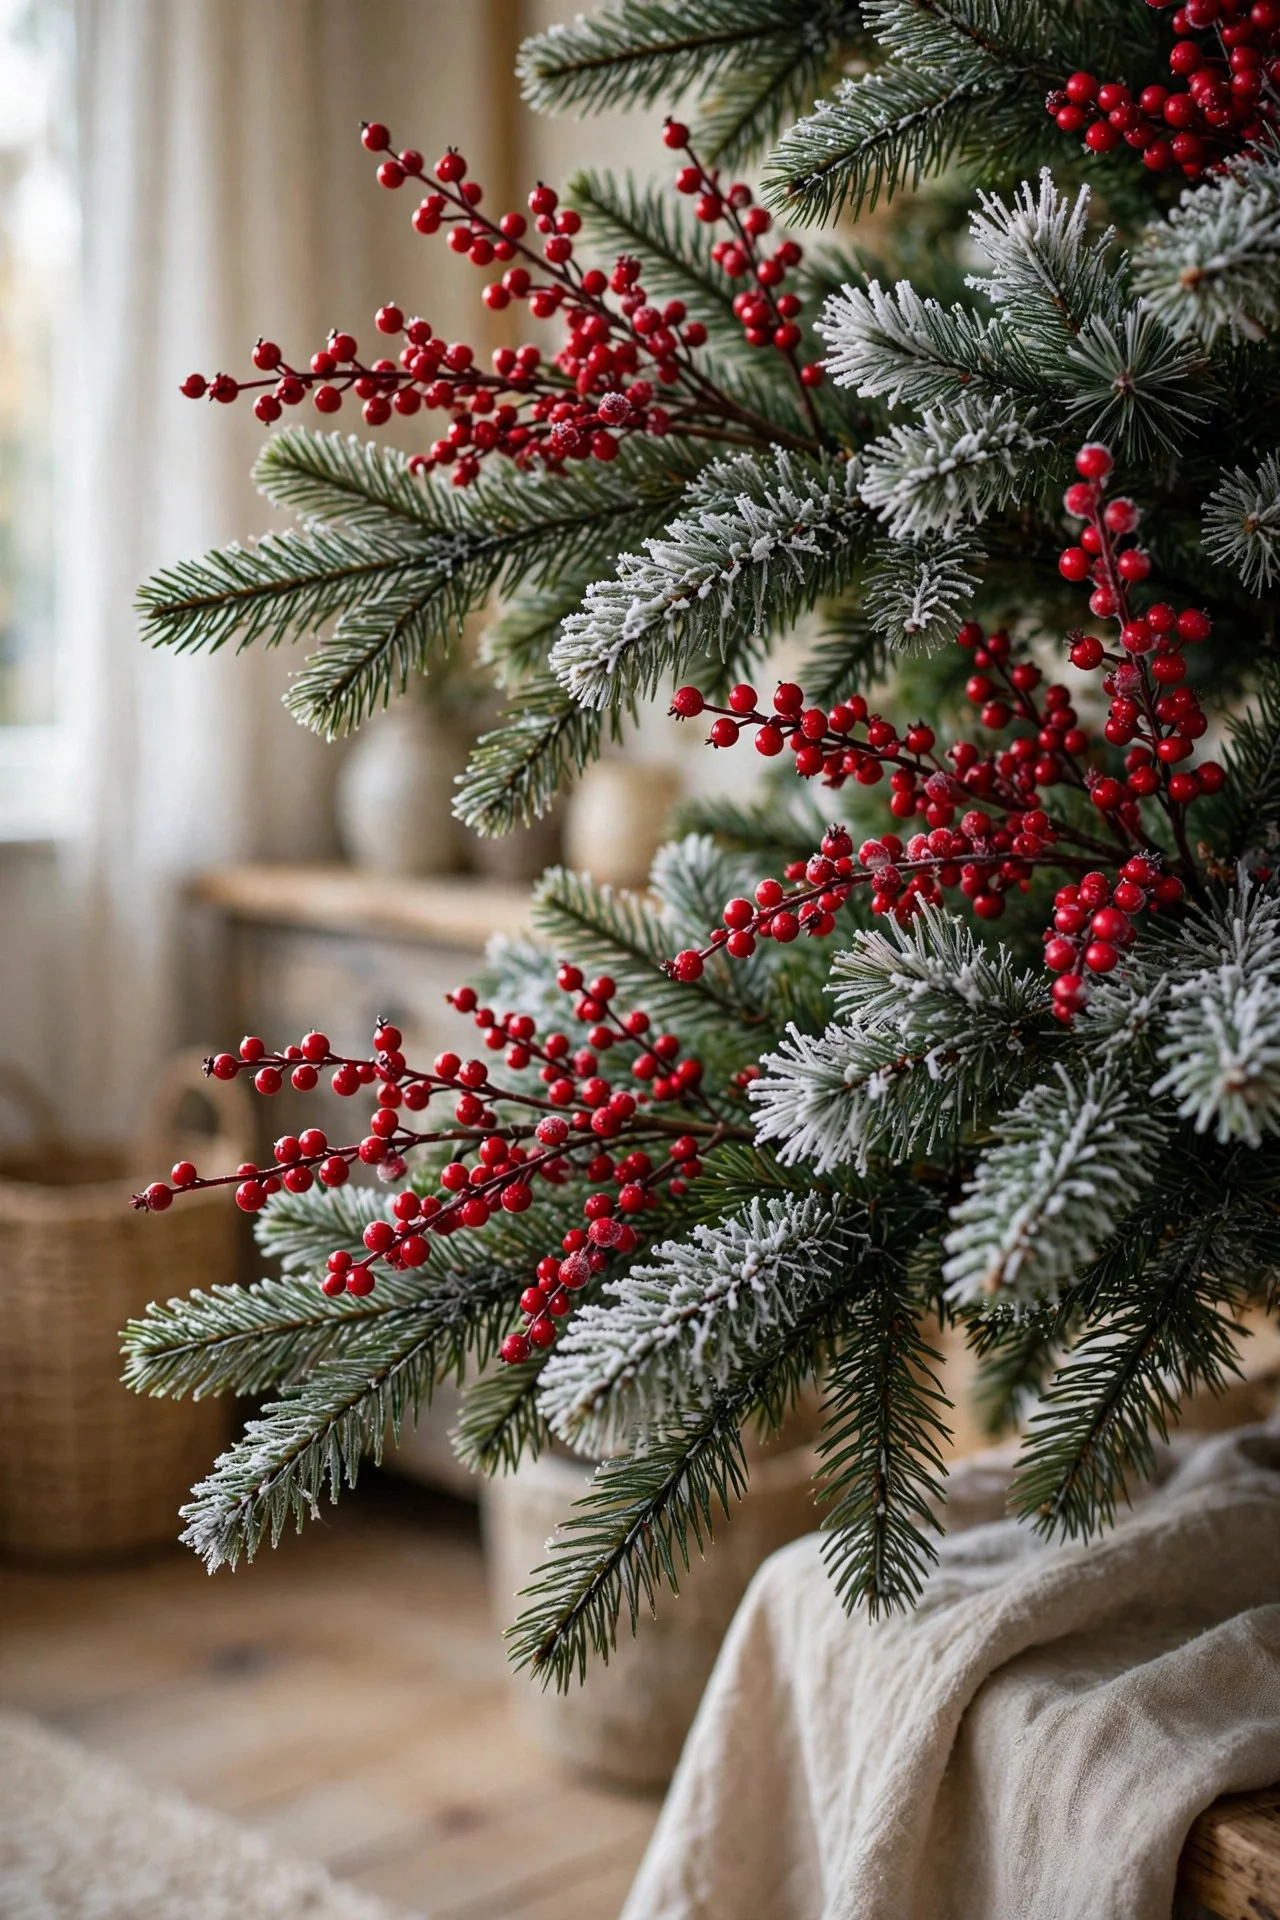
6. Picks and Sprays in the Gaps
Every tree has bare spots, and picks are the professional fix. Berry sprays, glittered branches, pine sprays, and eucalyptus picks get pushed deep into the branches at angles, filling holes and adding texture no ornament can.
Buy picks in bunches of 6–12 and distribute them evenly — about two dozen for a full-size tree. Stick to one or two pick styles per tree; a berry spray plus a frosted pine spray is a classic combo that never clashes. Buy picks with wired stems, not plastic — wired stems bend to the exact angle you need and stay put.
Try this: Angle picks upward and outward like fireworks, not straight in — they should look like they’re growing from the tree.
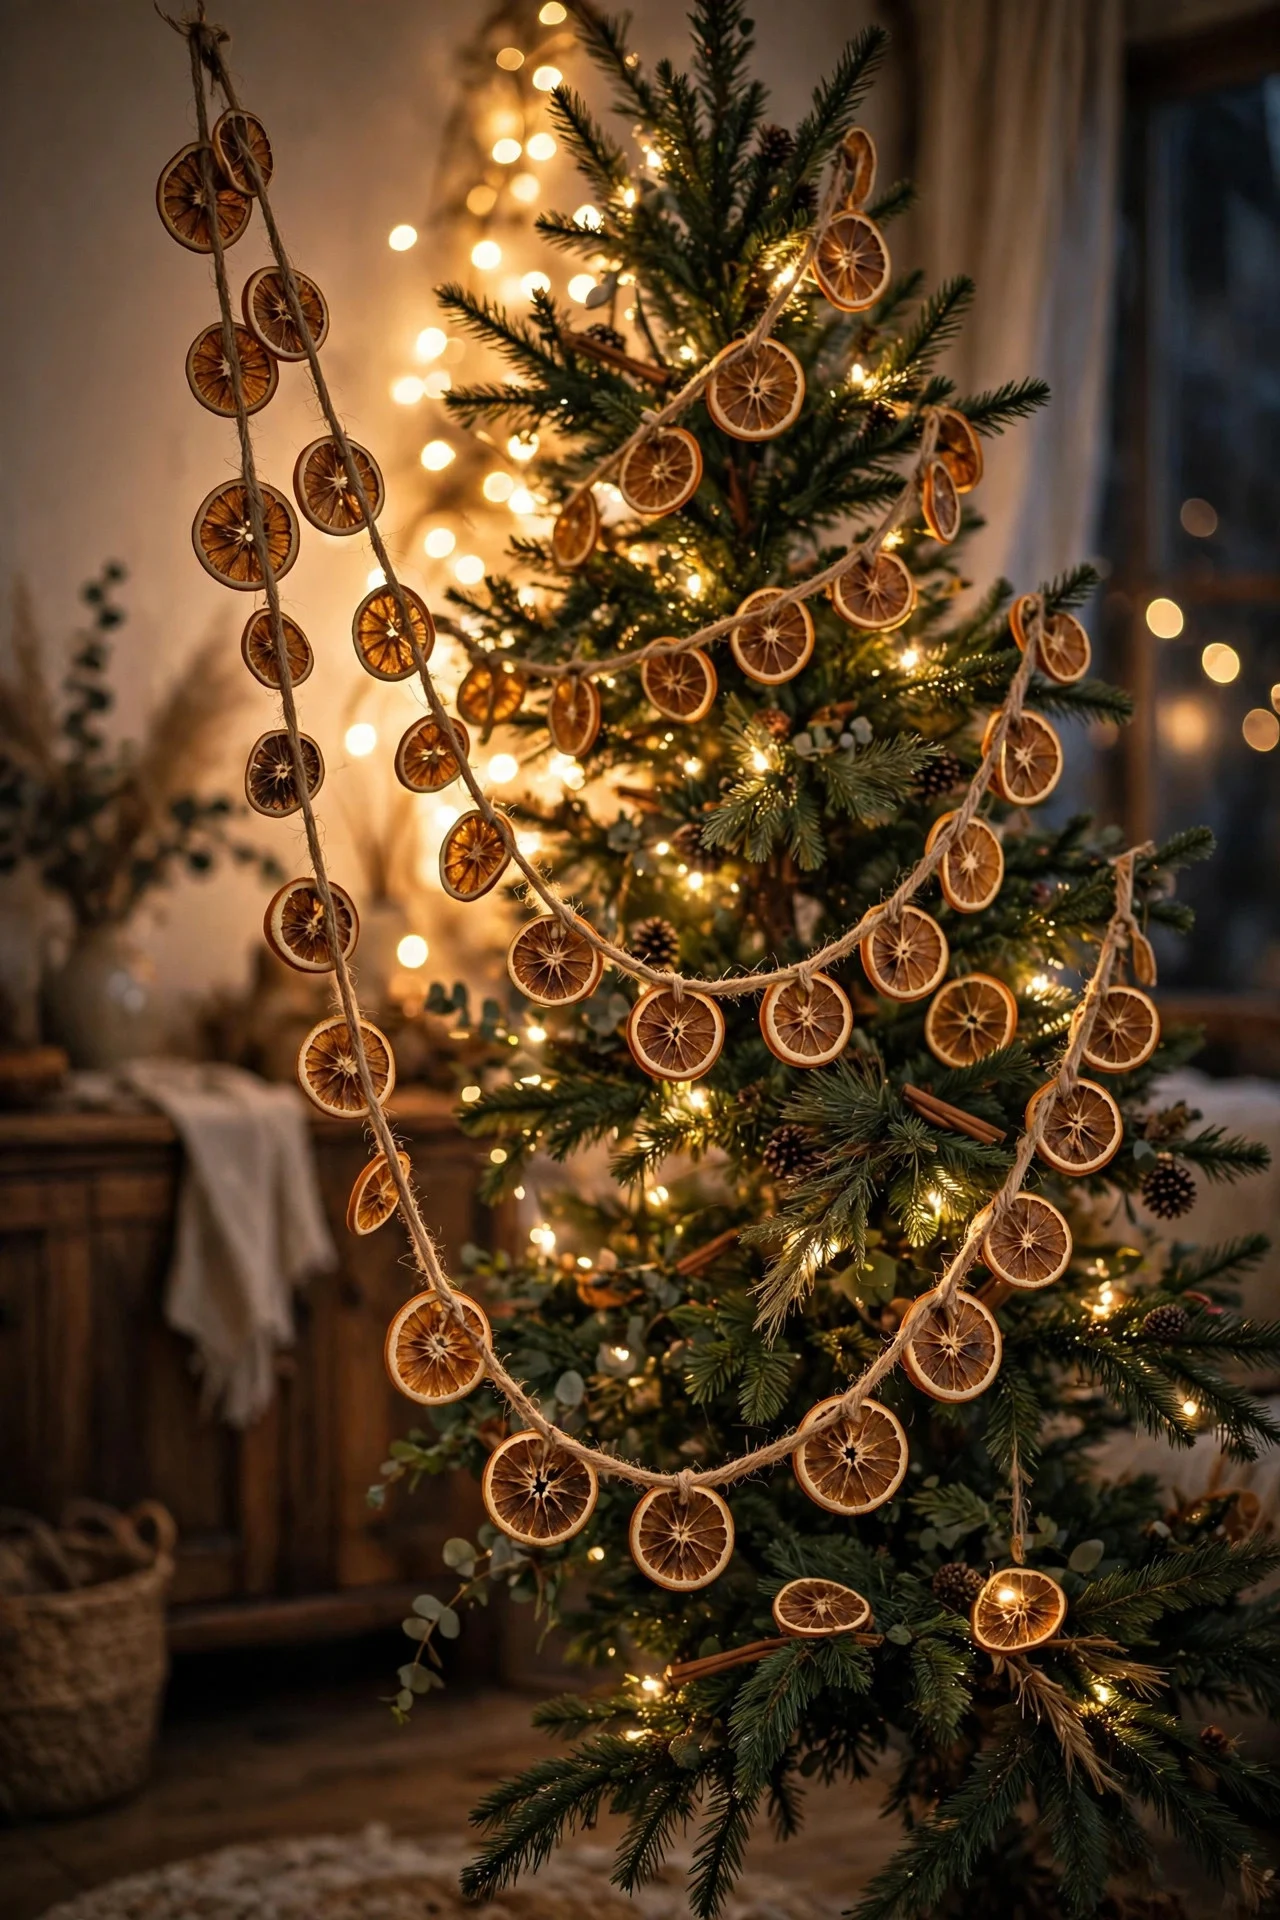
7. A Dried Orange Slice Garland
String dried orange slices on jute twine for a garland that smells faintly of citrus and looks like stained glass when backlit. Slice oranges 1/4-inch thick, bake at 200°F for 3 hours, flipping once, then thread with a large needle.
A 6-foot garland needs about 25 slices — roughly 5 oranges. Drape it in loose swags between branches rather than wrapping tight; the slices deserve to be seen. It keeps for years stored flat in tissue. Thread a cinnamon stick every fifth slice — the garland smells as good as it looks.
Try this: Mix in dried apple slices and cinnamon sticks on the same twine for a spiced, multi-texture garland.
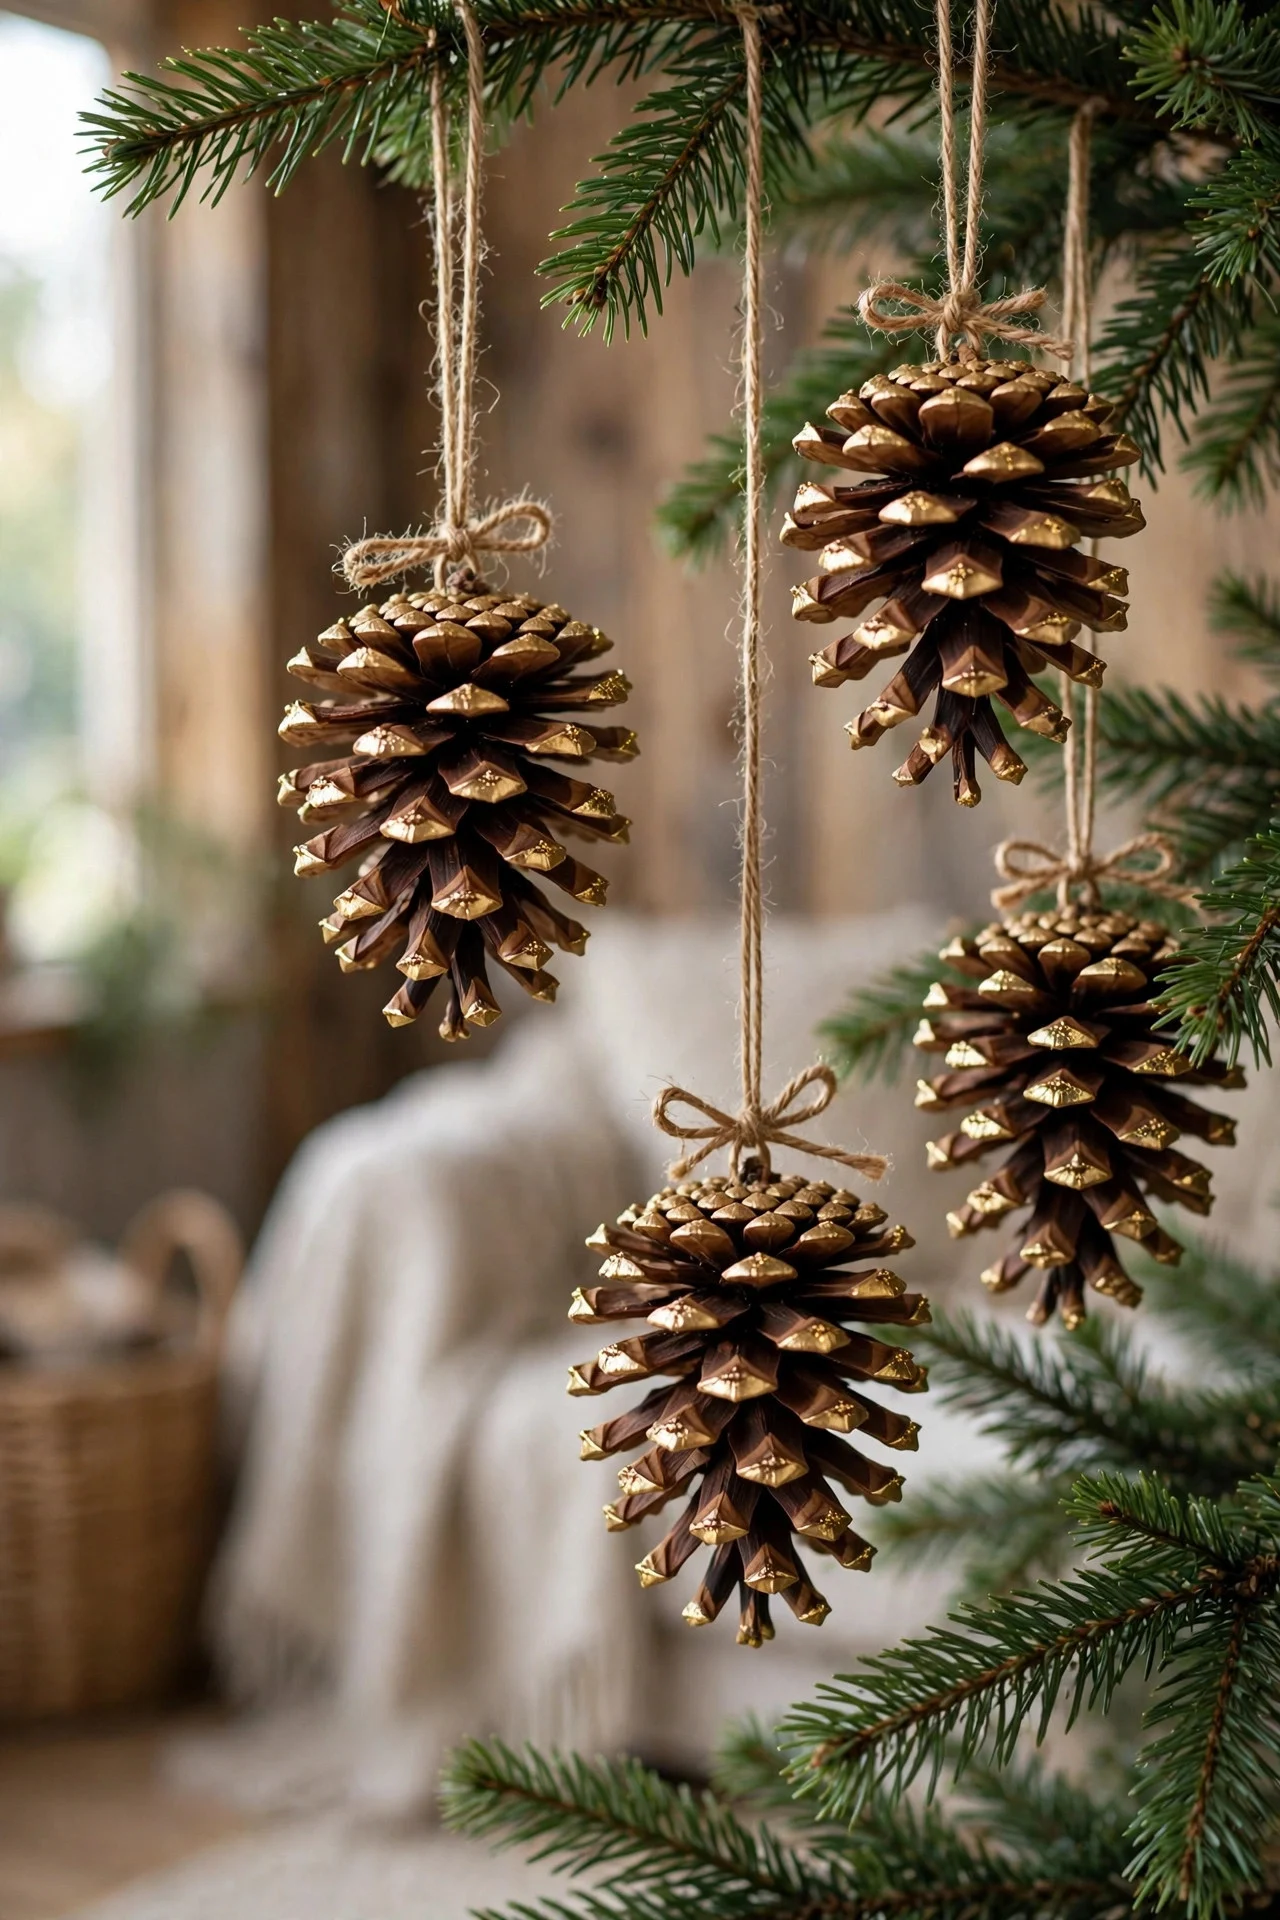
8. Gold-Tipped Pinecone Ornaments
Pinecones are free, and gold-tipped pinecones look like you bought them at a boutique. Dip just the scale tips in gold craft paint — or spray lightly from 12 inches — then screw a small eye hook into the base and hang with twine.
Forage cones in fall and bake them at 200°F for 45 minutes to open the scales and evict any insects. Make a dozen in an afternoon; they cluster beautifully and cost essentially nothing. Hang pinecones with jute twine, not ribbon — the rustic pairing looks intentional rather than mismatched.
Try this: Hang pinecones at varying twine lengths near the tree’s interior — they read as natural texture among the branches.
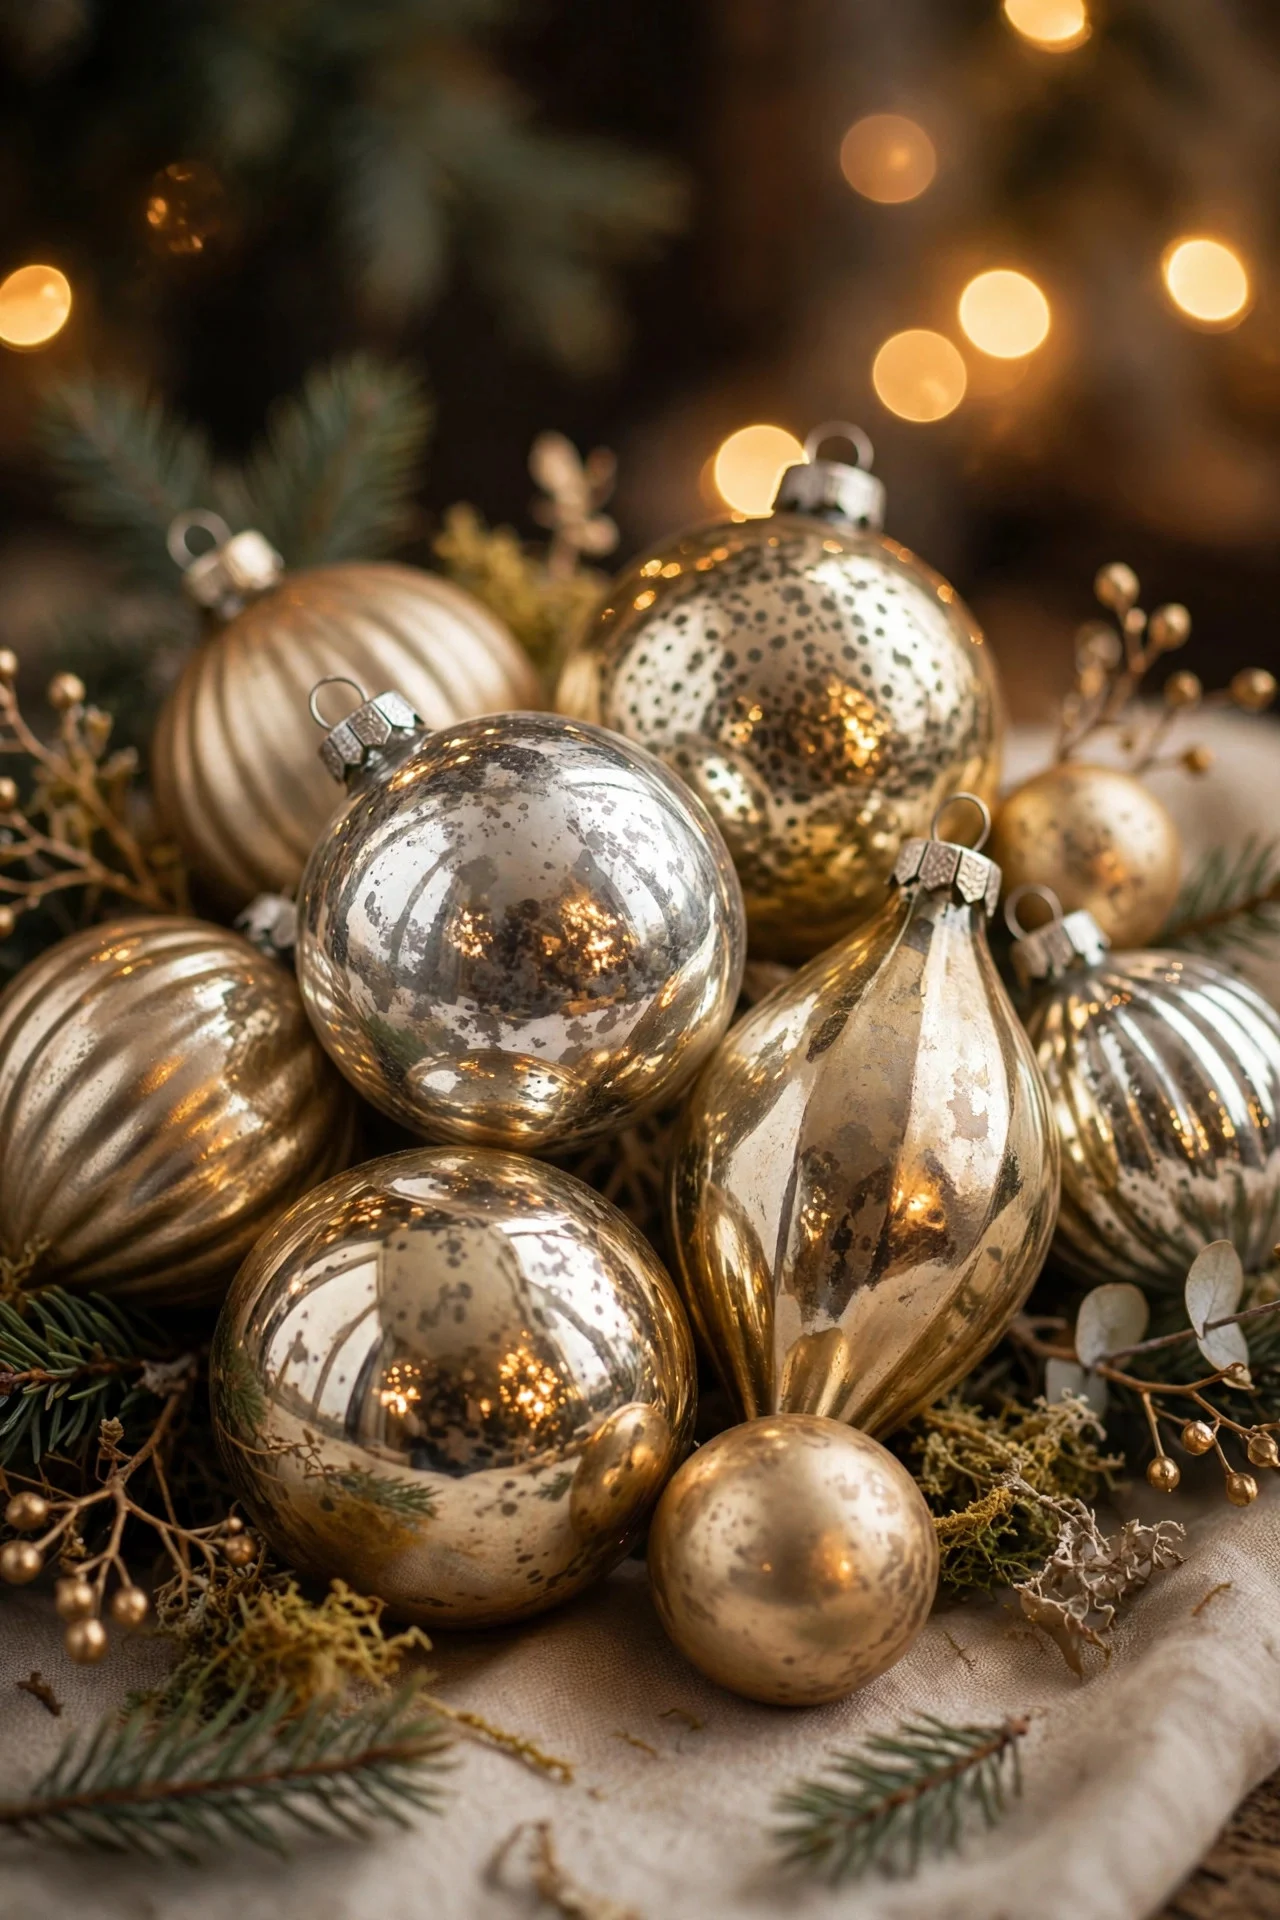
9. Mercury Glass for Vintage Glow
Mercury glass ornaments — that mottled, antiqued silver — bring a vintage glow that flat ornaments can’t match. They reflect the tree lights in a soft, broken pattern that reads as candlelight from across the room.
Mix shapes: balls, finials, and teardrops in silver and champagne. Genuine vintage pieces are lovely but pricey; good reproductions run $3–$5 each and fool everyone. Scatter them evenly — they’re accent pieces, not the main event. Dust mercury glass with a dry microfiber cloth only — water spots etch the mottled finish permanently.
Try this: Hang one mercury glass finial from the ribbon waterfall (idea #2) — the combination looks straight out of a design magazine.
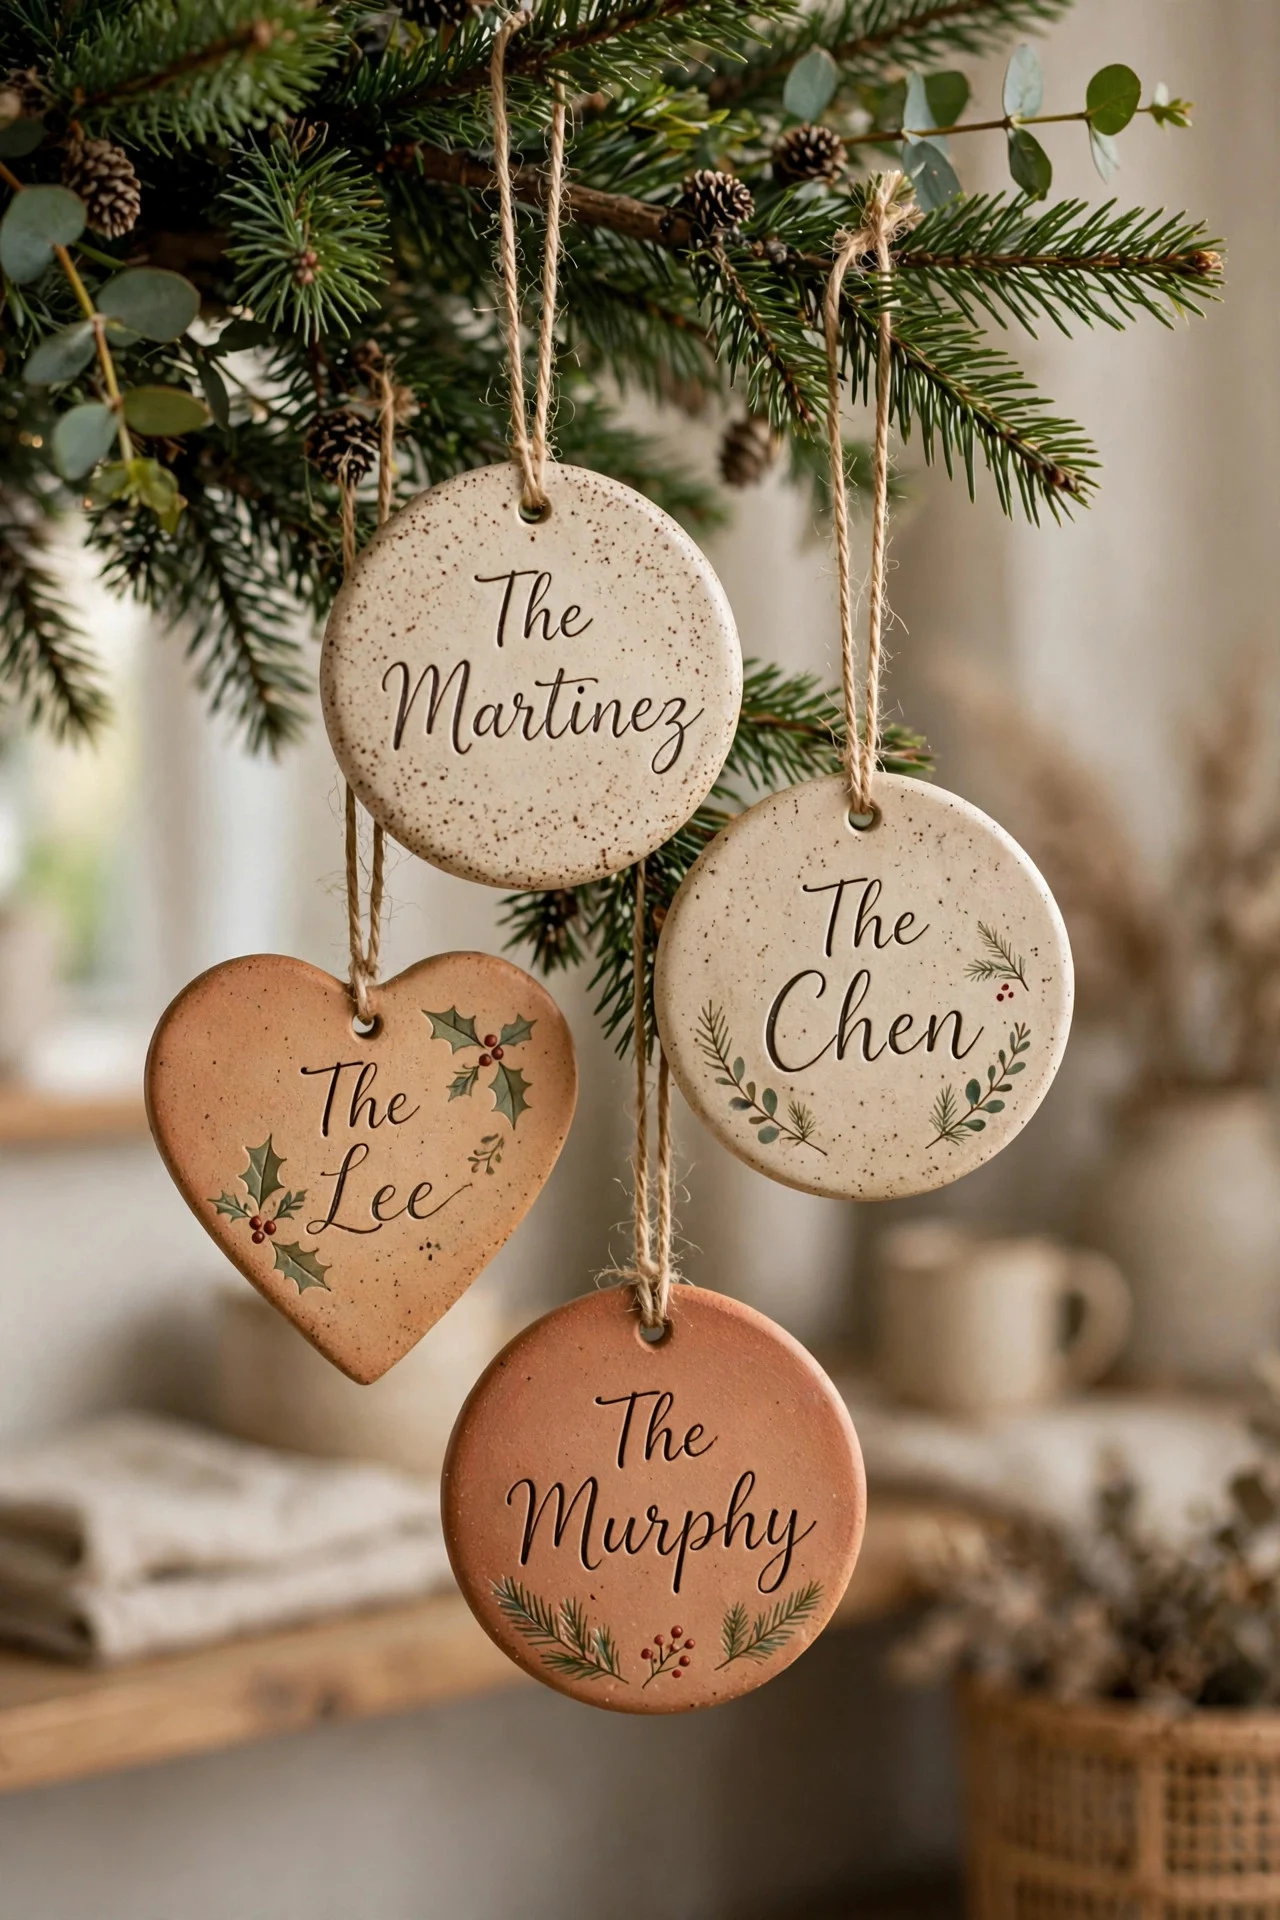
10. Personalized Ornaments With Names and Dates
A tree covered in personalized ornaments — family names, wedding dates, babies’ first Christmases — becomes a family archive. Ceramic or wood discs with hand-lettered names cost $8–$12 each from small shops, and they appreciate in meaning every year.
Add one new personalized ornament each Christmas rather than buying a set all at once. In a decade you’ll have a timeline on your tree. Hang them at eye level where they’ll actually be read, not buried in the back. Order personalized ornaments by early November — small shops run 2–3 week lead times during the holidays.
Try this: Include the year on every personalized ornament — future you will be grateful for the timestamp.
11. The Memory Tree Corner
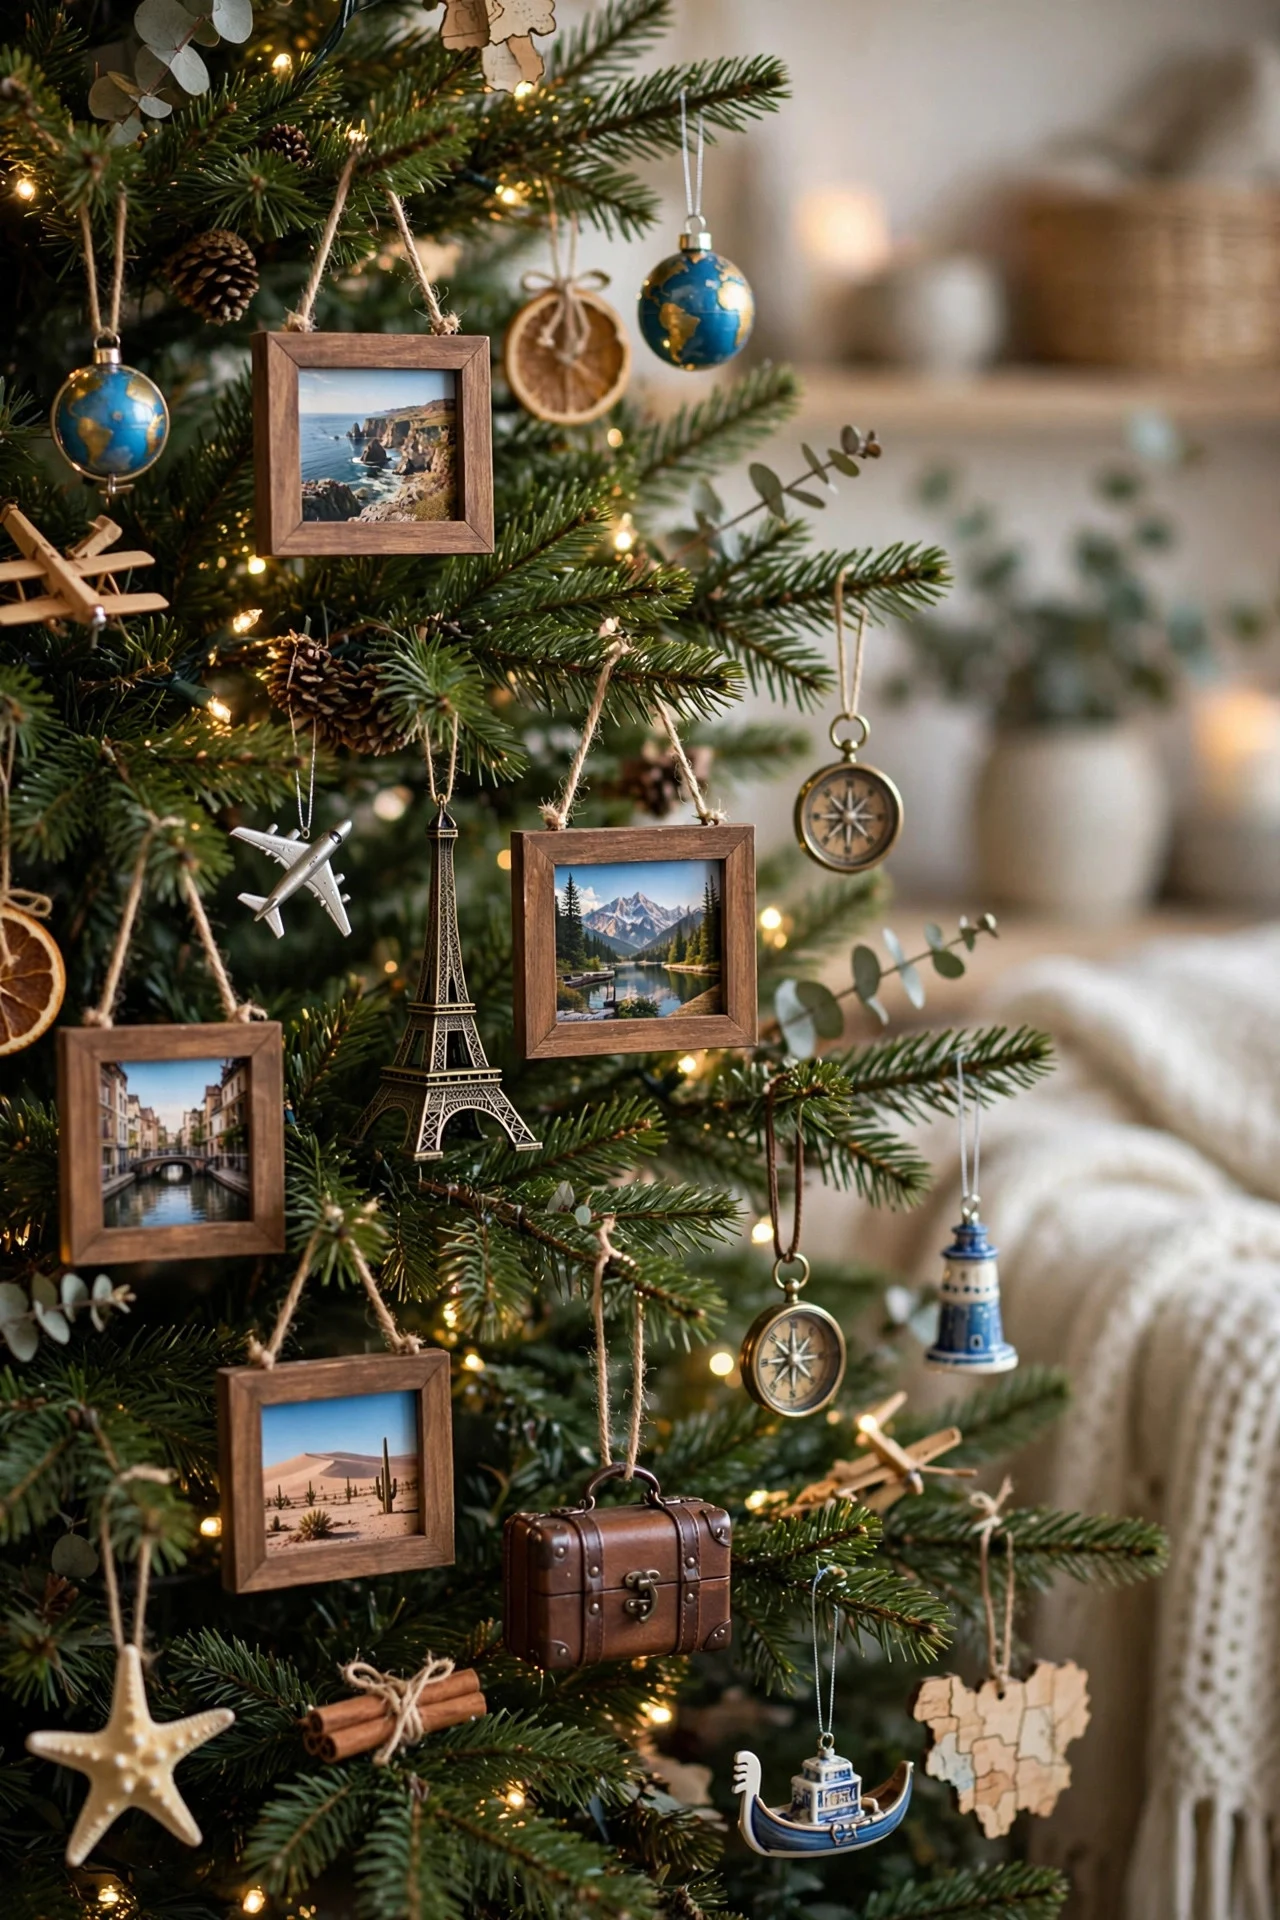
Dedicate one section of the tree — or the whole thing — to memory ornaments: travel souvenirs, concert tickets in tiny frames, mini photo frames with 2×3 prints. It’s the most personal tree you’ll ever decorate.
Use lightweight frames and laminate paper mementos so they survive storage. Mini wooden clothespins make perfect hangers for ticket stubs and postcards. This tree gets better every single year, which is the whole point. Back paper mementos with cardstock before laminating — the stiffness keeps them from curling on the branch. Keep a small step stool nearby on decorating day — memory trees get rearranged constantly as the stories come out.
Try this: Photograph each new memory ornament before hanging it — you’ll build a digital archive of your tree’s story.
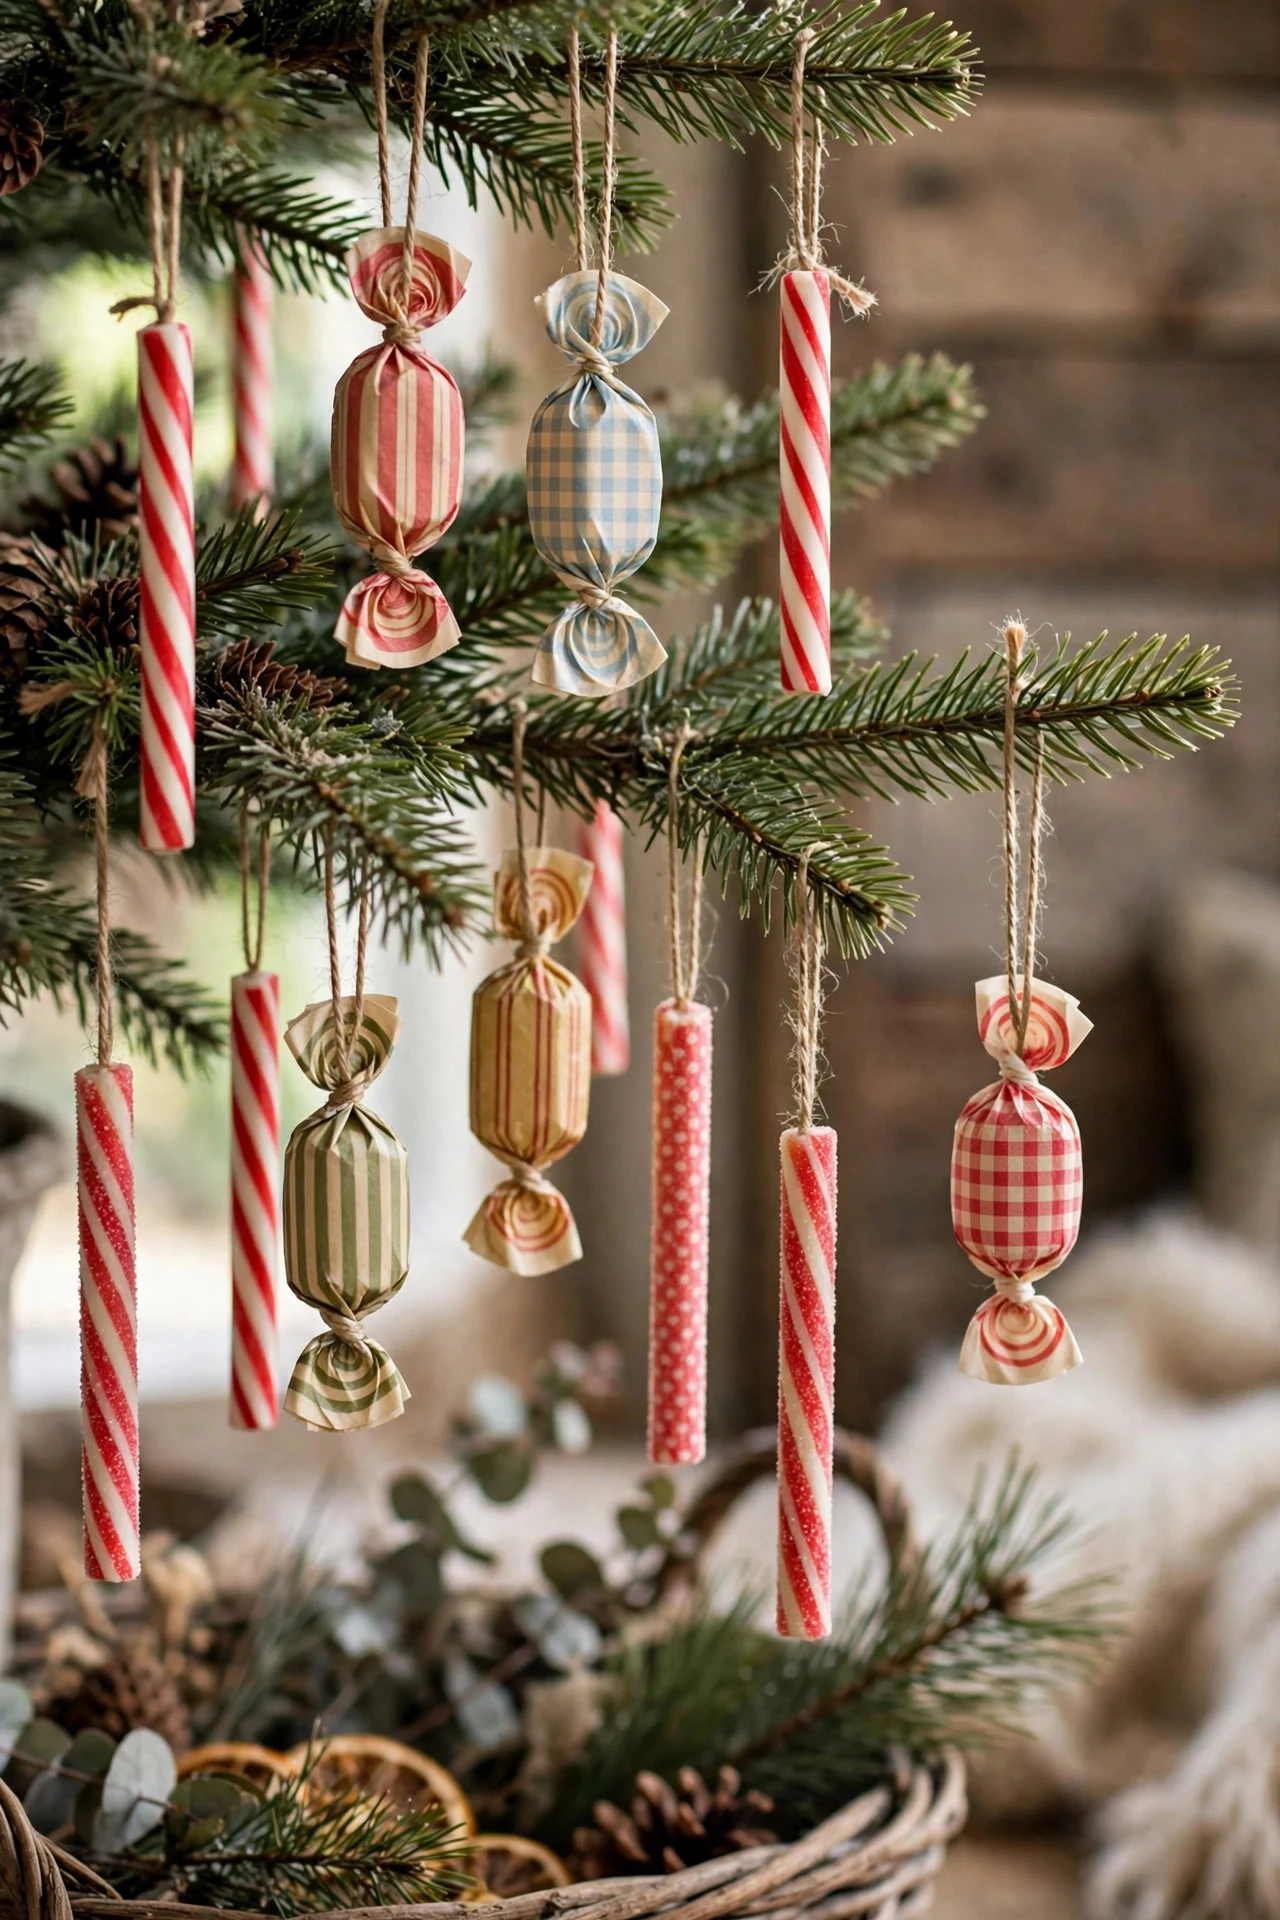
12. Vintage-Style Wrapped Candy Ornaments
Real wrapped candy hung on the tree is an old-fashioned delight — the shiny wrappers catch the light, and kids can “pick” one on Christmas morning. Choose hard candies and foil-wrapped chocolates that won’t melt or attract pests.
Hang them on lower branches within kid reach, about two dozen for a full tree. Check weekly for any unwrapped casualties. Peppermint sticks tied with ribbon work beautifully too and smell faintly of mint. Choose candy in sealed wrappers only — open candy draws pantry moths straight to your living room.
Try this: Save the tradition for Christmas week only — candy ornaments left up all December get sticky and sad.
13. Salt-Dough Ornaments With the Kids
Salt-dough ornaments are the classic kid craft for a reason: flour, salt, and water, rolled 1/4-inch thick, cut with cookie cutters, baked at 250°F for 2 hours. They cost pennies and kids genuinely treasure them.
Press a child’s handprint into a round ornament before baking for the grandparent-gift version. Paint after cooling with acrylics, seal with clear matte spray, and they’ll last decades — I’ve seen thirty-year-old salt-dough ornaments still hanging. Roll dough between two sheets of parchment — it prevents sticking without added flour that dries the surface.
Try this: Poke the hanging hole with a straw before baking — it makes a cleaner hole than a toothpick and won’t close up.

14. Velvet Bows as Ornaments
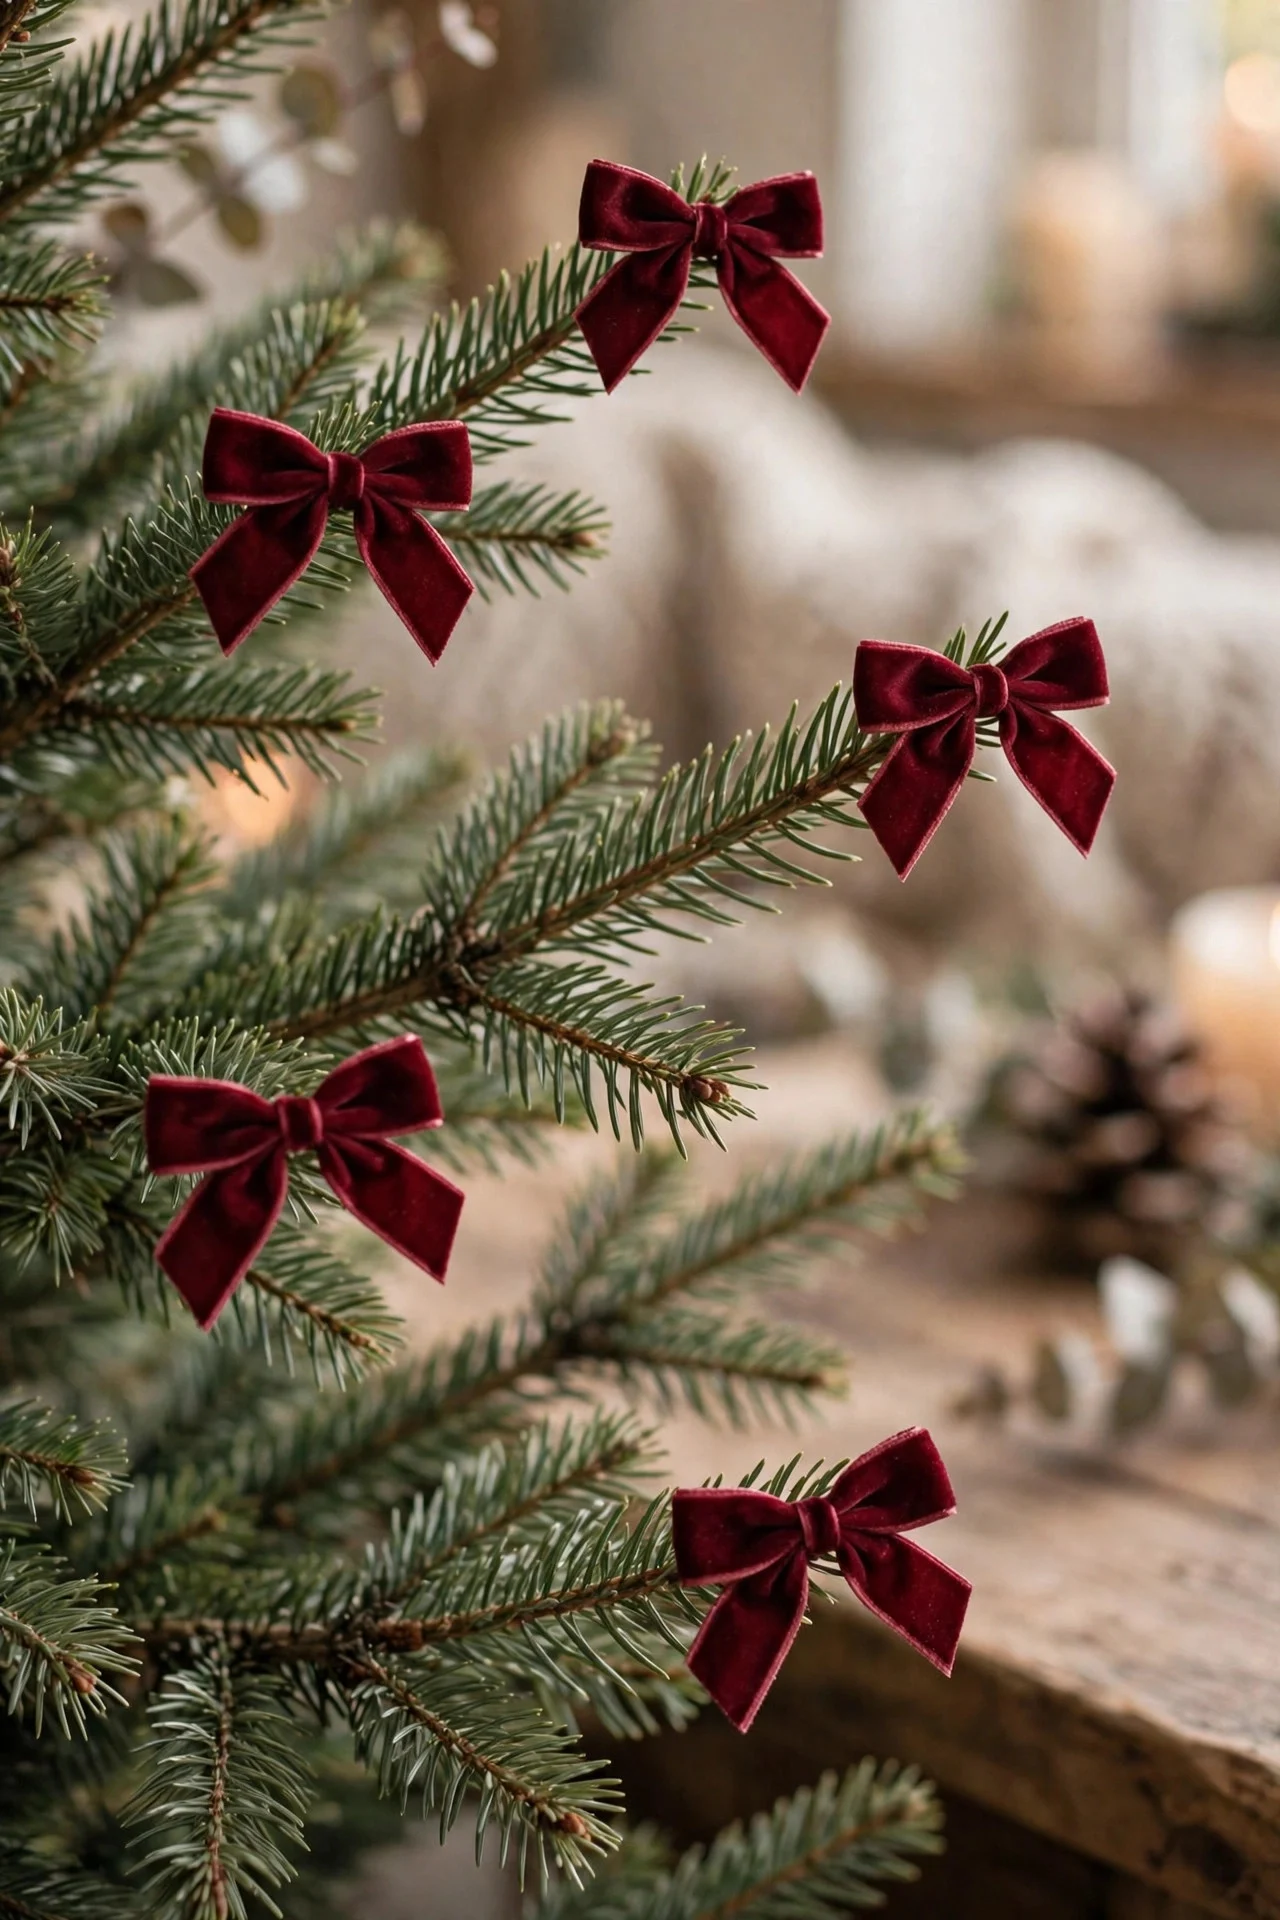
One of 2026’s biggest tree trends is also the simplest: small velvet bows tied directly onto branches as ornaments. A 4-inch bow in burgundy, forest, or chocolate brown adds softness and color without a single bauble.
Pre-tied bows cost about $1 each in multipacks, or cut 18-inch lengths of 1.5-inch velvet ribbon and tie your own — looser, more organic bows look better than perfect ones. Scatter 20–30 across a full tree. Steam wrinkled velvet ribbon before tying — crushed velvet bows look tired, steamed ones look lush.
Try this: Tie bows at the very tips of branches where ornaments won’t hang — they fill the silhouette’s edge beautifully.
15. A Smart Plug for the Lights
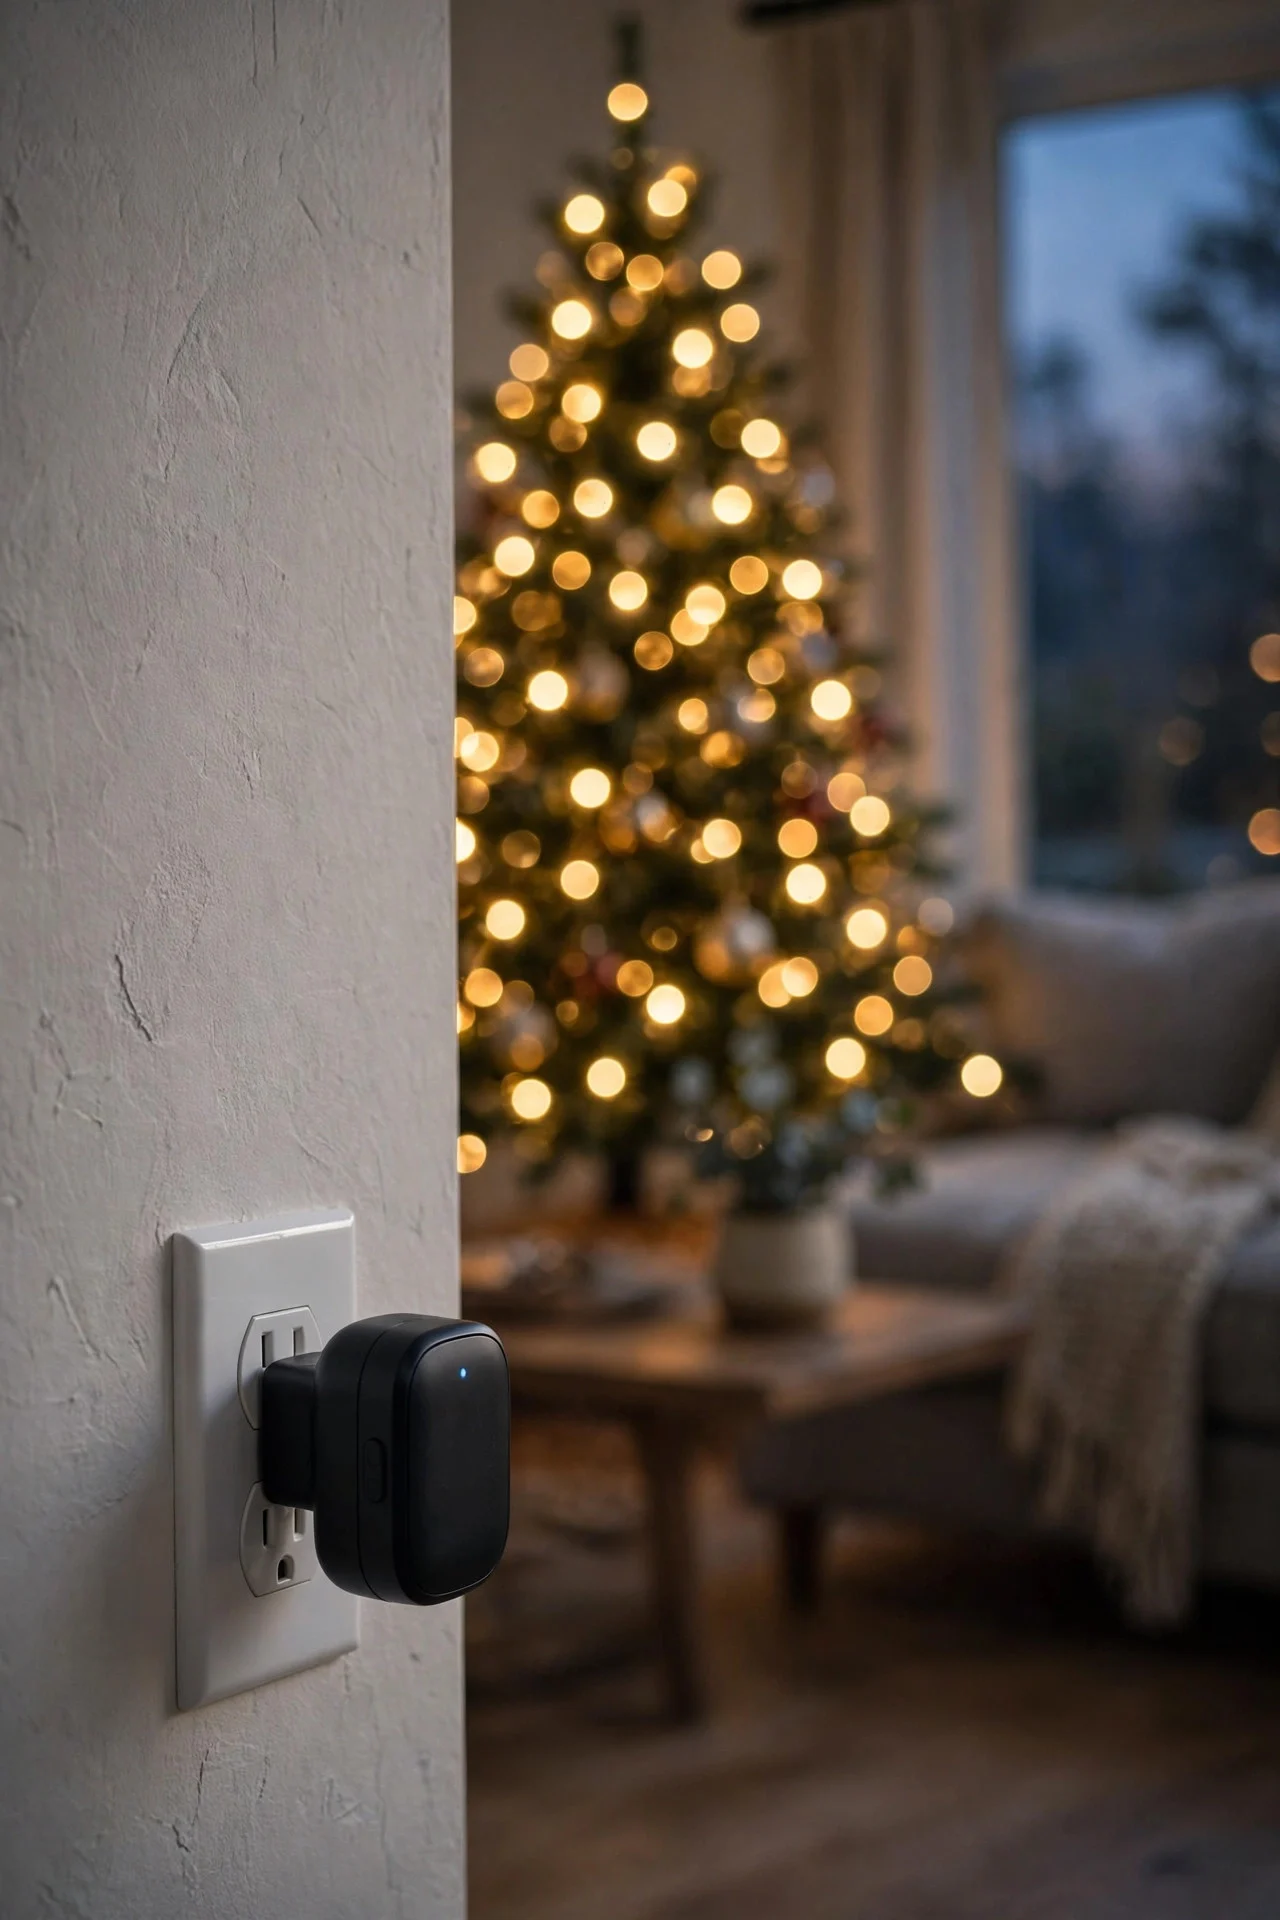
Put your tree lights on a smart plug — about $12 — and schedule them to turn on at dusk and off at bedtime. No more crawling behind the tree, no more lights blazing at 3 a.m., no more “did we leave the tree on?” panic.
Most smart plugs handle 10+ amps, far more than LED tree lights draw. Set a holiday schedule in the app once, and the tree greets you with light every evening like clockwork. It also saves real electricity over the season. Plug the smart plug into a surge protector, not directly into the wall — holiday light surges are real.
Try this: Name the plug “Christmas Tree” in your voice assistant — “turn on the Christmas tree” never gets old.
16. Fir Scent Sticks for Real-Tree Smell
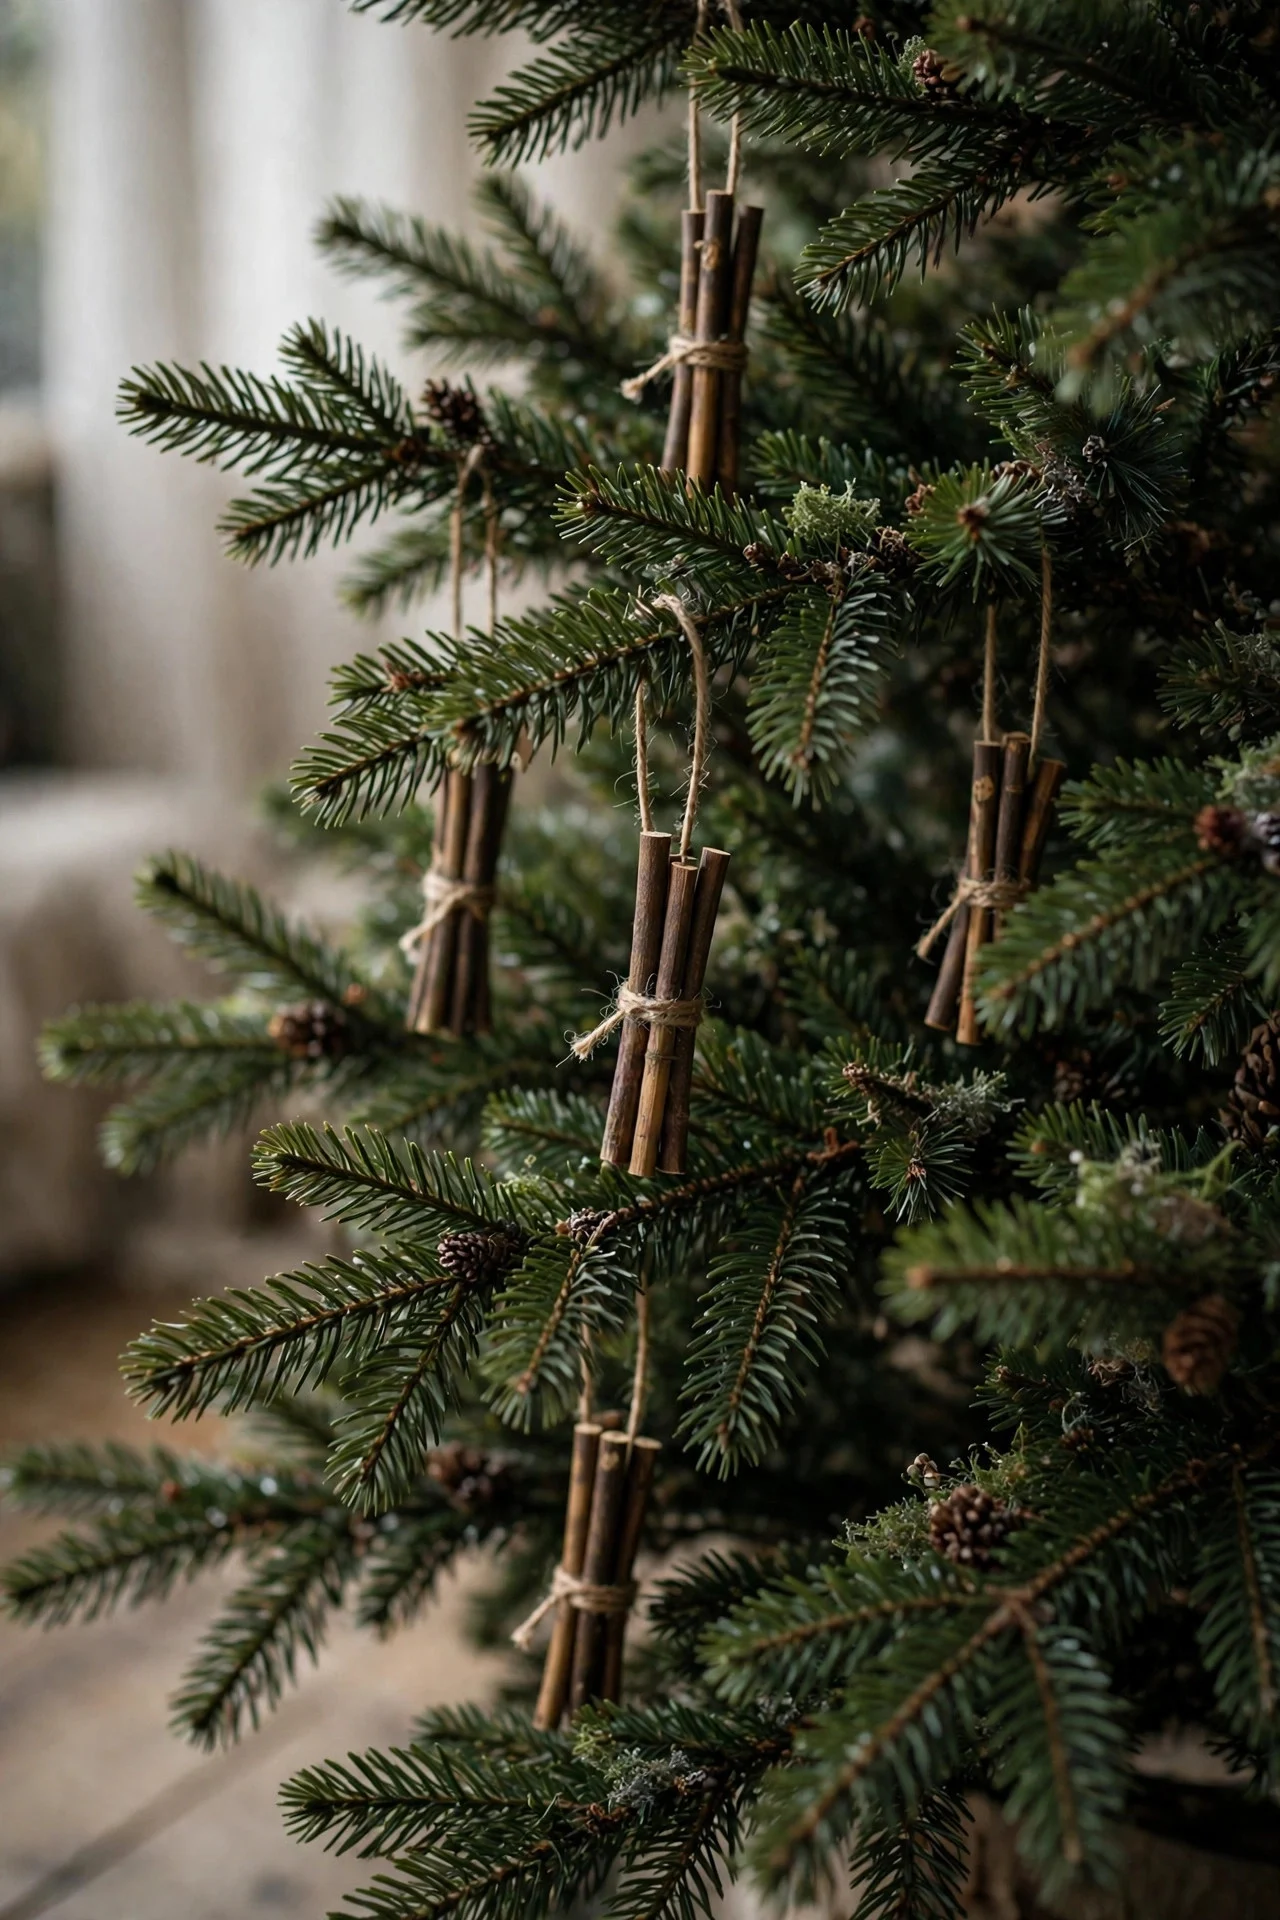
Love the smell of a real tree but own an artificial one? Fir scent sticks — small scented sticks you hang on inner branches — release a genuine balsam fragrance for about three weeks. A pack of 12 costs around $8.
Hang them deep inside the tree where they’re invisible; the scent diffuses outward. Replace mid-December for a fresh burst through Christmas. They’re subtler and more natural-smelling than plug-in fresheners. Keep scent sticks away from direct heat vents — forced hot air burns through the fragrance in days.
Try this: Use half the pack at setup and save the rest — refreshing the scent on Christmas Eve makes the whole house smell like morning.
17. Kid-and-Pet-Proof the Bottom Third
Decorate the bottom 2 feet of the tree exclusively with shatterproof ornaments — plastic, wood, fabric, felt. Toddlers grab, cats bat, dogs wag; glass at knee height is a December emergency room visit waiting to happen.
Hang your precious glass and heirloom ornaments from the middle up, out of reach. Nobody notices the strategy — they just see a fully decorated tree. Shatterproof bauble sets cost about the same as glass and look nearly identical from three feet away. Test each shatterproof ornament by dropping it on carpet first — some ‘shatterproof’ plastic still cracks.
Try this: Anchor the tree stand with a sandbag or a wrapped brick behind the collar — a climbing toddler can topple an unweighted tree.
18. Decorate Top-Down, Inside-Out
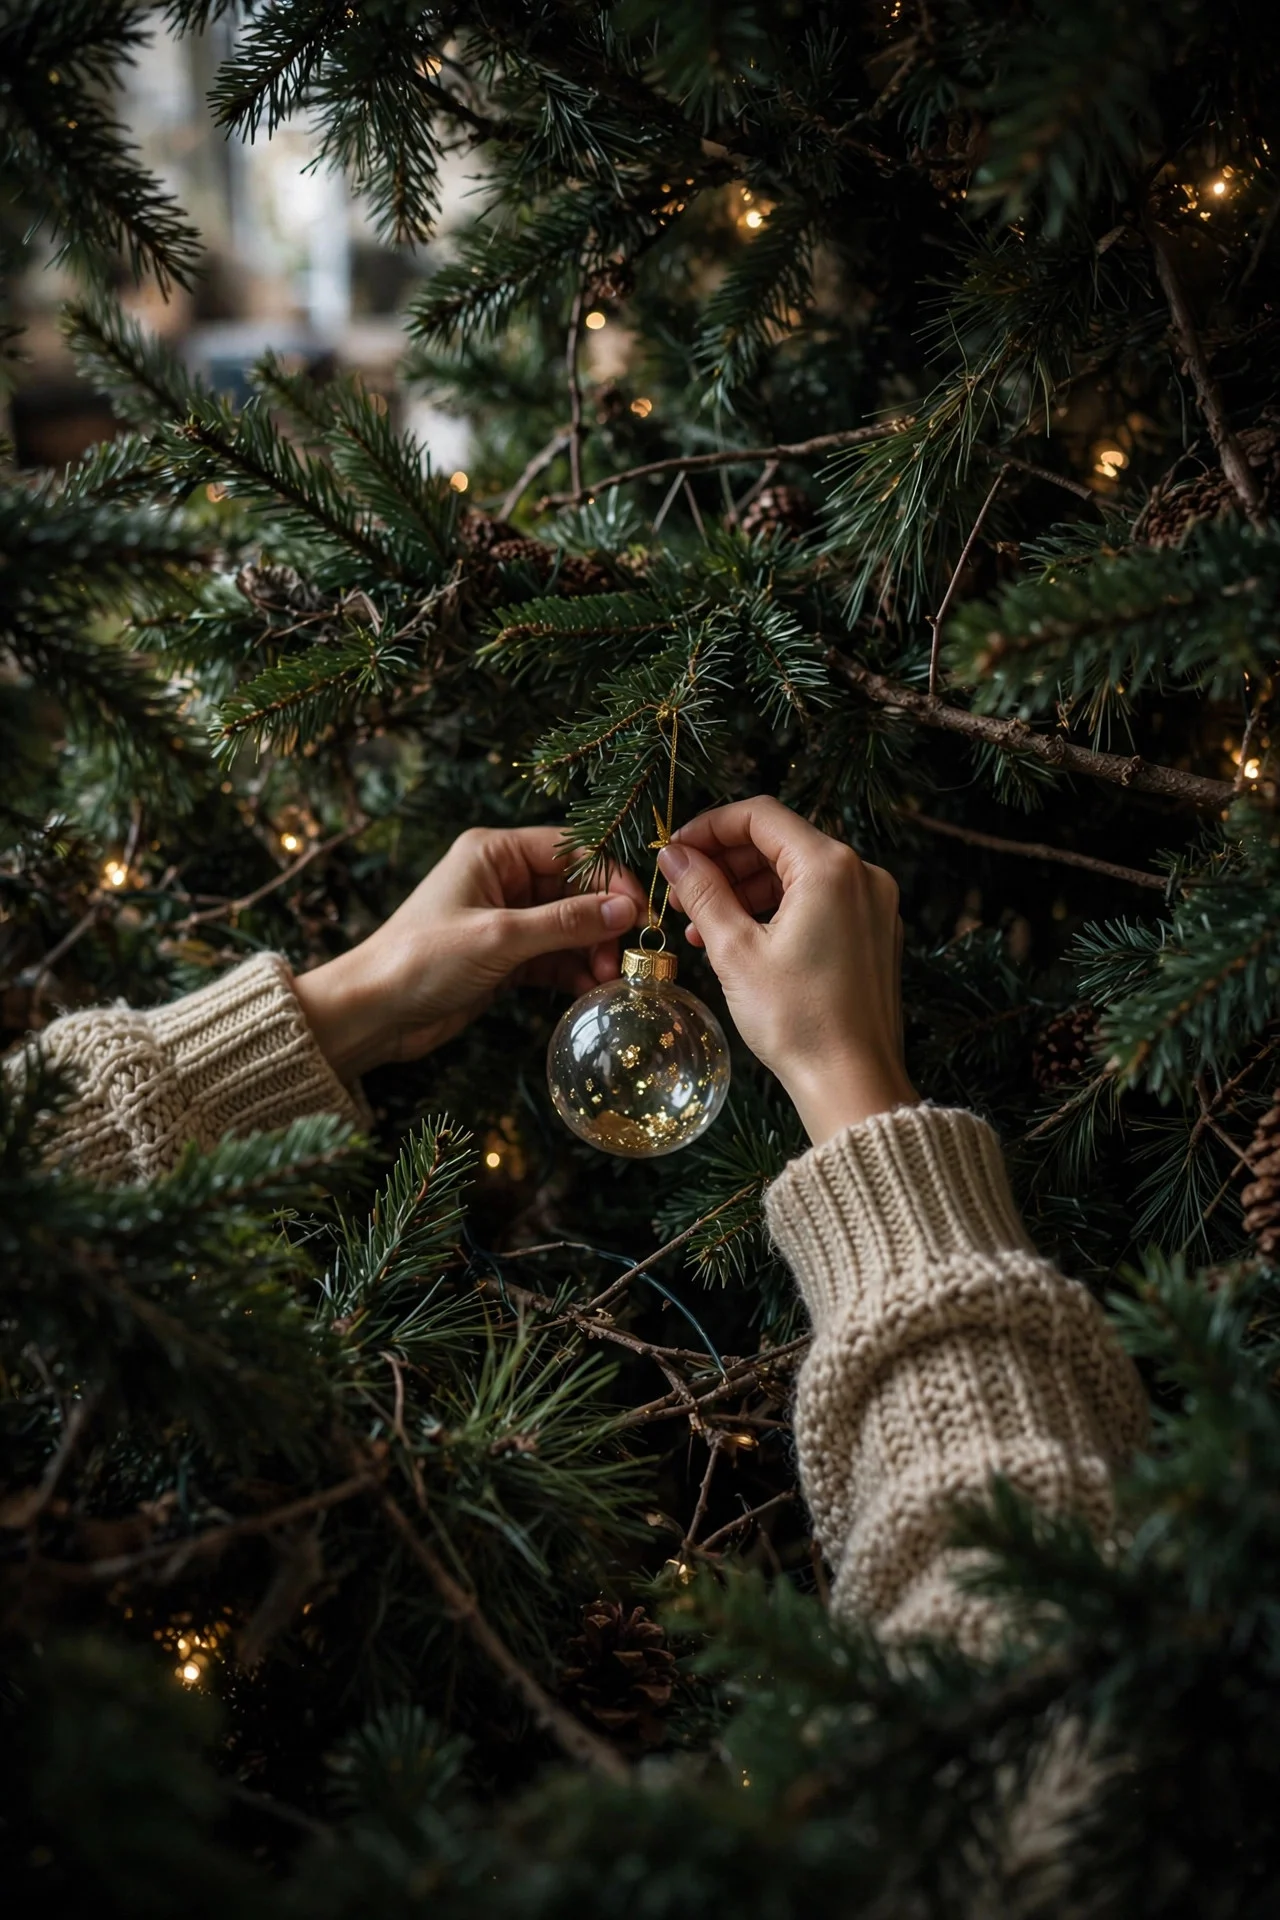
The order matters: topper first, then lights, then ribbon, then picks, then large ornaments, then small ornaments, working from the top down and from the inside out. Every professional decorator follows this sequence because each layer sits on the last.
Working inside-out means placing deep ornaments first — the ones tucked close to the trunk — then filling outward toward the branch tips. It prevents the “all ornaments on the surface” look that makes trees feel flat. Take a phone photo after each layer — comparing layers side-by-side reveals gaps you’d otherwise miss.
Try this: Hang ornaments with the hook wrapped twice around the branch, not just dangling — they’ll survive curious cats and bumping elbows.
19. Fluff Every Branch (Yes, Really)
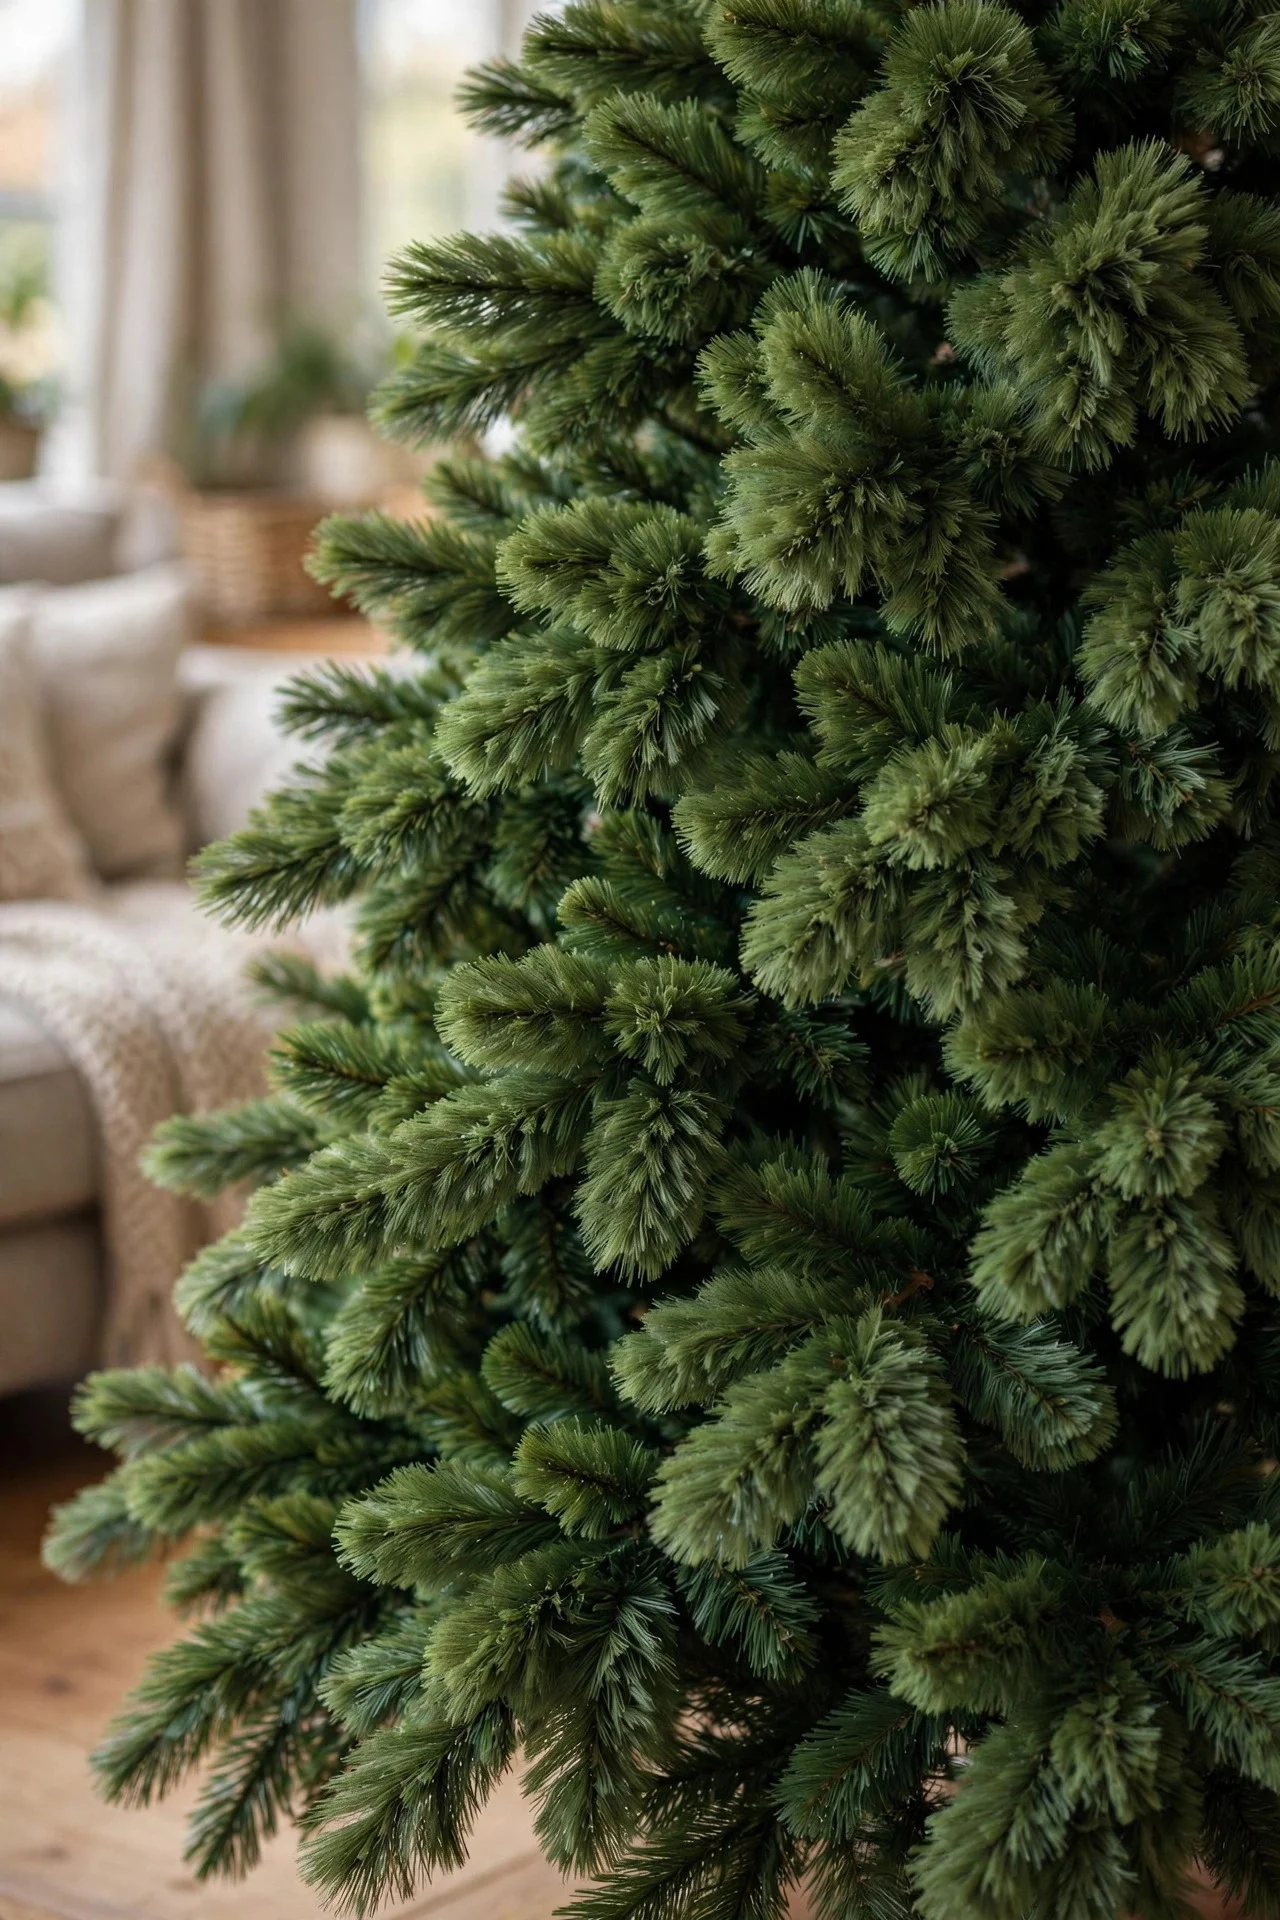
The most skipped step in tree decorating is also the most transformative: fluffing. For artificial trees, pull each branch tip outward and upward, alternating directions, working from the bottom up. Budget 45 minutes for a 7-foot tree — it feels endless and it’s worth every second.
Fluffing easily doubles the tree’s perceived fullness. Pay special attention to the bottom branches, which get crushed in storage, and the back of the tree, which everyone skips but guests see from the hallway. Fluff with the tree’s lights on — lit branches reveal thin spots that look perfectly fine in daylight.
Try this: Wear thin gardening gloves — they grip the branches better than bare hands and save your fingers from wire scratches.
20. An Under-Tree Village Scene
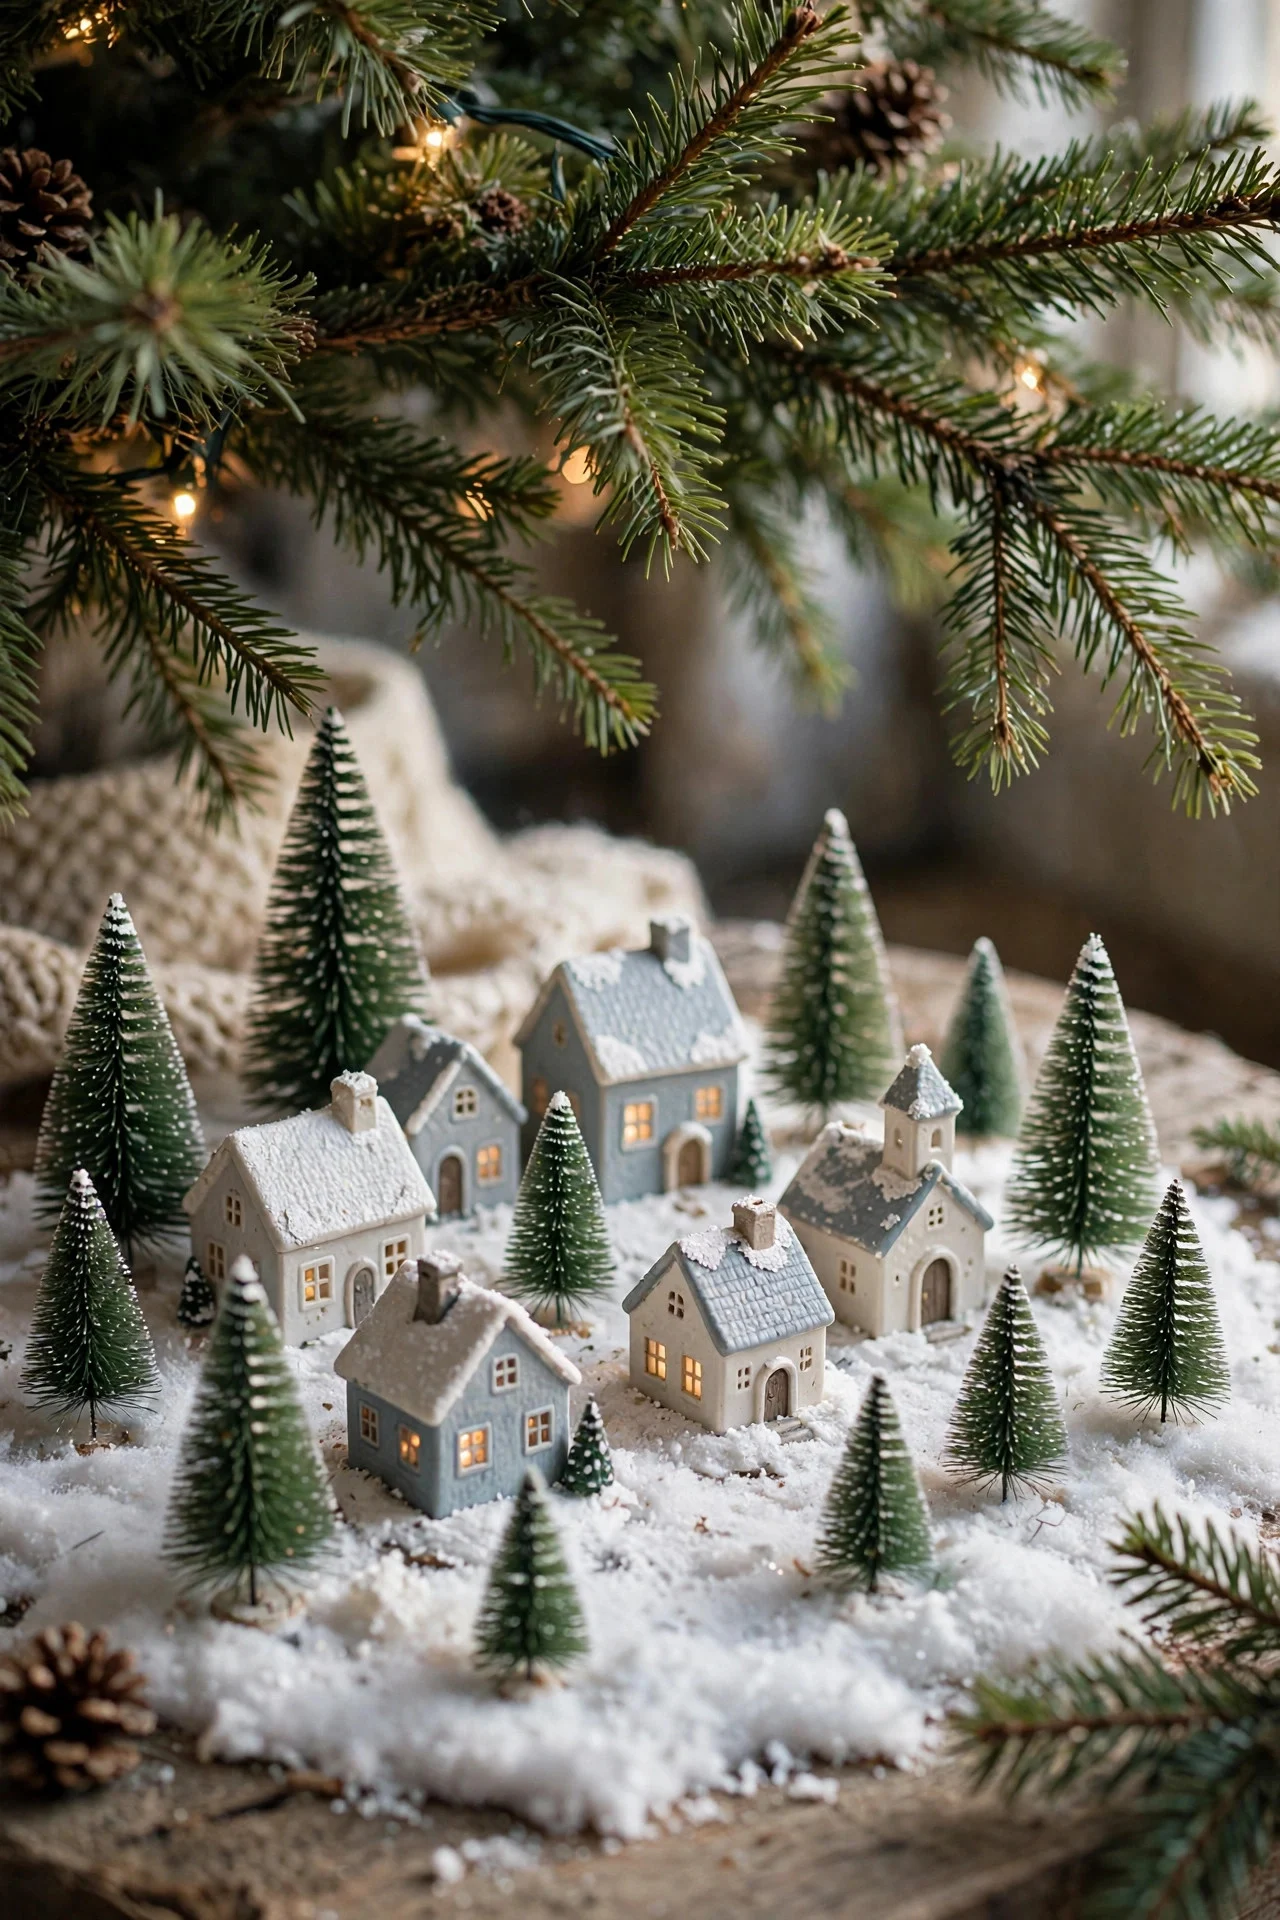
Give the space under your tree a job: a miniature village scene. A few ceramic houses, bottle-brush trees, and a string of fairy lights on a white faux-fur “snow” blanket turns the tree’s base into a second decoration.
Build it on a round tray or directly on the tree skirt so it stays contained. Thrift stores are goldmines for ceramic village houses at $2–$3 each. The scene delights kids and gives the tree’s bottom third — the hardest part to decorate — instant purpose. Run the village lights on the same timer as the tree — one schedule for the whole display.
Try this: Sprinkle the “snow” with a little artificial snow powder — it catches the tree lights and sparkles like real frost.
21. Numbered Advent Ornaments
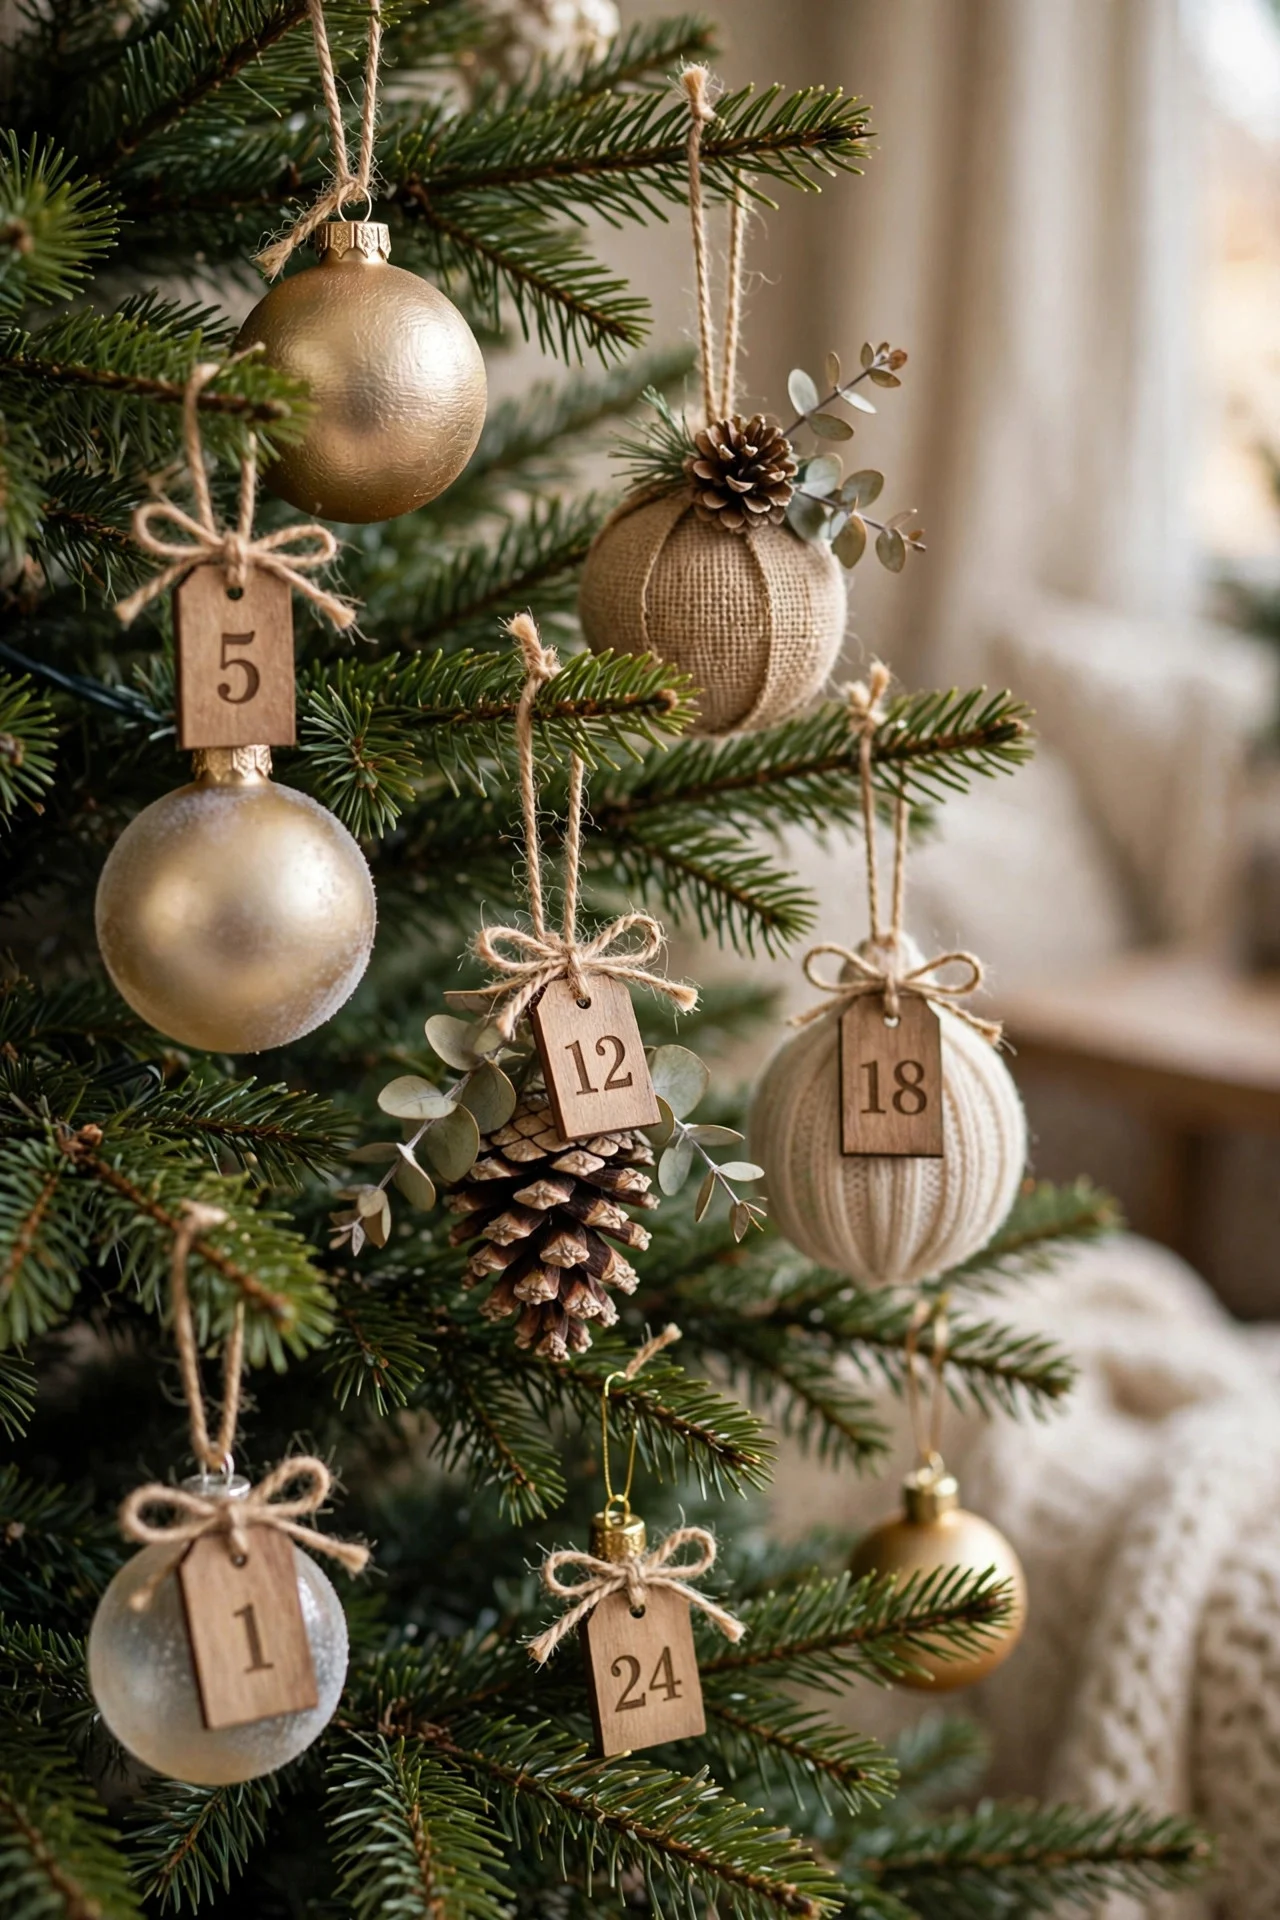
Turn 25 small ornaments into an advent countdown: number wooden tags 1–25 with a paint pen, tie one to each ornament, and hang them on the tree. Kids (or adults) find the day’s number each morning of December.
Use lightweight ornaments — small bells, mini baubles, felt stars — so the tags don’t drag branches down. The daily ritual becomes part of your family’s December, and the tree doubles as the advent calendar. Use a metallic paint pen, not a marker — markers bleed on wood tags, paint pens stay crisp.
Try this: Hide a tiny treat or note behind the ornament of the day — the hunt is half the fun.
22. A Wooden Bead Garland
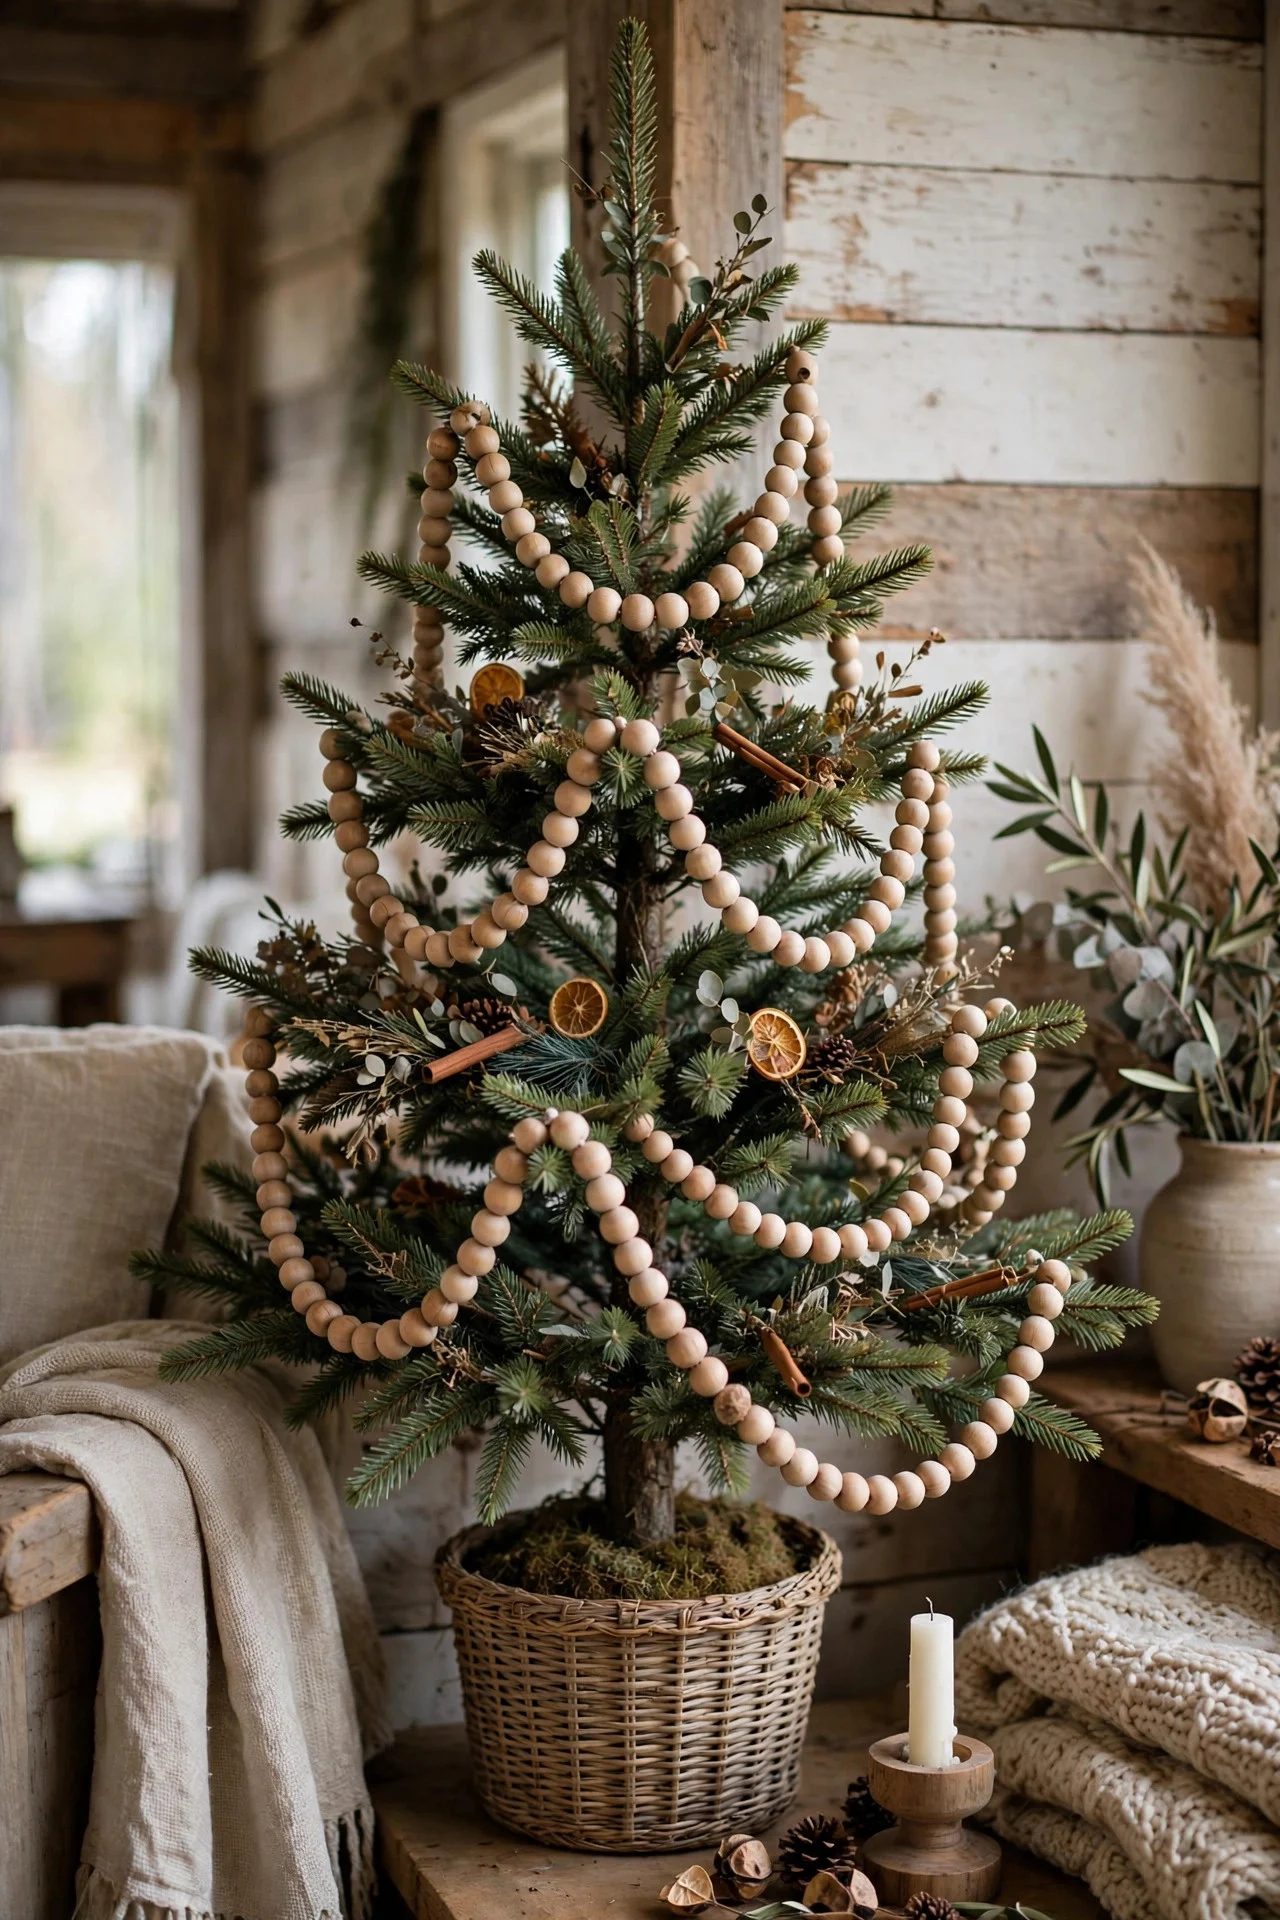
Wooden bead garlands — large unfinished or stained beads strung on twine — add organic texture that balances glass and glitter. Drape in loose swags around the tree, letting the beads settle naturally into the branches.
A 6-foot strand costs about $12 and suits rustic, Scandinavian, and minimalist trees especially well. For a 7-foot tree, use two strands. The matte wood absorbs light rather than reflecting it, which calms down an over-sparkly tree. Knot the twine between every tenth bead — if the strand breaks, you lose ten beads, not sixty.
Try this: Stain half the beads with dark walnut and leave half natural — the two-tone strand looks custom-made.
23. The Champagne-and-White Luxe Look
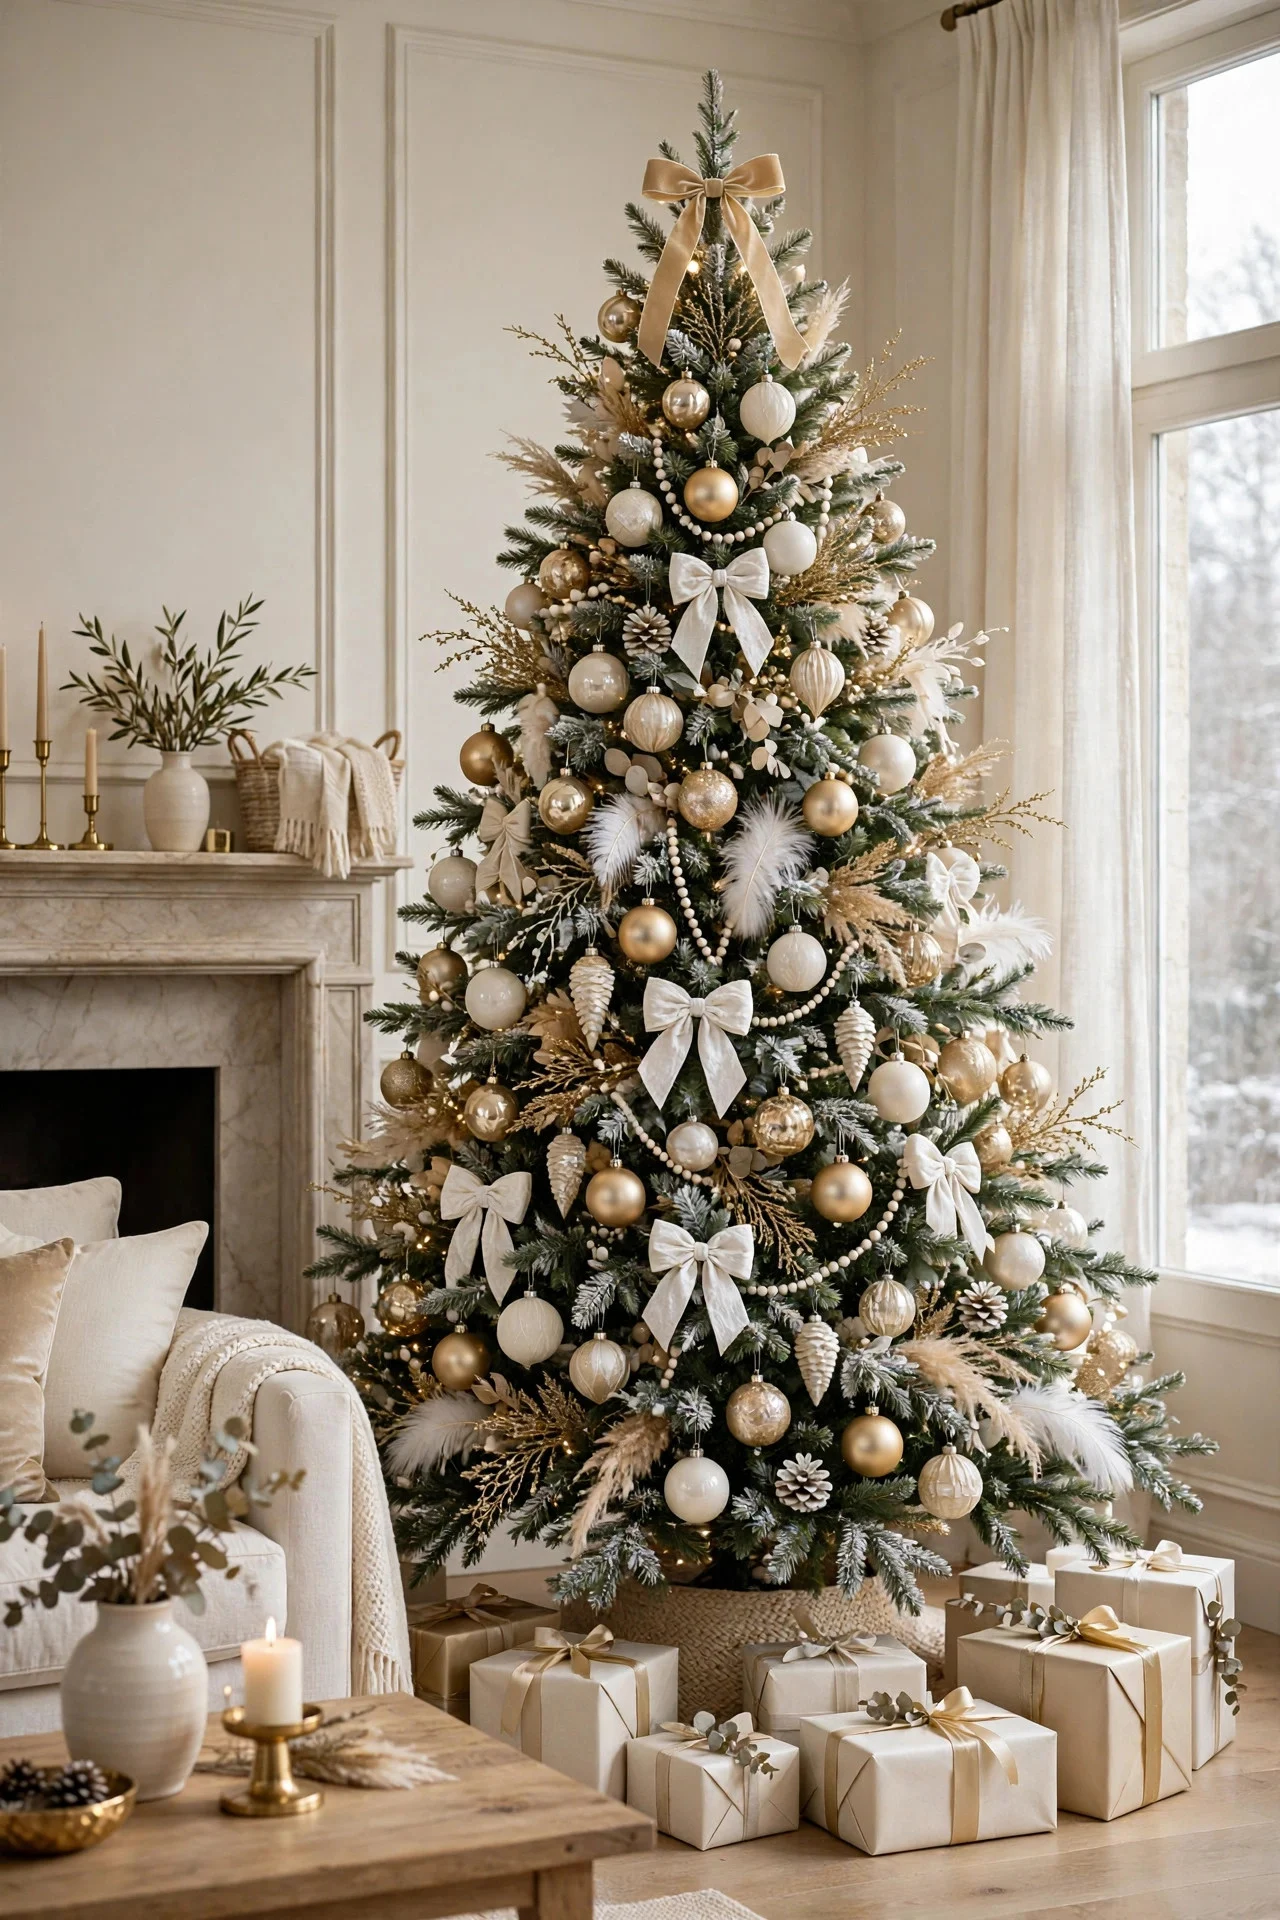
For a tree that looks expensive without trying too hard: champagne gold, ivory, and white, nothing else. Champagne baubles in mixed finishes — shiny, matte, glittered — plus white velvet ribbon and warm white lights.
The trick is finish variety within one color family; all-shiny looks cheap, but mixed finishes look layered and rich. Add white berry picks for texture. This palette photographs beautifully and suits modern living rooms. Add one unexpected texture — a feather pick or velvet bow — so the monochrome palette doesn’t read as flat.
Try this: Spray a few plain white ornaments with champagne glitter spray — custom glittered baubles for a fraction of boutique prices.
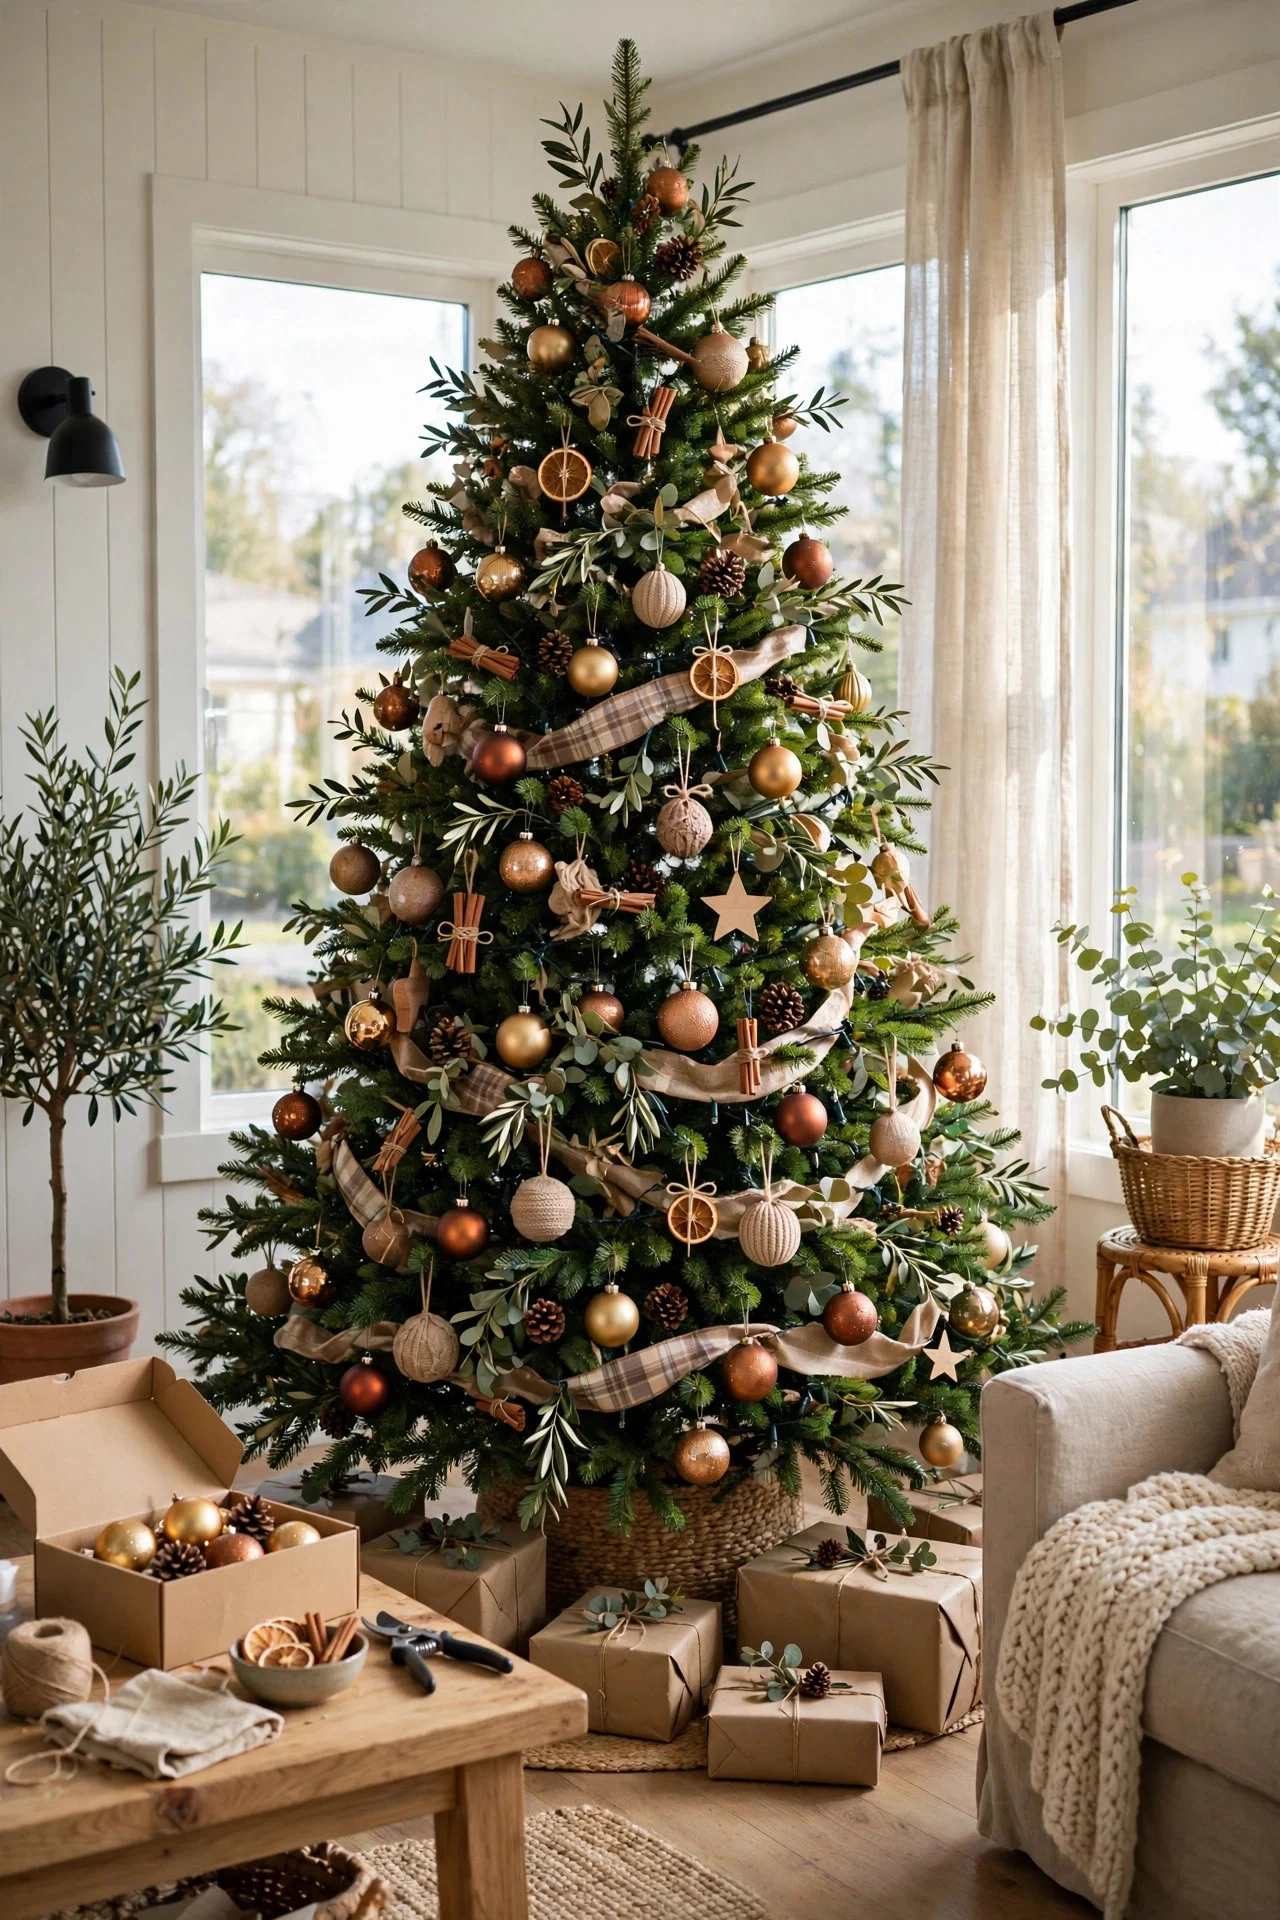
24. The All-Natural Tree
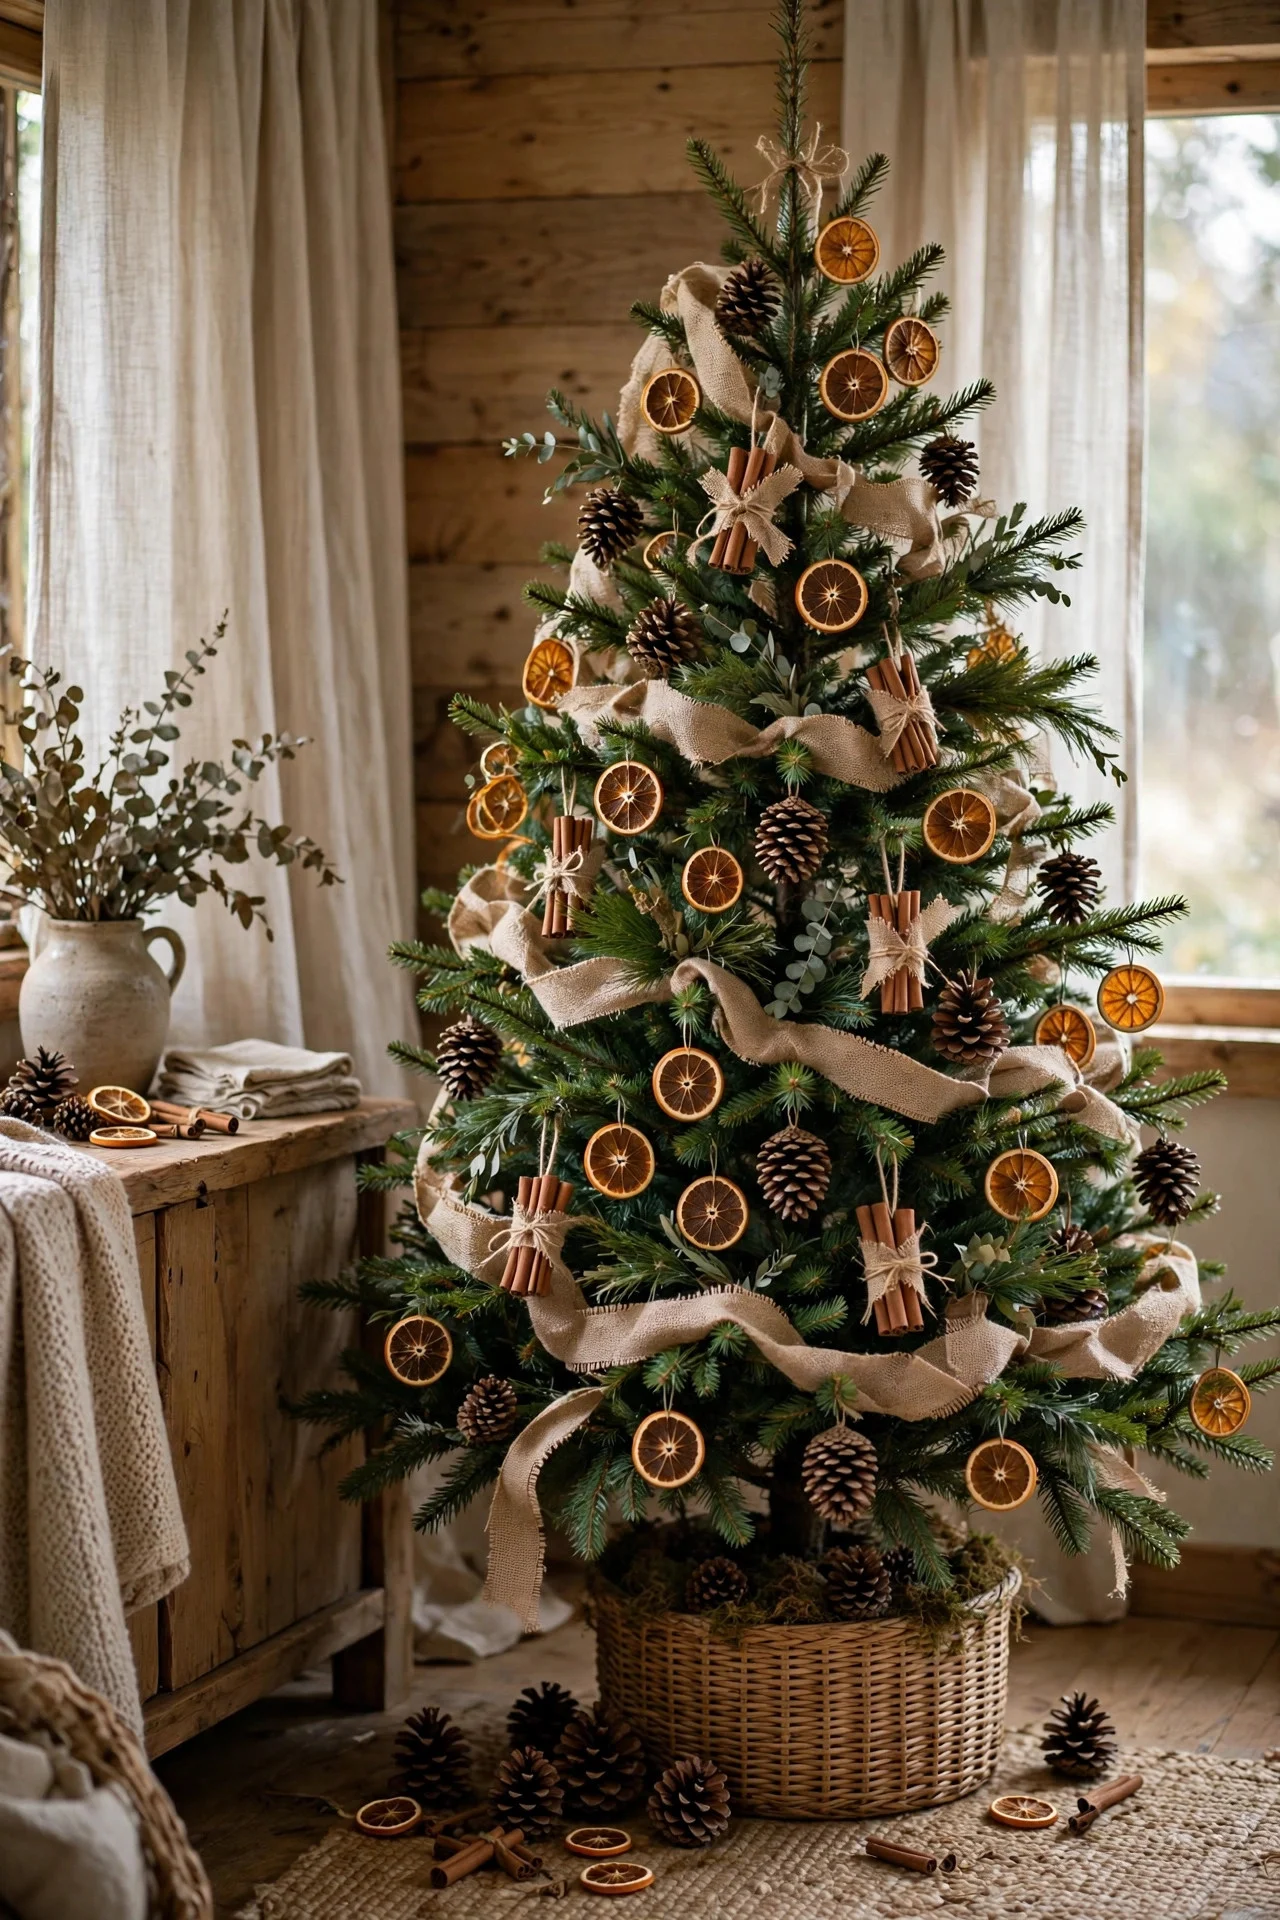
Go fully natural: pinecones, dried orange slices, cinnamon bundles, wooden beads, and burlap ribbon — no glass, no glitter, nothing manufactured. It smells incredible and looks like a tree from a Scandinavian Christmas card.
This is also the most sustainable tree: everything composts or stores flat. Tie cinnamon sticks in bundles of three with twine — they scent the whole room — and hang dried apple slices alongside the oranges. Compost the citrus garlands after Christmas and save the beads and pinecones — the tree gets cheaper every year.
Try this: Add a few bird-friendly touches — strings of cranberries and popcorn — then move them outside for the birds after Christmas.
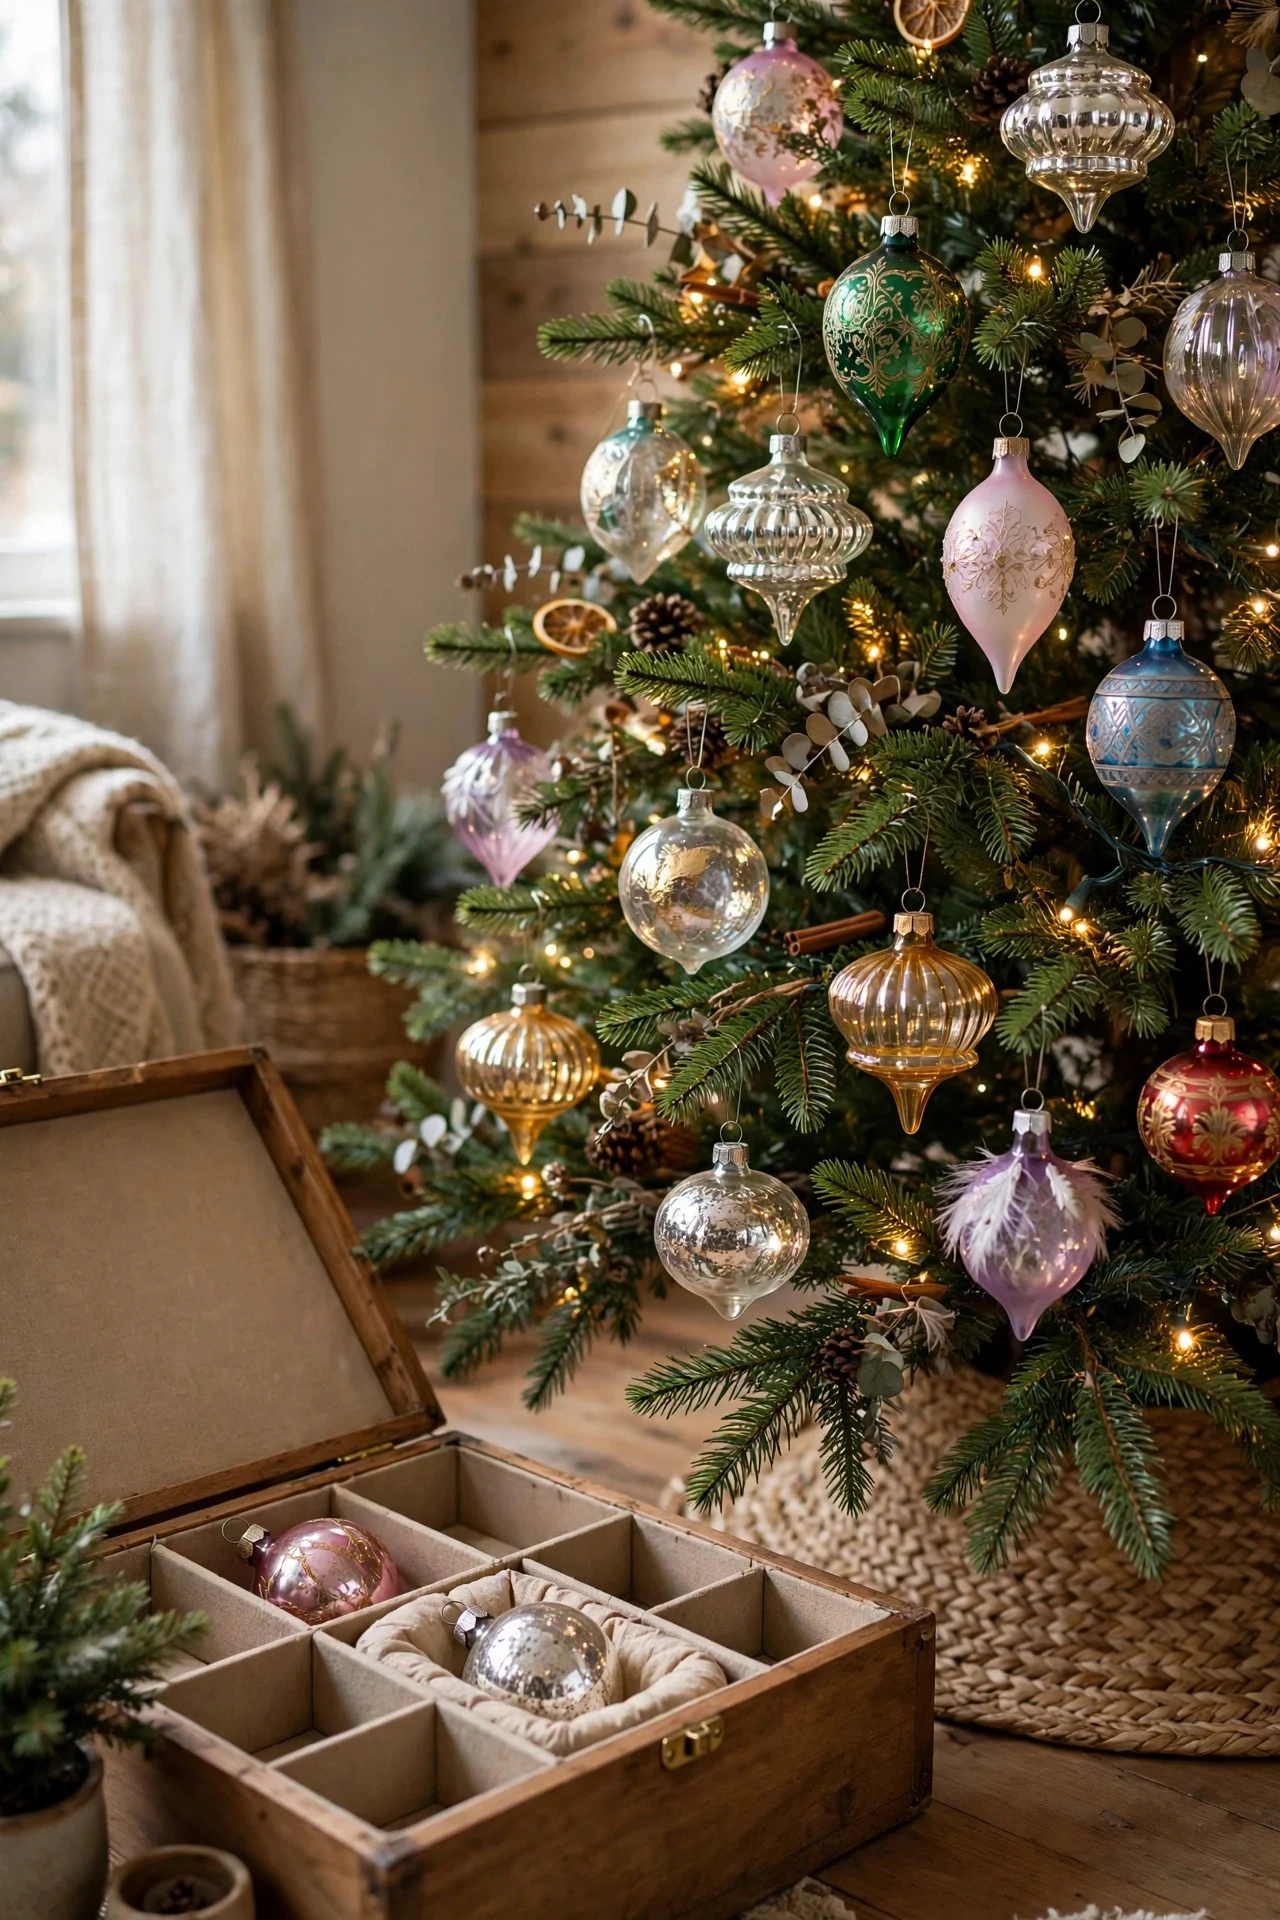
25. Rotate Your Heirlooms
If you own more heirloom ornaments than tree space, stop cramming them all on. Choose 12–15 favorites each year and rotate — every ornament gets its moment, the tree looks curated instead of crowded, and unpacking becomes a reunion.
Store the off-duty heirlooms in a divided ornament box with each piece wrapped in tissue. Label the box by year used so the rotation stays fair. Your tree will look different — and freshly intentional — every December. Photograph this year’s selection before packing — the photo becomes your rotation checklist next December.
Try this: Let each family member pick one heirloom to feature — it turns decorating into a storytelling night.
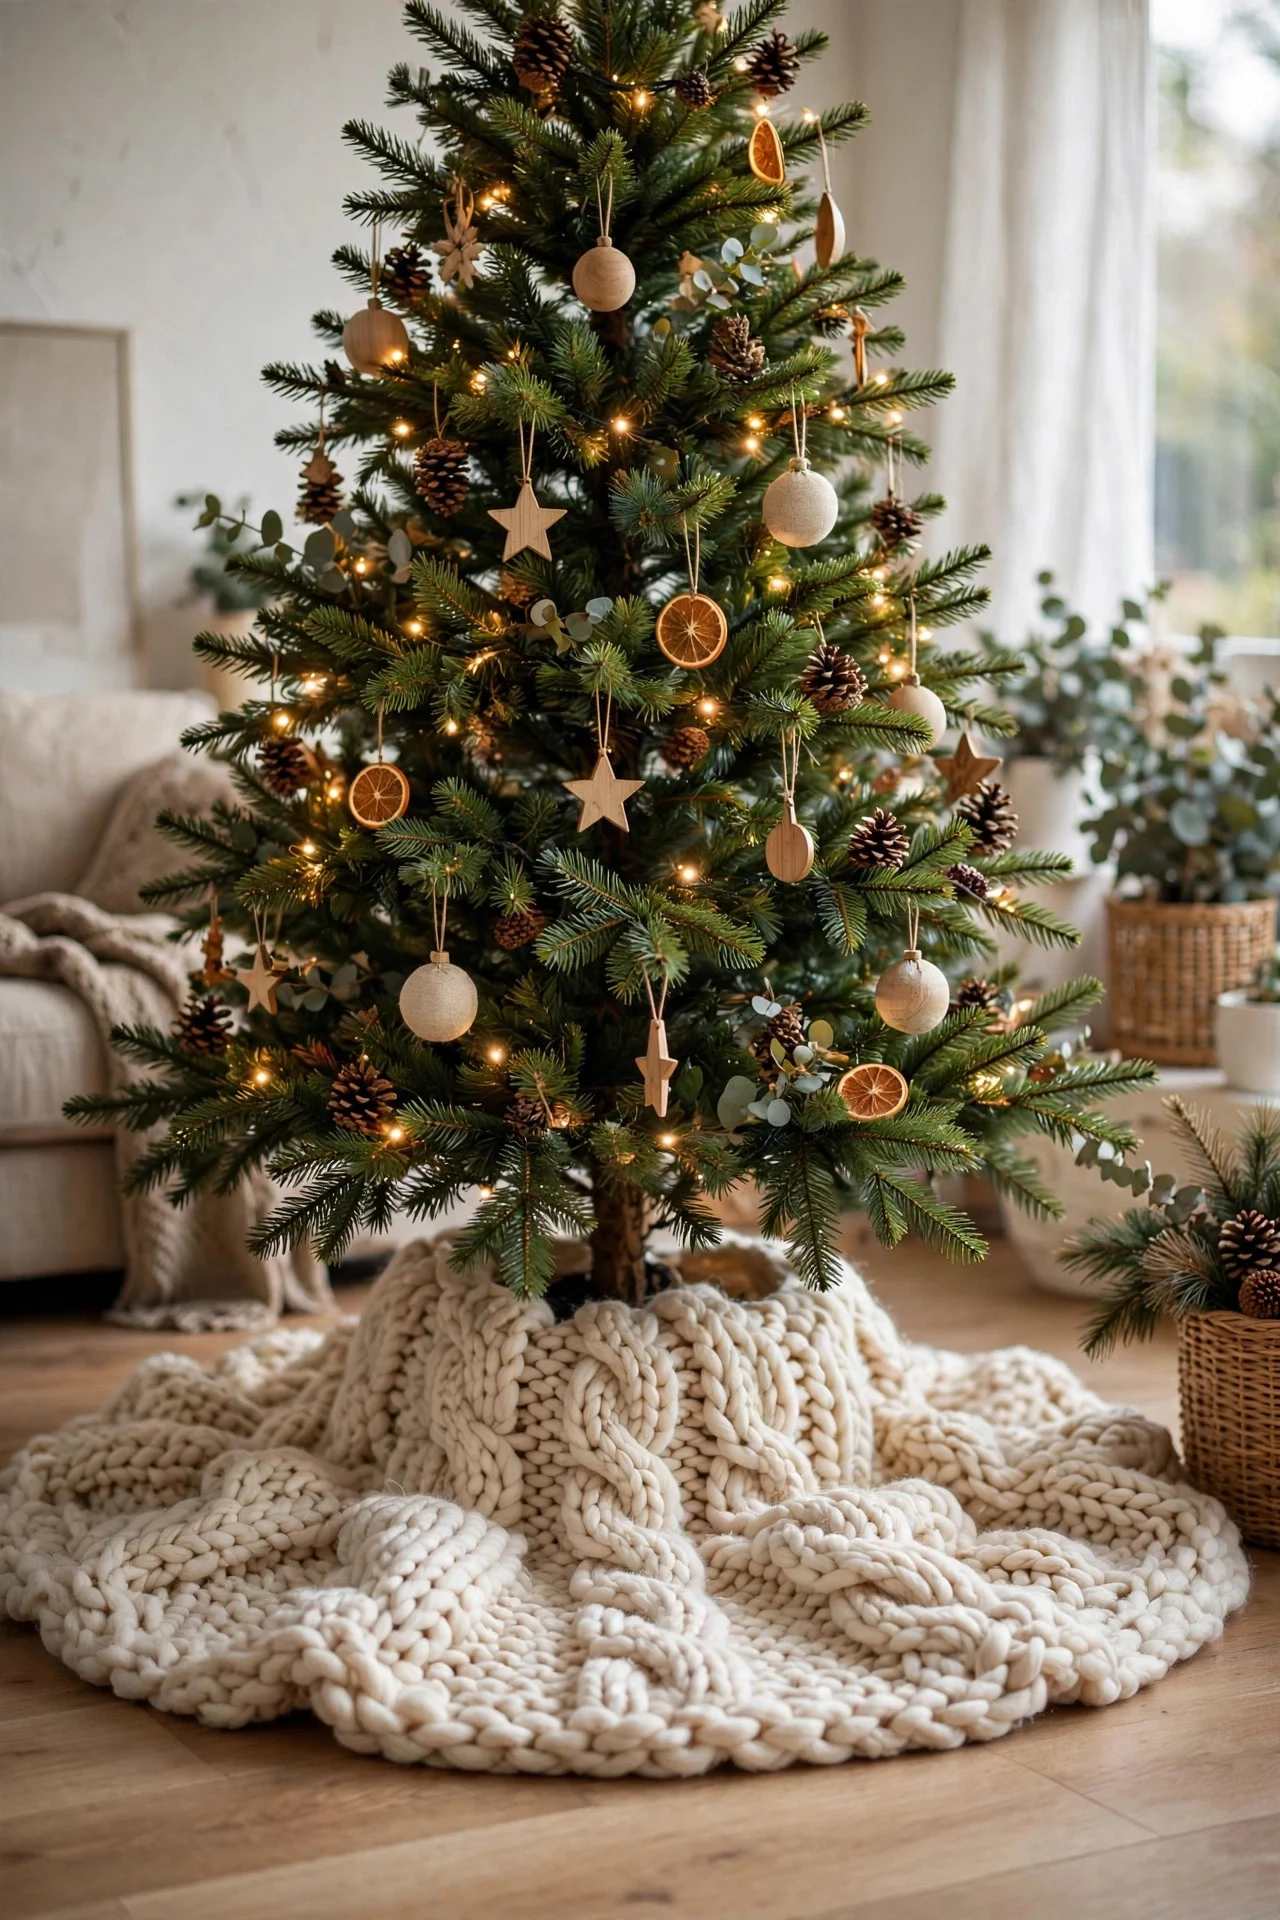
26. A Chunky Knit Tree Skirt
If the basket collar isn’t your style, try a chunky knit tree skirt in cream or oatmeal. The soft texture contrasts beautifully with sharp evergreen needles and adds the cozy factor a flat fabric skirt can’t.
Knit skirts run $30–$50 and fit trees up to 9 feet — check the center opening against your stand’s width. The knit hides lumps in the stand and drapes over uneven floors better than stiff fabric. Vacuum the knit skirt with an upholstery attachment — it collects ornament hooks and pine needles all season.
Try this: Layer a smaller faux-fur throw over half the knit skirt — mixed textures at the tree’s base look incredibly rich.
27. The Final Lights-Off Walk-Around
When you think you’re done, turn the tree lights off and walk around the tree in daylight. Bare spots, lopsided ribbon, and ornaments all facing one direction jump out immediately without the lights dazzling you.
Fix what you see, then turn the lights on and do one more slow circle at dusk — the tree’s “performance lighting.” Adjust any ornament that’s lost in shadow. Ten minutes of editing separates a decorated tree from a designed one. Do the final check at the time of day you’ll most often see the tree — morning and evening light reveal different flaws.
Try this: Photograph the tree from your main seating spot — the camera reveals imbalances your eyes have learned to ignore.
Frequently Asked Questions
How many ornaments do I need for a 7-foot Christmas tree?
Plan on 70–100 ornaments for a full look: about 20 large statement pieces, 40 medium baubles, and the rest small fillers, picks, and bows. Fewer, larger ornaments look richer than a hundred tiny ones scattered thin.
What order should I decorate a Christmas tree in?
Topper first, then lights, then ribbon or garland, then picks and sprays, then large ornaments, then small ornaments — working top-down and inside-out. Each layer sits on the last, which is why reversing the order always looks off.
What are the Christmas tree trends for 2026?
Designers are leaning into chocolate brown and burgundy palettes, velvet bows as ornaments, natural textures like wood beads and dried fruit, and warm white lighting over multicolor. The overall direction is cozy and collected rather than matchy-matchy.
How do I make a cheap artificial tree look expensive?
Fluff every branch (45 minutes, non-negotiable), light it generously with 100 lights per foot, use ribbon and picks to add fullness, and stick to a tight two-or-three-color palette. Technique covers a multitude of plastic sins.
Final Thoughts
A beautiful tree is 20% what you hang and 80% how you hang it. The layering, the fluffing, the walk-around edit — these unglamorous steps are what separate the trees you photograph from the trees you just glance at.
Pick the five ideas that fit your tree and your patience level, follow the top-down order, and give yourself permission to step back and edit. Your 2026 tree is going to be the good one.
