
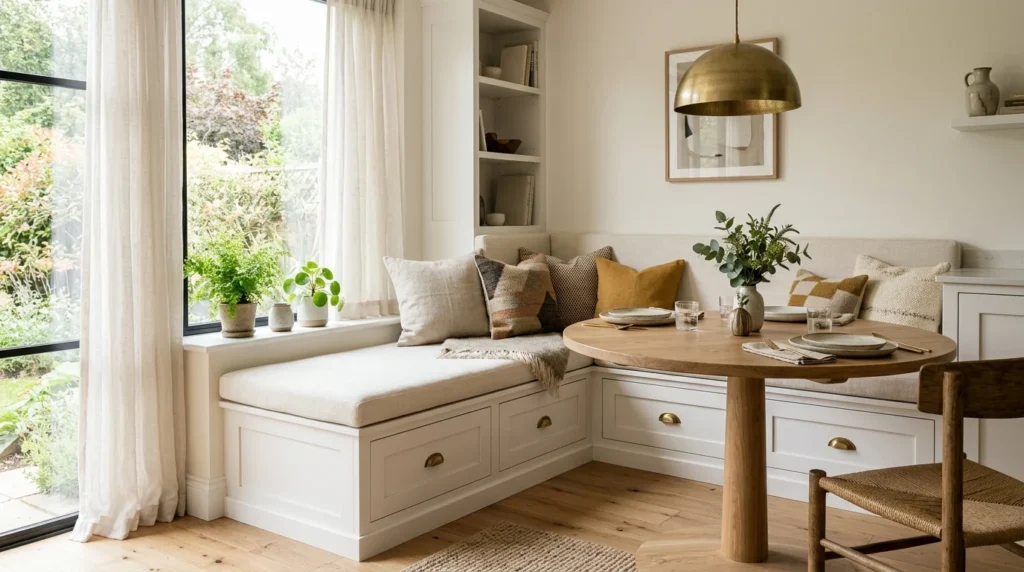
My dining nook used to have three mismatched chairs and an awkward gap on the fourth side where a fourth chair should have gone but never quite fit right against the wall. Every time we had more than two guests over, someone ended up perched on a stool from the kitchen island, which never felt like a real seat at the table. I’d been eyeing banquette seating in magazines for years, always assuming it required a contractor and a serious budget, until a friend mentioned she’d built her own in a weekend using little more than plywood and foam. I remember not quite believing her at first, since every version I’d seen in home design magazines looked like it had come from a custom furniture workshop.
That conversation sent me down a genuine rabbit hole. I built my first banquette not long after, made a few mistakes I later fixed on a second attempt in a different house, and have since helped two friends figure out banquette solutions for their own oddly shaped dining nooks. What I learned is that banquette seating is far more flexible than it looks in photos, and there’s a version of it that works for almost any budget, skill level, or room shape. Here are 18 ideas that came directly out of those projects, ranging from beginner-friendly builds to more ambitious weekend projects for those with a bit more woodworking confidence.
1. Simple Plywood Box Base With a Cushioned Top
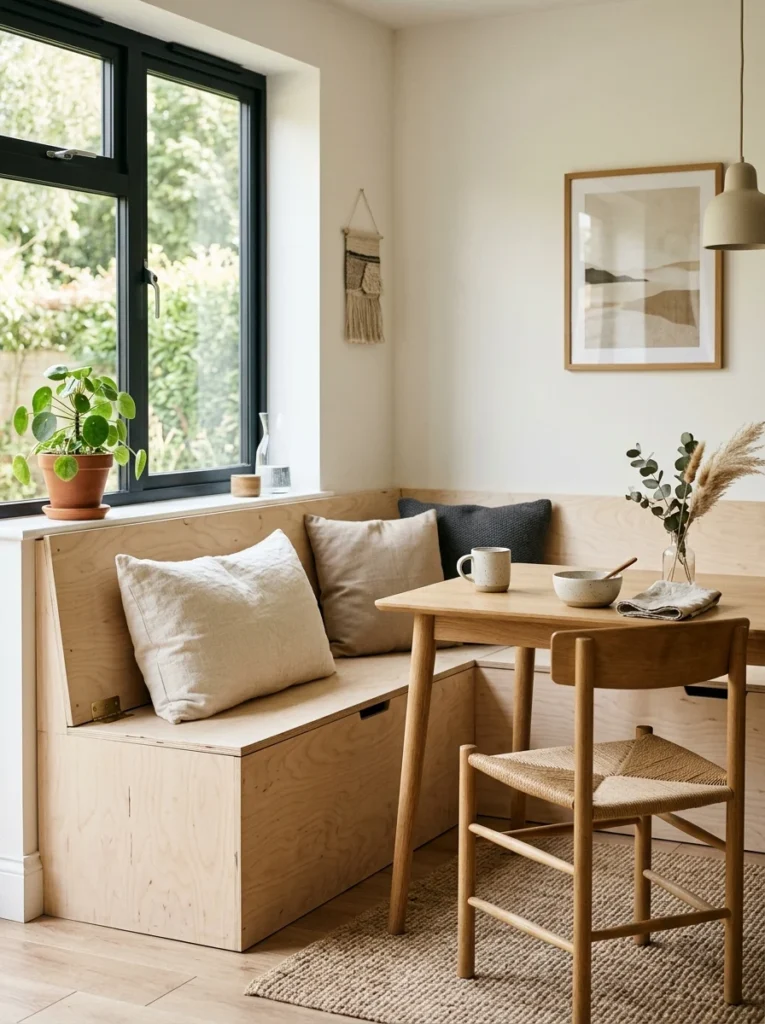
The most basic version of a banquette is just a plywood box, built to the height of a standard chair seat, topped with a foam cushion wrapped in fabric. This was my very first attempt, and despite its simplicity, it remains one of the sturdiest pieces of furniture in my house years later. The box itself also doubles as hidden storage if you leave the top hinged rather than fixed in place, which is exactly what I ended up doing once I realized how much extra space I’d created without even planning for it.
2. Built-In Corner Banquette
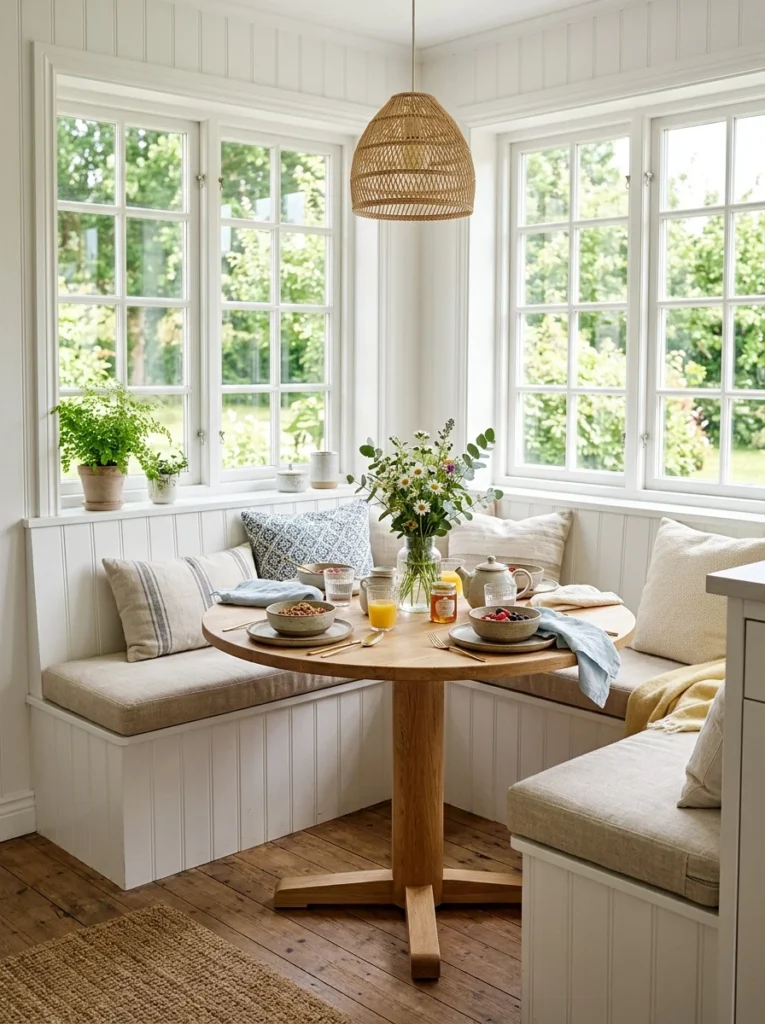
For an L-shaped nook, building the seating directly into the corner maximizes the number of people you can seat without taking up more floor space than a couple of chairs would. I built mine directly against two walls, which also meant I didn’t need to finish the back panels facing outward, saving both material and time, since that hidden side of the frame never needed sanding or paint at all.
3. Repurposed Kitchen Cabinets as a Seating Base
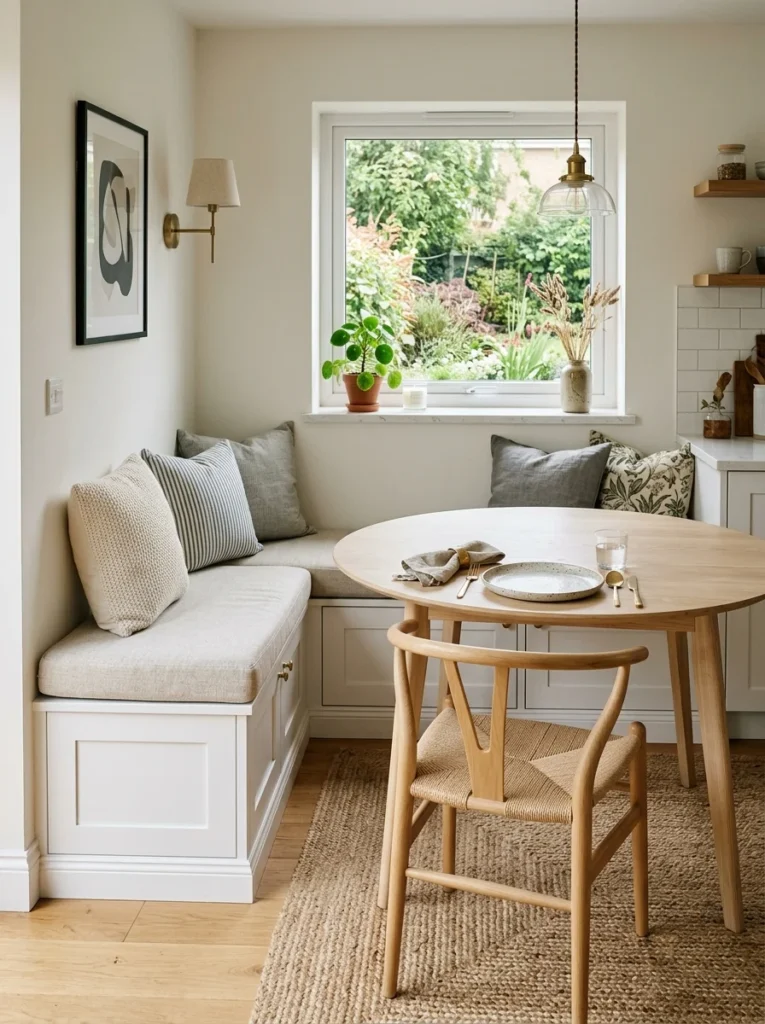
Rather than building a base from scratch, using inexpensive stock kitchen cabinets as the structural foundation for a banquette gives you built-in storage drawers or doors along with the seating. A friend used a row of unfinished base cabinets from a home improvement store, added a cushioned top, and finished the fronts to match her kitchen trim, which meant she skipped the framing entirely and went straight from cabinets to cushion in a single weekend.
4. Floating Bench With Hairpin Legs
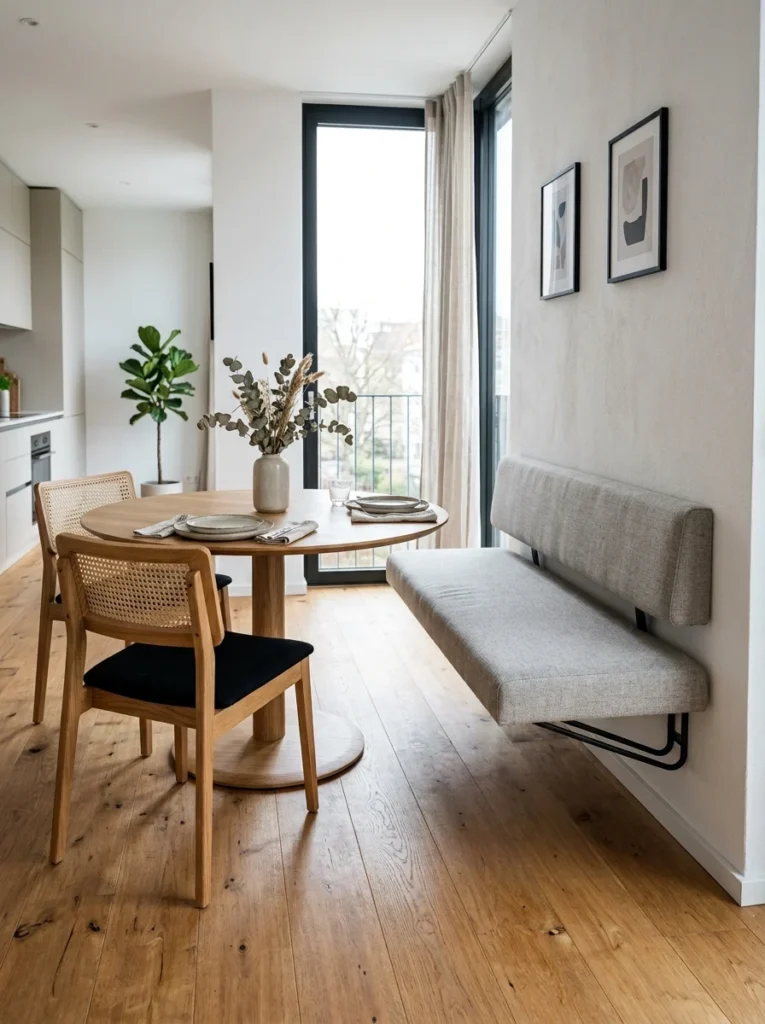
For a lighter, more modern look, a simple upholstered bench mounted on slim hairpin legs rather than a solid box base creates the appearance of the bench floating slightly off the floor. I used this style in a smaller apartment dining space where a bulkier boxed base would have felt too heavy for the room, and the exposed legs also made the floor beneath appear larger since there was less visual mass blocking the sightline across the room.
5. Window Seat Banquette Combined With Dining Storage
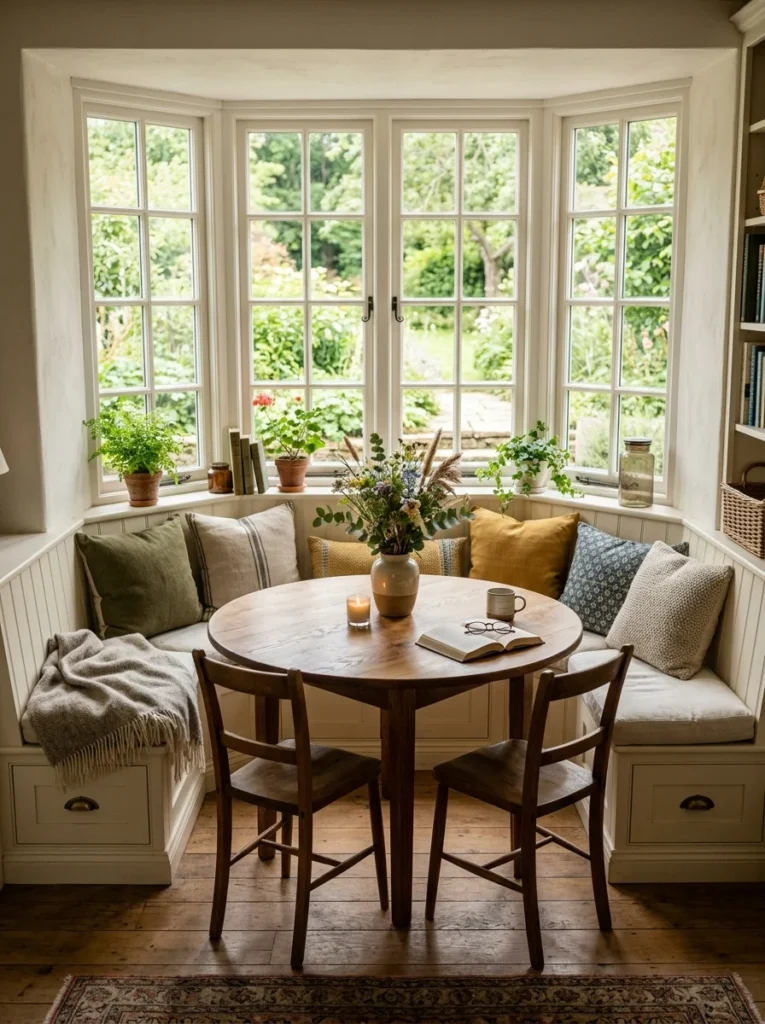
If your dining nook happens to sit beneath a window, extending the banquette the full width of the window turns it into a window seat as well as dining seating. I built mine with a hinged top for blanket storage underneath, giving the space double duty beyond just mealtimes, since the same seat that hosts weeknight dinners becomes a favorite reading spot on quiet weekend afternoons.
6. Curved Banquette for a Rounded Nook
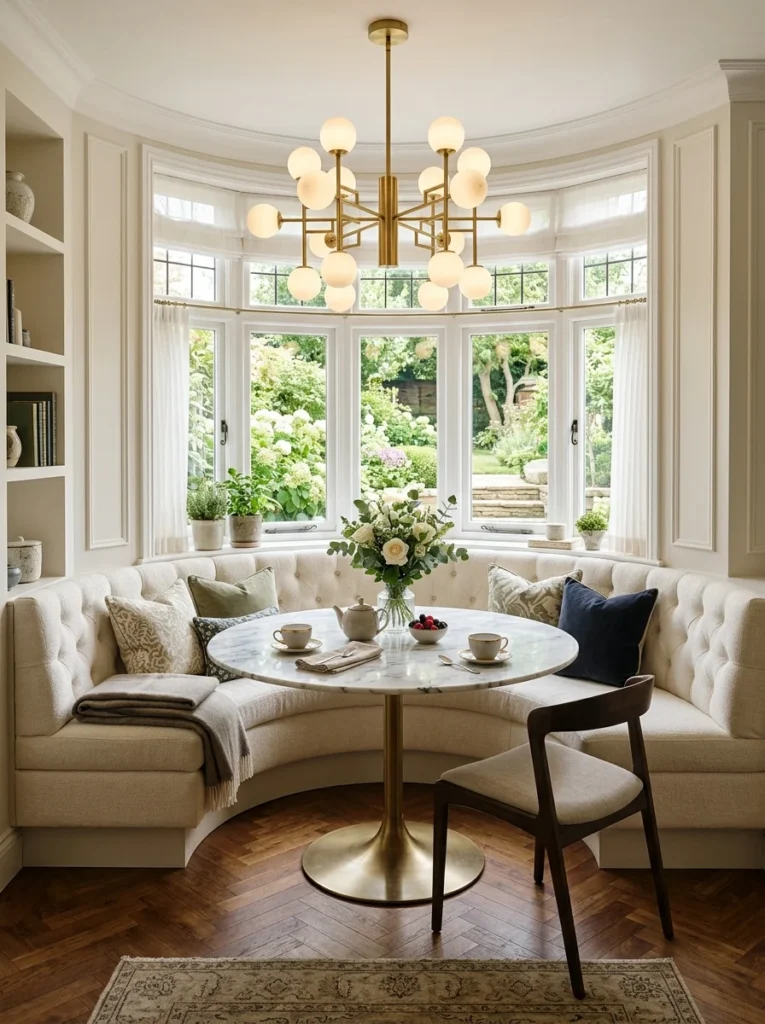
Curved banquettes are more complex to build than straight ones, since the frame requires cutting curved plywood ribs rather than straight boards, but the payoff is a softer, more inviting shape that fits naturally into a bay window or rounded alcove. A friend with woodworking experience built one for her breakfast nook, and it remains one of the most impressive DIY projects I’ve seen a friend complete, even though she’ll be the first to admit the curved cushion upholstery took several attempts to get the fabric to lay smoothly around the bend.
7. Removable Cushion Covers for Easy Cleaning
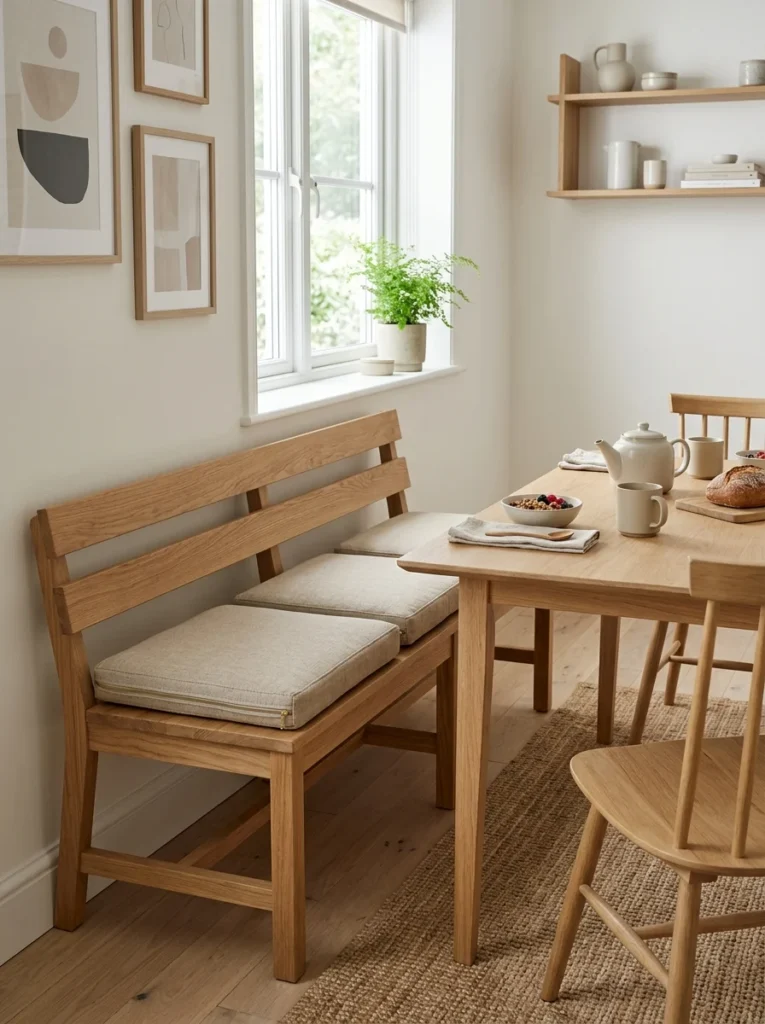
Regardless of the base design, making the cushion covers removable rather than permanently attached saves an enormous amount of hassle when spills inevitably happen. I used a zipper along the back seam of mine, which lets me pull the covers off and toss them in the wash without disturbing the foam or the base structure underneath, a detail that’s saved more than one cushion from a permanent juice stain over the years.
8. Tufted Button Detail for a More Custom Look
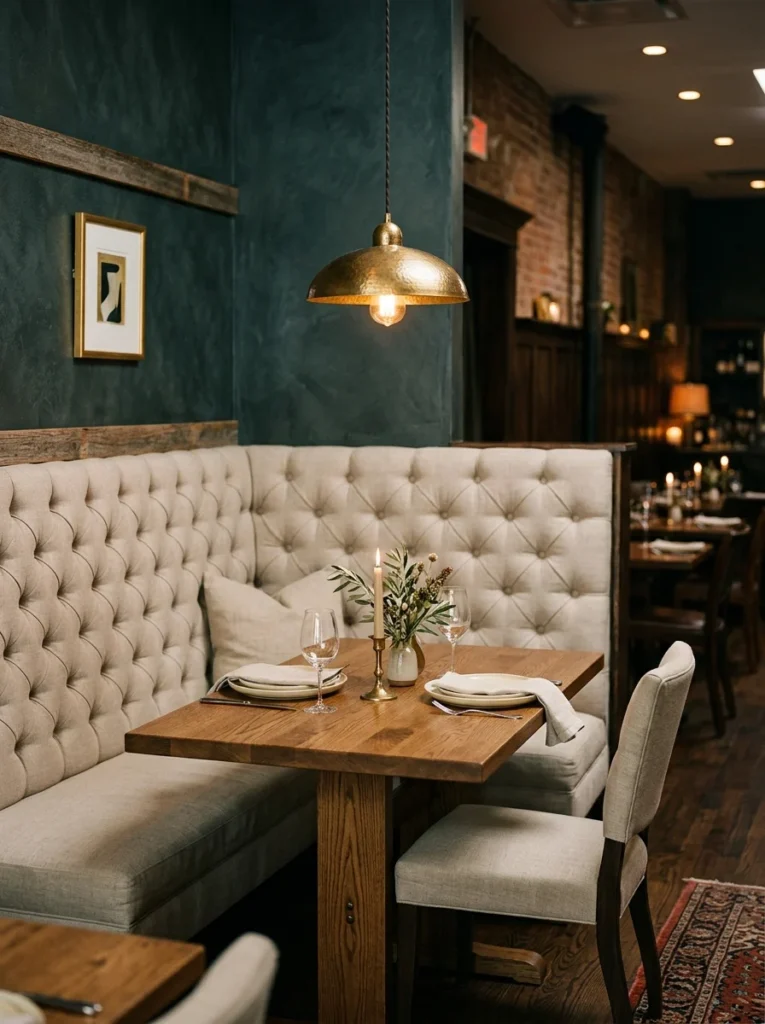
Adding button tufting to the cushion top, even in a simple diamond or grid pattern, elevates a basic bench cushion into something that reads as custom upholstery. I tufted mine using upholstery buttons and a long needle, which took patience but no specialized tools beyond what I already had at home, and the finished texture made the cushion look far more expensive than the modest cost of the fabric and foam actually was.
9. Mixed Seating Heights for a Layered Look
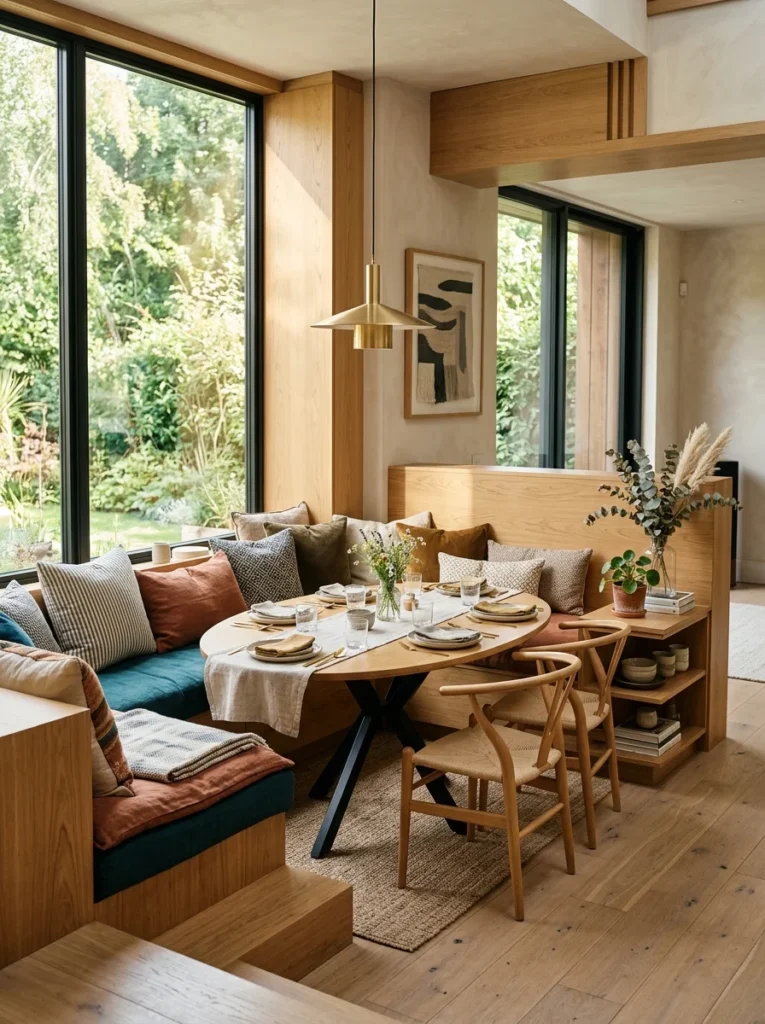
Rather than building the entire banquette at one uniform seat height, varying the height slightly between sections, paired with different cushion thicknesses, creates a layered, intentional look rather than a single flat bench. I did this along one long wall, stepping the height down slightly toward the corner to accommodate a lower side table, which also happened to make the seating feel a bit more custom and architecturally deliberate rather than one continuous slab of cushion.
10. Banquette With a Built-In Bookshelf Backrest
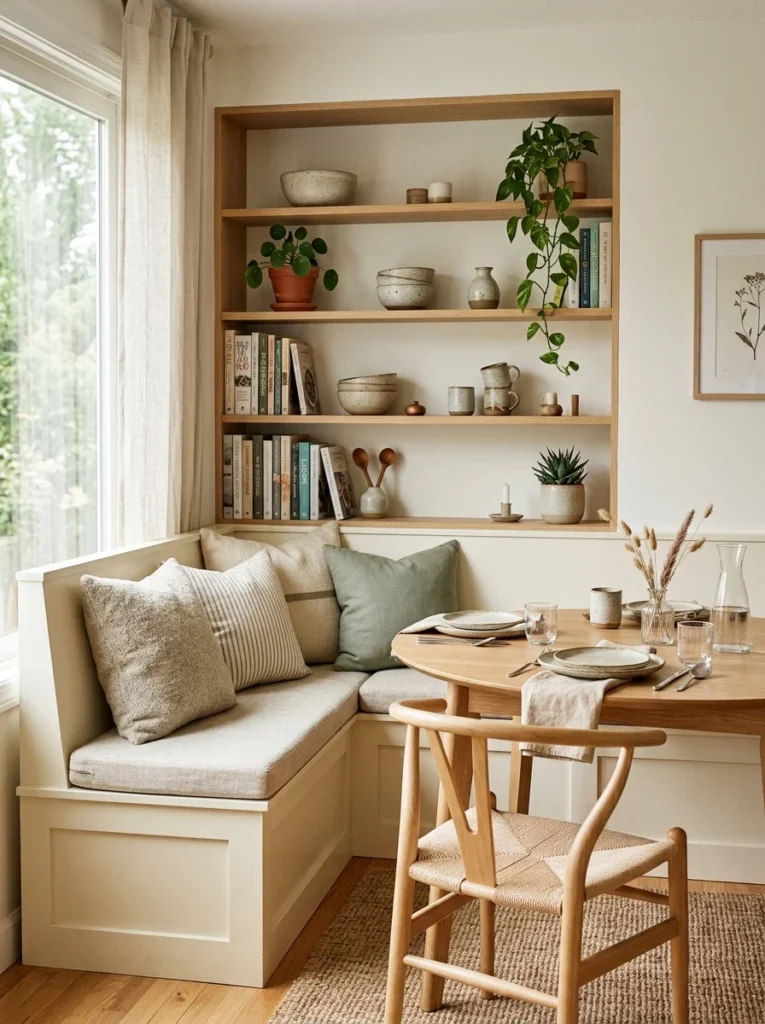
Instead of a plain upholstered backrest, building a shallow bookshelf into the wall-facing side of the banquette adds functional storage for cookbooks, dishware, or decorative objects at eye level while seated. I did this in my own dining nook, and it’s become one of the most frequently used shelves in the entire house since it’s right at arm’s reach during meals, holding everything from cloth napkins to the cookbooks I actually reference while cooking nearby.
11. Salvaged Church Pew Converted Into a Banquette
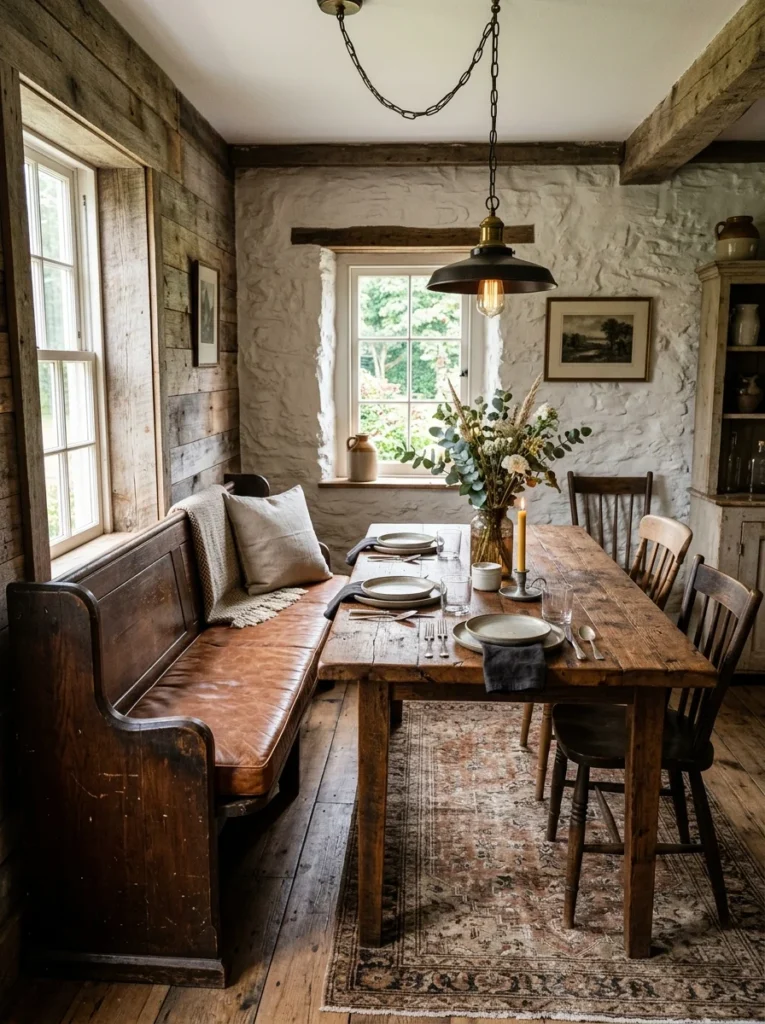
For a piece with genuine history, an old salvaged pew, sourced from an architectural salvage yard or estate sale, can be shortened and cushioned to work as dining seating. A friend found one at an estate sale for very little money, had it cut down to fit her nook, and added a custom cushion on top, resulting in a piece with far more character than anything she could have built from new lumber. The original worn patina on the wood was left untouched during the process, which kept the piece feeling authentic rather than overly restored.
12. Two-Tone Banquette With Painted Base and Natural Wood Top
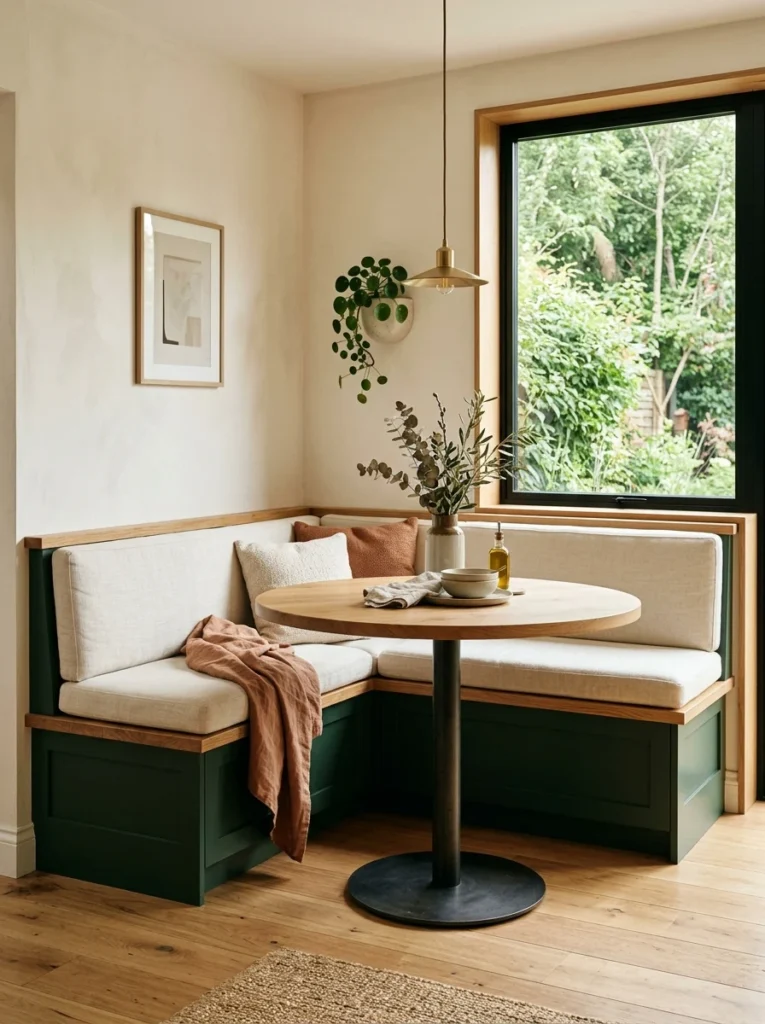
Painting the lower box structure a bold color while leaving a wood cap or trim piece along the top edge in its natural finish creates visual contrast without requiring two different materials throughout. I painted the base of mine a deep forest green and left a stained oak cap along the top edge, which tied the piece together with the rest of my wood furniture.
13. Banquette With Hidden Pet Bed Storage
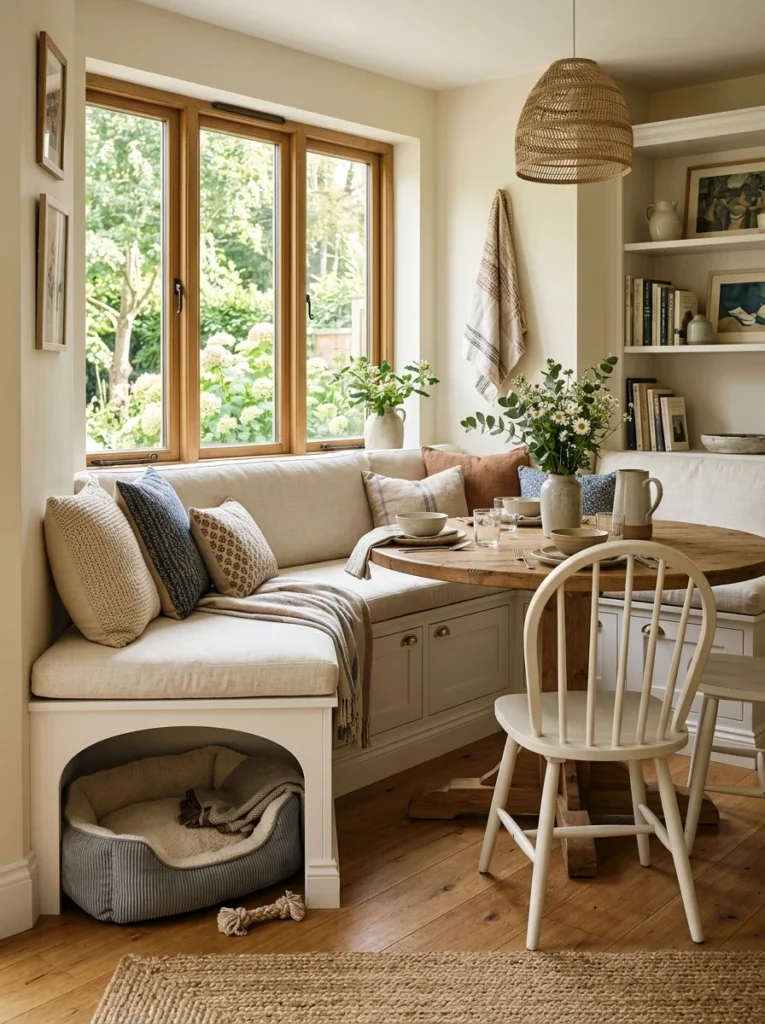
For homes with pets, building a small cutout into the side of the banquette base, sized for a pet bed, gives your dog or cat a defined spot near the family without taking up separate floor space. A friend did this for her elderly dog, who now sleeps contentedly under the table during every family dinner instead of underfoot in the walkway, and the cutout even includes a small vent gap so the space doesn’t feel completely enclosed.
14. Banquette Paired With a Round Pedestal Table
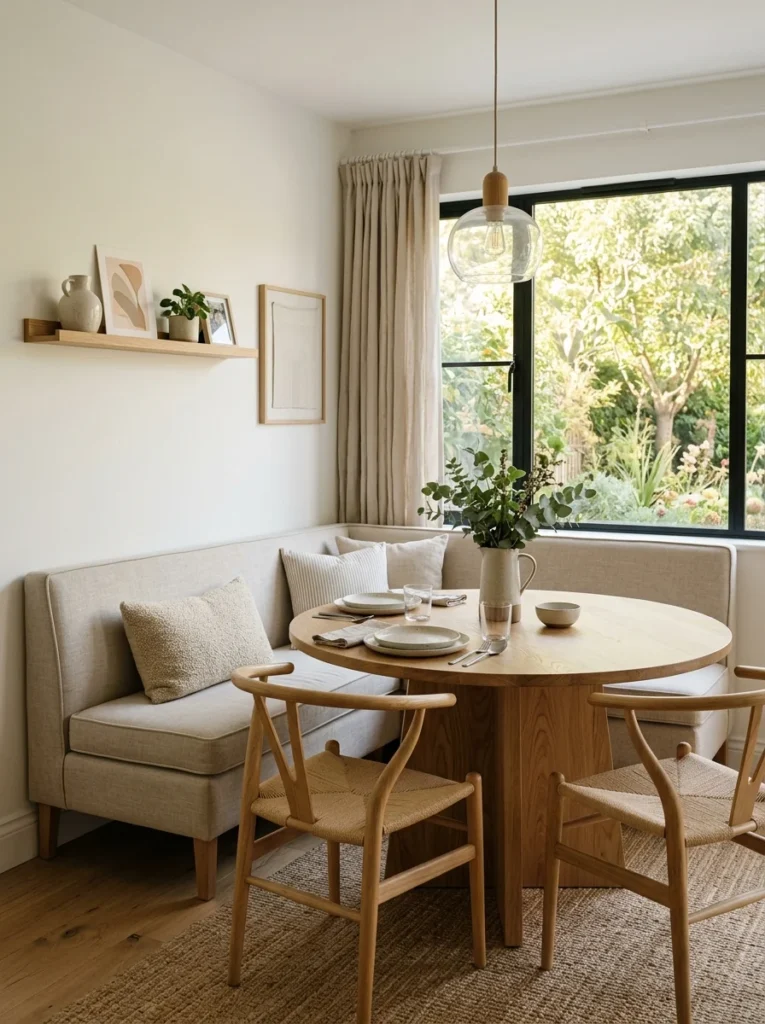
Pairing straight banquette seating with a round table, rather than a rectangular one, softens the overall look of the dining area and makes it easier for people to slide in and out without bumping table legs. I switched to a round pedestal table after building my banquette, and the combination made the whole nook feel more open despite not changing the actual floor space, since a single center pedestal leaves far more legroom than four separate table legs ever could.
15. Faux Leather Upholstery for Durability
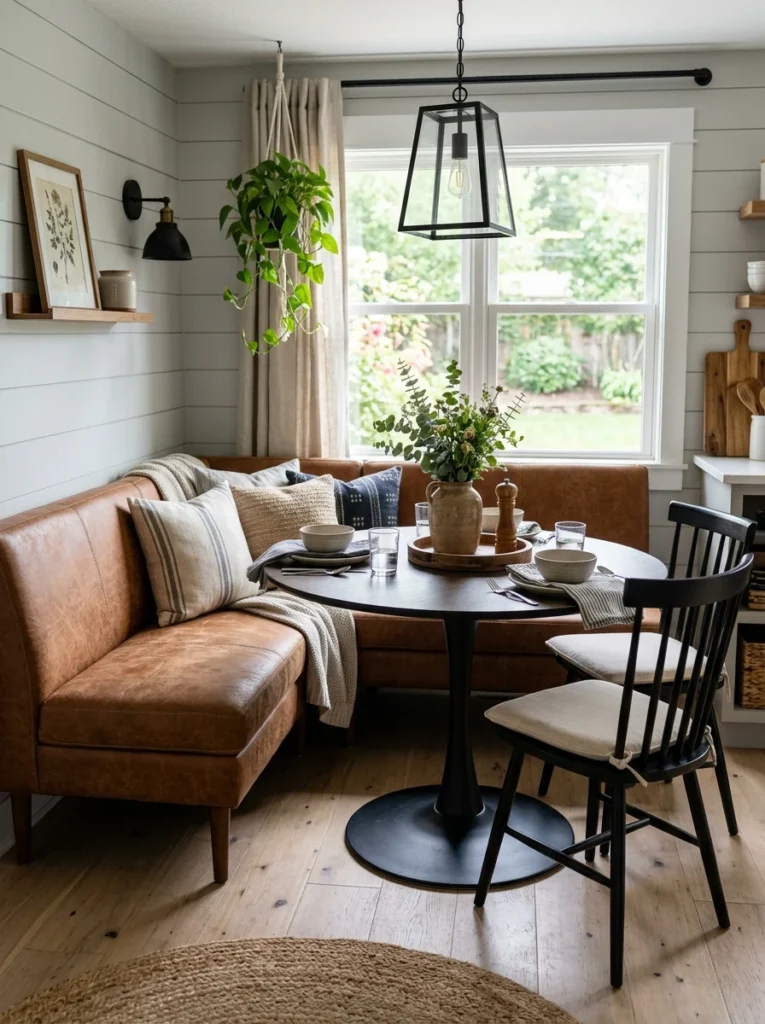
For households with young kids or a lot of daily use, faux leather upholstery wipes clean far more easily than fabric and holds up better against spills and scuffs over time. I used a faux leather in a warm cognac tone for a friend’s family banquette, and three years of daily use with kids has left it looking barely worn, which is honestly more than she can say for the fabric dining chairs it replaced.
16. Banquette With a Fold-Down Table Extension
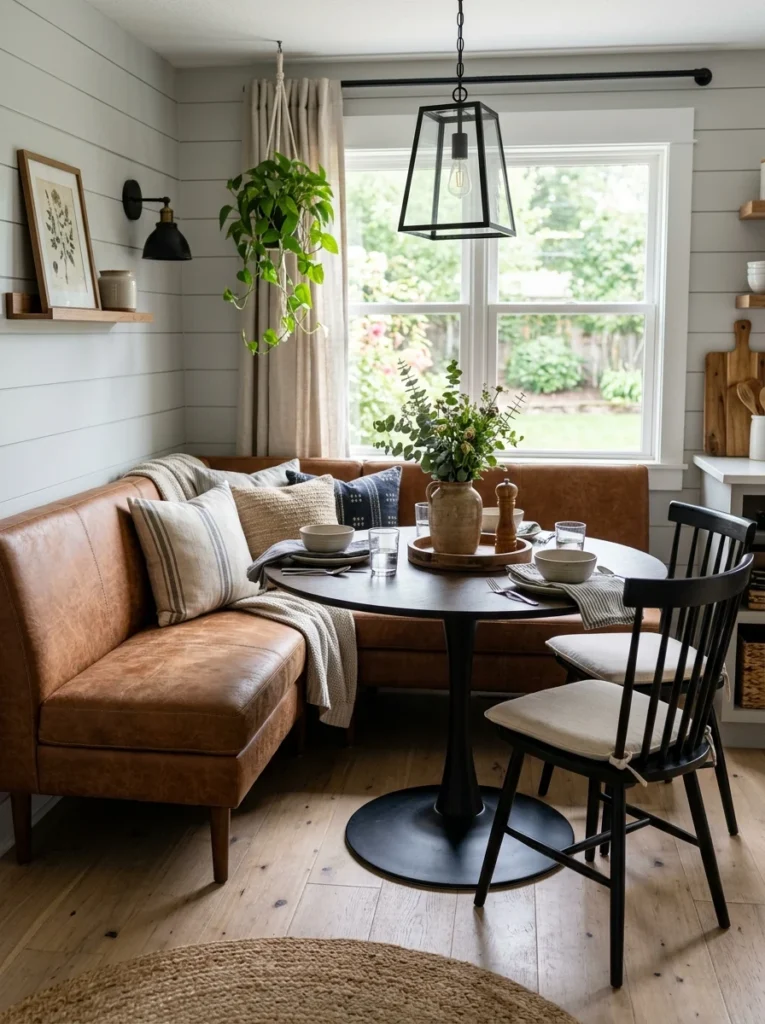
For smaller spaces where the table needs to expand for guests but shouldn’t take up permanent floor space daily, attaching a fold-down table leaf to the wall near the banquette allows the seating to double as extra dining space only when needed. I built this into a small apartment dining nook, and it’s made hosting larger groups possible in a space that otherwise couldn’t fit a bigger table, since the leaf folds flat against the wall and stays completely out of the way on ordinary weeknights.
17. Banquette Backrest With Decorative Wall Molding
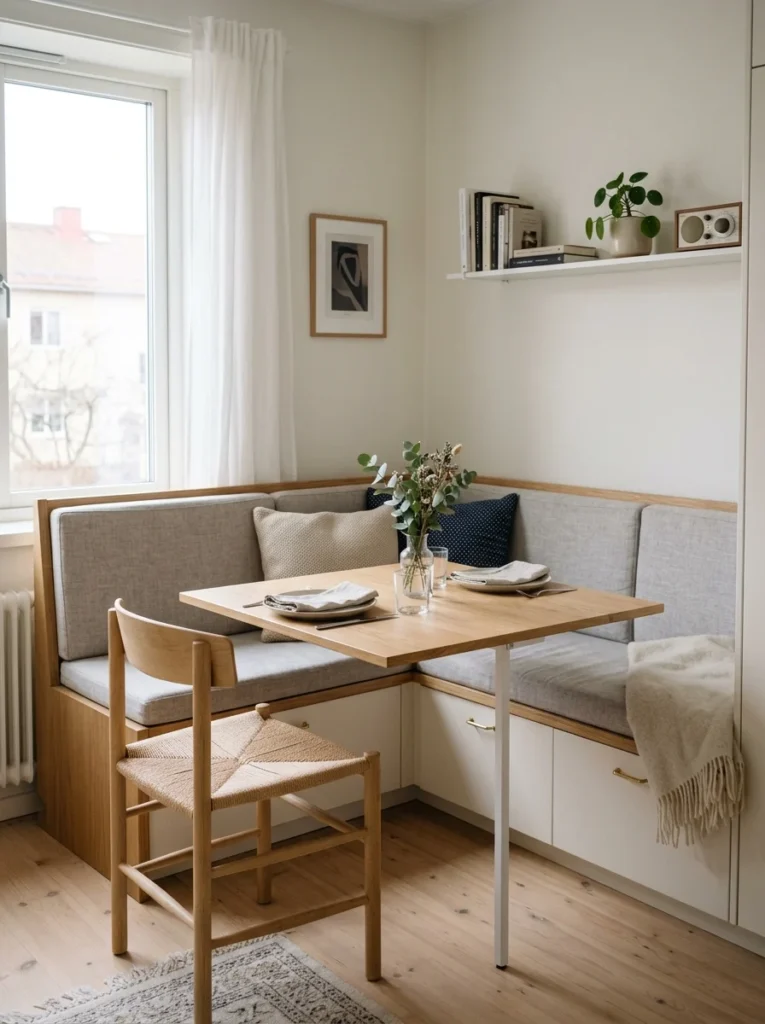
Adding simple picture-frame style molding to the wall directly behind the banquette backrest, painted to match the wall color, gives the whole seating area a more finished, architectural look without requiring upholstered wall panels. I did this in my dining nook after the banquette itself was finished, and it was one of the fastest upgrades on this entire list in terms of effort versus visual payoff.
18. Banquette Seating With Under-Seat Drawers Instead of a Lift Top
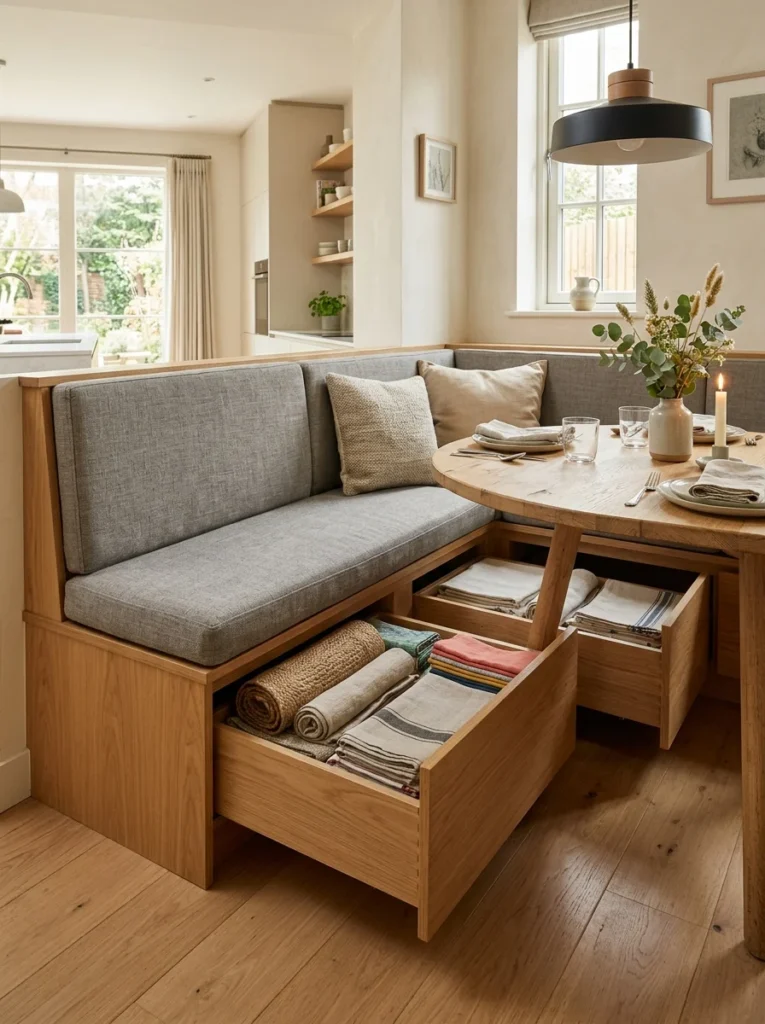
Rather than a hinged lift-top for storage, building in a set of shallow drawers along the front face of the banquette base makes accessing stored items easier without having to move seat cushions or people out of the way first. I retrofitted my second banquette this way after finding the lift-top on my first one inconvenient whenever someone was sitting on it, and the drawers have been far more practical for everyday use, especially for items like placemats and extra napkins that I reach for at every single meal.
Final Thoughts
Looking back at that awkward dining nook with its mismatched chairs, I think what surprised me most about building my own banquette was how forgiving the whole process turned out to be. I made real mistakes on my first attempt, including underestimating how thick the foam needed to be for genuine comfort over a full meal, but even those mistakes were easy enough to fix without starting over completely. I simply added a second layer of foam later and re-covered the cushion, which took an afternoon rather than requiring me to rebuild the entire base from scratch.
If you’re considering building your own, my honest advice is to start with the simplest plywood box version before attempting anything with curves or built-in storage features. Once you understand how the basic structure comes together and fits your specific space, adding more complex details on a future project, or even as an upgrade to the same piece, becomes a much less intimidating step than trying to get everything right on the very first attempt. That’s exactly the path both of my banquettes followed, and it’s the approach I now recommend to every friend who mentions wanting to try one themselves.
