
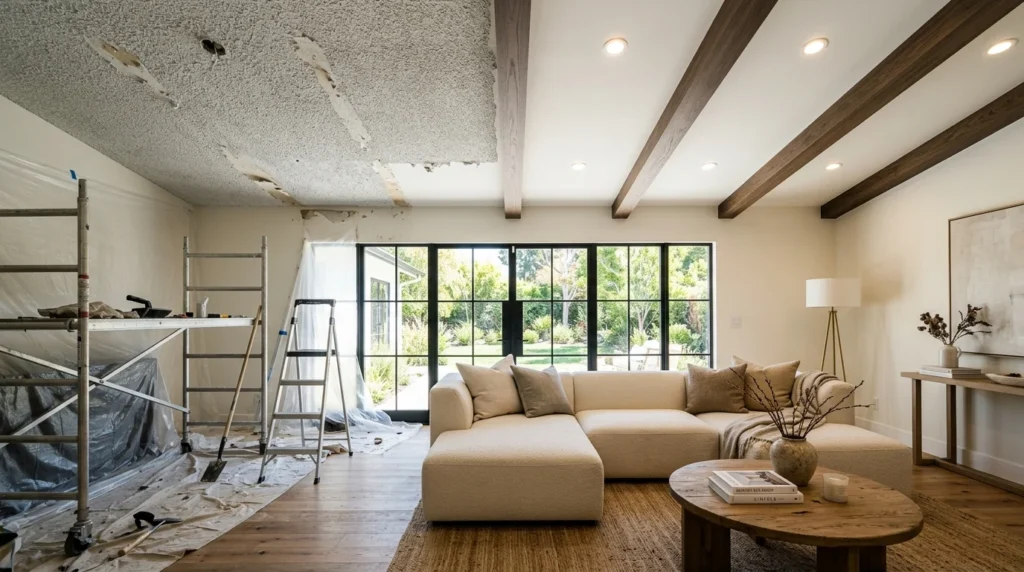
When I bought my current house, every single ceiling had that dated, bumpy popcorn texture, yellowed in places from years of cigarette smoke a previous owner apparently didn’t mention during the walkthrough. I remember standing in the living room the day I got the keys, staring up at it, and thinking there was no way I was living with that texture for even one more year. What I didn’t expect was how many different paths there actually were once I started researching, since removal isn’t the only option, and in a few of my rooms it turned out not to be the best one. I went in assuming it would be a single weekend project and came out the other side with a much better understanding of just how many variables actually matter, from the age of the house to the height of the ceiling itself, and even the type of paint used over the texture in previous years.
Over the past several years I’ve dealt with popcorn ceilings in three different rooms of my own house using three different approaches, and I’ve talked a close friend through her own popcorn ceiling dilemma in a much older home where full removal wasn’t a realistic option. Between all of that, I’ve picked up a genuinely useful sense of when to remove, when to cover, and when to leave a ceiling alone entirely, along with a much clearer picture of where the real costs and real risks in this kind of project actually hide. Here are 15 ideas and alternatives that came directly out of those experiences, whether you’re planning a full removal or just looking for a way to live with what you already have.
1. Wet Scraping for Standard Painted Popcorn Texture
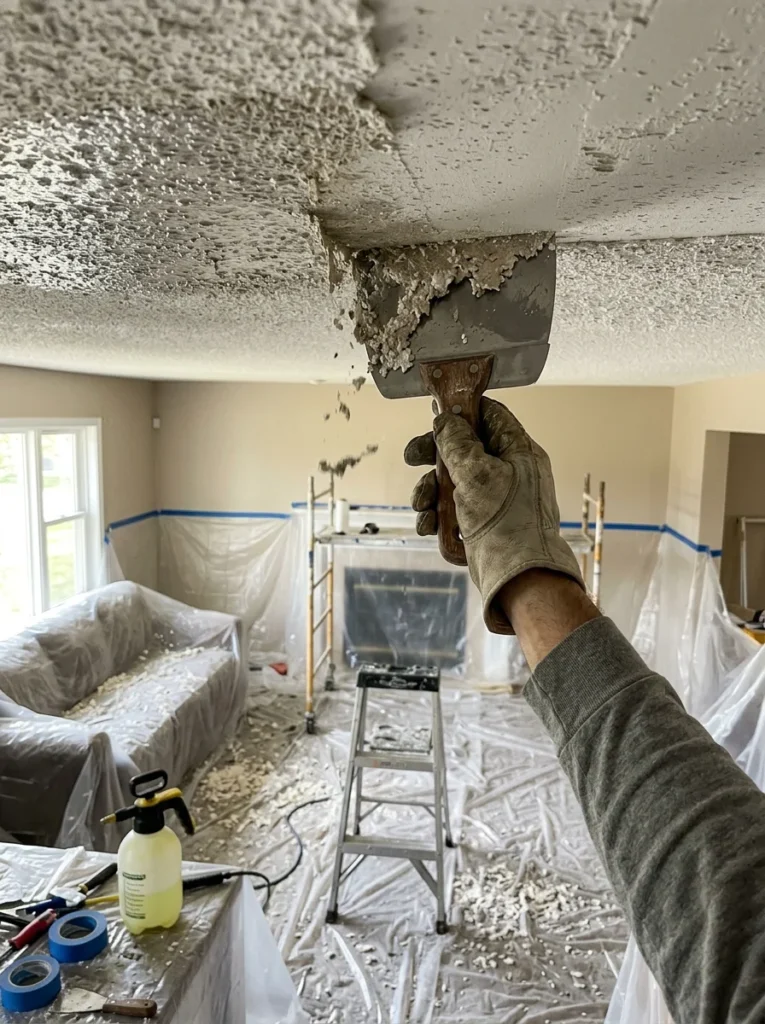
For ceilings that were never painted, a simple wet scrape is usually the most direct removal method. I misted small sections with water using a garden sprayer, let it soak in for a few minutes to soften the texture, and scraped it off with a wide putty knife. This was the method I used in my living room, and while it was messy, it was also the cheapest option since it required no specialty tools beyond basic drop cloths and a scraper. I worked in small sections at a time, roughly four feet by four feet, since the water dries out quickly and re-soaking a section that had already dried added unnecessary extra time to the process, and staying disciplined about that section size ended up saving me a full afternoon by the end of the room.
2. Testing for Asbestos Before Starting Any Removal
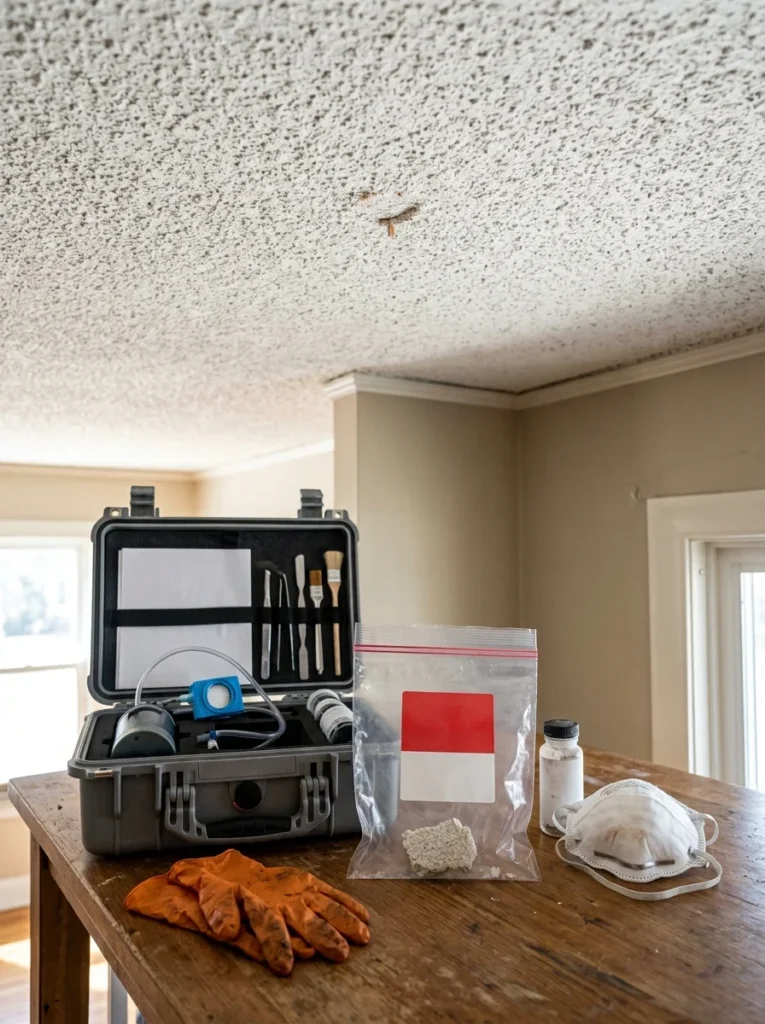
Before scraping anything, I sent a small sample of my ceiling texture to a lab that tests for asbestos, since many homes built before the early 1990s used asbestos in their popcorn texture. Thankfully mine came back clear, but a friend’s test came back positive, which completely changed her plan and meant she needed a professional abatement company rather than a DIY weekend project she had originally budgeted for. This step feels tedious, but skipping it isn’t worth the risk, especially since disturbing asbestos-containing material without proper containment can create a health hazard that lingers in a home’s air long after the actual scraping is finished, and the test itself is inexpensive compared to the potential cost of remediation done improperly.
3. Skim Coating Over Textured Ceilings Instead of Scraping
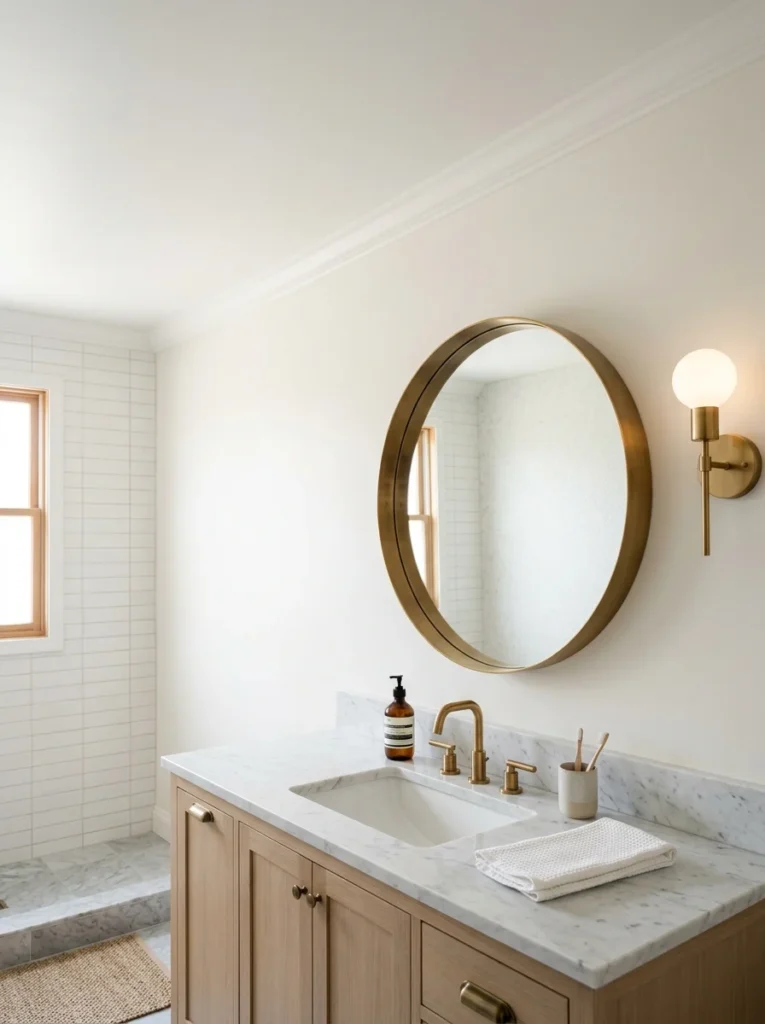
In my bathroom, where the texture had been painted over multiple times and scraping alone wasn’t fully removing it, I switched to skim coating a thin layer of joint compound directly over the existing texture instead. It took more coats and more sanding between layers than a fresh flat wall would need, but it avoided the mess of full removal while still achieving a smooth, modern ceiling. The humidity from daily showers hasn’t caused any issues with the finish either, which was a concern I had going into the project.
4. Covering With Wood Plank Ceiling Panels
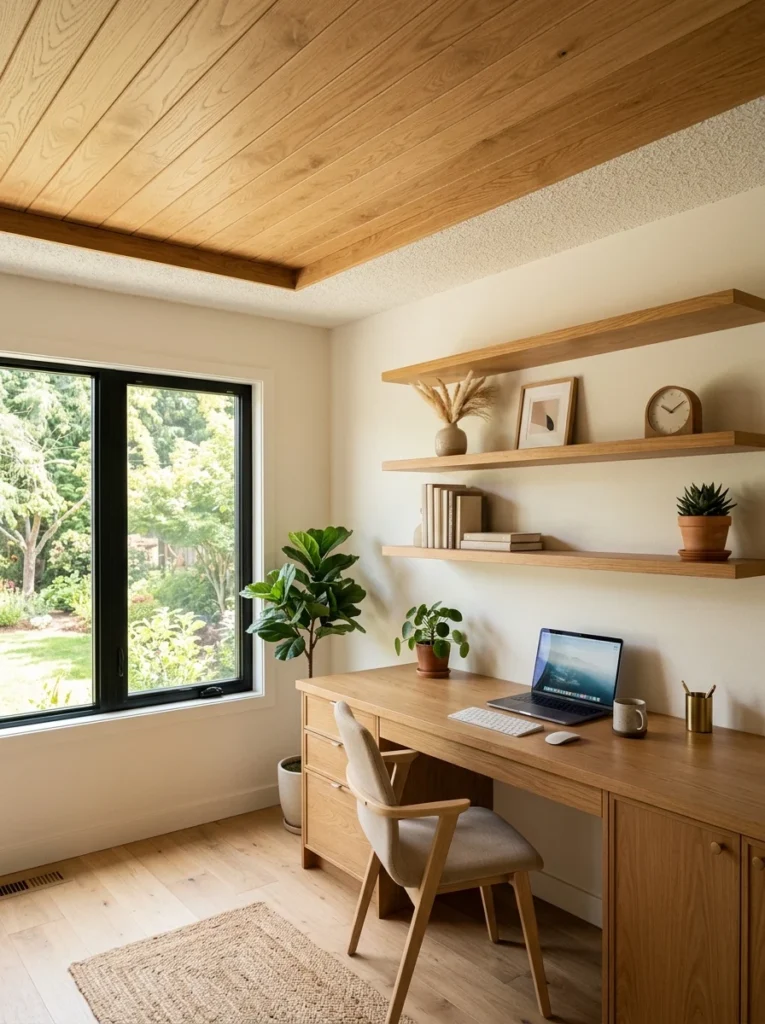
Rather than removing the texture at all, installing thin wood planks directly over the existing popcorn ceiling is a legitimate alternative, especially in rooms where scraping would be particularly difficult or where asbestos testing came back positive. I did this in my home office, screwing furring strips into the ceiling joists first and then attaching the wood planks to the strips, which meant I never had to touch the original textured surface underneath. It also lowered the ceiling height by less than an inch, which was a tradeoff I barely noticed once the room was finished and the furniture was back in place.
5. Drop Ceiling Tiles as a Full Cover-Up
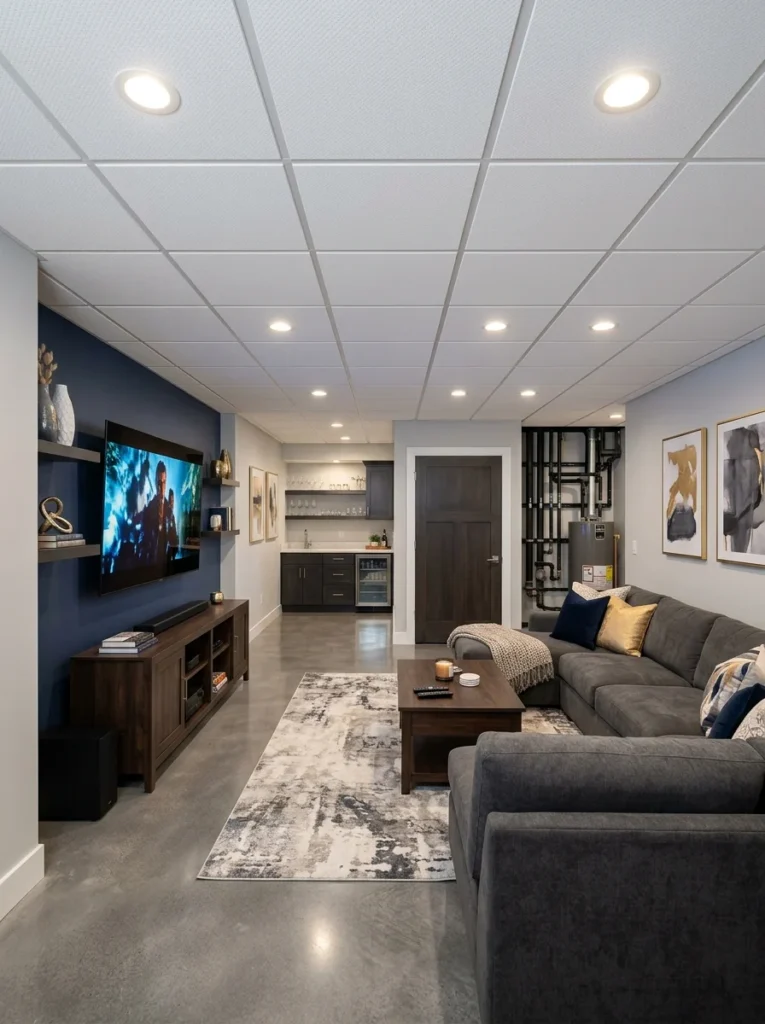
A suspended drop ceiling, hung a few inches below the original popcorn texture, completely hides the old ceiling without any removal or skim coating at all. A friend used this in her basement, where the low ceiling height made a drop ceiling practical anyway, and it solved both the popcorn texture problem and gave her easy access to the plumbing and wiring above, which turned out to be genuinely useful the following year when a pipe needed unexpected repair.
6. Peel-and-Stick Ceiling Tiles for a Budget Cover-Up
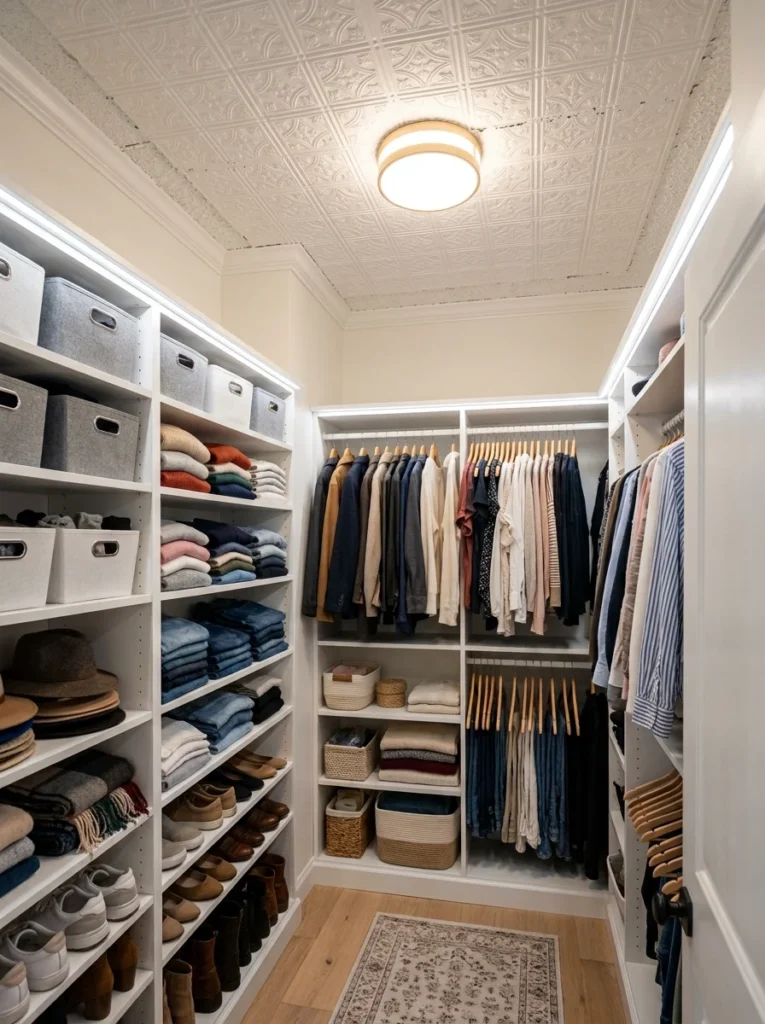
Lightweight foam or PVC ceiling tiles with an adhesive backing can be applied directly over a popcorn ceiling without any structural framing needed first. I used these in a small closet as a test run before committing to a bigger project elsewhere, and while I wouldn’t recommend them for a large, high-visibility room, they worked well for a low-traffic space on a tight budget, and the whole closet was finished in under two hours from start to finish.
7. Shiplap or Beadboard Installed Over the Texture
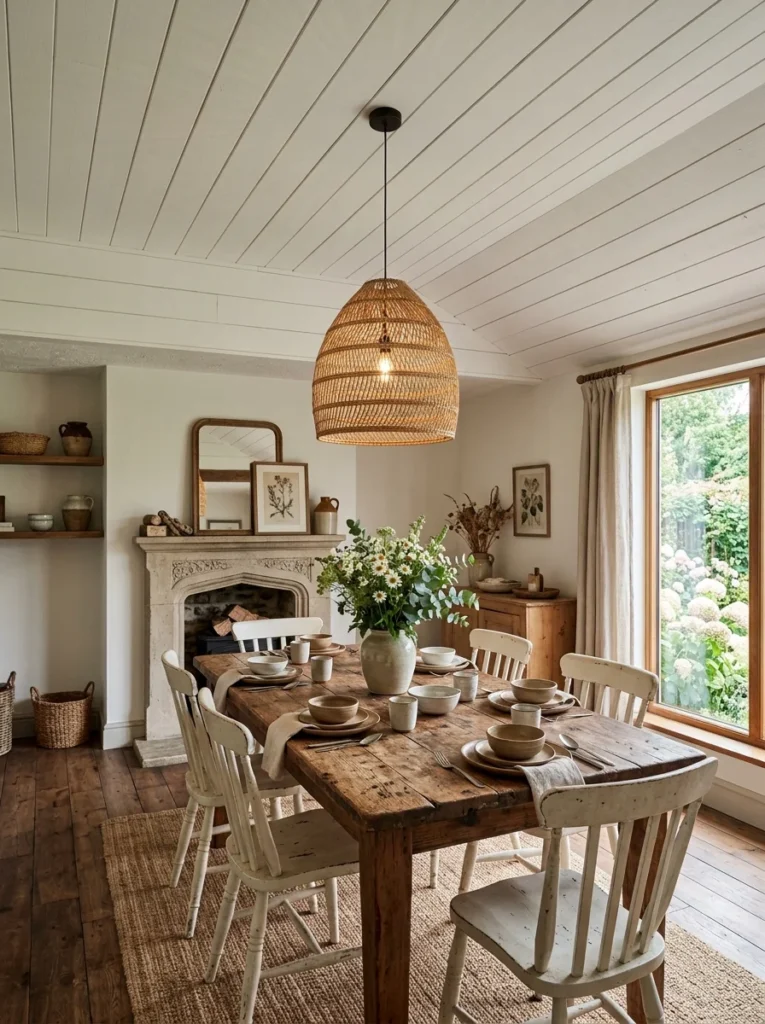
Similar to the wood plank approach, shiplap or beadboard paneling can be mounted over furring strips attached to the ceiling joists, completely bypassing the need to deal with the popcorn texture underneath. I used shiplap in my dining room, and the horizontal lines gave the room a cottage-style character that a plain scraped and painted ceiling never would have offered, and the whole project came together in a single long weekend since there was no scraping or drying time to plan around at all.
8. Textured Ceiling Left Intact With a Fresh Paint Update
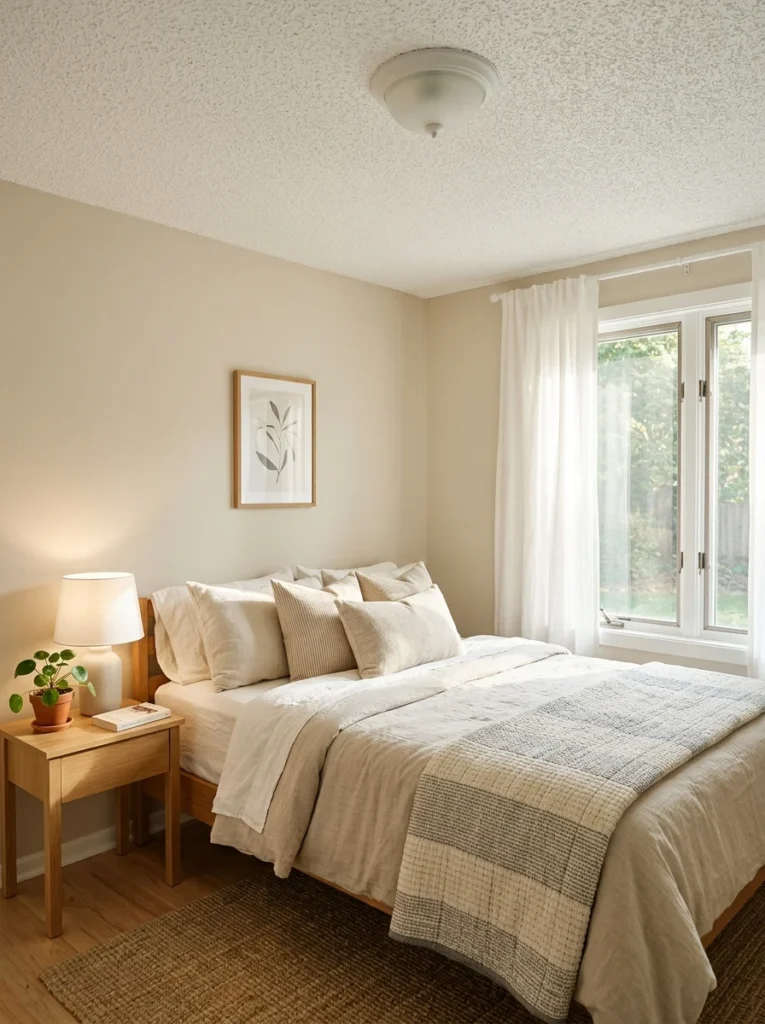
In some cases, particularly in a rental or a room you’re not planning to stay in long-term, simply repainting the existing popcorn texture in a fresh, bright white can make a surprising difference without any removal at all. I did this temporarily in a guest room while waiting to tackle the bigger removal project, and it genuinely bought me time without the room feeling neglected in the meantime, since a fresh coat of paint hides the yellowing far more effectively than most people expect from paint alone.
9. Removing Texture Only From High-Visibility Rooms
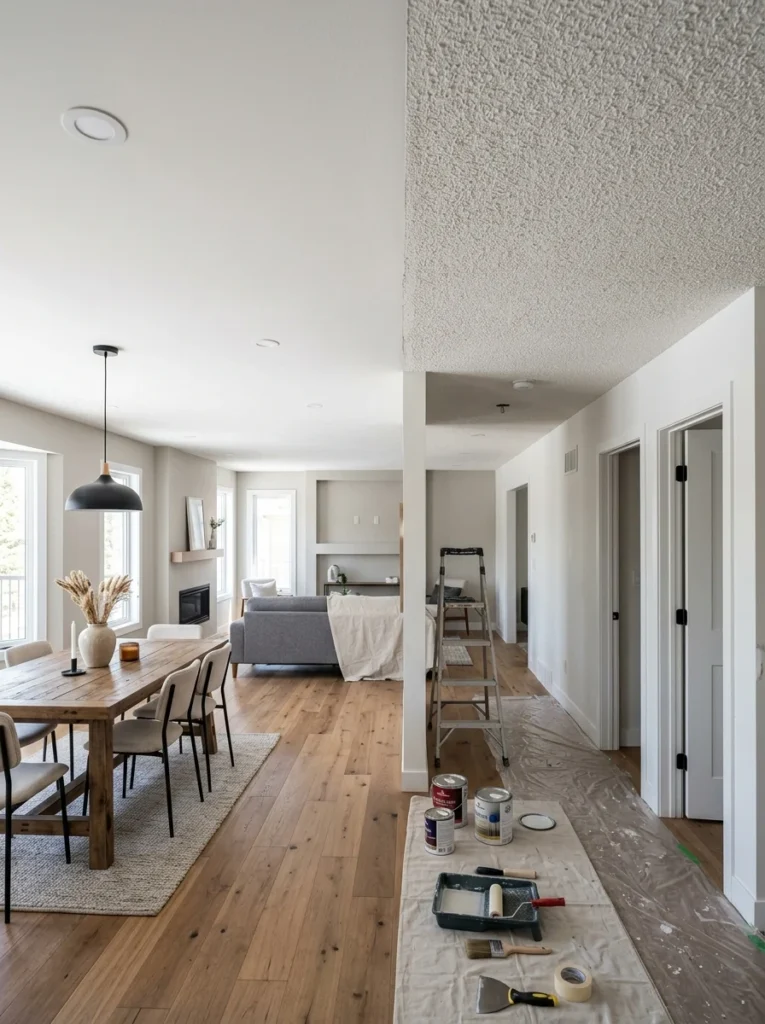
Rather than tackling every ceiling in the house at once, I prioritized removal based on which rooms got the most use and visibility, starting with the living room and kitchen while leaving closets and a rarely used guest room for later. This let me spread the cost and labor out over more than a year instead of facing the entire house as one overwhelming project, and it meant the rooms guests actually saw looked finished long before I ever got around to the low-priority spaces tucked away in the back of the house.
10. Hiring Out Just the Scraping, DIYing the Finish Work
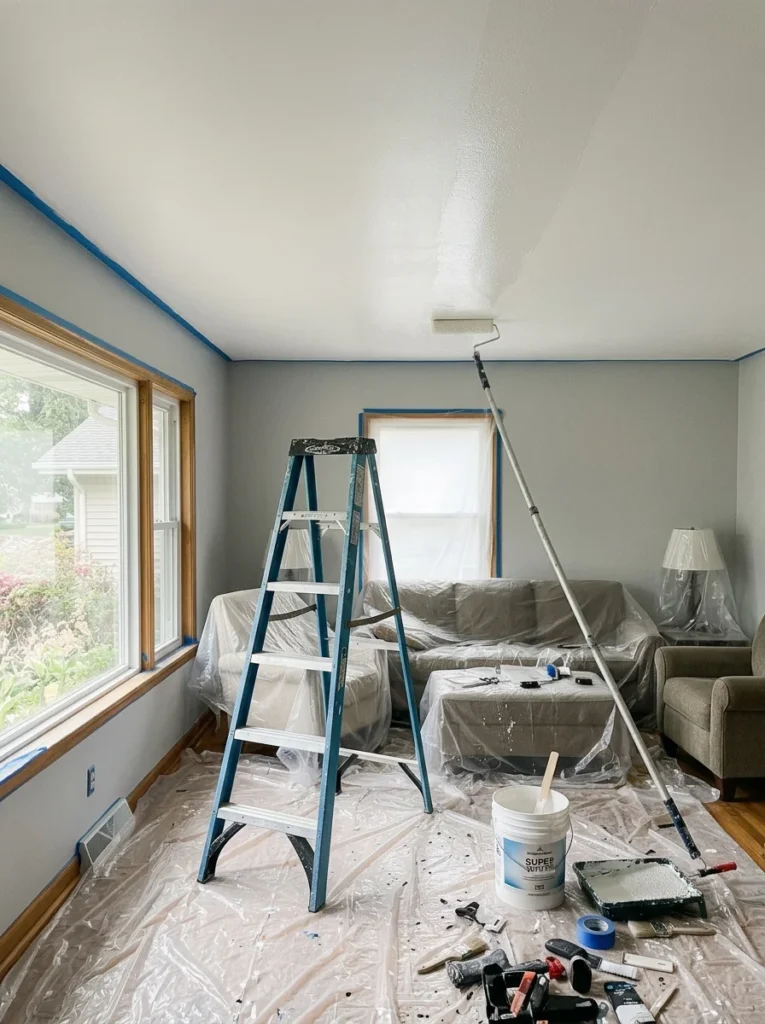
For my kitchen ceiling, I hired a local crew just for the messy scraping and disposal portion of the project, then handled the sanding, patching, priming, and painting myself once the ceiling was bare. This hybrid approach saved a significant amount compared to hiring the entire job out, while still avoiding the physically toughest and messiest part of the process, which in my experience was also the part most likely to go wrong in the hands of a first-time DIYer trying to save money on every single step.
11. Adding Recessed Lighting During the Removal Process

Since removing popcorn texture already means opening up access to the ceiling, it’s a practical time to also add recessed lighting if you’ve been wanting it. I had an electrician add four recessed lights in my living room while the ceiling was already bare, which would have been a far messier and more expensive project to tackle separately after the fact, since cutting into a freshly painted, finished ceiling later would have meant redoing patchwork and touch-up paint all over again.
12. Wood Beam Accents Added After Removal

Once my living room ceiling was scraped smooth, I added two lightweight faux wood beams across the width of the room, which gave the newly flat ceiling some architectural interest rather than leaving it completely plain. It also helped disguise a couple of minor imperfections left over from the scraping process that weren’t worth fully re-skimming, since the beams naturally drew the eye away from those small patches.
13. Textured Alternative: Knockdown Finish Instead of Fully Smooth

If a completely flat, smooth ceiling feels too stark of a change, a knockdown texture, a subtler, flatter texture applied after the popcorn is removed, offers a middle ground between the dated bumpy look and a modern flat finish. A friend chose this for her bedroom ceiling specifically because it still hid minor imperfections in the drywall the way popcorn texture originally had, without looking outdated, and it also happened to be more forgiving of small mistakes made during the application than a perfectly smooth skim coat would have been.
14. Renting Equipment Instead of Buying for a One-Time Project
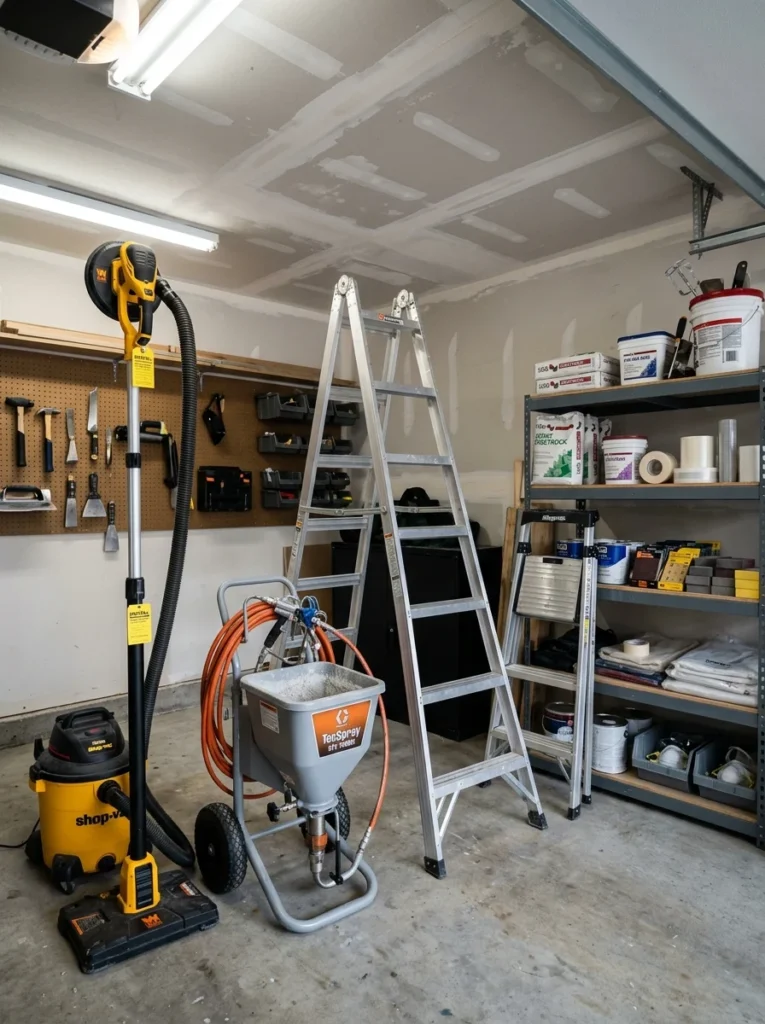
For the scraping and sanding portions of my project, I rented a texture sprayer and a drywall sander rather than purchasing them outright, since I knew I wouldn’t need them again after finishing the house. Rental costs for a weekend came in far lower than buying the equipment new, and it meant I wasn’t storing bulky tools afterward for a project I’d likely never repeat, freeing up garage space that would have otherwise held equipment gathering dust for years.
15. Consulting a Professional for Vaulted or High Ceilings
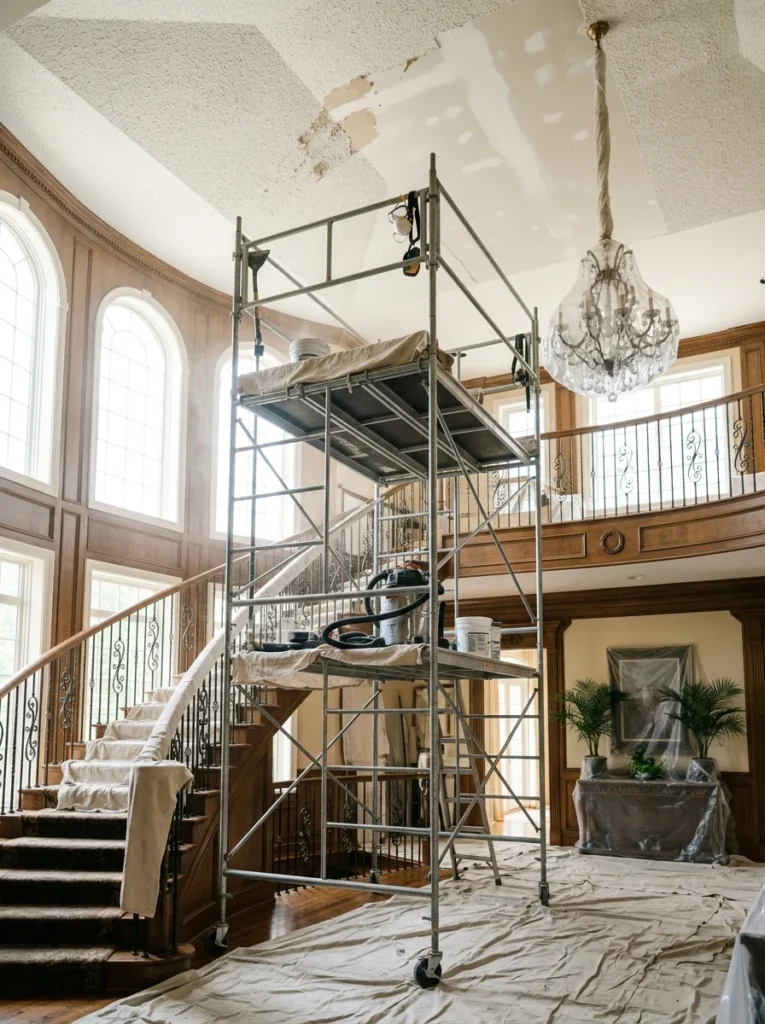
In my two-story entryway, where the ceiling height made DIY scraping genuinely unsafe without serious scaffolding, I hired a professional crew for that specific room while continuing to DIY the rest of the house myself. Recognizing which rooms were beyond a reasonable DIY scope, based on height and access rather than just cost, kept the whole project safer and less stressful overall, and it’s a distinction I’d encourage anyone to make honestly before climbing onto a ladder they aren’t fully comfortable with in the first place.
Final Thoughts
Looking back at that first day standing in my living room staring at the yellowed texture overhead, I’m glad I didn’t rush into removing every ceiling in the house all at once. Spreading the project out, mixing full removal with cover-up alternatives depending on the room, and knowing when to hire out a task versus handle it myself made the whole thing feel manageable instead of overwhelming. It also meant I never had to live with dust-covered furniture and plastic sheeting in every single room of the house at the same time, which honestly would have made the whole experience feel far more disruptive than it needed to be.
If you’re standing at the same starting point I was, my honest advice is to test for asbestos first, no matter how tempting it is to just start scraping, and then pick one room to tackle before deciding how to approach the rest of the house. The right method genuinely does vary from room to room, and giving yourself permission to mix approaches, rather than committing to one method for the entire house upfront, made my own project both cheaper and far less stressful than I originally expected it to be.
