
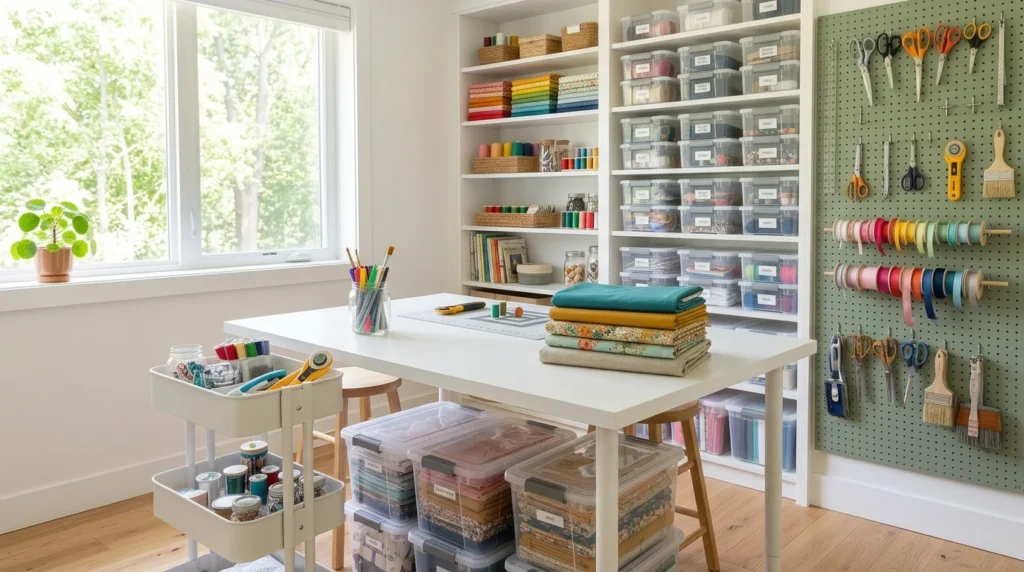
There was a solid year where I couldn’t find my own scissors. Not because I didn’t own a pair, but because I owned about six pairs scattered across three different drawers, a tote bag, and somehow one that ended up in the kitchen junk drawer. My craft room had turned into a place I avoided instead of a place I looked forward to spending time in, which defeats the entire purpose of having one. The turning point came when I finally sat down, pulled everything out of every drawer and bin, and rebuilt the whole system from scratch based on how I actually work rather than how I assumed I should organize things. Looking back, I think a lot of the original chaos came from copying organization ideas I’d seen online without ever checking whether they actually suited my own habits or the way I moved through a project from start to finish.
That rebuild took an entire weekend, and I’ll admit I got a little obsessive about it, pulling out a notebook and actually mapping how many steps it took to reach for different tools before deciding where everything should live. But three years later, the system is still holding up, and I’ve since helped two friends redo their own craft spaces using a lot of the same principles. What I learned through all of it is that craft room storage isn’t really about buying the right containers, it’s about designing a layout that matches how your hands actually move through a project. A system that looks organized on a shelf but doesn’t match your actual workflow will fall apart within weeks, which is exactly what happened to me the first two times I tried to fix the space before finally getting it right. Here are 14 ideas that made the biggest difference in my own space and the ones I helped organize.
1. Clear Stackable Bins for Visual Inventory
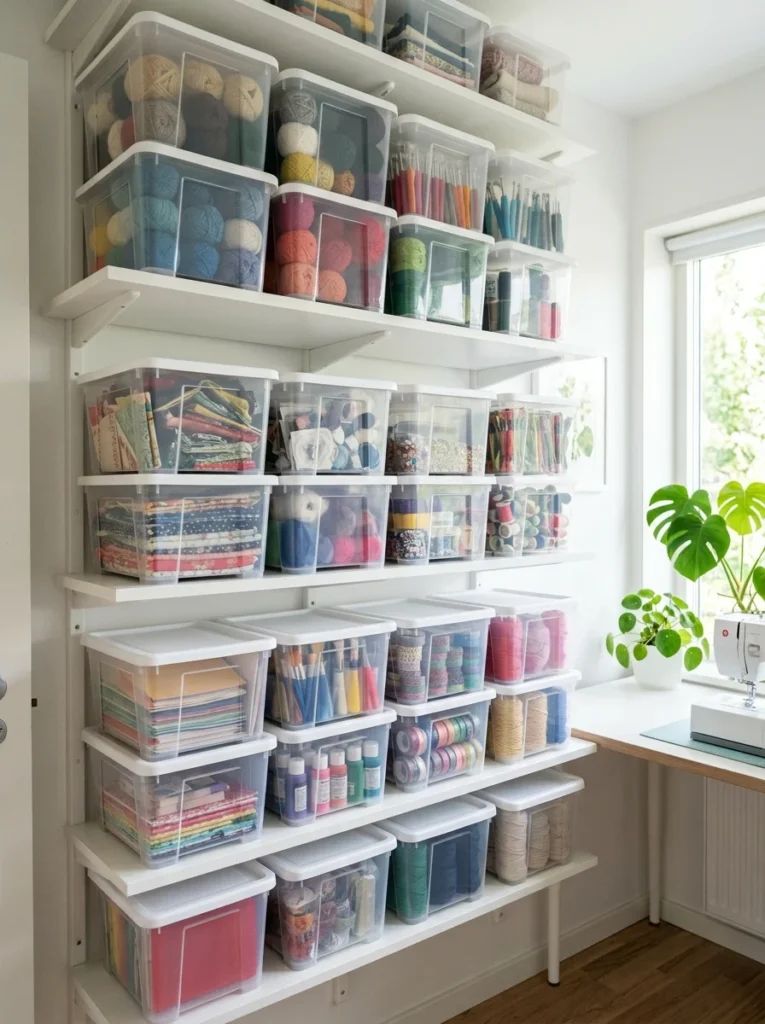
Switching from opaque storage boxes to clear stackable bins was probably the single biggest change I made. Once I could see exactly what was inside each container without opening it, I stopped buying duplicates of things I already owned, which had quietly become a recurring problem. I labeled each bin anyway, but the labels became more of a backup than a necessity since the contents were visible at a glance. I also started grouping the bins by project type rather than material type, so everything for a specific kind of craft ends up in the same general zone of the room instead of scattered across unrelated shelves.
2. A Rolling Cart for Frequently Used Supplies
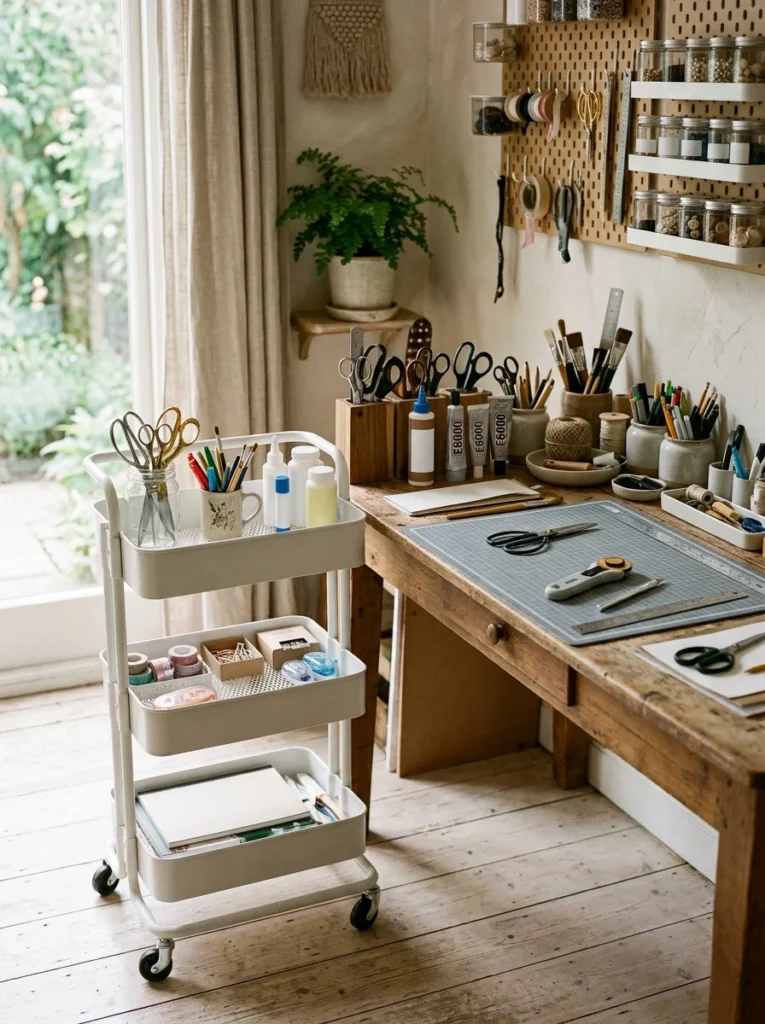
I keep a slim rolling cart with wire baskets right next to my main work table, stocked with the tools I reach for constantly: scissors, adhesive, a cutting mat, and my most-used pens. Because it rolls, I can pull it wherever I’m working in the room instead of getting up repeatedly to grab things from across the space. This one change alone cut down on how often I lost momentum mid-project just to go dig something out of a drawer. I refill it every couple of weeks based on whatever project I’m currently focused on, so it’s constantly adapting rather than staying fixed with the same tools indefinitely.
3. Pegboard Wall for Tools and Ribbon
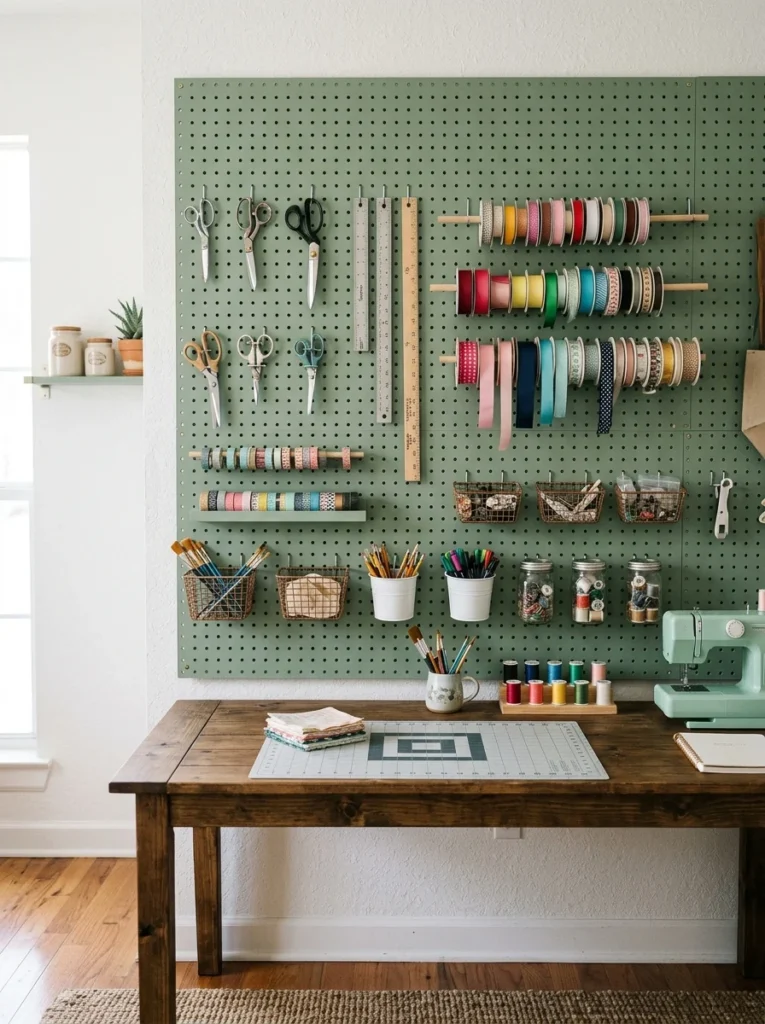
A large pegboard mounted above my work surface holds scissors, rulers, tape dispensers, and spools of ribbon on hooks, all fully visible and within arm’s reach. I painted mine a soft sage green to match the rest of the room, and beyond the organizational benefit, it became a decorative feature in its own right, almost like a curated display of tools rather than a utility wall. Rearranging the hooks takes just a few minutes whenever my most-used tools change from project to project, which is something a fixed drawer system never allowed for.
4. Labeled Drawer Dividers for Small Embellishments
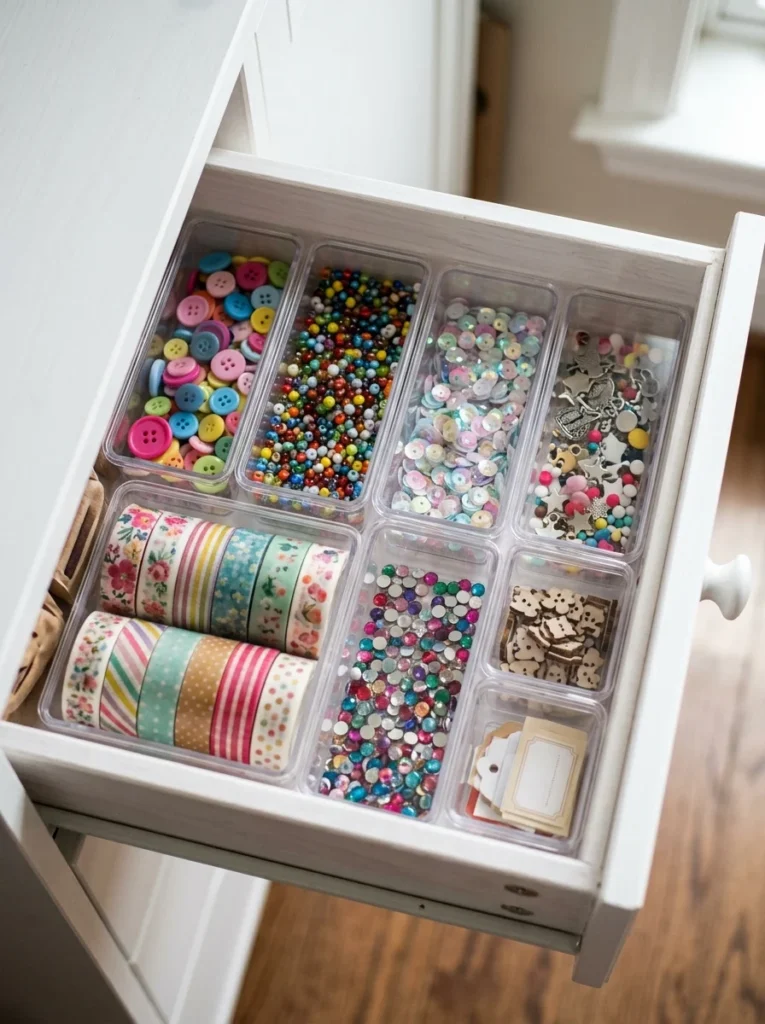
Small items like buttons, beads, sequins, and washi tape used to be my biggest source of chaos, since they’d end up mixed together in a single catch-all drawer. Adding small labeled dividers within shallow drawers gave every category its own defined space. I sort mine by color rather than type in a few of the drawers, which has actually made it faster to find the right shade of button or bead when I’m mid-project and need something specific. The dividers themselves were inexpensive plastic trays meant for silverware, repurposed to fit the drawer dimensions, so the whole upgrade cost very little compared to the difference it made.
5. Vertical Paper Storage Slots
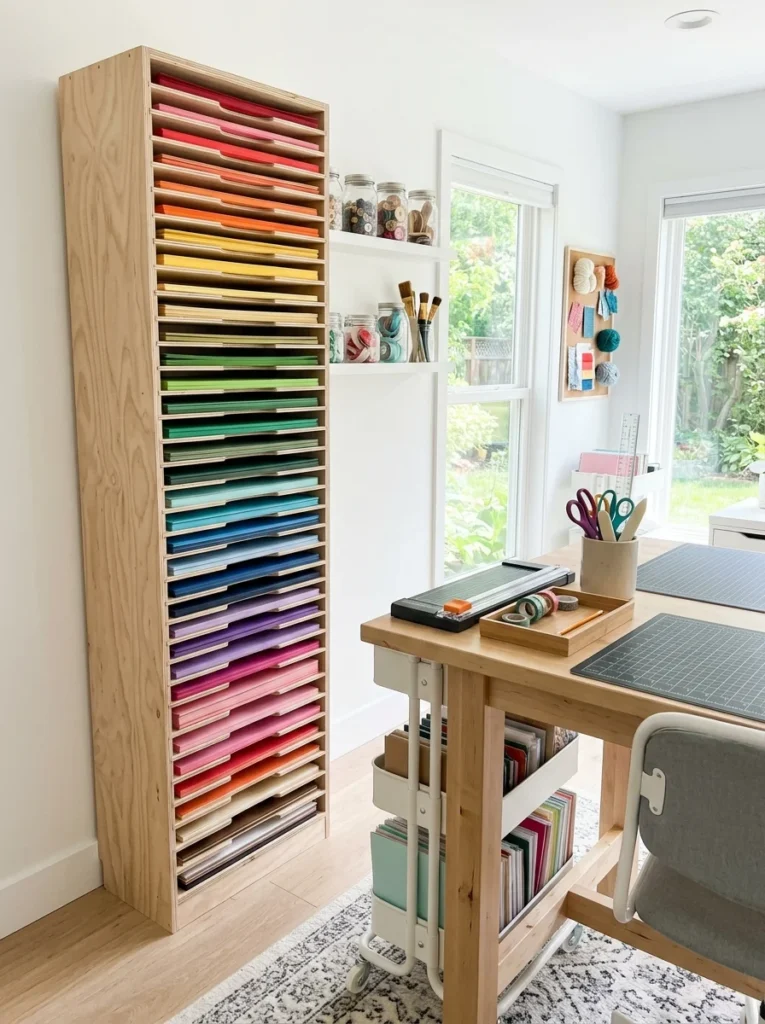
Flat paper and cardstock take up more space than people expect, and stacking them horizontally almost guarantees the bottom sheets get forgotten. I built simple vertical slots using thin plywood dividers, sorted by color, which let me flip through the paper the same way you’d flip through records in a crate. It’s faster to find what I need, and the sheets stay flatter since nothing is stacked with weight pressing down on it. The whole rack took less than an afternoon to build, and it fits neatly into a corner of the room that had previously been dead, unused space.
6. A Dedicated Ribbon and Twine Dispenser Rack
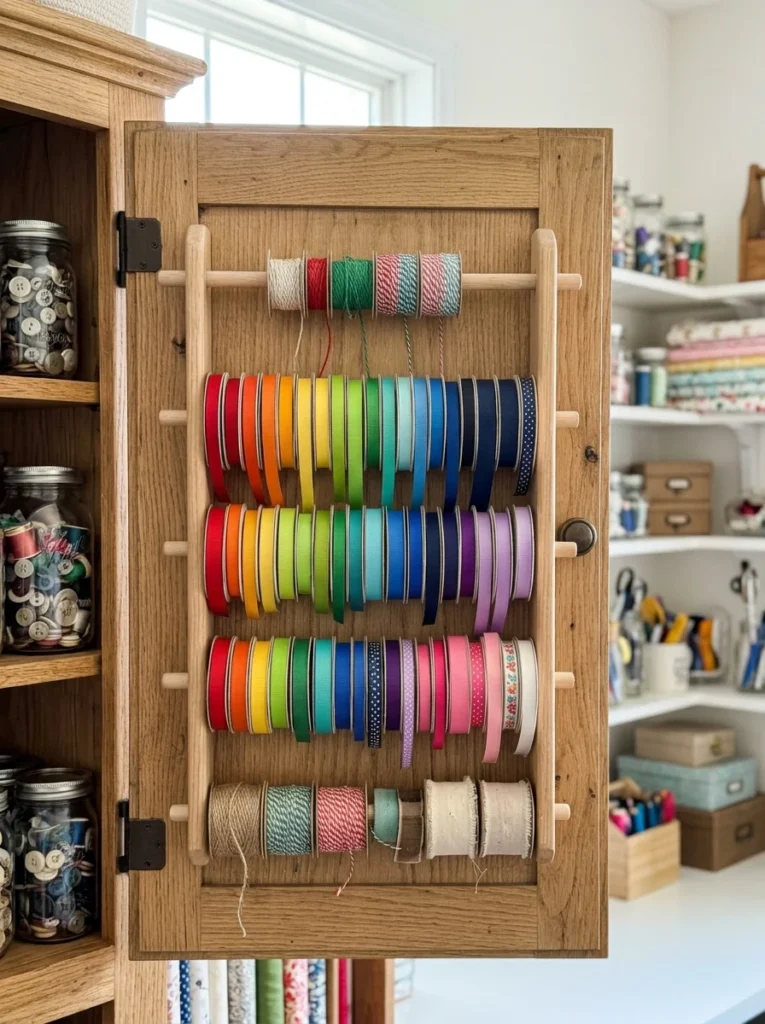
I mounted a horizontal dowel rack on the inside of a cabinet door specifically for ribbon and twine spools, so I can pull a length out and cut it without unwinding the whole spool onto the table. It’s a small addition, but it eliminated one of the most persistent tangled messes in my old setup, and mounting it on the inside of a door meant it took up essentially no floor or shelf space at all.
7. Repurposed Jars for Small Loose Supplies
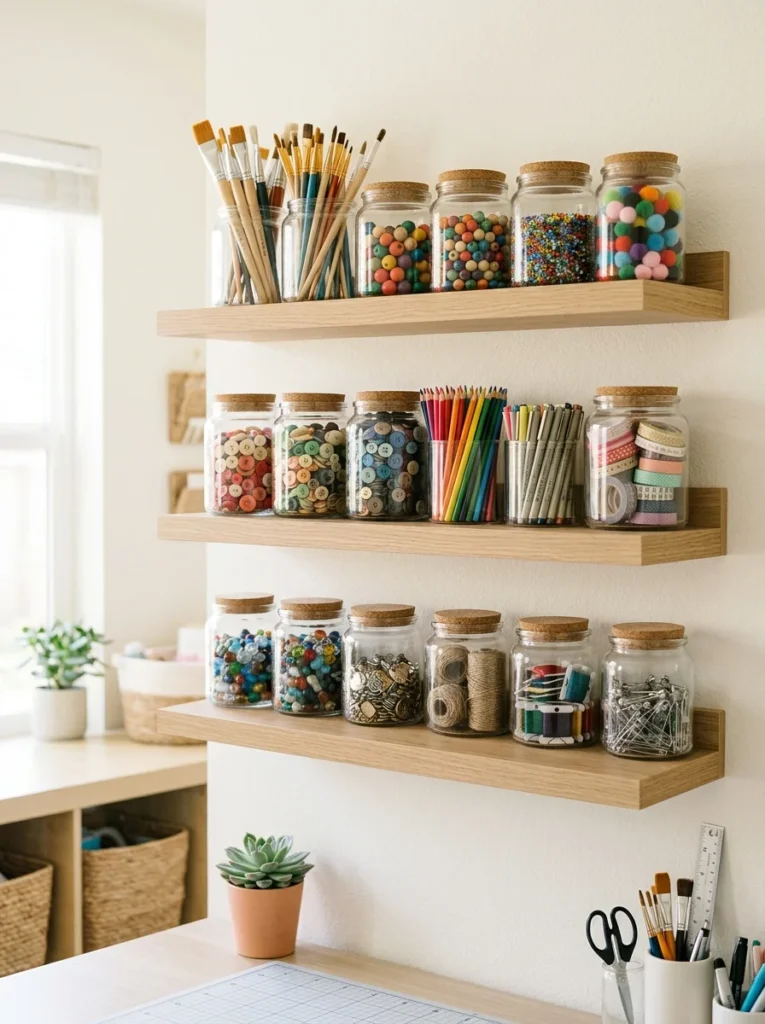
Instead of buying specialty containers for every category of small supply, I started reusing glass jars from pasta sauce and pickles, washed out and relabeled. Grouped together on open shelving, they hold everything from paint brushes to loose beads, and the uniform glass look actually gives the shelf a cohesive, almost apothecary-style appearance rather than looking like mismatched leftovers. It also meant I stopped spending money on new containers altogether for a good stretch of my reorganization, since I already had a steady supply building up in the recycling bin.
8. A Fabric Storage System Sorted by Color
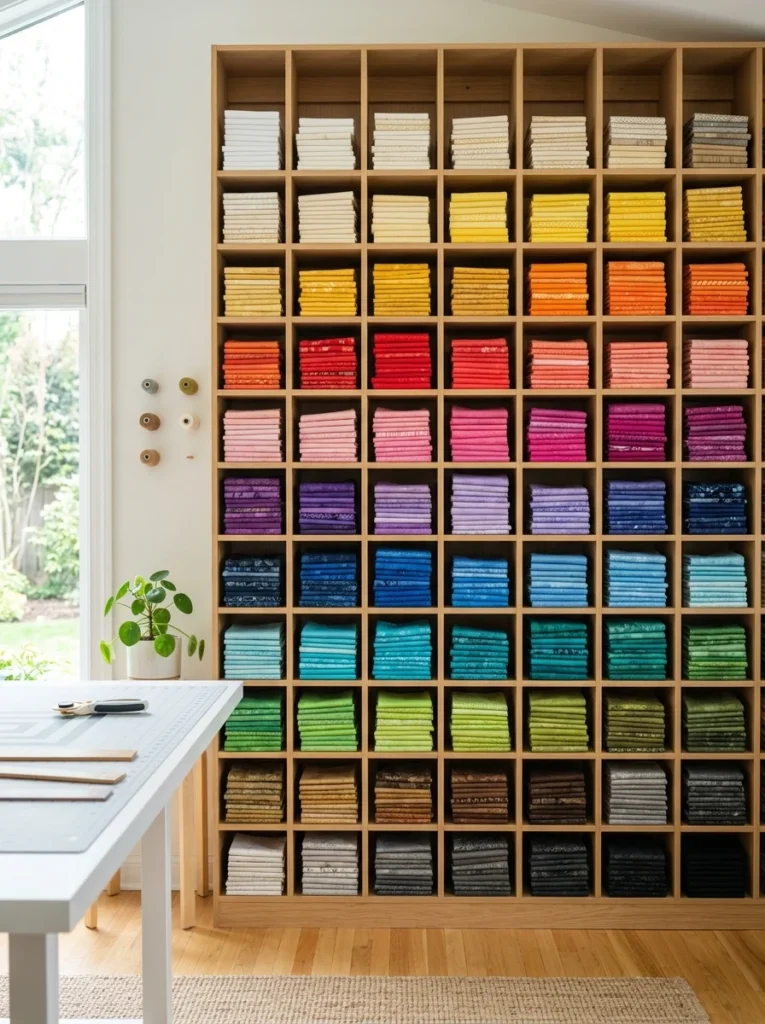
For anyone who sews or works with fabric scraps, sorting by color rather than fabric type makes an enormous difference when you’re trying to picture a color combination for a project. I use open cubby shelving with folded fabric organized in a gradient from light to dark, which doubles as a visually satisfying feature wall in the room. It also means I can stand back and instantly see what color palette I have plenty of and what I’m running low on, which has saved me more than one unnecessary trip to the fabric store.
9. A Pull-Out Trash and Scrap Bin
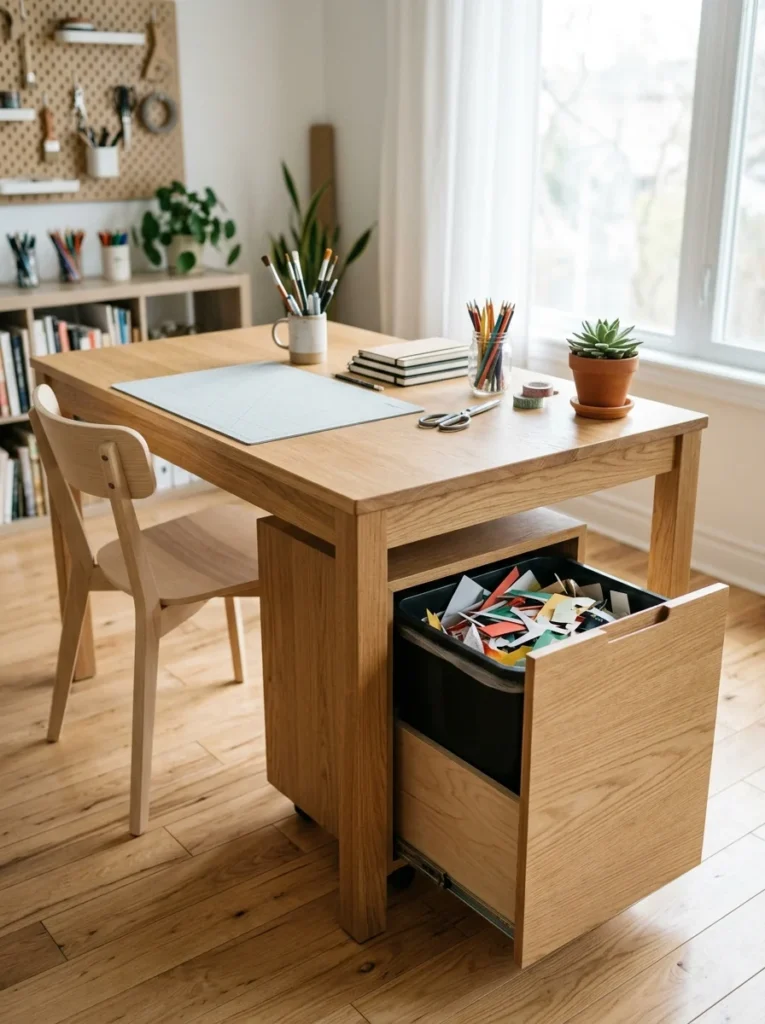
Craft projects generate scraps constantly, and I used to let them pile up on my table until the mess became distracting enough to stop working altogether. Adding a small pull-out bin under my work table, specifically for scraps and trimmings, meant I could sweep debris away in seconds and get straight back to the project instead of losing focus to clean up a cluttered surface. It’s a small habit, but keeping the surface clear as I go has made every single project feel less overwhelming than it used to.
10. Wall-Mounted Magnetic Strips for Metal Tools
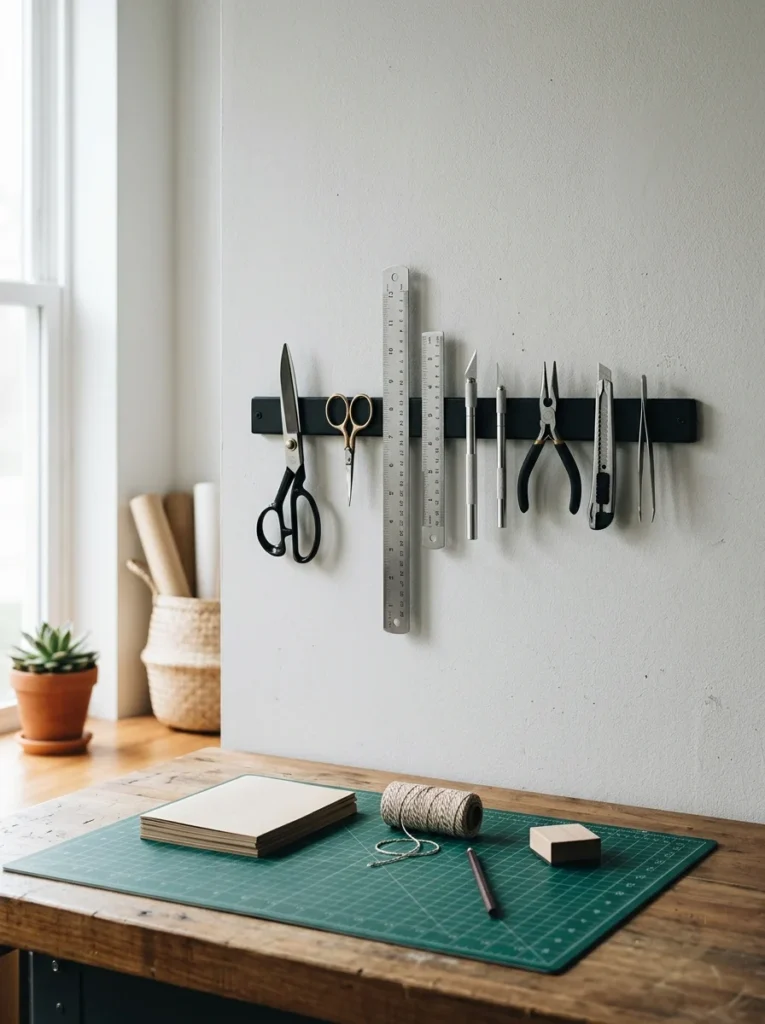
A magnetic knife strip, originally intended for a kitchen, works beautifully in a craft room for holding scissors, metal rulers, and other small metal tools. I mounted one at eye level near my cutting station, and it keeps sharp tools both organized and safely out of the way of little hands when my niece visits and wants to craft alongside me. It also saves an enormous amount of drawer space that used to be taken up entirely by tools I now keep visible and accessible on the wall instead.
11. A Label Maker for Consistent, Clear Categories
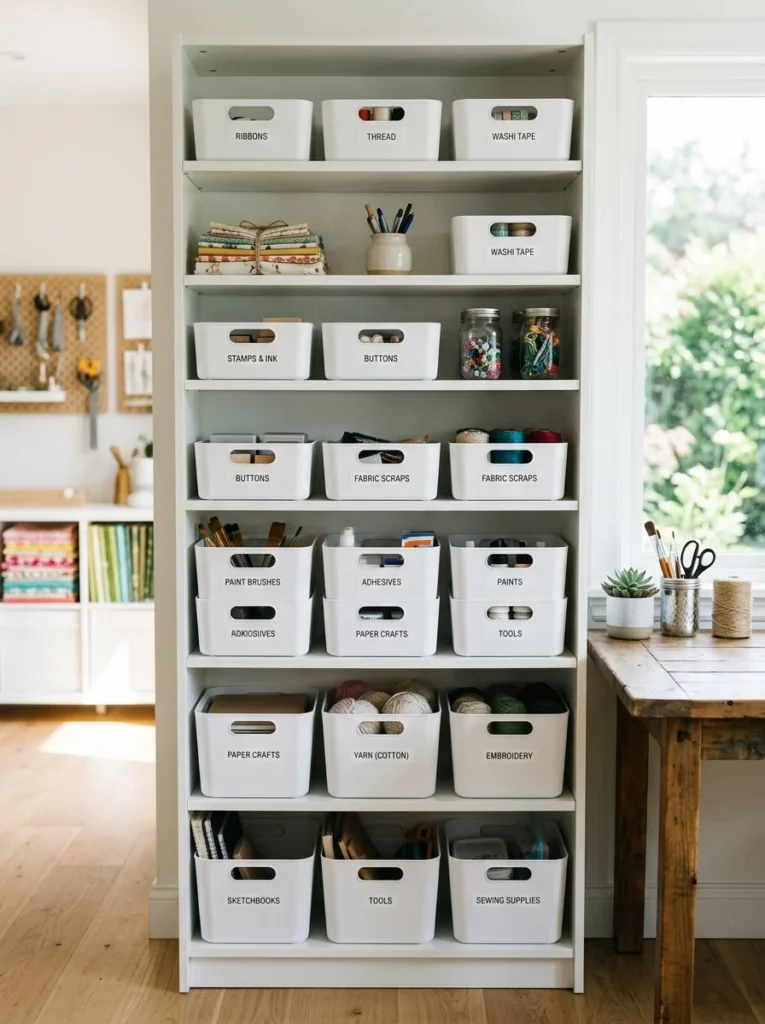
This might sound like a small detail, but investing in a proper label maker rather than relying on handwritten labels made a noticeable difference in how quickly I could scan shelves and find what I needed. Consistent, clean labeling also made it much easier to put things back in the correct spot after a project, which is honestly where most home organization systems tend to fall apart over time. I went through and relabeled every single bin in one sitting, and the uniform look across all the shelving made the whole room feel far more put-together, almost like a professional supply store rather than a personal hobby space.
12. Under-Table Storage With Rolling Bins
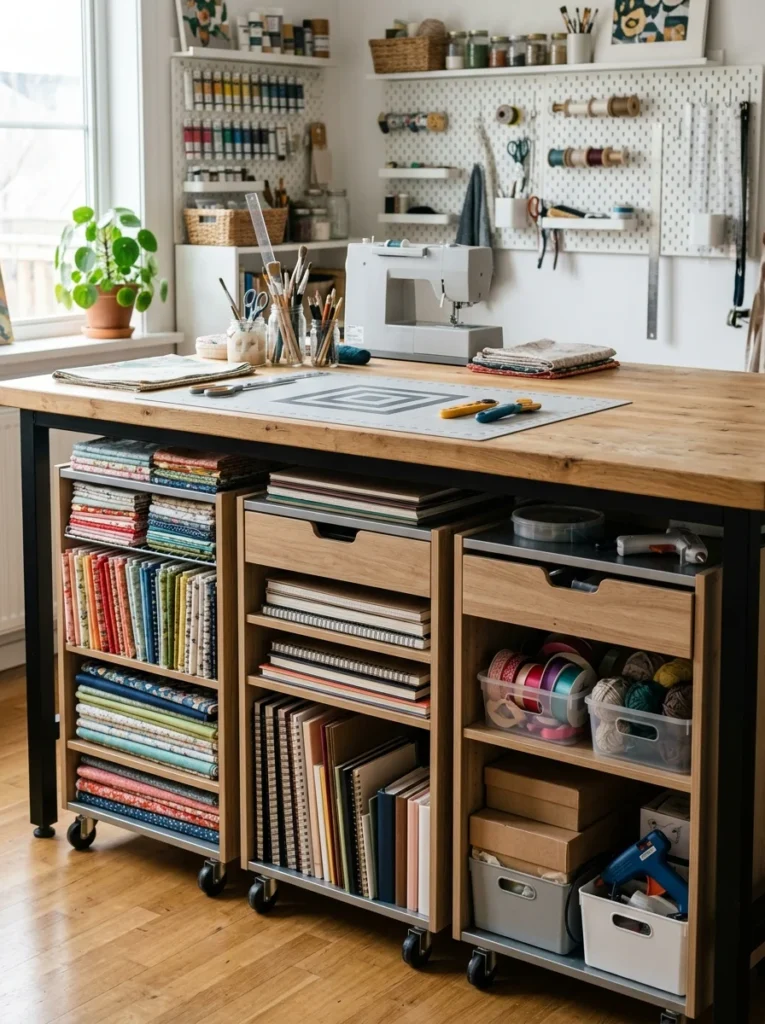
The space underneath a craft table often goes completely unused, so I added a set of rolling bins that slide under mine, holding bulkier items like fabric bolts and larger paper pads that don’t fit neatly on shelving. Because they’re on wheels, I can pull them out fully when I need to dig through them and push them back out of sight when I’m done. This turned out to be one of the easiest upgrades on the whole list, since it didn’t require any new furniture or wall space at all, just a better use of a spot I’d been stepping over for years.
13. A Vertical Magazine Rack for Stencils and Templates
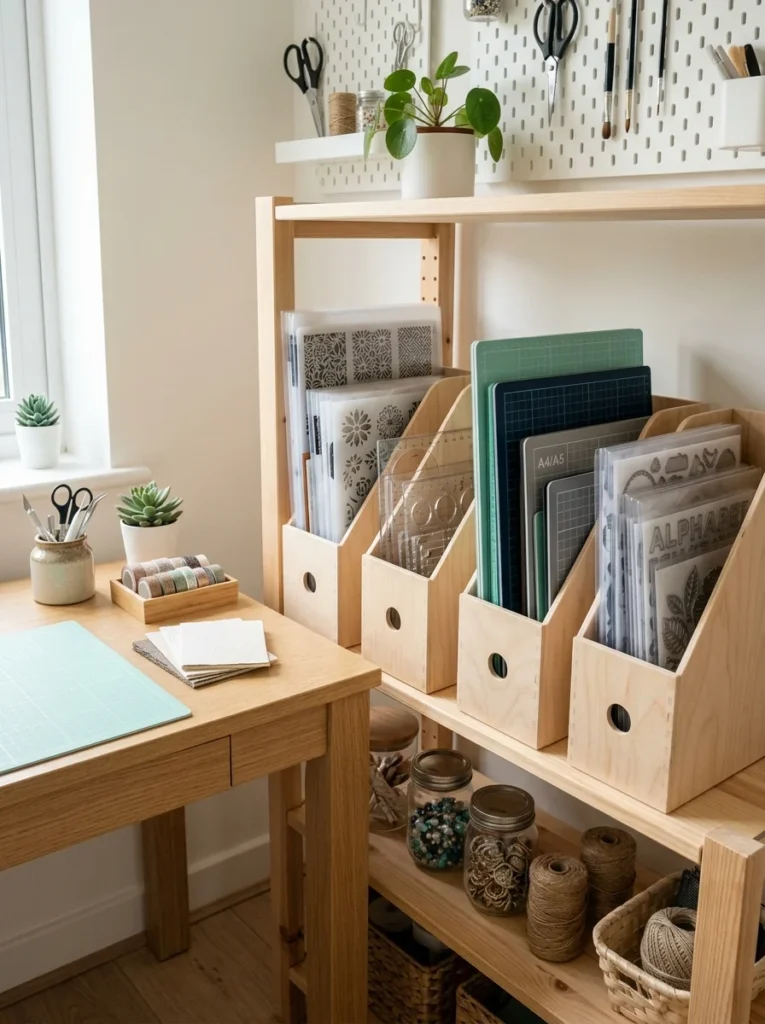
Flat stencils, templates, and cutting dies tend to get bent or lost in flat drawers. I repurposed a simple vertical magazine file rack, the kind meant for an office desk, to store mine upright instead. It keeps them flat and undamaged while making it easy to flip through and find the exact template I’m looking for without digging through a stack. I labeled each slot by category, so stencils, dies, and larger templates each have their own section within the rack rather than being mixed together.
14. A Command Center for Works in Progress
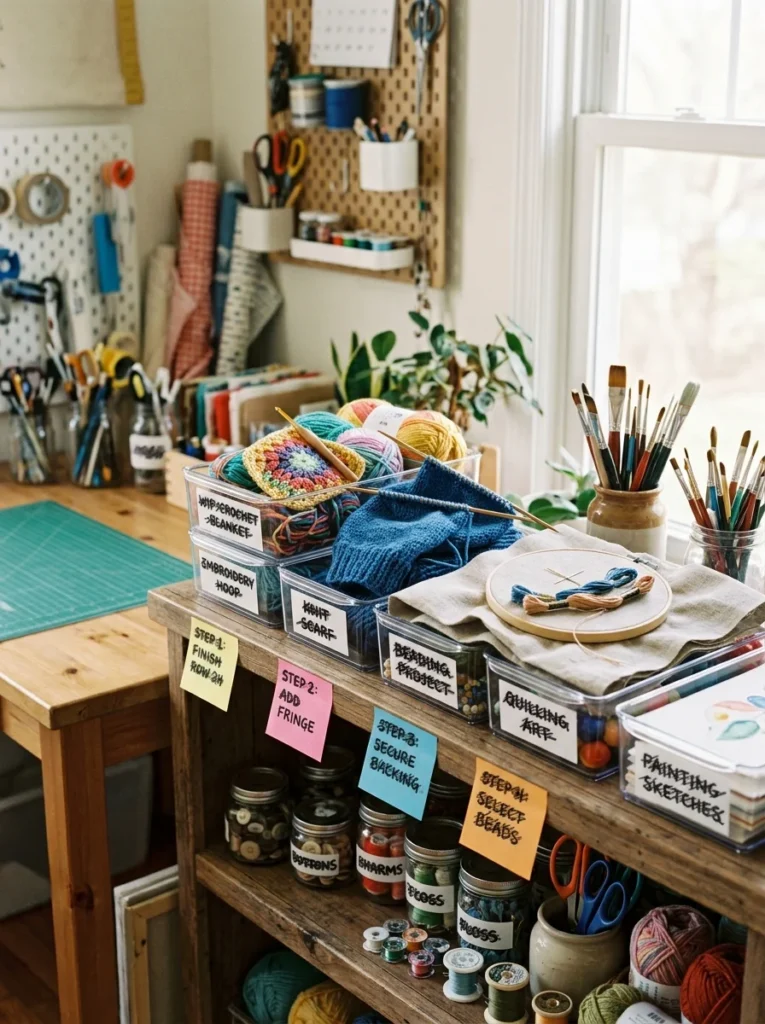
The last addition to my system, and honestly one of the most useful, was setting aside a specific shelf or tray just for projects that are currently in progress. Before this, half-finished projects would get buried under new supplies or shoved into random bins, and I’d genuinely forget about them for months. Having a designated space that’s only for active work keeps everything visible and moving forward instead of quietly disappearing into storage. I even added a small sticky note system to each in-progress tray, jotting down the next step so I could pick a project back up without having to relearn where I left off every single time.
Final Thoughts
Looking back at that chaotic year of losing scissors in my own craft room, the real lesson wasn’t that I needed more storage. I actually had plenty of bins and shelves before the reorganization; I just hadn’t organized any of it around how I actually worked, and no amount of new furniture would have fixed that underlying problem on its own. Once I built the system around my own habits, color-based sorting, visible containers, and a rolling cart for the things I reach for constantly, the room finally became a space I wanted to spend time in rather than one I avoided.
If you’re starting from scratch, my honest advice is to resist buying a bunch of new storage products right away. Pull everything out first, notice what you actually reach for most, and build the system around that. The organizing products matter far less than the layout does, and that’s the part that made all the difference in my own space. Give yourself permission to adjust the system over the following weeks too, since the first arrangement rarely ends up being the final one. Mine went through a couple of small tweaks even after that initial weekend, and those little adjustments were what finally made everything click into place.
