
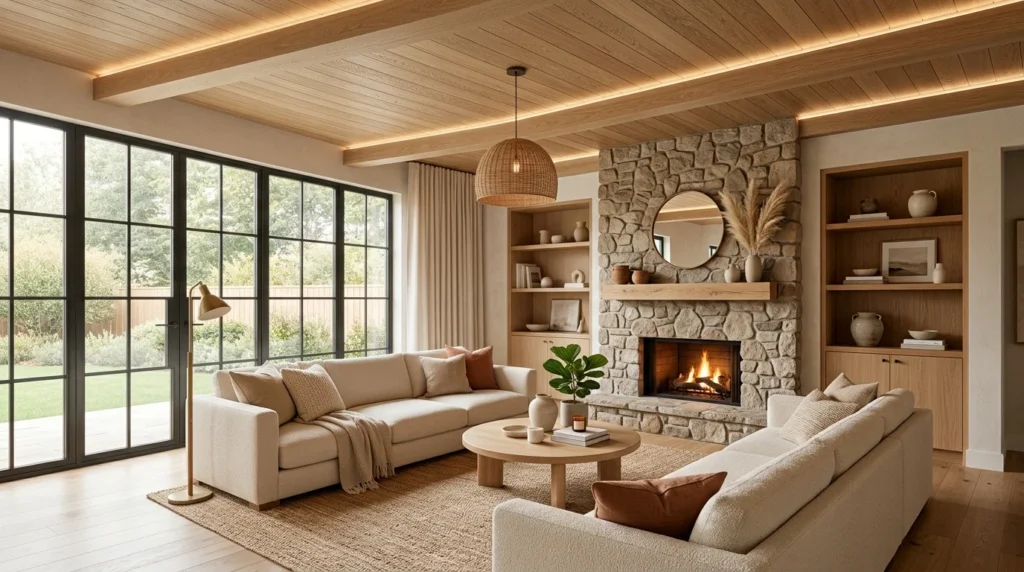
A few years after I finished my first wood ceiling project, a coworker asked me for advice before starting her own. Her first question wasn’t about style or wood type, it was simply: “How much is this actually going to cost me?” That question stuck with me, because I realized I’d never actually broken my own projects down by budget. I’d just done whatever felt right at the time, sometimes spending almost nothing and other times splurging a little when a room called for it, without ever writing down or comparing what each choice actually cost me in the end. Looking back, I think a lot of people avoid a wood ceiling entirely because they assume it has to be an expensive, all-or-nothing renovation, when in reality the price range is far wider than most people expect.
So this time around, instead of listing random ideas, I sat down and organized everything I’ve learned by actual budget tier, based on real projects I’ve either done myself or watched friends and family complete. Whether you’ve got twenty dollars and a free weekend or a few hundred to spend on something a little more polished, there’s a wood ceiling option here that fits. I’ve broken it into four tiers, starting with completely free materials and working up to slightly bigger investments that still stay far below what a professional installation using premium hardwood would typically cost.
Ultra-Low Budget: Free to Under $50
1. Free Pallet Wood From Local Businesses
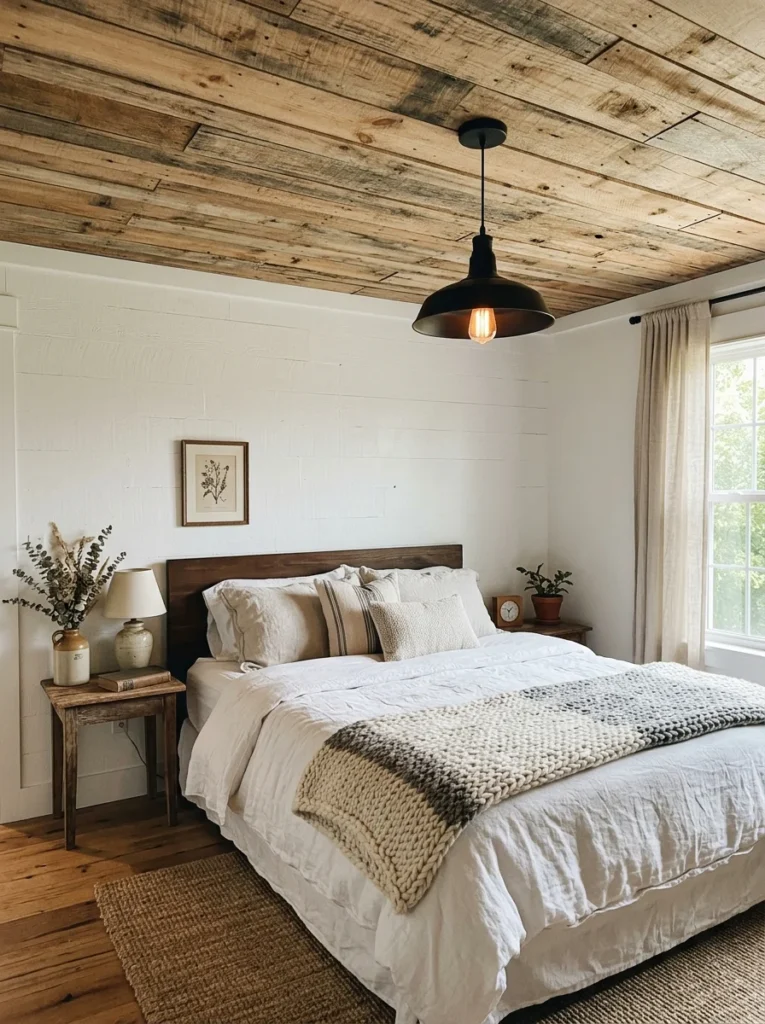
Most hardware stores, garden centers, and warehouses are happy to give away pallets they’d otherwise pay to dispose of. I got mine simply by asking a landscaping supply yard if they had any extras sitting around. After breaking them down, sanding the rough edges, and pulling the nails, I had enough material for an entire small bedroom ceiling without spending a cent on wood itself. The only real cost was a box of finishing nails and a can of clear sealant, which together came to less than fifteen dollars for the whole project.
2. Leftover Fence Boards
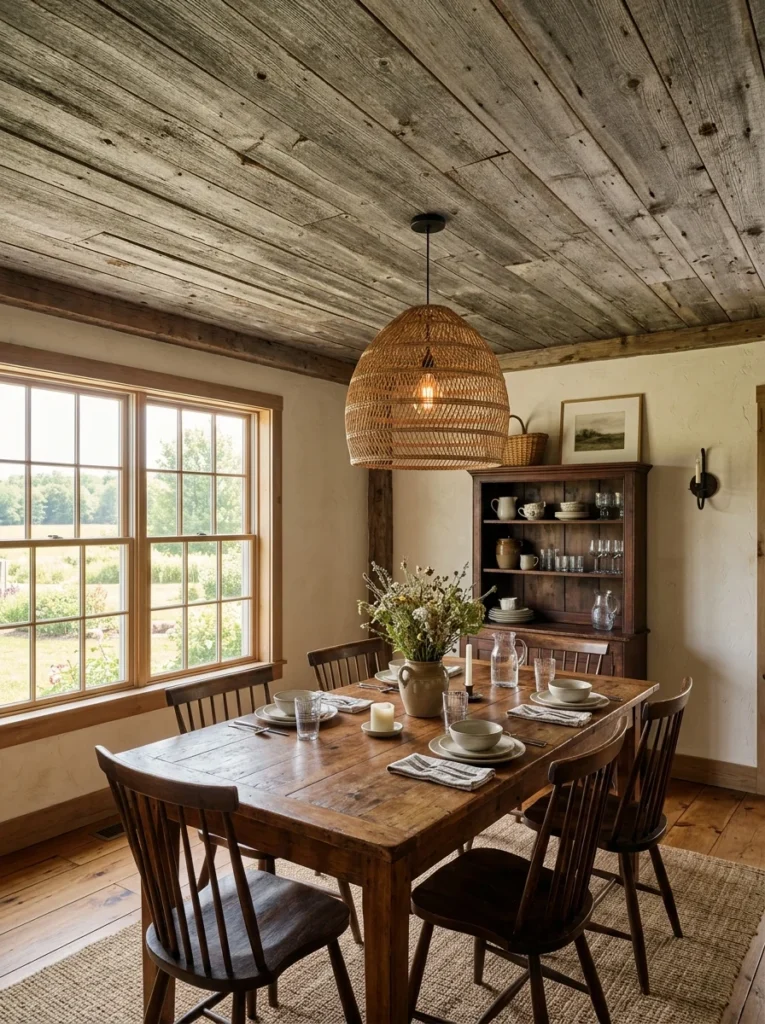
When a neighbor tore down an old wooden fence, I asked if I could take a few boards before the rest went to the dump. Cedar fence pickets, once cleaned up, make surprisingly attractive ceiling planks, and they already come pre-weathered with a soft gray tone that would normally take specialty stain to achieve. I only had to trim the pointed tops off each picket and give them a light sanding before they were ready to install, which made this one of the fastest projects I’ve ever completed from start to finish.
3. Cardboard-Free Peel-and-Stick Wood Veneer Sheets
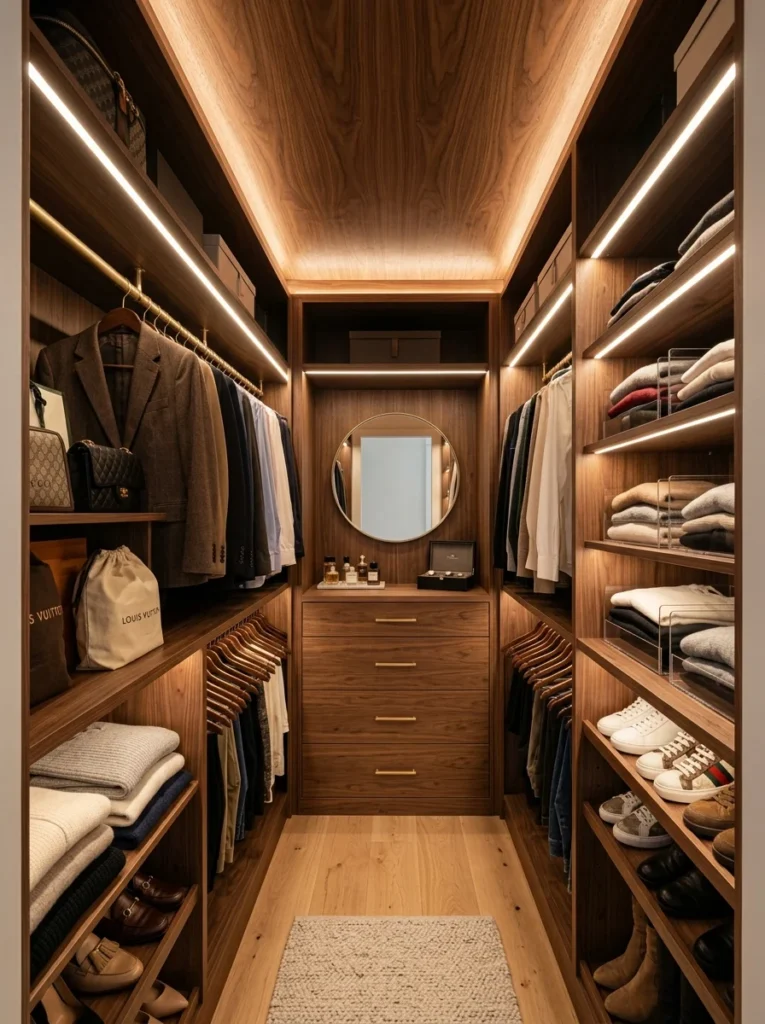
Thin, adhesive-backed wood veneer sheets, usually sold for furniture repair, can be applied directly to a small ceiling area for very little cost. I used this in a closet ceiling, of all places, just to see how it would hold up, and two years later it still looks sharp with zero maintenance. Because the sheets are so thin, the total weight added to the ceiling is negligible, which made this one of the least physically demanding projects I’ve attempted, even standing on a step ladder the whole time.
Low Budget: $50 to $150
4. Furring Strip Slat Ceiling
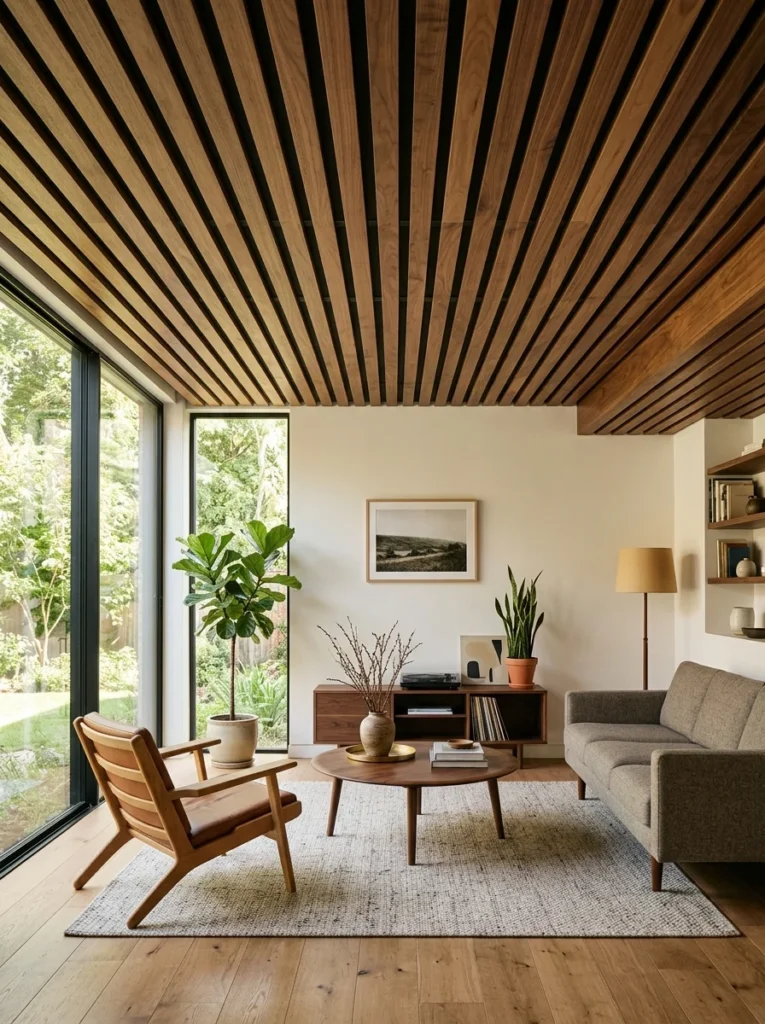
Thin furring strips, sold in bulk at any hardware store, can be cut to length and installed with gaps between each strip for a modern slatted look. I used unfinished 1×2 strips, stained them myself, and spaced them with a scrap piece of wood as a consistent guide. The total material cost for a mid-sized room came in well under a hundred dollars, and because furring strips are already fairly straight and uniform, there was very little waste once I got into a rhythm with the cutting and spacing.
5. Big Box Store Tongue-and-Groove Pine

Pre-cut tongue-and-groove pine boards are sold by the bundle at most home improvement stores, and buying during a seasonal sale can knock the price down significantly. I waited for a spring promotion before starting my sunroom ceiling, which ended up saving nearly thirty percent compared to the regular price. Timing a purchase around a sale is honestly one of the simplest budget tricks in this entire list, and it doesn’t require any extra labor or creativity, just a bit of patience before starting the project.
6. MDF Wood-Look Wall Panels Repurposed for Ceilings
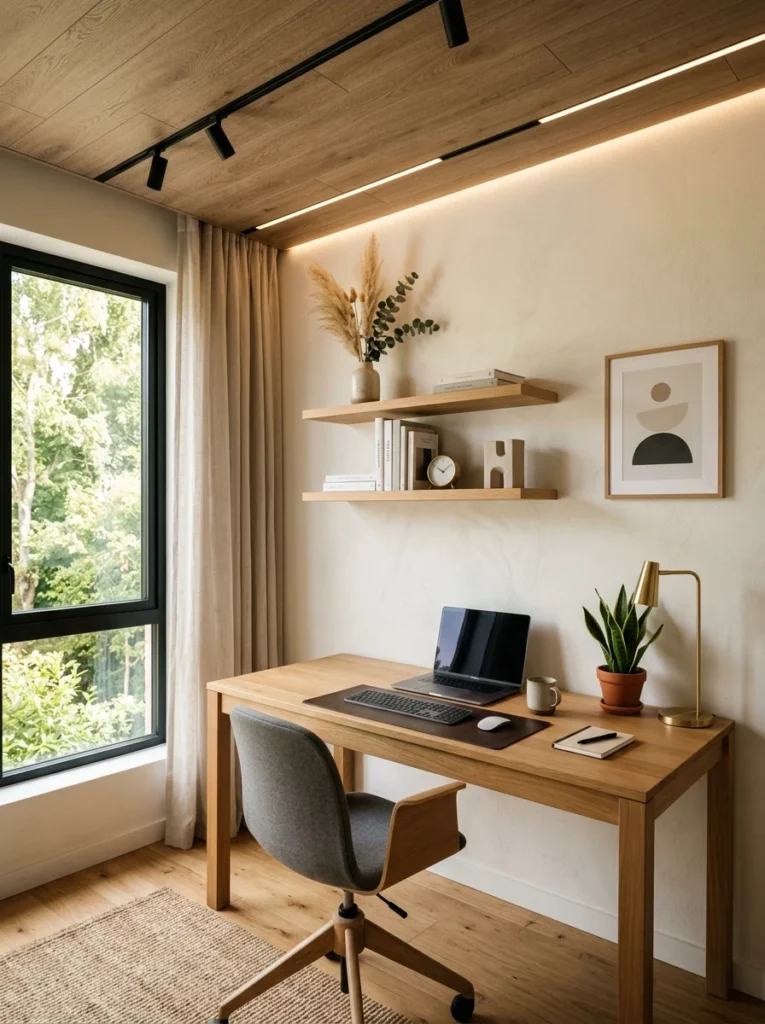
MDF panels textured to resemble wood grain are usually marketed for accent walls, but they work just as well overhead in a low-traffic room. They’re lightweight, pre-finished, and considerably cheaper than solid wood planking, though I’d avoid them in bathrooms or anywhere with high humidity since MDF doesn’t hold up well against moisture. I used them in a home office closet, and the lightweight panels were easy enough to install solo without needing a second person to help hold boards in place overhead.
7. Thrifted and Salvaged Barn Wood Remnants
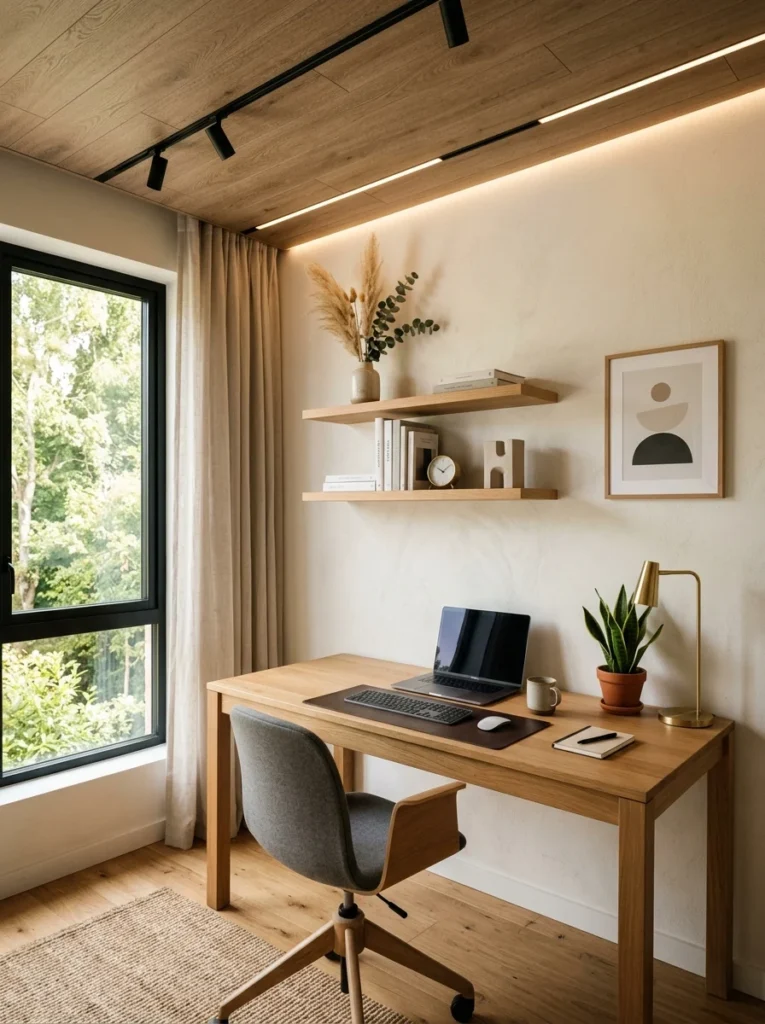
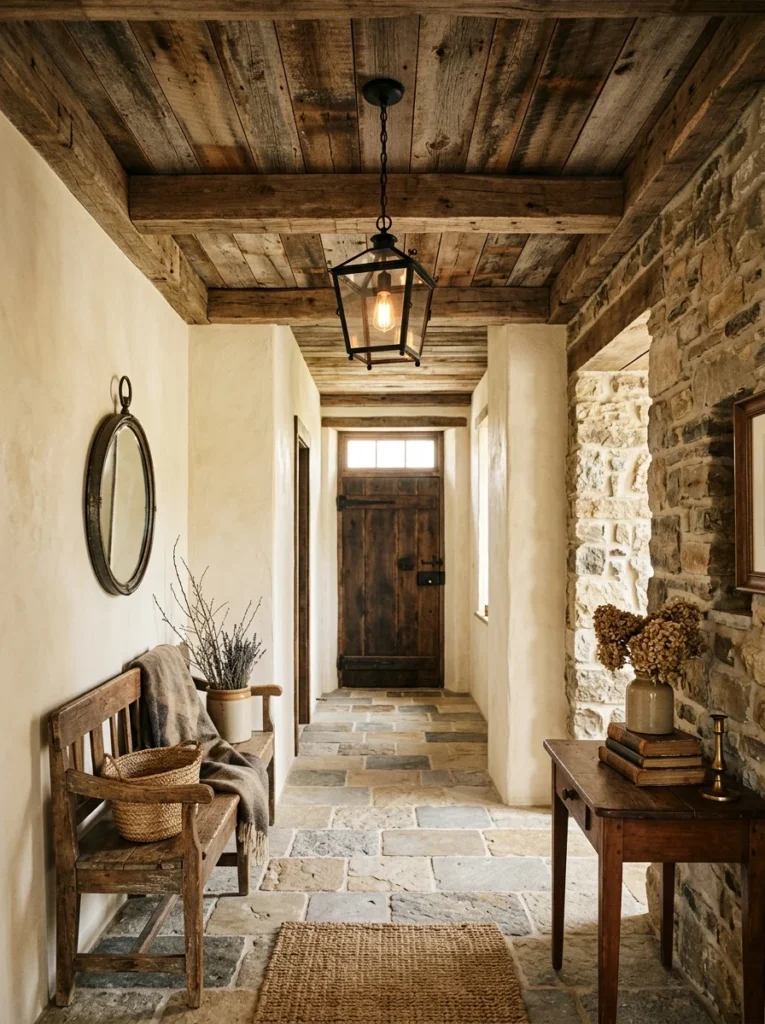
Architectural salvage shops often sell smaller leftover pieces of barn wood at a steep discount compared to full bundles, since builders don’t always want odd-sized scraps. I picked up a mixed bag of remnants for a small hallway ceiling, and the variation in width and tone actually gave it more character than a uniform bundle would have. It took a bit longer to plan the layout since no two pieces were quite the same size, but that extra planning time was the only real added cost compared to buying a matched, pre-sorted bundle.
Mid Budget: $150 to $350
8. Prefinished Shiplap Panels
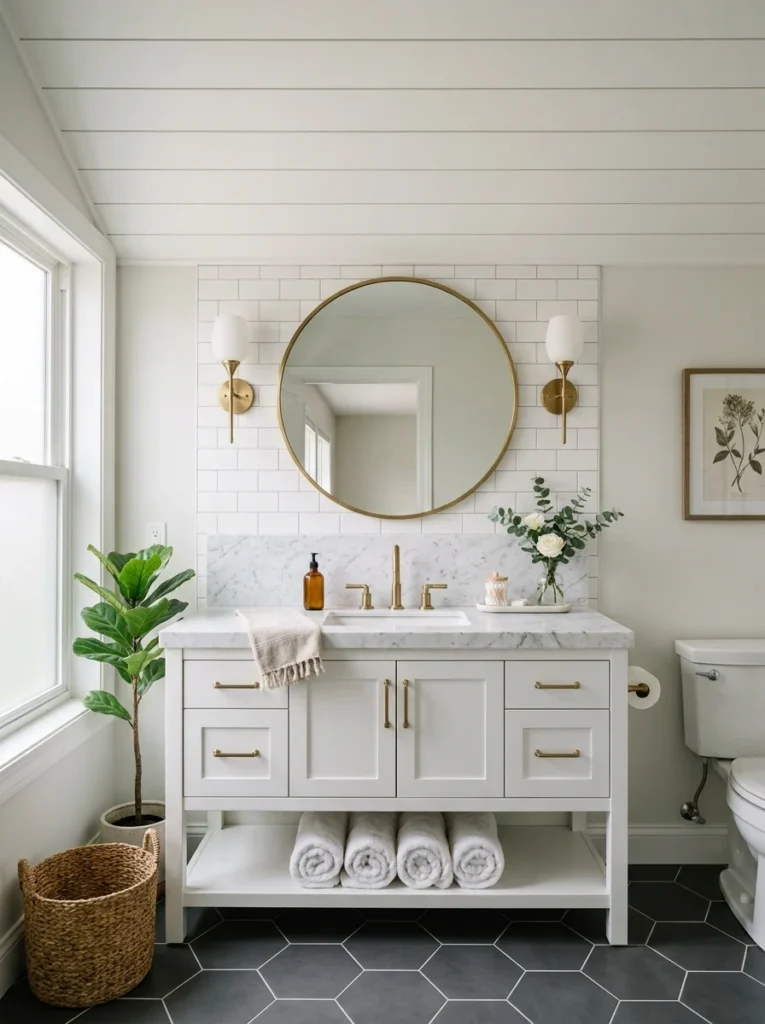
Prefinished shiplap, already primed or stained and ready to install, costs more per square foot than raw lumber but saves significant time and skips the need for separate staining supplies and cleanup. I used prefinished white shiplap in a guest bathroom, and the whole installation took a single afternoon since there was no drying time to plan around. For anyone working with limited weekends or evenings to dedicate to a project, that time savings can end up being worth the slightly higher price tag.
9. Bamboo Ceiling Panels
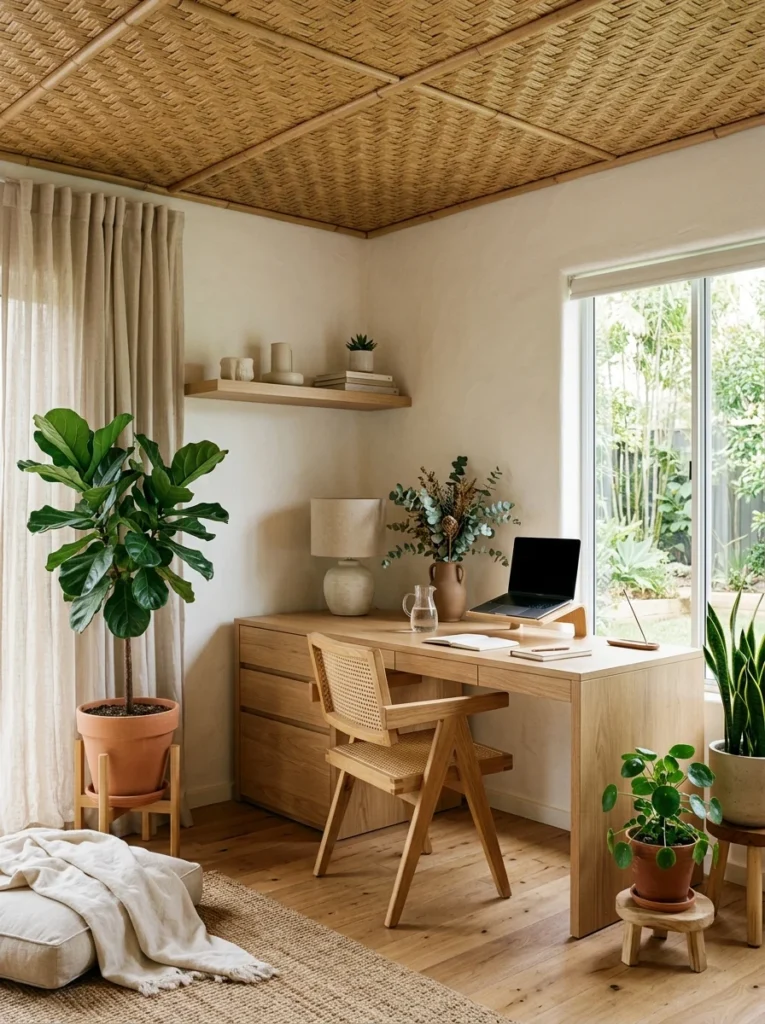
Bamboo is a renewable material that’s often priced more affordably than hardwood while still giving a distinct, natural wood-like texture. A friend installed woven bamboo panels in her home office ceiling, and the warm, slightly textured look gave the room a calm, almost spa-like atmosphere that solid pine wouldn’t have achieved in quite the same way. Bamboo also tends to be lighter in weight than solid lumber, which made the installation noticeably easier on her arms during the overhead work.
10. Cedar Shim Accent Ceiling
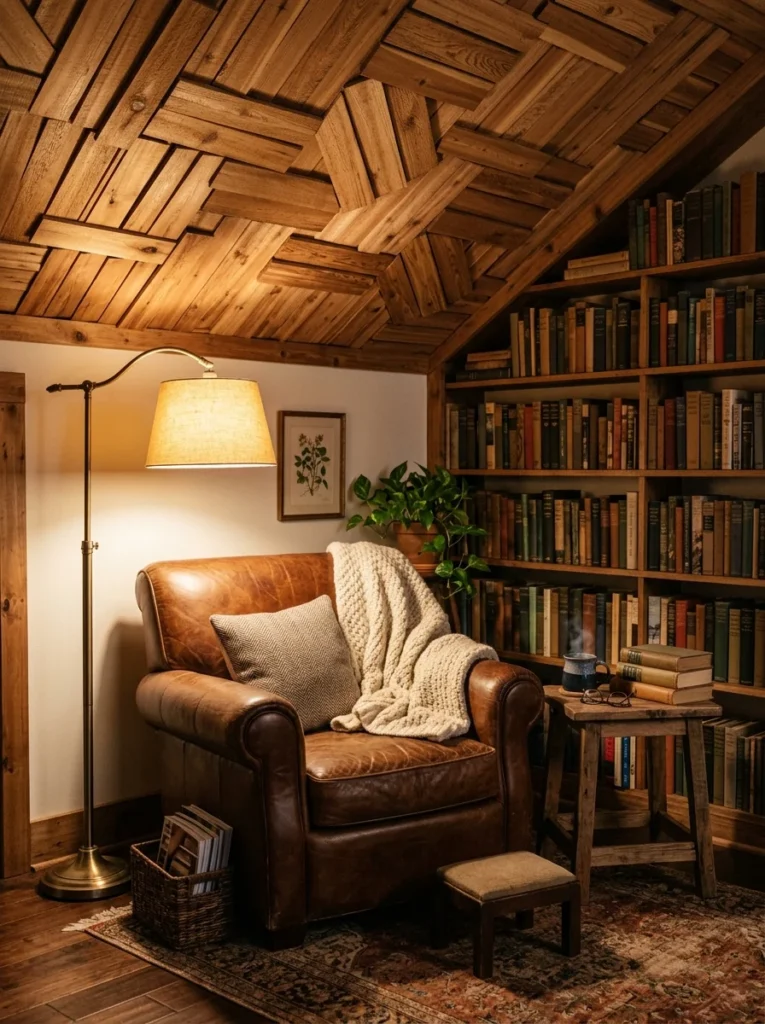
Cedar shims, typically sold in bulk bundles for construction shimming work, can be layered in an overlapping, shingle-like pattern across a ceiling for a striking textured accent. I used this technique on a small ceiling above a reading nook, and though it took patience to install piece by piece, the material cost stayed low since shims are sold so cheaply in bulk. It’s not a project I’d recommend for a large open ceiling given how time-consuming it is, but for a small accent area it delivers a level of detail that would be expensive to replicate with any pre-made product.
11. Stained Plywood With a Custom Wood Grain Pattern
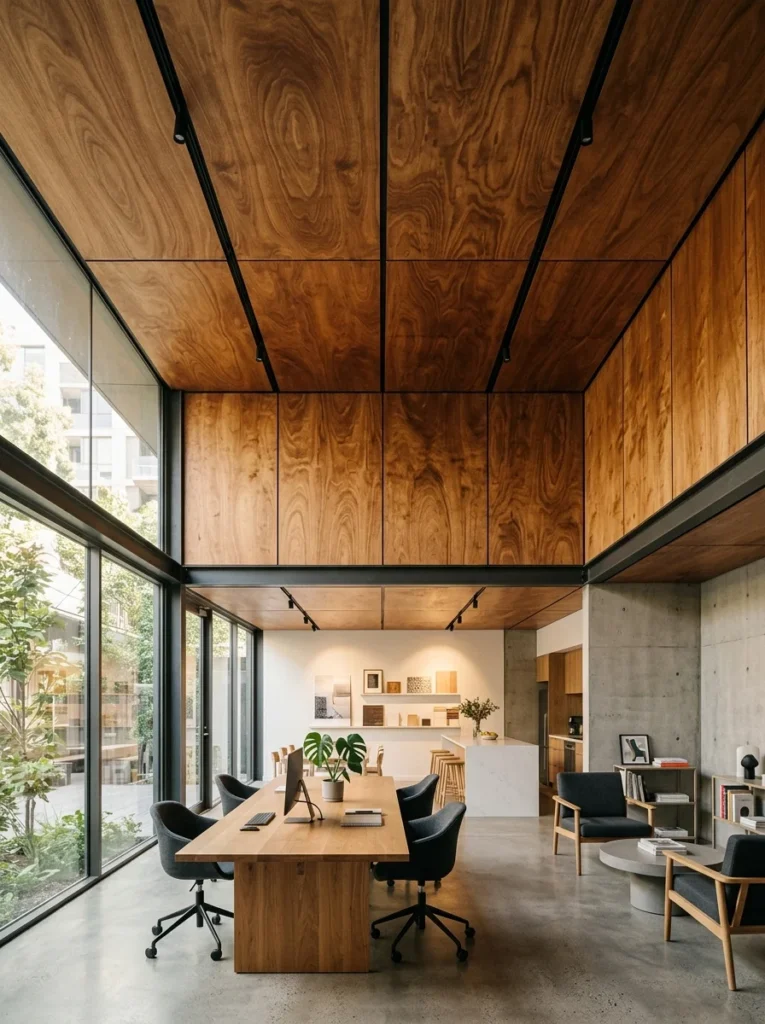
Rather than cutting plywood into narrow planks, leaving larger sheets intact and staining them to highlight the natural grain pattern creates a more contemporary, seamless look. I did this in a home studio ceiling, choosing a plywood grade with a more attractive grain pattern than standard construction-grade sheets, which still kept the total cost well below solid hardwood. The larger sheets also meant far fewer seams to align and finish, which cut the actual installation time down considerably compared to plank-by-plank projects.
A Little More Investment: $350 to $600
12. Reclaimed Hardwood Flooring Repurposed as Ceiling Planks
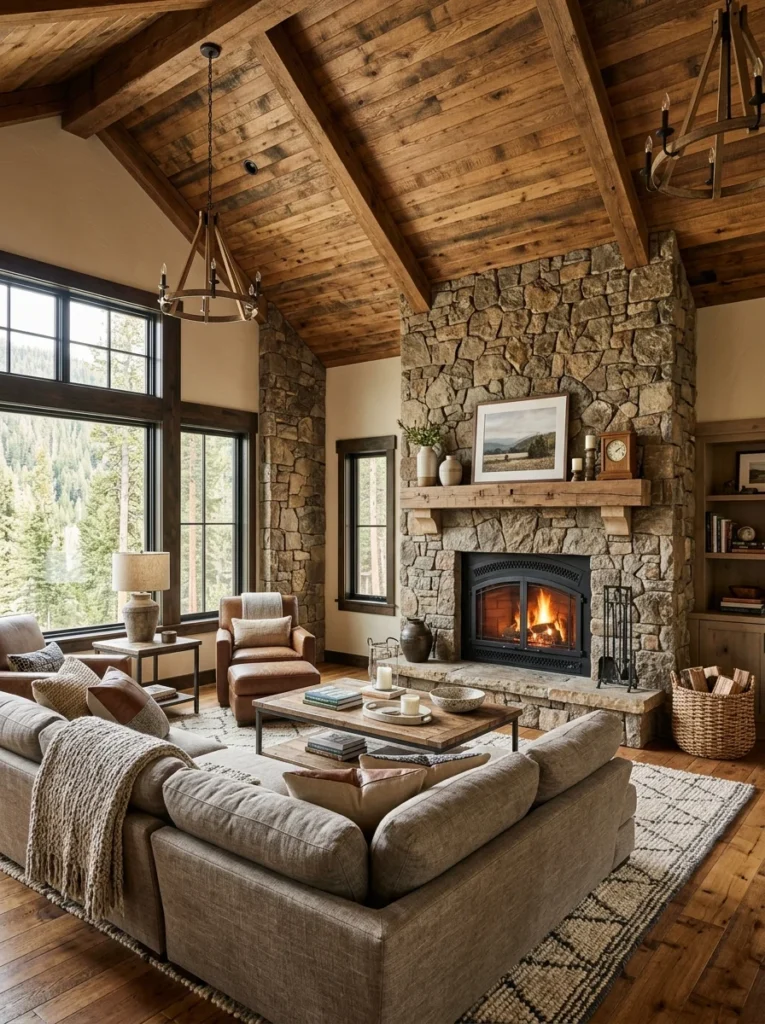
Old hardwood flooring, pulled up during a renovation and no longer usable underfoot due to wear, can often be resurfaced lightly and reinstalled on a ceiling instead, where foot traffic and wear are no longer a concern. I sourced mine from a flooring company that was removing an old gym floor, and the tongue-and-groove edges made installation almost identical to standard ceiling planking. The faint remnants of the original court markings were still faintly visible on a few boards even after sanding, which turned into an unexpected conversation piece whenever people noticed it.
13. Wide-Plank Character Grade Lumber
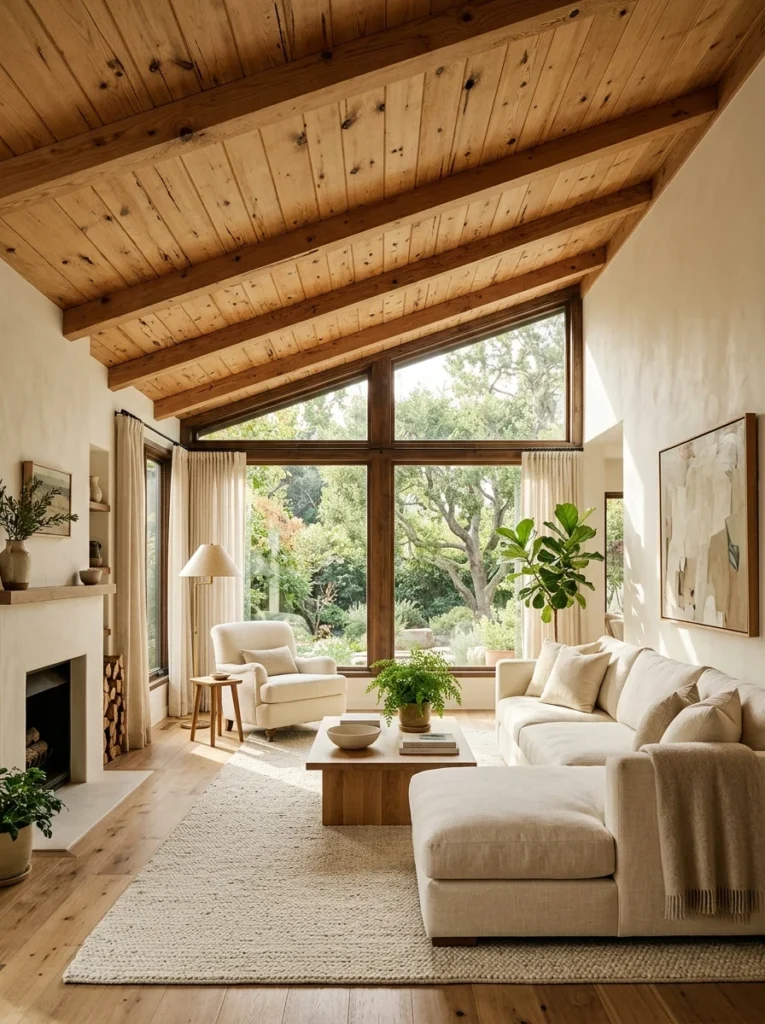
Character grade lumber, which includes knots, mineral streaks, and natural imperfections that higher grades exclude, costs noticeably less than clear, blemish-free boards while often looking more interesting once installed. I used character grade pine in my living room, and the natural variation became one of the most complimented details in the entire room. It’s a good reminder that the “flaws” lumber yards discount for often turn out to be the exact texture people pay extra for once it’s marketed as a rustic or farmhouse finish, and it’s the kind of detail that’s easy to overlook until you’re standing in a lumber yard trying to decide between two nearly identical stacks of boards.
14. Custom-Stained Beadboard With Decorative Trim
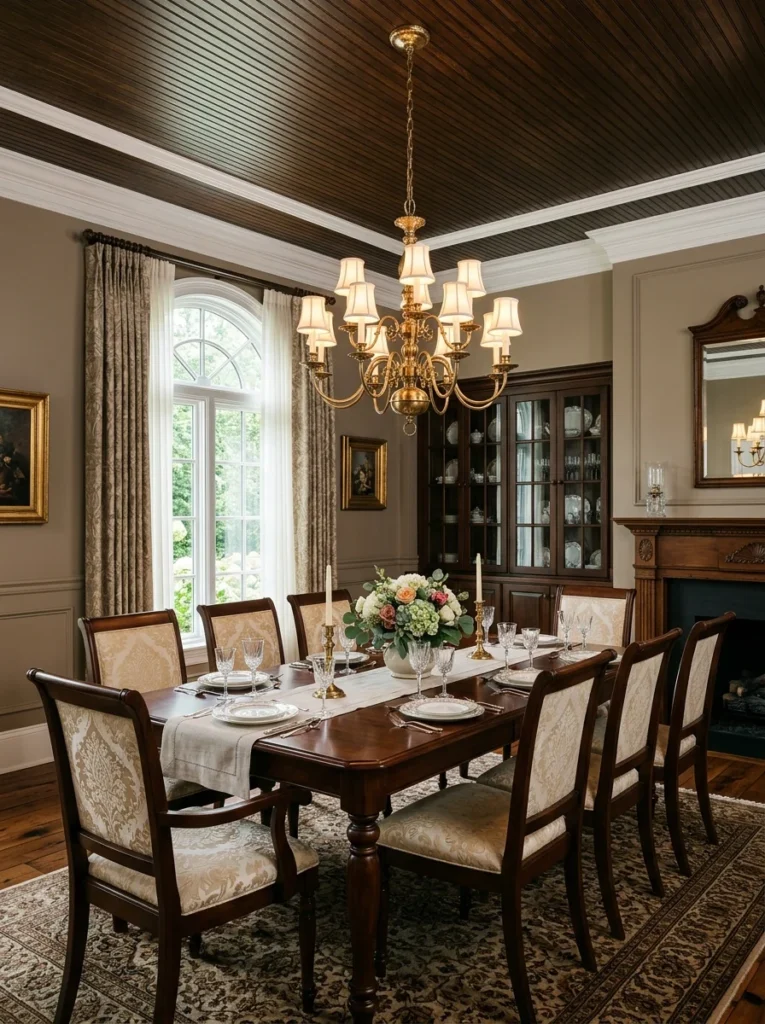
Standard beadboard paneling, dressed up with a rich custom stain and finished with a simple crown molding transition where it meets the walls, can look considerably more expensive than the base materials suggest. I added this combination in a dining room, and the trim detail alone elevated the whole ceiling from a simple paneling job to something that reads as custom millwork. The molding was the single best dollar-for-dollar upgrade of the entire project, since it cost very little compared to the wood itself but changed how finished the whole ceiling appeared.
15. Engineered Wood Ceiling Planks
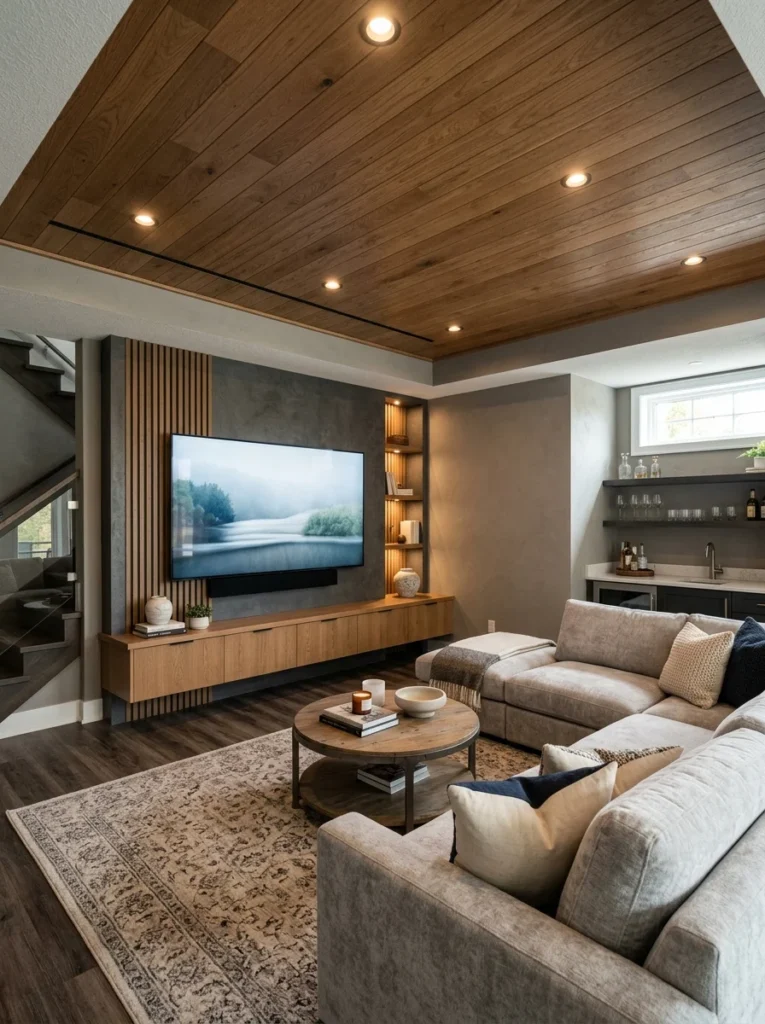
Engineered wood, made from a thin layer of real wood veneer bonded over a stable core material, resists warping better than solid lumber while still offering an authentic wood surface. I used engineered planks in a basement ceiling where humidity fluctuations had previously caused issues with solid wood, and it’s held up without any cupping or gapping since installation. For anyone dealing with a basement, garage, or other space prone to moisture swings, this stability alone can end up saving money in the long run by avoiding repairs down the line.
Choosing the Right Tier for Your Project
Before settling on any single approach, it’s worth walking through your own space and being honest about both your available time and your comfort level with hands-on work, since that combination will point you toward the right tier far more reliably than price alone. Looking back across all of these projects, the biggest factor in staying on budget was never really the material itself, it was how much labor I was willing to put in versus how much I was willing to pay someone else to save me the time. The free pallet wood ceiling took an entire weekend of sanding and de-nailing, while the prefinished shiplap took a single afternoon but cost noticeably more per square foot. Neither approach is better than the other; it really comes down to whether you have more time or more budget to work with on a given project. I’ve genuinely swung between both approaches depending on what else was going on in my life at the time, and both ended in ceilings I’m still happy with years later.
If I were starting from zero again with a tight budget, I’d start by asking around locally before buying anything. Between free pallets, leftover fencing, and salvage yard remnants, I’ve built entire ceilings using materials that would have otherwise ended up in a landfill, and in more than one case, the “free” option ended up looking better than anything I could have bought off a shelf. It also tends to be the version of the story people remember most when they compliment the room, since a ceiling with a bit of history behind it always seems to spark more conversation than one that simply came out of a box.
