
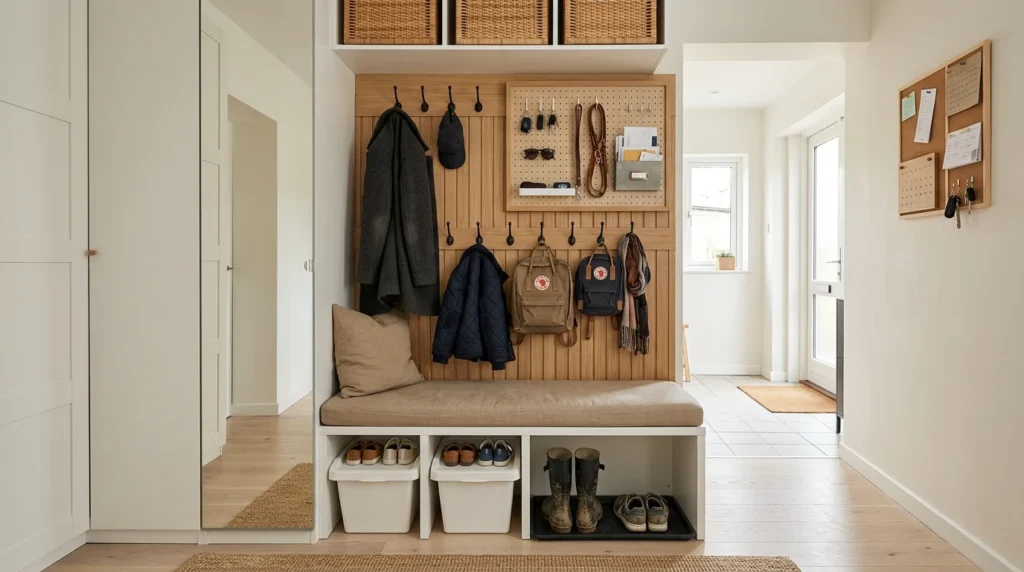
Our entryway used to be the place where shoes, backpacks, dog leashes, and mail all collided in one chaotic pile by the front door. Every morning turned into a small scavenger hunt for a missing shoe or a permission slip that had slid under the pile sometime overnight, and evenings weren’t much better, with everyone dropping their things in a heap the moment they walked through the door after a long day. We don’t have a true mudroom, just a narrow strip of wall between the front door and the hallway, so I assumed a real custom-built mudroom system was out of reach for a space that awkward and that small.
A friend who’d done something similar with her own tight entryway suggested I look at IKEA components instead of a full custom build, and that turned out to be exactly the right call. Between PAX wardrobe frames, TROFAST bins, and a handful of smaller accessories, I put together a mudroom system over a few weekends that cost a fraction of a custom carpenter-built version and has held up well through two years of daily use by two kids and a very muddy dog. Here are 20 ideas from that project and a few others I’ve helped friends put together since, along with what I learned about planning a system like this in a genuinely narrow space.
1. A Narrow PAX Wardrobe as a Coat Closet
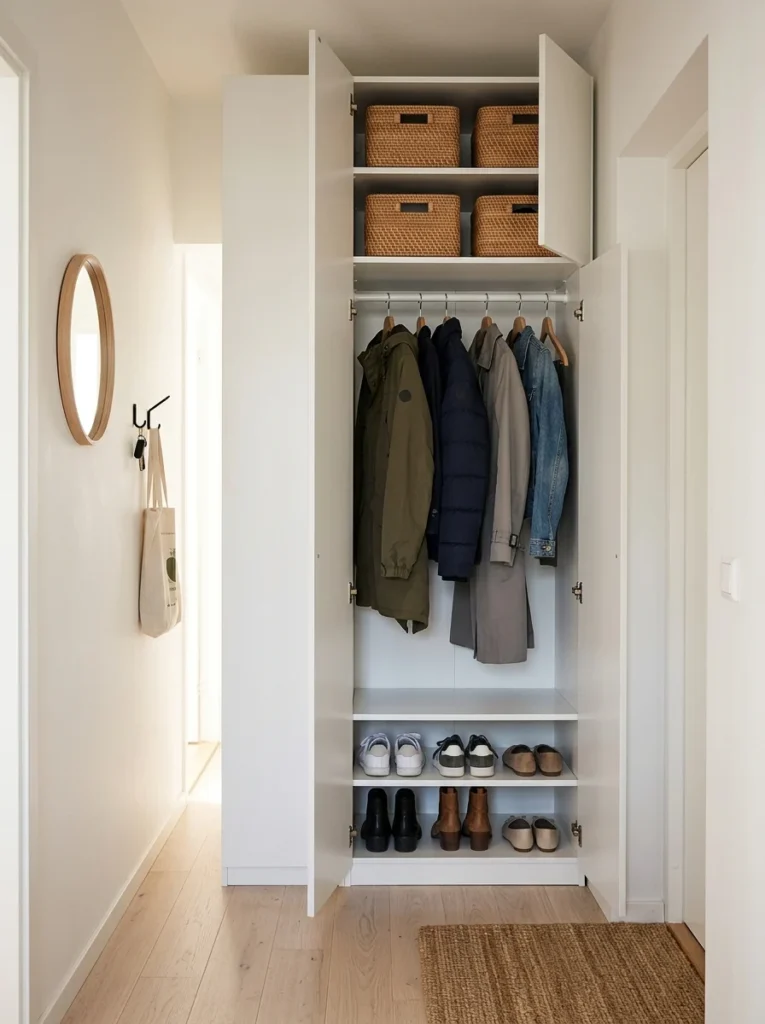
The PAX wardrobe system became the backbone of our whole setup. Even the narrowest depth option was enough to hang coats and jackets without eating too far into our tight hallway, and being able to customize the interior with shelves and rods meant we weren’t stuck with a fixed layout that didn’t fit our actual needs.
2. TROFAST Bins for Shoe Storage
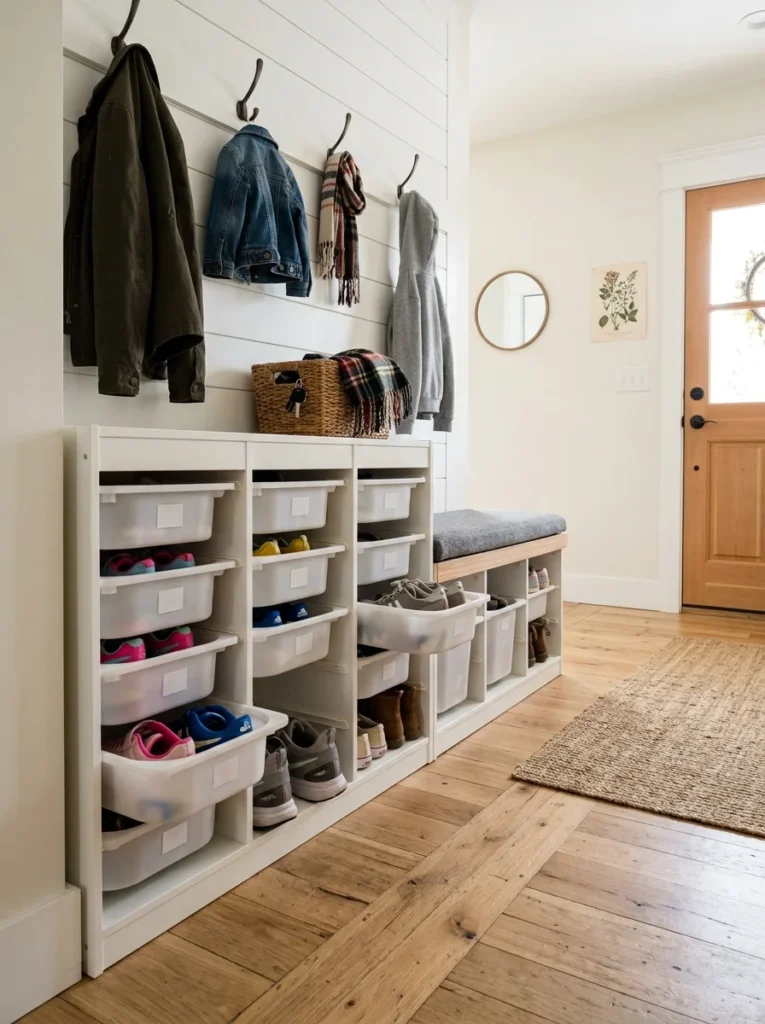
Rather than a shoe rack that shoes constantly fell off of, we use TROFAST frames with bins sized for each family member’s shoes. Each person has their own bin, which solved the daily argument over whose shoes were blocking the door, and the bins pull out easily for quick access without anyone having to dig through a shared pile.
3. HEMNES Bench With Storage
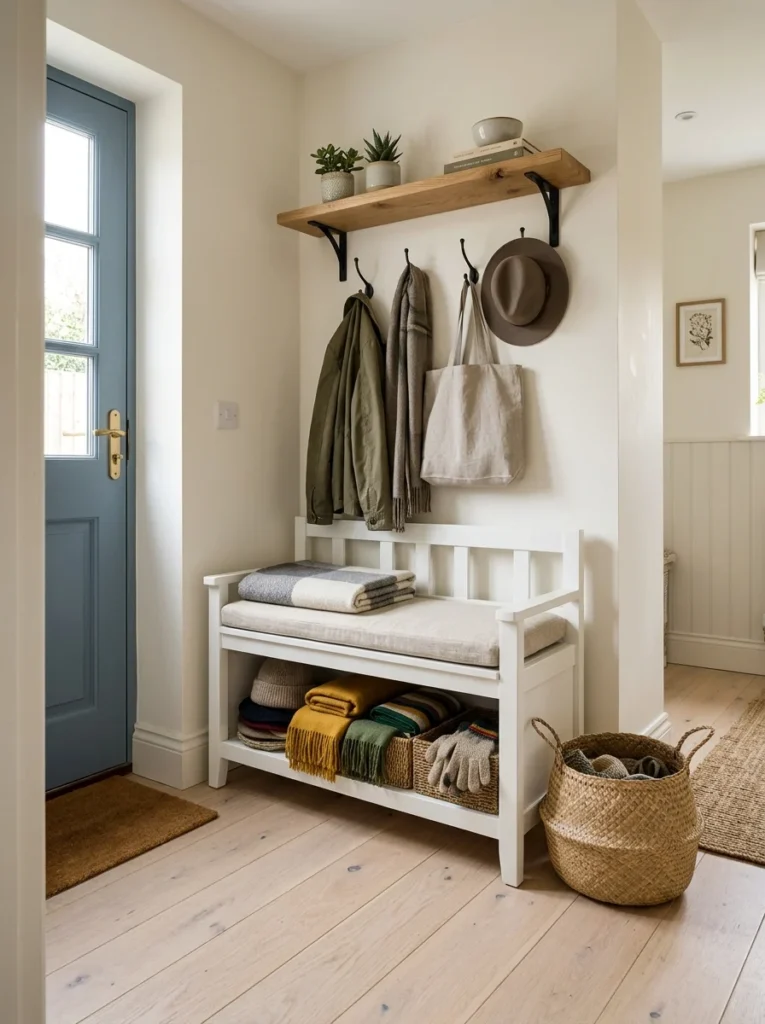
A HEMNES bench with built-in storage underneath gave us somewhere to sit while putting on shoes, plus hidden storage for hats, gloves, and scarves that would otherwise clutter open shelving. The lid lifts easily, and the storage compartment is deep enough to hold a full season’s worth of winter gear without overflowing.
4. IKORNNES Wall Hooks at Kid Height
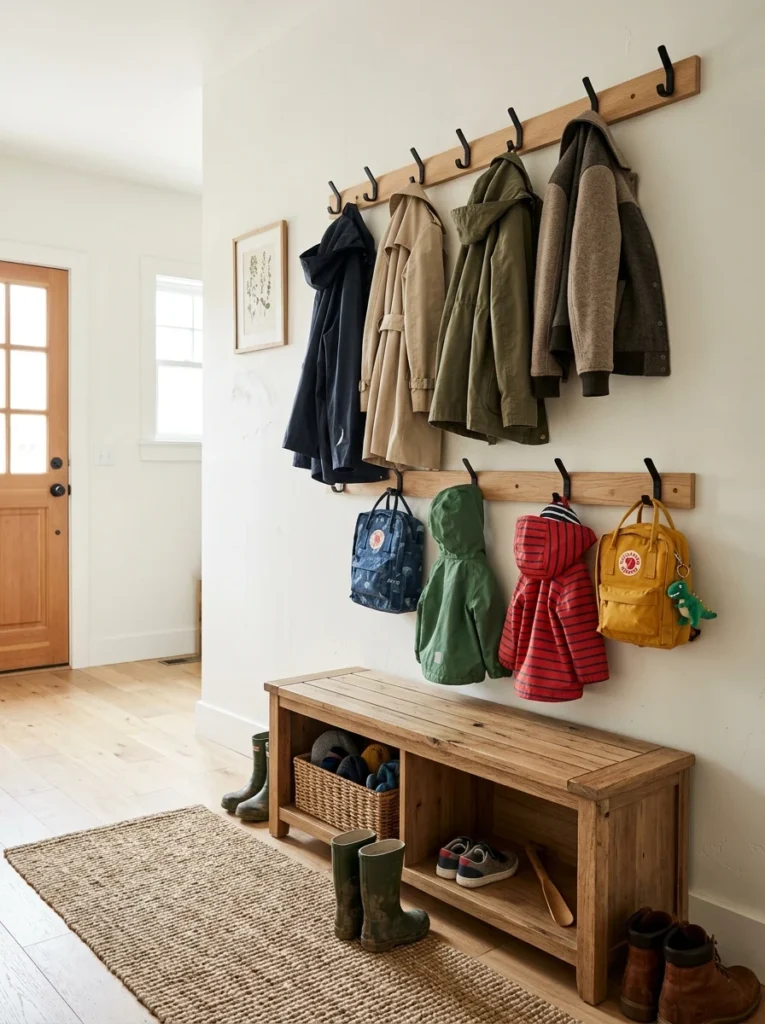
We mounted a row of simple wall hooks lower than standard adult height, specifically so our kids could hang their own backpacks and coats without needing help. It sounds like a small detail, but it genuinely reduced the number of jackets that ended up on the floor instead of on a hook.
5. SKÅDIS Pegboard for Small Accessories
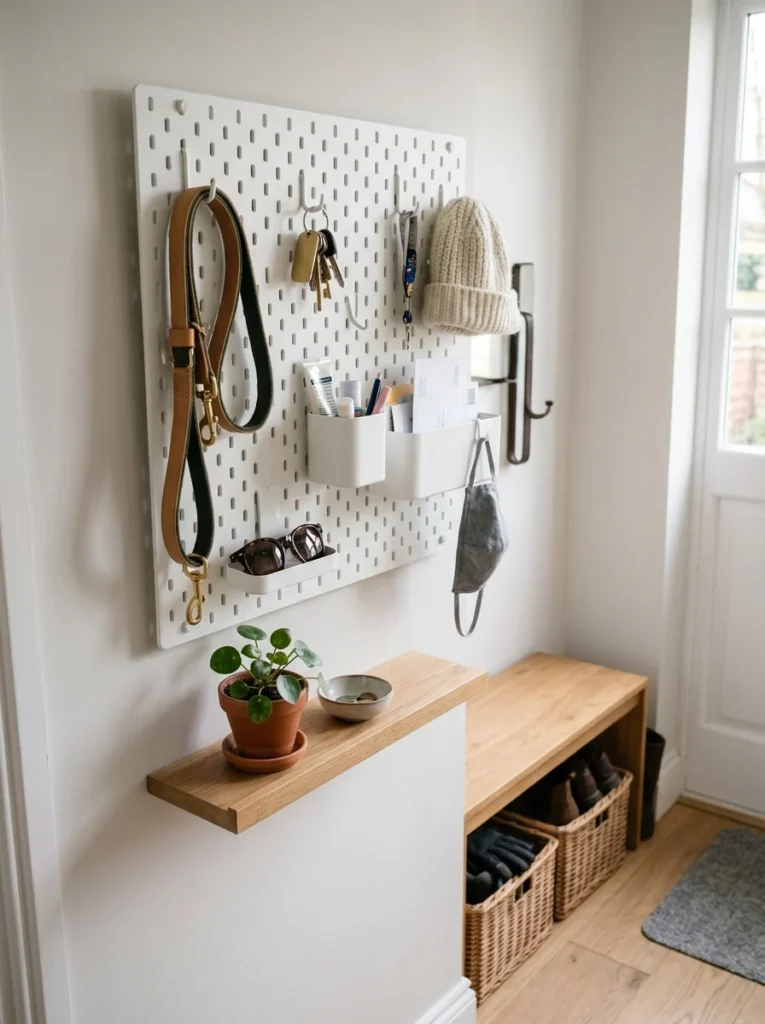
A SKÅDIS pegboard mounted near the door holds dog leashes, sunglasses, and a small basket for loose keys. Because the hooks and containers are easily rearranged, I’ve adjusted the layout several times as our actual daily needs changed, which isn’t something a fixed shelving unit would have allowed.
6. BOAXEL Shelving for Open Storage
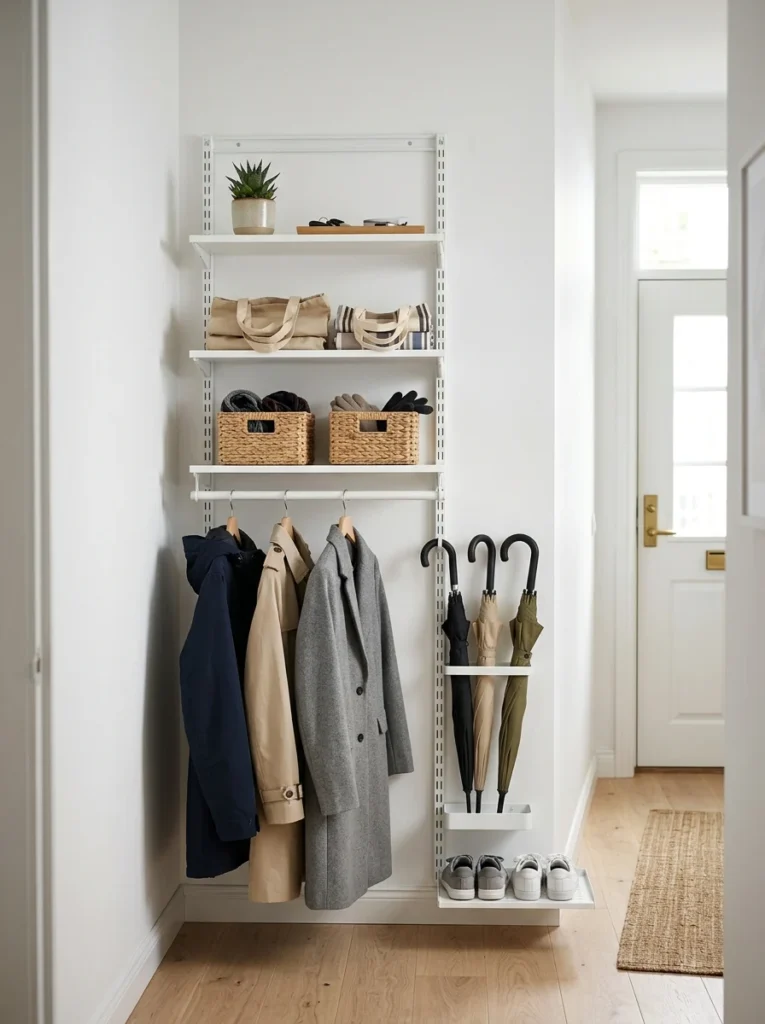
For items we wanted visible and easy to grab, like reusable shopping bags and an umbrella stand, we used a section of BOAXEL open shelving. The modular shelves and rails let us mix open bins with hanging rods in one compact unit, which made better use of a narrow wall than a single fixed shelf would have.
7. A KALLAX Unit With Fabric Bins
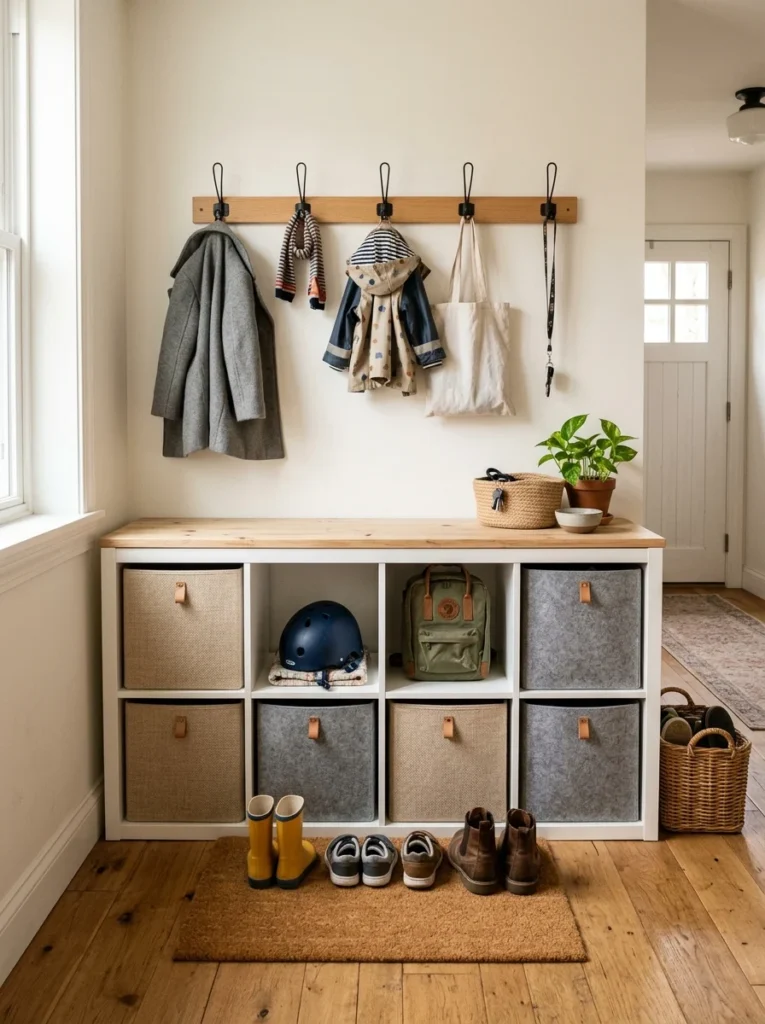
A KALLAX shelving unit turned on its side, fitted with fabric storage bins, gave us cubbies for each kid’s miscellaneous entryway items, from sports equipment to spare masks. The uniform cube size made it easy to mix and match bin colors while still keeping everything visually tidy.
8. Wall-Mounted Mail and Key Organizer
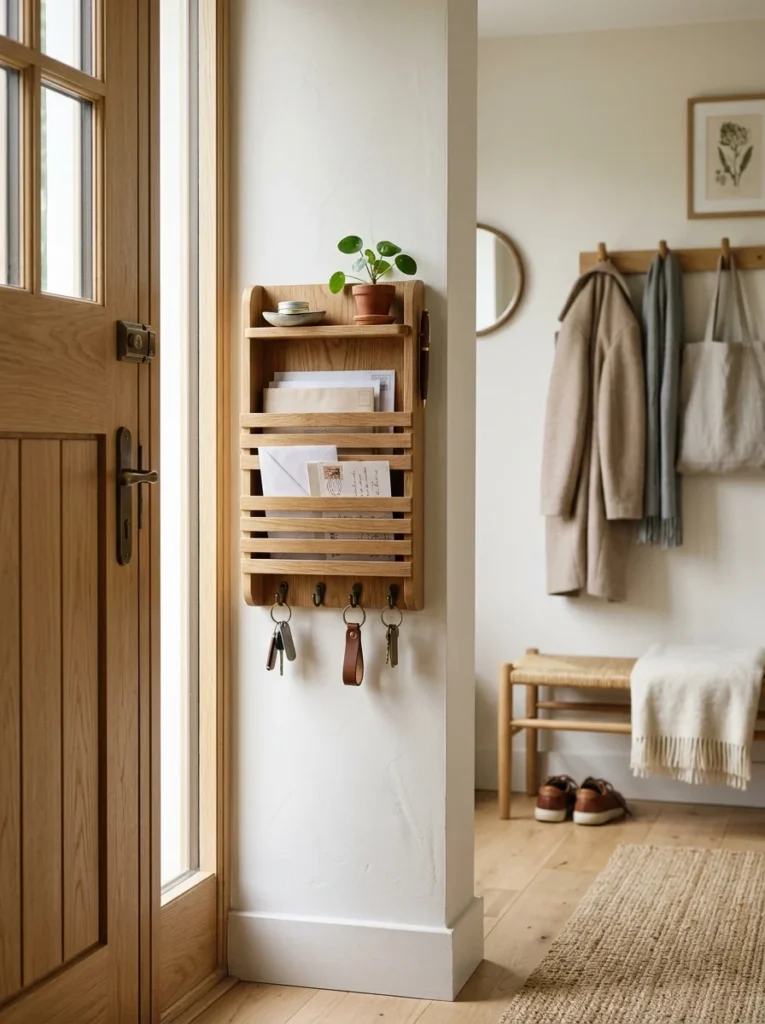
A simple wall-mounted organizer just inside the door, sized for mail, keys, and a small notepad, stopped mail from piling up on every flat surface in the house. Ours sits at eye level right next to the door, so unloading pockets and sorting mail happens in the same five seconds as walking inside.
9. A Boot Tray Under the Bench
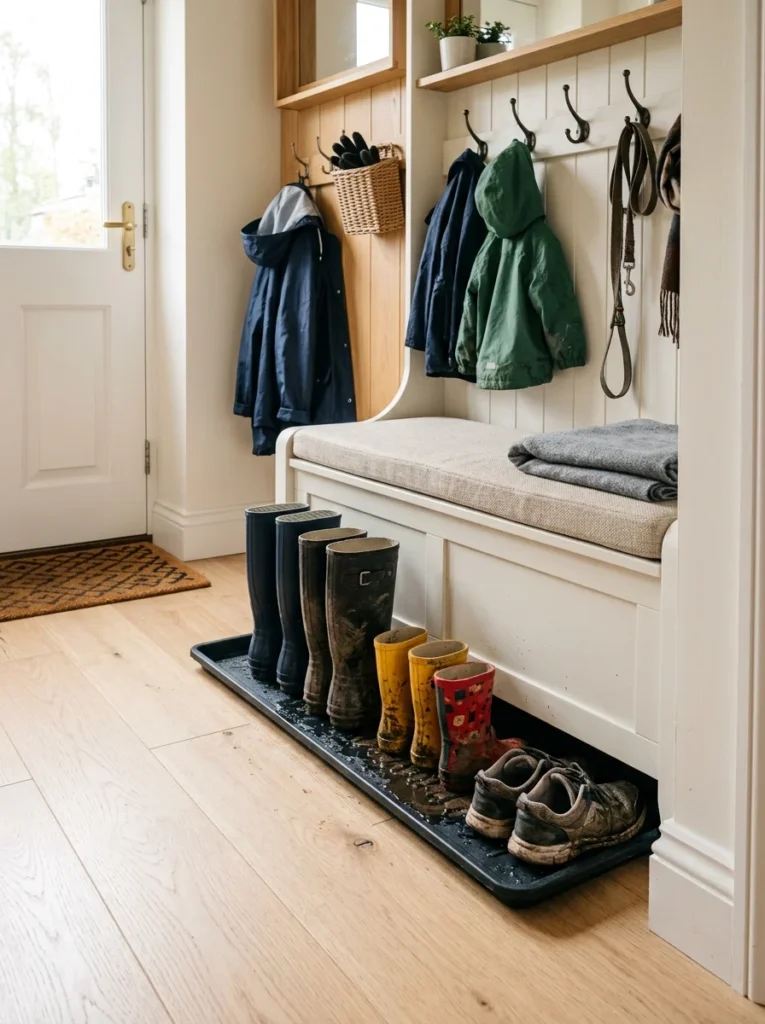
Tucked under our HEMNES bench, a simple boot tray catches mud, snow melt, and wet umbrellas without anyone needing to think about it. It’s an inexpensive addition, but it’s saved our entryway flooring from water damage more times than I can count during rainy stretches.
10. STUK Storage Bags on a Rod
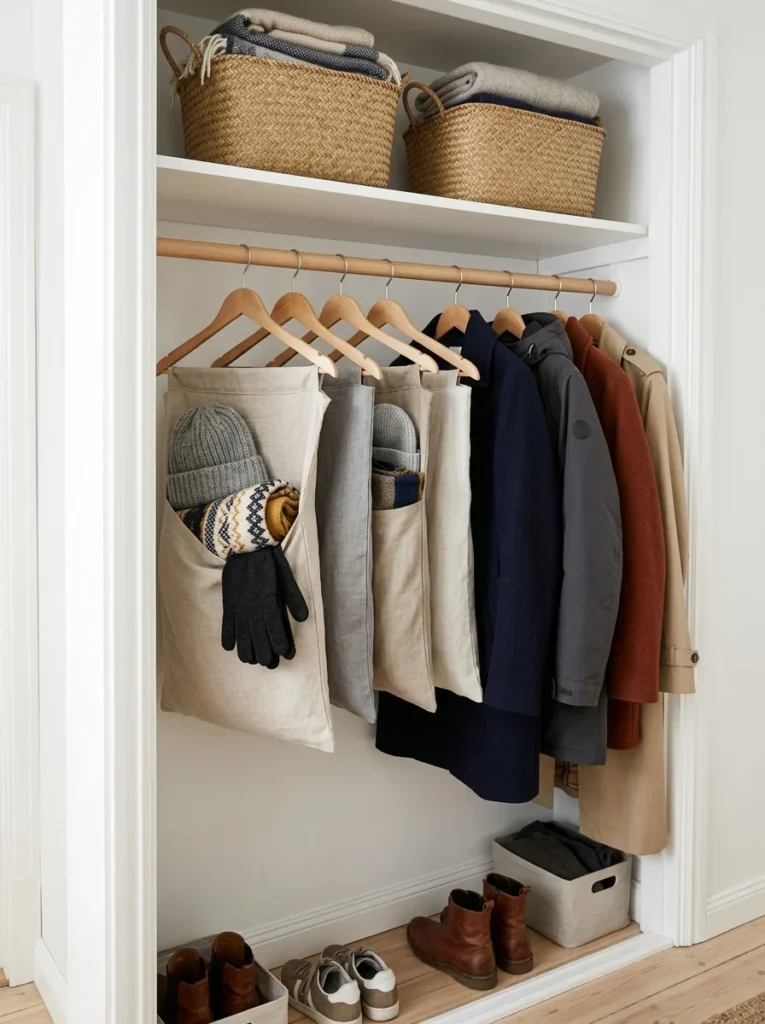
Hung from a simple rod inside our PAX wardrobe, STUK fabric storage bags hold seasonal items like winter gloves and scarves that don’t need to be accessible every single day. Being able to swap bags in and out by season keeps the main hooks and shelves from getting overcrowded with off-season gear.
11. A Full-Length Mirror on the Door
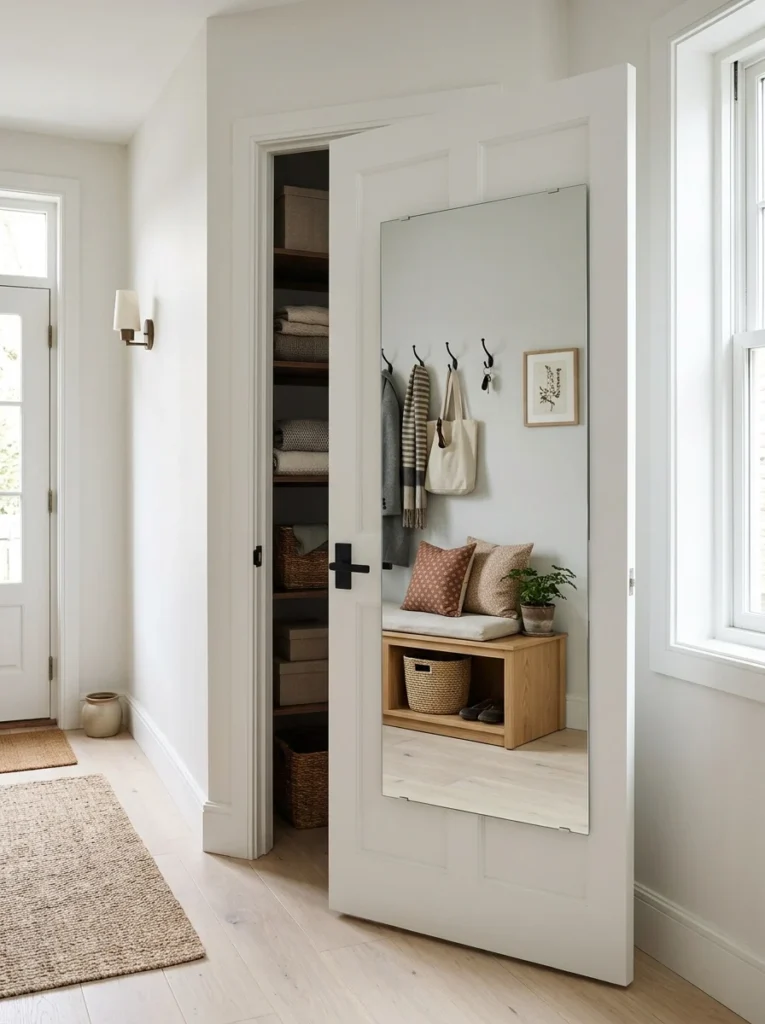
Mounting a slim, full-length mirror on the inside of our coat closet door lets everyone do a final outfit check before leaving, without needing a separate mirror somewhere else in the house. Since it’s attached to a door that’s already there, it adds zero extra floor or wall space to an already tight entryway.
12. Labeled Bins for Each Family Member
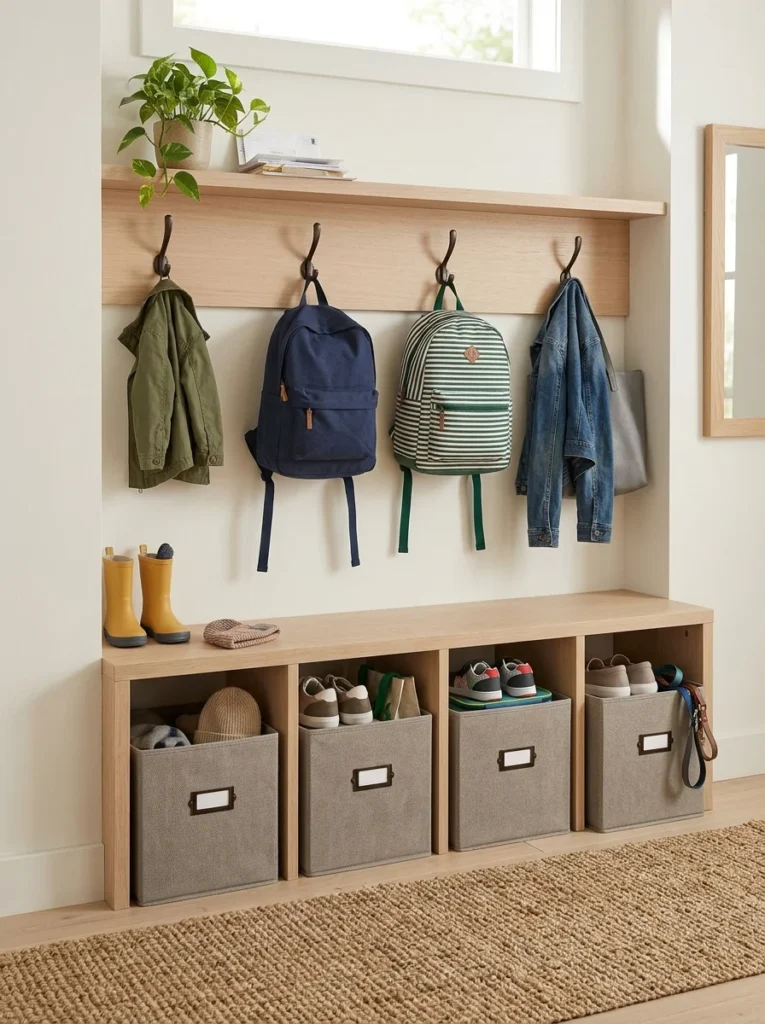
Once we added TROFAST bins, labeling each one with a name completely ended the daily confusion over whose items belonged where. It’s a five-minute project with a label maker, but it’s made the whole system work far more smoothly with two kids who used to constantly mix up each other’s things.
13. A Charging Station Drawer
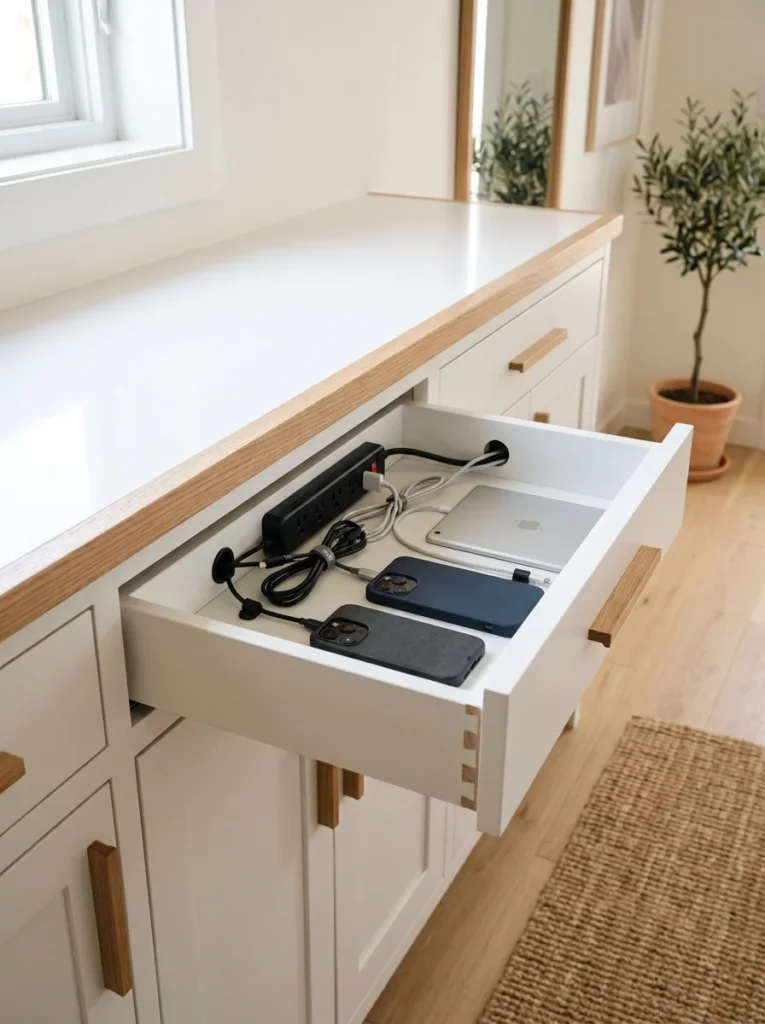
We repurposed one small drawer in our setup specifically as a charging station, with a power strip tucked inside and a small hole cut in the back for cords to pass through. Phones and tablets charge out of sight instead of cluttering the counter, which keeps the whole entryway looking tidier at a glance.
14. Wall-Mounted Umbrella Storage
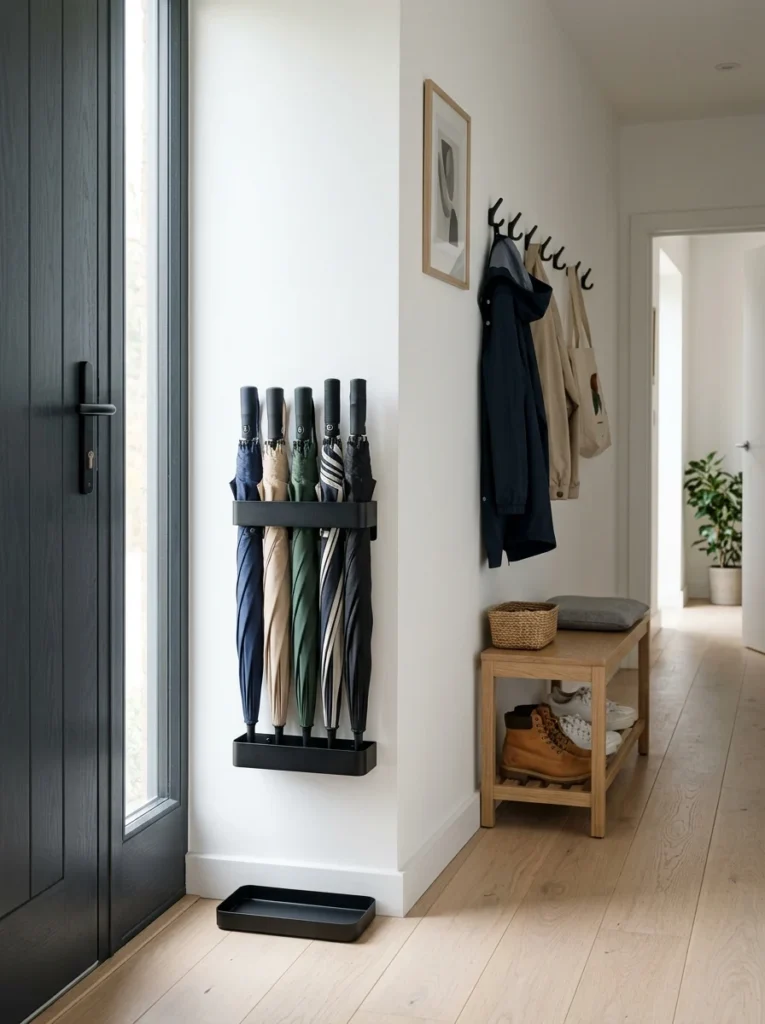
A simple vertical umbrella holder mounted to the wall, rather than a floor-standing stand that constantly got knocked over, keeps wet umbrellas contained and off the floor. It’s a small addition, but it solved a recurring puddle problem we’d been dealing with for years before this project.
15. Open Cubbies for Sports Equipment
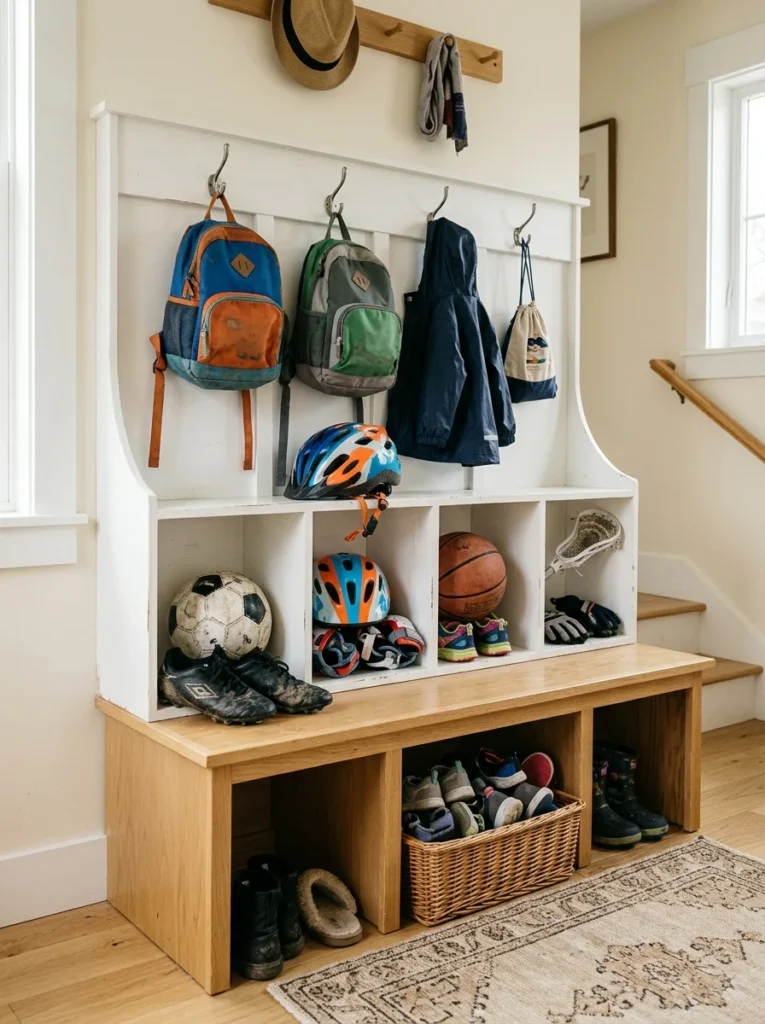
For sports gear that doesn’t fit neatly into a bin, like helmets and cleats, open BOAXEL cubbies gave us a designated spot that doesn’t require careful folding or stacking. Being able to just toss a helmet into its cubby on the way in the door made our kids far more likely to actually put things away.
16. A Bench Cushion for Comfort
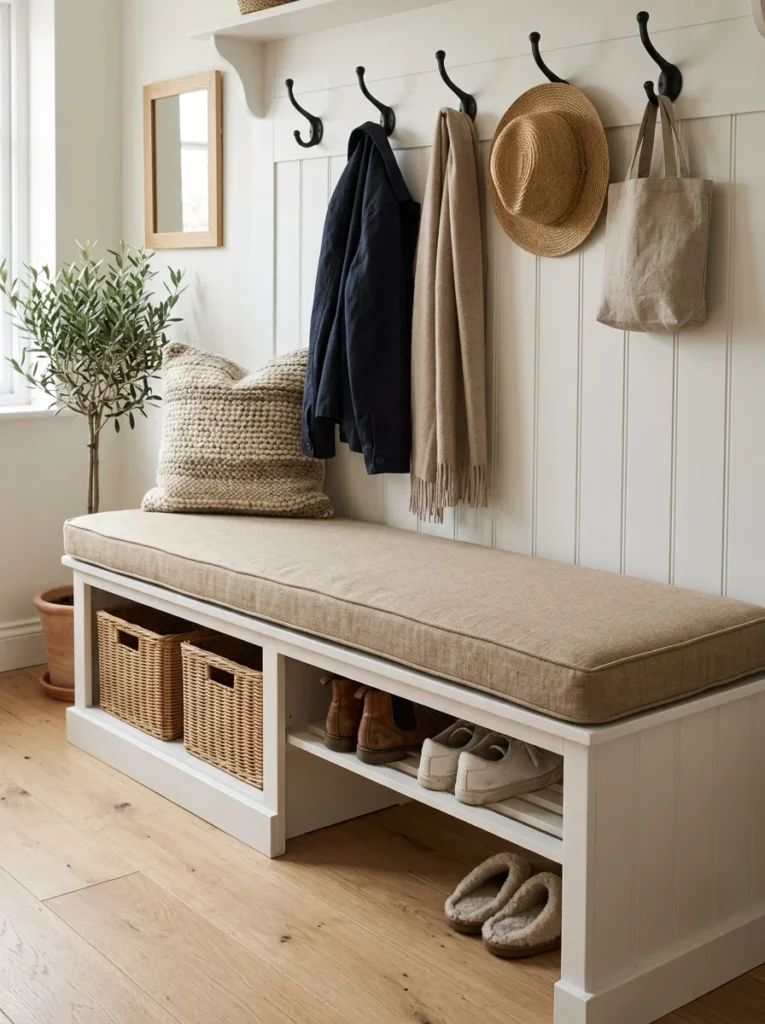
Adding a simple cushion to the top of our HEMNES bench turned a purely functional piece into somewhere people actually want to sit while dealing with shoes, rather than perching awkwardly for a few seconds and standing back up. It’s a small upgrade, but it made the whole space feel more finished.
17. A Chalkboard or Whiteboard Panel
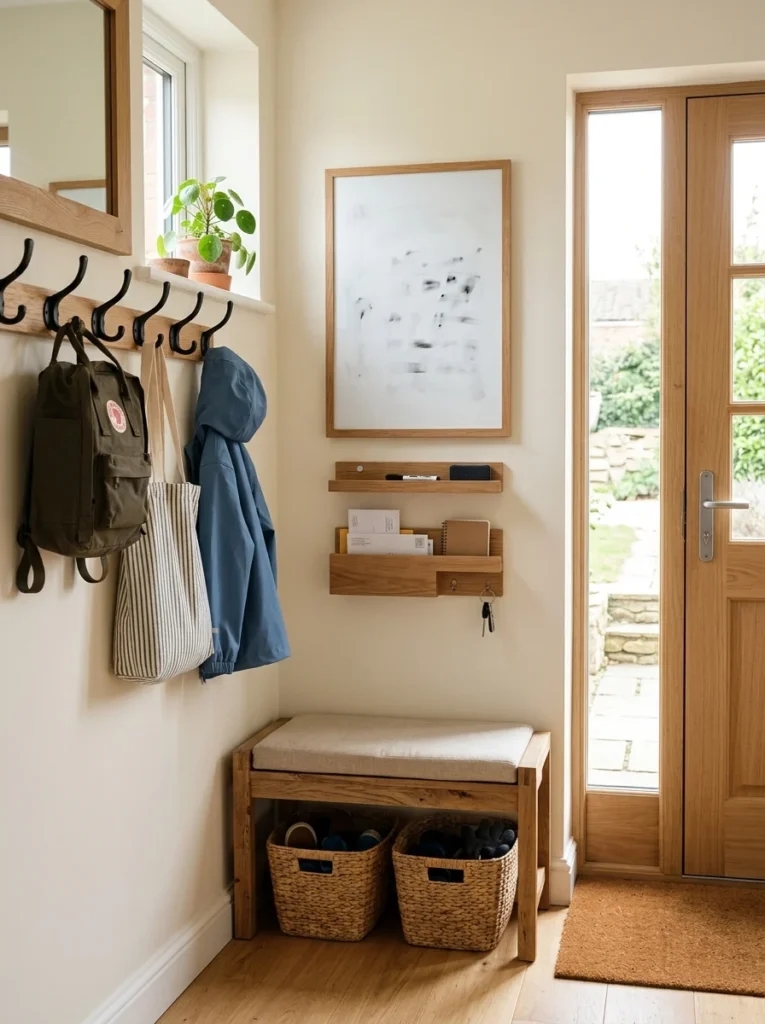
We mounted a small whiteboard panel near the door for daily reminders, from grocery lists to which kid has practice that afternoon. Being able to jot something down on the way out, rather than relying on a mental note, has genuinely cut down on forgotten items and missed appointments.
18. Stackable Baskets for Seasonal Rotation
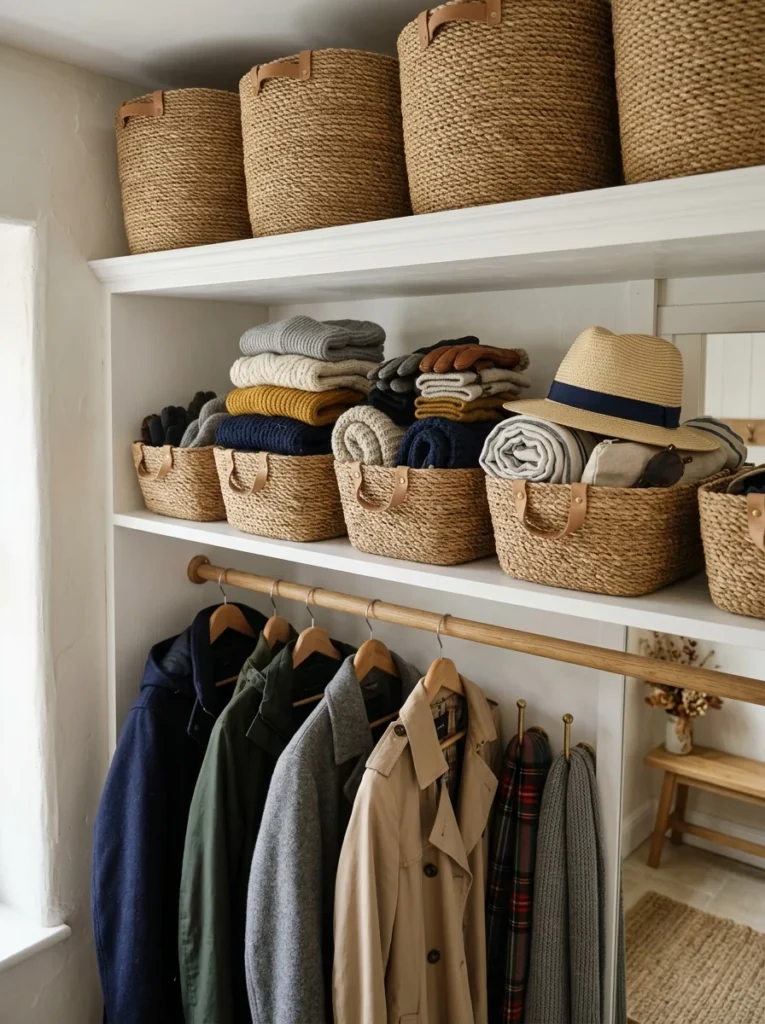
Rather than trying to store every season’s gear at once, we use stackable woven baskets that get swapped out as the seasons change. Winter gloves and hats come down from a top shelf in fall, while summer hats and sunscreen take their place in spring, keeping only the currently relevant items easily accessible.
19. A Narrow Rolling Cart for Overflow
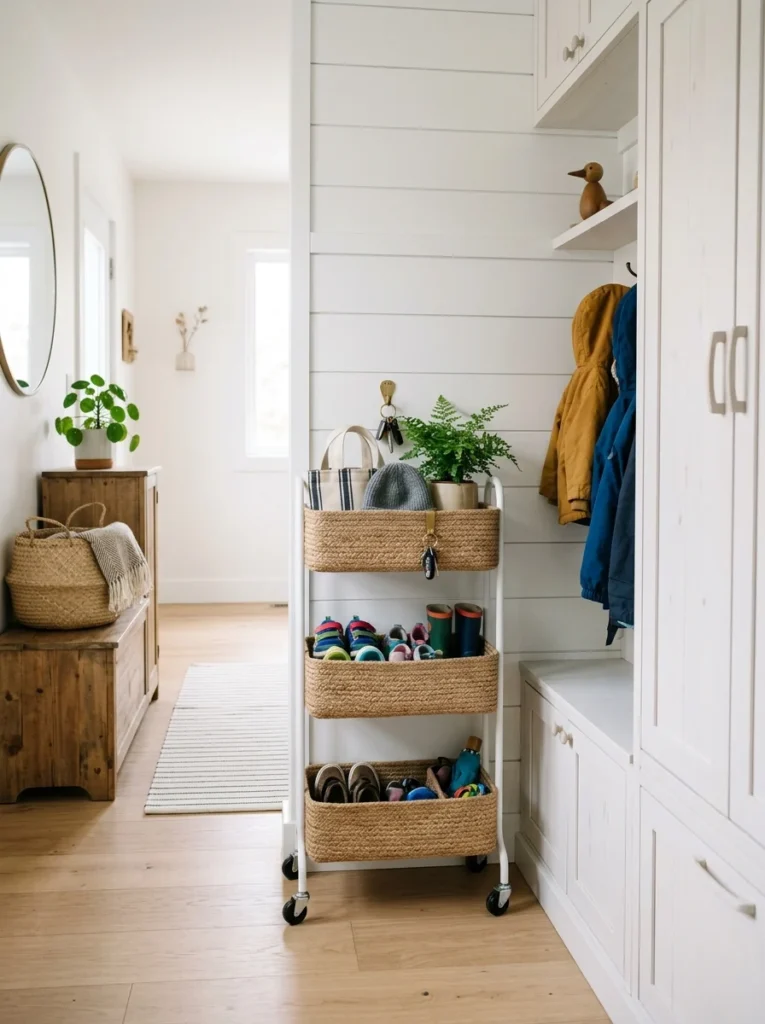
For the occasional overflow, like extra shoes during a shoe-shopping phase with growing kids, a slim rolling cart tucked at the end of our storage wall gives us flexible extra capacity without a permanent commitment to more built-in storage. It rolls out of the main pathway easily when we need the space.
20. A Command Center Above the Bench
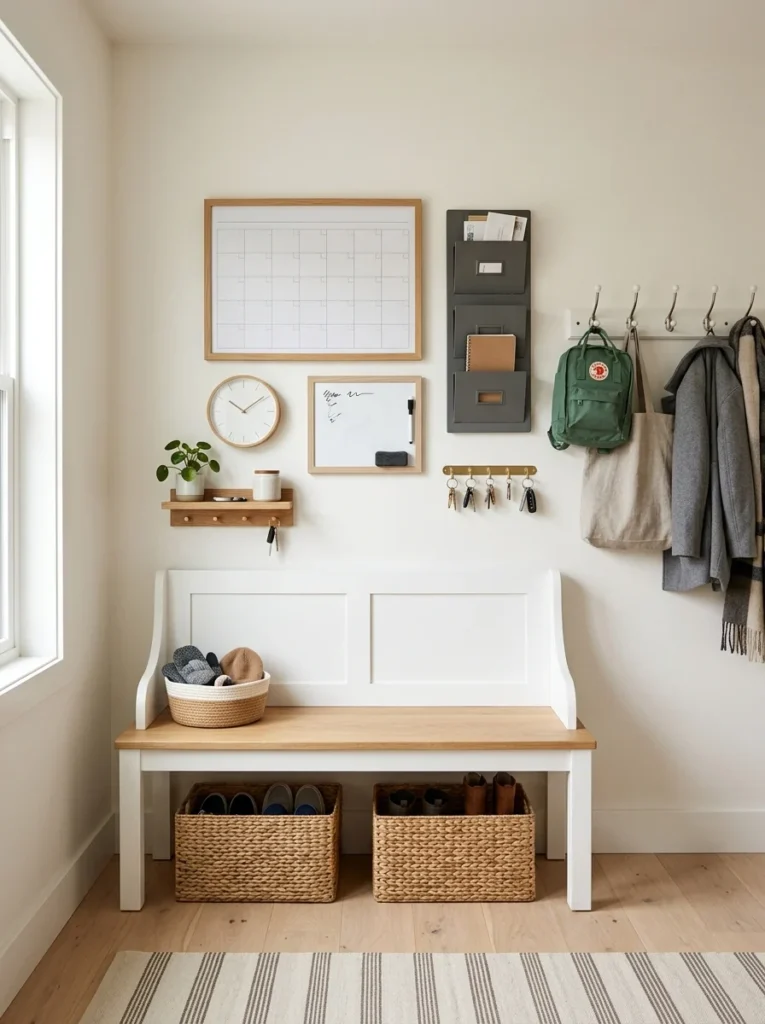
Above our bench, a small combination of a calendar, a mail sorter, and a key hook creates what’s become our family’s daily command center. Everything needed to leave the house each morning, from checking the day’s schedule to grabbing keys, happens in that one compact zone instead of scattered across different rooms.
Making It Work in a Truly Narrow Space
Our entryway is only about three feet wide at its narrowest point, and I know a lot of people assume a system like this needs a dedicated mudroom to actually work. What made the biggest difference for us was choosing shallow-depth options wherever possible, since even a few extra inches of depth on a bench or cabinet can turn a narrow hallway into an obstacle course that people bump into every time they pass through with an armful of groceries or a stack of packages.
I also learned to prioritize vertical space over floor space at every opportunity. Nearly everything in our setup, from the pegboard to the wall-mounted mail organizer to the hooks themselves, uses wall space that would otherwise sit empty, which let us pack in a surprising amount of storage without the floor footprint growing at all. Looking up rather than out became something of a guiding principle for the whole project, and it’s the single biggest reason a three-foot-wide hallway can now hold as much as it does without ever feeling like an obstacle course to walk through.
A Few Lessons From Trial and Error
Not every choice we made worked on the first try. Our original hook placement was too high for our younger child to reach, which meant jackets kept ending up on the floor until we lowered a second row specifically for her. We also initially skipped the boot tray, thinking it was an unnecessary extra step, before realizing within the first rainy week how much water damage we were risking without one.
Measuring twice before ordering anything also saved us from a frustrating return. My first PAX frame order was based on a rough estimate rather than an exact measurement, and it ended up just slightly too wide for the space once other elements were factored in. Returning and reordering the correct size cost us about two extra weeks of waiting, which taught me to treat every measurement in a project like this as something worth double-checking with an actual tape measure rather than trusting a quick mental estimate, no matter how confident I felt about it at the time.
Planning the Layout Before Buying Anything
Before ordering a single piece, I taped off the actual footprint of each component on our hallway floor and wall using painter’s tape, which turned out to be one of the smartest things I did in the entire process. Seeing the PAX wardrobe’s real width against the actual wall, rather than just a measurement on paper, revealed that my original plan would have blocked the hallway closet door from opening fully, something I never would have caught from measurements alone.
I’d also recommend thinking through your family’s actual morning and evening routine before finalizing a layout, rather than designing based on how a mudroom looks in photos. We initially planned to put the bench at the far end of the space, but after a few days of mentally walking through our routine, we realized it needed to be right next to the door instead, since removing shoes happens the moment anyone walks in, not after crossing the whole entryway first.
Mixing IKEA With a Few Custom Touches
While the bulk of our system is IKEA components, a few small custom additions helped it feel less like a showroom display and more like it actually belonged in our specific house. We had a local carpenter add a simple wood cap across the top of the PAX wardrobe to match our existing trim, which cost very little but made the built-in feel intentional rather than like a freestanding piece of furniture that happened to be pushed against the wall.
Painting the wardrobe doors a custom color instead of leaving them in a standard finish also went a long way toward making the system feel designed specifically for our home rather than assembled straight out of a box. It’s a detail that takes an extra weekend but doesn’t require any real carpentry skill, just patience and a good coat of primer underneath.
Frequently Asked Questions
Do I need a dedicated mudroom space for a system like this to work? Not at all. Our setup lives in a narrow hallway strip, not a separate room, and it still functions as a full mudroom system. The key is choosing shallow-depth components and using vertical wall space rather than needing extra floor footprint.
How much did a project like this typically cost? Because we built it gradually using modular IKEA components rather than a custom-built system all at once, the total cost came in well below what quotes for a carpenter-built mudroom would have run, and we were able to spread the expense out over a few paychecks instead of one large upfront cost.
Can this kind of system work for a family with young kids? It’s honestly worked better for us because we have young kids, not despite it. Kid-height hooks, labeled bins, and open cubbies that don’t require careful folding have made our children far more capable of managing their own entryway items than they were with the old open pile system we started with.
How long did the whole project take from start to finish? Spread across a few weekends rather than one continuous push, the full project took us about six weeks total, including the time spent measuring, ordering, assembling, and making small adjustments once we started actually living with the system. Assembly itself was faster than that timeline suggests; most of the delay came from waiting for specific components to arrive and giving ourselves time to test the layout before finalizing anything permanent, like painting the wardrobe doors.
Is IKEA furniture sturdy enough for a high-traffic entryway? After two years of daily use by two kids and a large, often muddy dog, our PAX wardrobe and BOAXEL shelving have held up noticeably well, with no sagging shelves or loose hardware so far. Making sure everything is properly anchored to wall studs during installation, rather than relying on the included wall anchors alone in every spot, has made a real difference in how sturdy the whole system feels under daily use.
Final Thoughts
Looking at our entryway now, calm and organized where a chaotic pile used to greet us every single day, it’s hard to believe how much stress that one small stretch of wall used to cause every single morning. What made the difference wasn’t a single expensive purchase, but a handful of modular pieces chosen specifically for our space and our family’s actual habits, added gradually over a few weekends rather than all at once.
If you’re working with a similarly tight entryway, my advice is to start with just the bench and hooks first, live with that for a couple of weeks, and then add bins, cubbies, and smaller accessories based on what you actually notice is missing. That’s exactly how our system came together, and two years later, it’s still one of the most-used and most appreciated corners of our entire house.
Looking back at how much I initially assumed a real mudroom system was out of reach for a space this awkward, I’m genuinely glad a friend pushed me toward modular components instead of writing the whole idea off. There’s a tendency to think organized, good-looking storage requires either a big budget or a big room, and our narrow hallway is proof that neither is really true. What actually matters is choosing pieces sized honestly for the space you have, paying attention to how your family actually moves through that space each day, and being willing to adjust things, like hook height or bench placement, once you’re living with the system rather than assuming the first layout will be the right one.
If there’s one thing I’d tell anyone starting a similar project, it’s to not let a small footprint talk you out of trying. Our entryway is barely wide enough for two people to pass each other, and it still holds coats, shoes, backpacks, sports gear, and daily essentials for a family of four without feeling cramped or cluttered, simply because every single piece was chosen deliberately rather than picked at random off a showroom floor.
