
I redid my kitchen island lighting three times before I got it right. Not because I couldn’t decide on a style, but because I kept underestimating how much a decision that seemed purely aesthetic — three pendant lights hanging over a slab of countertop — would actually affect how the whole kitchen felt to cook in, entertain in, and just walk through every single day. The first set was too small and got visually lost above the island. The second set hung too low and I kept catching my head on them while reaching for something on the counter. By the third attempt, I’d finally learned enough to get the spacing, height, and style right, and the difference was honestly bigger than I expected from something that’s essentially just three light fixtures.
If you’re standing in your kitchen right now staring at an island that feels a little unfinished, here’s what I picked up along the way, including the mistakes that got me there.
1. Get the Height Right Before Anything Else
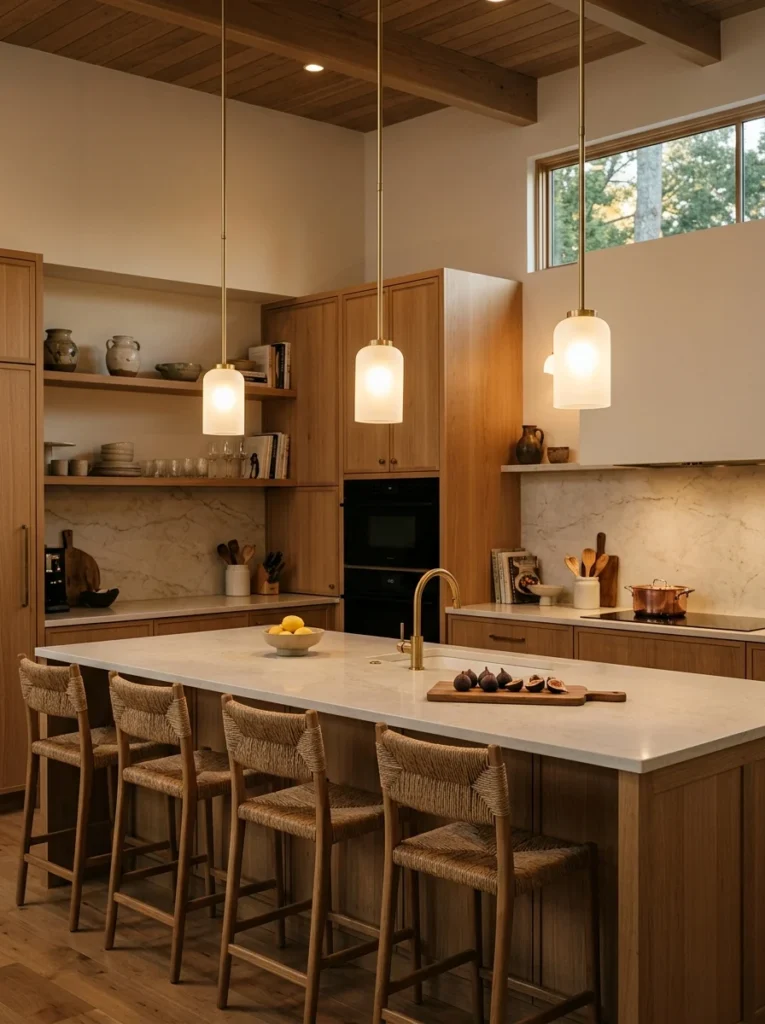
This is the mistake that cost me the most redo work. Pendants hung too high leave the island feeling disconnected from the light source above it, and pendants hung too low become a hazard for anyone taller than average. I eventually landed on roughly 30 to 36 inches above the countertop, measured from the bottom of the fixture, and that range has worked well for both function and appearance in my kitchen.
2. Odd Numbers of Pendants Look More Intentional
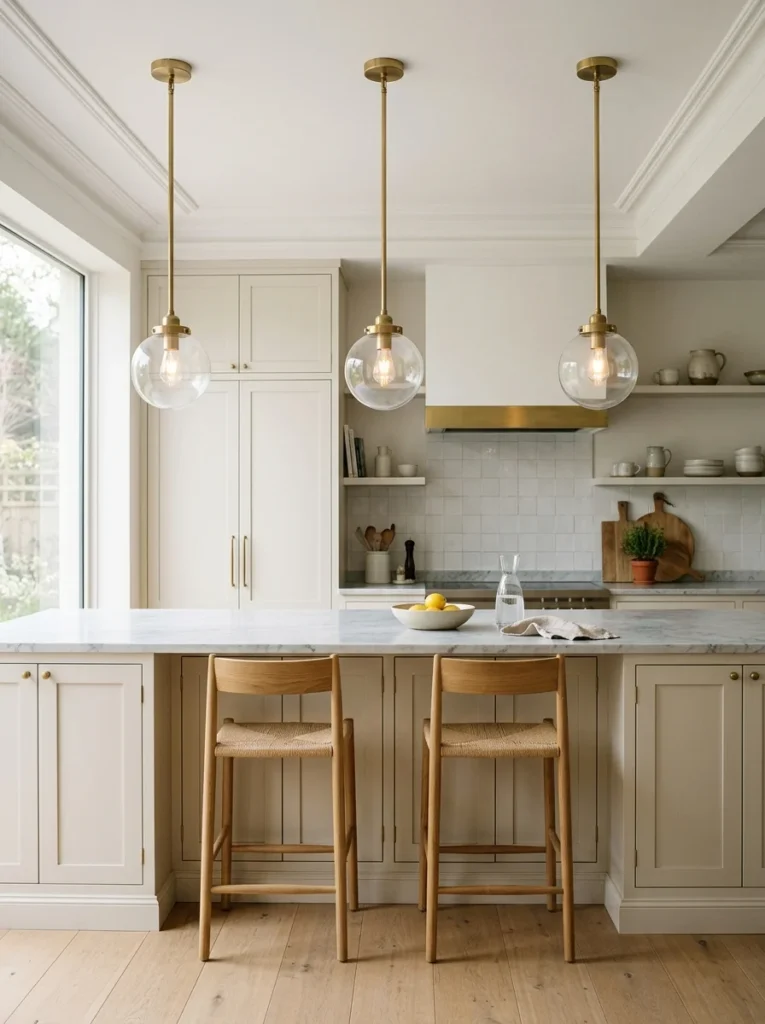
I originally hung two pendants over my island because it seemed like a clean, simple choice. It read as slightly unbalanced once installed, almost like something was missing. Adding a third pendant in the center immediately made the arrangement feel complete and deliberate rather than like a placeholder.
3. Match Pendant Spacing to Island Length, Not Guesswork
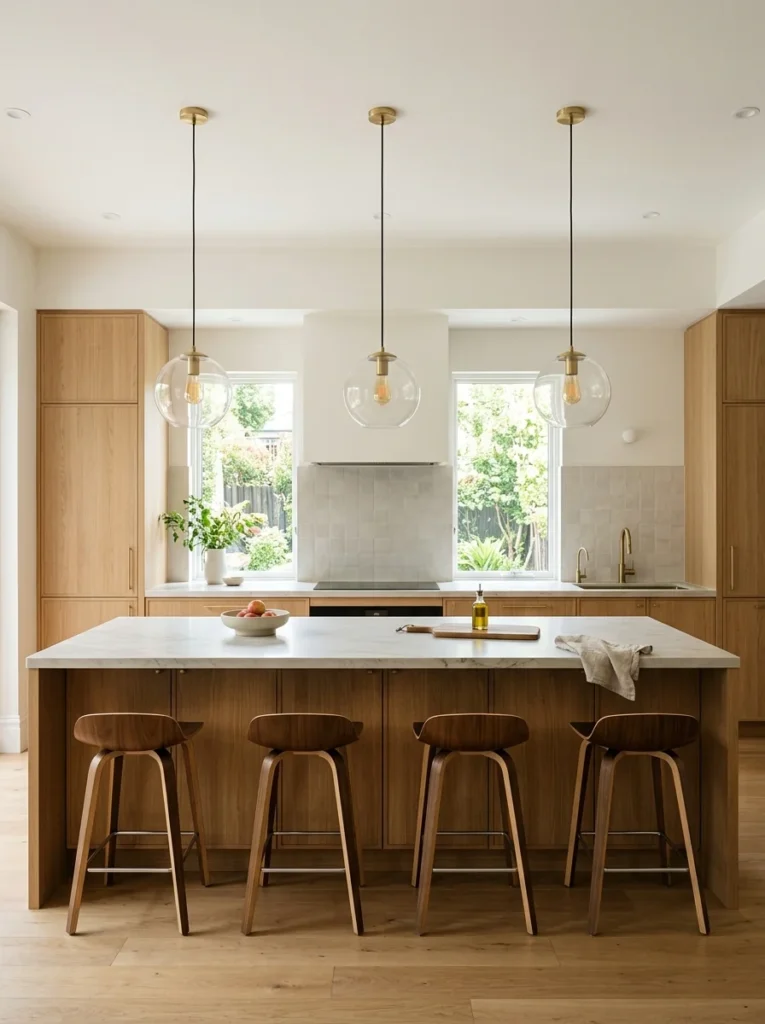
I initially spaced my three pendants by eye, and they ended up clustered slightly off-center because I hadn’t measured the island itself first. Dividing the island’s length into equal sections and centering a pendant in each one gave a far more balanced result than eyeballing it ever did.
4. Mini Pendants Work Better on Narrower Islands
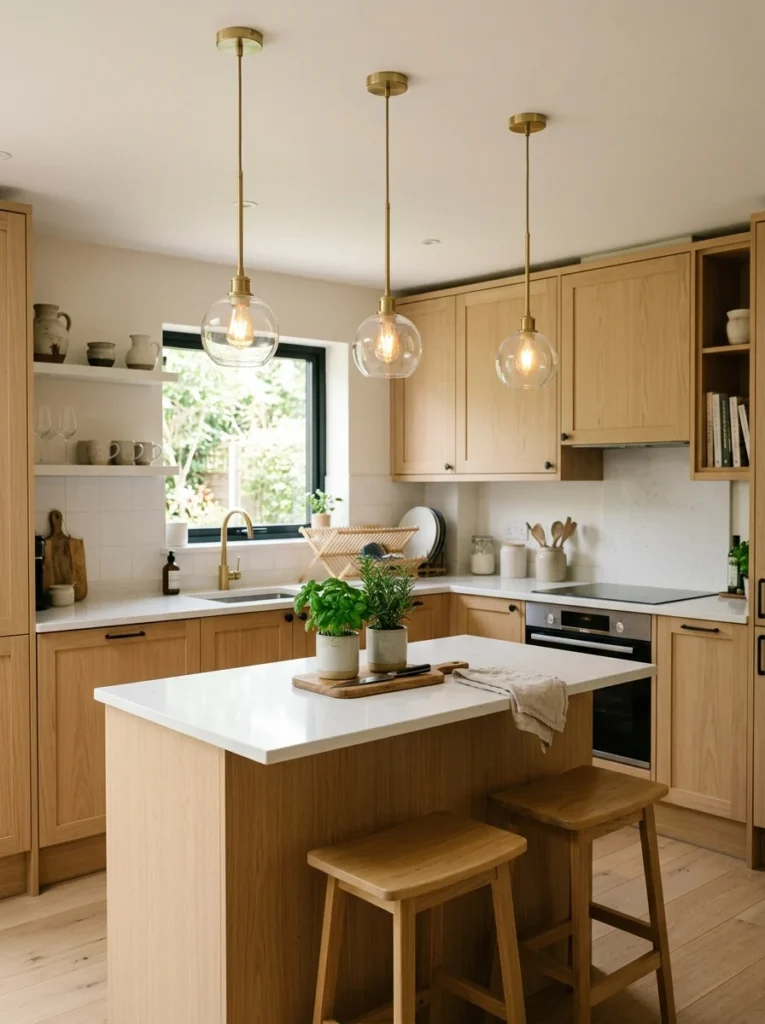
My sister has a narrower island than mine, and when she tried the same style of larger pendants I used, they looked oversized and cramped together. Switching to a smaller, mini pendant style gave her island the same three-light effect without overwhelming the space, which taught me that pendant size really does need to scale with island width.
5. Mixing Metals Isn’t as Risky as It Sounds
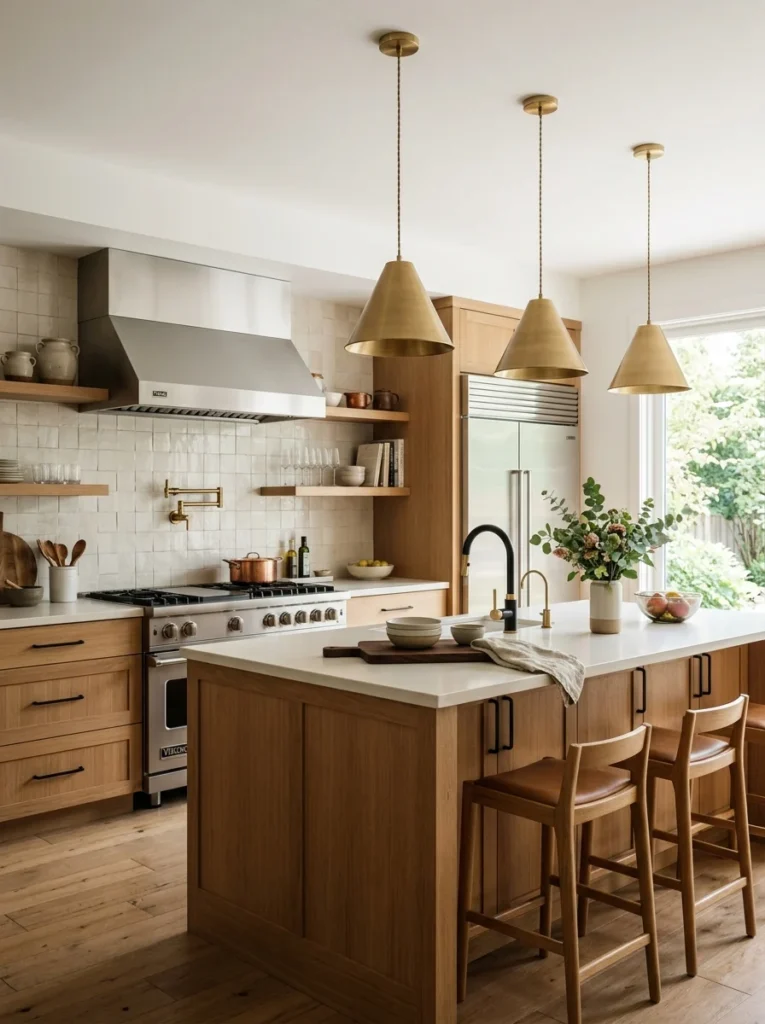
I was hesitant to pair my brushed brass pendants with the stainless steel appliances already in my kitchen, worried it would clash. In practice, the contrast between the warm brass and the cooler steel tones added more visual interest than a perfectly matched metal palette would have, and it’s become one of my favorite details in the room.
6. Glass Shades Let More Light Spill Into the Room
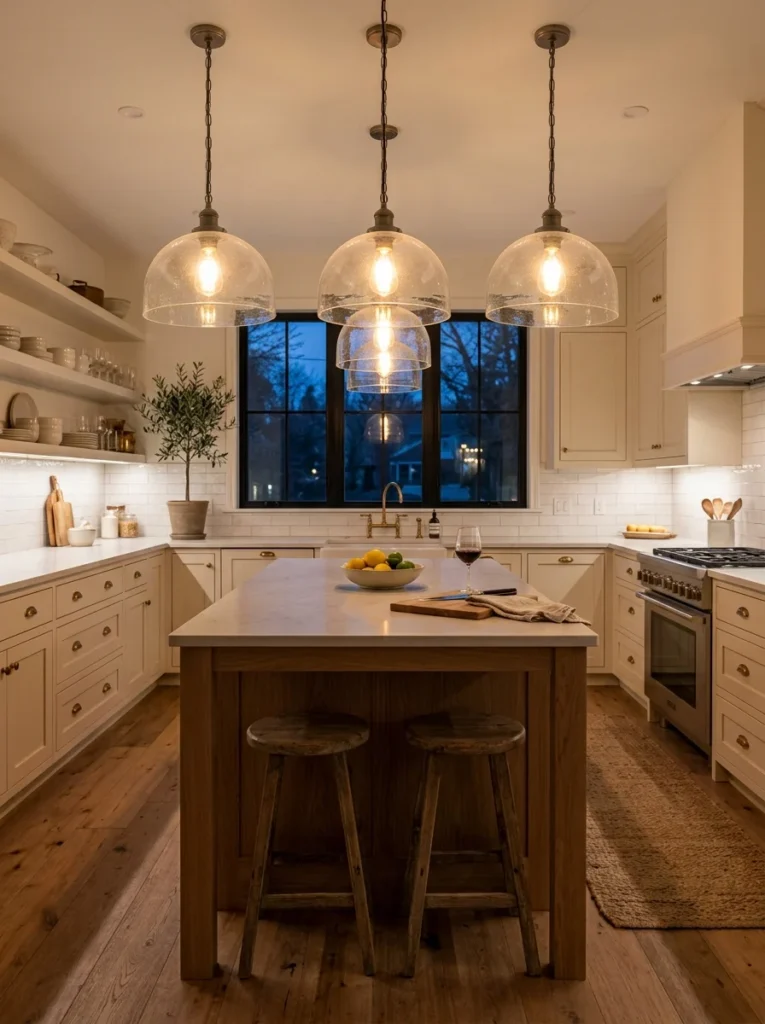
My first set of pendants had solid metal shades that directed light straight down onto the counter and left the rest of the kitchen comparatively dim. Switching to pendants with clear or slightly frosted glass shades let light spill outward as well, brightening the whole kitchen rather than just the island surface directly below.
7. Dark Pendants Anchor a Light, Neutral Kitchen
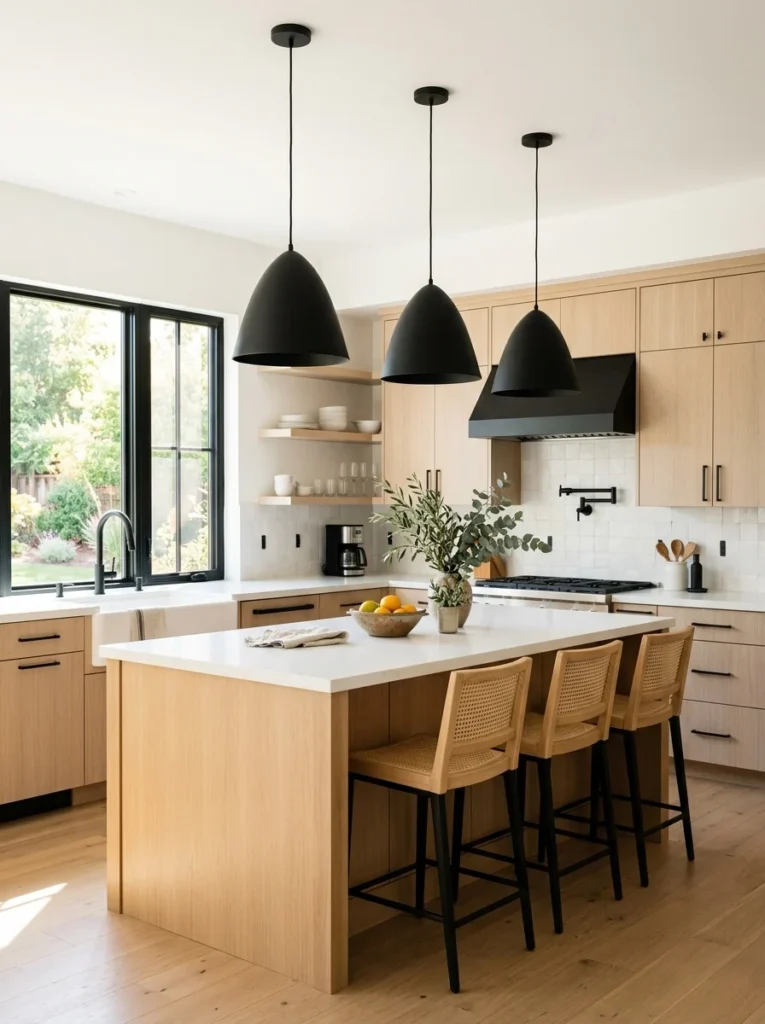
My kitchen is almost entirely white and light wood tones, and for a while it felt slightly flat and washed out overall. Choosing black pendant fixtures gave the space a visual anchor point, something for the eye to land on, and it made the rest of the light-toned kitchen feel more intentional rather than just plain.
8. Dimmable Pendants Cover Both Cooking and Entertaining
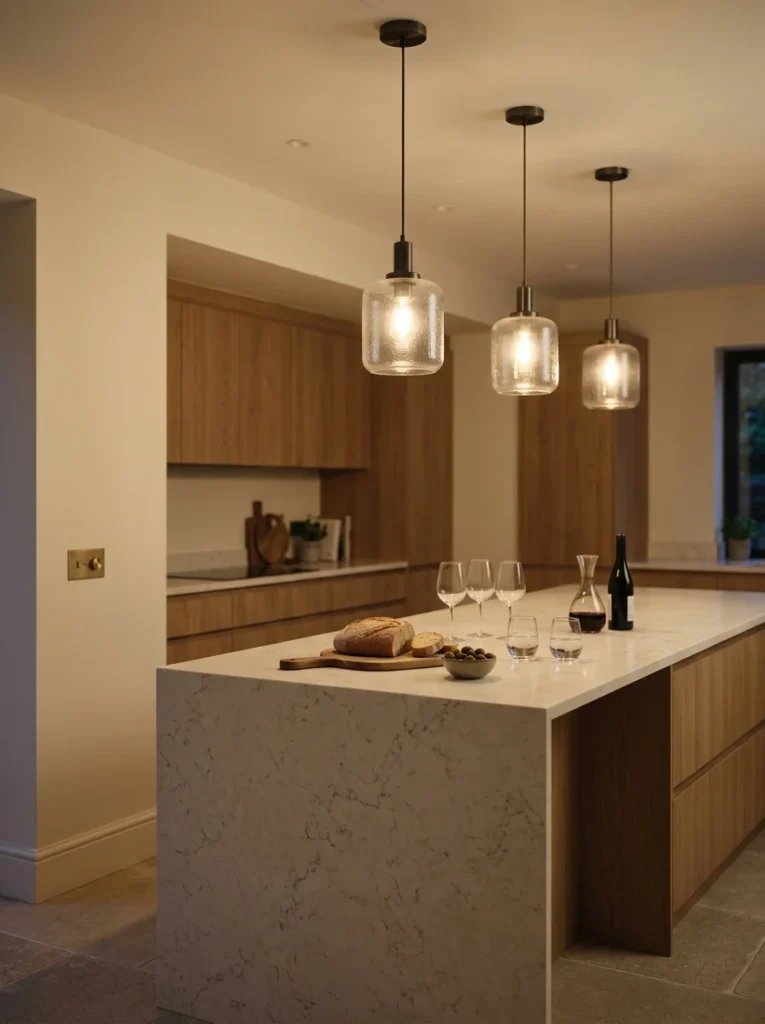
I didn’t think to check whether my pendants were dimmable when I first bought them, and I regretted it almost immediately. Full brightness is what I need while actually cooking or prepping food, but it’s far too harsh when friends are over for drinks at the island in the evening. My current set is dimmable, and I use that range constantly.
9. Consider the Bulb’s Visibility, Not Just the Shade
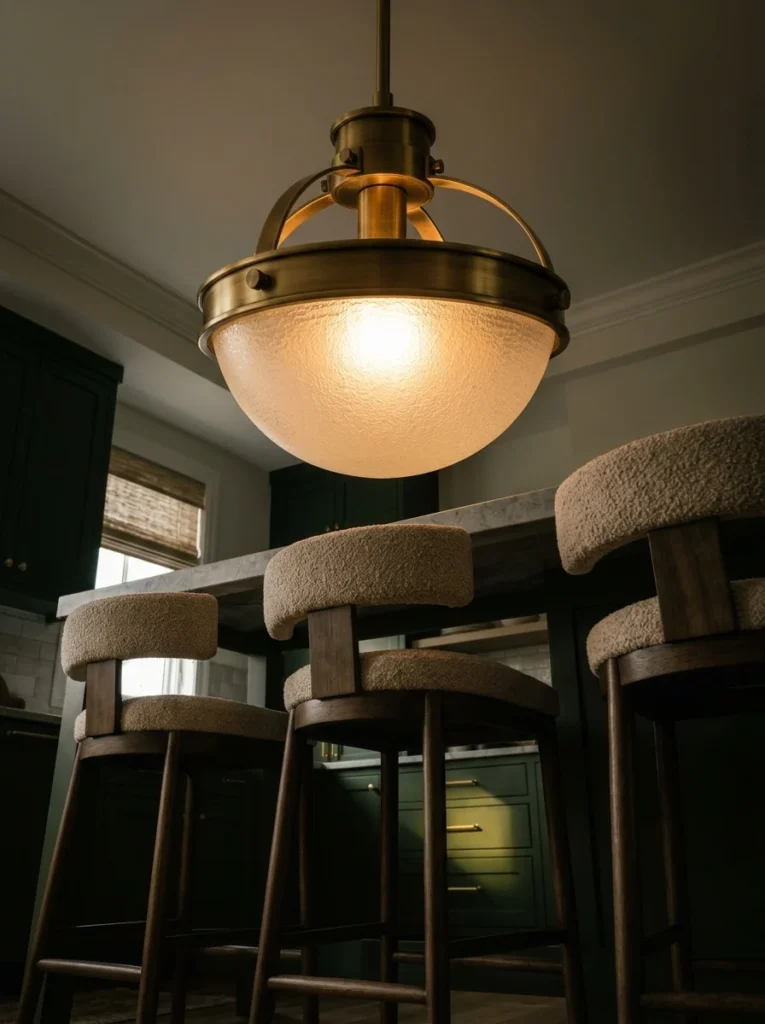
One of my early pendant choices had an open-bottom shade that left the bulb itself fully visible from below. It looked fine in photos online, but in person, sitting at the island and looking directly up into a bright bulb got old fast. I now specifically look for shades that shield the bulb from that angle while still letting light escape sideways and downward.
10. Linear Pendants Suit Long, Narrow Islands
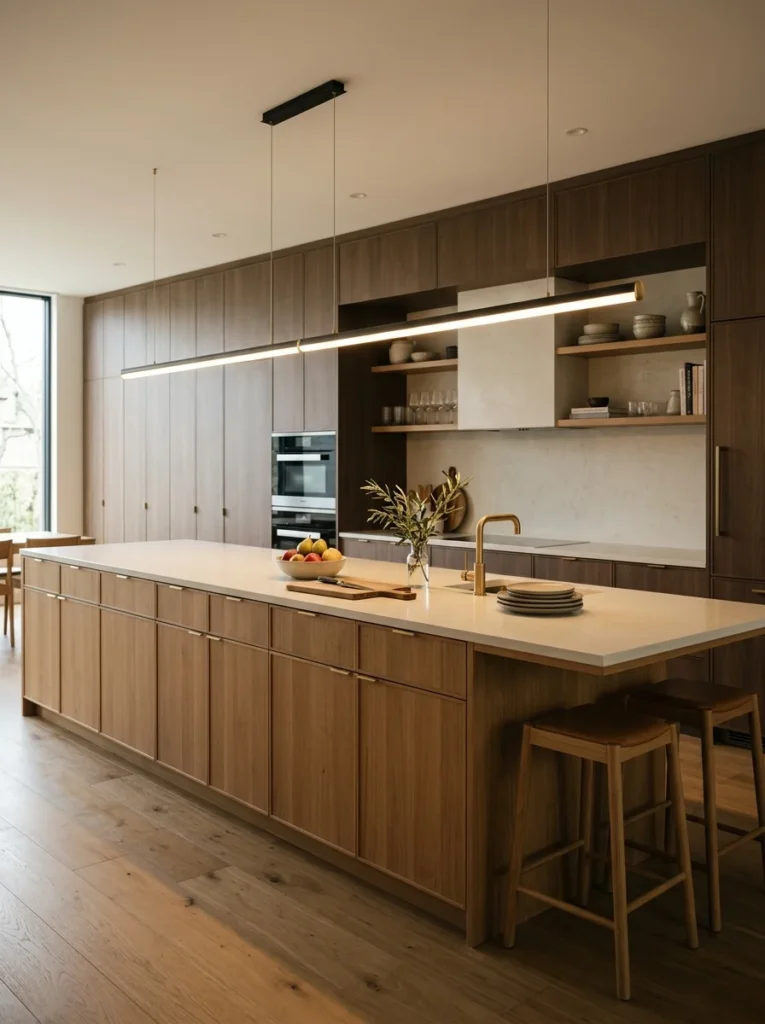
For islands that run especially long and narrow, my cousin found that three separate round pendants left awkward gaps of shadow between them. A single linear pendant fixture, essentially one elongated light source instead of three separate points, solved that evenly across the whole length of her island in a way individual pendants couldn’t quite match.
11. Match the Pendant Style to the Kitchen’s Overall Character, Not Just the Island
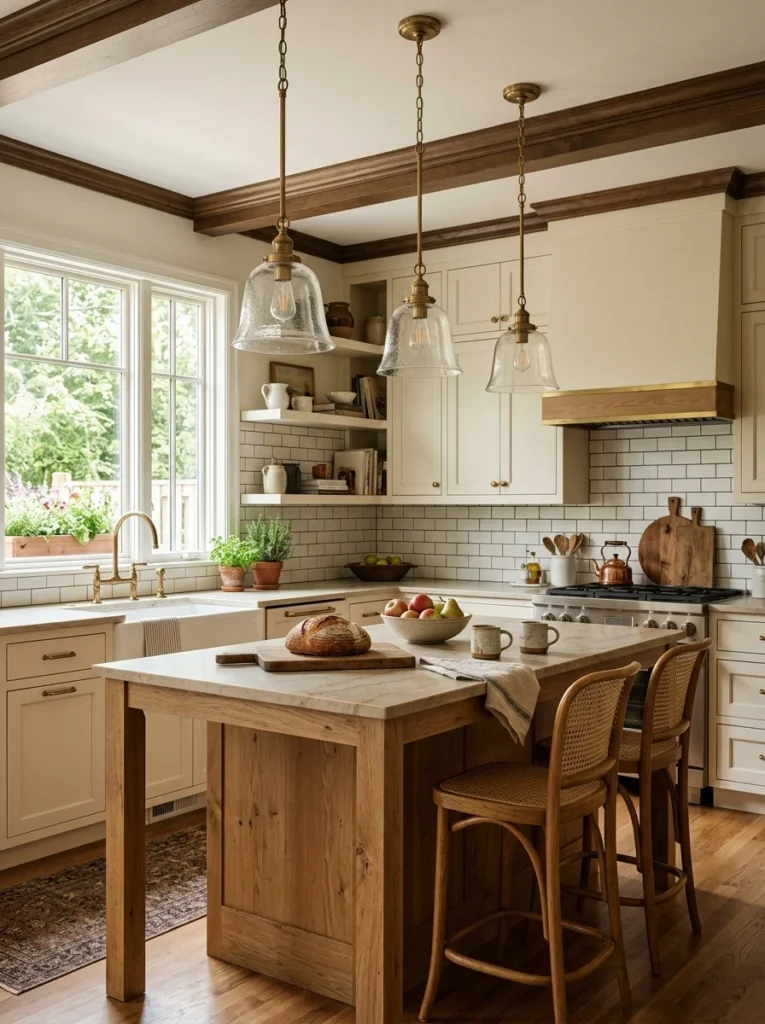
I almost chose an ultra-modern, minimalist pendant style purely because it looked sleek in photos, without considering that the rest of my kitchen leans more toward a warmer, slightly traditional look with wood cabinetry. Stepping back and matching the pendant style to the kitchen as a whole, rather than judging the fixture in isolation, kept the space feeling cohesive instead of like two different design decisions bolted together.
12. Textured Shades Add Character Without Extra Color
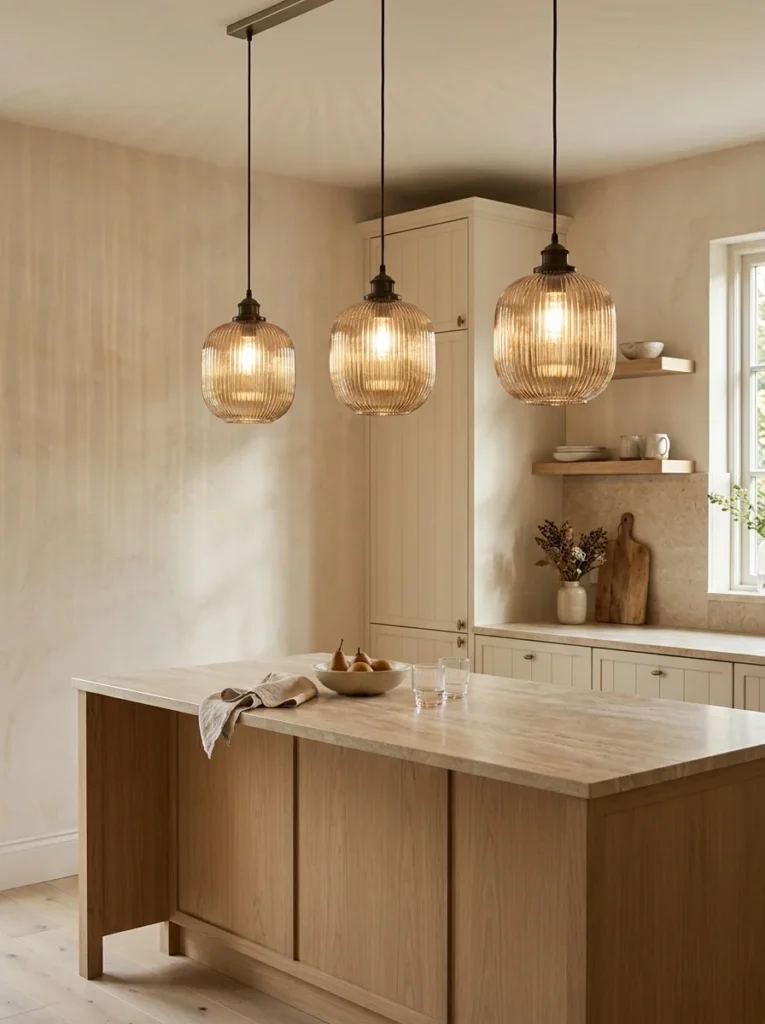
Adding a woven or ribbed texture to the pendant shades, rather than a plain smooth surface, gave my island lighting a bit more visual character without introducing a new color into the kitchen’s palette. It’s a subtle detail, but it photographs and reads in person as noticeably more considered than a plain glass or metal dome.
13. Test the Color Temperature Before Committing to All Three
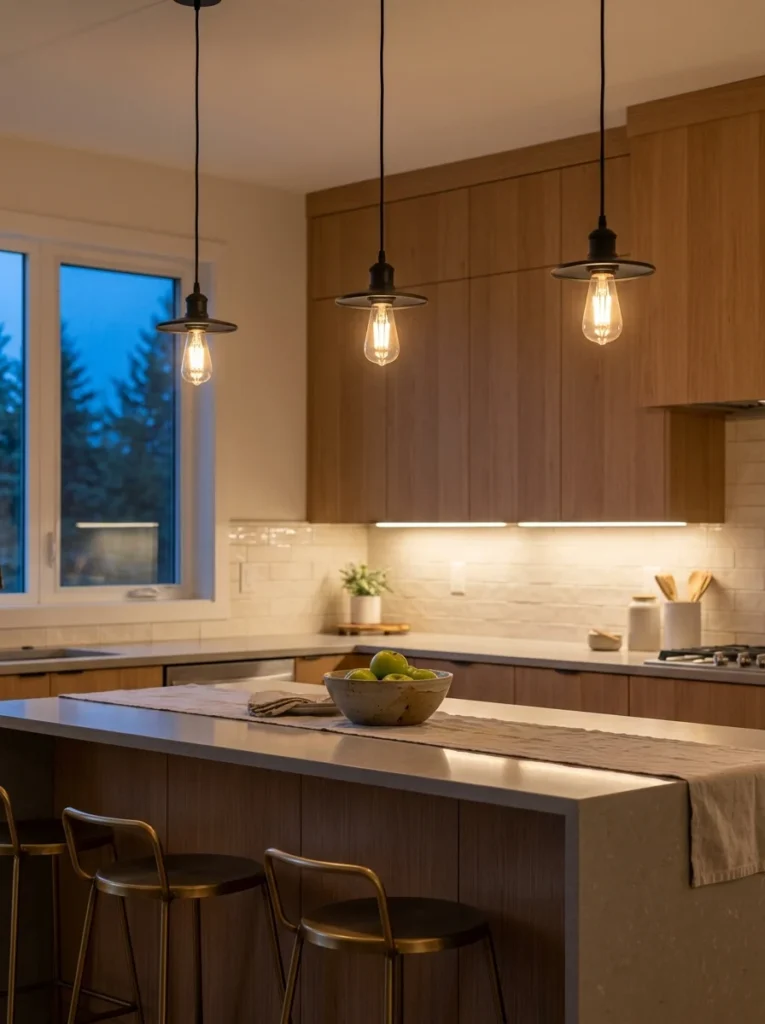
I bought three identical pendant bulbs from what I assumed was a reliable brand, and one of the three turned out to run slightly cooler in tone than the other two once installed, which was oddly noticeable side by side. Now I test all bulbs together on a table before installing them permanently, since a mismatch is far more obvious in a row of three than it would be in a single lamp elsewhere in the house.
14. Leave Room for the Pendants to Breathe Visually
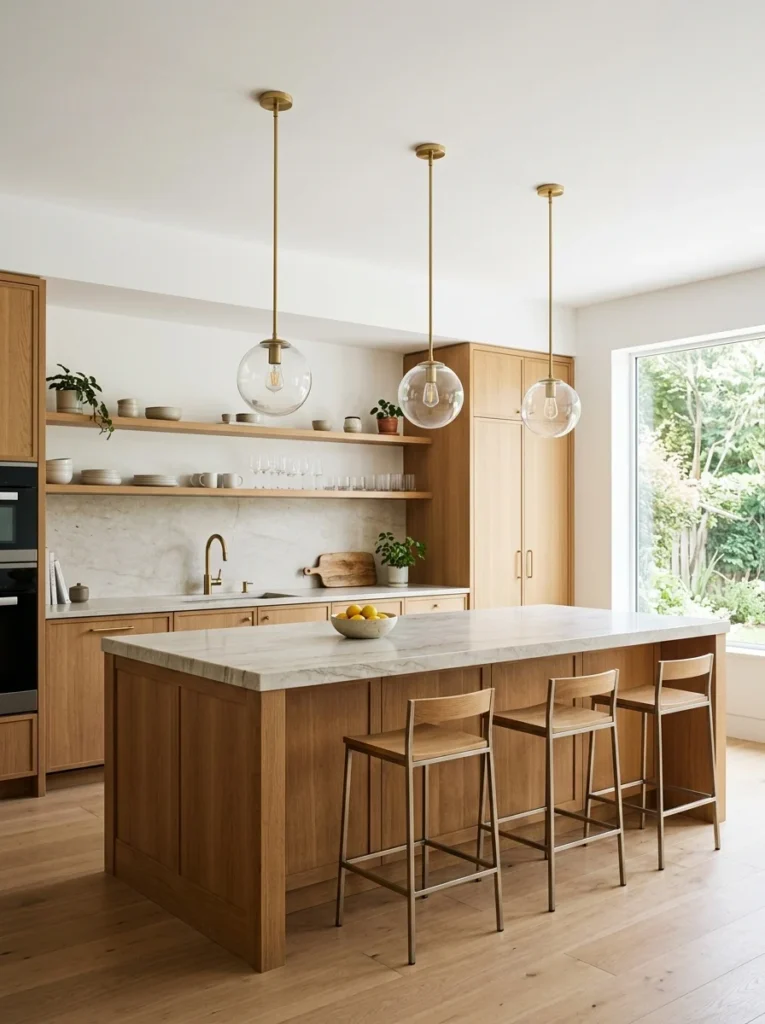
My second attempt at this lighting had the pendants positioned too close to a nearby upper cabinet, and it made that whole corner of the kitchen feel crowded rather than balanced. Giving the pendants enough clearance from cabinets, shelving, or the ceiling line let them stand out as their own design feature instead of competing for space with everything else nearby.
15. Statement Pendants Can Replace Other Decor Entirely
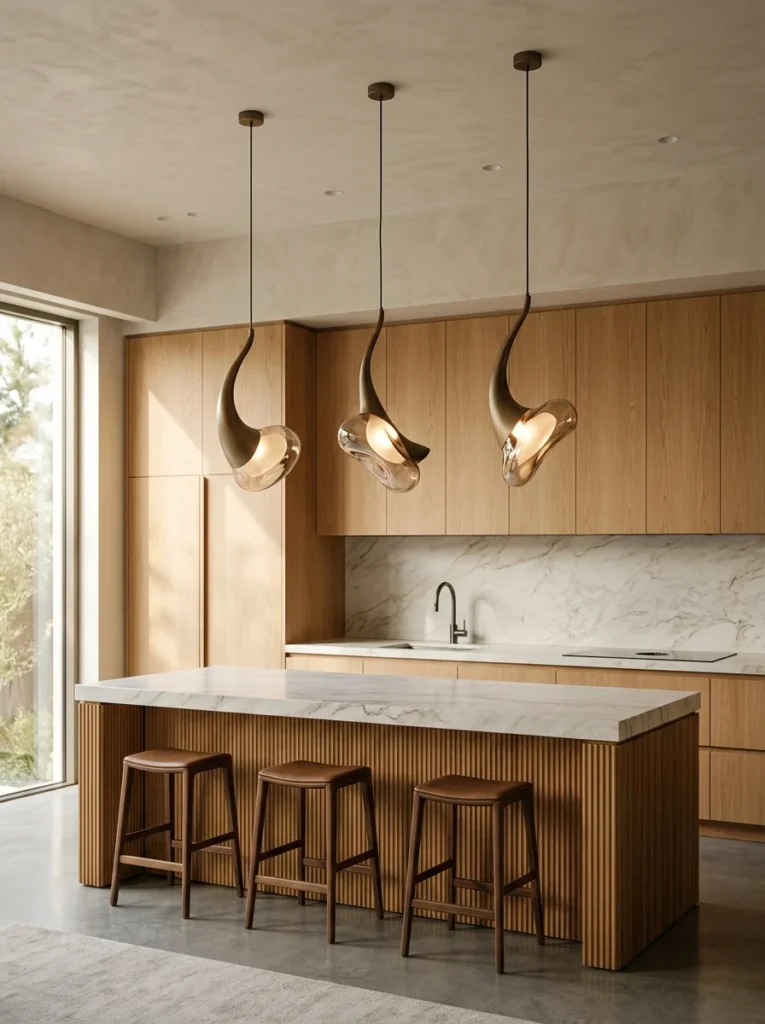
Once I installed a set of pendants with a genuinely distinctive shape, I realized I no longer felt the need to add extra decor elsewhere on the island, like a centerpiece bowl or vase that had always felt slightly obligatory before. The pendants themselves became the visual feature of that whole section of the kitchen, which actually simplified my overall decorating decisions rather than adding to them.
16. Live With a Temporary Set Before Buying Something Expensive
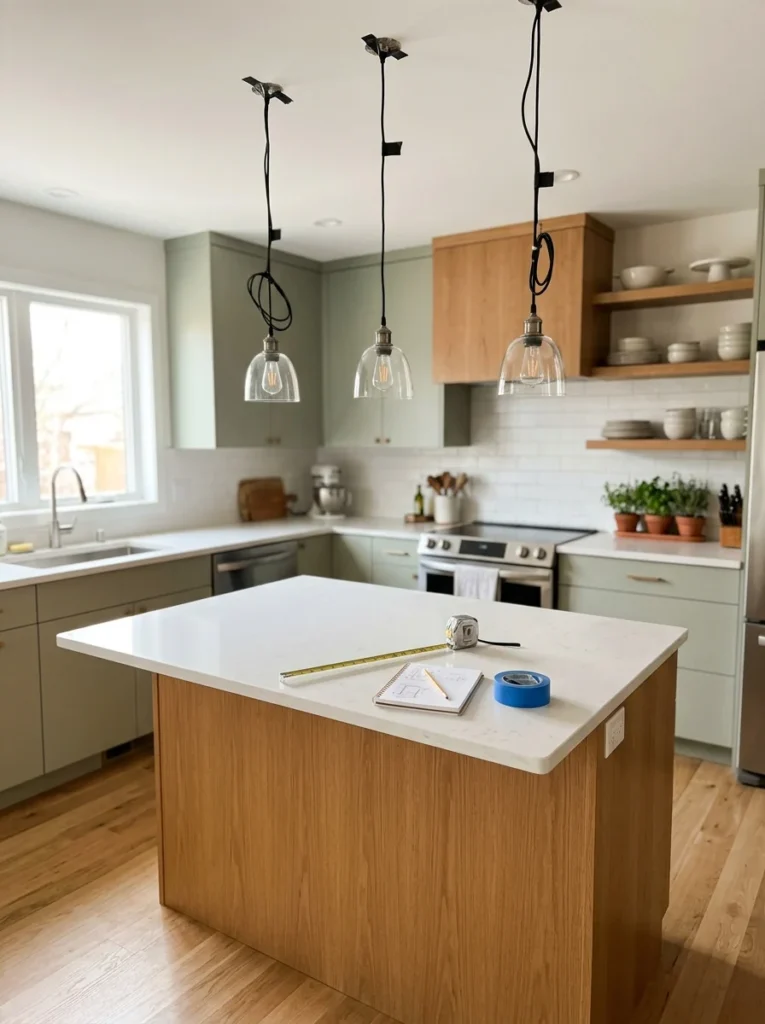
After going through two failed rounds of pendant lighting, I started hanging an inexpensive temporary set from a hardware store just to test height, spacing, and general vibe before committing to the higher-end fixtures I actually wanted. It felt like an unnecessary extra step at the time, but it saved me from a third expensive mistake, since I adjusted the height twice more during that trial period before I was confident enough to install the real ones.
What the Three Rounds Actually Cost Me
I’ll be honest about the money side of this, because I think it’s useful context. My first set of pendants was a budget option, roughly forty dollars each, and looked reasonable in photos but felt noticeably cheap once installed under direct light — thin metal, an uneven finish, and a shade shape that didn’t quite match what was pictured online. The second round, the ones hung too low, were a mid-range brand, closer to seventy dollars each, and while the build quality was better, the sizing mistake meant I still had to take them down within a few months.
By the third round, I spent more per fixture than I originally planned, somewhere around one hundred twenty dollars each, but by that point I’d already learned exactly what height, spacing, shade style, and metal tone I wanted from the two failed attempts before it. Looking back, if I’d taken the time to test with an inexpensive temporary set from the very beginning rather than guessing twice with real purchases, I probably would have spent less overall and reached the right answer faster. That’s really the core lesson from this whole process — the mistakes weren’t really about taste, they were almost entirely about skipping the testing phase before committing to something semi-permanent.
Questions I Kept Getting From Friends Who Copied the Setup
Once a few friends saw the finished island lighting, the same handful of questions came up often enough that I think they’re worth answering here directly.
The first was whether the pendants needed to be professionally installed. In my case, since I was working with existing wiring from a previous fixture, it was a straightforward swap that an electrician handled in under an hour. If you’re adding pendant wiring where none existed before, that’s a bigger project and genuinely does need an electrician rather than a DIY approach.
The second question was about cleaning, which sounds minor but became a real consideration with glass shades specifically. Kitchen air, especially near an island used for regular cooking, tends to carry more grease and dust than other rooms, and glass shades show buildup far more visibly than metal ones do. I now wipe mine down every couple of weeks, which is a small extra task nobody mentions when you’re picking out fixtures based on looks alone.
The third question, and probably the most common one, was whether the pendants ever felt like “too much” once they were up, especially from people worried about overdoing a kitchen redesign. Honestly, the opposite happened in my case — once the pendants were sized and spaced correctly, they read as a natural part of the kitchen rather than an added statement piece, which is a different outcome than I expected going in.
What I’d Tell Someone Just Starting This Project
If I were starting from scratch again, I’d measure my island length and counter height before browsing a single pendant style, because most of my early mistakes came from choosing fixtures I liked visually and then trying to force them to fit afterward. Get the sizing and spacing right first, and the style decisions become much easier and far less risky once those fundamentals are locked in. It’s a smaller, more technical process than people expect from something that ends up looking like a simple styling choice, but getting it right made a genuine difference in how much I actually enjoy standing at that island every day.
It’s easy to treat pendant lighting as one of the last, minor decisions in a kitchen project, something you pick almost as an afterthought once the cabinets, countertops, and appliances are already settled. Going through three separate attempts taught me it deserves closer to the same level of planning as those bigger-ticket items, since it’s one of the few features in the room you’ll be looking at, and standing directly under, every single day. A well-chosen island light doesn’t just illuminate the counter — it ends up shaping the character of the whole kitchen far more than its size would suggest.
