
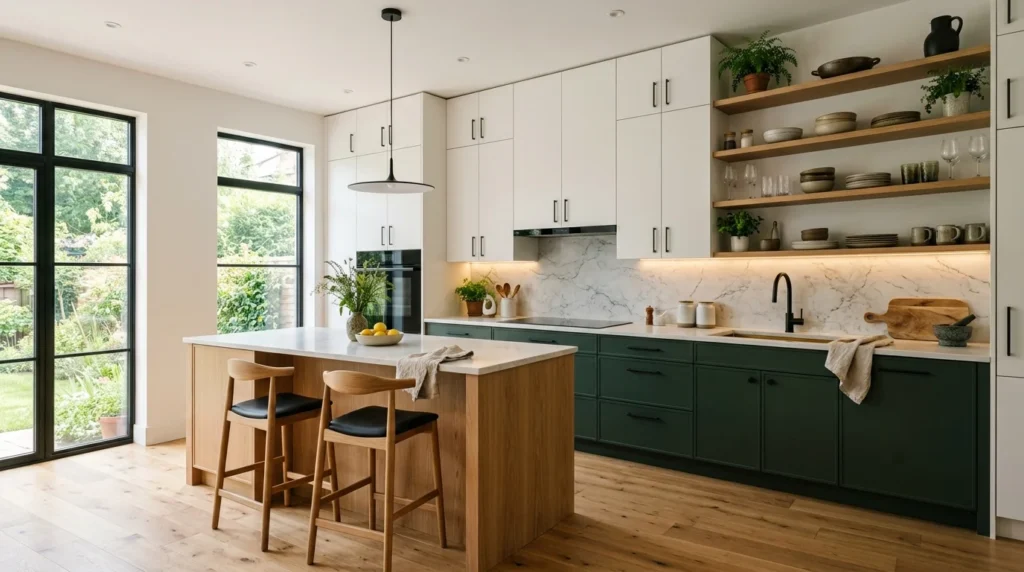
We didn’t have the budget for a full kitchen renovation when we bought this house, so I spent the first year cooking in a kitchen with cabinets I genuinely disliked every single day, oak boxes with ornate raised panels and brass hardware straight out of the early 2000s, telling myself it was a problem for some future version of us with a bigger renovation budget. The turning point came when a contractor friend mentioned, almost in passing, that refacing or painting existing cabinets could get us most of the way to a modern look for a fraction of a full replacement cost. That conversation sent me down a project that took about six weekends spread over two months, and while I made a few mistakes along the way, the end result changed how the entire kitchen felt without touching the layout, the appliances, or the countertops at all.
1. Paint Existing Cabinets Instead of Replacing Them Entirely
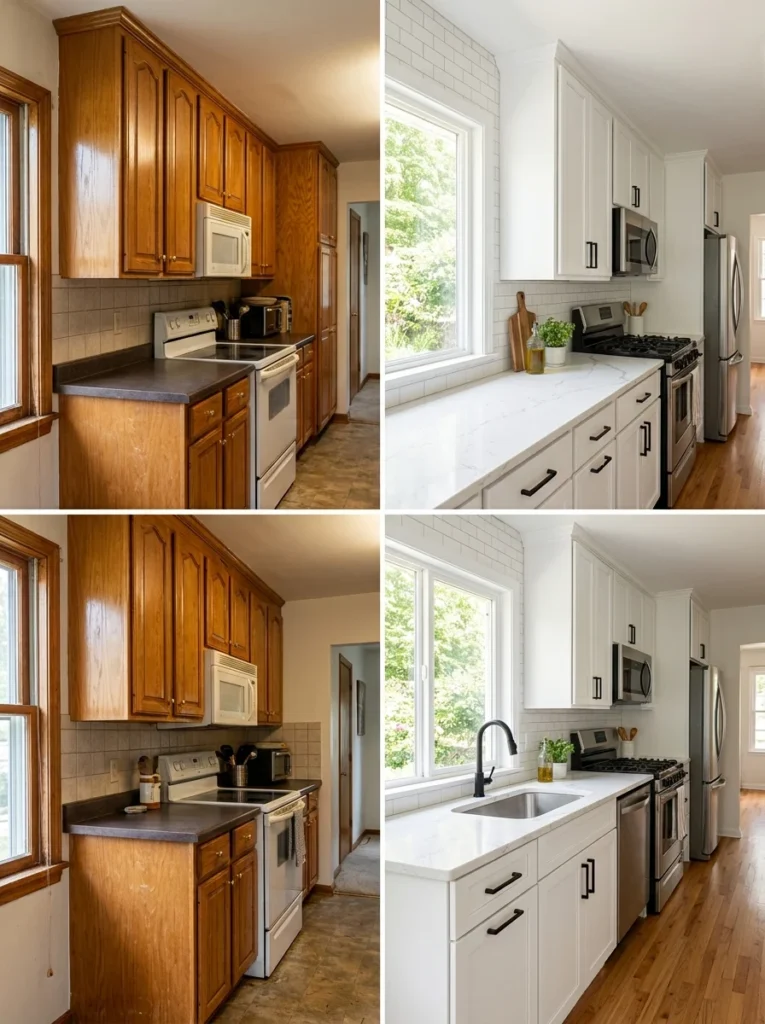
This was the single decision that made the whole project financially possible. A proper cabinet paint job, done with the right primer and enough patience for multiple thin coats, can look nearly indistinguishable from new cabinetry at a fraction of the replacement cost, though I’ll admit the “enough patience” part turned out to be doing a lot more work in that sentence than I appreciated when I first read similar advice online before starting the project myself.
2. Choose a Flat or Matte Finish Over Glossy
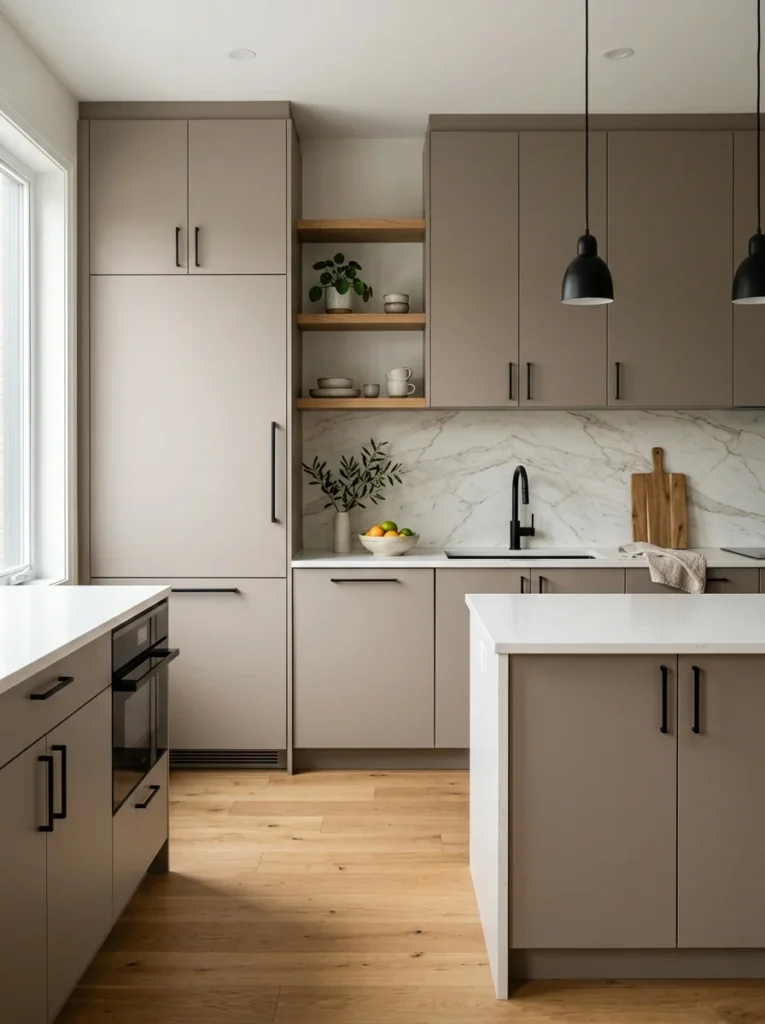
My cabinets had come with a semi-gloss factory finish, and repainting them in a flat matte finish instantly made them read as more current. Glossy finishes tend to photograph well but can look slightly dated in person compared to the softer, more contemporary look of matte paint.
3. Remove Raised Panel Detailing for a Cleaner Look
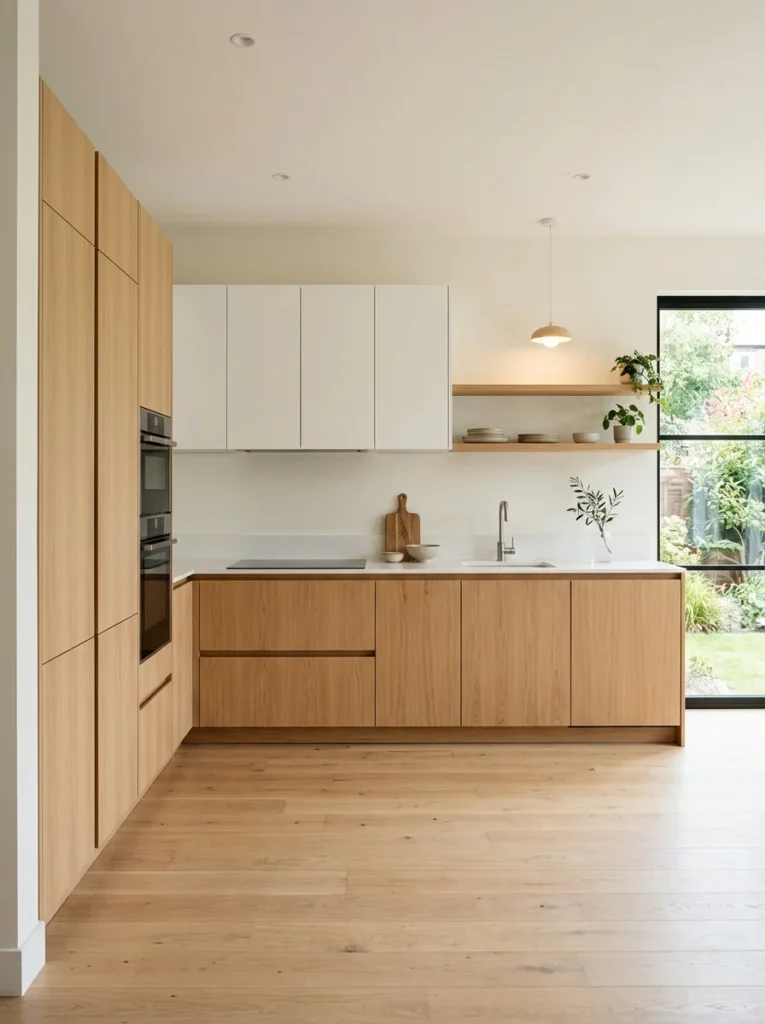
Rather than fully replacing the doors, I had a cabinet specialist smooth over the raised panel detailing on our existing doors, essentially flattening them into simple slab-style fronts. It was a bigger step than paint alone but far cheaper than full replacement, and it made the biggest single visual difference in the whole project.
4. Swap Ornate Hardware for Simple, Slim Pulls
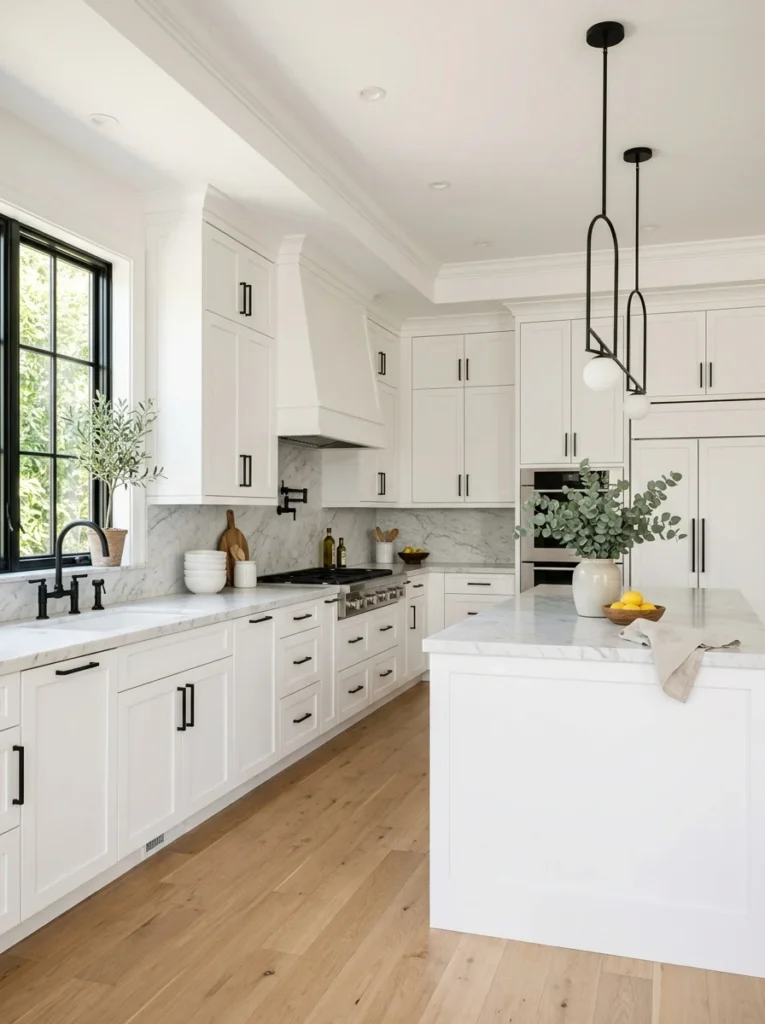
Our original brass knobs were ornate, scrolled, and immediately dated the cabinets no matter what color they were painted. Simple black bar pulls replaced them and modernized the look almost instantly, for a relatively small cost compared to everything else in the project.
5. Go Two-Tone With Upper and Lower Cabinets
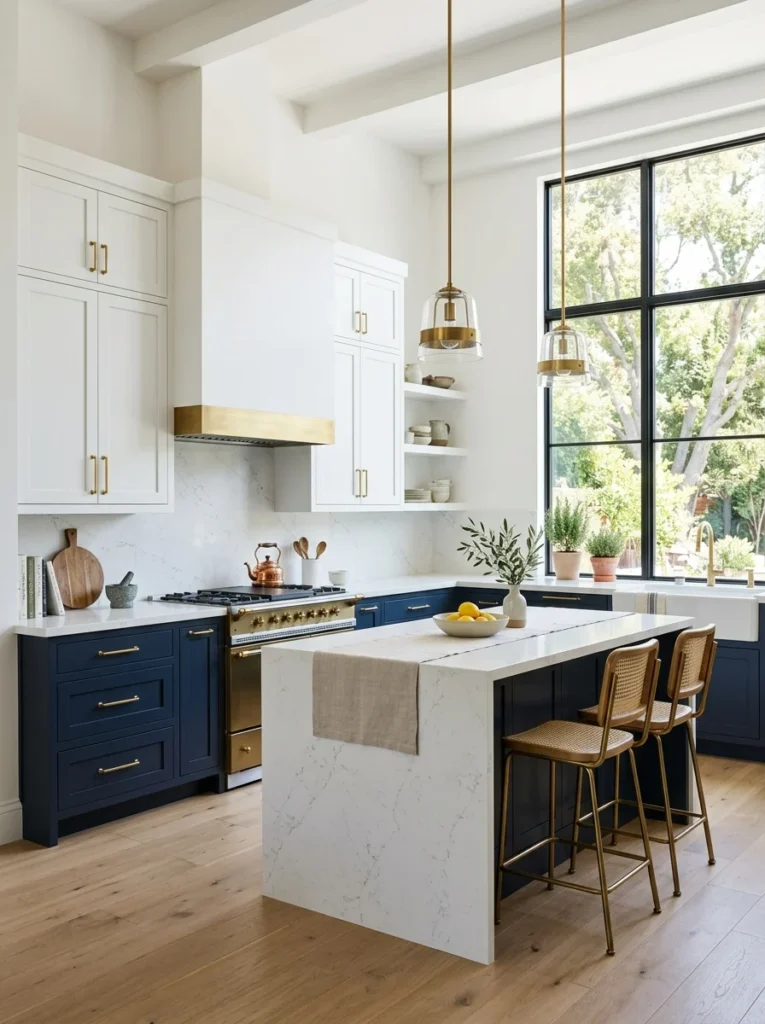
Rather than painting every cabinet the same color, we chose a darker tone for the lower cabinets and a lighter one for the uppers, a combination that’s become one of the more defining features of the finished kitchen and adds visual interest without needing any bold color choices.
6. Remove a Few Upper Cabinet Doors for Open Shelving
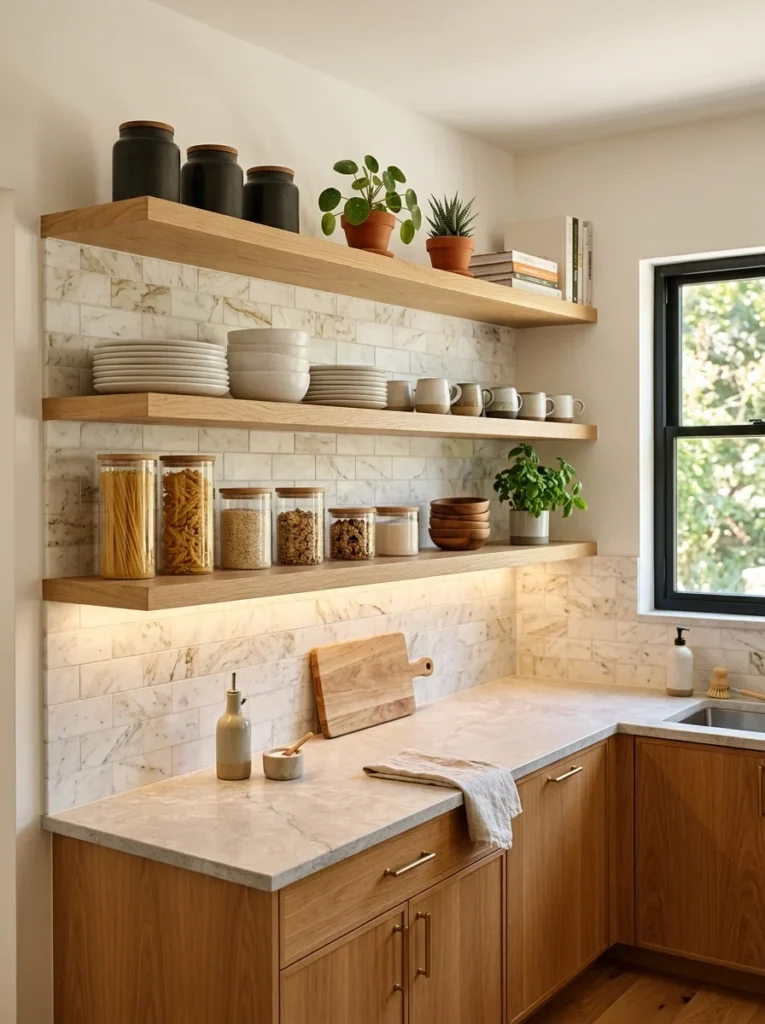
We took the doors off two upper cabinets near the stove and left them open, styled simply with a few everyday dishes. It broke up the visual weight of a wall of closed cabinetry and gave the kitchen a lighter, more contemporary feel in that specific area.
7. Add Under-Cabinet Lighting
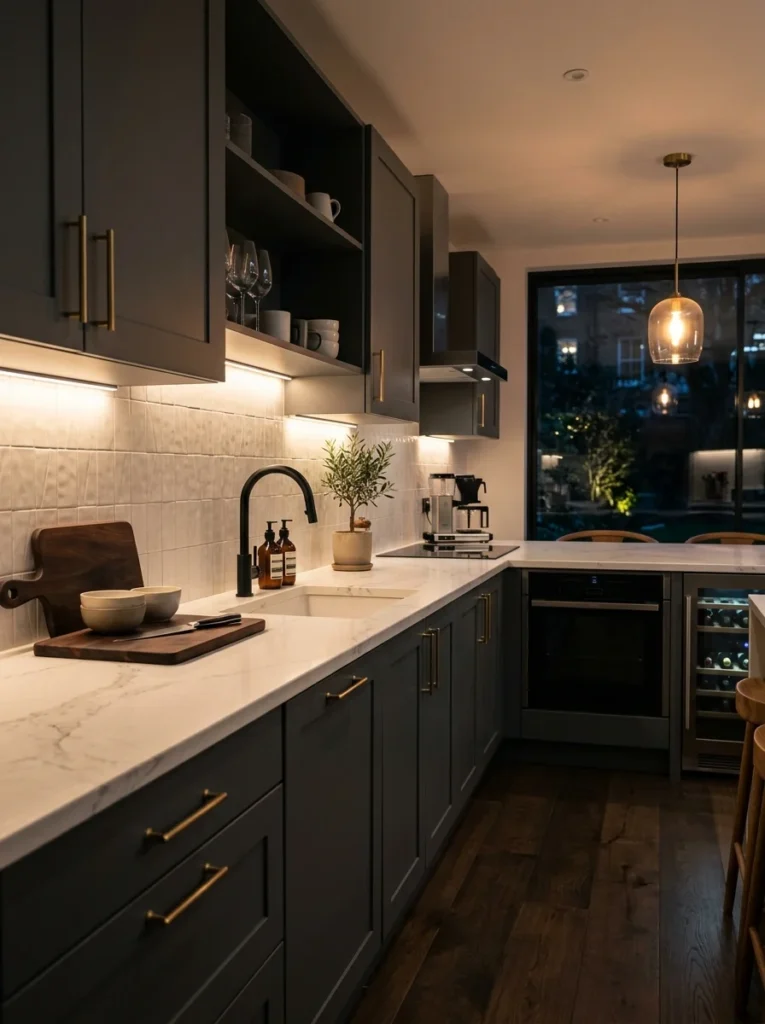
LED strip lighting installed under our upper cabinets did double duty, improving actual task lighting on the counters below while adding a modern, layered lighting effect to the whole kitchen once evening comes around.
8. Choose Handleless Cabinets With Push-to-Open Mechanisms
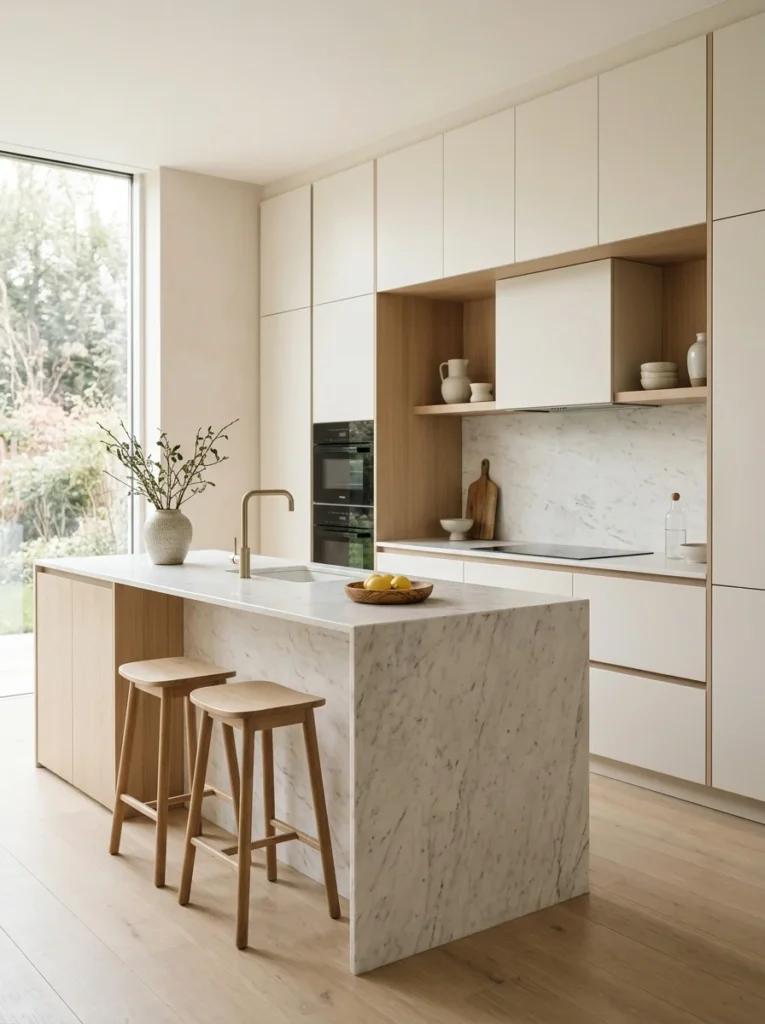
For a friend’s kitchen redo, switching to push-to-open cabinet doors with no visible hardware at all gave the space an especially sleek, minimalist look, though it came at a higher cost and required more precise installation than standard hardware.
9. Extend Cabinets to the Ceiling for a Built-In Look
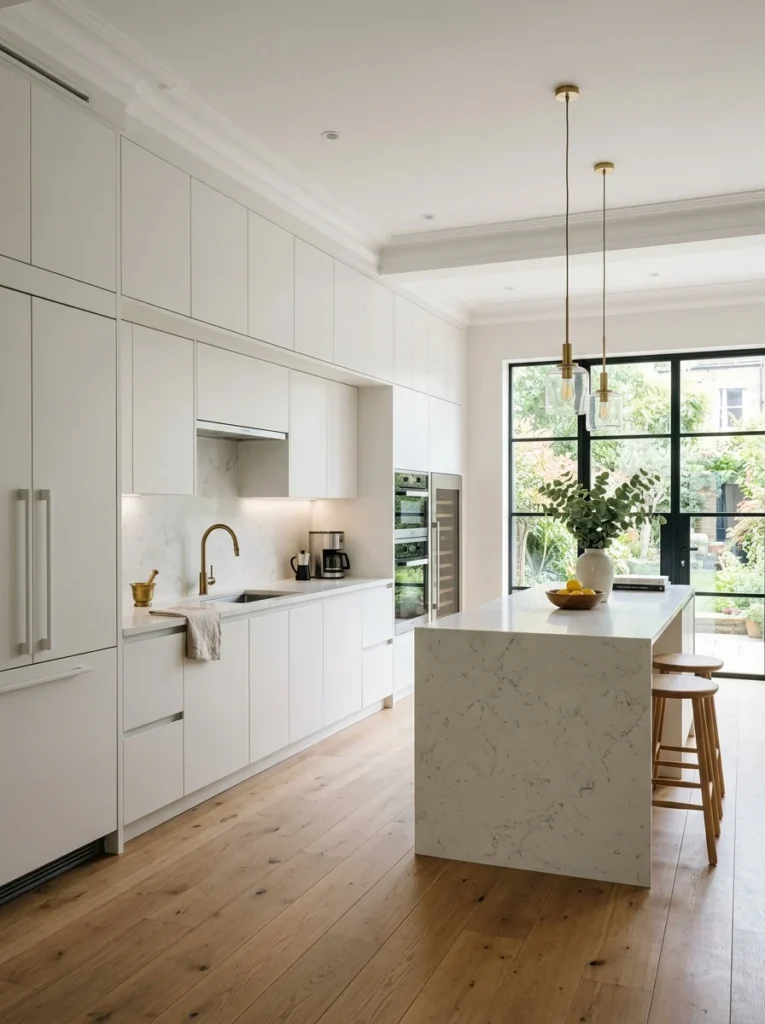
Our original cabinets stopped a good foot short of the ceiling, leaving an awkward gap that collected dust and visually made the room feel unfinished. Adding a simple soffit-covering extension up to the ceiling gave the whole wall a more custom, built-in appearance.
10. Use Glass Fronts on a Few Select Cabinets
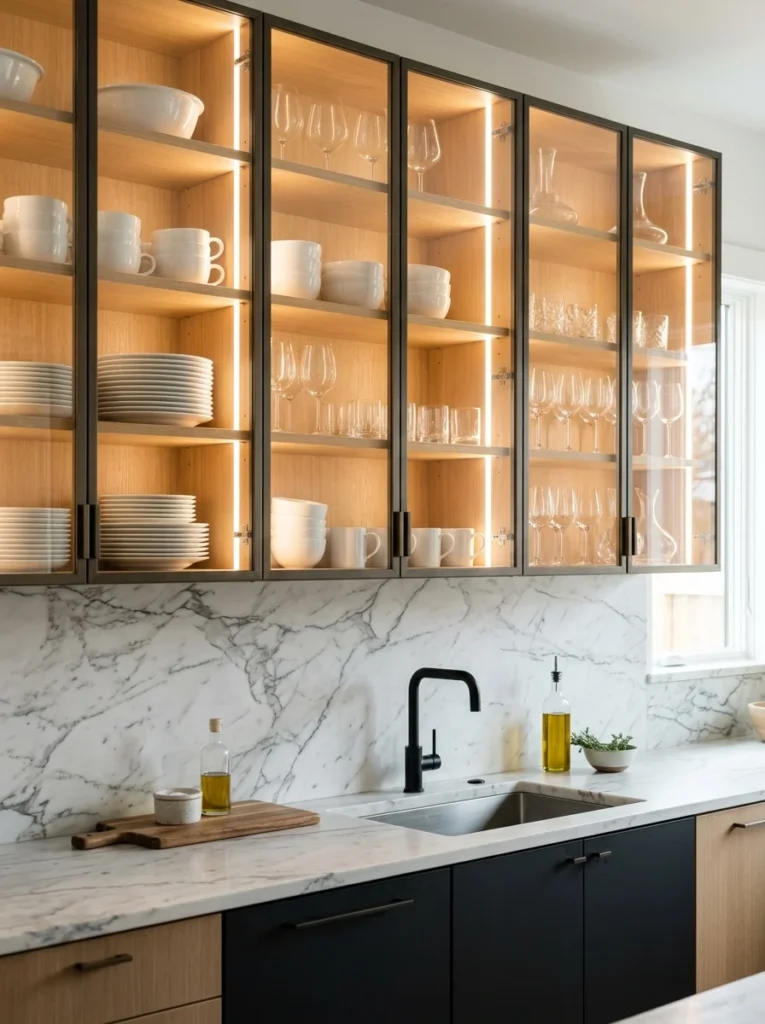
Rather than removing doors entirely, adding glass fronts to just two or three upper cabinets let us display a curated selection of dishware while keeping the rest of the storage closed and tidy, a middle ground between fully open and fully closed cabinetry.
11. Choose a Bold, Saturated Color for a Lower Cabinet Accent
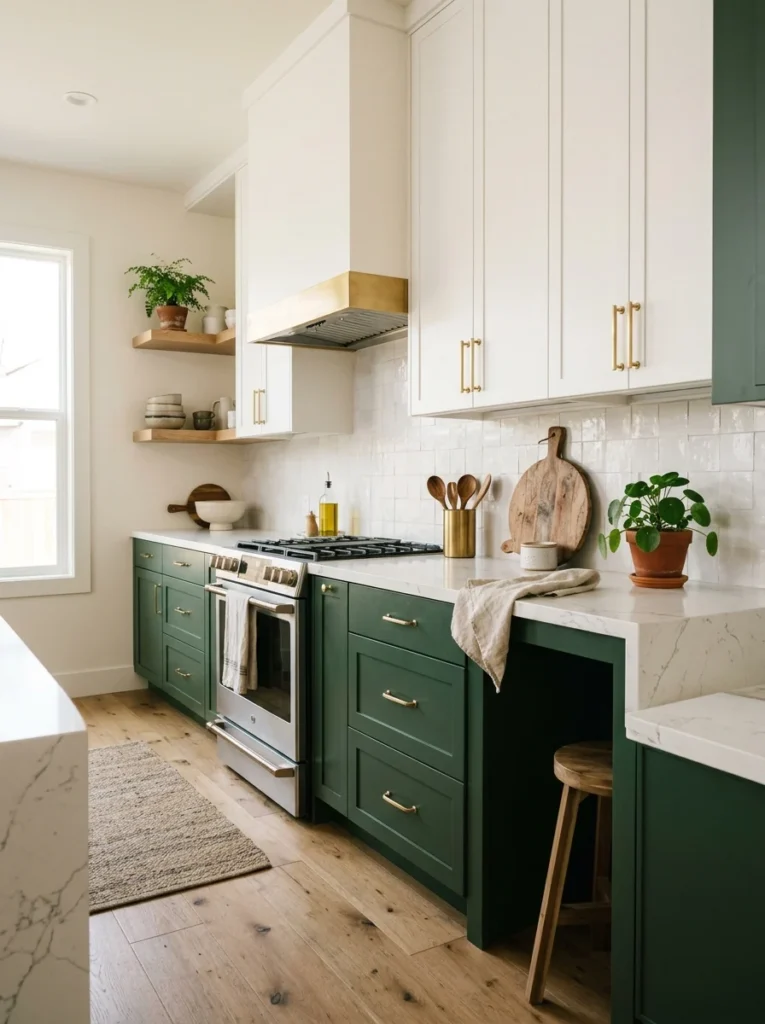
While most of our kitchen stayed neutral, painting the cabinets around our island a deep forest green gave that section of the room a distinct, modern focal point without committing the entire kitchen to a bold color.
12. Replace Cabinet Doors Only, Keeping the Existing Boxes
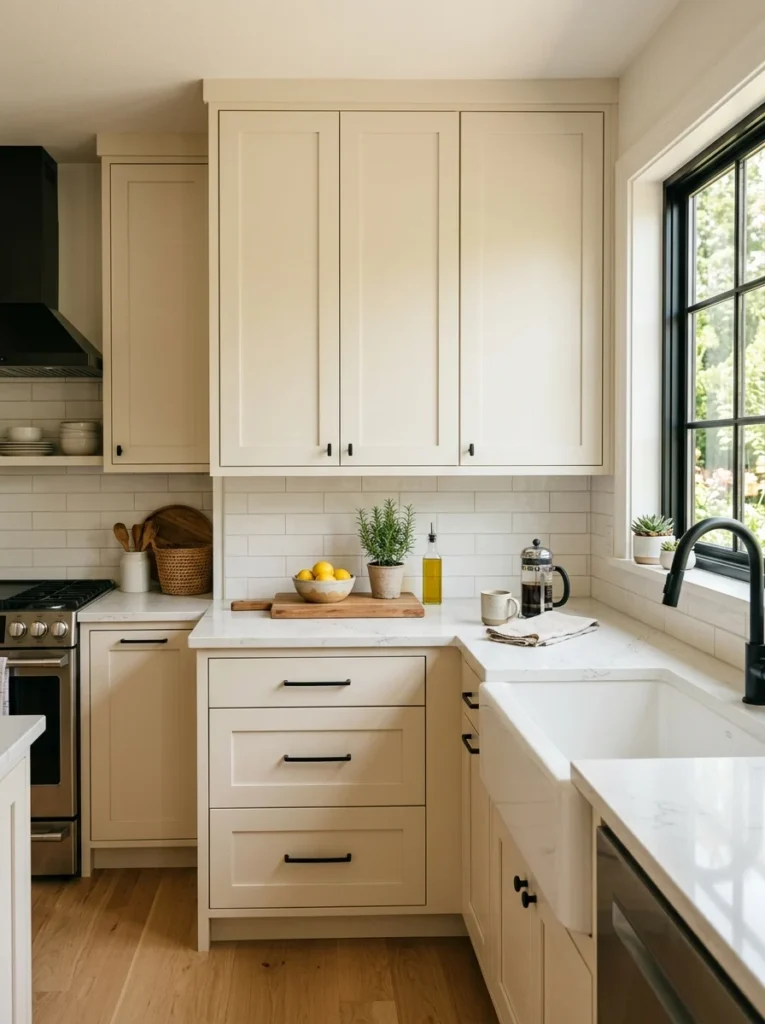
For anyone wanting more than a paint refresh but not ready for full replacement, ordering new cabinet door fronts to fit the existing cabinet boxes is a middle-cost option that gives a more finished, factory-new look than painting alone while still avoiding the expense of entirely new cabinetry, and it’s worth asking a local cabinet shop directly whether your specific box dimensions are a standard enough size to make this option viable before ruling it out.
13. Add a Contrasting Kitchen Island Cabinet Color
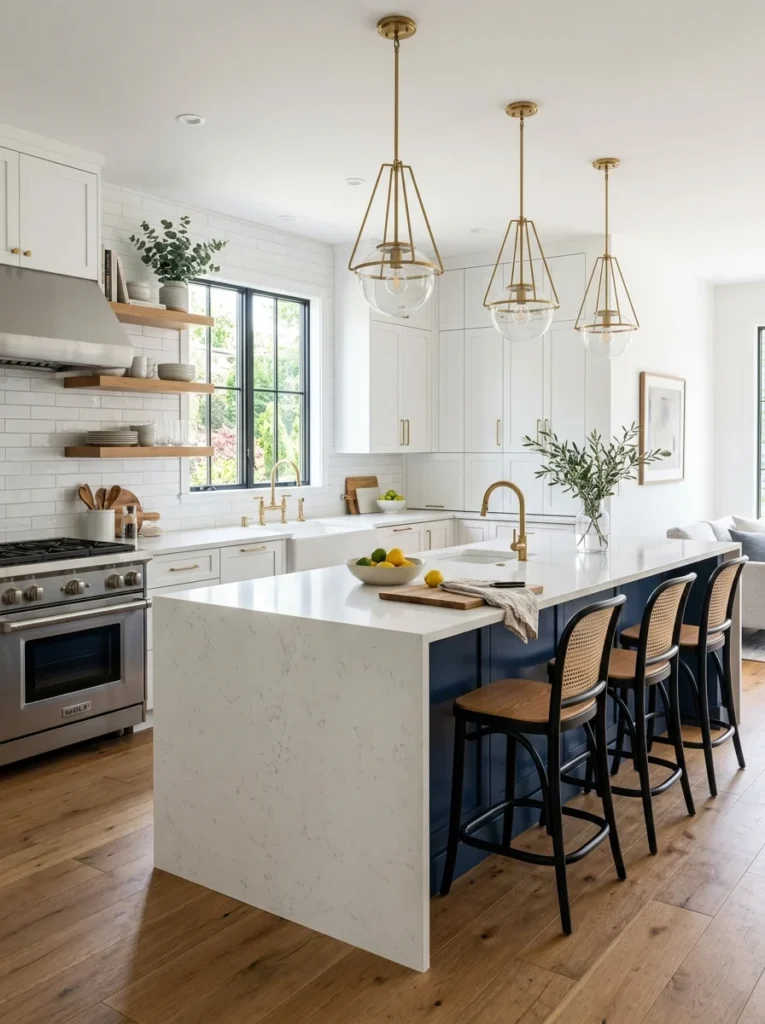
Beyond our green accent cabinets, painting the island itself in a contrasting color from the rest of the kitchen’s cabinetry has become an increasingly common way to modernize a kitchen without repainting every single cabinet in the room.
14. Choose Slim, Integrated Cabinet Pulls for a Streamlined Look
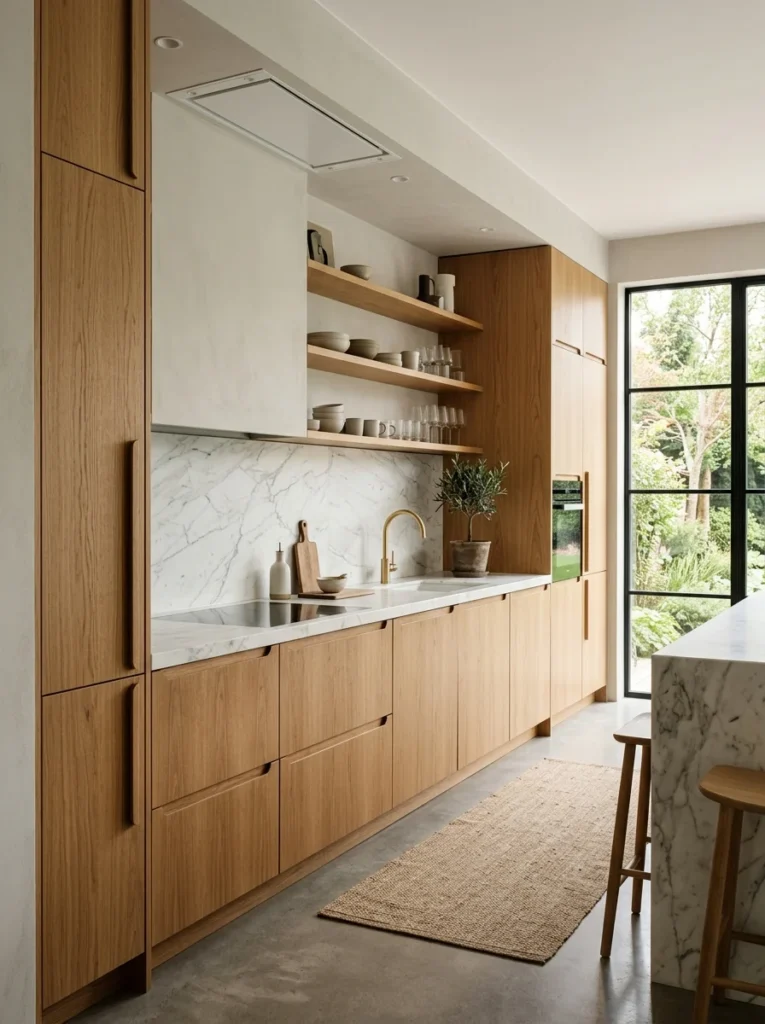
Rather than traditional bar pulls, some updated kitchens use a slim integrated edge pull built into the top of each cabinet door, creating an almost seamless look from a distance that reads as distinctly more modern than traditional protruding hardware.
15. Update Cabinet Hinges for Smoother, Quieter Function
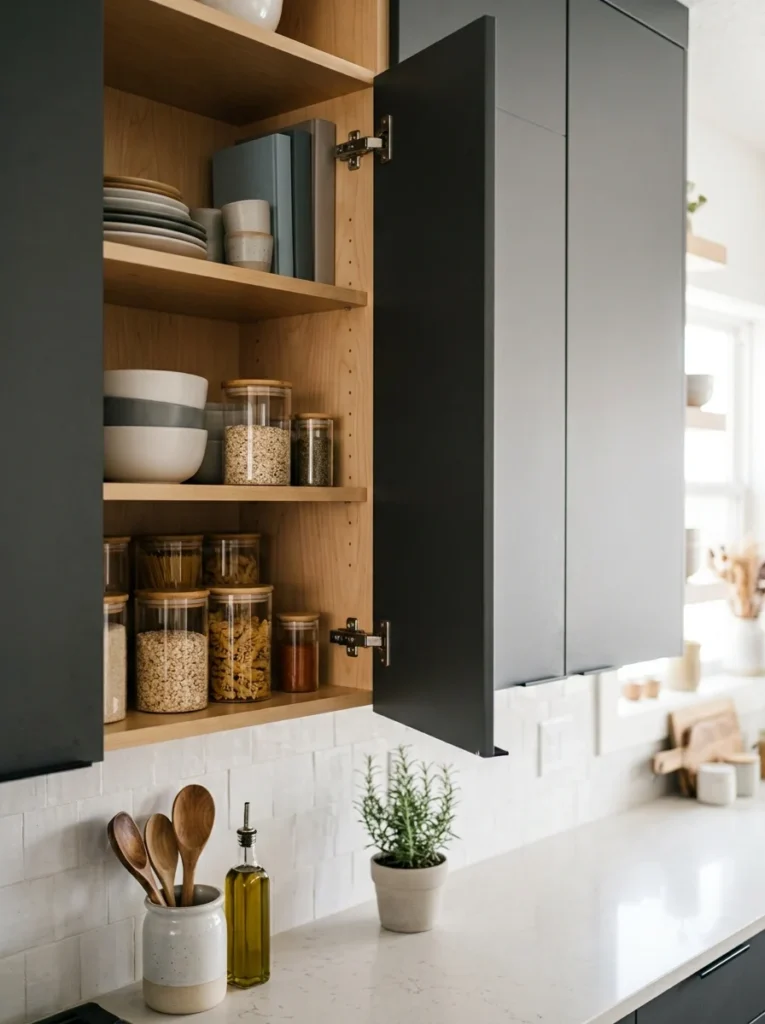
This one isn’t visible from across the room, but replacing old, squeaky hinges with modern soft-close versions changed the daily experience of using our cabinets noticeably, and it’s a detail that subtly contributes to a kitchen feeling more current and well cared for.
16. Add Toe-Kick Lighting for a Subtle, Modern Touch
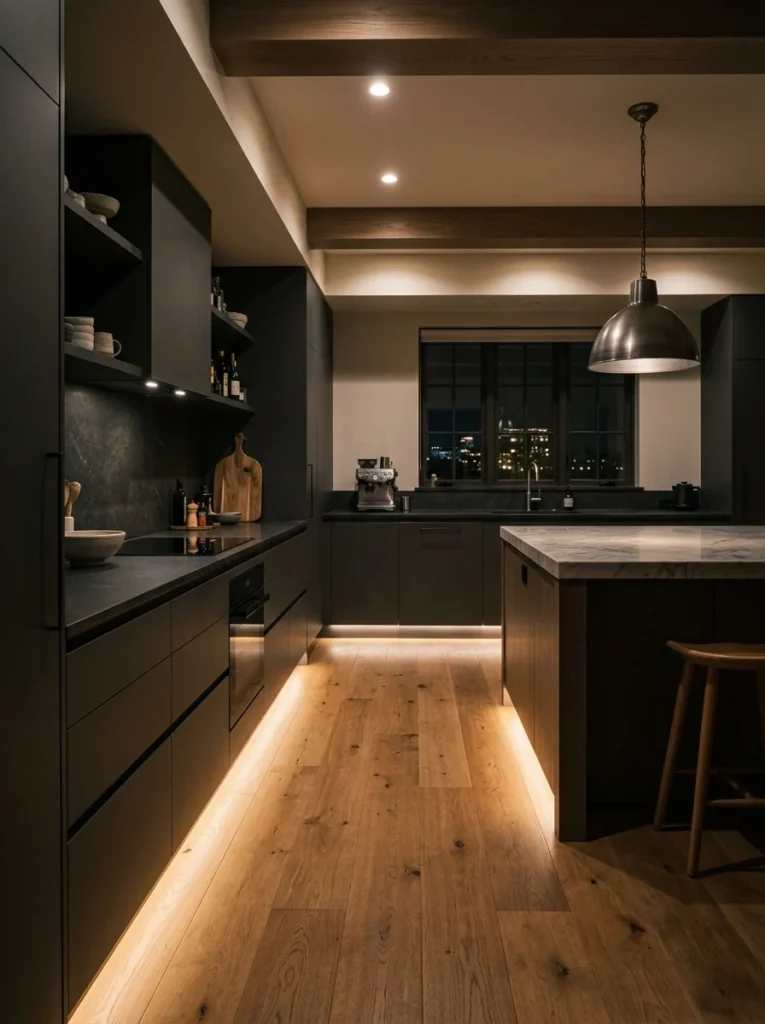
A friend added a thin strip of LED lighting along the toe-kick space beneath her lower cabinets, and the soft glow it casts across the floor at night gives the kitchen a distinctly modern, almost architectural feel that’s simple to install but rarely seen in older kitchens.
17. Choose Wood-Tone Cabinets Over Painted Ones for a Different Kind of Modern Look
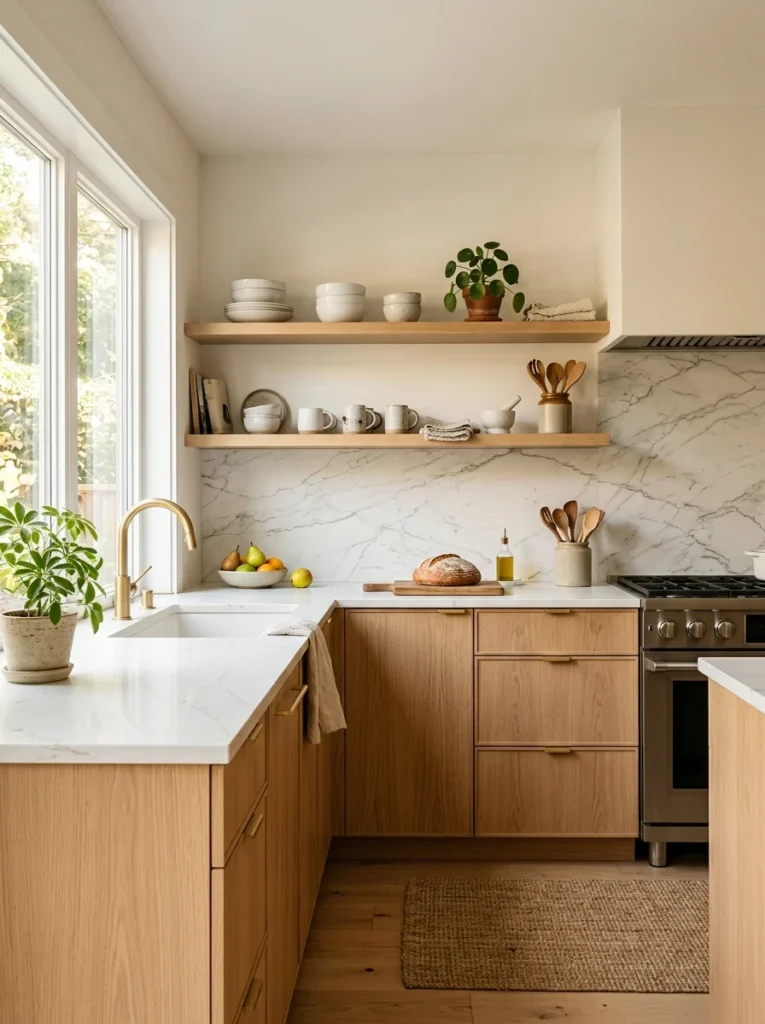
Not every modern kitchen relies on paint. A natural, lighter wood-tone cabinet, especially in a simple slab-front style, can read as equally contemporary, and it’s an option worth considering if a fully painted look isn’t the direction you want.
18. Add a Corner Cabinet Solution That Actually Works
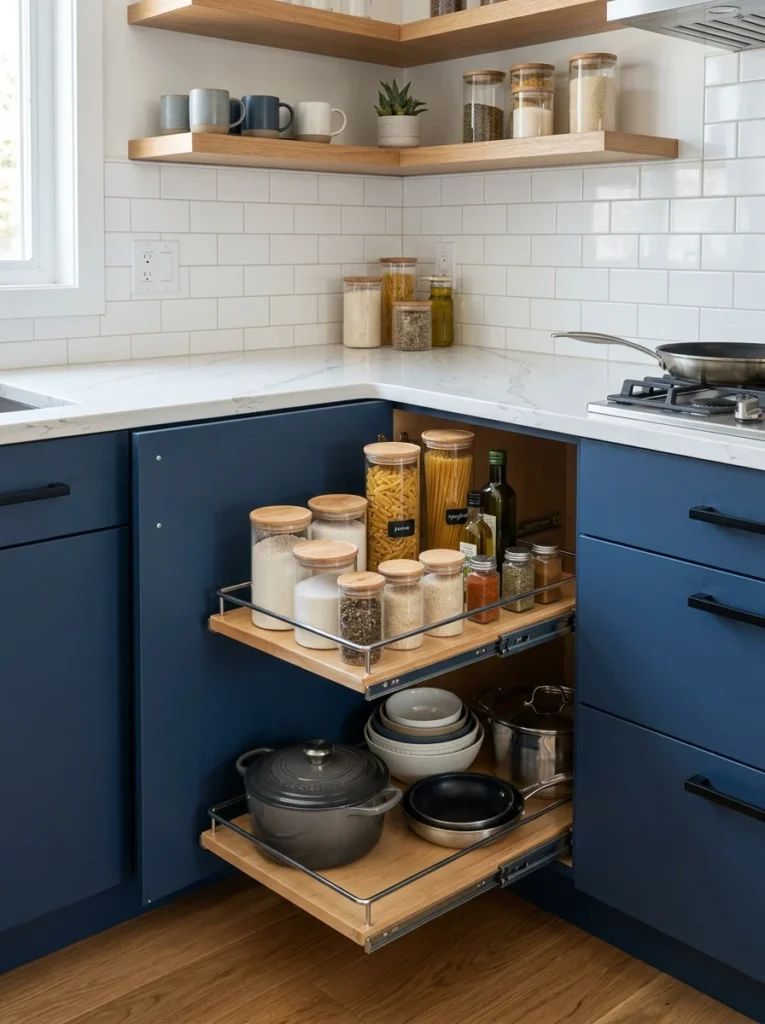
Our original corner cabinet was a deep, awkward space that swallowed items and made them nearly impossible to retrieve. Installing a proper lazy Susan or pull-out corner system during the project turned a genuinely frustrating storage spot into one of the more functional areas of the kitchen.
19. Use Open Wood Shelving to Break Up a Full Wall of Cabinets
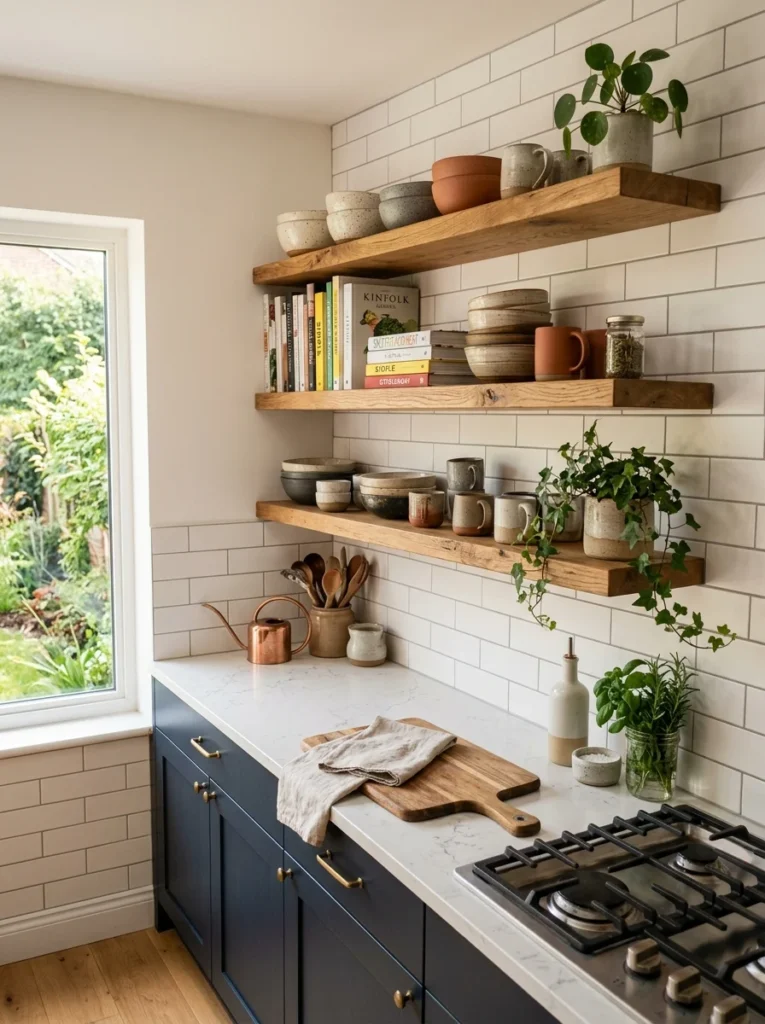
Rather than only removing doors from existing cabinets, some kitchens replace a section entirely with open wood shelving, adding warmth and visual variation to a wall that would otherwise be a solid, uninterrupted block of cabinet doors.
20. Keep Cabinet Interiors Organized to Match the Exterior Upgrade
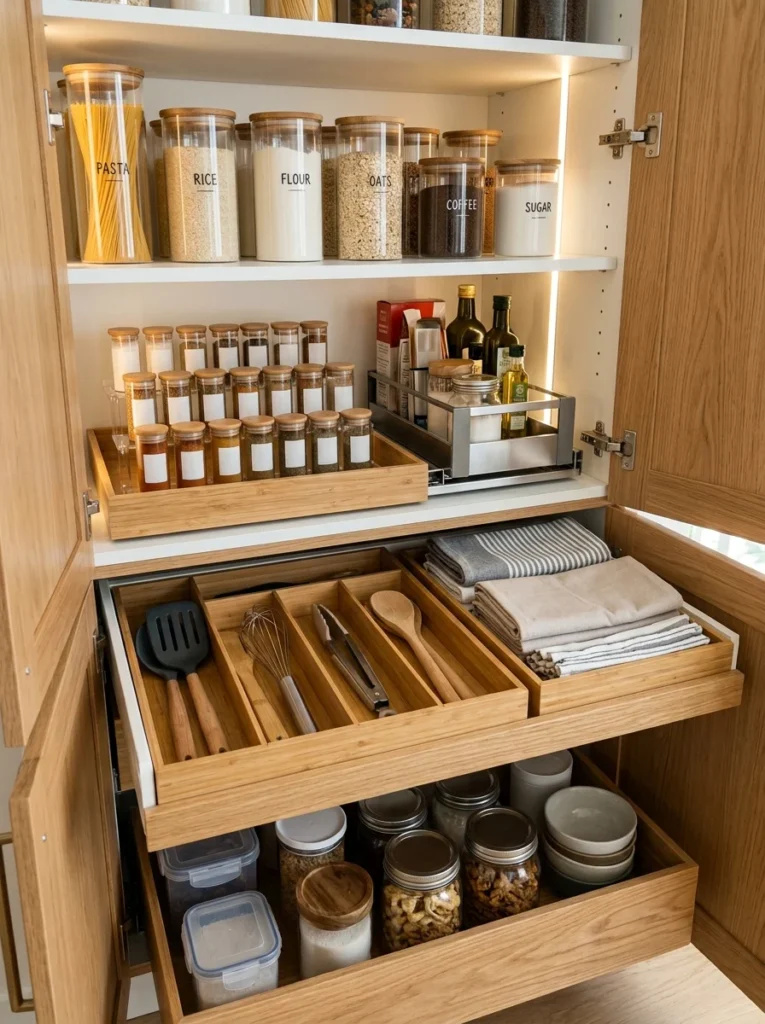
This was a lesson I learned partway through our own project. A beautifully modernized cabinet exterior loses some of its impact if the inside is still a disorganized mess every time the door opens. Adding simple drawer dividers and shelf organizers as part of the same project kept the overall upgrade feeling complete rather than purely cosmetic.
What My Contractor Friend Actually Talked Me Out Of
Before landing on the paint-and-hardware approach, my original plan had been to save up for a full cabinet replacement, which our contractor friend gently talked me out of once he understood our actual budget and timeline. His argument was straightforward: our existing cabinet boxes were structurally solid, real wood rather than particleboard, and replacing them entirely would have meant paying for materials and labor we didn’t actually need, when the visible parts, the doors, the finish, the hardware, were really what had been making the kitchen feel dated in the first place. That reframing is what made the whole project feel achievable rather than something to keep postponing indefinitely, and it’s a distinction I now bring up myself whenever a friend mentions wanting to gut a kitchen that might, on closer inspection, just need a more targeted update instead.
The Mistakes That Cost Us Extra Time
I underestimated how much prep work proper cabinet painting actually requires, and our first coat, applied without adequately sanding and deglossing the original factory finish, started peeling within a few weeks in a couple of high-touch spots near the handles. Redoing that section properly, with the correct prep steps this time, added nearly two full weekends to a project I’d originally hoped to finish in one, and it meant explaining to more than one curious neighbor, mid-second-attempt, exactly why the cabinets still looked half-finished a full month after I’d first mentioned starting the project to them. I also initially chose a hardware placement that looked fine on paper but put the pulls at an awkward height once installed, requiring us to fill and repaint over the original holes and drill new ones a few inches lower. Neither mistake was expensive in materials, but both cost real time in a project I was already squeezing into weekends around a full-time job, and there were more than a few evenings that summer where I genuinely questioned whether the whole project had been a good idea in the first place, usually somewhere around ten at night with paint on my hands and a section that still needed a second coat before I could even think about calling it done for the day.
What the Full Project Actually Cost
Between paint, primer, new hardware, the panel-smoothing work on our doors, and the under-cabinet lighting, the total came to just under twenty-two hundred dollars, spread across roughly two months of weekend work. For comparison, the full cabinet replacement quote we’d originally gotten was closer to eighteen thousand dollars for a kitchen our size. That gap is really the whole argument for this approach, in our case at least: a kitchen that functionally and structurally didn’t need replacing, updated to look and feel current for around twelve percent of what starting over would have cost. Breaking that twenty-two hundred down further, the panel-smoothing work on the doors was actually the single largest line item, close to eight hundred dollars, since it required a specialist rather than something I could reasonably attempt myself, followed by the hardware at around four hundred dollars for enough matching pulls to cover every cabinet and drawer in the kitchen.
Whether I’d Do It This Way Again
Looking back, the only thing I’d change is bringing in professional help for the prep and initial coats rather than attempting that first round myself, since the cost of hiring that specific step out likely would have been cheaper than the time and materials lost to redoing our peeling first attempt. Everything else, the color choices, the hardware swap, the open shelving section, has held up well enough over the past year that I genuinely forget sometimes that these are the same cabinet boxes that came with the house, just with a completely different finish, hardware, and a bit more thoughtful organization on the inside.
If you’re standing in a kitchen you dislike but can’t currently justify a full renovation budget for, I’d genuinely encourage having the same conversation I had with my contractor friend, specifically asking whether your existing cabinet boxes are actually worth keeping before assuming replacement is the only path to a kitchen that feels current. In our case, that single question, and the honest answer that our boxes were structurally fine, turned an indefinitely postponed dream project into something we could actually plan, budget, and finish within a single summer, which made a bigger difference to how much we enjoy this kitchen now than I expected a “budget” project to deliver. A year later, I still catch myself standing at the counter some mornings, coffee in hand, genuinely surprised by how different the room feels, given how little of it, structurally, actually changed.
