
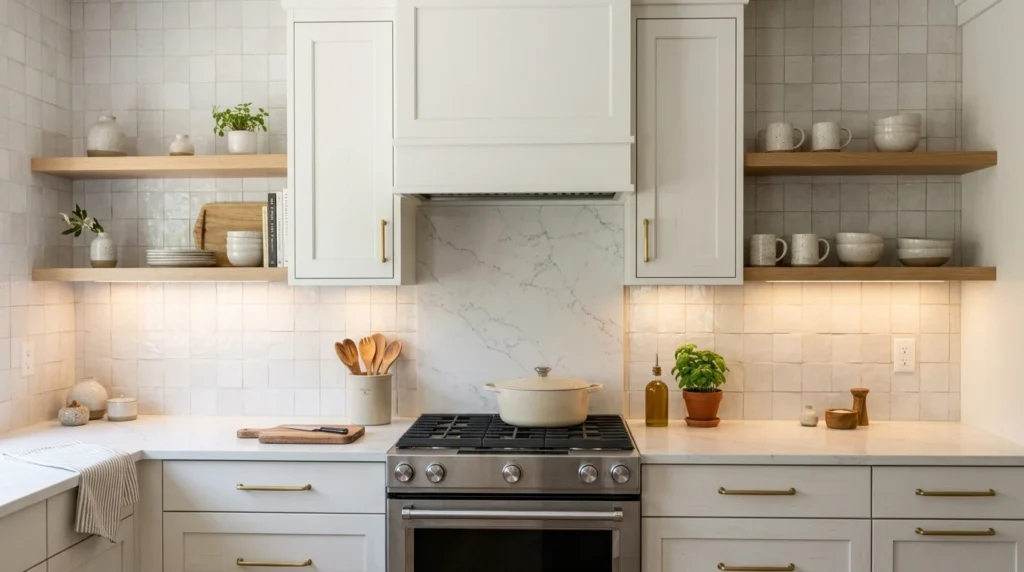
I put off updating my kitchen backsplash for almost three years because every quote I got for tile work came back somewhere between painful and outright unaffordable, especially once labor got added on top of materials. My kitchen had plain builder-grade paint behind the stove and counters, and every time I cooked, splashes and grease stains reminded me how tired the whole space looked. What finally got me moving wasn’t a big renovation budget — it was a peel and stick tile sample a coworker handed me after redoing her own kitchen over a single weekend.
I was skeptical going in, mostly because I assumed anything that easy to install would also look cheap and obviously fake up close, especially after seeing a few older peel and stick products years ago that genuinely did look like plastic stickers rather than tile. That turned out to be completely wrong once I actually looked into the newer generation of these products. I’ve now done my own kitchen backsplash with peel and stick tile, helped my sister redo her rental kitchen with a removable version since she couldn’t make permanent changes, and picked up plenty of lessons about which styles genuinely look high-end versus which ones read as an obvious shortcut. Here are 17 ideas, along with the details that actually make the difference between a backsplash that looks professionally done and one that looks like a sticker.
1. Classic White Subway Tile
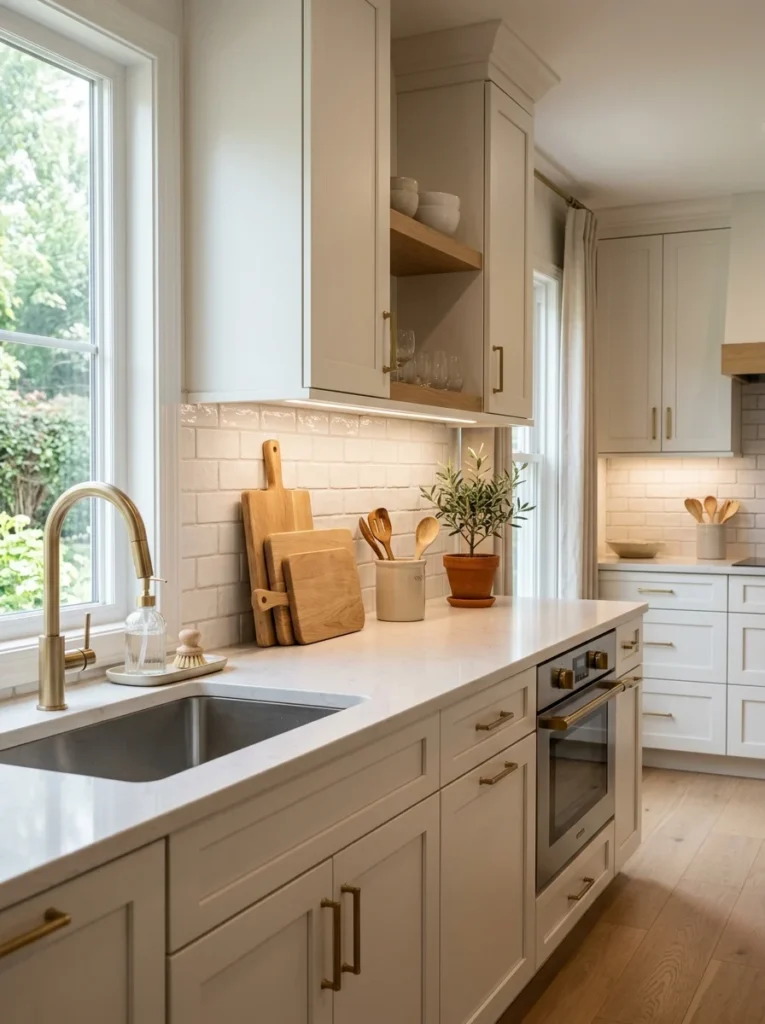
This was the first style I tried, mostly because it felt like the safest choice, and it turned out to be a great starting point for anyone nervous about peel and stick tile. The clean lines and slight texture of a good-quality subway tile sheet genuinely read as real tile from more than a couple of feet away, and it works with almost any cabinet color, which made it an easy decision when I wasn’t sure yet what direction I wanted the rest of the kitchen to go.
2. Herringbone Pattern Tile Sheets
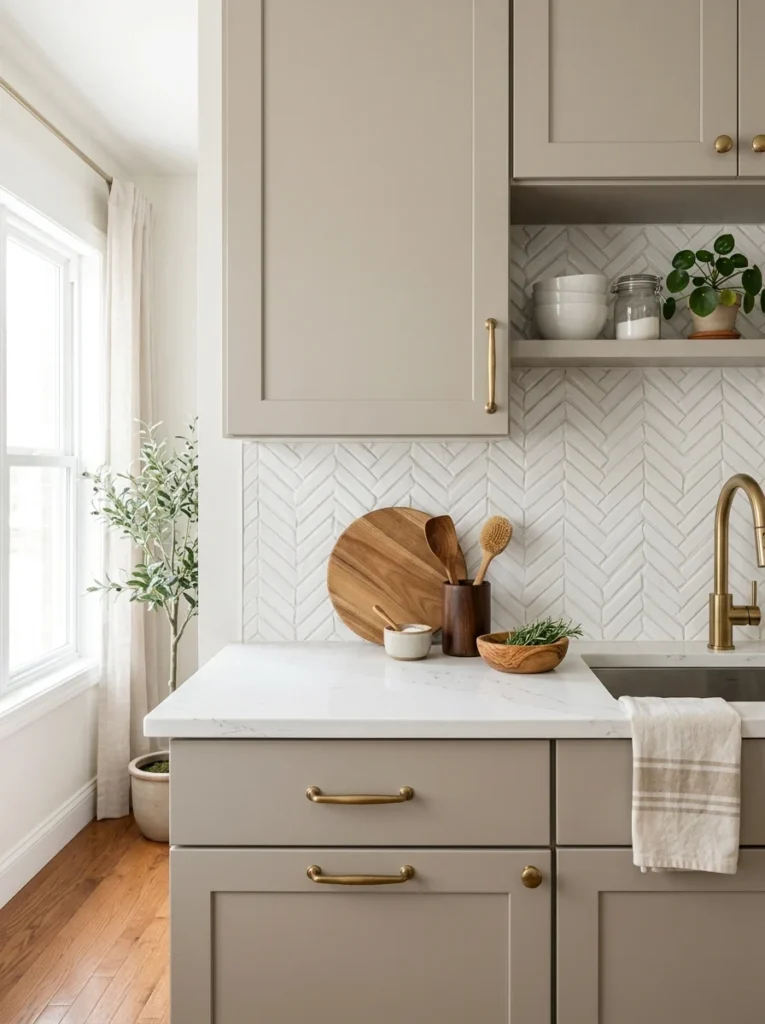
For my sister’s rental kitchen, we used pre-cut herringbone pattern sheets rather than trying to arrange individual subway tiles at an angle ourselves. The zigzag pattern adds visual interest without requiring any actual cutting or pattern-matching skill, since the sheets are pre-arranged, and it made her rental kitchen look far more expensive than anything a landlord had ever installed in the unit before her.
3. Moroccan-Inspired Print Tiles
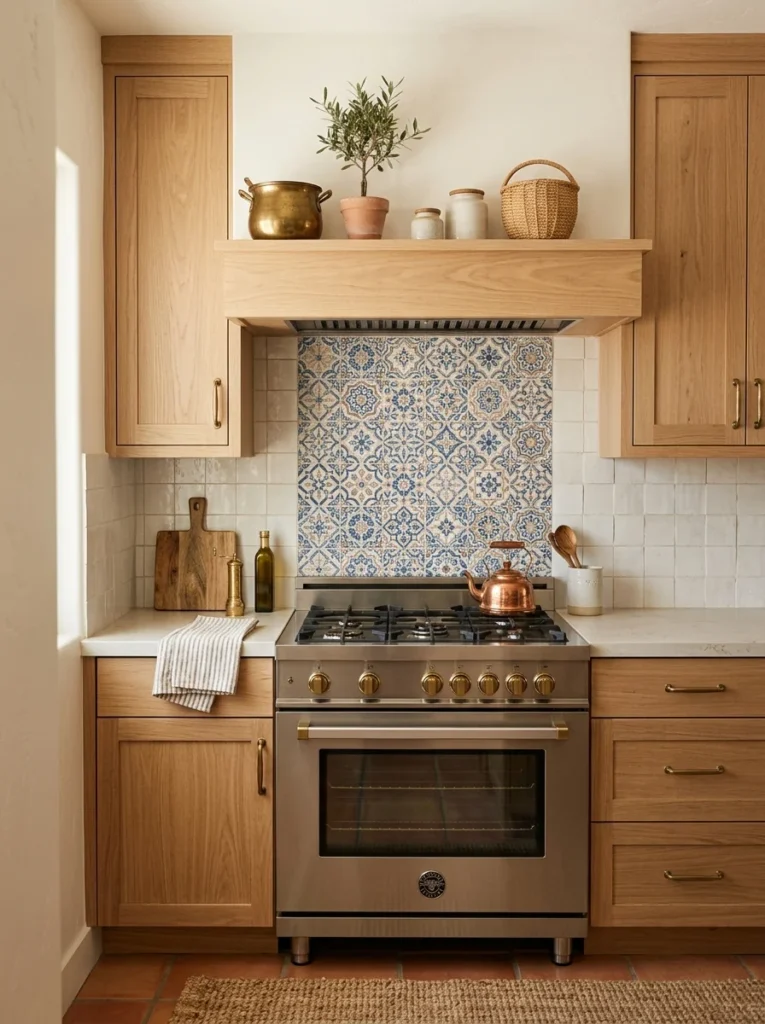
I added a small section of Moroccan-print peel and stick tile behind my stove as an accent, rather than covering the whole backsplash in a bold pattern. It gave the space personality without overwhelming the rest of the kitchen, and keeping it contained to one section meant I could commit to a bolder design without worrying about it feeling like too much.
4. Faux Marble Sheets
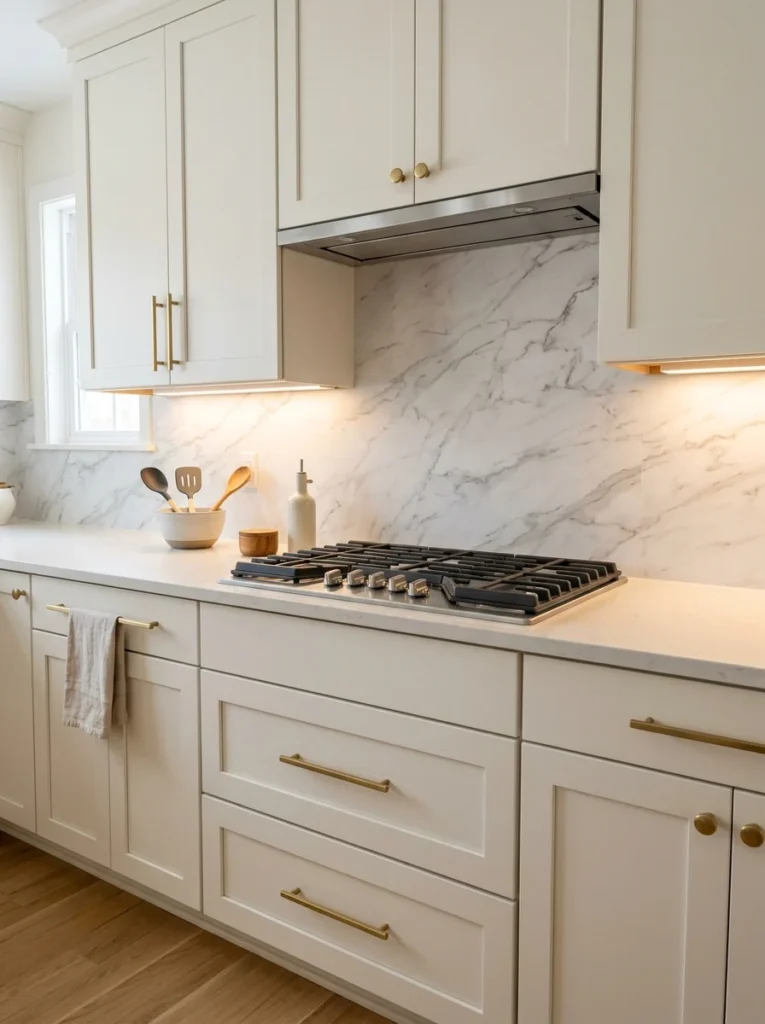
Real marble backsplash is one of the most expensive kitchen upgrades you can choose, so a good faux marble peel and stick option is one of the biggest value differences on this entire list. The sheets I used had a subtle, realistic vein pattern printed into them, and once installed under cabinet lighting, more than one guest has asked if I’d had real marble installed.
5. Textured 3D Brick Tiles
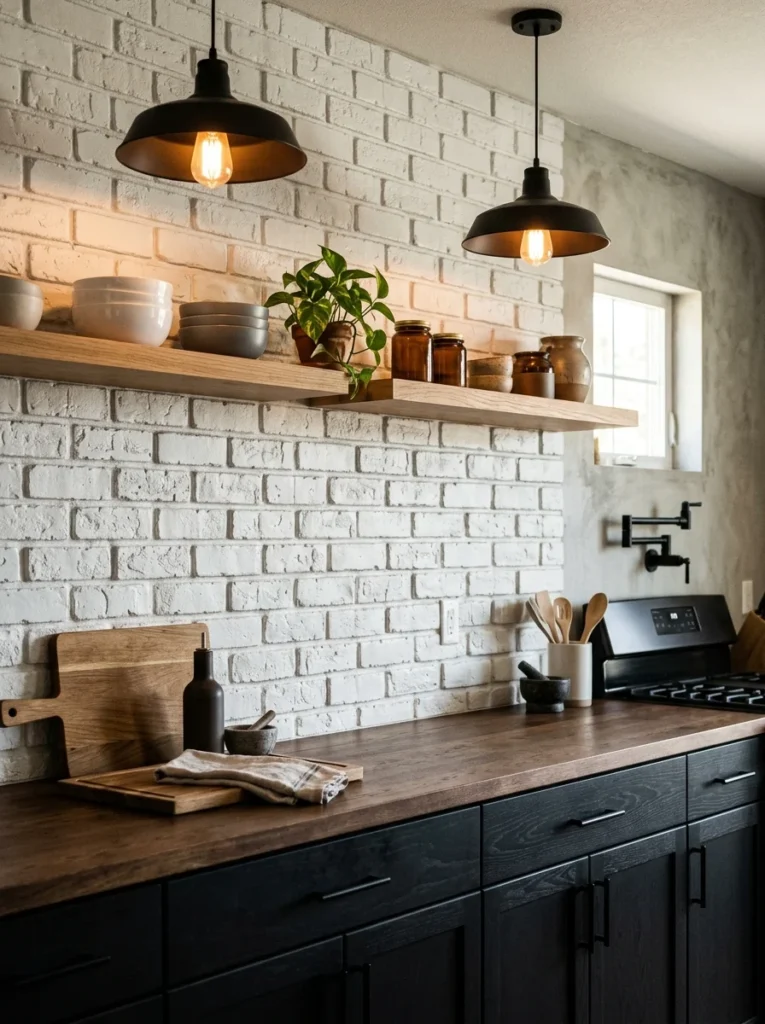
For a more industrial look, textured tiles designed to mimic exposed brick add real dimension rather than just a flat printed pattern. My sister used these along one wall in her kitchen, and the raised texture catches light in a way that makes it genuinely difficult to tell from a distance that it isn’t real brick.
6. Metallic Mosaic Tile Sheets
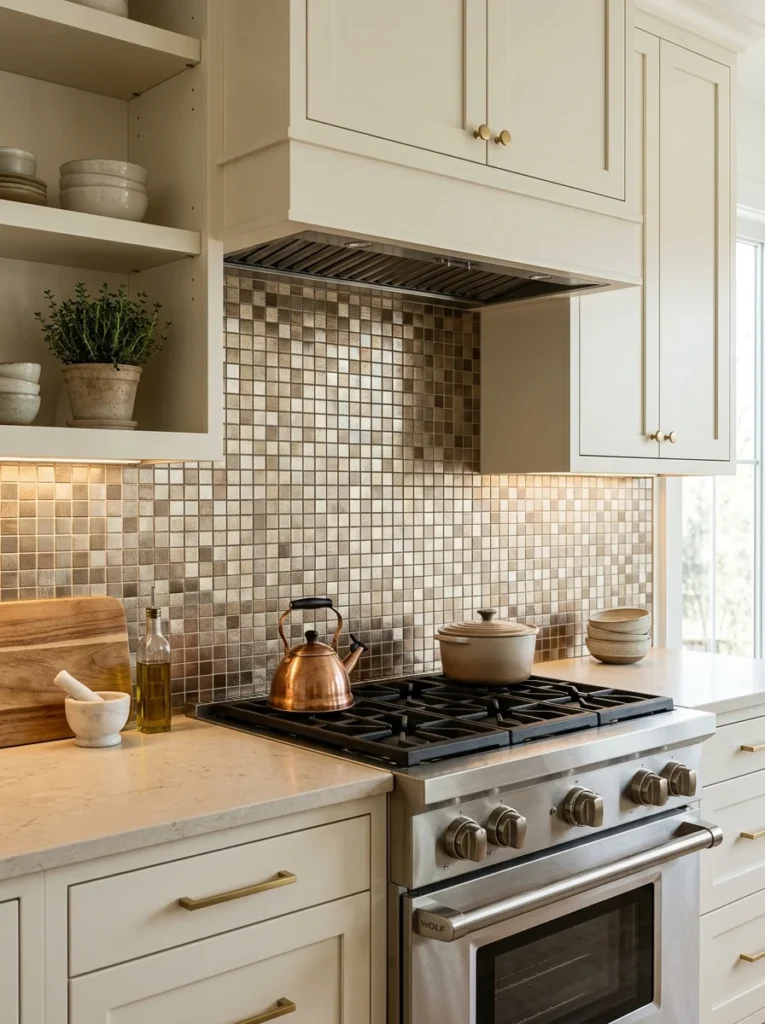
A section of metallic mosaic tile behind my range added a bit of shine and warmth to the kitchen without needing to replace any hardware or lighting fixtures. The individual small tiles within each sheet catch light differently depending on the angle, which gives the whole area a subtle shimmer that flat tile simply doesn’t have.
7. Matte Black Hexagon Tiles
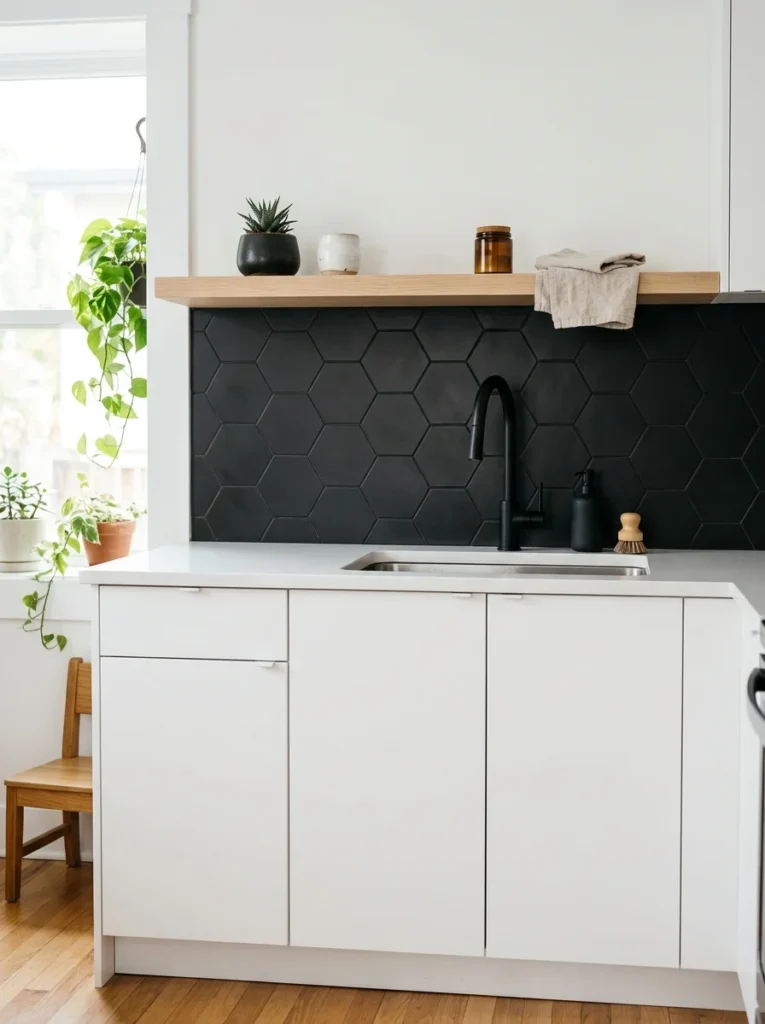
For a bolder, more modern statement, matte black hexagon peel and stick tiles work especially well against white cabinets and countertops. I used this style in a small home office kitchenette, and the geometric shape combined with the dark, non-reflective finish gave the tiny space a surprisingly sophisticated, almost boutique-cafe feel.
8. Terracotta-Toned Tile
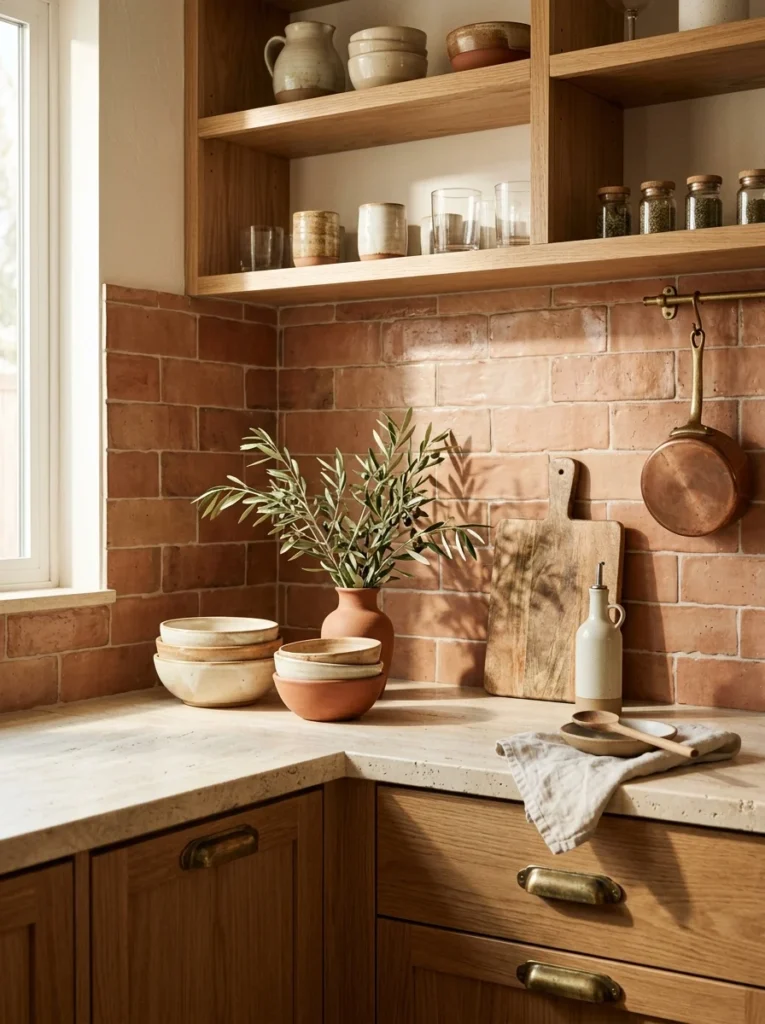
Warm terracotta tones in a peel and stick tile bring an earthy, Mediterranean feel to a kitchen without the cost of importing actual terracotta or ceramic tile. I’ve seen this style work particularly well in kitchens with wood cabinetry, since the warm undertones complement natural wood far better than cooler gray or white tile options do.
9. Blue and White Patterned Tile
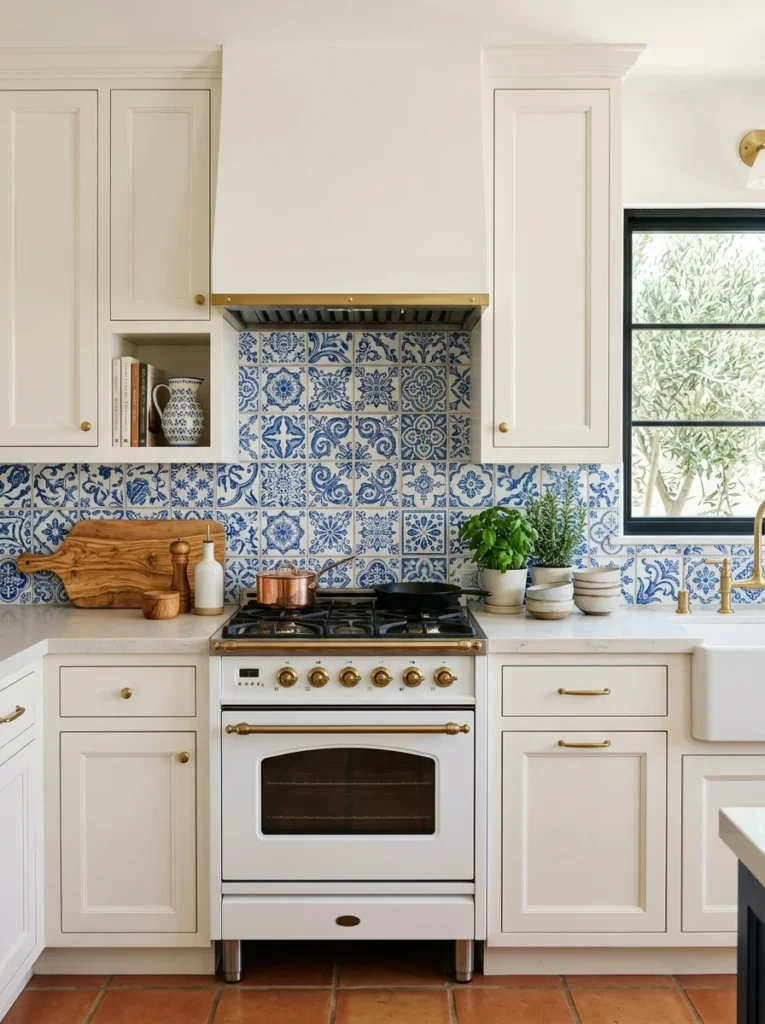
A patterned blue and white tile, reminiscent of traditional Portuguese or Spanish tile work, became the focal point of my sister’s kitchen once installed behind her stove. It’s a bolder choice than plain subway tile, but keeping the surrounding cabinets and counters neutral kept the overall look balanced rather than busy.
10. Faux Zellige Tile
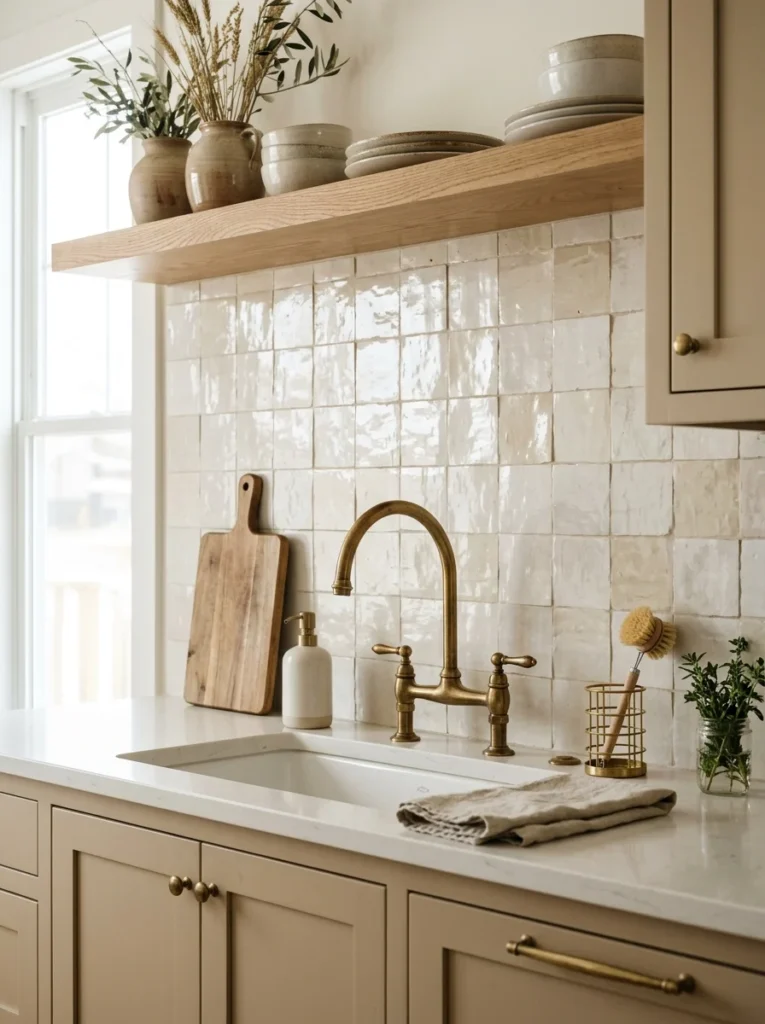
Zellige tile, the handmade Moroccan tile known for its slightly irregular, glossy surface, is notoriously expensive in its authentic form. Peel and stick versions that mimic its subtle color variation and light-catching texture gave my kitchen a similar organic, artisanal look for a fraction of what real zellige tile would have cost, both in materials and installation labor.
11. Wood-Look Plank Tile
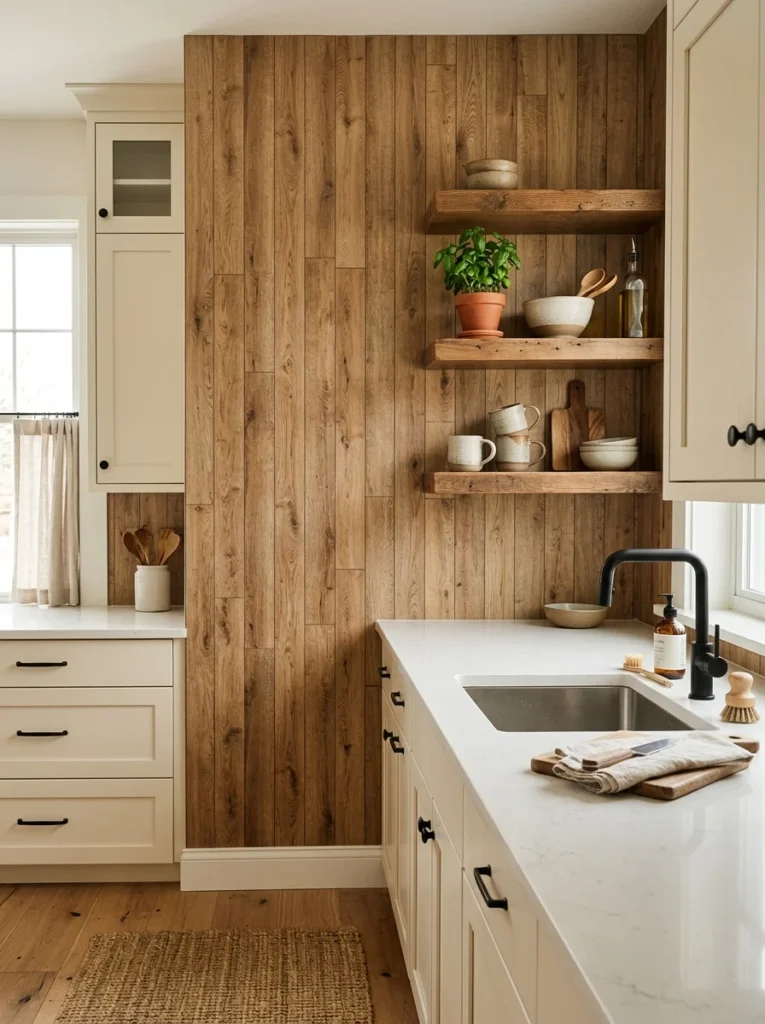
For a warmer, more rustic backsplash, wood-look peel and stick planks bring texture without the moisture concerns real wood would have this close to a sink or stove. I used a narrow strip of this style above open shelving in my kitchen, and it tied in nicely with my existing hardwood floors without introducing an entirely new material into the room.
12. Geometric Encaustic-Style Tile
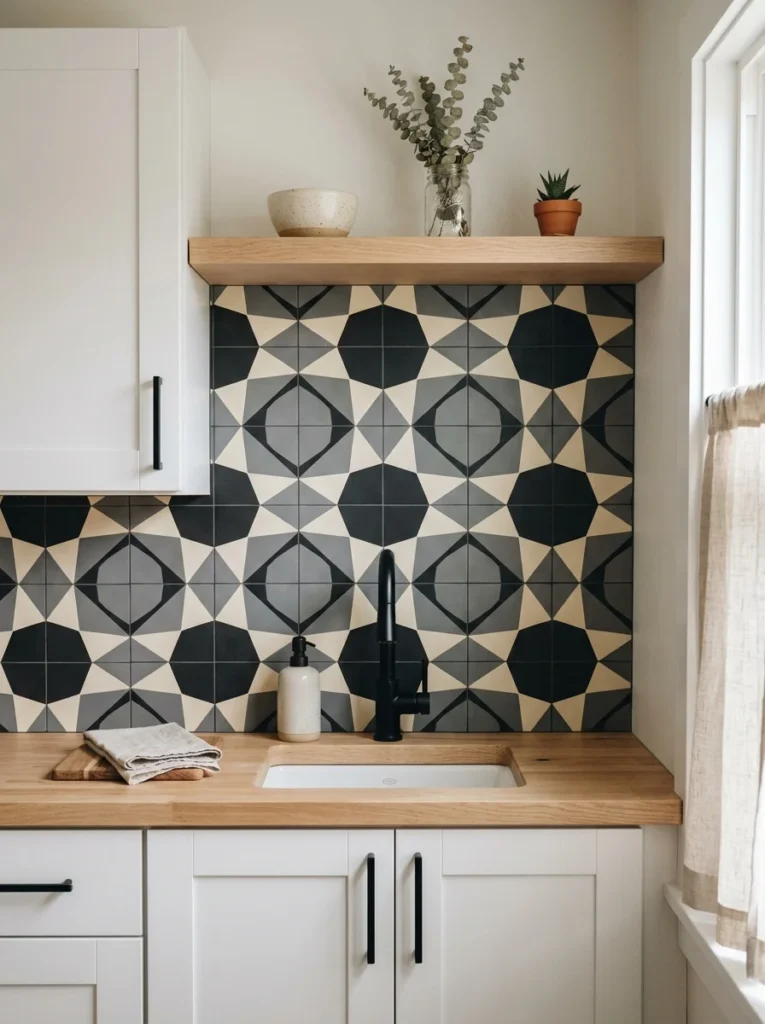
Encaustic cement tiles, known for their bold geometric patterns, are heavy, expensive, and labor-intensive to install in their original form. A peel and stick version let me get that same graphic, patterned look in a small kitchen nook without the weight or cost, and it became the single most complimented detail in that part of the house.
13. Soft Sage Green Subway Tile
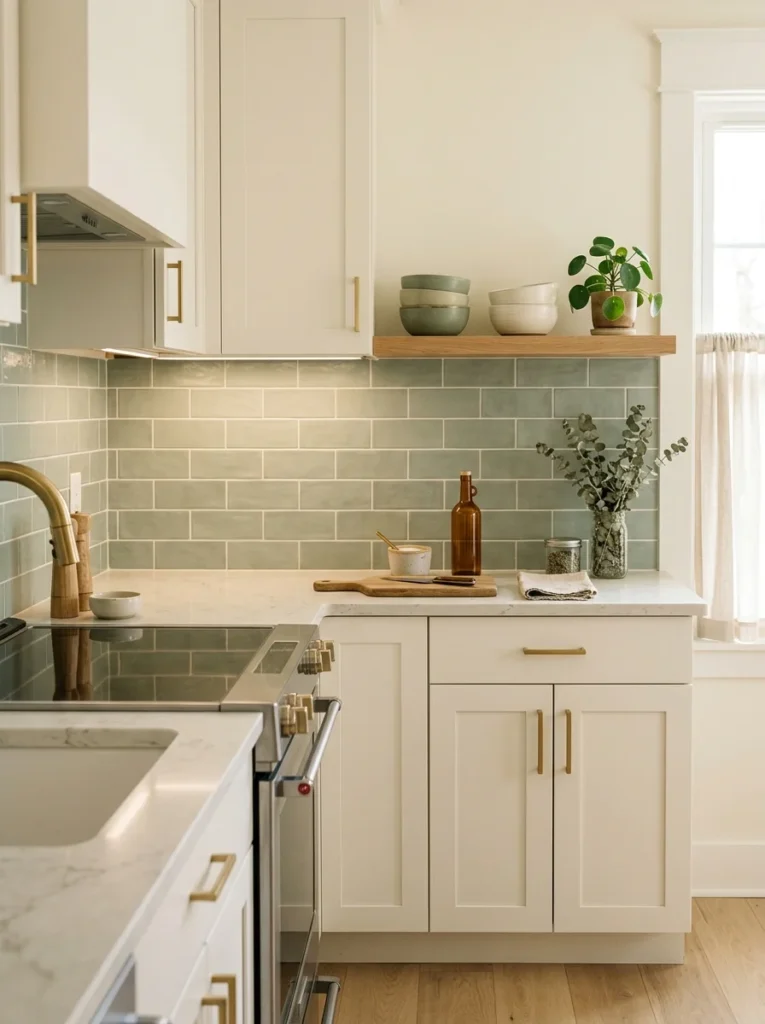
Once I got more comfortable with the classic white subway layout, I tried the same shape in a soft sage green for a friend’s kitchen redo. The muted, earthy color paired beautifully with her brass hardware and gave the kitchen a calm, cohesive feel that a stark white backsplash wouldn’t have provided in that particular space.
14. Marble Hexagon Mosaic
Combining two popular styles, hexagon shape and marble pattern, this tile option gave a small butler’s pantry a genuinely upscale look. The hexagon shape adds visual texture that a flat marble sheet doesn’t have, while still keeping that high-end marble aesthetic that tends to photograph beautifully in kitchens.
15. Copper and Bronze Tone Tile
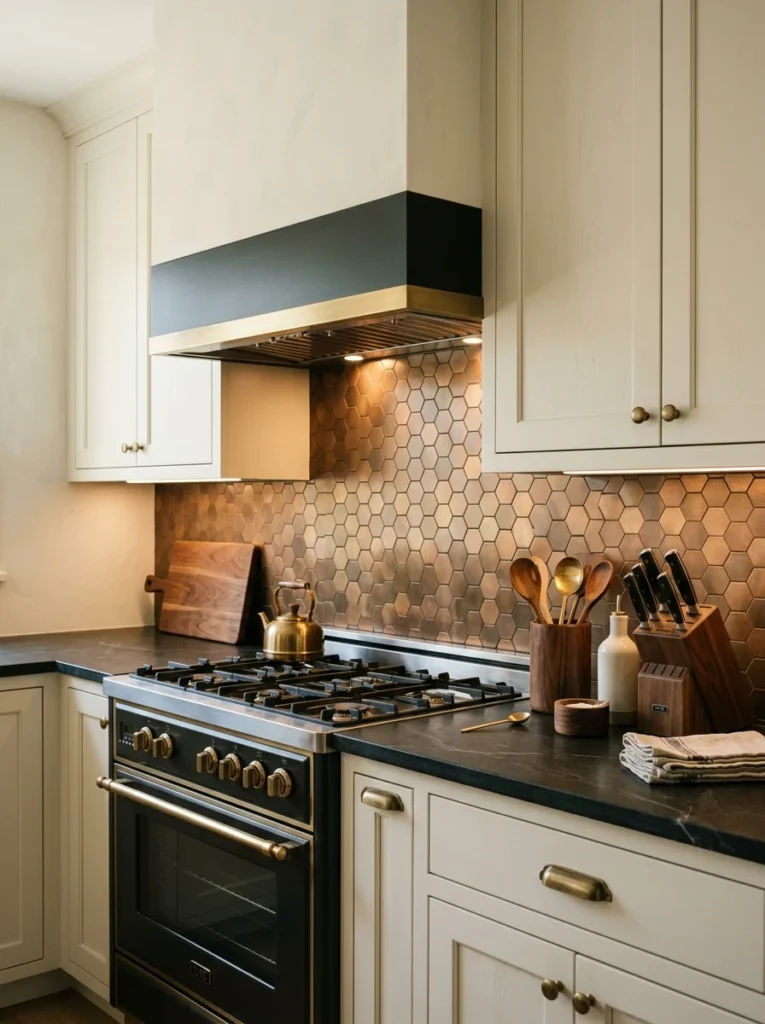
A section of copper-toned peel and stick tile behind my stove added warmth and a bit of glamour without the cost of an actual copper backsplash, which can tarnish and requires ongoing maintenance real metal doesn’t always get in a busy kitchen. The printed tile gives the same warm metallic glow without any of that upkeep.
16. Two-Tone Checkerboard Pattern
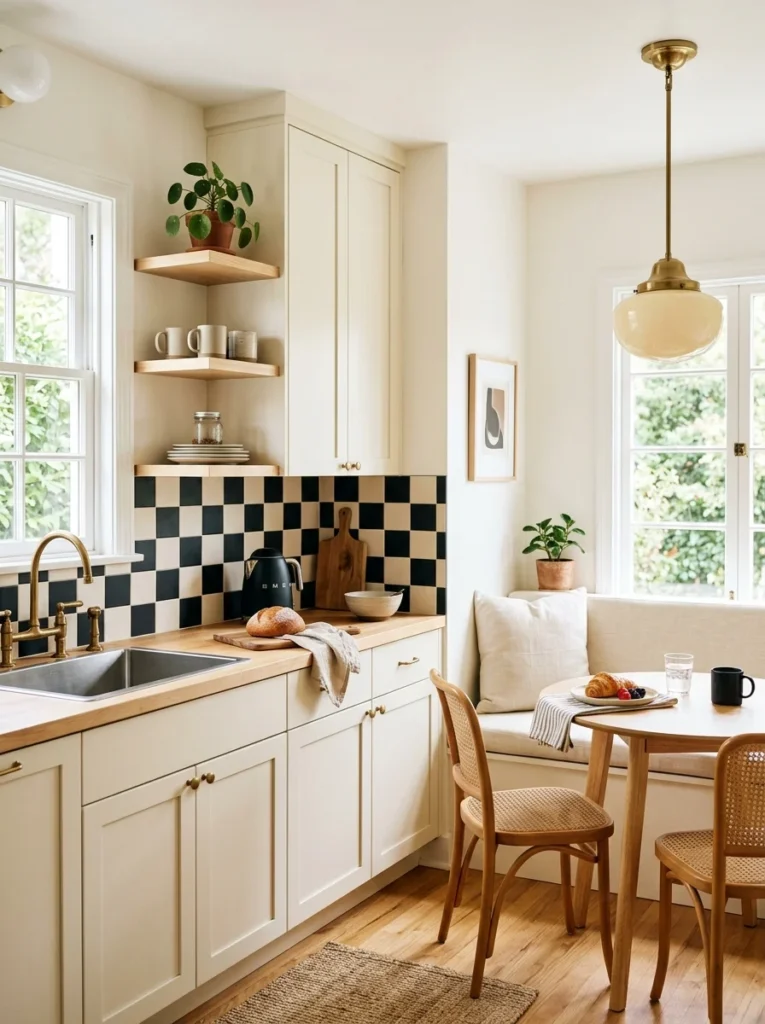
For a playful, retro-inspired kitchen, a black and white checkerboard peel and stick pattern makes a strong style statement. I used this in a small breakfast nook rather than the main kitchen, since the bold pattern works best in a contained space where it can shine without competing against too many other design elements.
17. Neutral Linen-Textured Tile
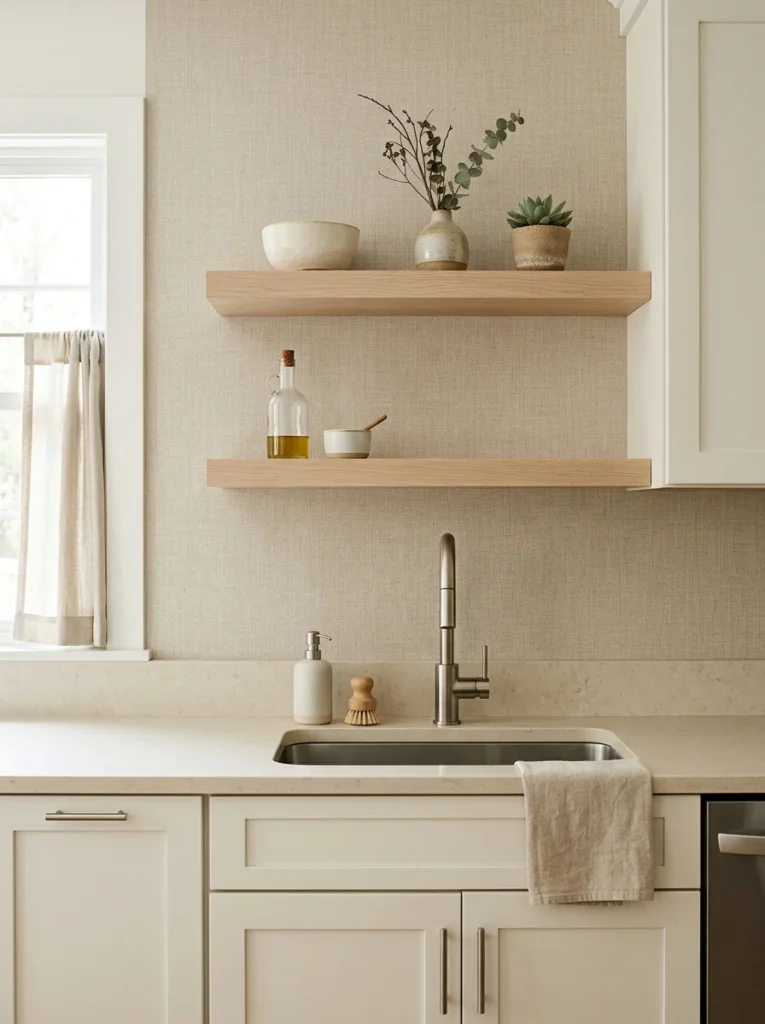
For anyone who wants the practical benefits of peel and stick tile, like easy cleaning and splash protection, without committing to a strong pattern, a subtle linen-textured neutral tile is a great option. It reads more like a design choice than a shortcut, and it works especially well in kitchens that already have a lot of visual interest elsewhere and don’t need the backsplash to compete for attention.
Tips for Making Peel and Stick Tile Look Genuinely High-End
After doing this project myself and helping with two others, I’ve noticed a few small details that separate a backsplash that looks intentional from one that looks like an obvious rental fix.
Prep the wall properly first. Peel and stick tile adheres best to a clean, smooth, grease-free surface. I learned this the hard way in my first attempt, when a few tiles near the stove started lifting within a month because I hadn’t degreased the wall thoroughly enough beforehand. A simple wipe-down with rubbing alcohol before installing solved the problem permanently on my second attempt.
Plan your layout before peeling anything. Dry-fitting the tiles by laying them out on the floor or holding them against the wall before committing to adhesive placement helped me avoid awkward half-tiles at eye level, which is one of the fastest ways to make the finished product look unplanned.
Seal the edges near the sink and stove. A thin bead of clear caulk along the top and side edges near water and heat sources keeps tiles from peeling up over time in the areas that see the most daily wear, which matters far more in a kitchen than it would in a lower-traffic room.
Don’t skip the outlet cutouts. Taking the extra time to carefully cut tile sheets around outlets and switches, rather than covering them with a full sheet and cutting through afterward, gave my installation much cleaner, more precise edges around every fixture.
How to Choose the Right Style for Your Kitchen
With so many options available, picking one can feel overwhelming, so I usually tell people to start by looking at what’s already fixed in their kitchen and can’t easily change, like cabinet color, countertop material, and flooring, rather than starting with the tile itself. When I was choosing for my own kitchen, my cabinets were a warm white and my countertops had subtle gray veining, which is part of why the faux marble ended up being such a natural fit rather than fighting against the existing materials in the room.
If your kitchen already has a lot of pattern or color, from patterned floor tile or bold cabinet color, a simpler subway or linen-textured option usually looks more intentional than adding another strong pattern on top. On the other hand, if your kitchen leans neutral and a little plain, the way my sister’s rental kitchen did before we started, a bolder pattern like herringbone or blue and white tile can become the single design element that pulls the whole room together.
It’s also worth considering the room’s natural light. Darker tile options, like the matte black hexagon or copper-toned tile, tend to work best in kitchens that get plenty of natural light during the day, since darker surfaces can make a dim kitchen feel even smaller and more closed in. Lighter tiles, by contrast, tend to be more forgiving in kitchens without much direct sunlight, bouncing back what light is available rather than absorbing it.
Removable Versus Permanent Peel and Stick Options
One detail that surprised me when I first started researching this project was that not all peel and stick tile is created equal when it comes to removability. Some products are designed to be fully permanent, bonding tightly to the wall in a way that’s meant to last as long as traditional tile, while others are specifically designed to be removed cleanly when a lease ends or a style changes.
For my own kitchen, since I own the house and had no plans to change it again soon, I chose a more permanent-bonding option, which also tends to hold up slightly better around heat and moisture over the long term. For my sister’s rental, we specifically looked for a tile labeled as removable, since her lease required her to return the apartment to its original condition. When we eventually pulled a test section up in an inconspicuous spot to check, it came away cleanly without damaging the original tile or leaving behind sticky residue, which was exactly what she needed for a rental.
If you’re not sure which category fits your situation, checking the product description or packaging before buying is worth the extra couple of minutes, since the difference between the two can save you a stressful conversation with a landlord or a lot of unnecessary scraping and cleaning later on.
Comparing the Cost to Traditional Tile
Part of what made this project so appealing to me in the first place was the cost difference compared to the quotes I’d gotten for real tile installation. Between materials and the labor cost of a professional installer, my original quotes for a traditional subway tile backsplash came in several times higher than what I ended up spending on the peel and stick version, materials included, since I did the installation myself over a single afternoon.
Even accounting for the cost of tools I didn’t already own, like a good utility knife and a level, the total project cost for my kitchen was still a small fraction of what professional tile installation would have run. That gap is really what makes peel and stick such an appealing option for anyone who wants a genuine visual upgrade without taking on a full renovation budget, especially in a kitchen where the backsplash is a relatively small surface area to begin with.
Frequently Asked Questions
How long does it typically take to install a peel and stick backsplash? My own kitchen backsplash took a single Saturday afternoon, roughly four hours including wall prep and cutting around outlets. My sister’s herringbone installation went even faster since the sheets were larger, taking her closer to two and a half hours for a similarly sized wall.
Do I need any special tools to install it? Not really. A utility knife, a straightedge, a level, and rubbing alcohol for cleaning the wall beforehand covered everything I needed for both installations. Having a small pair of sharp scissors on hand also made cutting around outlets and corners much easier than trying to do it all with just the utility knife. In my experience, a good-quality peel and stick tile that’s installed on a properly cleaned and prepped surface holds up well for years. My own kitchen backsplash has been up for over two years now with no lifting, though areas with heavy grease exposure, like directly behind a stove, do benefit from an extra layer of clear sealant for added durability.
Can peel and stick tile go directly over old tile? Yes, in most cases, as long as the existing tile is flat, clean, and free of major texture or damage. I installed my sister’s herringbone tile directly over her rental’s original tile, which saved a huge amount of time and avoided the mess and cost of removing the old tile first.
Is peel and stick tile heat and water resistant enough for behind a stove? Most quality peel and stick tile is rated for both moisture and moderate heat, but I’d still recommend keeping tile a safe distance from an open flame or very high heat exposure and double-checking the specific product’s heat rating before installing it directly behind a stovetop.
What’s the best way to clean a peel and stick backsplash once it’s installed? A simple wipe-down with a damp cloth and mild dish soap has been more than enough to keep my own backsplash looking new, even directly behind the stove where grease splatters happen most often. I avoid abrasive scrubbers or harsh chemical cleaners, since they can dull the finish or, in rare cases, start to lift the edges of the tile over time.
Final Thoughts
Looking at my kitchen now, it’s genuinely hard to remember how tired and unfinished it felt behind that plain painted wall for all those years I put the project off. What surprised me most wasn’t just how affordable the whole upgrade was, but how much of a difference it made to the entire room, considering how small the actual project area was in the grand scheme of a kitchen renovation.
If you’re considering a peel and stick backsplash of your own, my advice is to spend a little more on a higher-quality tile with realistic texture rather than the cheapest option available, and to take your time on the prep work before you start peeling anything. Those two decisions made the biggest difference between my first rushed attempt, which needed touch-ups within weeks, and the version that’s still holding up perfectly two years later.
Looking back at both projects, mine and my sister’s, what stands out most is how differently the same basic product can be used depending on the situation. A homeowner who wants a lasting, permanent upgrade and a renter who needs something fully reversible can both walk away with a kitchen that looks completely transformed, just by choosing the right version of the same simple, budget-friendly material. That flexibility is really what makes peel and stick tile worth considering, whether you’re planning to stay in your kitchen for years or just want to make a rented space feel more like home for as long as you’re there.
