
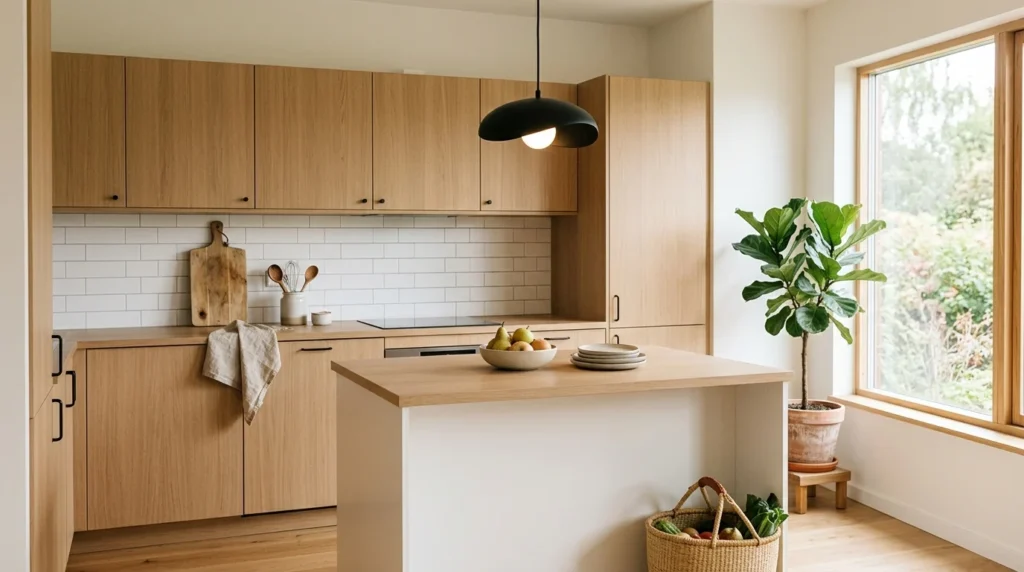
“It feels like your kitchen is resting,” a friend told me the first time she saw my redone kitchen, which is such a strange compliment when you actually think about it, but I knew exactly what she meant. Before I leaned into a Scandinavian-inspired approach, my kitchen had the same amount of stuff, roughly the same layout, and honestly wasn’t cluttered by most standards. It just felt busy in a way I couldn’t quite name. Getting it to that calmer, “resting” state wasn’t about buying new things so much as rethinking what stayed visible and what didn’t. It took longer than I expected, and a few wrong turns along the way, but the end result was a kitchen that genuinely feels different to stand in, not just different to look at in a photo. Here’s what actually got me there.
1. Choose a Muted, Limited Color Palette
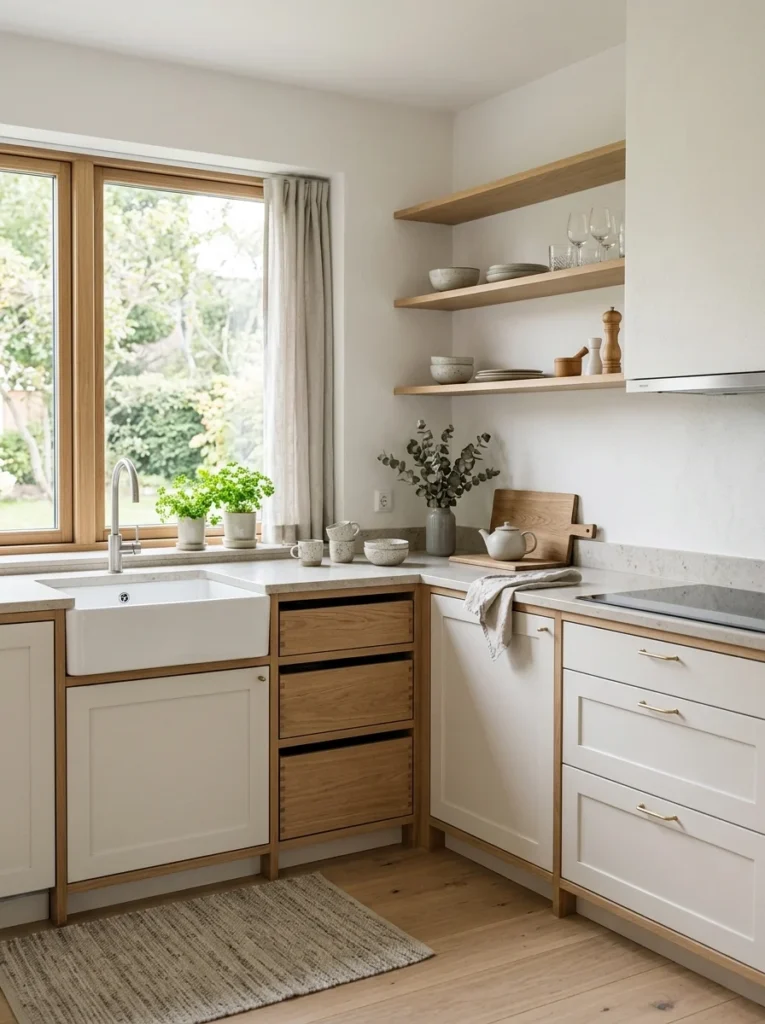
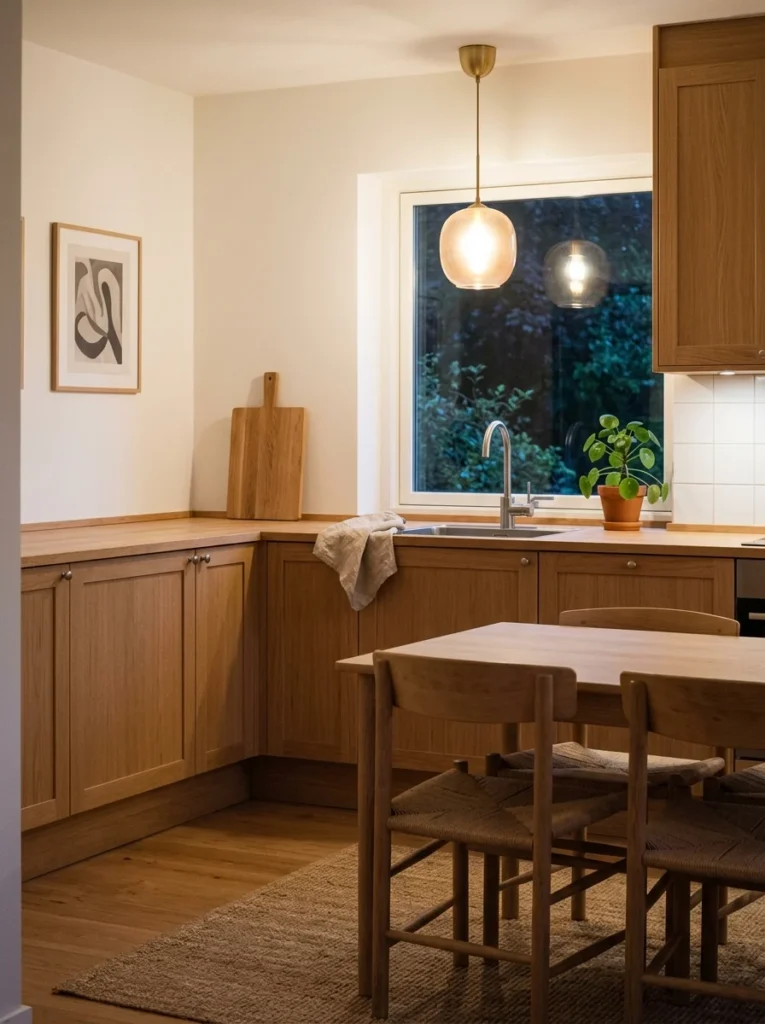
I used to think a kitchen needed at least one bold accent color to avoid looking boring. Sticking almost entirely to whites, soft grays, and warm wood tones instead did the opposite of what I expected — the room felt more intentional, not blander, once I removed the visual competition between colors.
2. Let Natural Wood Do the Warming Work
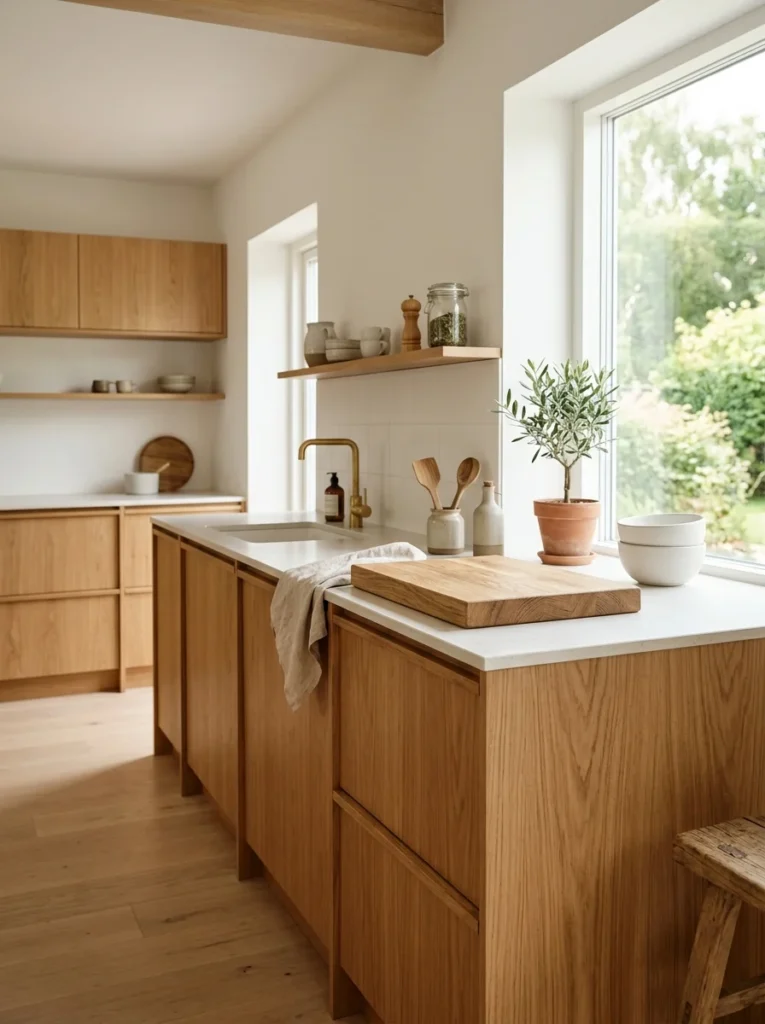
Without a bold color anywhere, I was worried my kitchen would feel cold or sterile. Keeping the wood cabinetry and a wood cutting board visibly on the counter added just enough warmth to balance the muted palette without needing color to do it.
3. Prioritize Closed Storage Over Open Shelving
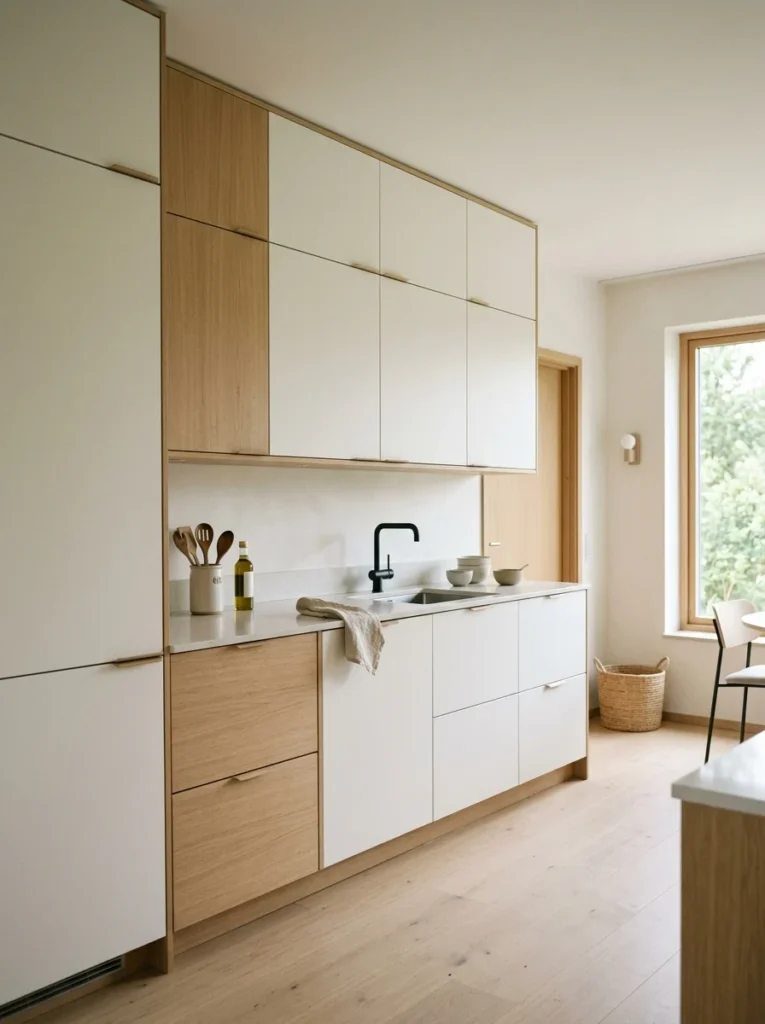
I had open shelving in my previous kitchen, and while it looked nice right after cleaning, it meant every mismatched mug and unused gadget was permanently on display. Switching to mostly closed cabinets let me keep the same amount of stuff while showing almost none of it.
4. Keep Countertops Nearly Empty
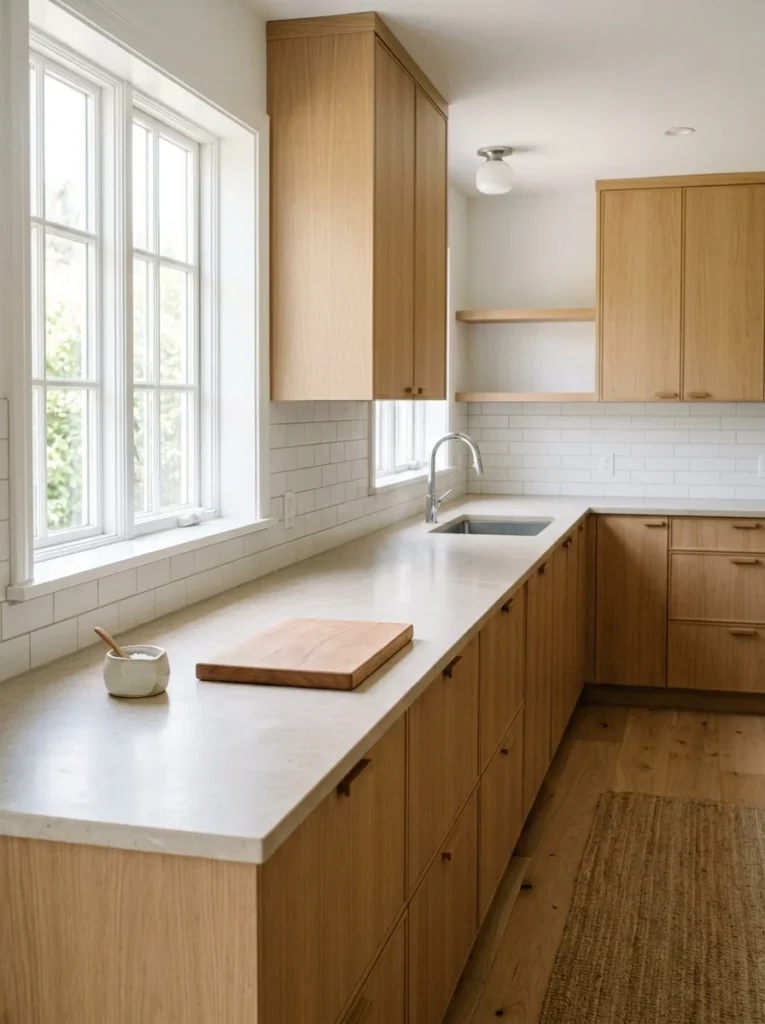
This was the single biggest shift in how the kitchen felt overall. I now keep only two or three items on my counters at any time, everything else lives in a cabinet or drawer, even things I use daily like my coffee grinder. Wiping down an empty counter also takes about ten seconds now instead of five minutes of shuffling appliances around.
5. Choose One Statement Light Fixture, Not Several Competing Ones
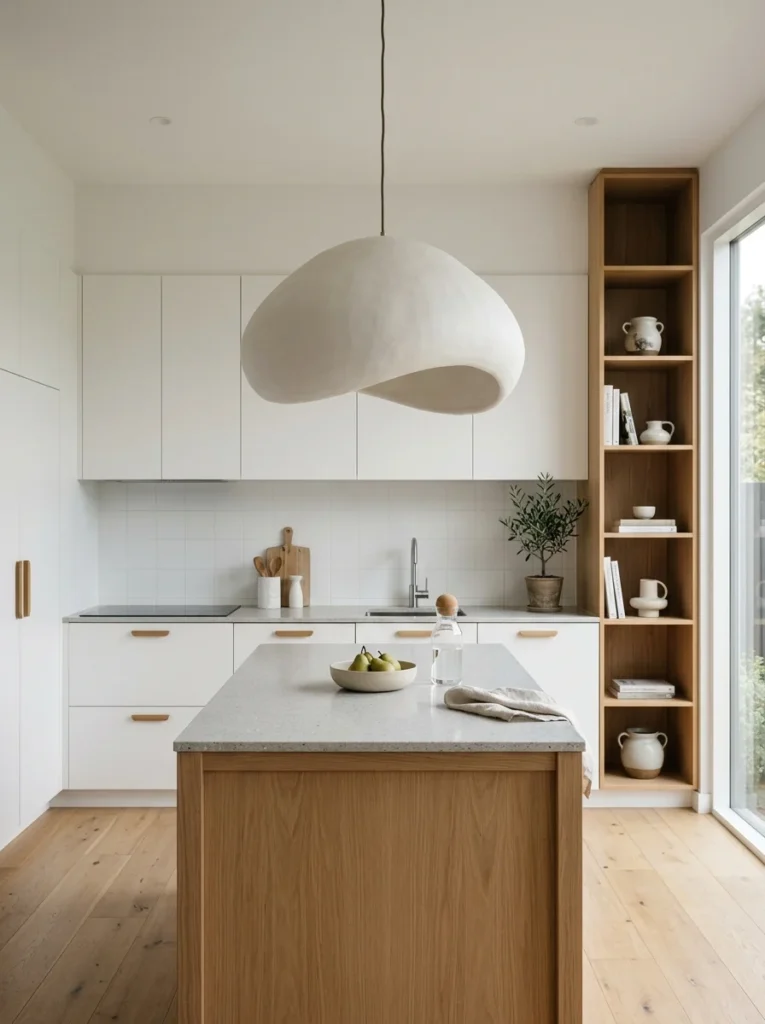
My kitchen used to have under-cabinet lights, a busy chandelier, and a few plug-in lamps all doing their own thing. Simplifying down to one well-chosen pendant fixture as the main light source gave the room a cleaner focal point instead of several smaller ones fighting for attention.
6. Use Matte Finishes Over Glossy Ones
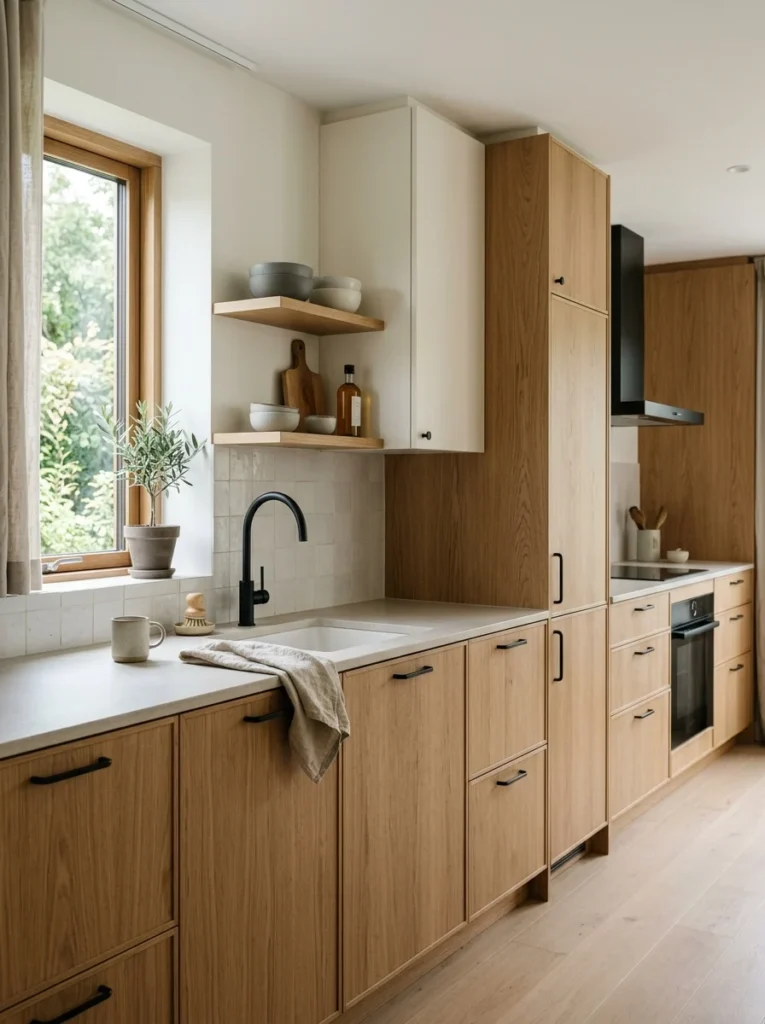
I swapped my glossy cabinet doors for a matte finish during a refacing project, and the difference in how “loud” the kitchen felt was more noticeable than I expected. Glossy surfaces reflect light and catch the eye constantly; matte finishes let the eye settle instead.
7. Stick to One or Two Cabinet Hardware Styles
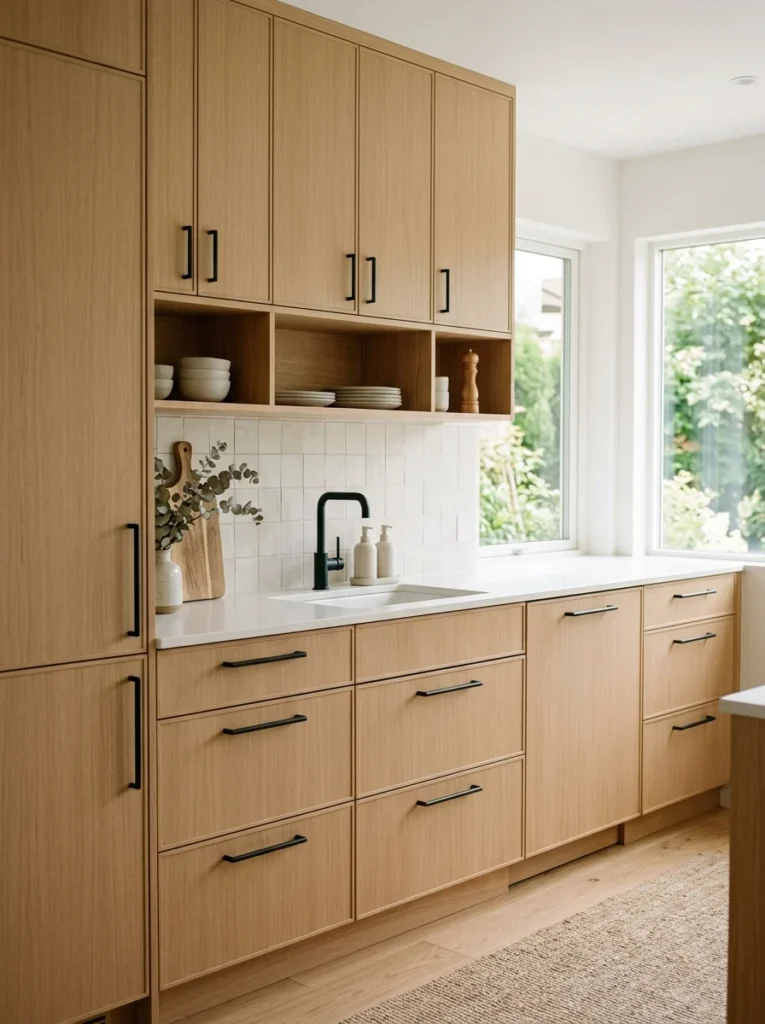
Mixed hardware finishes throughout my kitchen, some brass, some black, some brushed nickel, had accumulated slowly over the years without me really noticing. Replacing everything with a single simple black handle style across every cabinet quietly cleaned up the visual noise of the whole room.
8. Store Small Appliances Out of Sight
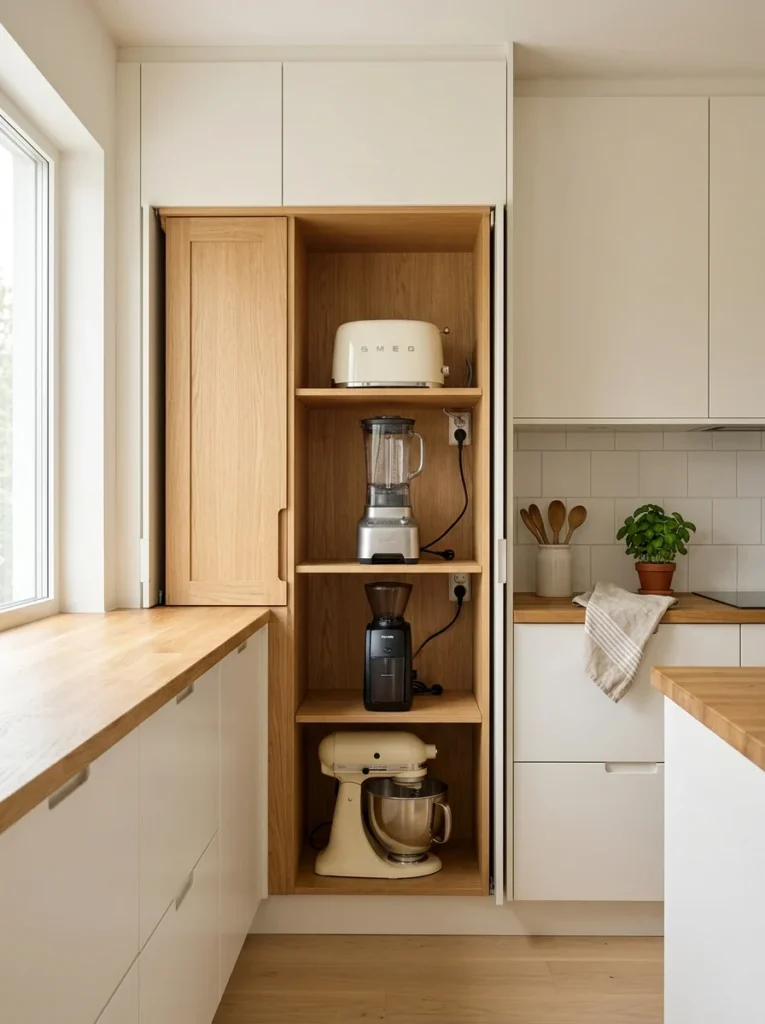
My toaster, blender, and stand mixer used to live permanently on the counter because I used them often enough that putting them away felt inconvenient. Designating a specific “appliance cabinet” with easy access meant I could still grab them quickly, but the counter stayed clear the rest of the time.
9. Choose Simple, Unadorned Cabinet Fronts
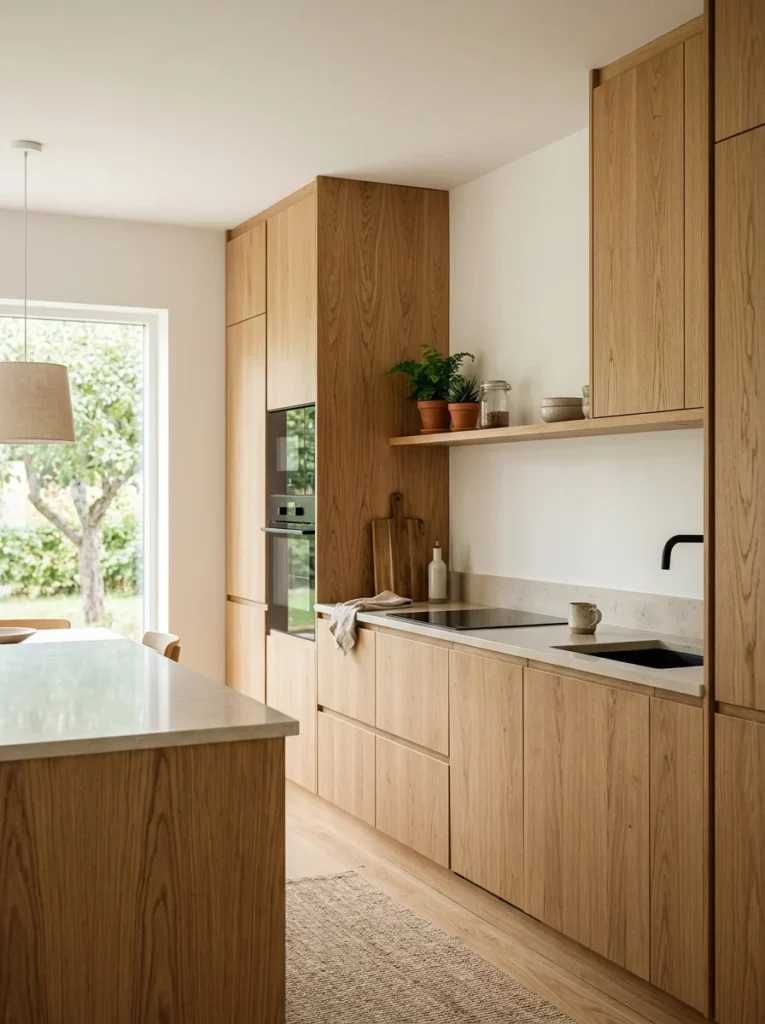
Ornate cabinet detailing, raised panels, decorative trim, tends to visually compete with everything else in the room. Flat, simple cabinet fronts let the wood grain and the room’s overall calm palette be the actual detail worth noticing.
10. Let Function Guide Every Purchase
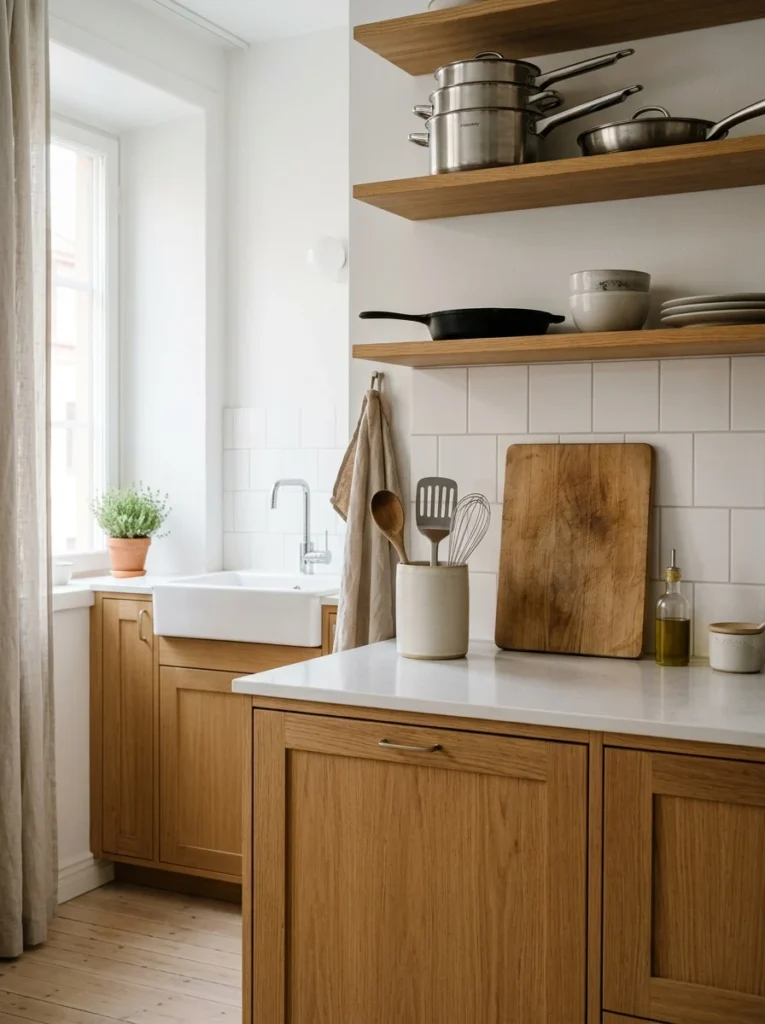
I stopped buying kitchen items because they looked good on a shelf and started asking whether I’d genuinely use them weekly. This cut down significantly on the small decorative clutter, cute mugs, seasonal dish towels, that had been quietly accumulating for years.
11. Use a Single Plant as a Natural Accent
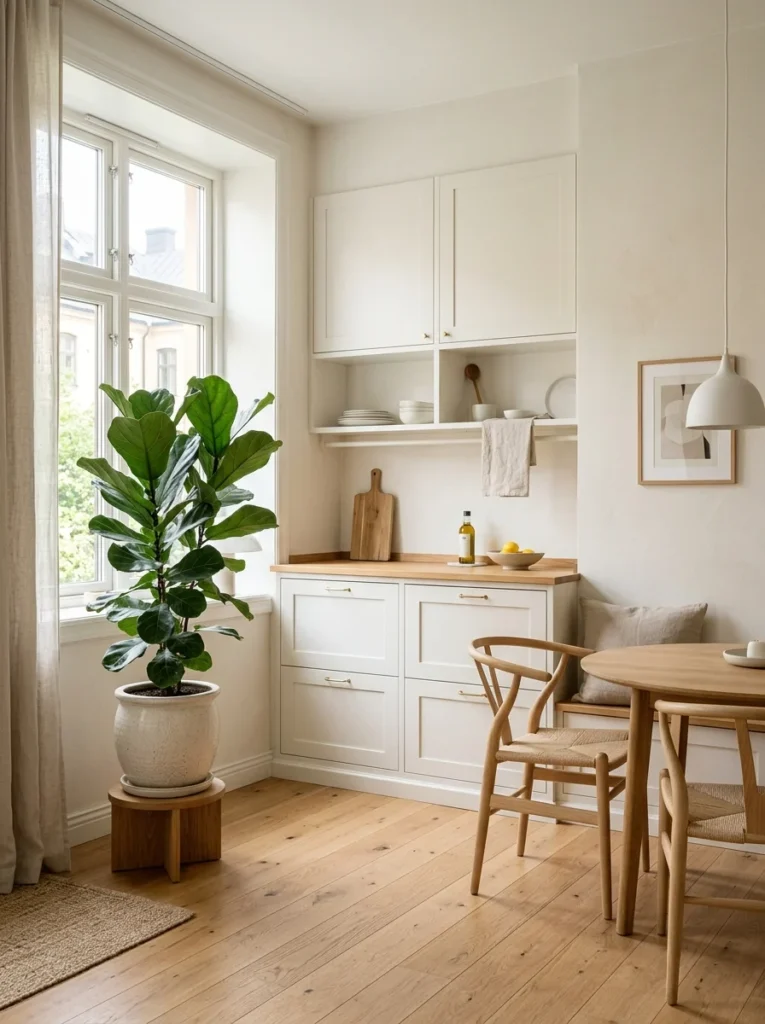
Rather than several small plants scattered around, one larger plant near the window became my kitchen’s only greenery. It added life to the space without turning into another category of clutter to manage and water individually.
12. Keep the Backsplash Simple
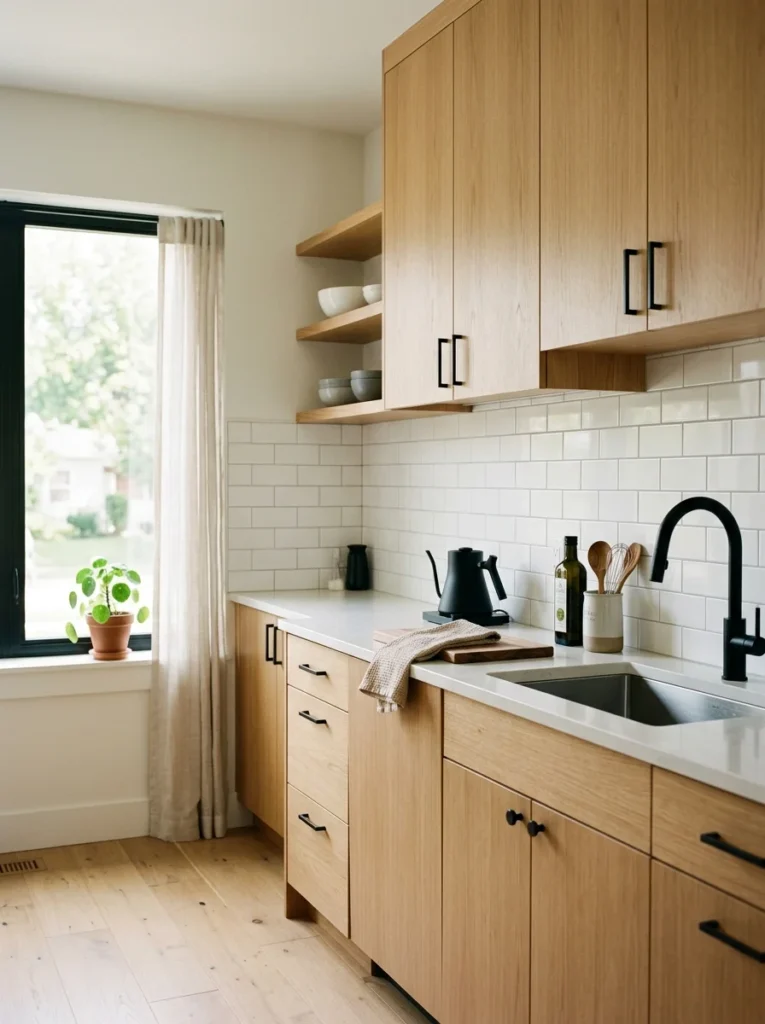
My previous kitchen had a patterned tile backsplash that, in isolation, I actually liked. Paired with an already busy countertop and open shelving, though, it added to an overall sense of visual noise. A simple white subway tile in the new kitchen gives the eye somewhere quiet to land.
13. Choose Woven or Natural Textures for Softness
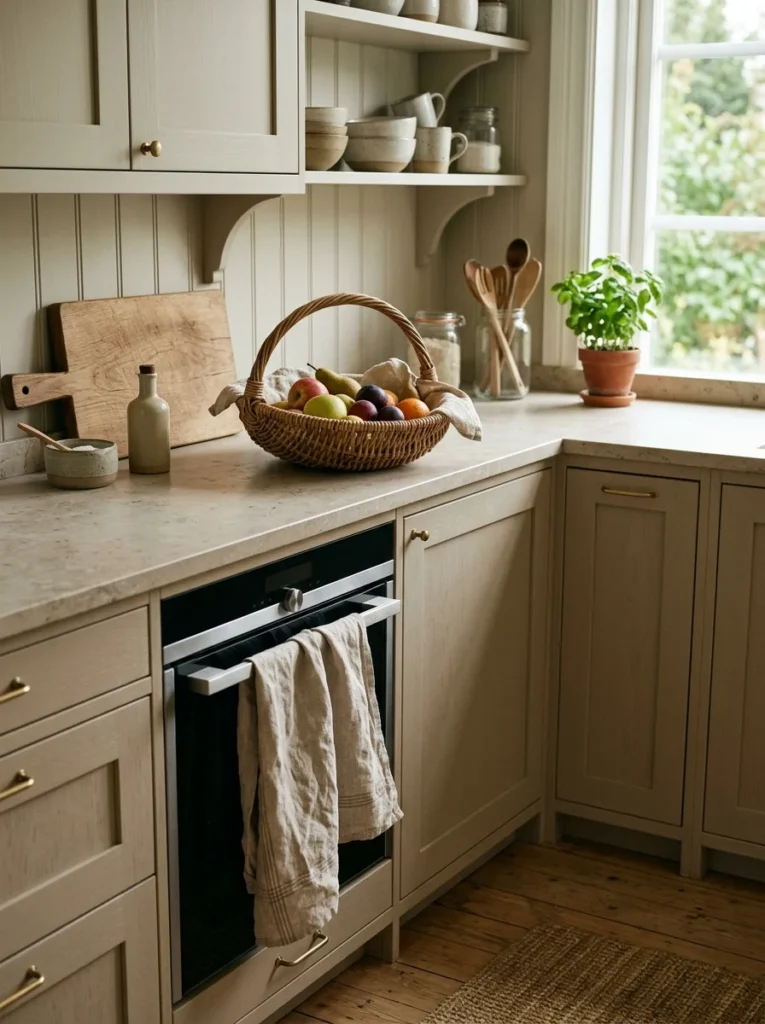
To avoid the space feeling too sterile with all the muted colors and clean lines, I added a woven basket for produce and a linen tea towel hanging from the oven handle. These small textural details add warmth without introducing extra color or clutter.
14. Hide the Trash and Recycling Bins
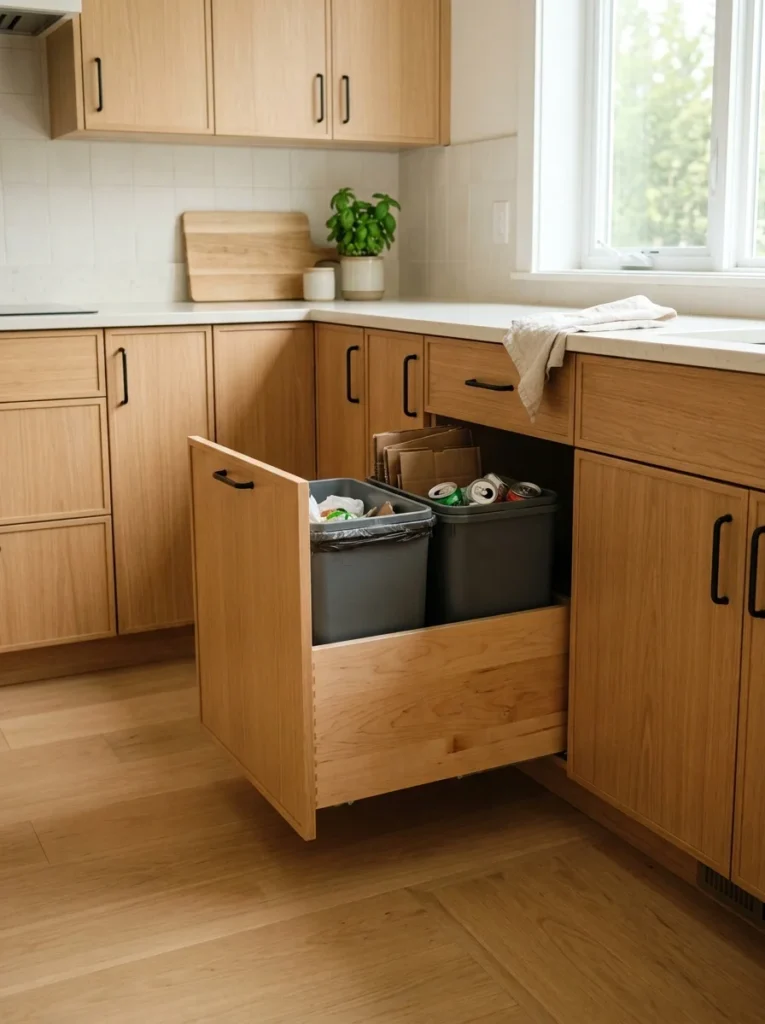
Visible trash bins were one of those things I’d stopped noticing until I hid them inside a pull-out cabinet drawer. The difference in how “finished” the kitchen looked with them tucked away was bigger than I expected from something so mundane.
15. Use Drawer Dividers to Keep Utensils Organized
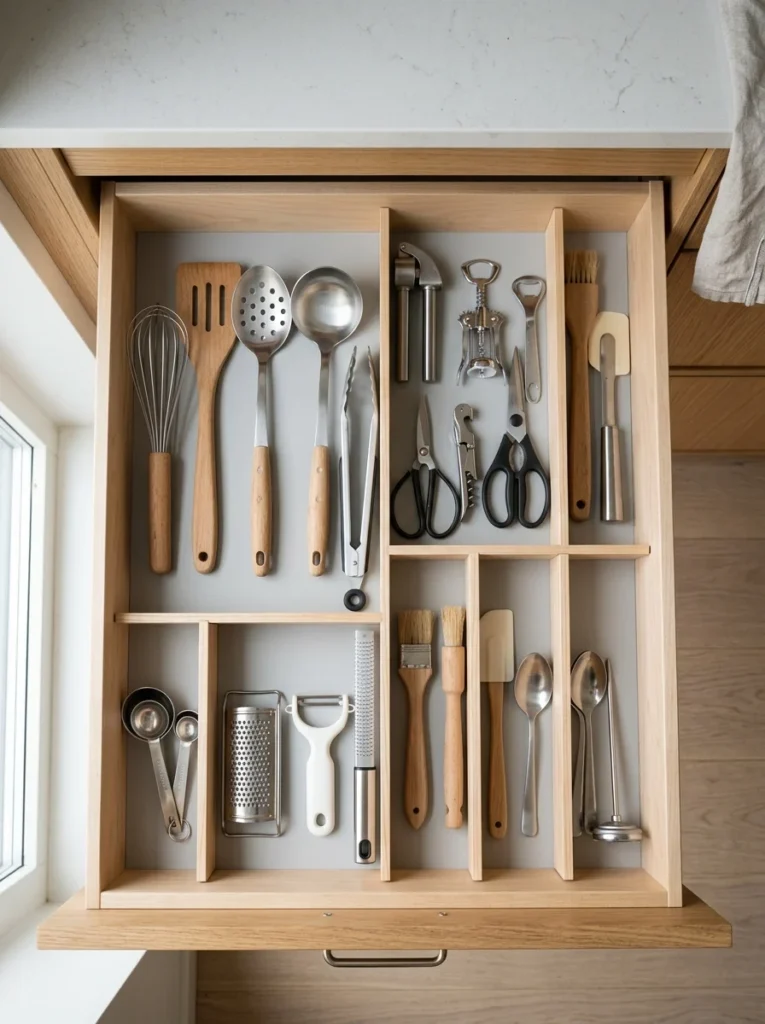
An organized drawer doesn’t show from across the room, but it changes how calm the whole kitchen feels to actually use. Simple dividers for utensils and cooking tools meant I stopped rummaging through a jumbled drawer, which had been a small daily source of low-grade frustration I hadn’t fully registered until it was fixed.
16. Choose a Single Dish Set Instead of Mismatched Pieces
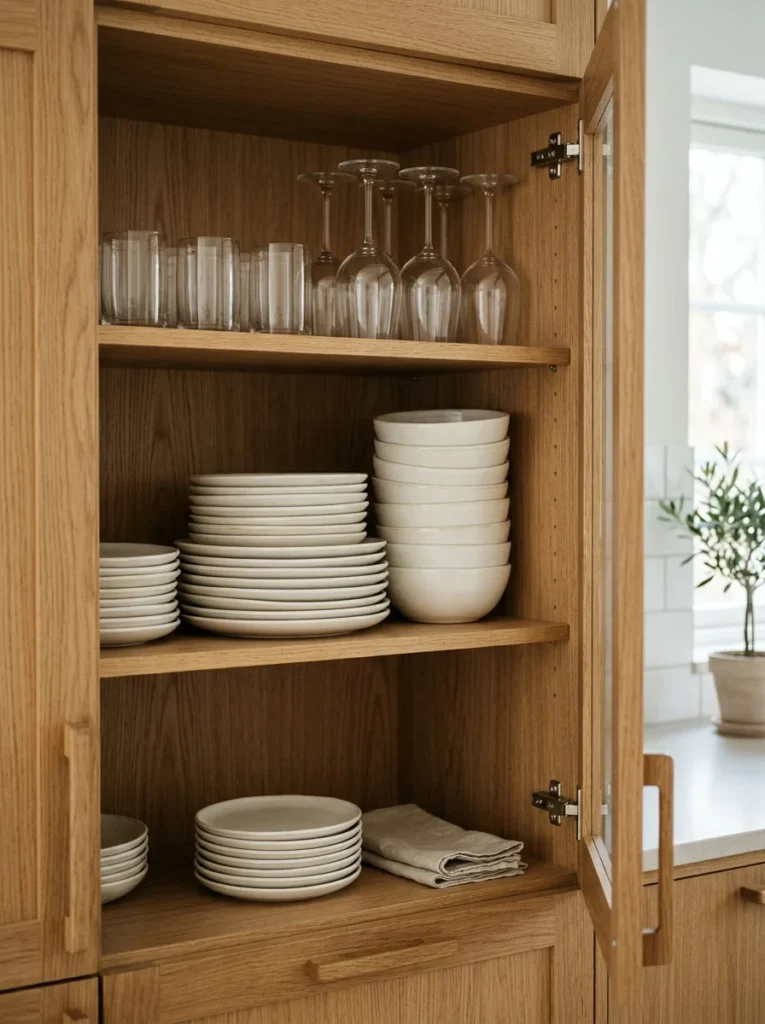
My cabinets used to hold three generations of mismatched plates and bowls collected over the years. Consolidating down to one simple, matching set, and donating the rest, made even a stack of clean dishes in the cabinet look tidier when the door happened to be open.
17. Let Negative Space Be Part of the Design
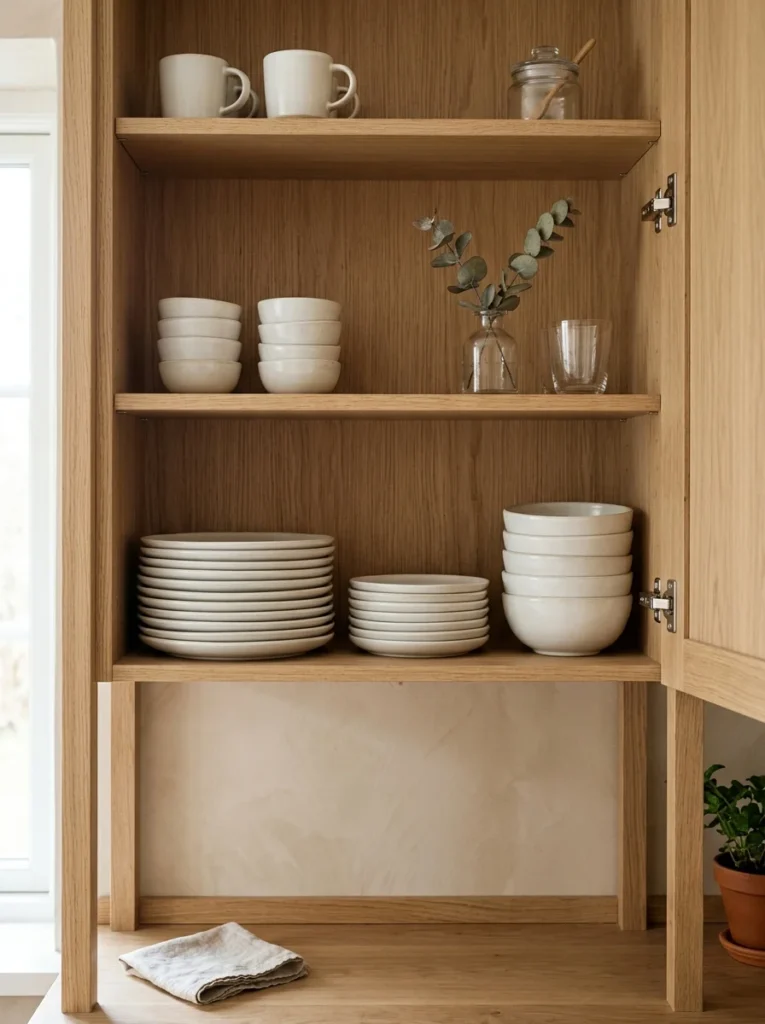
I had to actively resist the urge to fill every empty wall or shelf with something. Leaving a section of open wall completely bare next to my window turned out to give the whole kitchen room to breathe visually, rather than looking unfinished the way I initially worried it would.
18. Keep Window Treatments Minimal or Absent
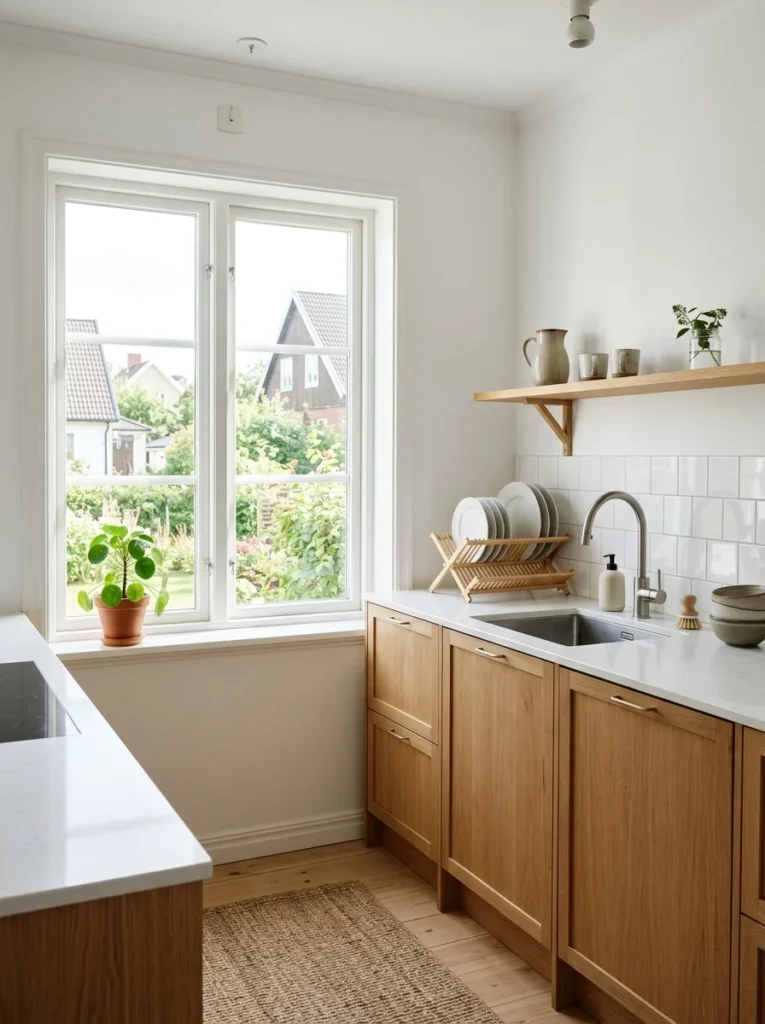
My kitchen window originally had a patterned curtain that matched nothing else in the room. Removing it entirely and leaving the window bare let in more natural light and removed one more pattern competing for attention in an already busy space.
19. Store Cookbooks and Papers in a Closed Spot
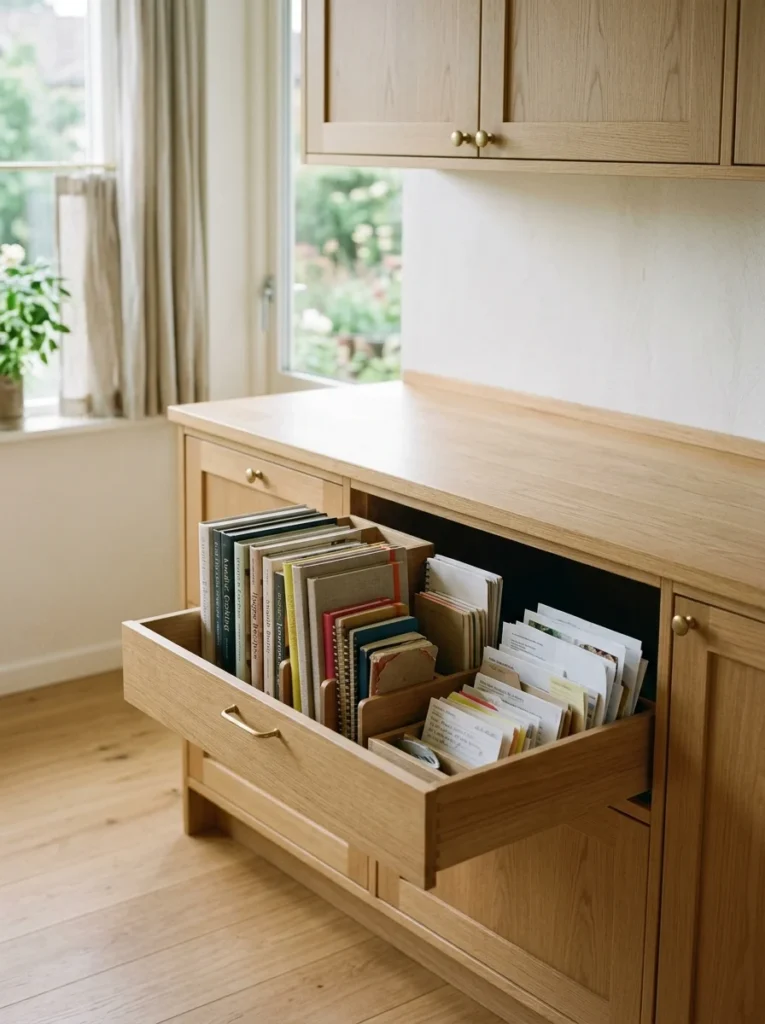
A small stack of cookbooks and stray mail had been living on my counter for years, functioning as a permanent inbox. Moving them to a drawer specifically designated for that purpose removed a cluttered zone that had been quietly undermining the calm of the rest of the kitchen.
20. Do a Weekly Reset, Not Just a Big Occasional Clean
The calm, clutter-free look doesn’t maintain itself automatically just because you’ve decluttered once. I do a five-minute reset every evening, putting away anything that’s landed on the counter during the day, which has done more to keep the kitchen looking the way I want than any single organizing product I’ve bought.
Mistakes I Made Trying to Get Here
Not every step in this process went smoothly, and I think the mistakes are worth mentioning because they’re the kind of thing that’s easy to repeat if you don’t know to watch for them. The first was decluttering too aggressively in one weekend, getting rid of items I actually needed within a month and having to rebuy a few of them. I’ve since learned to set items aside in a box for a few weeks before donating anything, rather than making the decision permanent the same day.
The second mistake was assuming “Scandinavian” meant everything had to be white. My kitchen felt flat and slightly cold for the first month after repainting, mostly because I hadn’t yet added the wood tones and woven textures that ended up balancing it out. White alone isn’t the goal — it’s white paired with warmth that actually creates the calm feeling people associate with this style, and skipping that balance is probably the single most common way this look ends up feeling cold instead of cozy.
The third was underestimating how much the hardware and small fixtures mattered compared to the bigger purchases. I spent a significant amount of my budget on new cabinet fronts before realizing the mismatched drawer pulls and light switch covers were still quietly undermining the cohesive look I was going for. Cheap, consistent hardware ended up doing more for the overall feel than I expected from something so small and inexpensive.
How Long the Whole Process Actually Took
I want to be honest about the timeline here too, because these lists can sometimes make a transformation sound like it happened over a single weekend. From the first coat of paint to the kitchen genuinely feeling the way I wanted it to, the whole process took close to four months, done mostly in small weekend projects around a full-time work schedule. The paint and hardware changes happened fairly quickly, within the first few weeks, but the habits, the nightly reset, learning to keep appliances put away, took much longer to become automatic than the physical changes did. If you’re starting this kind of project yourself, I’d plan for the habits to be the slower part, not the shopping list.
A Short List of What I’d Buy First on a Tight Budget
If someone asked me to redo this project with almost no budget at all, there are a few specific purchases I’d prioritize over everything else on this list, based purely on the value they added relative to their cost. Matching cabinet hardware came first, since it was inexpensive and instantly reduced the visual noise across the whole room. A single set of drawer dividers came second, because organizing what’s hidden away matters just as much as what’s on display, even though nobody sees it directly. And a plain white tablecloth or simple linen runner for the table came third, replacing a patterned one that had been quietly adding busyness to the room for years. None of these three purchases cost much, and together they covered a surprising amount of the visual shift I eventually achieved with the more expensive changes.
What Surprised Me Most About This Process
Going into this, I assumed a Scandinavian-style kitchen was mostly about buying the right furniture and picking the right paint color, and I underestimated how much of the actual “calm” came from what I removed rather than what I added. My grocery list of physical changes was fairly short in the end, new hardware, a coat of paint, some closed storage solutions, but the habits around keeping the counters clear and doing that nightly reset turned out to matter just as much as any of the design choices themselves, if not more.
If your kitchen has good bones but still feels a little chaotic no matter how you decorate it, my honest suggestion is to start by clearing your counters completely for one week and see how differently the room feels before changing anything else. It’s the cheapest experiment on this entire list, and for me, it was also the one that made the biggest difference. Everything else on this list, the paint, the hardware, the closed storage, ended up reinforcing a feeling that the empty counters had already started to create on their own.
