
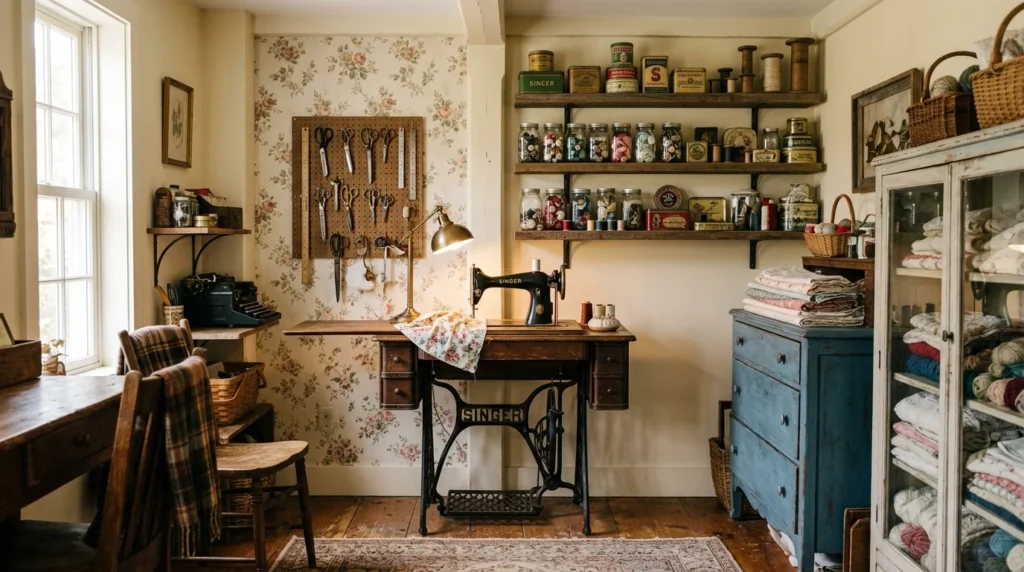
For years, my craft supplies lived in plastic bins stacked inside a hallway closet. Every time I wanted to sit down and actually make something, I had to drag half of it out onto the kitchen table first, and by the time everything was set up, I usually didn’t have the energy left to actually create anything. It wasn’t until I converted a spare bedroom into a proper craft room that I understood how much the space itself affects whether you actually use your hobbies or just store them away and forget about them entirely.
I leaned into a vintage look almost by accident. I inherited an old sewing table from my grandmother, and once it was in the room, everything else I added started following its lead — warm wood tones, worn textures, mismatched but complementary pieces instead of a matched furniture set bought all in one trip from a single store. What started as one hand-me-down table turned into a full room that feels collected over time rather than purchased all at once, which is really the heart of what makes a vintage-style space feel authentic instead of staged for a photograph.
Since finishing my own room, I’ve helped two friends put together their own vintage-inspired craft spaces, and between the three projects, I’ve built up a solid list of ideas that consistently work — some cost almost nothing, others took more effort and a bit of patient searching, but all of them added real charm without needing a full renovation budget or a professional designer walking me through it. What surprised me most across all three rooms is that the budget rarely predicted how good the final result looked. My friend with the smallest budget of the three ended up with a room that gets complimented the most, simply because she was patient and picky about what she brought into the space rather than filling it quickly. Here are 18 of the ideas that worked across our projects, along with the small lessons I picked up while putting each one into practice in a room I actually use every single week.
1. An Antique Sewing Table as the Centerpiece
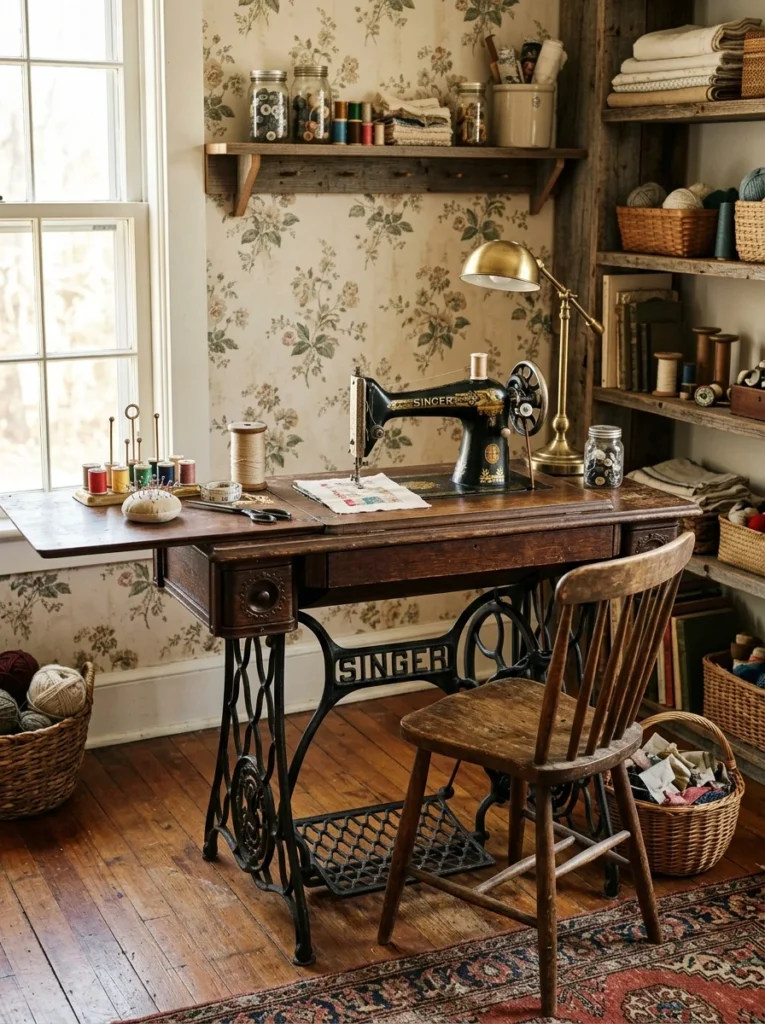
My grandmother’s treadle sewing table became the anchor of my entire room, and I’d genuinely recommend starting with one strong vintage piece like this if you’re able to find one. Estate sales, secondhand shops, and even curbside finds often turn up old sewing tables, writing desks, or dressers with enough character to build a whole room’s aesthetic around. The key is choosing one piece with real presence and letting everything else in the room support it rather than compete with it for attention. Mine still has the original foot pedal mechanism underneath, and even though I don’t use it for actual sewing anymore, keeping it intact rather than removing it preserved a detail that visitors always notice first.
2. Mason Jars for Small Supplies
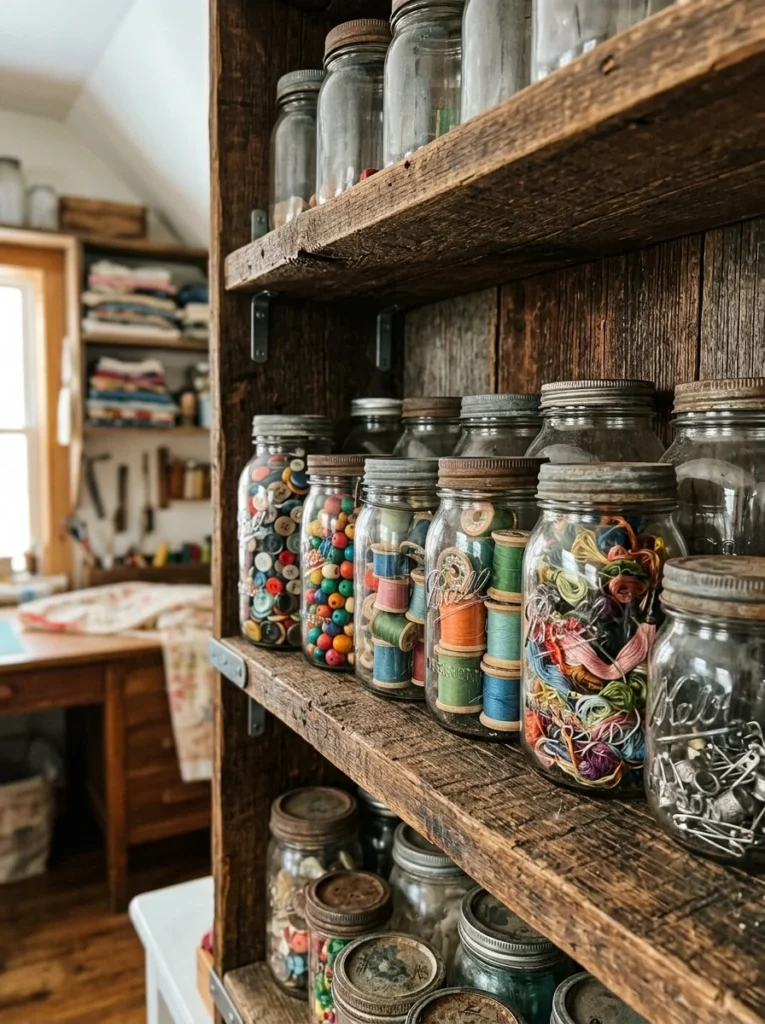
Buttons, beads, ribbon spools, and loose thread all found a home in a row of mason jars along my open shelving. Beyond just being functional, the glass lets the colors and textures of the supplies themselves become part of the room’s visual interest, which is a very old-fashioned, waste-nothing kind of storage solution that happens to look wonderful too. I collected mine slowly from thrift stores rather than buying a matching set new, which kept the look a little more relaxed and varied, since the slightly different jar shapes and lid styles read as gathered rather than purchased in bulk from a single aisle.
3. Reclaimed Wood Shelving
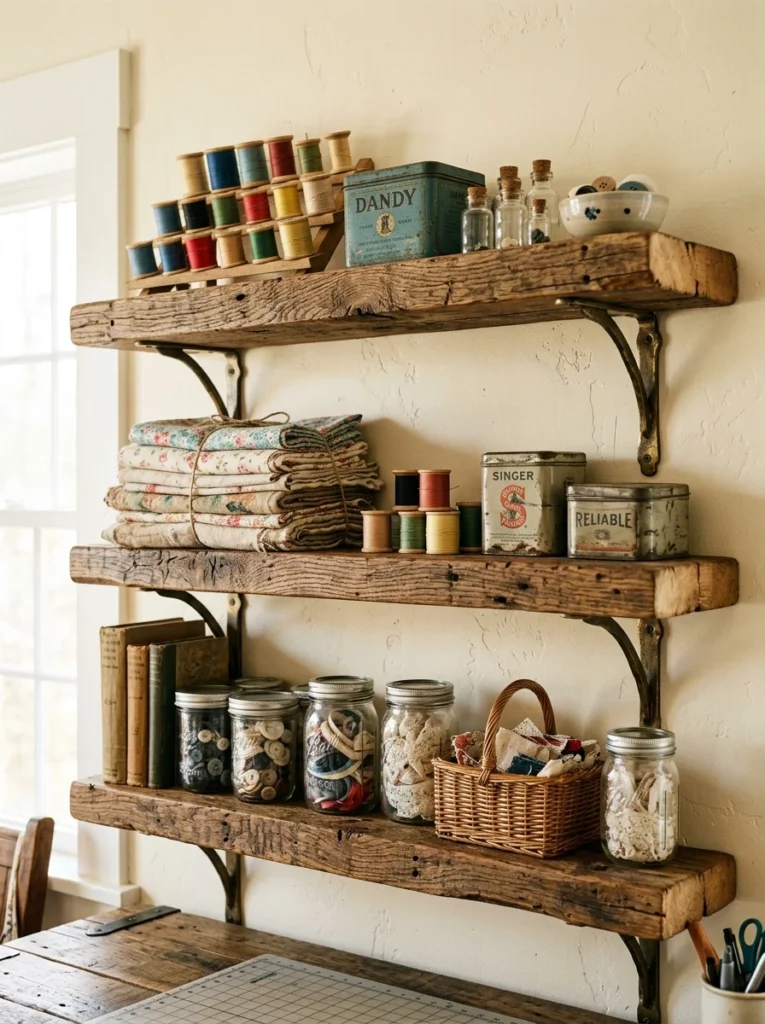
Instead of buying new shelving units, I used weathered boards I salvaged from an old fence that was being torn down two streets over. The unevenness and worn grain gave the shelves an aged look that brand-new lumber simply can’t replicate no matter how much stain you apply. If reclaimed wood isn’t easy to find where you live, lightly distressing new boards with sandpaper and a thin wash of stain gets you most of the way there without much extra cost. I also left a few old nail holes visible rather than filling them in, since small imperfections like that end up doing more for the aged look than the stain color itself.
4. A Vintage Typewriter as Decor
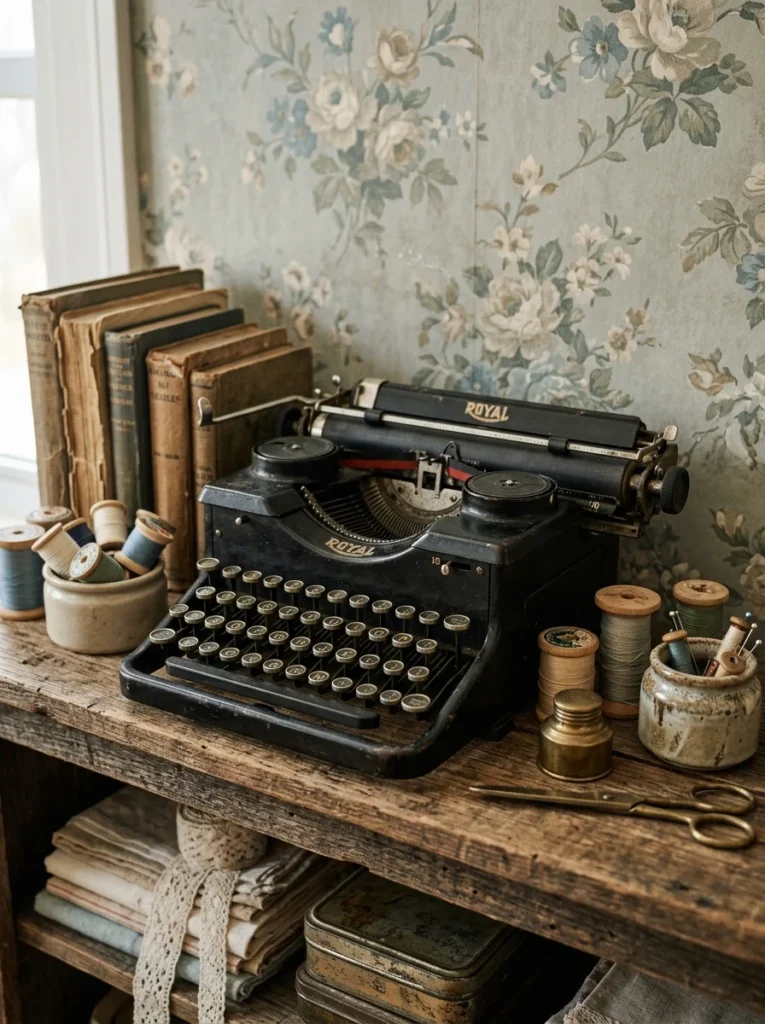
I found a nonworking typewriter at a flea market for almost nothing, and it now sits on a shelf as a purely decorative piece rather than a functional tool. It’s become a small conversation starter whenever someone new sees the room, and it reinforces the “collected over time” feeling that makes a vintage room believable rather than themed like a set built for a store display. I’ve since learned that even broken typewriters sell for very little, since most buyers only want working models, which makes them one of the easiest vintage decor pieces to find cheaply.
5. Floral Wallpaper on an Accent Wall
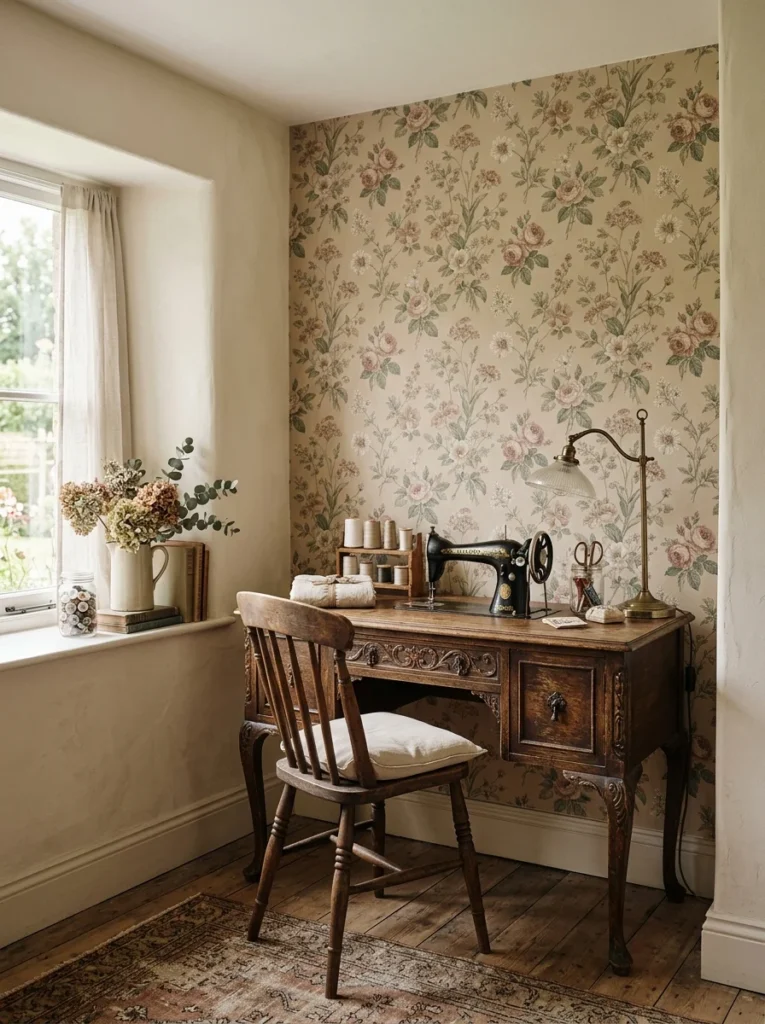
I chose a muted floral wallpaper pattern for the wall behind my sewing table rather than papering the whole room, which kept the cost manageable while still delivering real visual impact. Vintage floral patterns tend to work best in smaller doses in a craft room, since the space also needs enough neutral background for supplies and works-in-progress to actually stand out against it. Peel-and-stick versions of vintage-inspired wallpaper have also gotten much better in recent years, which makes this a low-commitment way to test the look before committing to something permanent.
6. A Repurposed Dresser for Fabric Storage
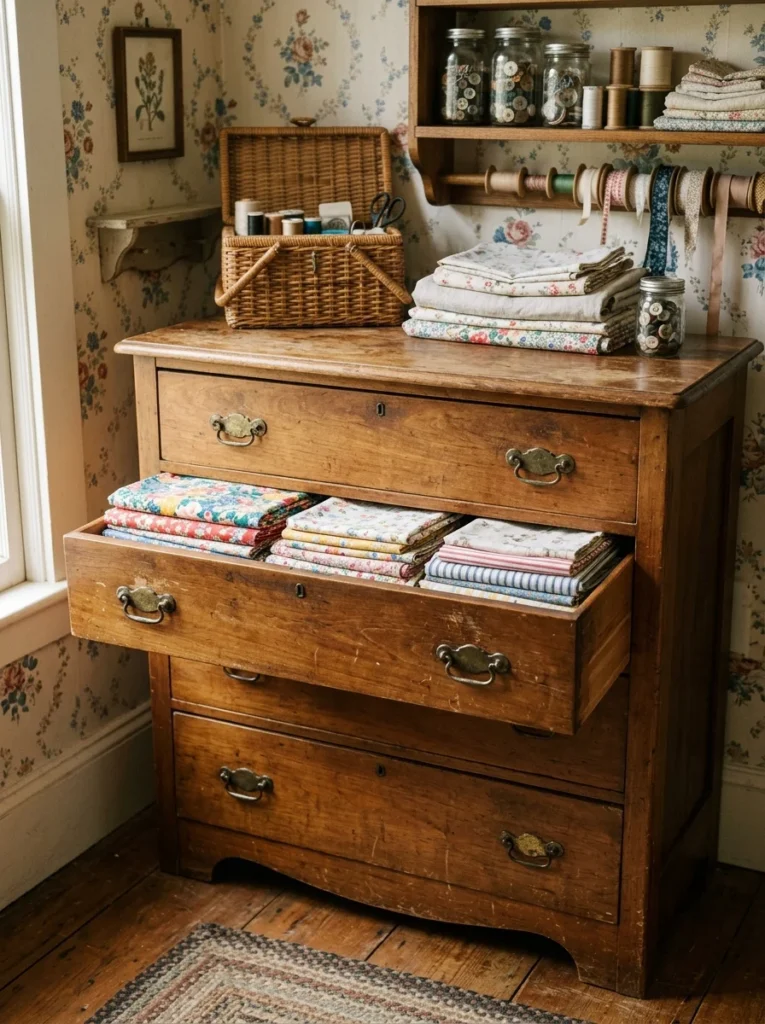
An old dresser with slightly mismatched drawer pulls became my fabric storage, with each drawer holding a different fabric type or project. The wood tone and worn brass hardware add far more warmth than a modern plastic storage cart ever could, and closed drawers keep folded fabric from developing the dust and fading that open shelving sometimes causes over time. I labeled each drawer from the inside edge rather than the front, so the labels stay useful without disrupting the clean look of the dresser front itself.
7. Vintage Tins for Sorting Small Tools
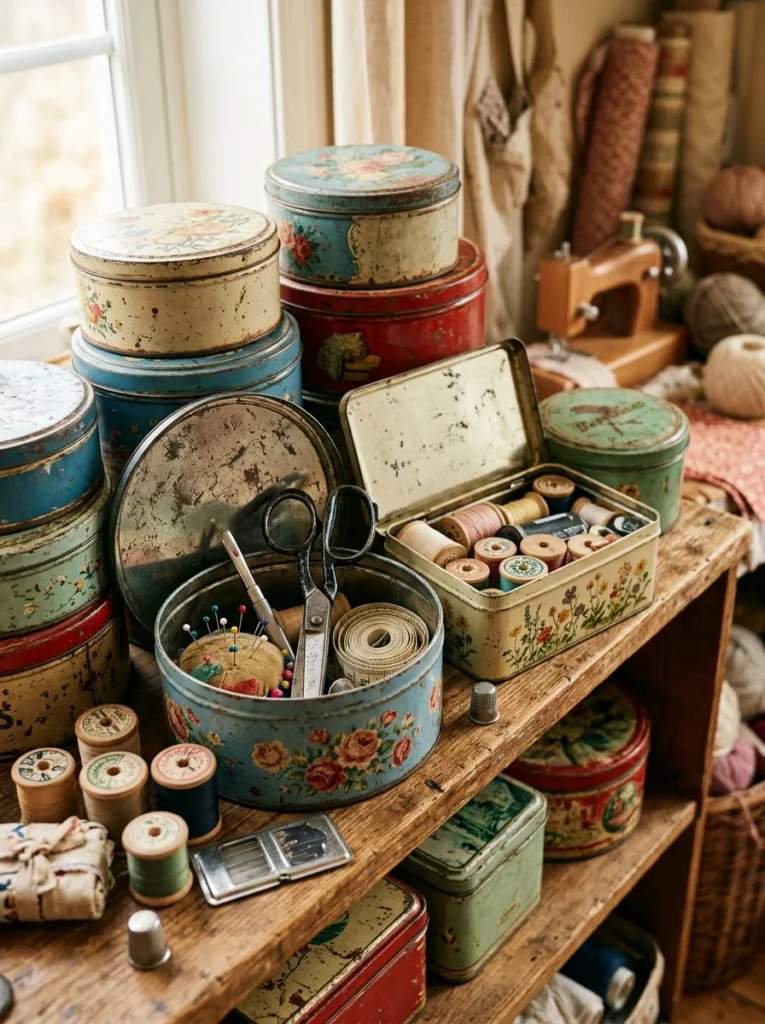
Old cookie tins, tobacco tins, and biscuit boxes are perfect for organizing scissors, seam rippers, and other small tools. I picked mine up gradually from thrift stores over about a year, and the mismatched patterns and faded lettering on each tin add character that a matching set of plastic organizers simply can’t offer, no matter how tidy it looks on a shelf. Stacking a few of the flatter tins also created an unexpected little display shelf of its own in one corner of the room.
8. A Ladder Repurposed as Ribbon and Yarn Storage
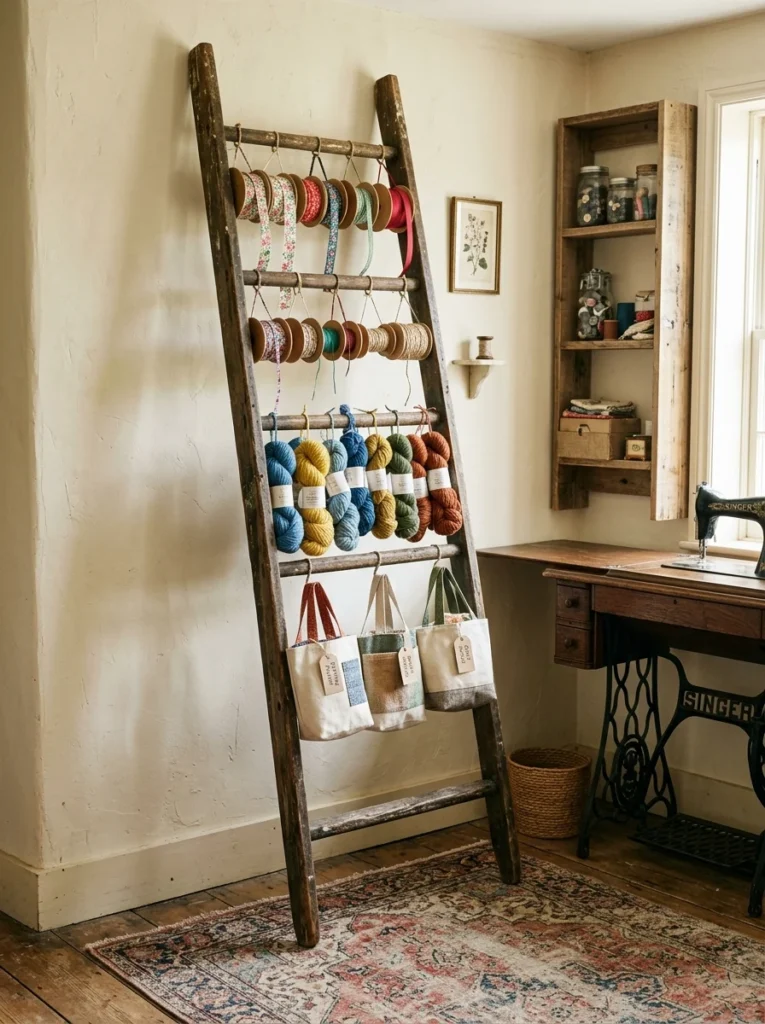
An old wooden ladder, laid horizontally or leaned against a wall, makes a surprisingly good place to hang spools of ribbon and skeins of yarn. I found mine at a barn sale for a few dollars, sanded down the splintering spots so it was safe to handle, and it’s become one of the most-used storage pieces in the whole room, holding far more than I expected it could when I first set it up. The rungs also turned out to be perfect for hanging small tote bags of works-in-progress that I like to keep separate from finished supplies.
9. Chalkboard Labels for Everything
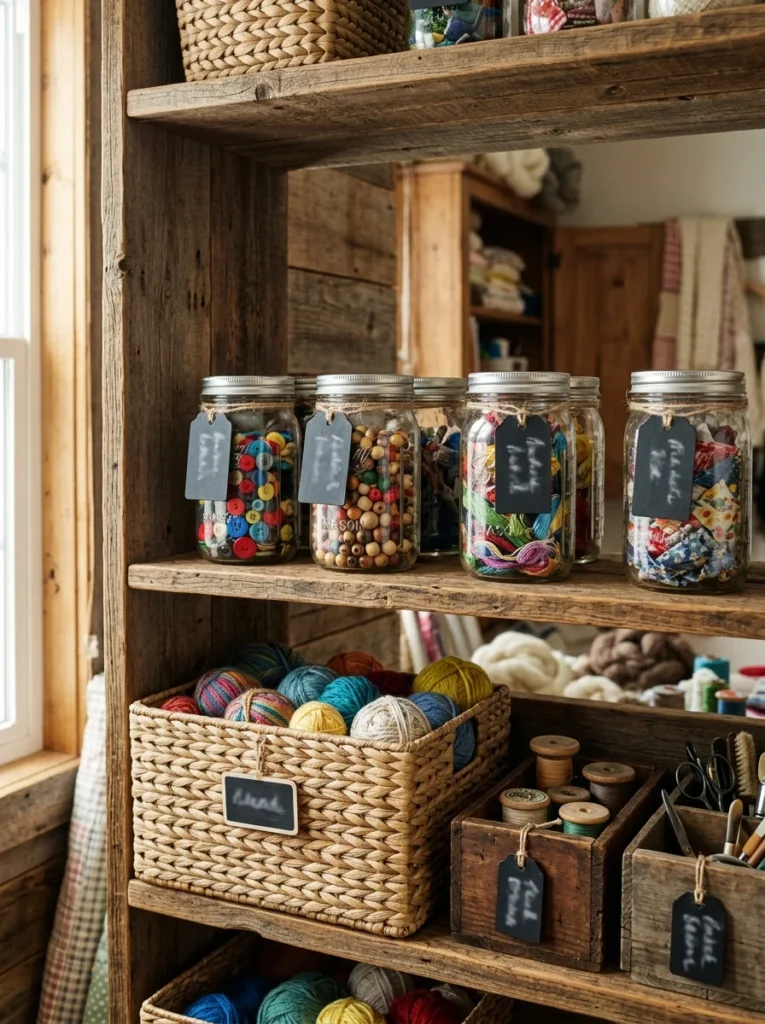
Rather than printed labels, I used small chalkboard tags tied with twine to label baskets and jars throughout the room. They can be updated by hand whenever contents change, and the slightly imperfect handwriting adds a warmth that printed labels never quite manage, even the ones designed to look handwritten from a template. I keep a small piece of chalk tucked into a nearby jar specifically so relabeling never becomes a chore I put off.
10. A Vintage Rug Underfoot
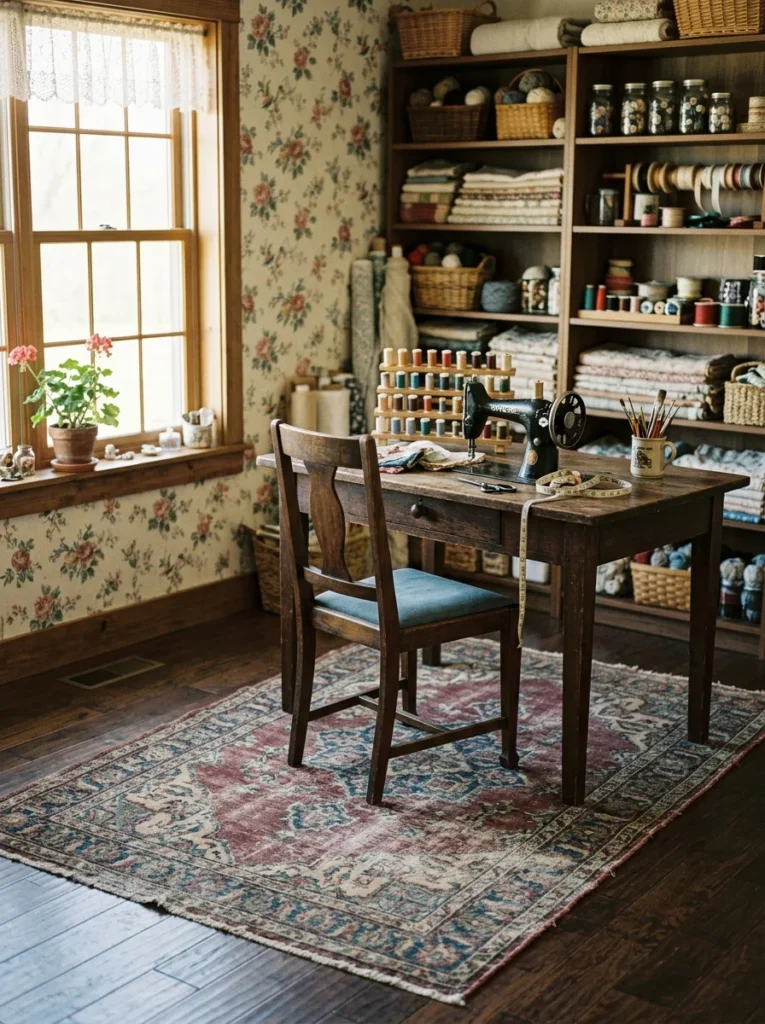
A worn, faded Persian-style rug grounds the whole room and softens the floor for the long hours I spend standing at the cutting table. Rugs with some visible wear actually suit a vintage craft room better than a brand-new one, since a little imperfection reinforces the sense that the room has genuine history rather than being freshly decorated last month. I found mine at a secondhand shop for far less than a new rug of comparable size, simply because a corner was slightly frayed, which I didn’t mind at all.
11. Open Pegboard for Tools and Patterns
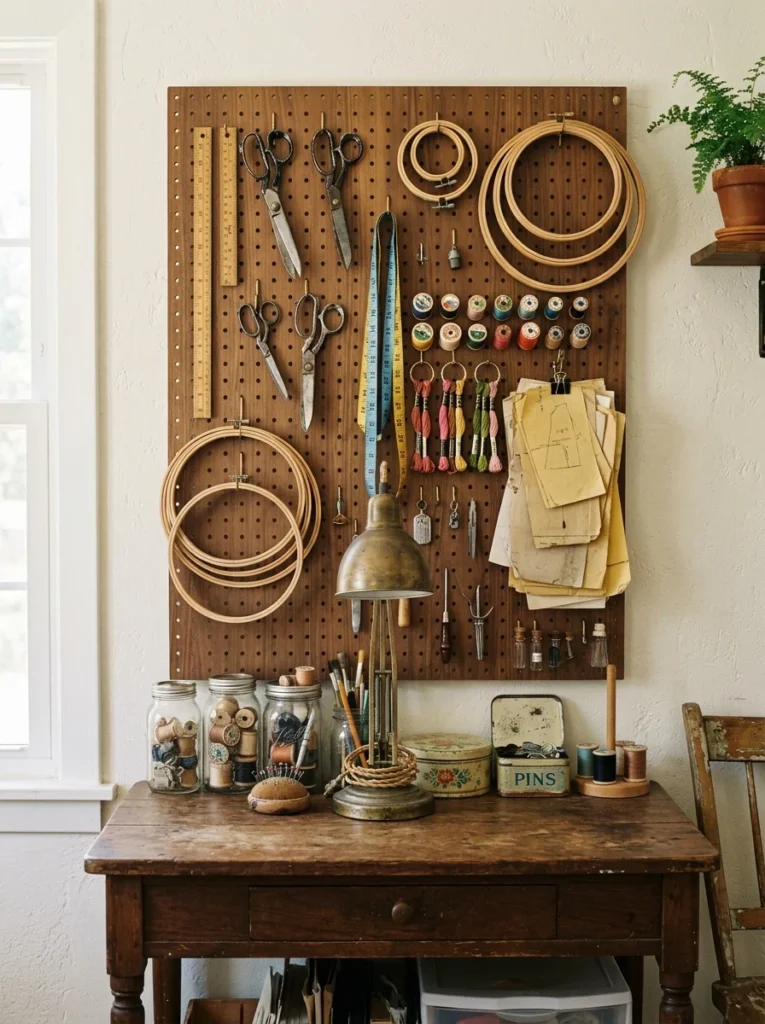
I mounted a large wooden pegboard, stained rather than left raw, and used it to hang frequently used tools, scissors, and pattern pieces. Keeping tools visible and within reach cuts down on the time spent digging through drawers looking for the right pair of scissors, and the pegboard itself becomes a piece of visual texture on an otherwise plain wall. I arranged the hooks loosely by project type rather than in a strict grid, which keeps it functional without looking overly organized in a way that feels sterile.
12. A Working Antique Clock
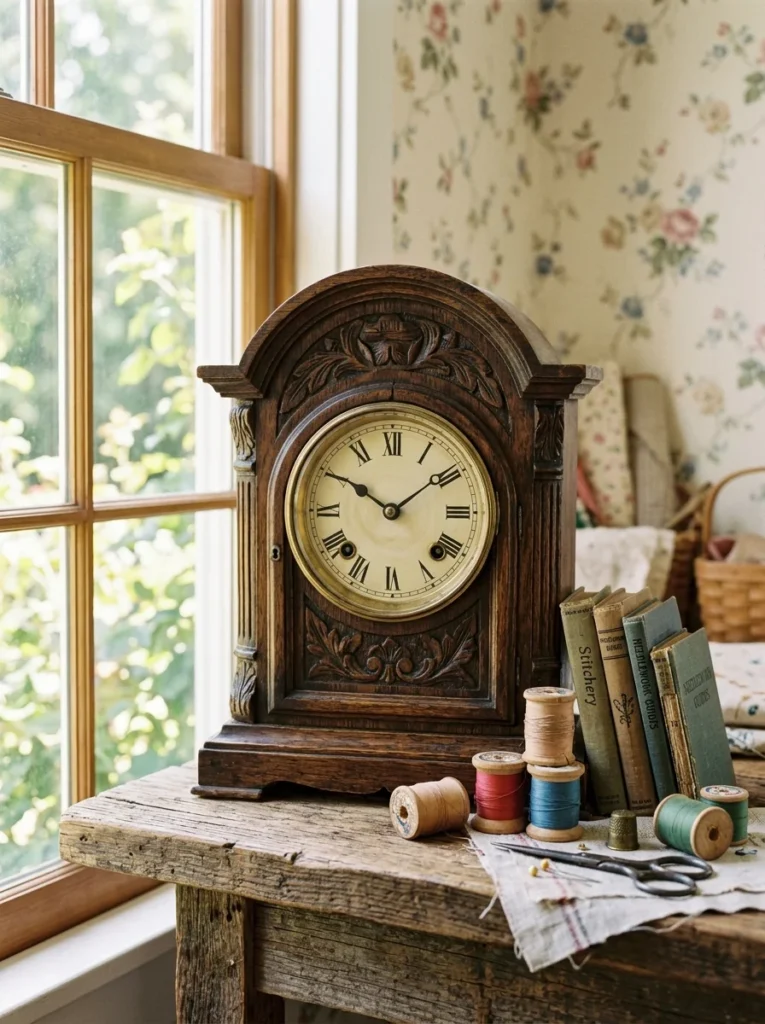
An old wind-up clock, even one that runs a few minutes fast, adds both function and atmosphere to a craft space. Mine sits on a shelf near the window, and the quiet ticking has become part of the background rhythm of working in the room, something I didn’t expect to notice but genuinely miss when I’m working somewhere else in the house instead. Winding it every few days has also become a small ritual that signals the start of a proper crafting session.
13. Vintage Postcards or Letters as Wall Art
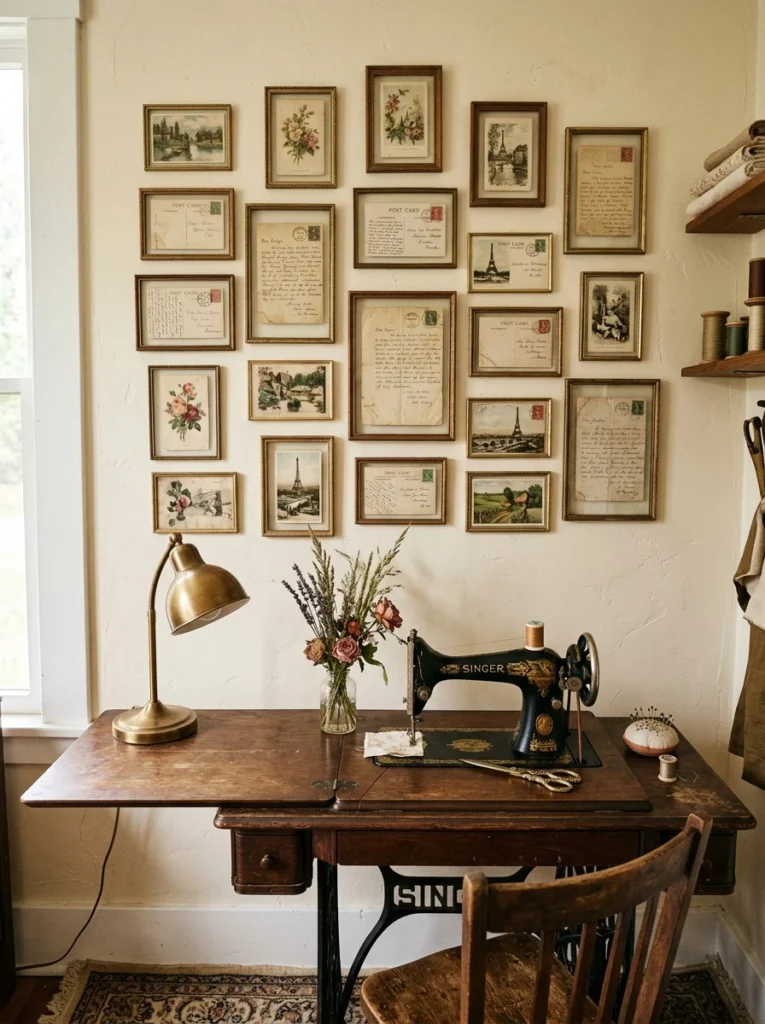
I framed a small collection of old postcards I found bundled together at an antique shop, arranged in a loose grid on one wall. They’re inexpensive, easy to find in bulk, and add a personal, storytelling quality that generic printed art can’t match, especially once you start noticing the handwriting and old postmarks on each one. I chose thin, simple frames so the postcards themselves stayed the focus rather than being overwhelmed by heavy framing.
14. A Cutting Table Made From a Repurposed Door
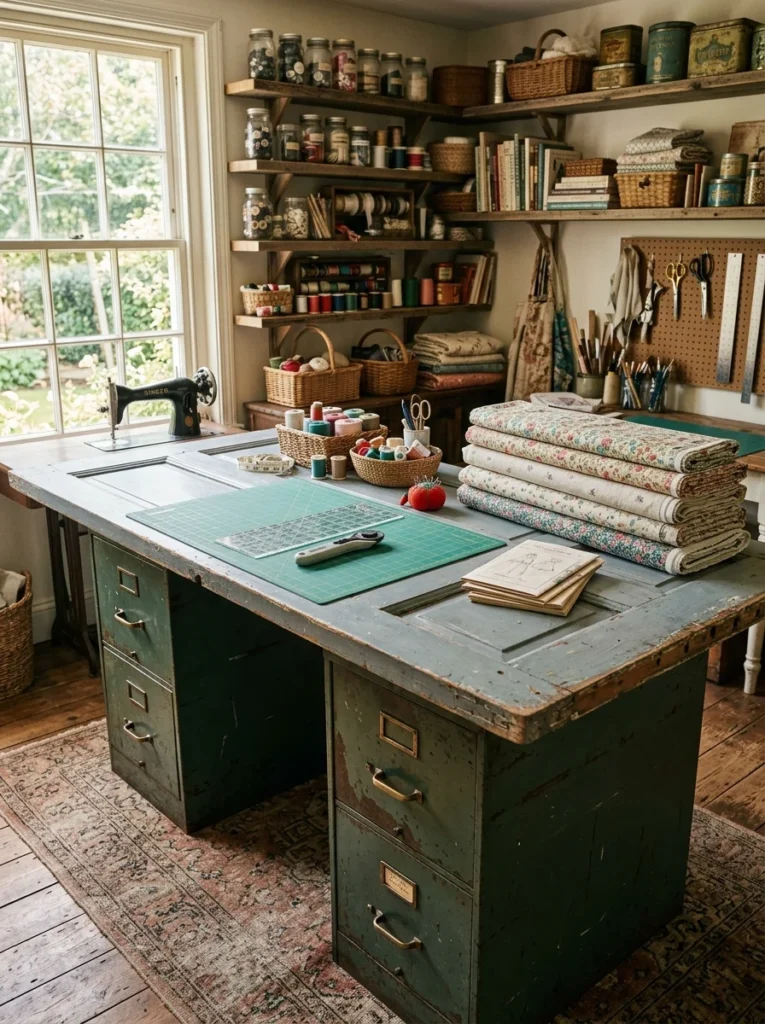
A friend of mine built her cutting table out of an old paneled door laid flat across two low file cabinets. It gave her a large, sturdy work surface at a fraction of the cost of a purpose-built craft table, and the paneling details on the door added texture you simply wouldn’t get from a flat store-bought tabletop. She sanded and sealed the surface so fabric would slide smoothly across it, which turned out to matter more than either of us expected once cutting large pieces of fabric.
15. Glass-Front Cabinets for Displaying Supplies
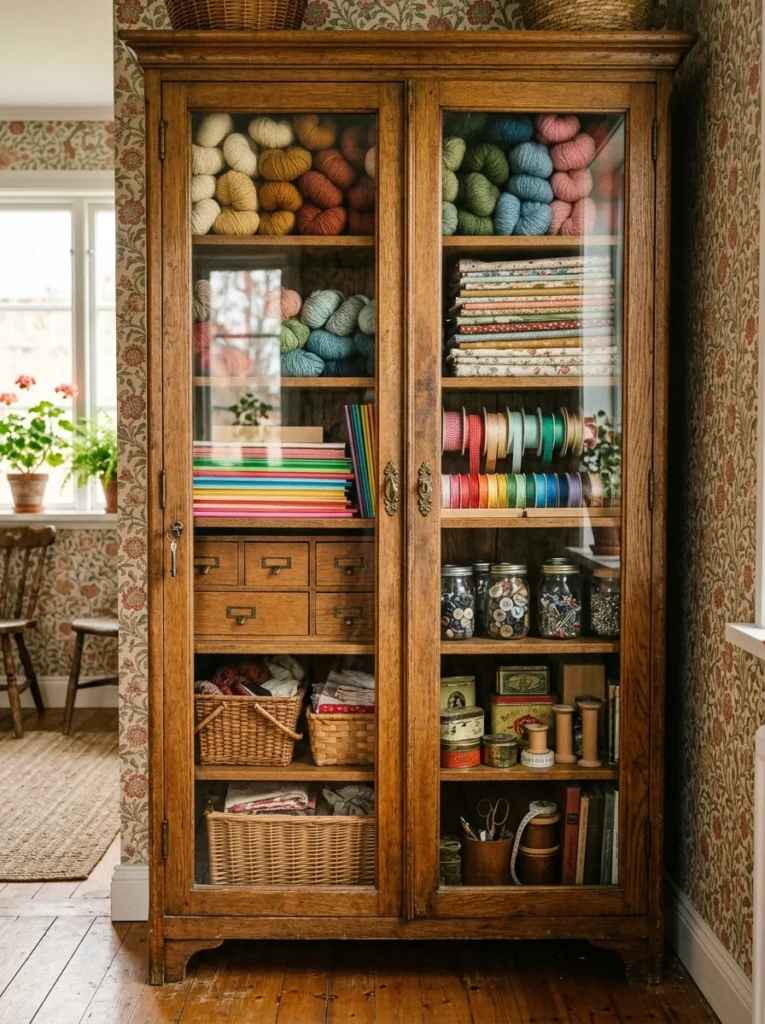
Rather than hiding everything behind solid doors, glass-front cabinets let colorful yarn, fabric, or paper supplies double as decor. I found a secondhand glass-front cabinet originally meant for a kitchen and repurposed it entirely for craft storage, which turned everyday organization into part of the room’s overall visual charm instead of something tucked out of sight behind closed doors. Arranging supplies by color inside the cabinet, rather than by type, made an even bigger visual difference than I anticipated.
16. A Vintage Lamp for Task Lighting
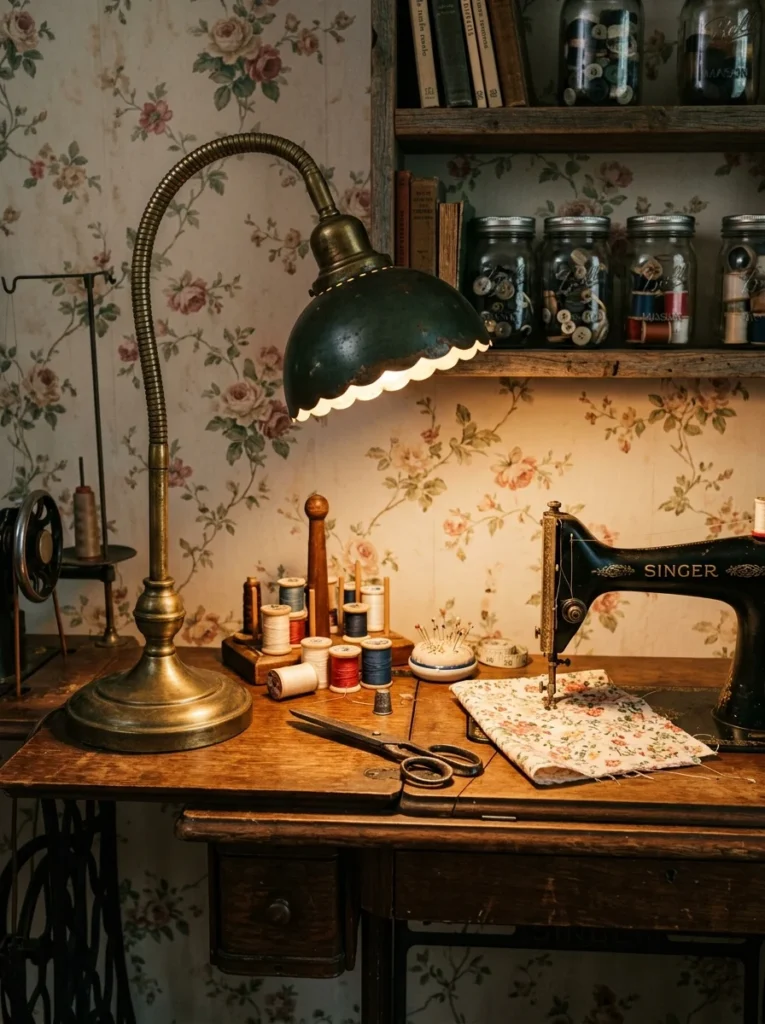
Overhead lighting alone is rarely enough for detailed craft work, so I added an old brass gooseneck lamp at my sewing table. Beyond the practical benefit of focused, adjustable light, the warm brass and slightly yellowed shade add a cozy, old-world feel that a modern LED desk lamp simply doesn’t replicate, no matter how bright or efficient it is. I did swap the internal bulb for a warmer LED option, which kept the vintage look while still giving me enough brightness for detailed handwork.
17. Layered Textiles for Warmth
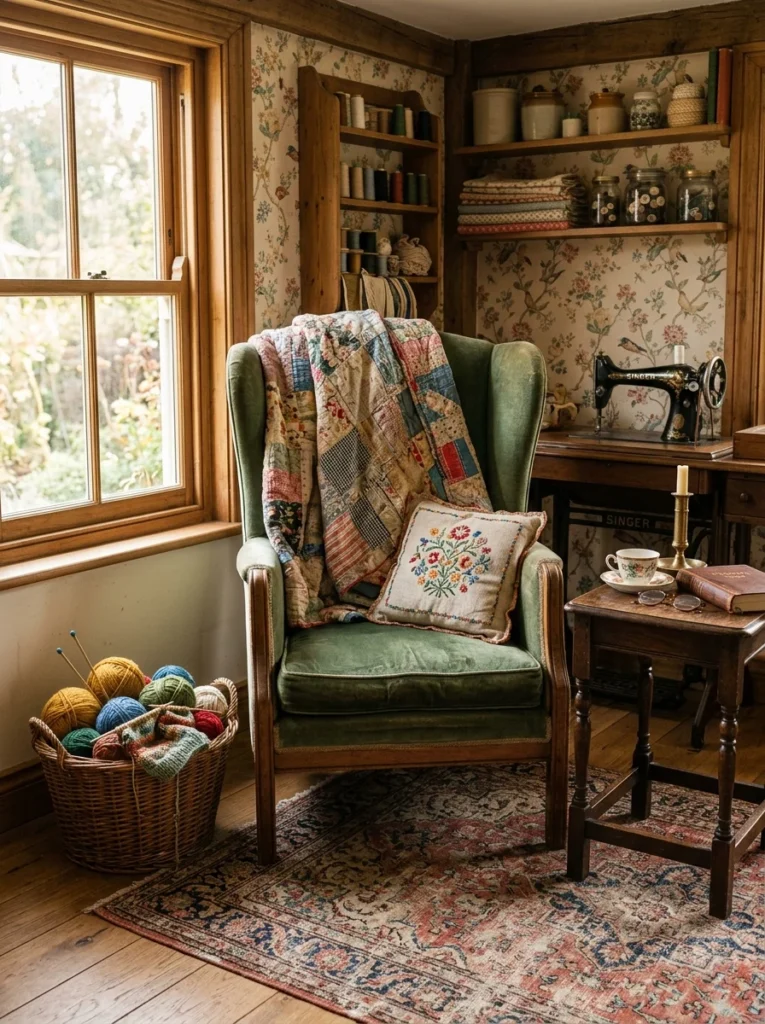
I draped a vintage quilt over the back of an armchair in the corner of the room, which gives me somewhere to sit during hand-stitching projects and adds a layer of pattern and softness to balance out all the wood and metal surfaces elsewhere in the room. A small embroidered cushion on the seat finished it off without much extra effort or cost, and having a genuinely comfortable place to sit ended up encouraging me to spend more time in the room overall.
18. A Curated Display of Vintage Sewing Notions
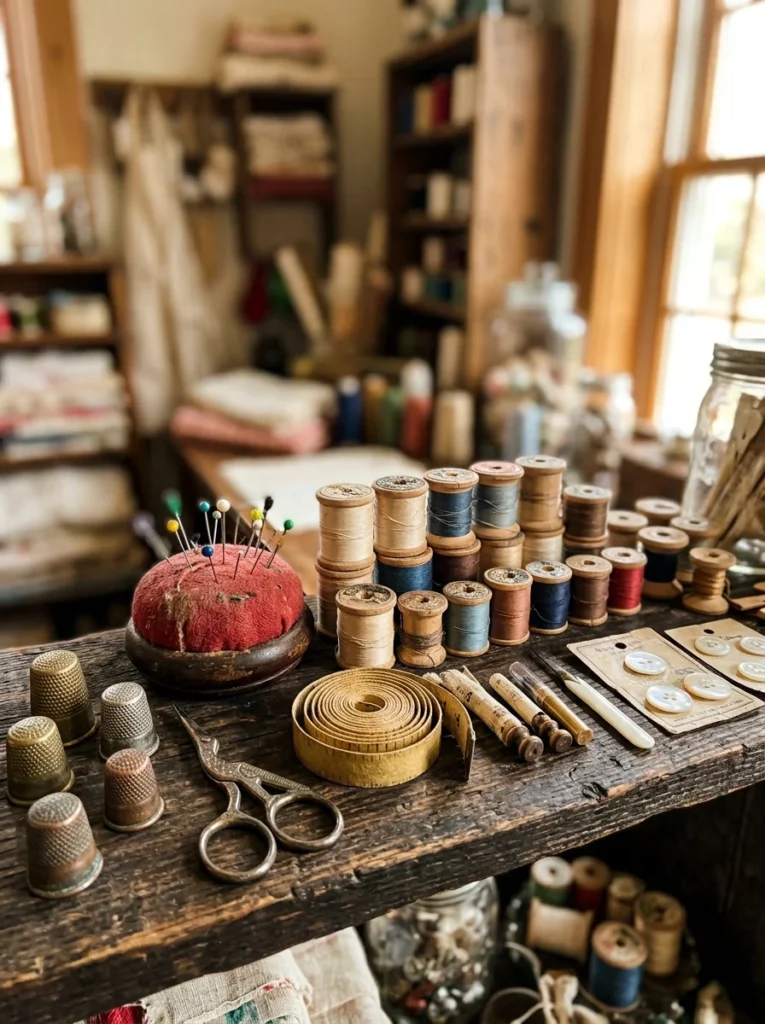
Old wooden thread spools, antique thimbles, and worn measuring tapes are inexpensive at flea markets and antique malls, and displaying a small curated collection of them on a shelf adds authenticity that’s genuinely hard to fake. I added mine gradually, a few pieces at a time over the course of a year or so, which kept the cost low and let the collection feel truly gathered rather than purchased all at once for the sake of decorating a room quickly. Grouping them by type rather than scattering them individually made the small collection read as intentional rather than cluttered.
Sourcing Pieces Without Overspending
One thing I want to add, because I get asked about it often, is how I actually found most of these items without spending a fortune. Estate sales tend to have the best prices late in the day on the final sale day, once sellers are trying to clear out whatever’s left rather than haul it back home. Flea markets are hit or miss, but going regularly rather than just once tends to pay off, since the inventory changes almost completely from one week to the next. Online marketplace listings from people simply trying to get rid of furniture, rather than dedicated antique sellers pricing things for resale, are almost always priced lower, even for genuinely old and well-made pieces. And honestly, some of my favorite items in the room, like the ladder and the fence boards, weren’t even for sale at all — they were free, simply because someone else was getting rid of them and needed the space cleared out.
A Few Mistakes I’d Warn You About
Not everything I tried worked out perfectly. I once bought a beautiful vintage armoire without measuring the doorway into the craft room first, and it sat in the garage for three months before I finally sold it to someone with a wider hallway than mine. I’ve also learned the hard way that some “vintage” pieces sold online are actually just distressed reproductions marked up well beyond what the real thing would cost, so it pays to ask sellers directly about the age and origin of a piece before paying a premium for it. And early on, I made the mistake of buying too many small decorative objects at once, which made the room feel cluttered rather than curated the way I’d pictured it. Spacing purchases out over time, and being willing to say no to a piece that doesn’t quite fit, made a bigger difference to the final look than almost anything else on this list combined.
A Note on Budget and Timing
People are often surprised when I tell them the whole room came together over roughly eighteen months rather than a single season of shopping trips. I didn’t have a large lump sum to spend all at once, so I treated it more like an ongoing hobby than a renovation project, picking up one or two pieces a month whenever something good turned up at a reasonable price. Looking back, I actually think the slower pace helped the room feel more genuine in the end, since I had time to really consider whether each piece belonged before committing to it, rather than filling shelves quickly just to have the room “done” by some arbitrary deadline.
Bringing It All Together
The biggest lesson I’ve taken from putting together my own craft room, and from helping with two others since, is that a convincing vintage space is built slowly, piece by piece, rather than assembled all at once from a single shopping trip or a single online order. Every item with a little wear, a little history, or an imperfect edge adds more authenticity than anything brand new ever could, no matter how well it’s designed and marketed to look aged straight off a factory line.
If you’re just getting started, I’d suggest choosing one strong anchor piece, the way that sewing table became mine, and letting the rest of the room build outward from there over time rather than all at once. Visit a few secondhand shops or estate sales before buying anything new, and don’t worry if pieces don’t perfectly match one another in wood tone or style. In a vintage craft room, the mismatches are exactly what make it feel real, lived-in, and genuinely yours rather than something copied straight out of a catalog. Give it time, keep an eye out on your regular errands, and you’ll likely find that the best pieces show up when you’re not even actively looking for them.
How the Room Changed the Way I Actually Craft
What I didn’t expect, going into this project, was how much having a dedicated, good-looking space would change my actual creative habits rather than just the way the room looked. When my supplies lived in a closet, starting a project felt like a small chore before the fun part even began, and I’d often talk myself out of it entirely on a tired weeknight. Now, the room is set up and ready at all times, so sitting down for even twenty minutes after dinner feels easy instead of like a production. I finish far more projects than I used to, not because I have more free time than before, but because the friction of getting started has almost completely disappeared.
There’s also something about being surrounded by objects with a story — the sewing cabinet, the postcards, the old measuring tapes — that makes the room feel less like a workspace and more like a place I actually want to spend time in. Friends who’ve seen it often say it feels less like a craft room and more like a small museum they’d happily sit in for an afternoon, which I take as the highest compliment the space could get, considering how plain and forgettable it used to be as an unused spare bedroom.
