
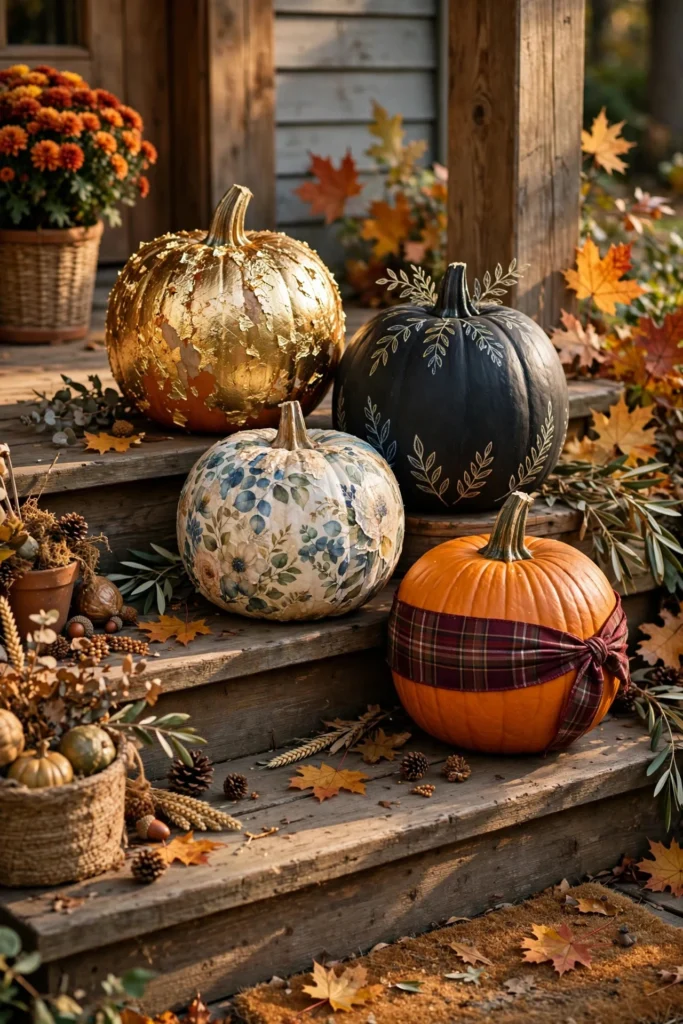
Carving pumpkins is fun exactly once — then you’re scooping slimy guts, your design collapses by day three, and the whole thing rots on the porch. No-carve pumpkin decorating skips all of that. You get pumpkins that last the entire season, no mess, no knives, and honestly, more sophisticated results.
These fourteen ideas work on real or faux pumpkins (faux means you reuse them for years). Most need nothing more than craft paint, glue, and an hour on a weekend afternoon. Pick two or three techniques and your porch will outlast every carved jack-o’-lantern on the block.
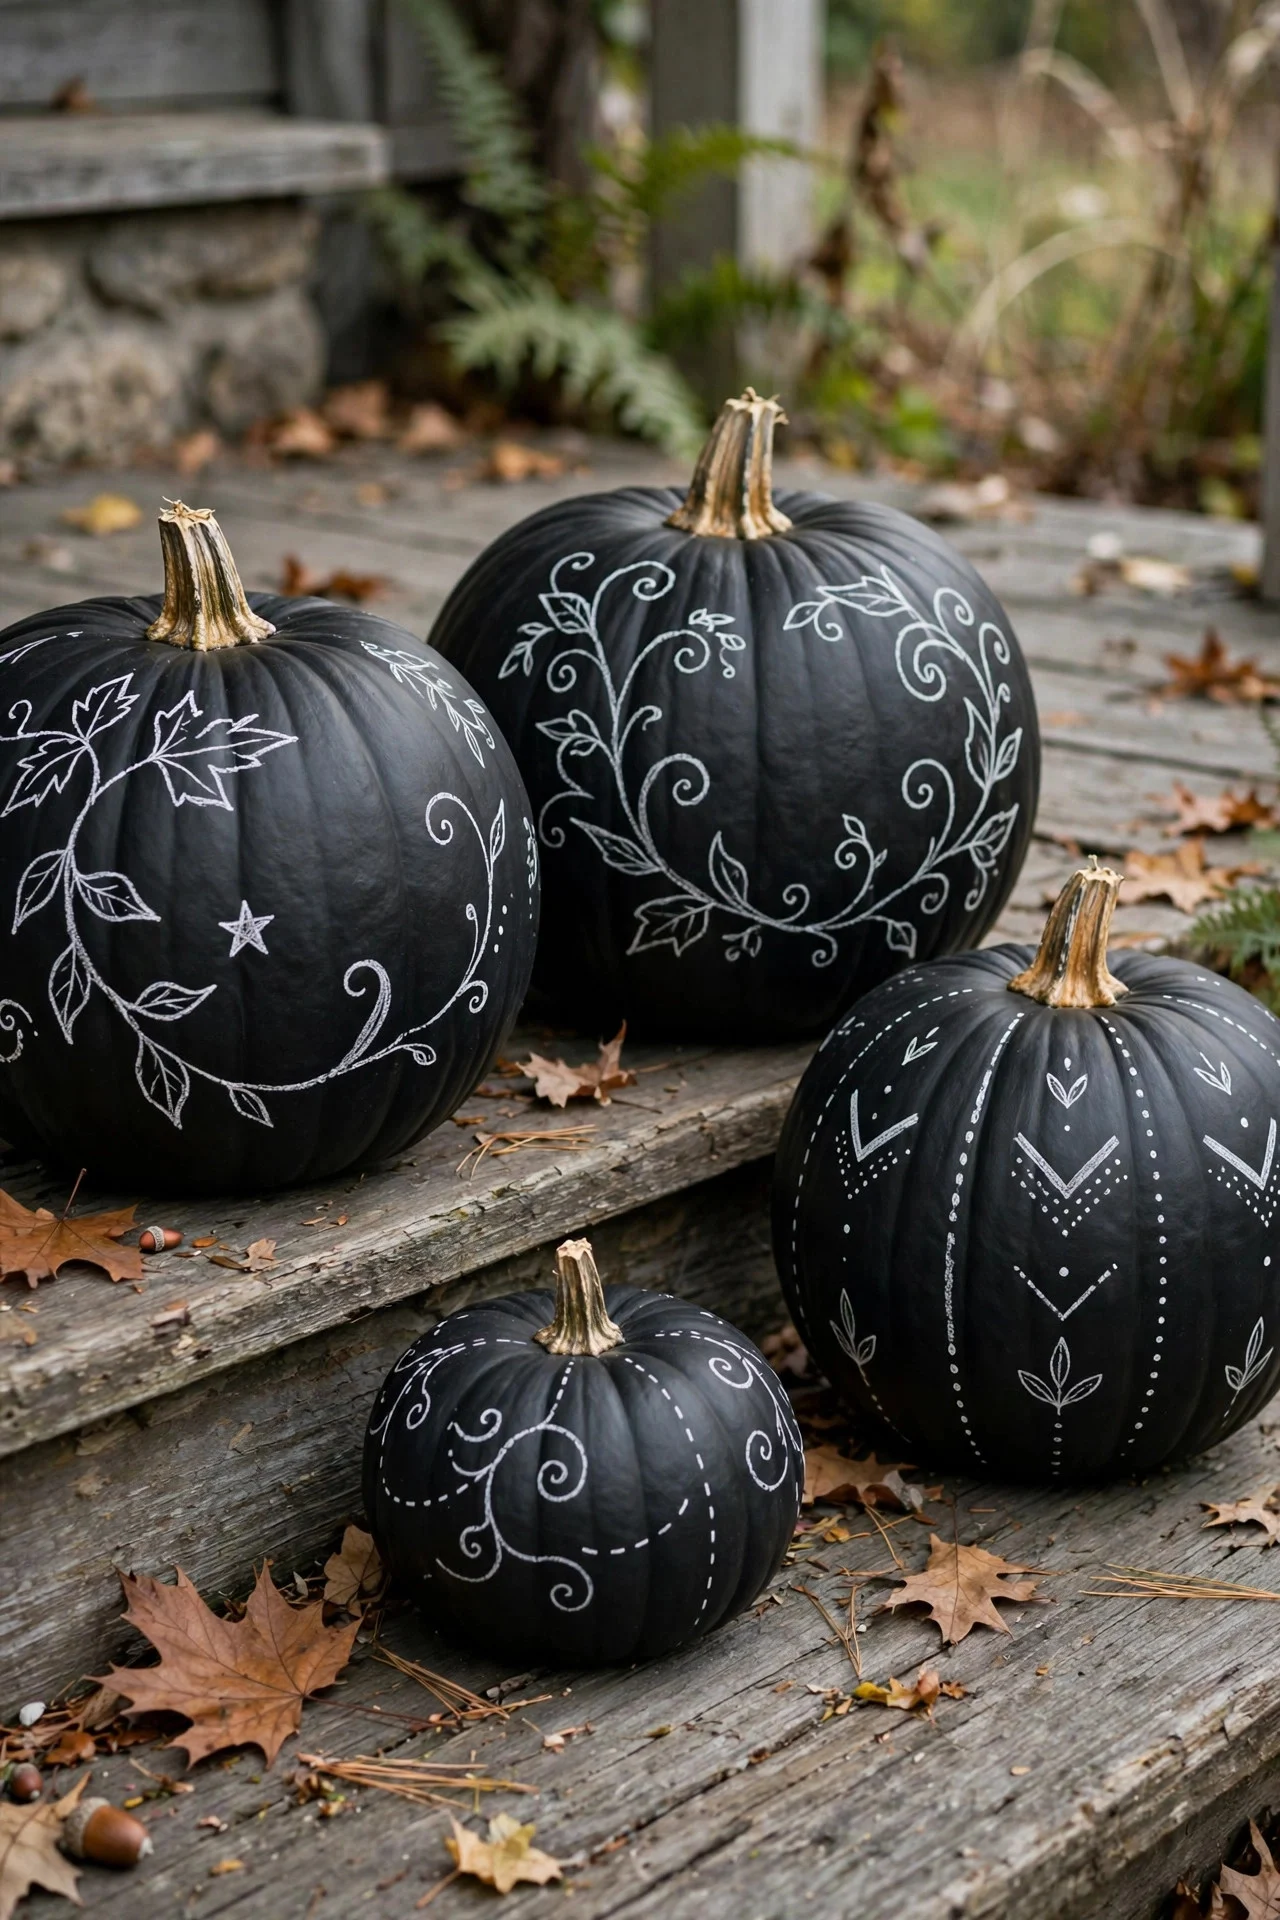
1. Chalkboard Paint Pumpkins
Two coats of chalkboard paint turn any pumpkin into a reusable message board. The matte black finish looks chic on its own, and you can write “Boo,” “Welcome,” or your house number in chalk — then wipe it clean and rewrite all season.
Use real or faux pumpkins; the paint adheres to both. Keep the chalk designs simple — chunky lettering and little doodles read best from the sidewalk. One $6 bottle of chalkboard paint covers four or five medium pumpkins.
Try this: Write the menu for your Halloween party on a big chalkboard pumpkin by the front door.
2. Decoupage With Patterned Napkins
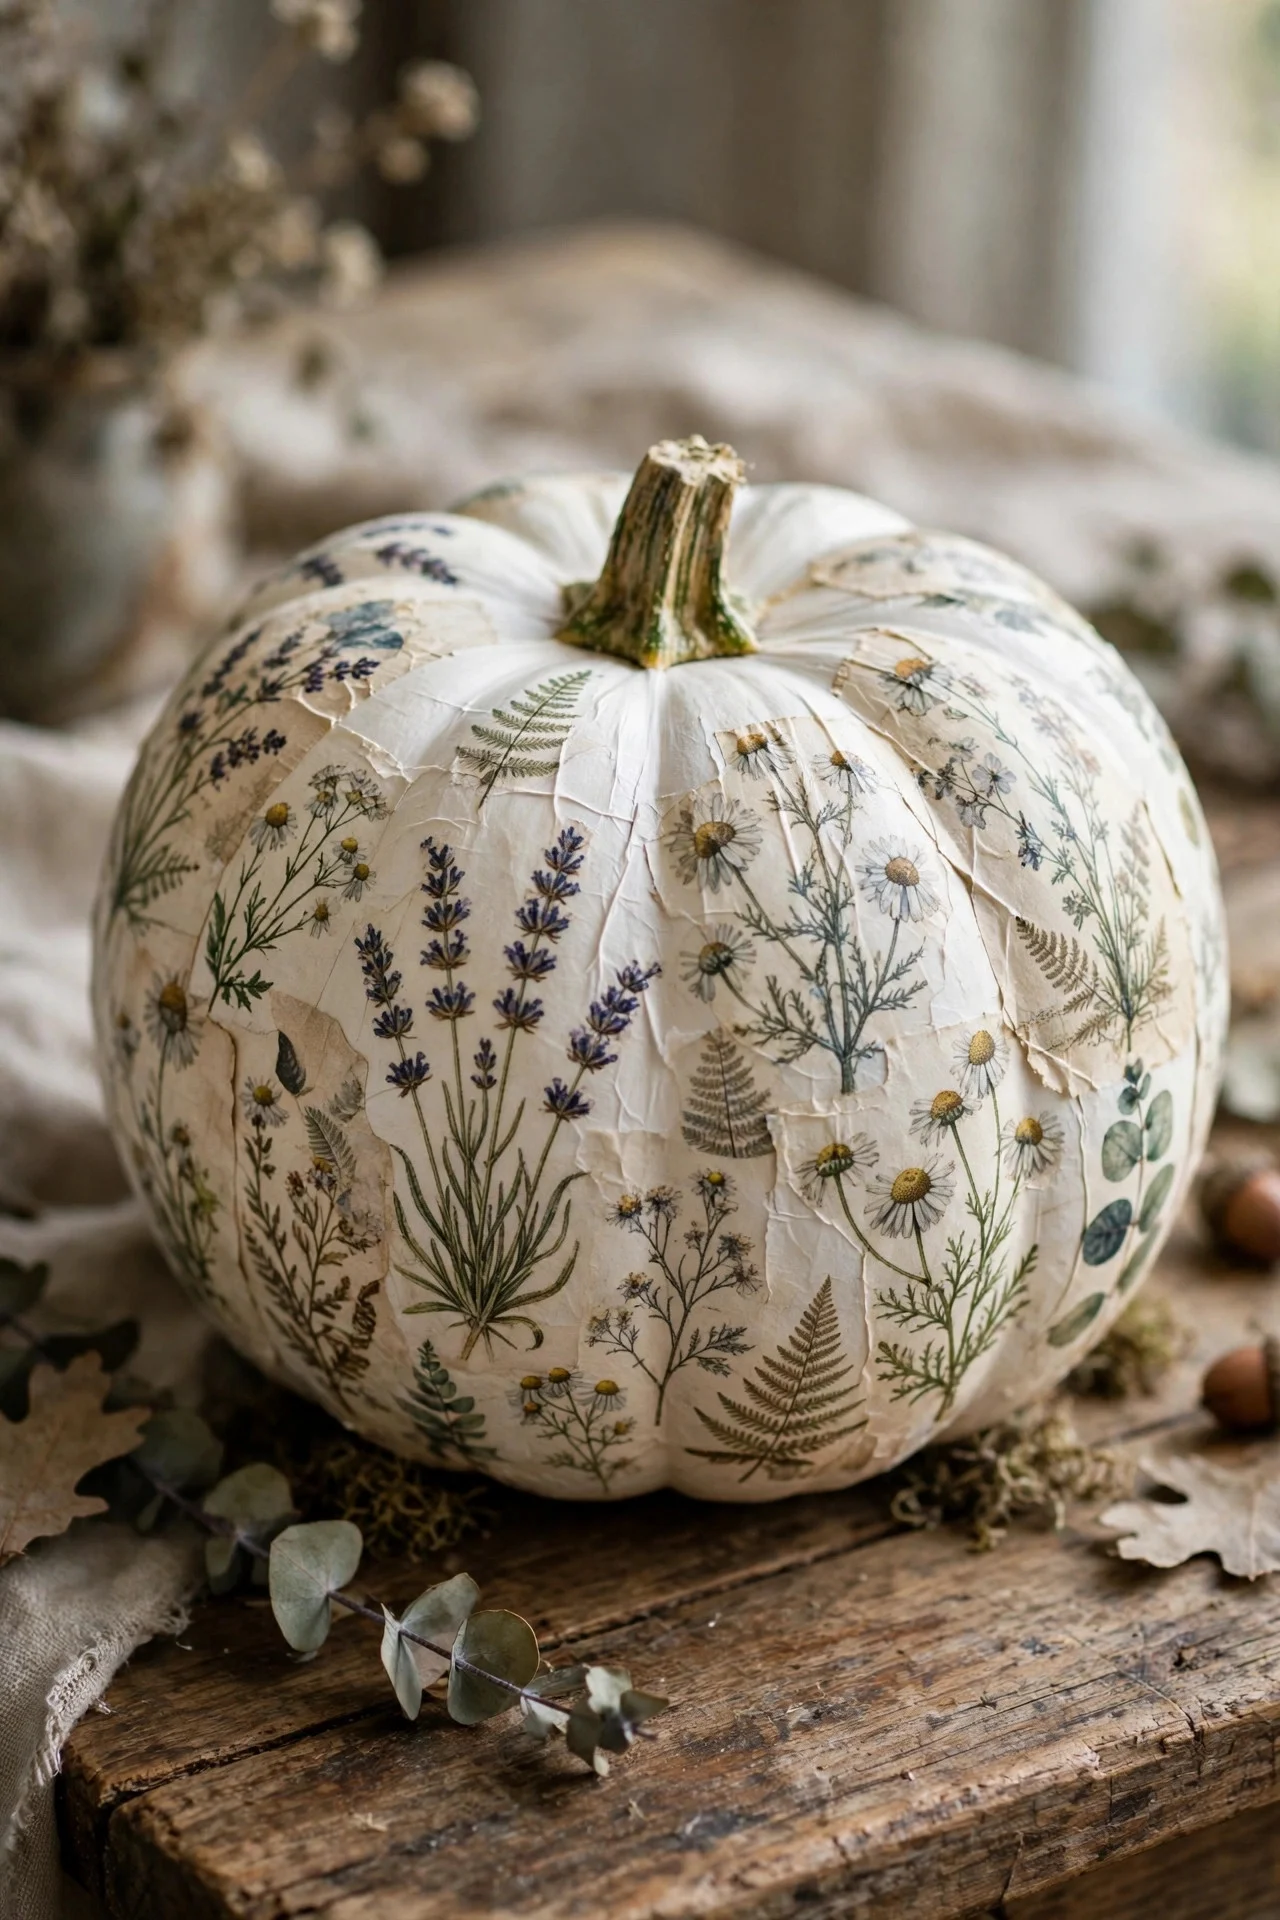
Peel a pretty paper napkin down to its top printed layer, tear it into pieces, and Mod Podge them onto a pumpkin. Floral, botanical, or vintage Halloween prints all work — the torn edges blend into the pumpkin’s curves and it looks hand-painted from a few feet away.
Seal the whole thing with a final coat of Mod Podge so it survives porch humidity. White or cream pumpkins show the patterns best. A pack of napkins and a jar of Mod Podge run about $10 total.
Try this: Use black-and-white toile or botanical prints for an elegant, expensive look.
3. Gold Leaf Pumpkins
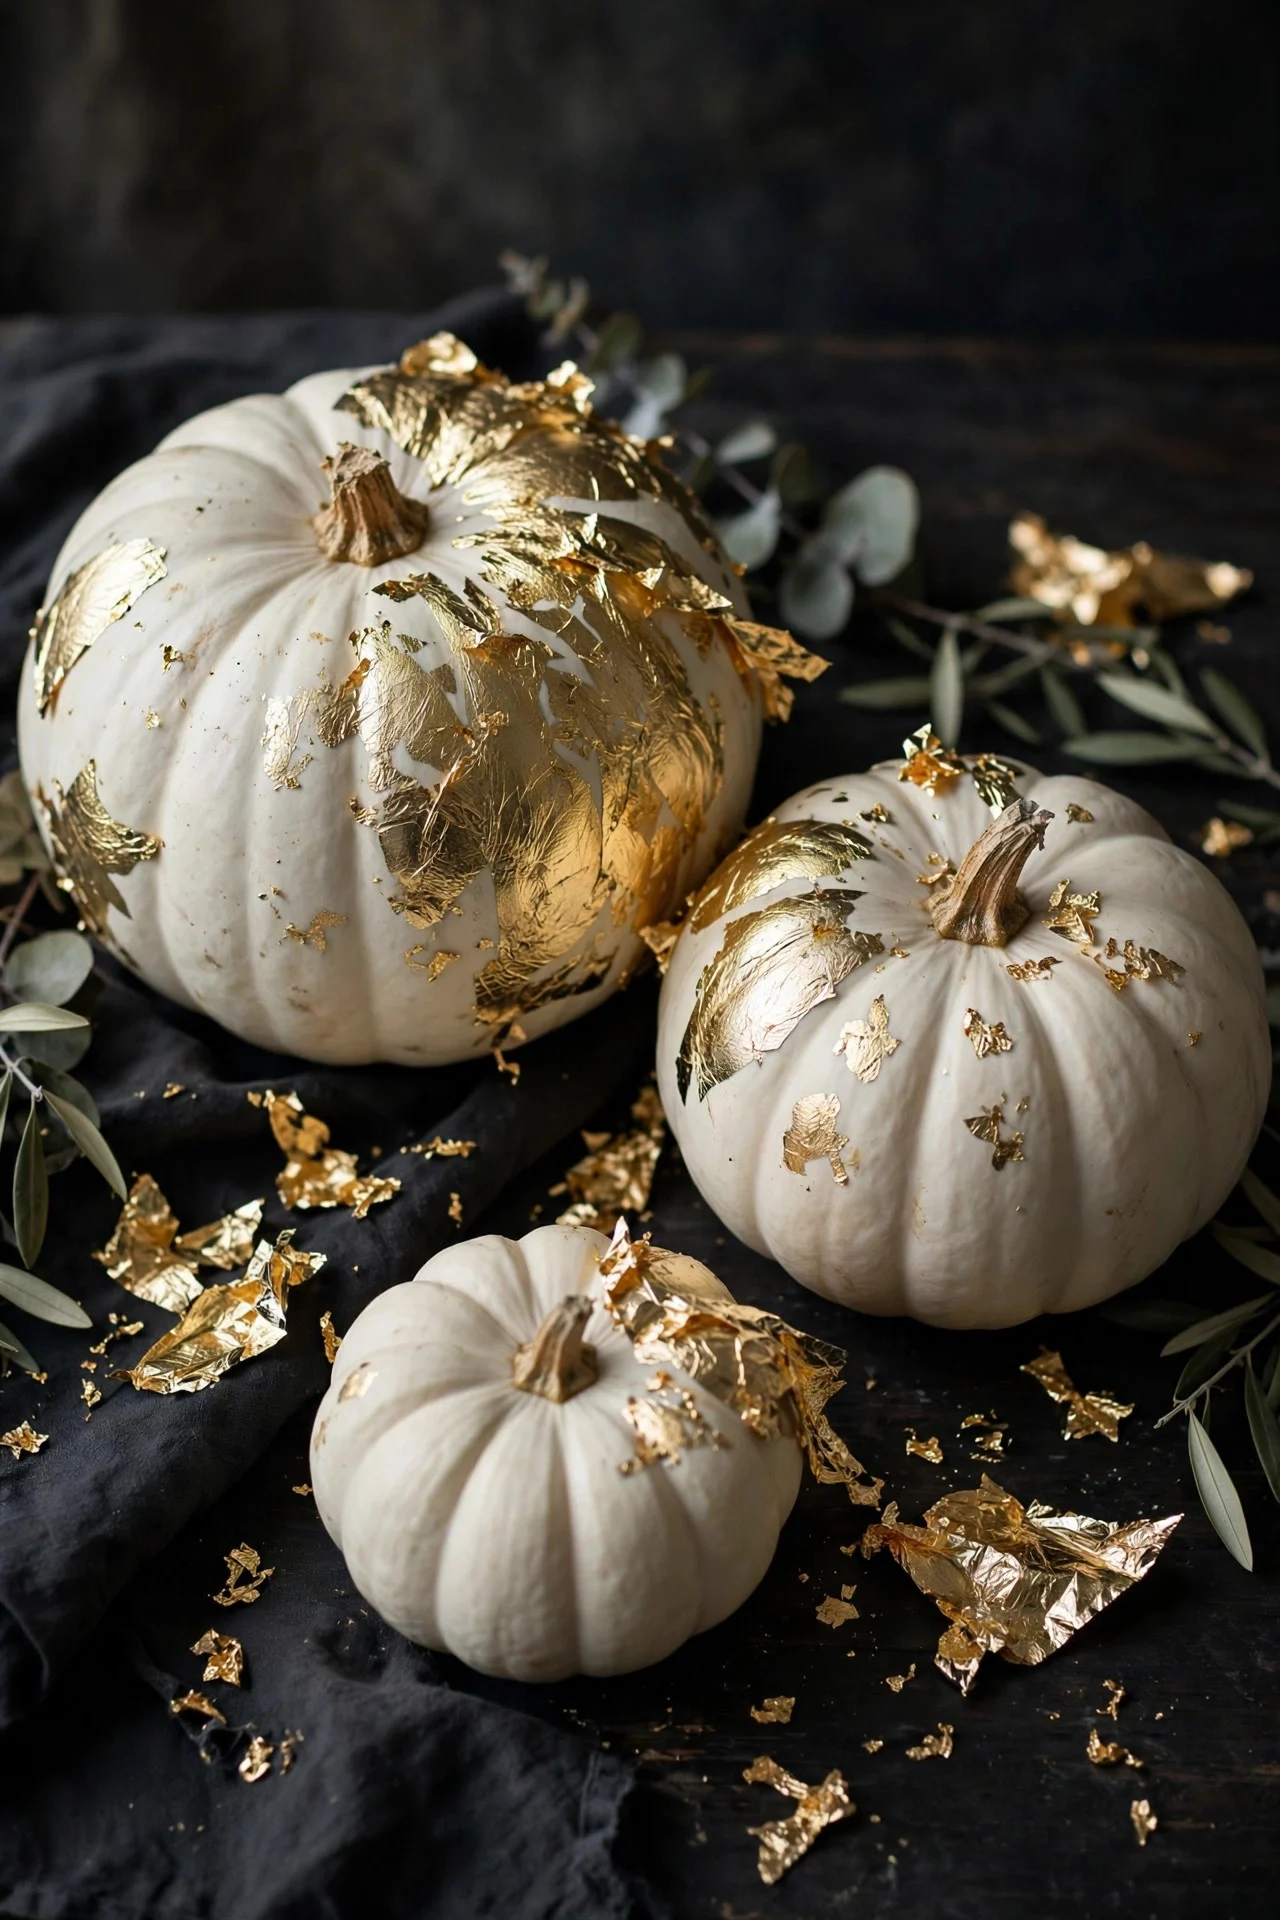
Gold leaf is the fastest way to make a $4 pumpkin look like a $40 boutique piece. Brush adhesive size onto the pumpkin in patches or stripes, wait until tacky, then press on the delicate gold sheets and burnish gently with a soft brush.
You don’t need full coverage — partial leafing with the pumpkin’s natural color showing through looks more modern and uses less material. A booklet of imitation gold leaf costs about $8 and covers three or four pumpkins.
Try this: Leaf only the top third of white pumpkins for a dipped, designer effect.
4. Melted Crayon Drip Pumpkins
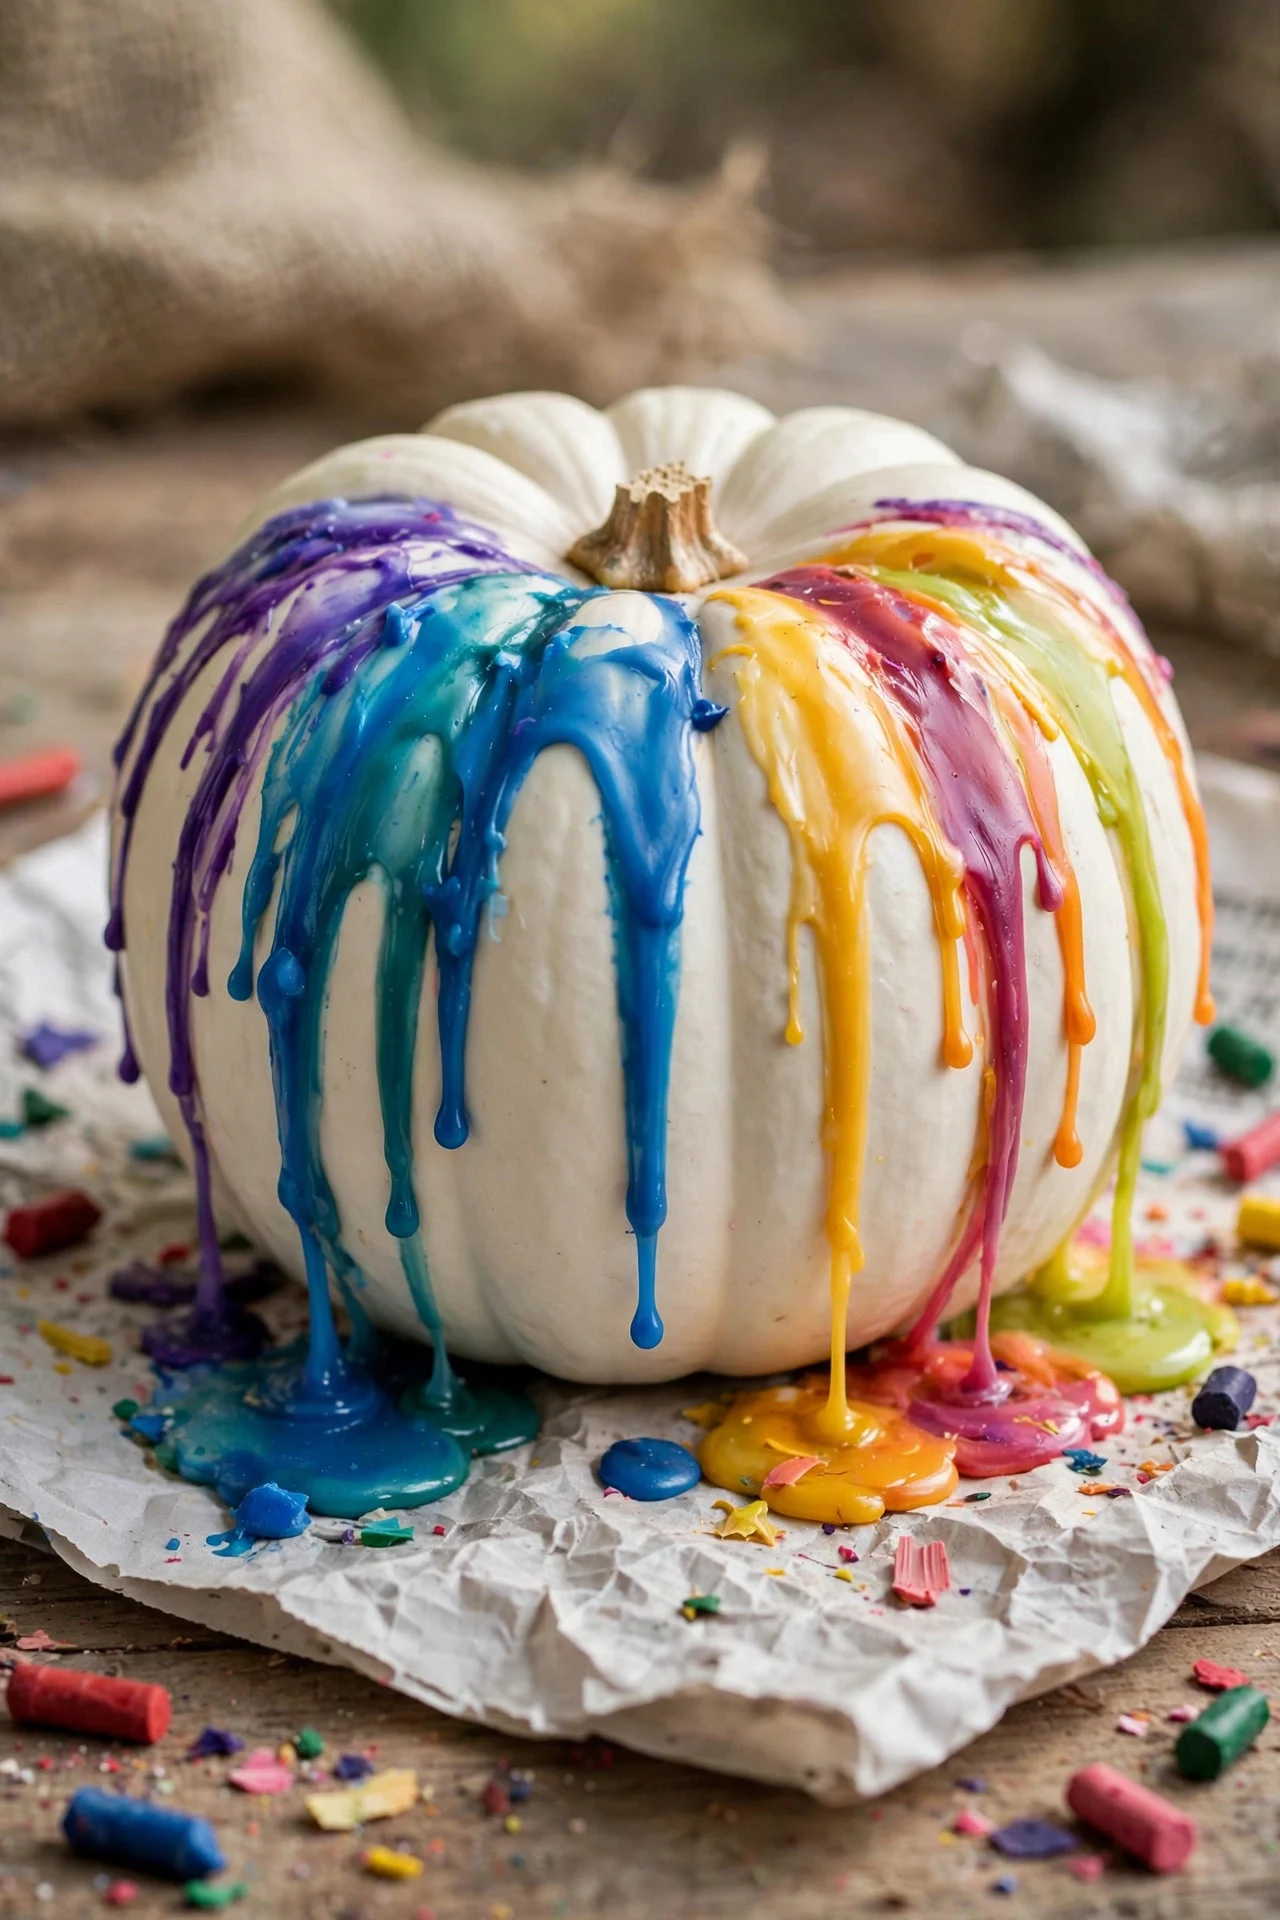
Glue crayons around the top of a pumpkin, point a hair dryer at them, and watch the wax melt into colorful drips down the sides. Kids love this one, and the results are genuinely fun — like a pumpkin in a paint factory explosion.
Use a white pumpkin so the colors pop, and work over newspaper because it gets messy. Unwrap the crayons first (obviously), and choose a palette — all warm tones or all cool tones — instead of random colors for a more polished result.
Try this: Stick to black, white, and orange crayons on a white pumpkin for a graphic Halloween look.
5. Fabric-Wrapped Pumpkins
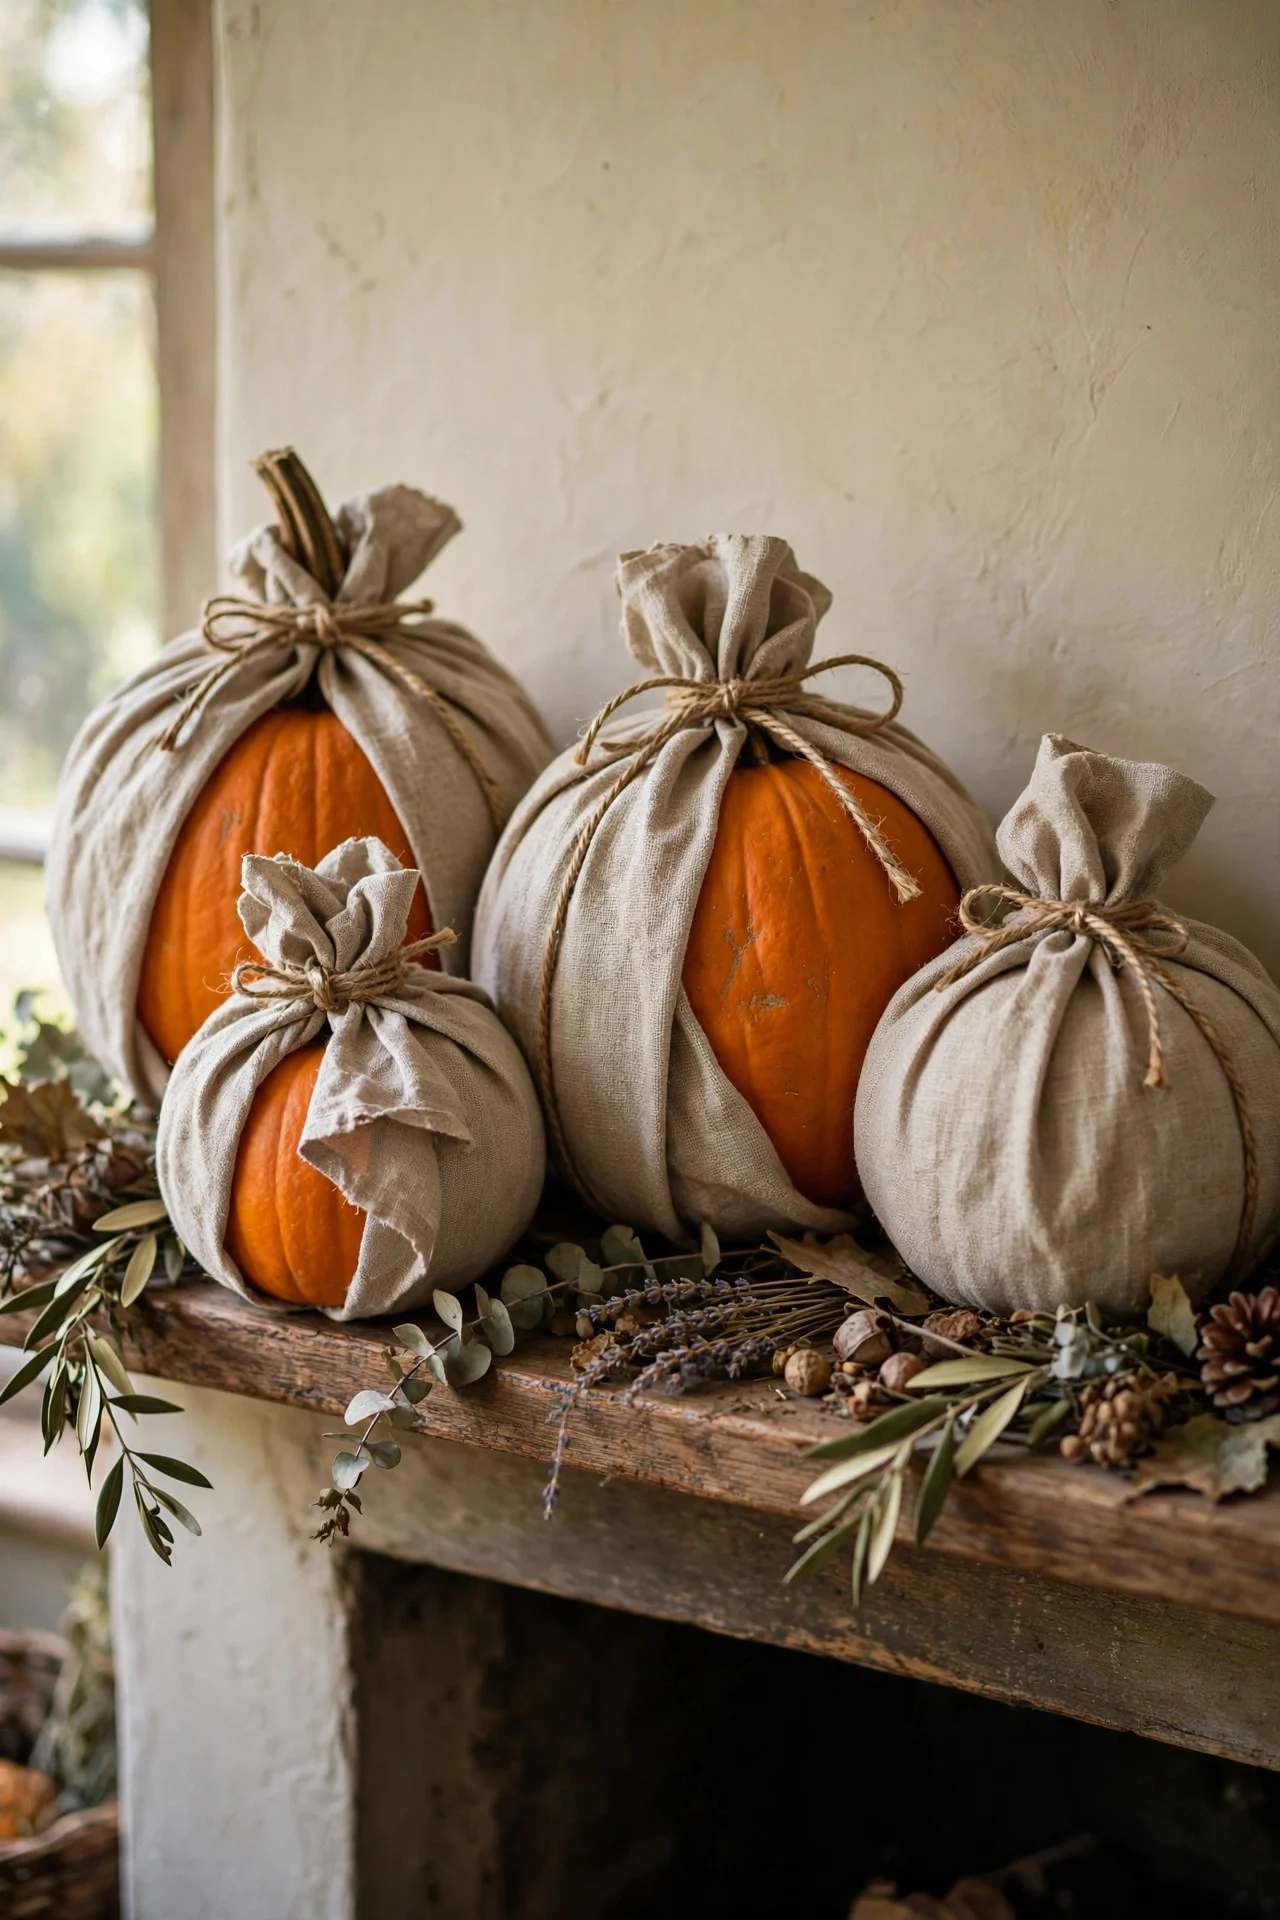
Center a pumpkin on a square of fabric — linen, burlap, even an old flannel shirt — gather the fabric up around the stem, and tie it with twine. Trim the excess and you’ve got a soft, textured pumpkin in about two minutes flat.
This is the coziest no-carve method there is, and it works beautifully in neutral palettes: oatmeal linen, gray flannel, cream muslin. No glue, no paint, nothing permanent — unwrap them in November and reuse the fabric.
Try this: Tuck a sprig of dried eucalyptus under the twine for a finished, gift-wrapped look.
6. Stenciled Pattern Pumpkins
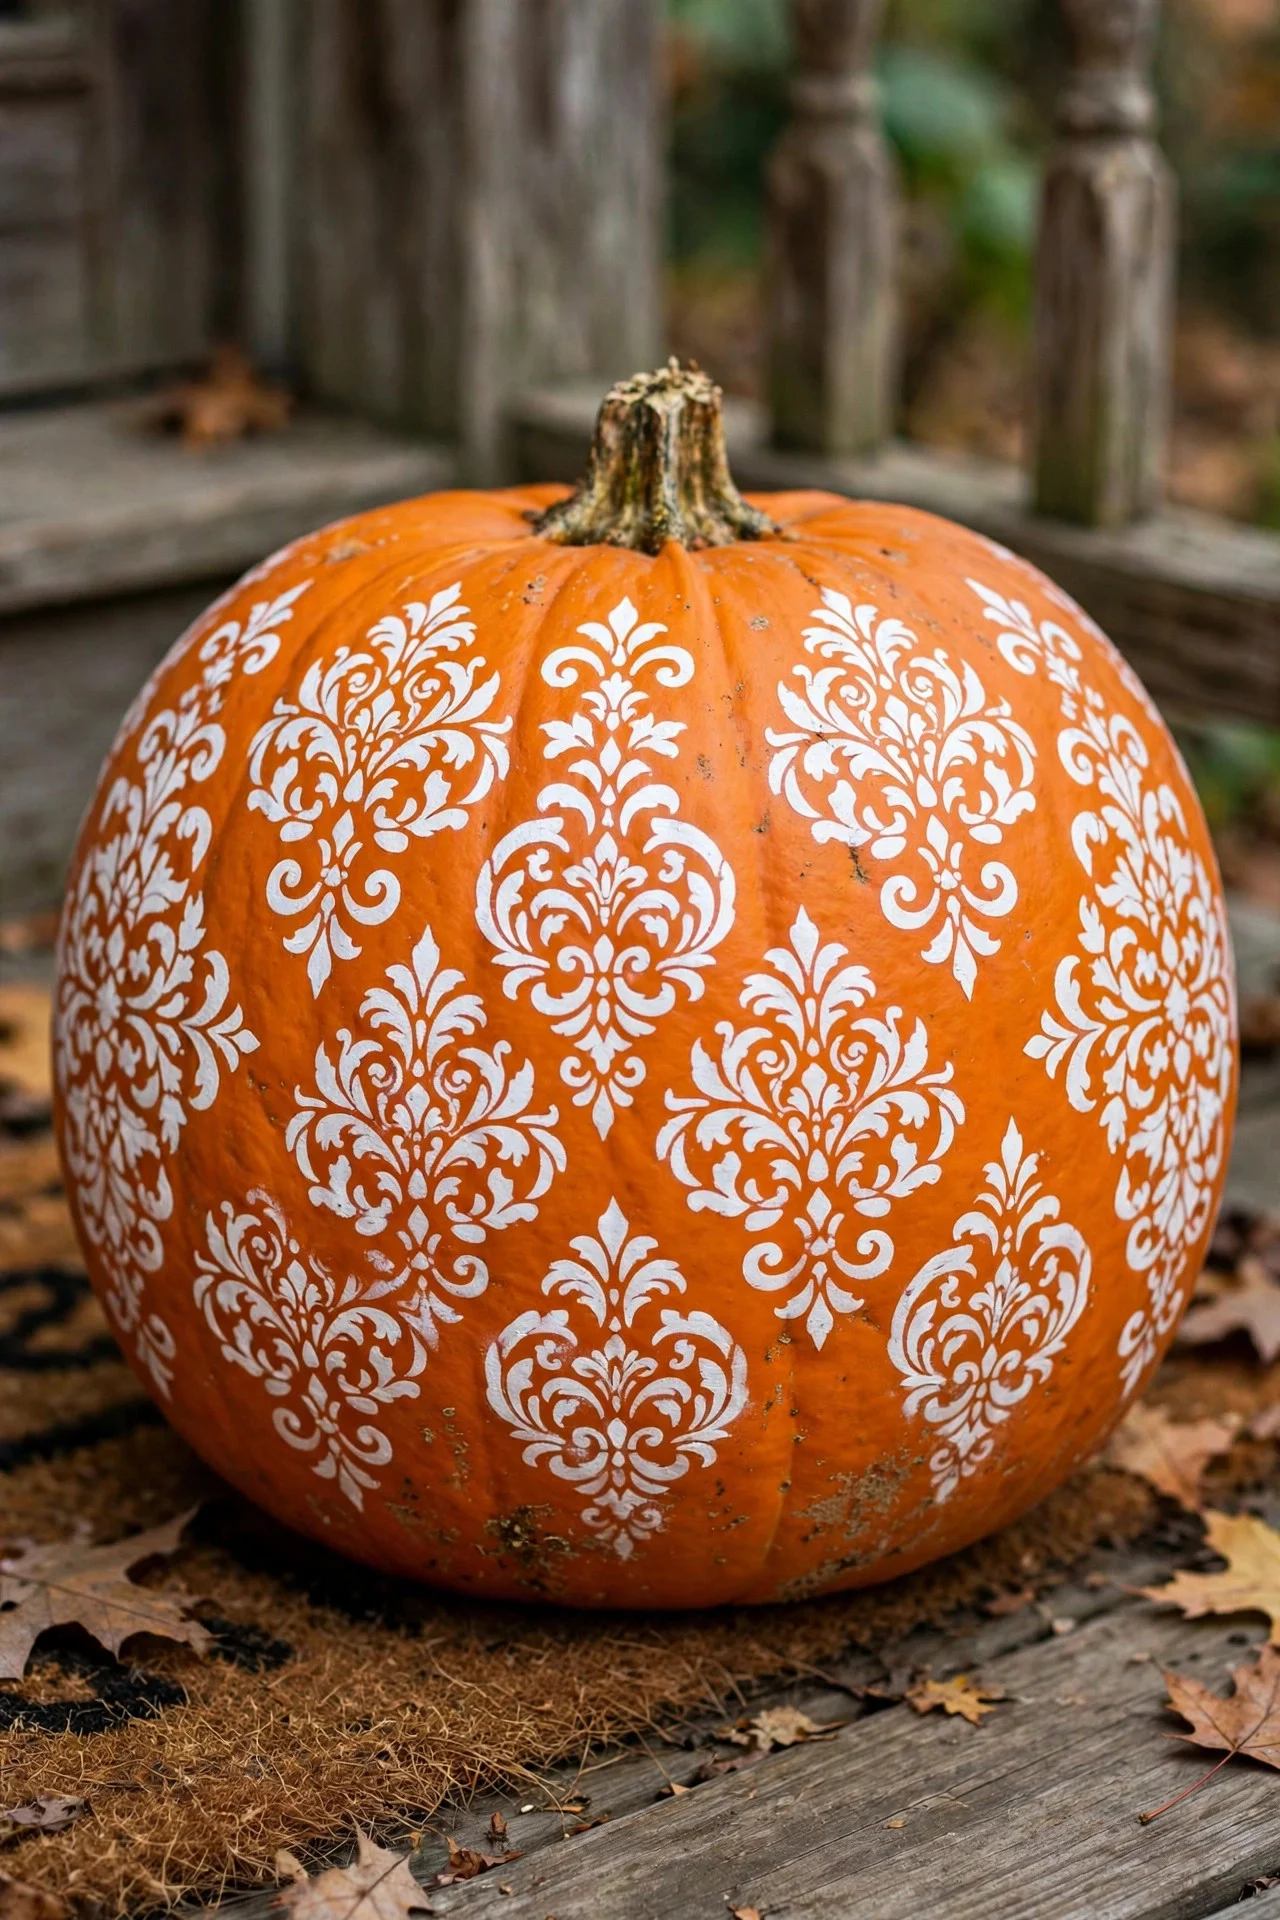
Adhesive stencils and craft paint give you crisp patterns — damask, geometric, polka dots — with zero artistic skill required. Stick the stencil on, dab paint through it with a foam pouncer (never brush, which bleeds under the edges), peel, and repeat around the pumpkin.
White paint on an orange pumpkin is classic; metallic gold on a white pumpkin is stunning. Let each section dry before rotating so you don’t smudge. Stencil packs cost $5–$8 and last forever.
Try this: Stencil a single band around the pumpkin’s middle like a decorative belt — less work, big impact.
7. Thumbtack Studded Pumpkins
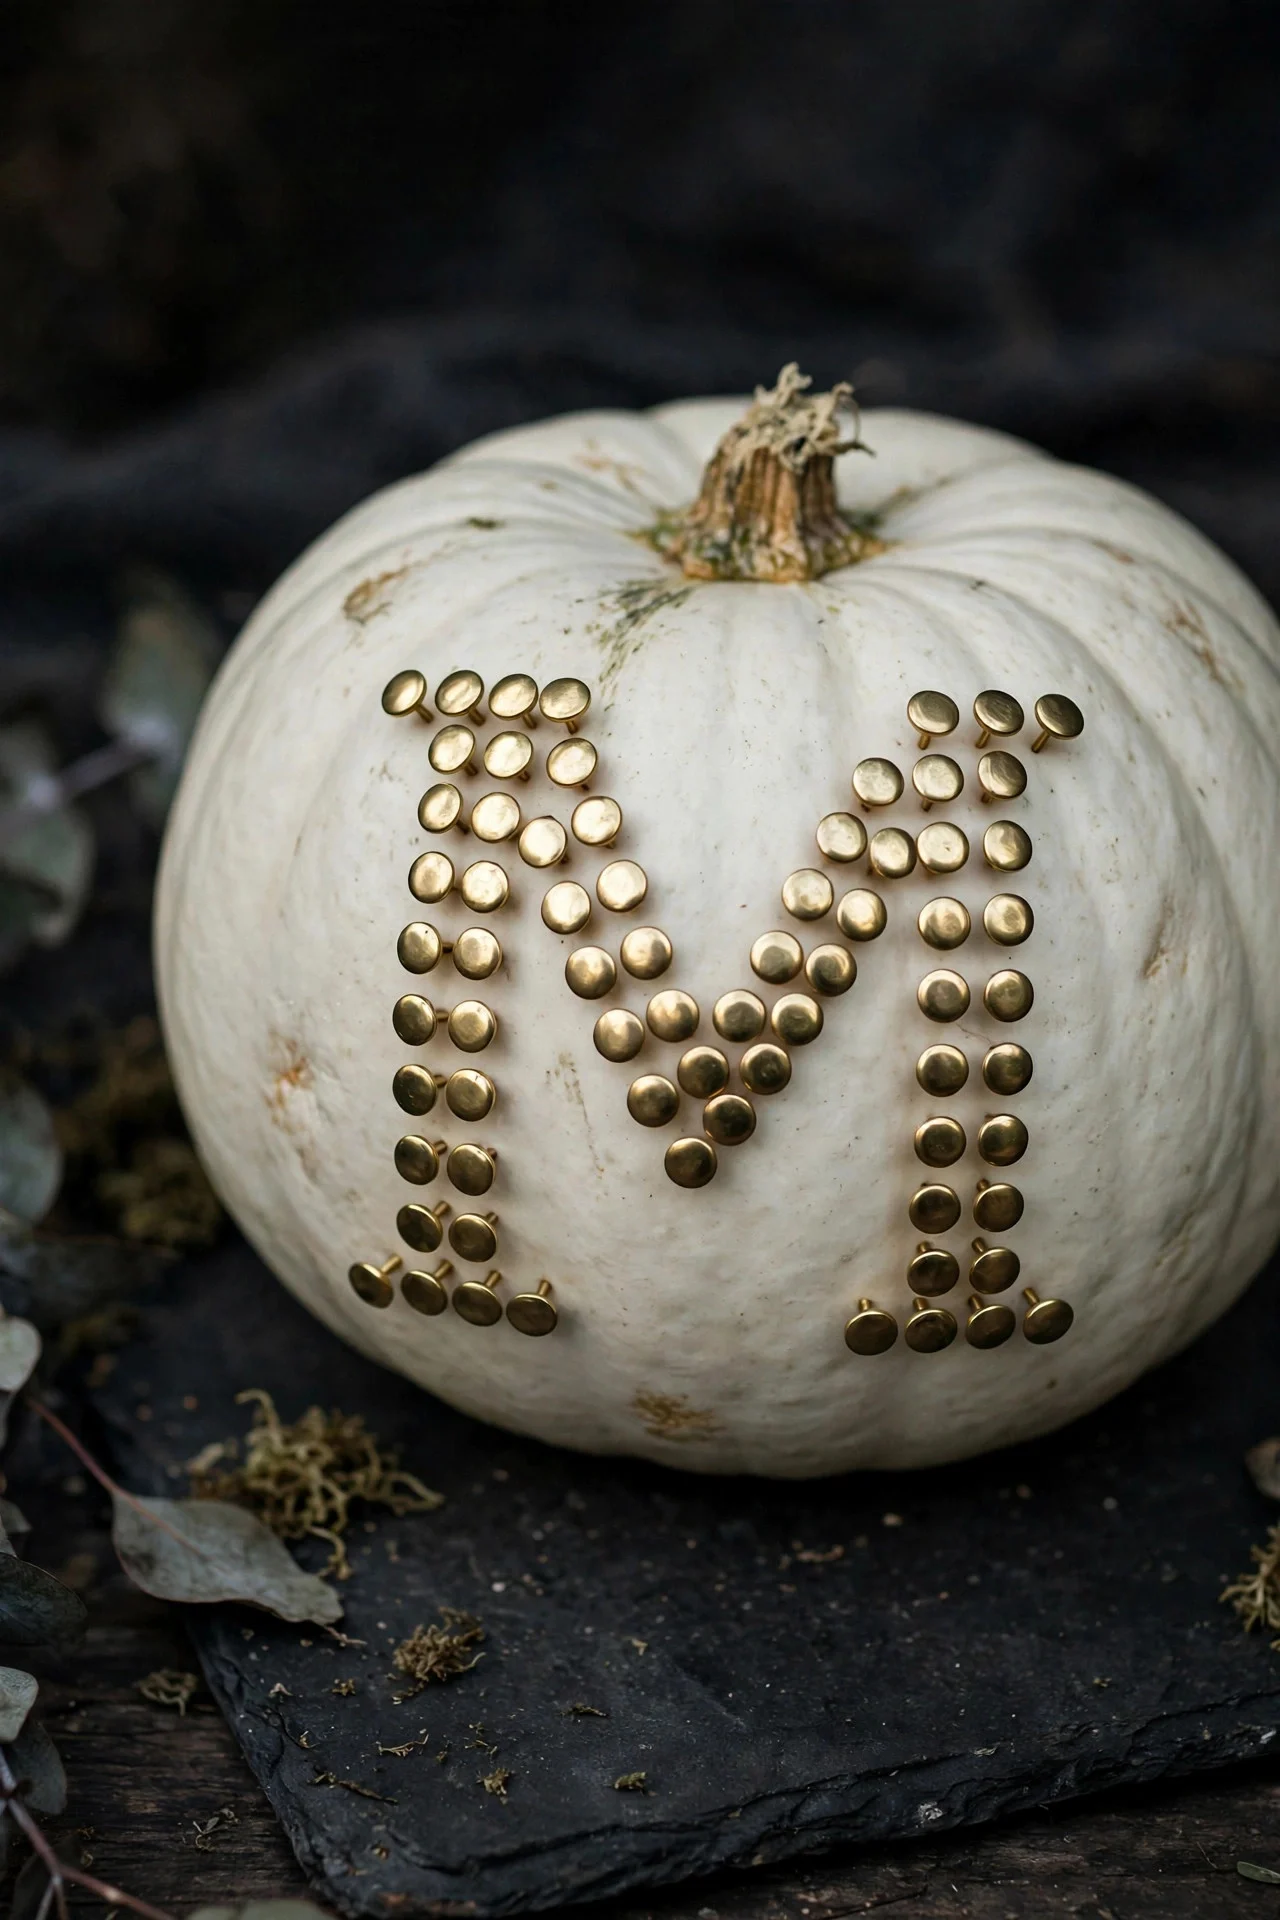
Push metallic thumbtacks into a pumpkin in swirling patterns, monograms, or geometric grids. The brass and silver heads catch light beautifully, and the pumpkin stays intact — the tacks pull right out when you’re done.
Sketch your design lightly in pencil first; once you start pushing tacks it’s hard to reposition. A box of 100 thumbtacks costs $3 and covers one medium pumpkin generously. Faux pumpkins hold tacks best.
Try this: Spell out “BOO” or your family initial in tacks on a white pumpkin.
8. Glitter Ombre Pumpkins
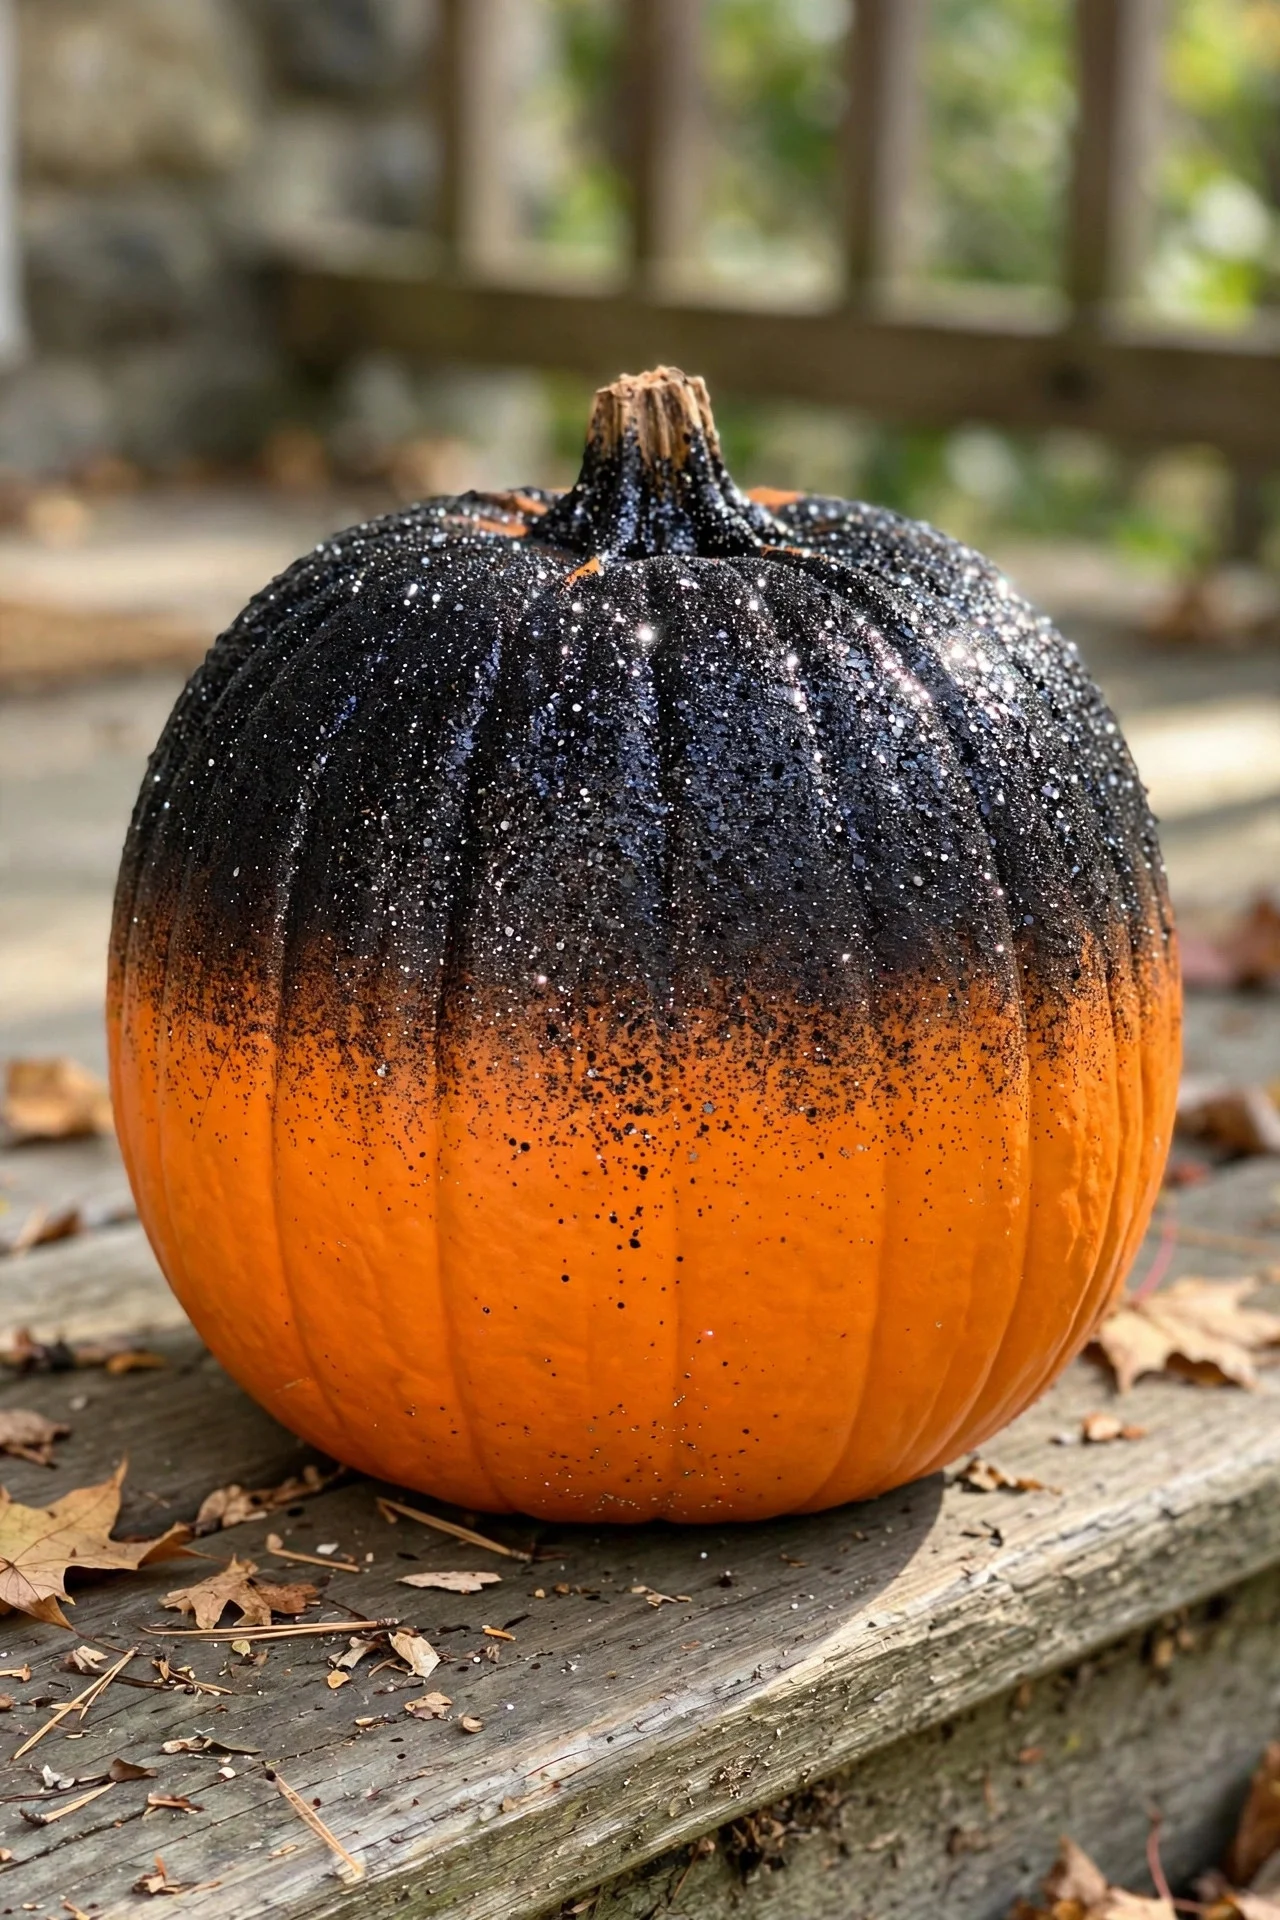
Spray the top of a pumpkin with adhesive and dust it heavily with glitter, fading to sparse at the bottom for an ombre effect. Black glitter on an orange pumpkin is dramatic; gold on white is glamorous.
Work outside or over a big box — glitter migrates everywhere — and seal with clear spray sealer so it doesn’t shed all over your porch. Fine glitter looks far more expensive than chunky. A $4 tube covers two pumpkins.
Try this: Do the ombre in reverse — heavy glitter at the bottom fading up — for a rising-smoke effect.
9. Velvet Ribbon Wrap Pumpkins
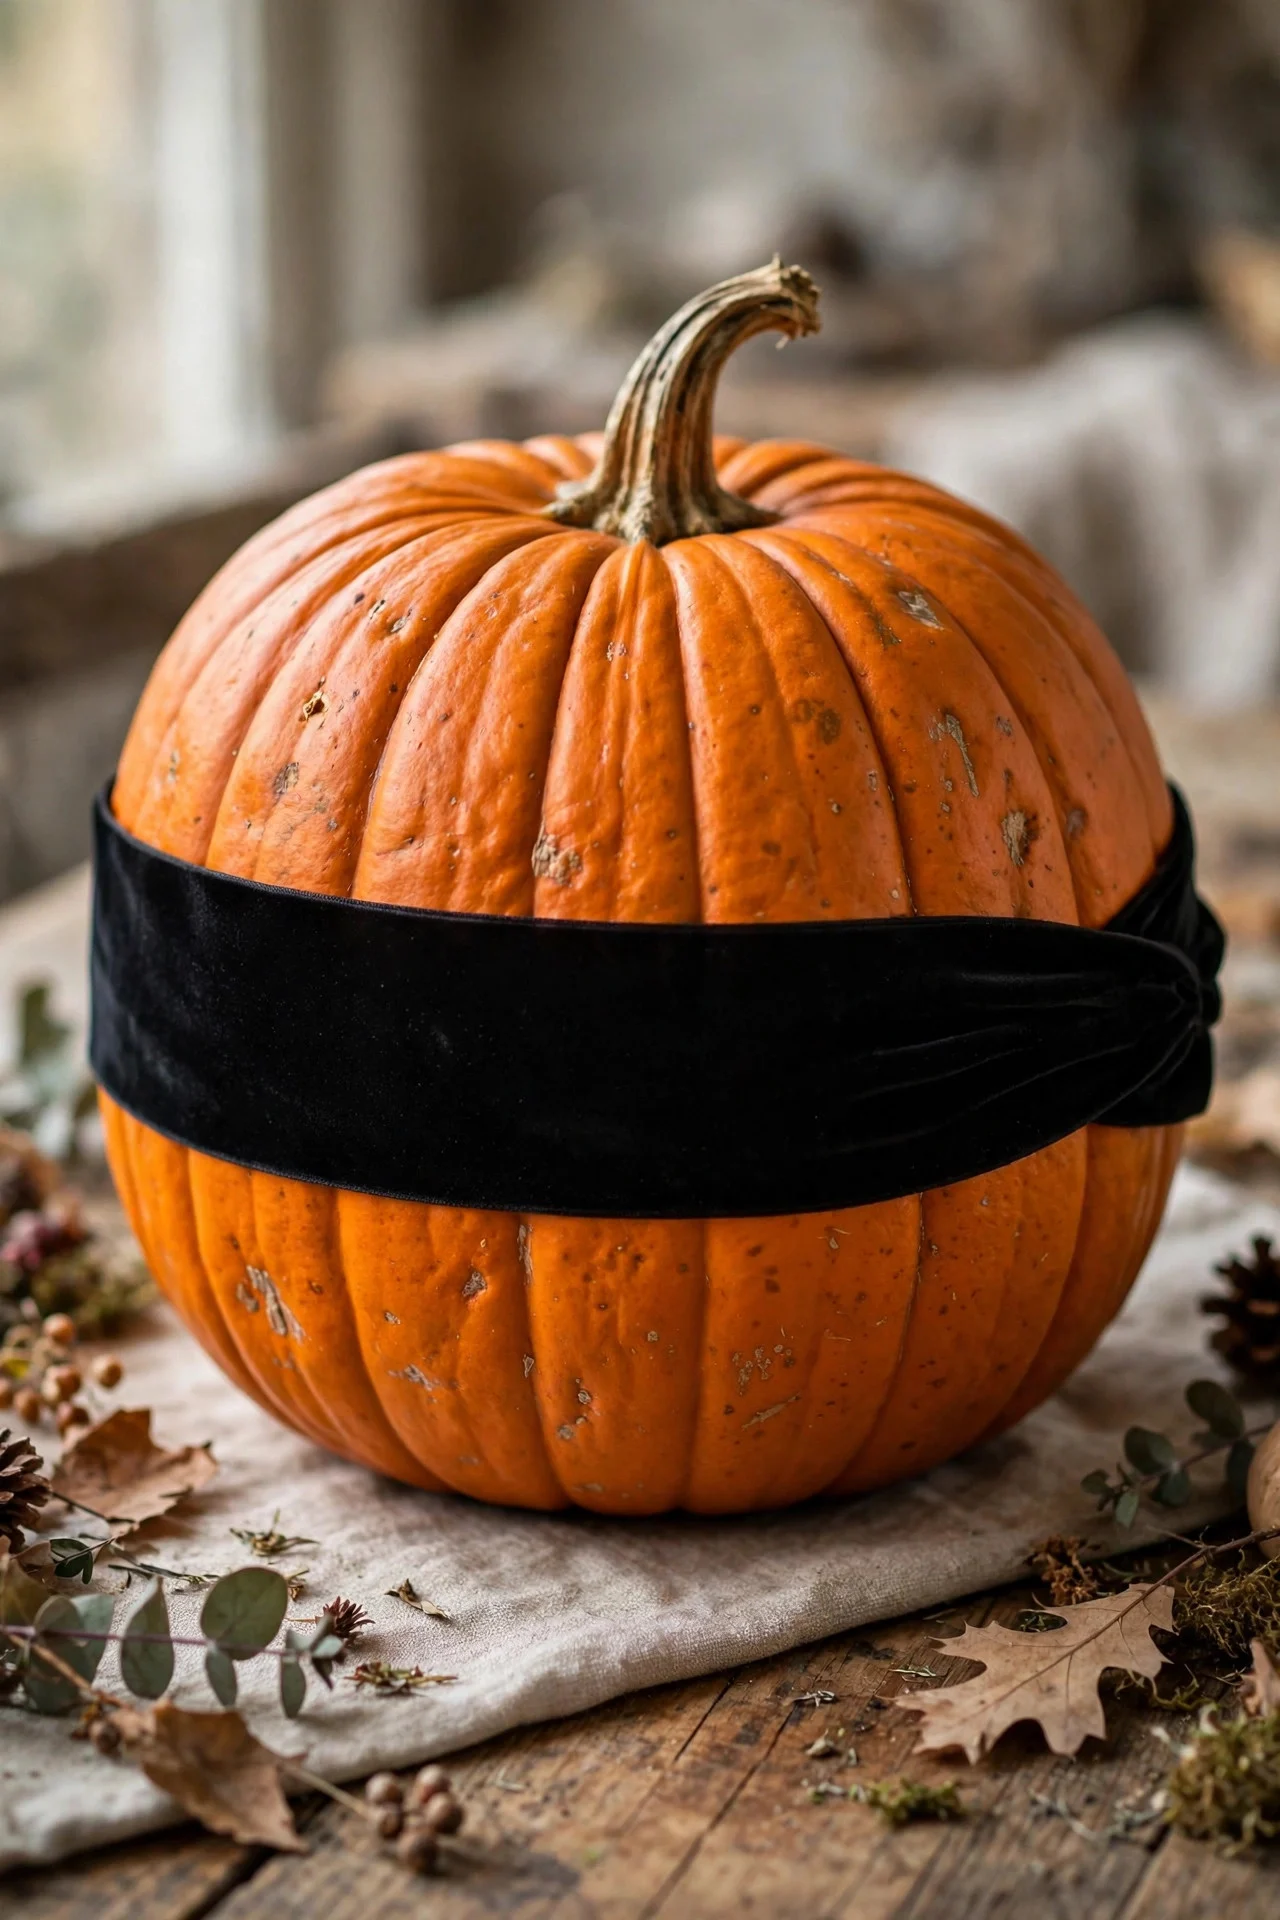
Wrap wide velvet ribbon around a pumpkin like the segments of an orange — top to bottom, evenly spaced — and glue the ends at the stem and base. The ribbon follows the pumpkin’s natural grooves and looks like it was always meant to be there.
Black velvet on an orange pumpkin is classic Halloween; cream on white is wedding-elegant. Use 1.5-inch ribbon and a hot glue gun; the whole thing takes ten minutes per pumpkin. A spool of velvet ribbon runs $5–$8.
Try this: Tie the ribbon ends into a small bow at the stem instead of gluing them flat.
10. Painted Ombre Pumpkins
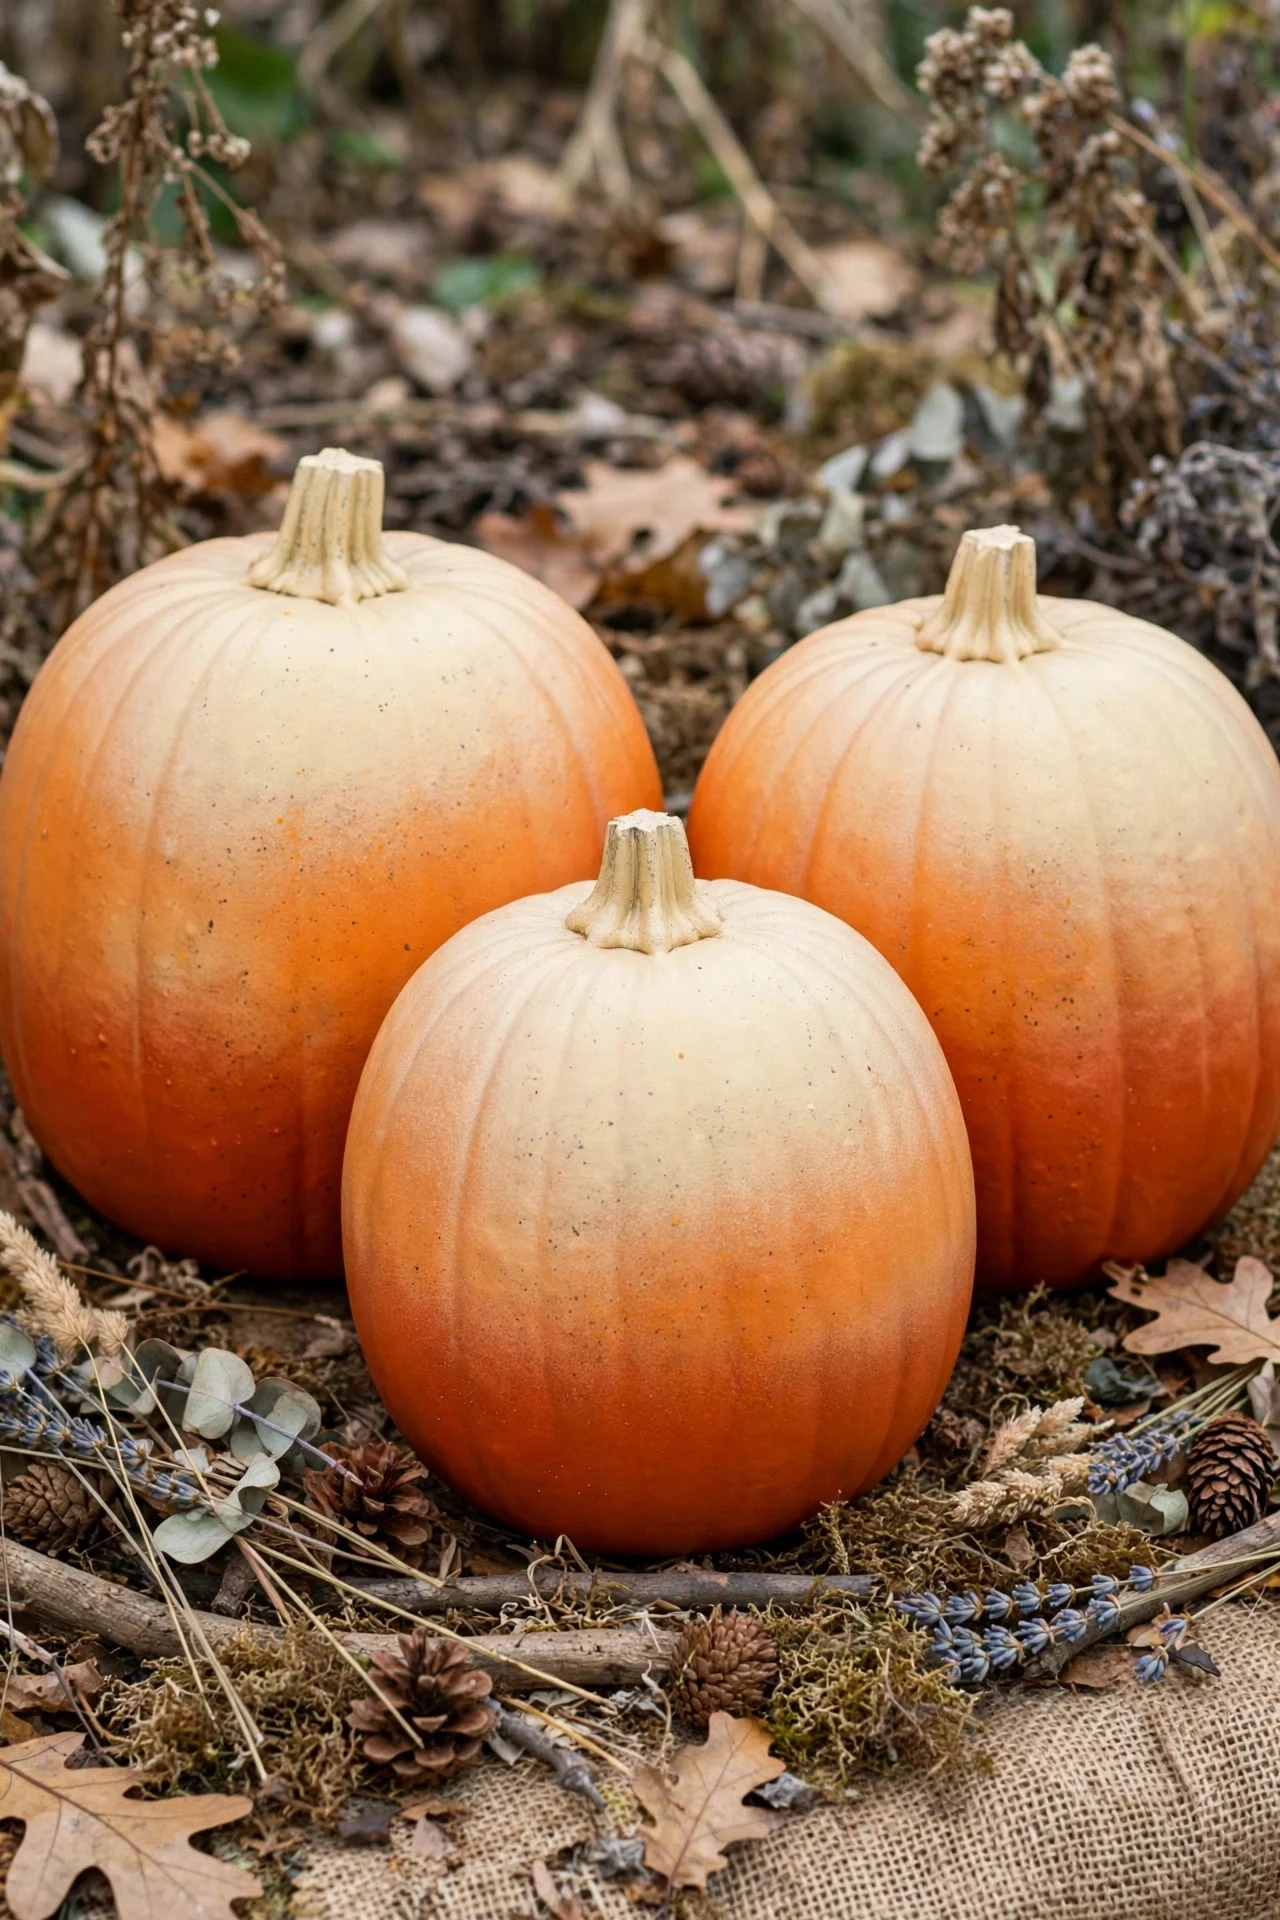
Spray-paint a pumpkin in a gradient — dark at the bottom fading to light at the top, or vice versa. Hold the can 10–12 inches away and build the color in light passes, overlapping the tones where they meet so the transition melts together.
Burnt orange fading to cream, or charcoal fading to gray, both look fantastic. Matte spray paint works best; glossy reads cheap. Two cans of paint ($4 each) handle a whole porch display.
Try this: Group three pumpkins in the same ombre palette at different heights for a cohesive display.
11. Pressed Flower Pumpkins
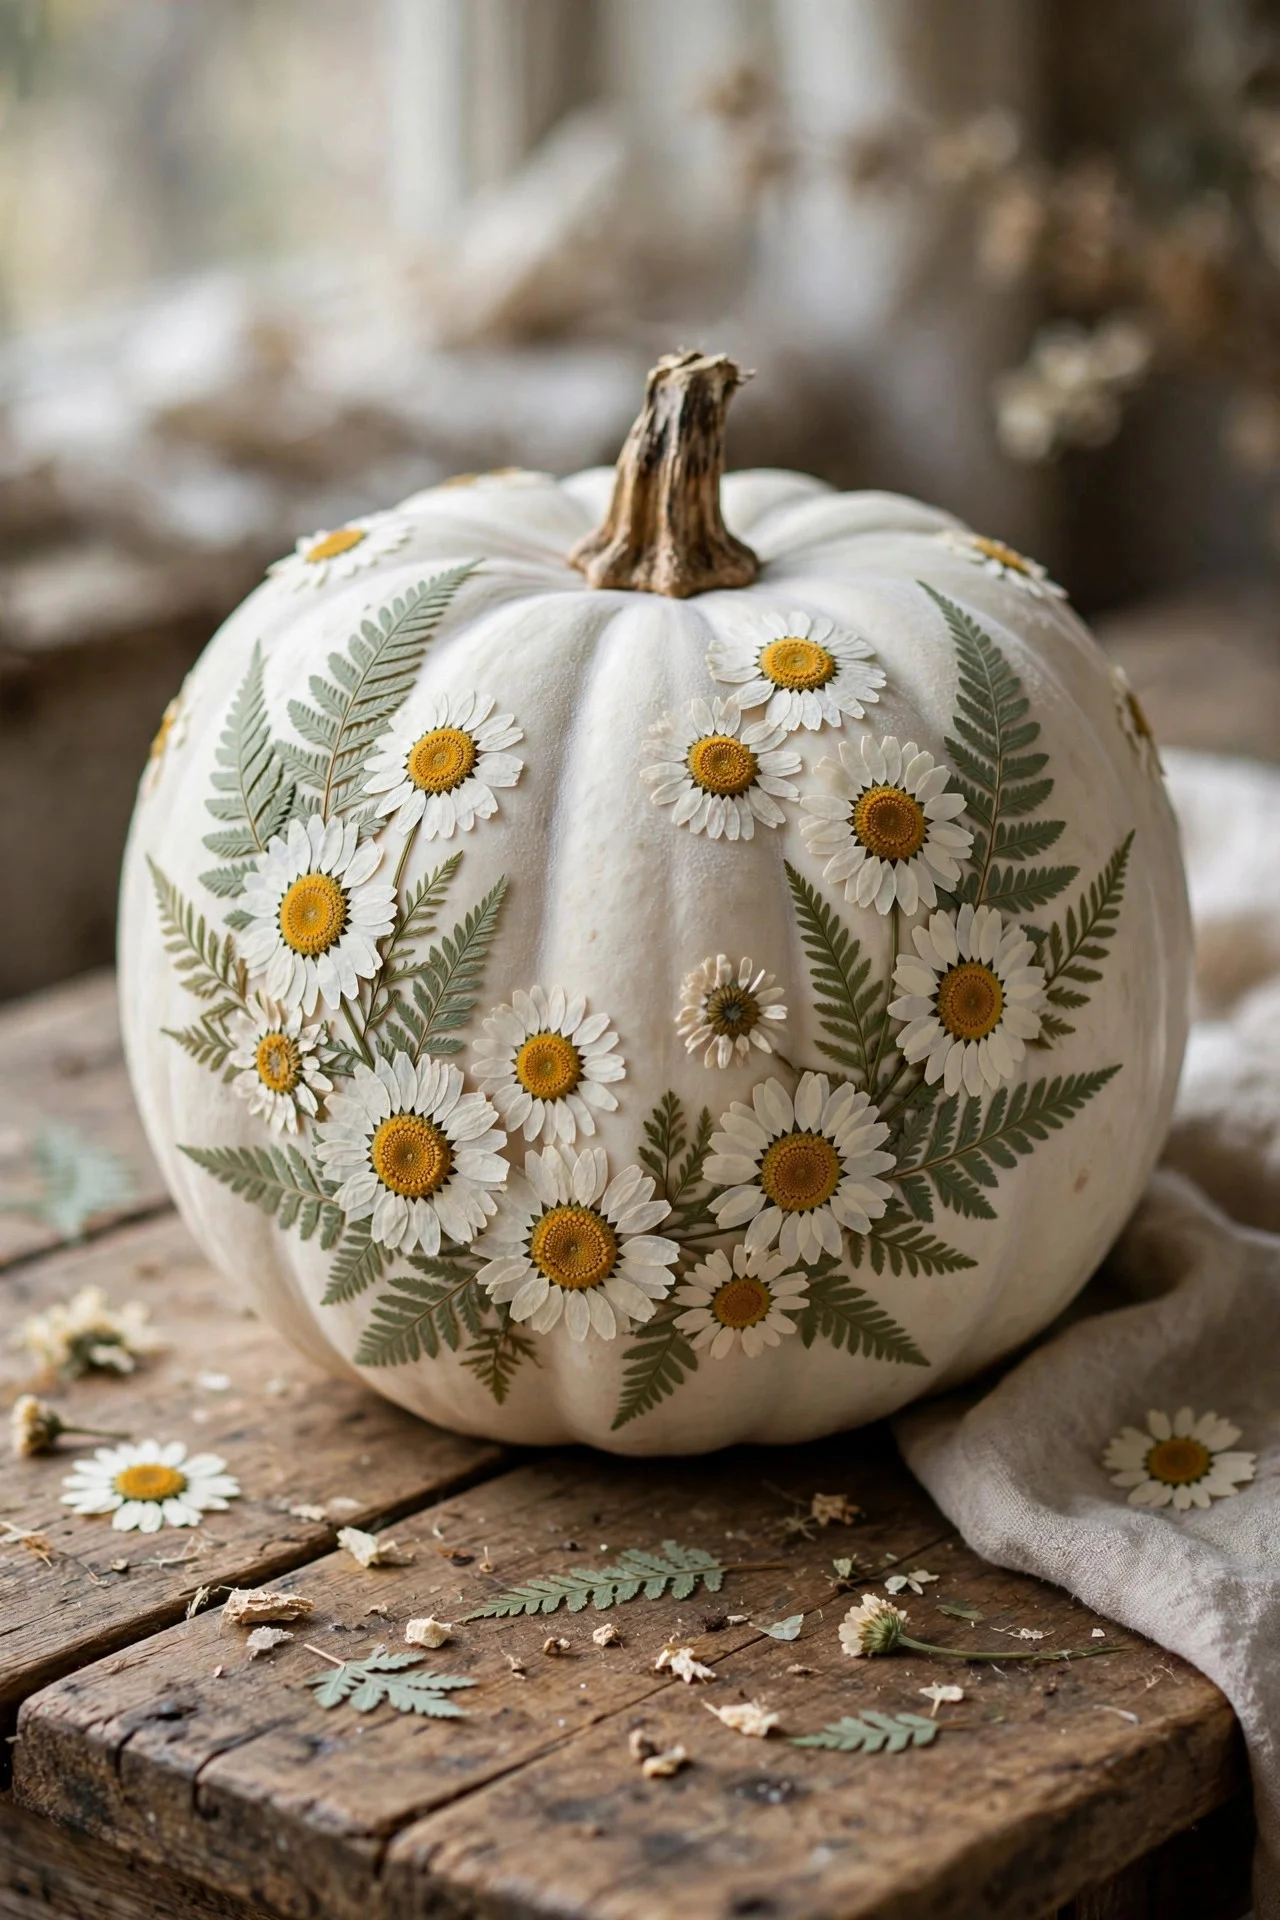
Press real or faux flowers onto a pumpkin with Mod Podge for a botanical look that’s pure cottagecore Halloween. Daisies, ferns, and tiny wildflowers adhere best — press them flat first if they’re fresh, or buy pre-pressed packets for $5.
White or pale pumpkins show the flowers off; seal with two coats of matte Mod Podge. These look delicate and unexpected on a porch full of orange, and they photograph beautifully.
Try this: Add a few black-painted leaves among the flowers for a subtle Halloween edge.
12. Monogram Pumpkins
Paint your family initial on a pumpkin in a beautiful serif font and it becomes personalized porch decor. Print the letter large, trace it onto the pumpkin with transfer paper, and fill it in with craft paint and a small brush.
Metallic gold or cream on a dark green or white pumpkin looks the most sophisticated. This is a great housewarming-gift pumpkin too — personal, seasonal, and under $10 to make.
Try this: Add a thin painted border line around the pumpkin’s middle to frame the monogram.
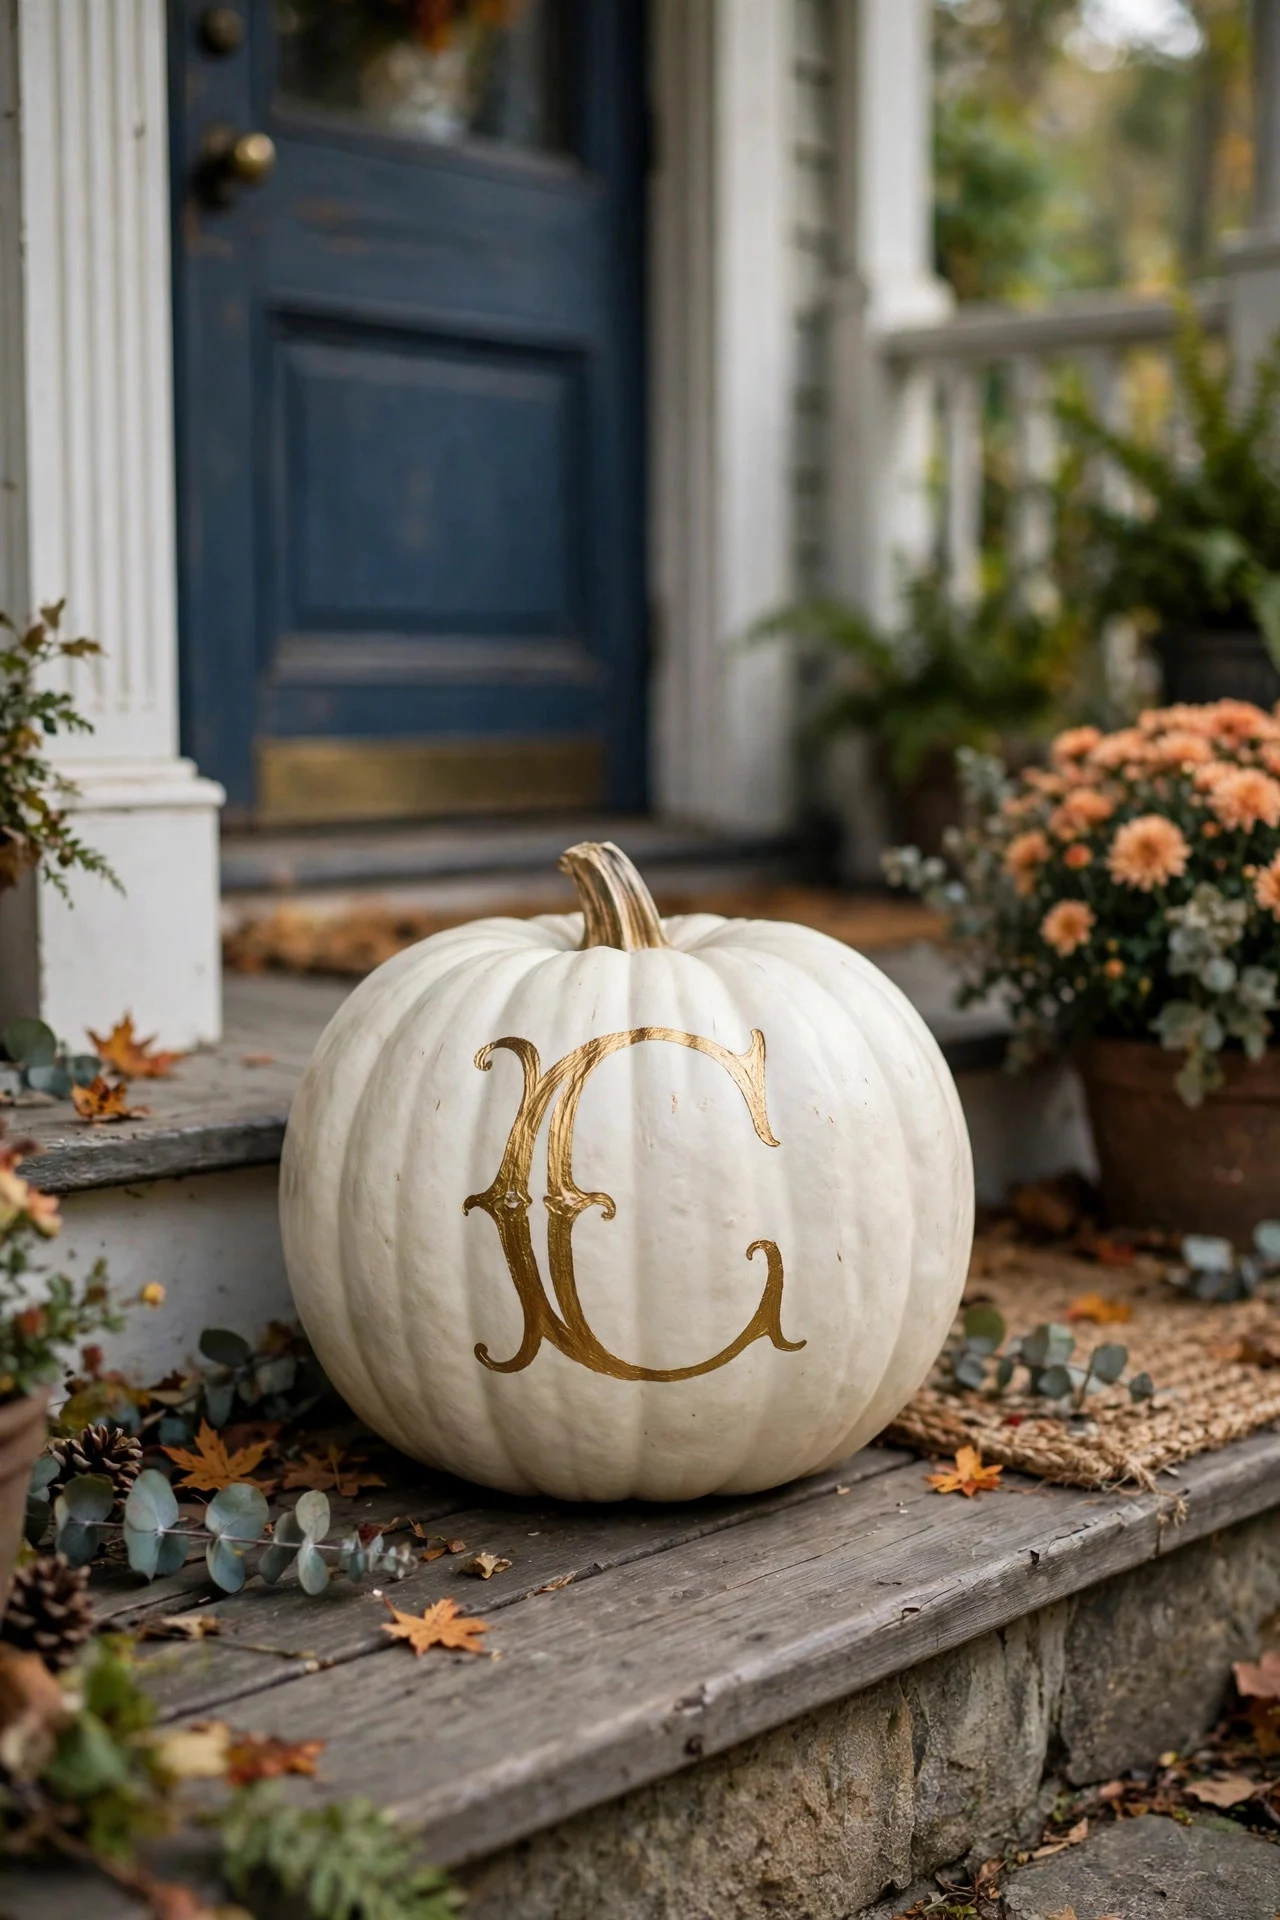
13. Push-Pin Polka Dot Pumpkins
Map pins with colorful ball heads — pushed into a pumpkin in neat polka-dot rows — make the happiest no-carve pumpkin for kids’ rooms or a playful porch. The pins go in easily and pull out cleanly, so the pumpkin stays usable.
Use a ruler and pencil dots to keep the rows even; precision is what separates cute from sloppy. A $4 box of map pins in black and orange covers one pumpkin. Faux pumpkins are sturdier for little hands.
Try this: Do black pins on a white pumpkin in a tight grid — it reads as modern art, not a kids’ craft.
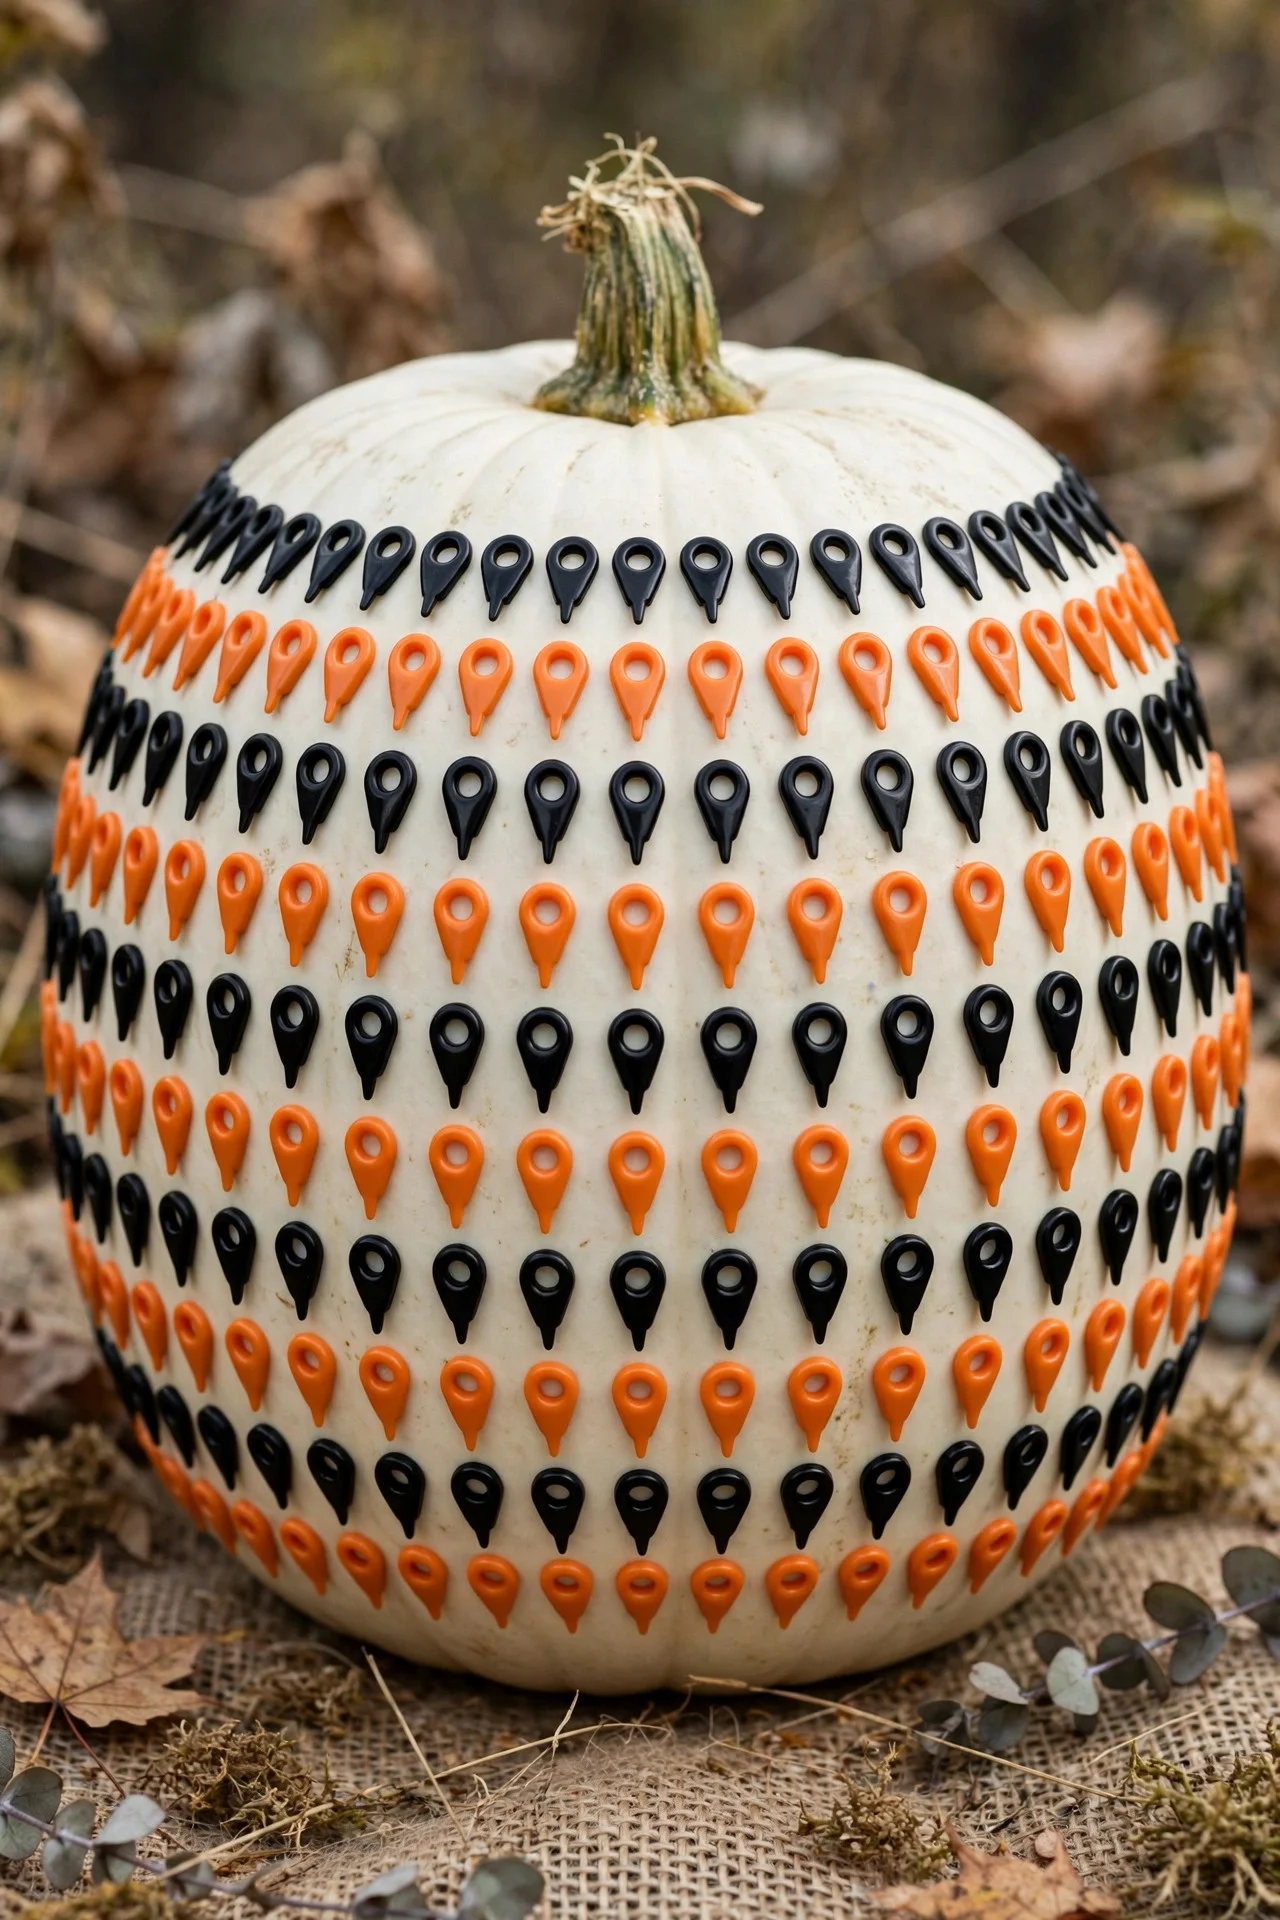
14. Stacked Mini Pumpkin Topiary
Thread three mini pumpkins onto a wooden dowel stuck in a small pot — no carving, just a drilled hole through each one. Largest at the bottom, smallest on top, with moss covering the base. It looks like a boutique garden piece.
Paint the minis cream or soft orange first for a cohesive look, or leave them natural in mixed heirloom varieties. The whole thing stands about 18 inches tall — perfect for flanking a door or centering a table. Under $12 total.
Try this: Wrap the dowel in jute twine and top the smallest pumpkin with a dried flower instead of a stem.
Frequently Asked Questions
How long do no-carve decorated pumpkins last?
Uncarved real pumpkins last 6–8 weeks in cool weather, so decorations applied in late September easily survive through Halloween. Faux pumpkins last indefinitely — paint, decoupage, and fabric techniques all work on them, making them the smarter investment.
What paint works best on pumpkins?
Acrylic craft paint and matte spray paint both adhere well. For spray paint, hold the can 10–12 inches away and use light coats to avoid drips. Always start with a clean, dry pumpkin — wipe it down first so the paint grips properly.
Can kids do these no-carve pumpkin ideas?
Most of them, yes. Fabric wrapping, push-pin polka dots (with supervision), melted crayon drips, and ribbon wrapping are all kid-friendly. Save the hot glue gun, spray paint, and thumbtacks for adults, and let kids handle the designing.
Do I need real or fake pumpkins for no-carve decorating?
Both work. Real pumpkins are cheaper and have better texture, but faux pumpkins let you reuse your creations year after year — which matters for time-intensive techniques like gold leaf or decoupage. For anything involving pins or tacks, faux foam pumpkins hold best.
Final Thoughts
Put down the carving kit this year. A porch of painted, wrapped, and gilded pumpkins lasts the whole season, looks more polished than any wobbly jack-o’-lantern face, and you’ll still have all ten fingers on November 1st. Pick the technique that matches your style and make an afternoon of it.
