
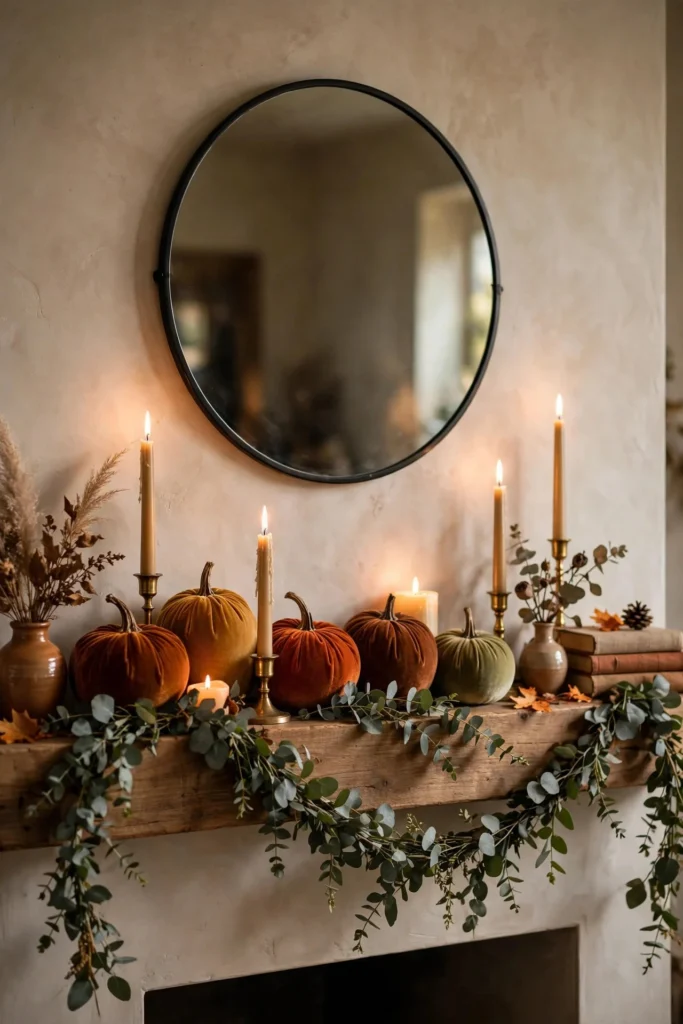
The mantel is fall’s natural stage — it’s the first thing you see when you walk into the living room, and it’s practically begging for pumpkins and garlands. But there’s a fine line between a styled mantel and a cluttered shelf, and it comes down to layering: a garland base, pumpkins for shape, and height from candles or lanterns.
These fifteen ideas all build on that formula with different moods, from classic symmetry to modern asymmetry. Most take under an hour, and once the base garland is up, swapping the accents through the season is easy.
1. The Classic Symmetric Mantel
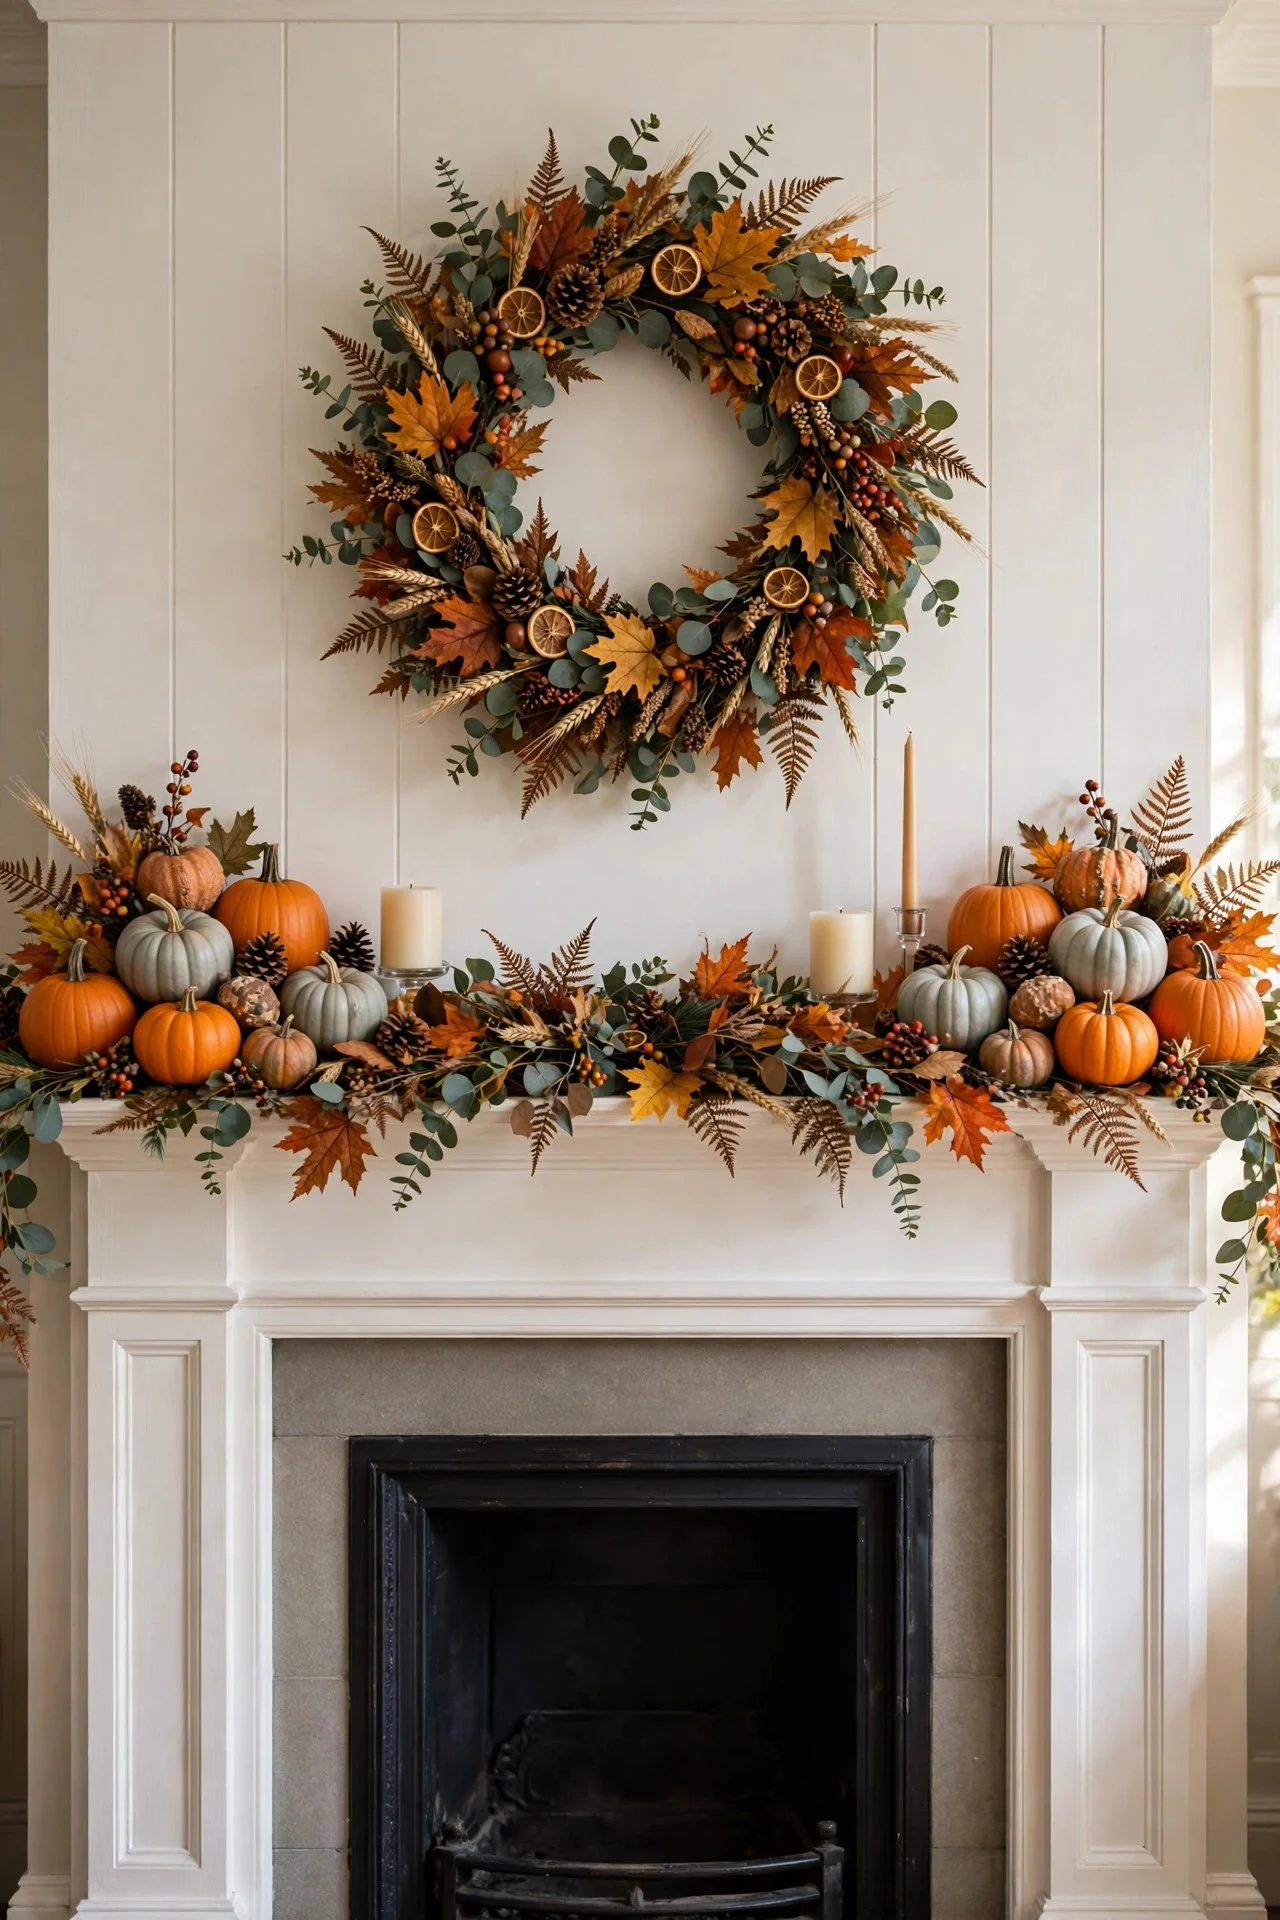
Start with the timeless formula: a full garland draped across the mantel shelf, matching pumpkin clusters at each end, and one strong centerpiece — a wreath, a mirror, or a framed print. Symmetry feels formal and festive, and it photographs beautifully.
Use an odd number of pumpkins per cluster (three or five) and vary their sizes. A 6-foot faux garland ($20–$30) plus six pumpkins gets you the whole look in about thirty minutes.
Try this: Swag the garland so it dips in the middle and rises at the ends — the curve is what makes it look professional.
2. Modern Asymmetric Styling
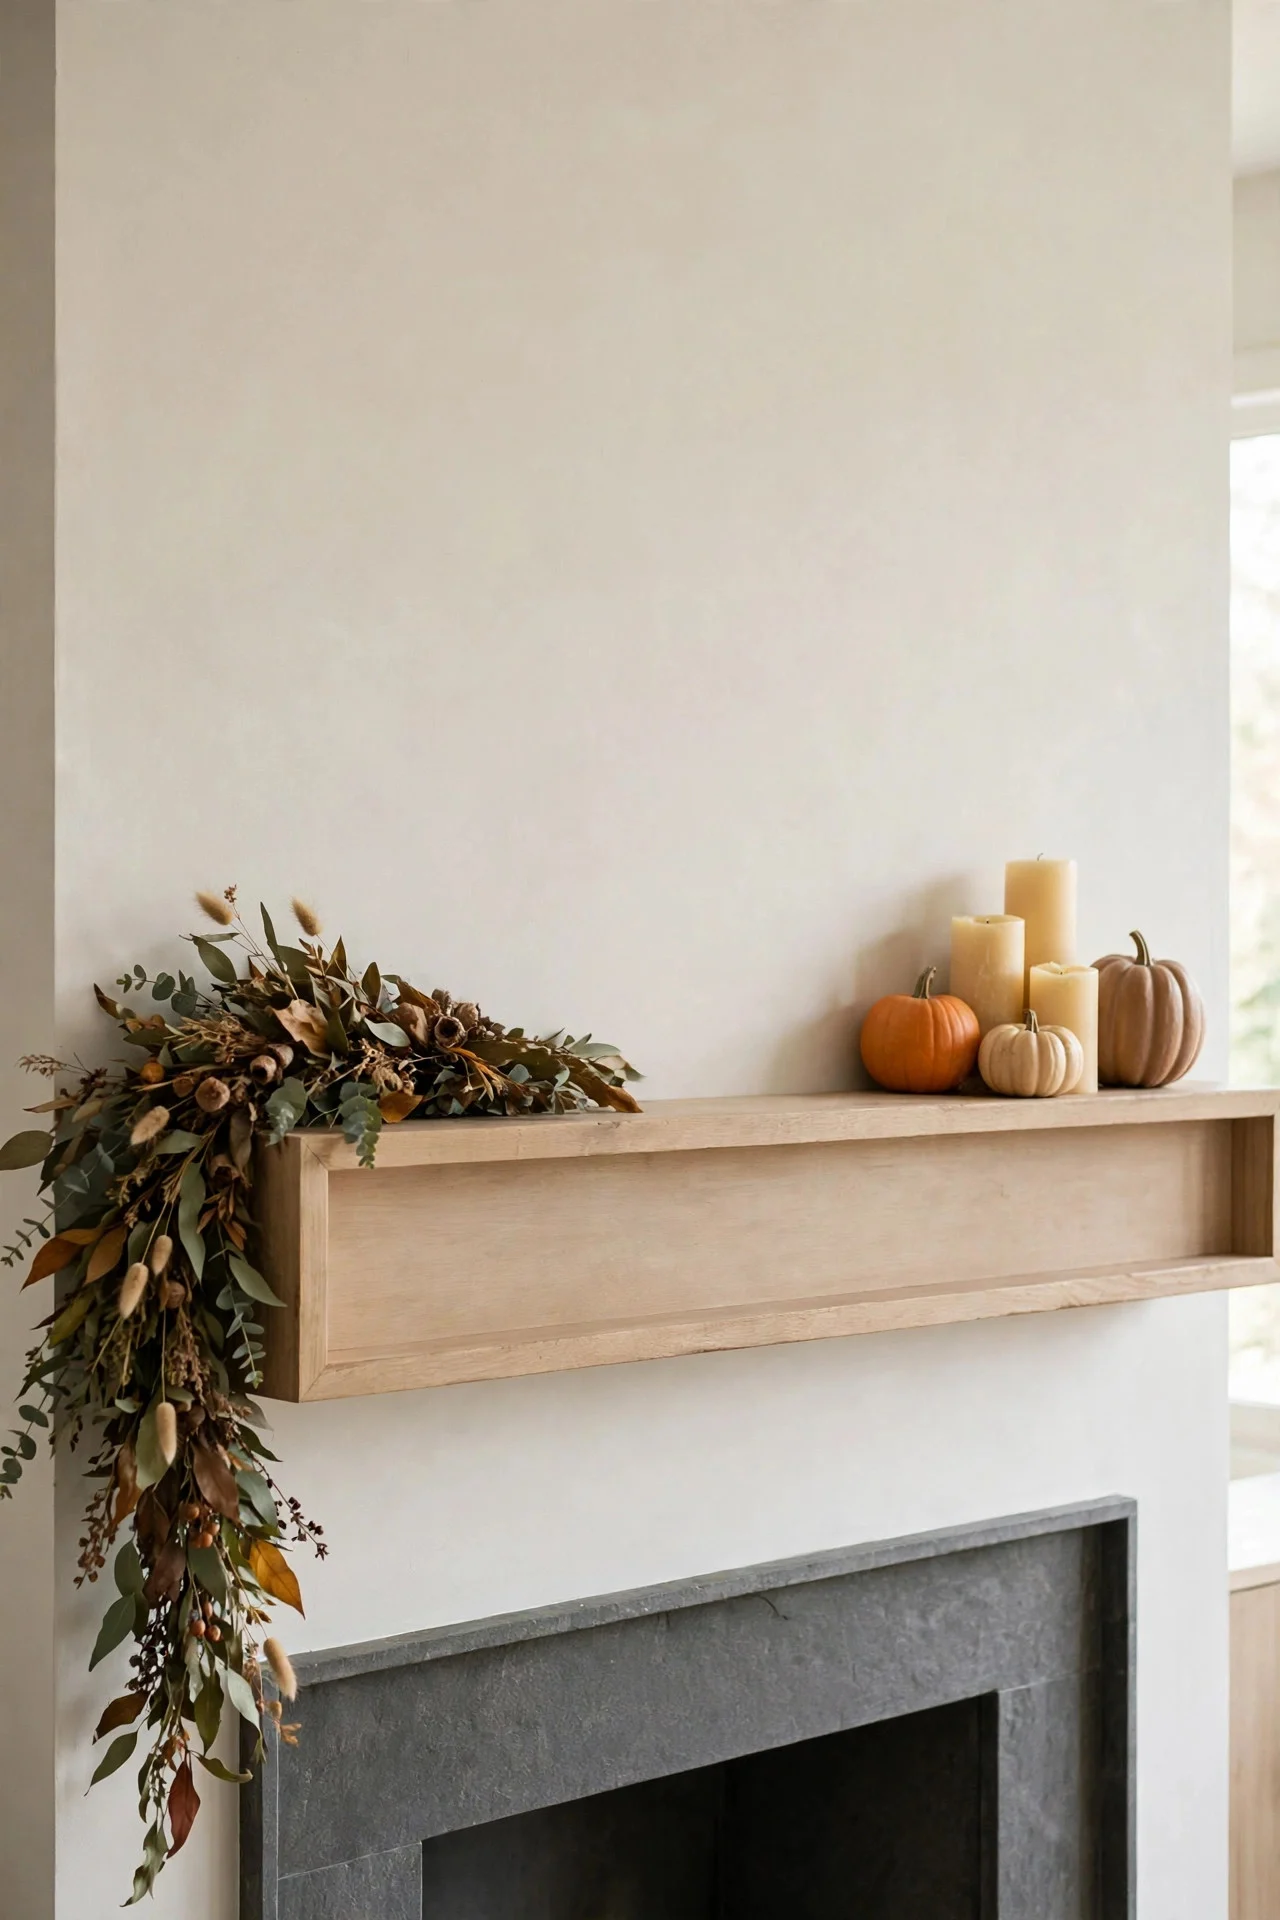
Push everything to one side: garland trailing off the left end, a tall cluster of pumpkins and candles on the right, and deliberate empty space in the middle. Asymmetry feels current and editorial, like a magazine shoot.
The empty space is doing work — it lets each cluster breathe. This style suits minimalist and modern homes where symmetry would feel fussy. Same materials as the classic look, completely different result.
Try this: Anchor the heavy side with one tall element — a lantern or branch — so the asymmetry feels balanced.
3. Eucalyptus Garland as the Base Layer
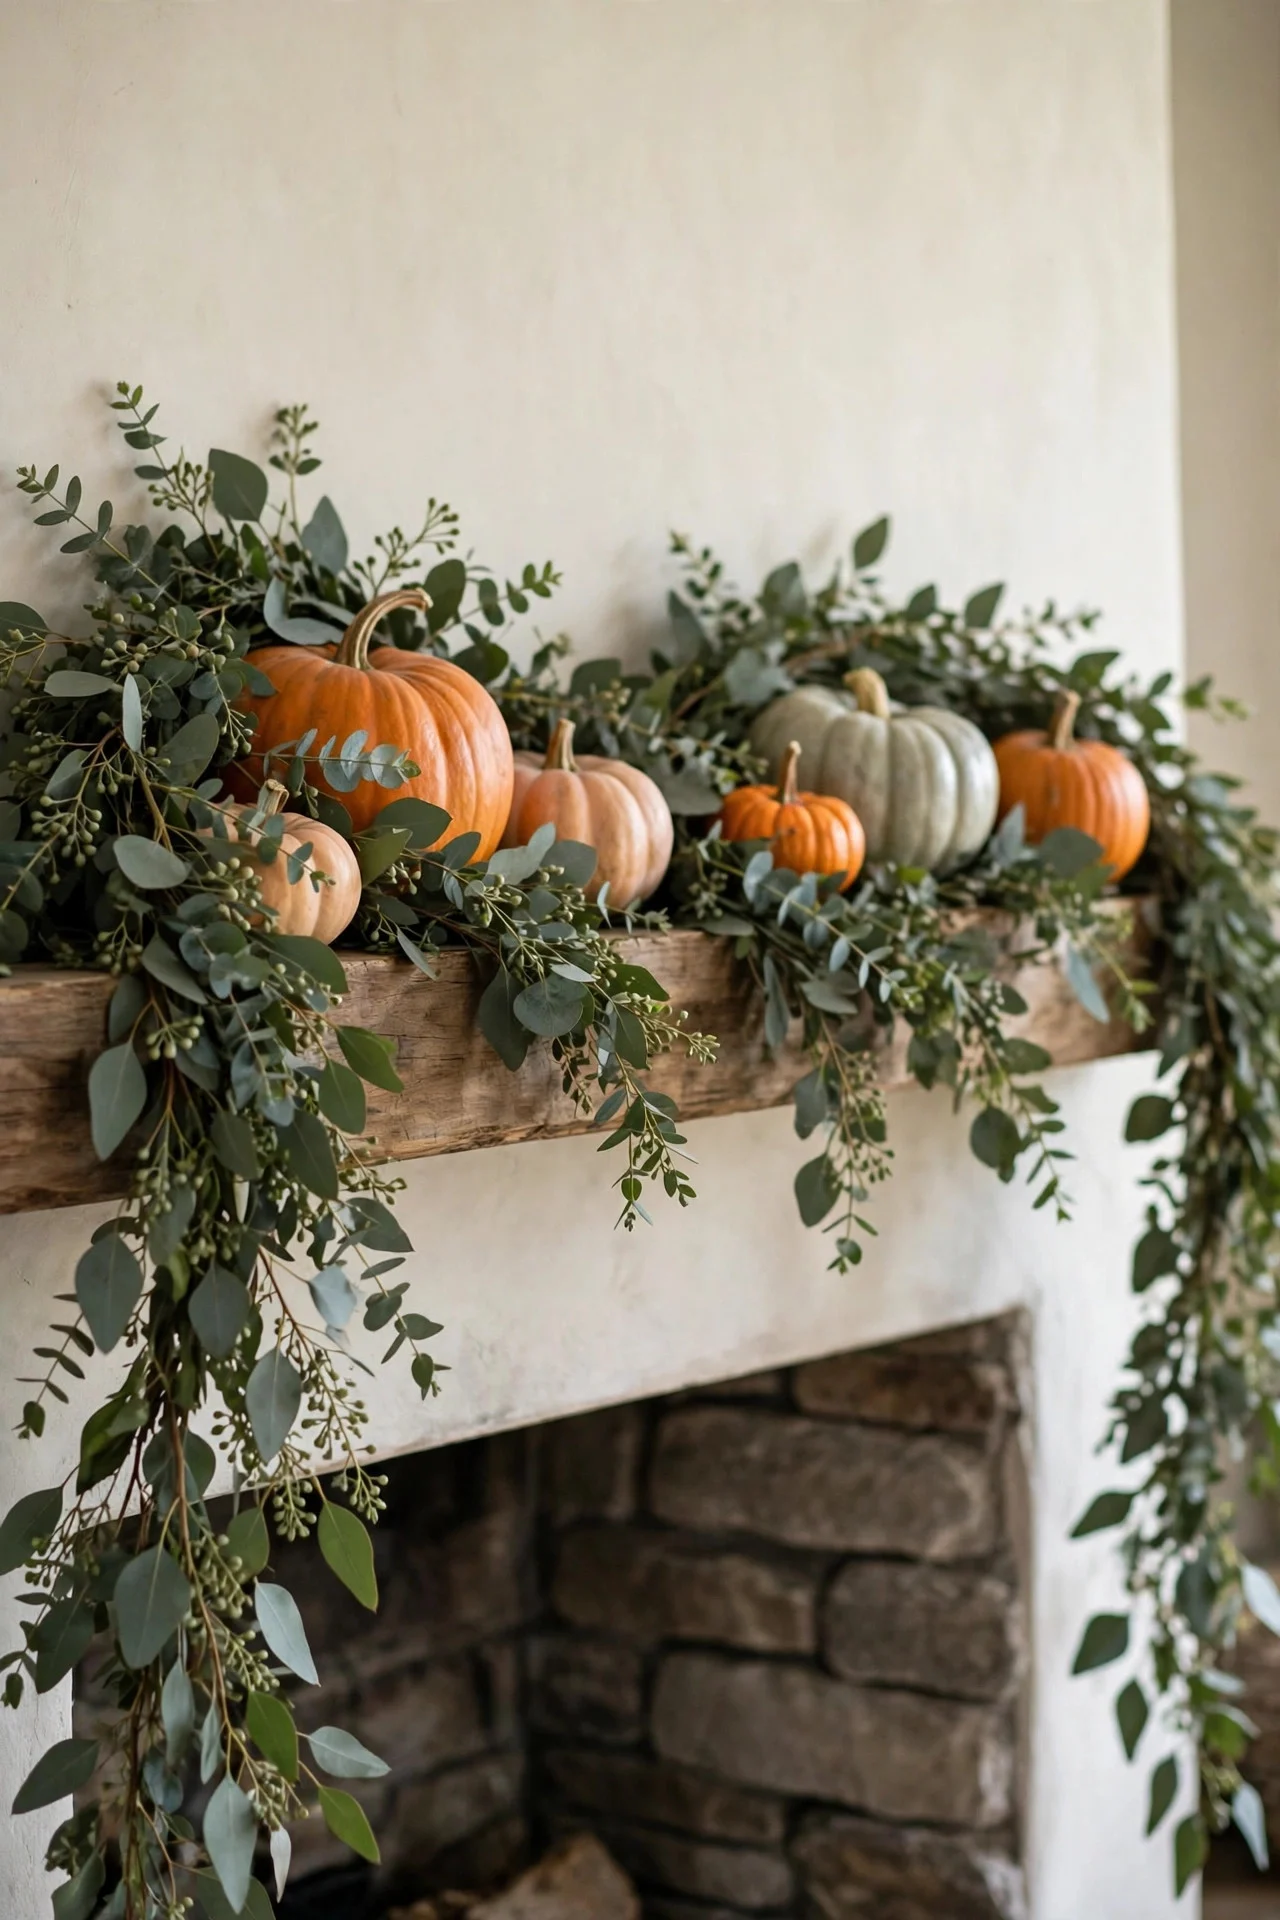
Before any pumpkins go on, lay a eucalyptus garland — fresh, preserved, or faux — across the mantel as your base layer. The silvery-green tone works with every pumpkin color and the scent (if fresh) is a bonus.
Let the garland trail 6–8 inches past each end of the mantel for a lush, overflowing feel. Preserved eucalyptus garlands run $15–$25 for six feet and last for years.
Try this: Weave a second, thinner garland — wheat or dried grass — through the eucalyptus for texture contrast.
4. A Dried Wheat Stalk Garland
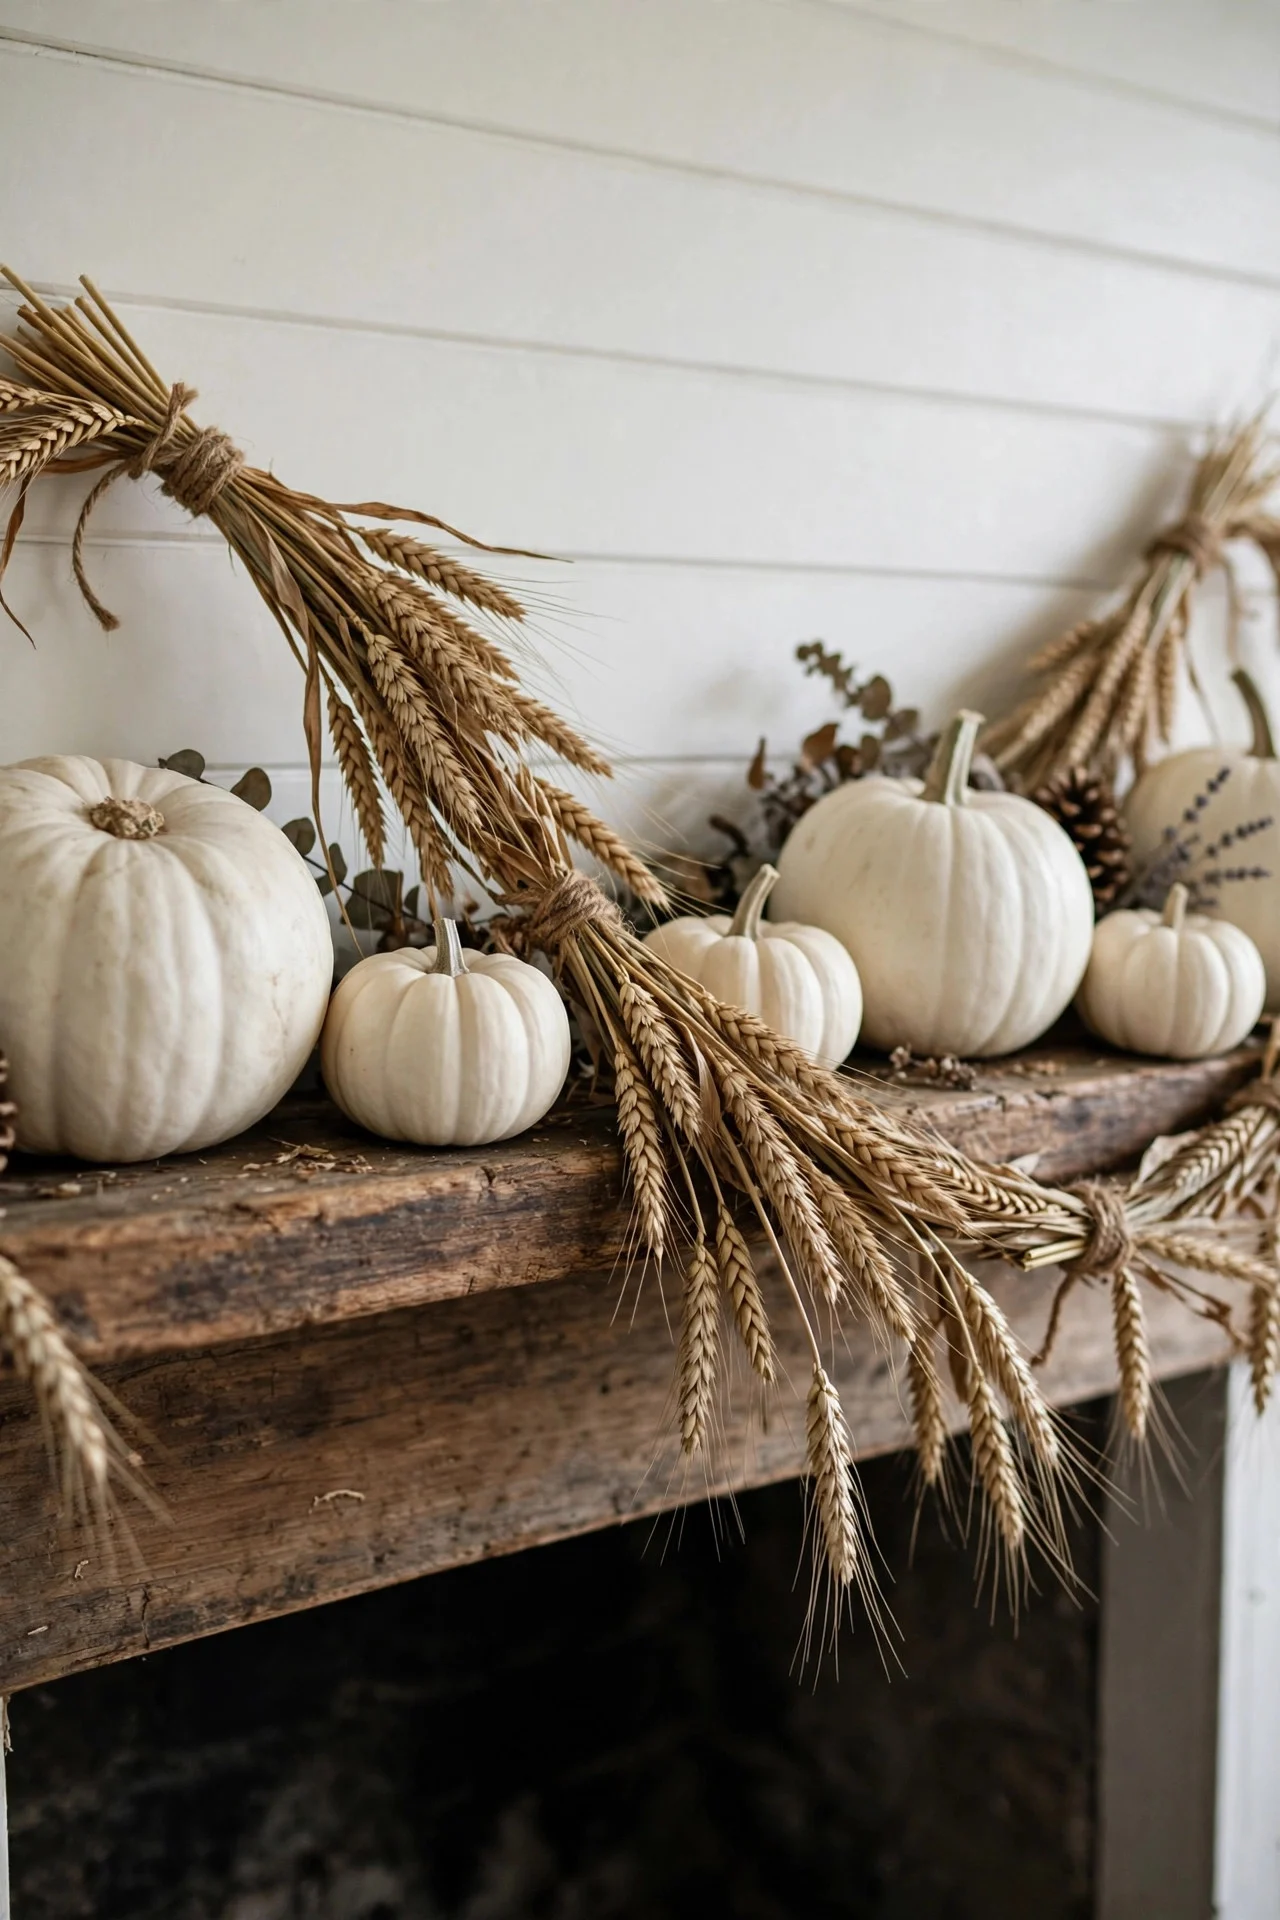
Bundle dried wheat stalks into a loose garland with twine and drape it across the mantel for a harvest look that’s pure gold — literally. The wheat’s golden tone glows in afternoon light and pairs perfectly with white and orange pumpkins.
DIY it with three grocery-store wheat bundles ($5–$8 each) tied to a length of jute. It takes twenty minutes and looks like a farmers’ market display.
Try this: Tuck a few dried red amaranth stems into the wheat for a pop of burgundy.
5. Velvet Pumpkin Clusters
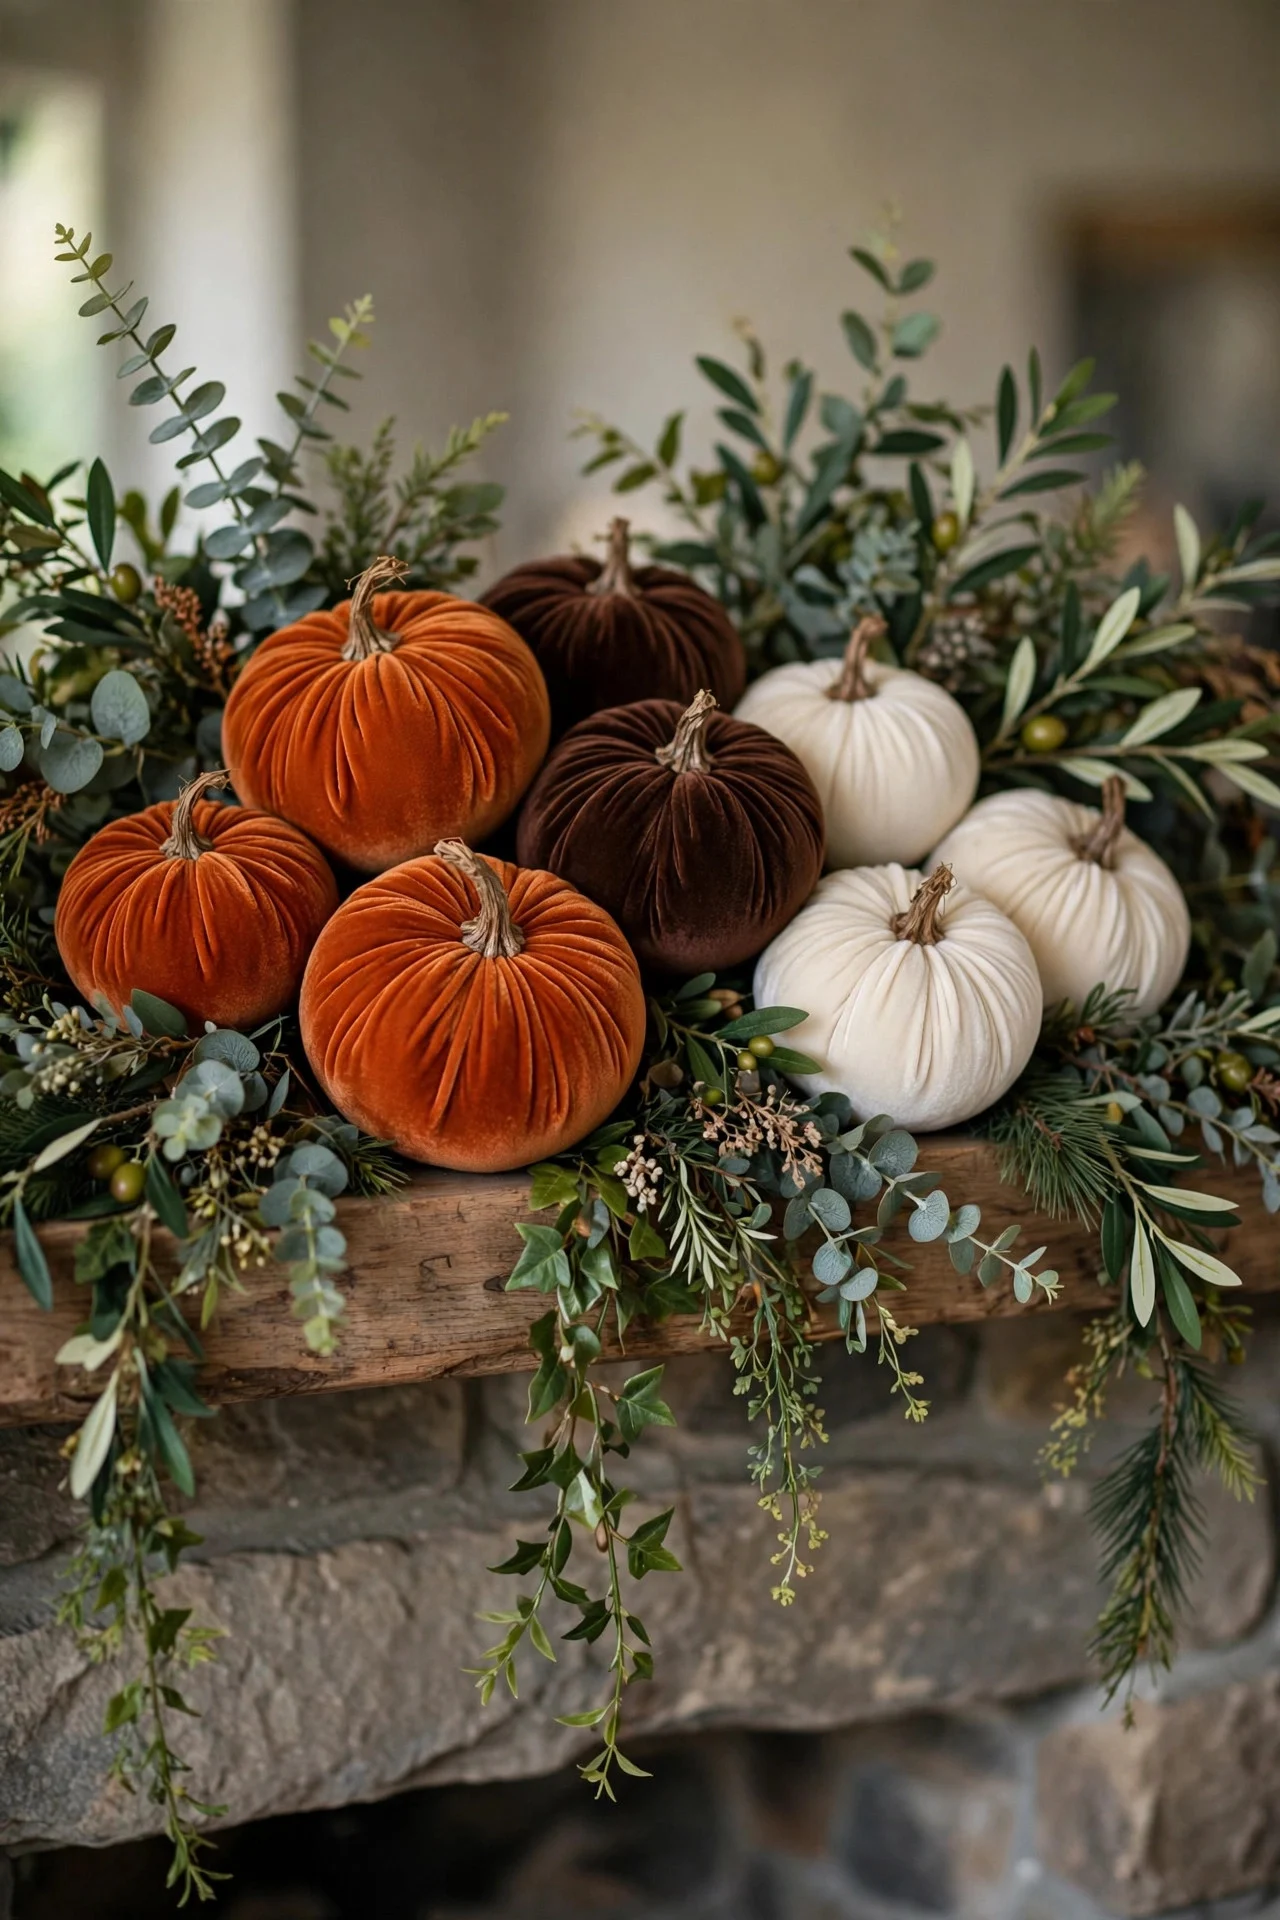
Group velvet pumpkins in burnt orange, chocolate, and cream directly on the mantel shelf, tucked into the garland. The fabric texture against dried greenery is the contrast that makes the whole mantel feel rich.
Mix sizes deliberately: one large anchor pumpkin, two mediums, and minis tucked into the gaps. Velvet pumpkins run $6–$12 each, and five or six fill a standard mantel.
Try this: Turn one pumpkin on its side in each cluster — the casual tilt looks natural, not placed.
6. A Cascade of White Mini Pumpkins
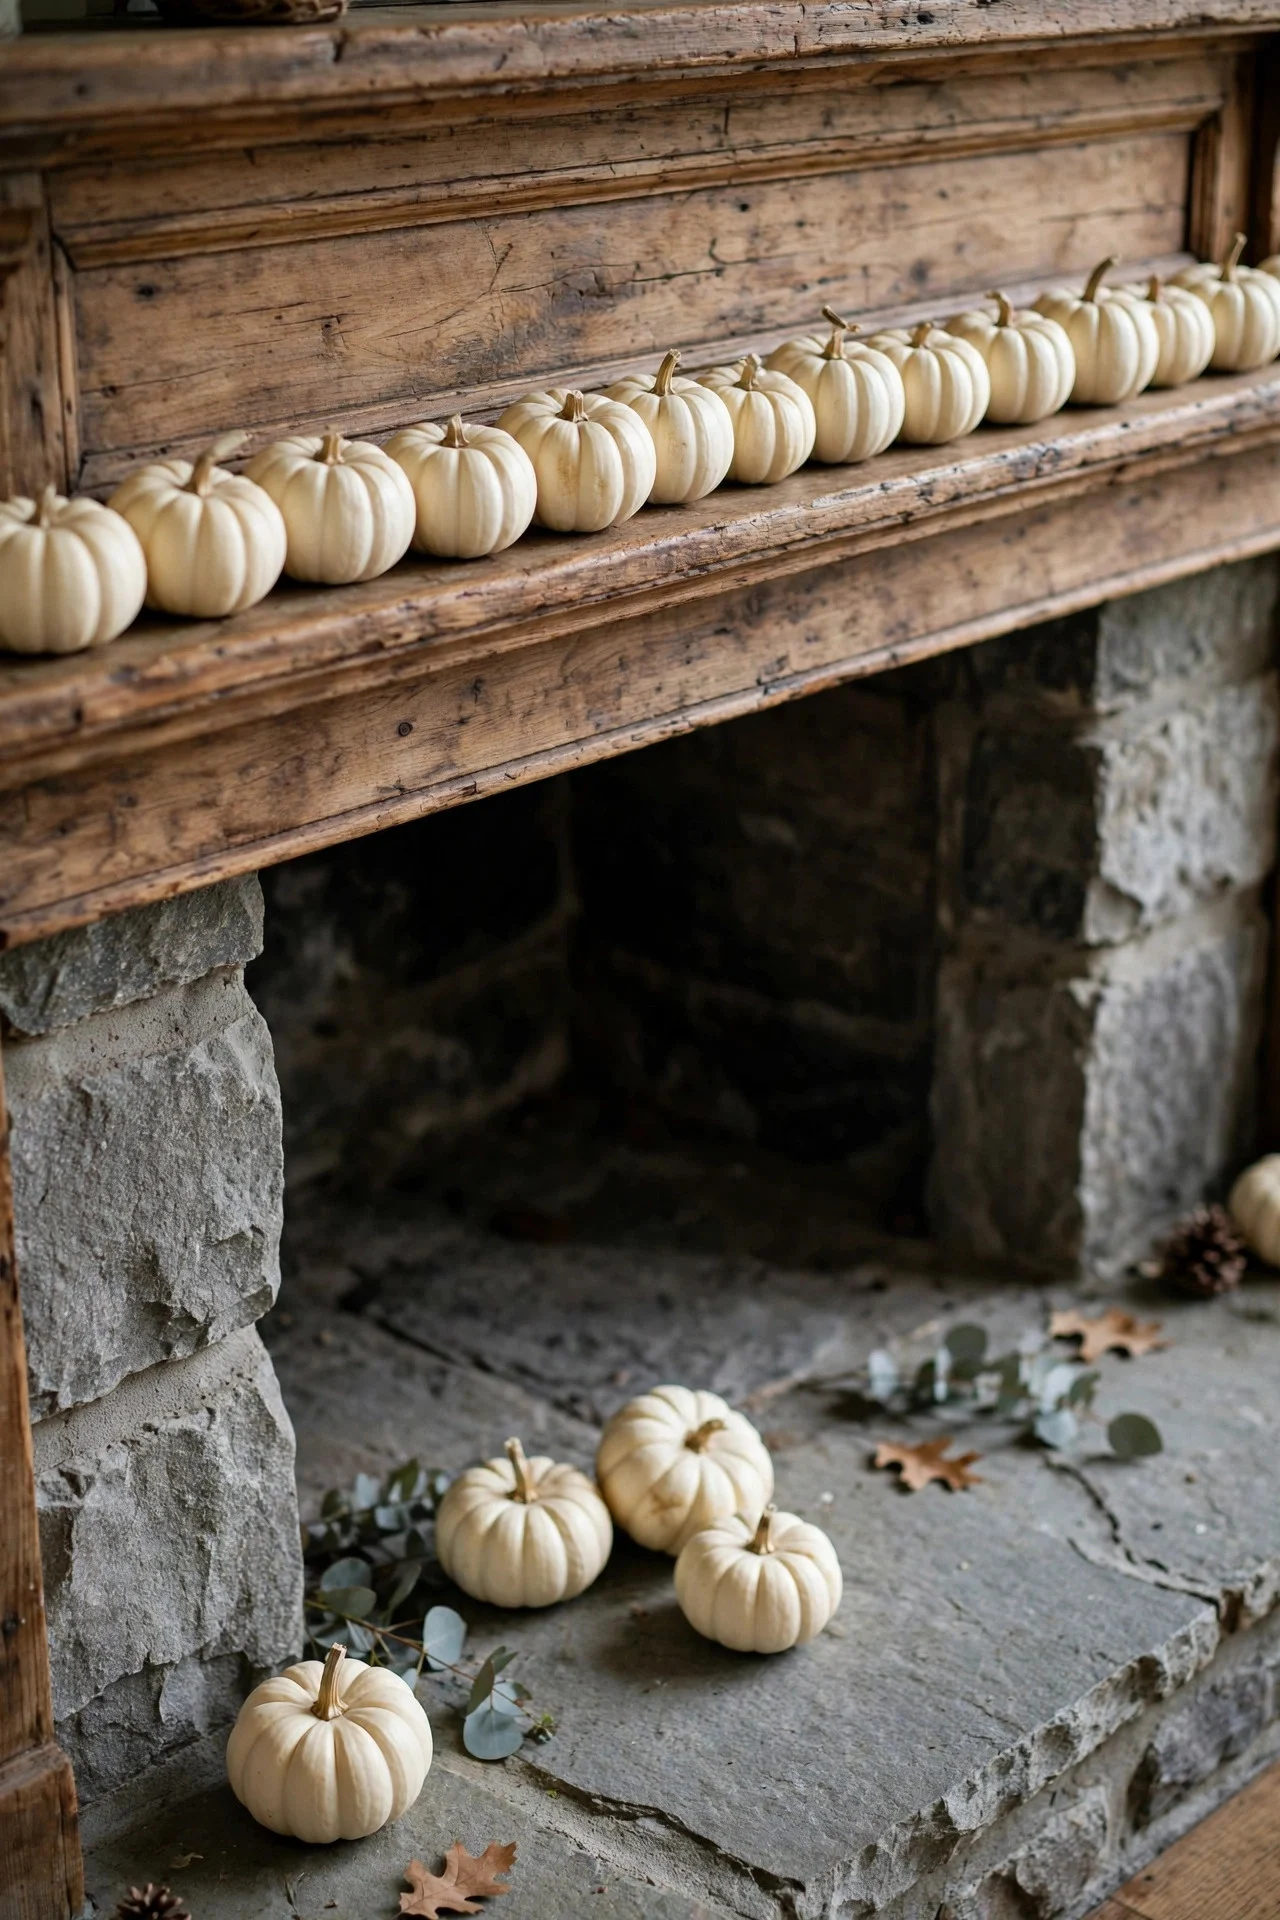
Line white and pale-green mini pumpkins along the front edge of the mantel like a beaded border, then trail a few down onto the hearth at one end. The monochrome palette is elegant, and the cascade adds movement.
Use real minis (they last weeks indoors) or ceramic ones you reuse yearly. About a dozen minis at $1–$2 each covers a full mantel. Keep them tight together — gaps break the border effect.
Try this: Add one dark green or orange mini every fifth pumpkin — a subtle rhythm in the row.
7. Wooden Bead Garland Layered With Greenery
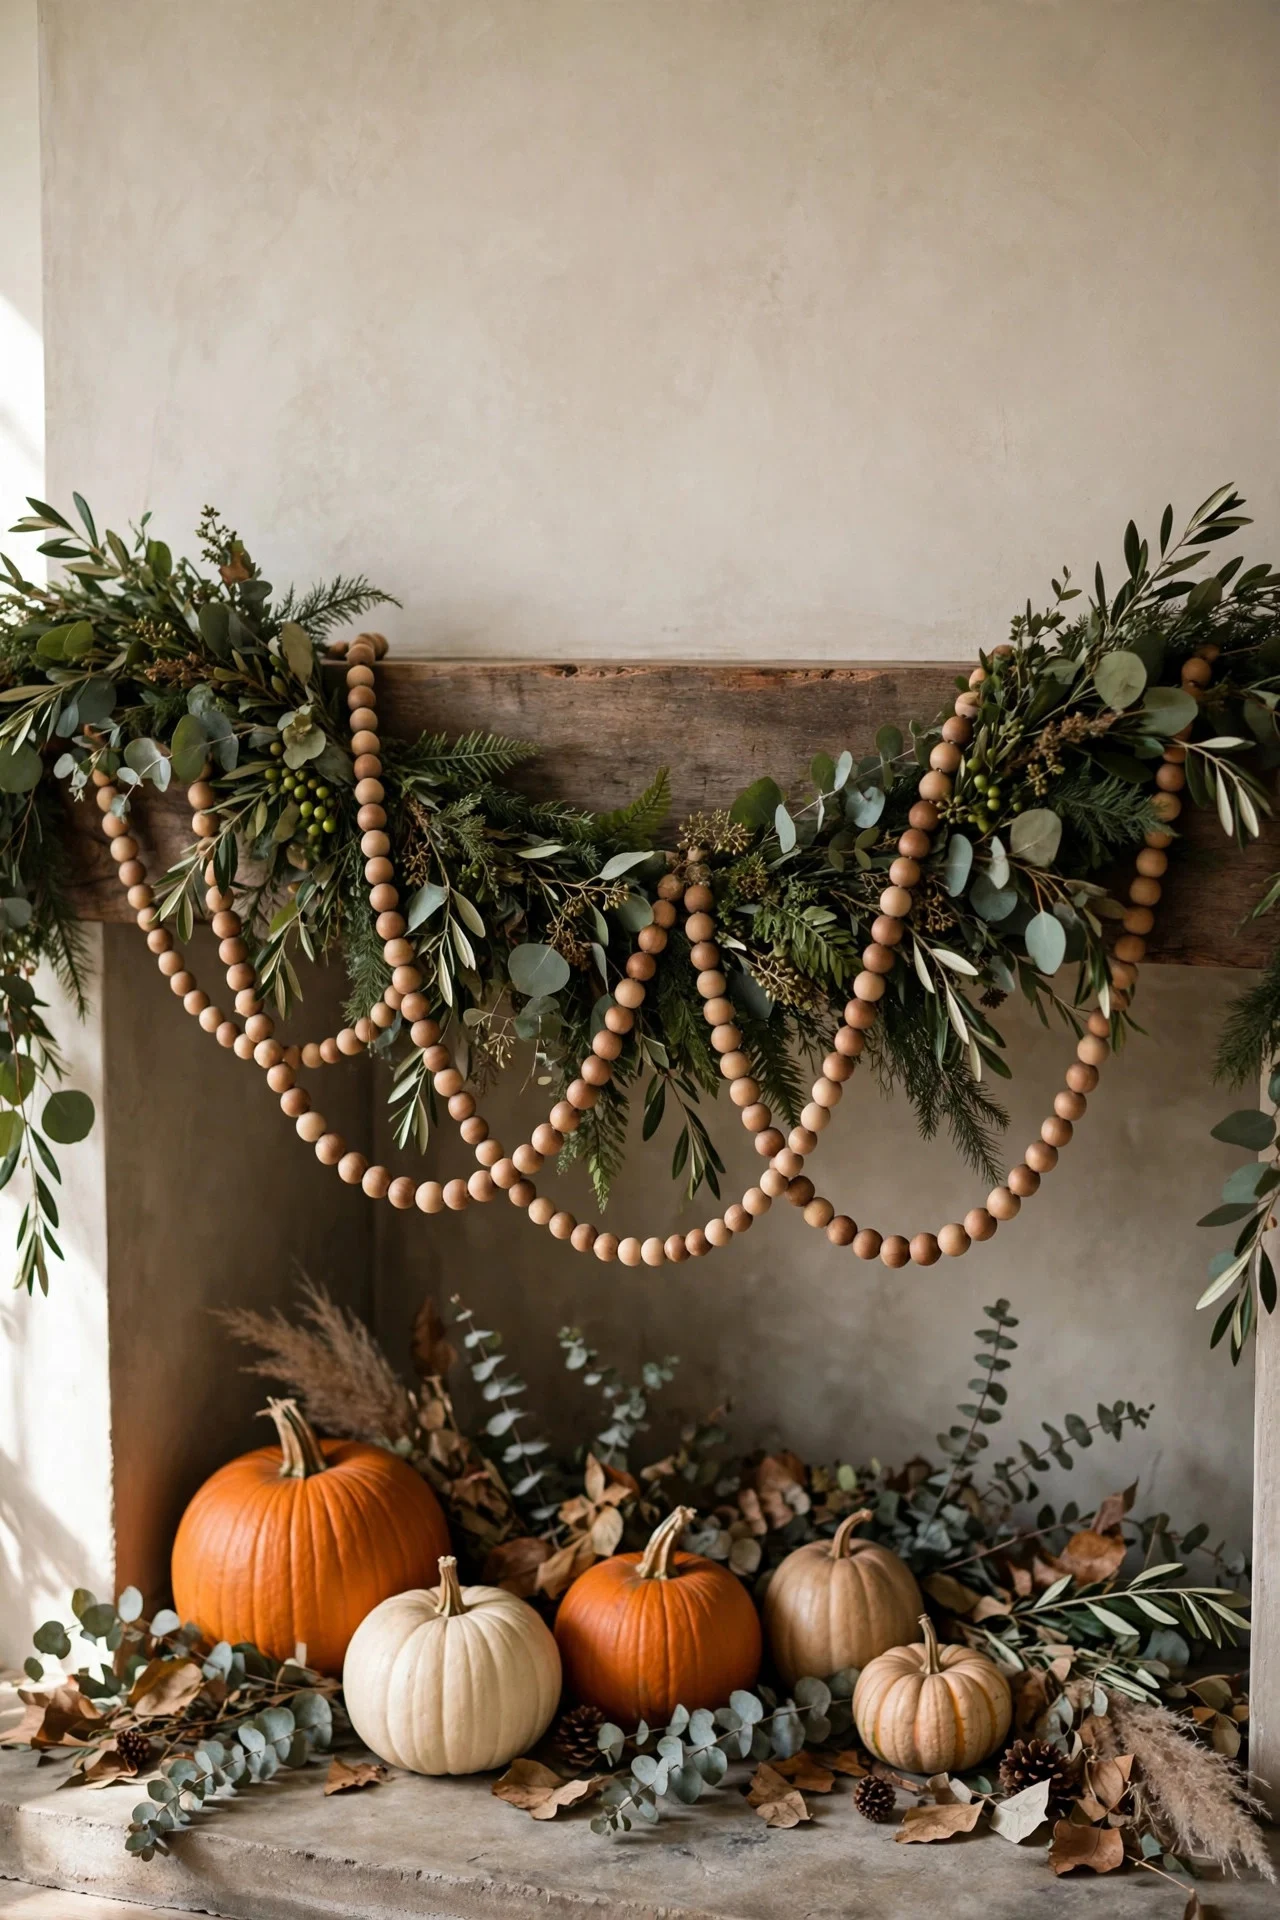
Drape a wooden bead garland — natural or stained walnut — in loose swags in front of your greenery garland. The round beads add a crafted, handmade layer that contrasts beautifully with organic leaves.
Bead garlands run $10–$15 for six feet. Let it hang lower than the greenery so both layers are visible; doubling them at the same height just looks tangled.
Try this: Tie small dried orange slices to the bead garland at intervals with twine — two garlands in one.
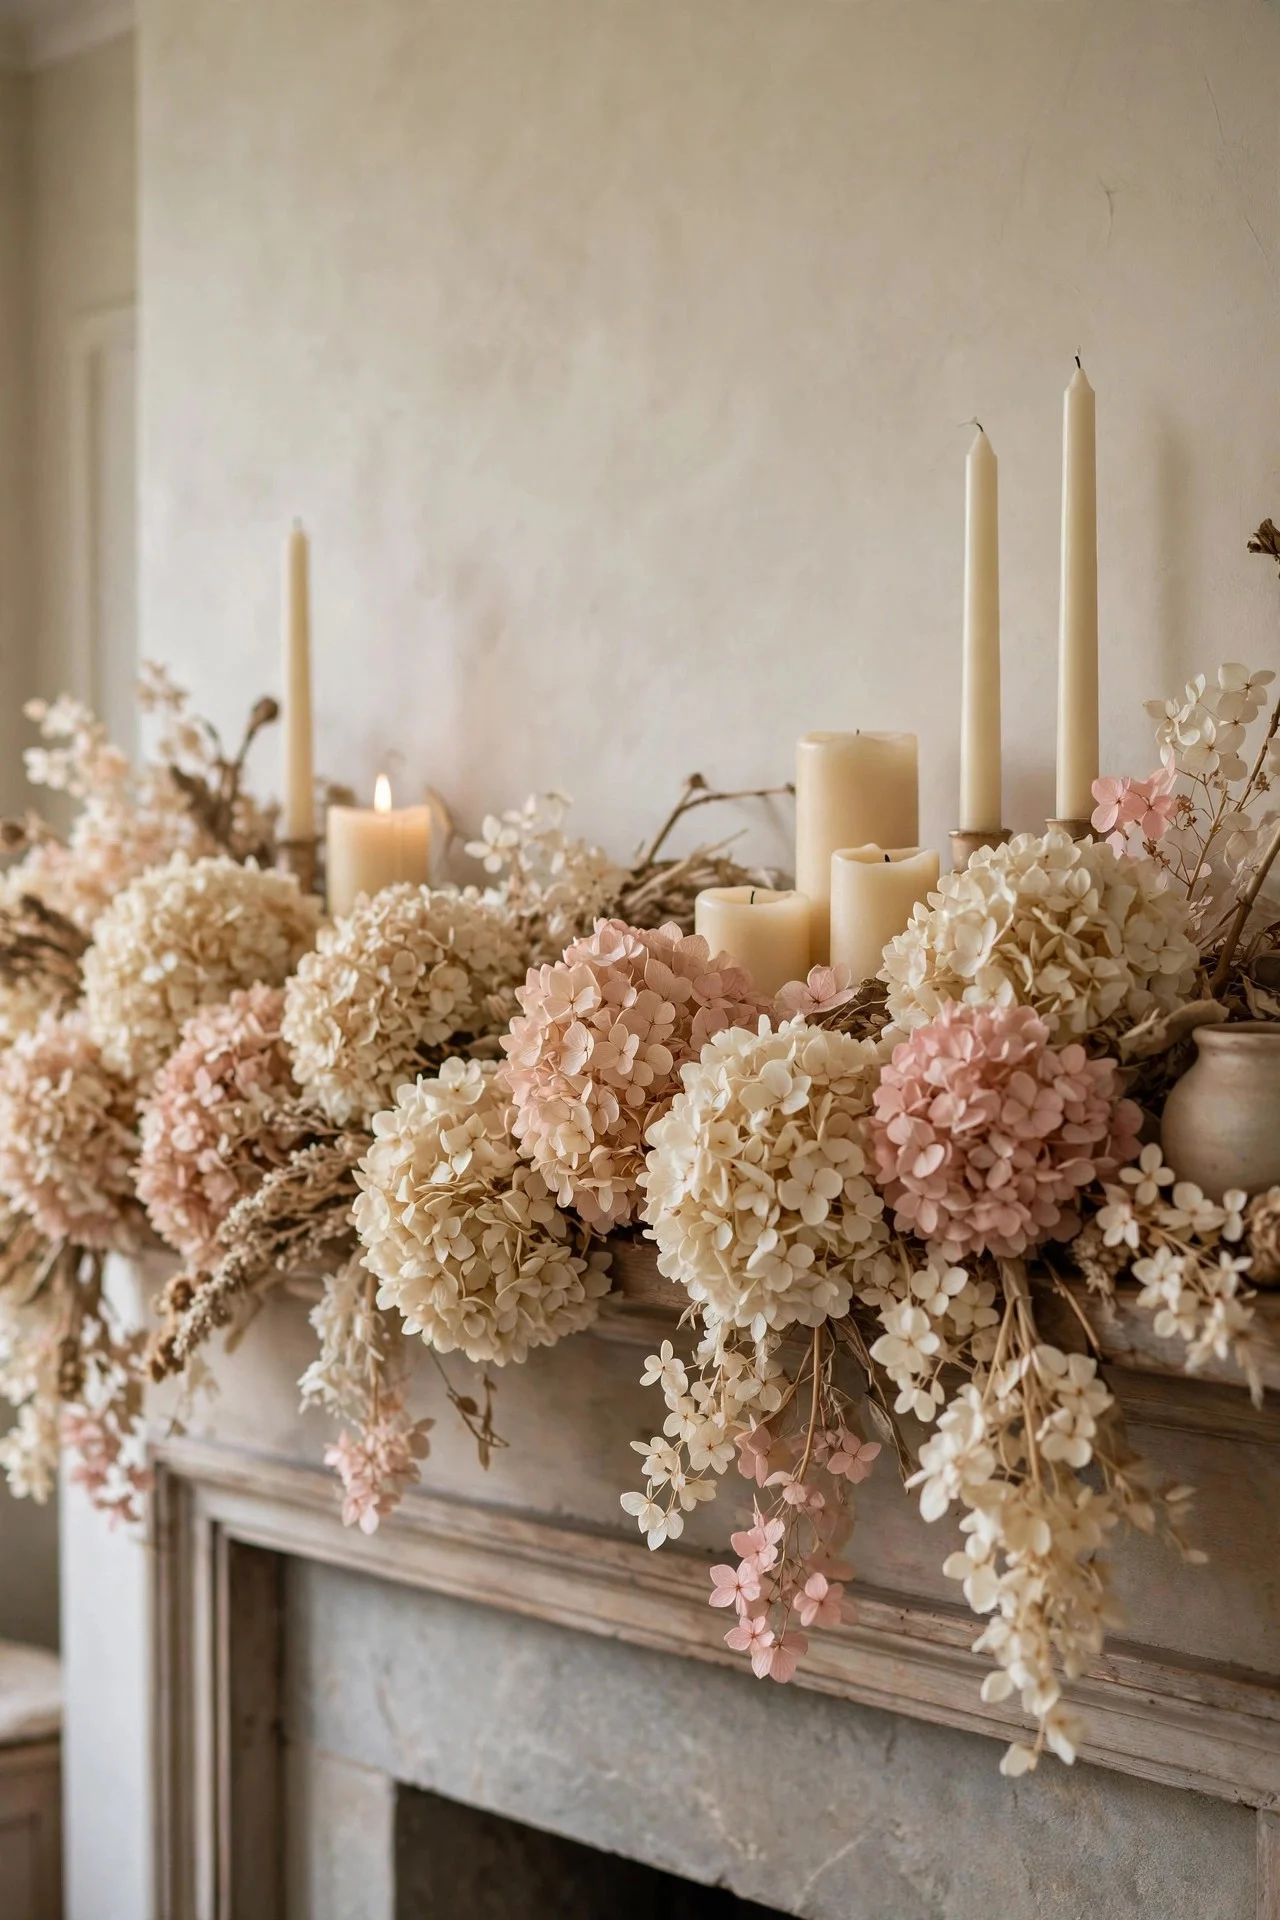
8. Dried Hydrangea Garland
Wire dried hydrangea heads — cream, blush, dusty rose — into a soft, full garland for a romantic mantel. Hydrangeas dry beautifully on their own; just hang bunches upside down for two weeks in early fall.
The muted tones work with every pumpkin color and the full heads give the garland a lushness that thin greenery can’t match. If buying dried, expect $20–$30 for enough heads.
Try this: Mist the hydrangeas with hairspray before wiring — it stops petal drop on the mantel.
9. Tall Tapers in Varied Heights
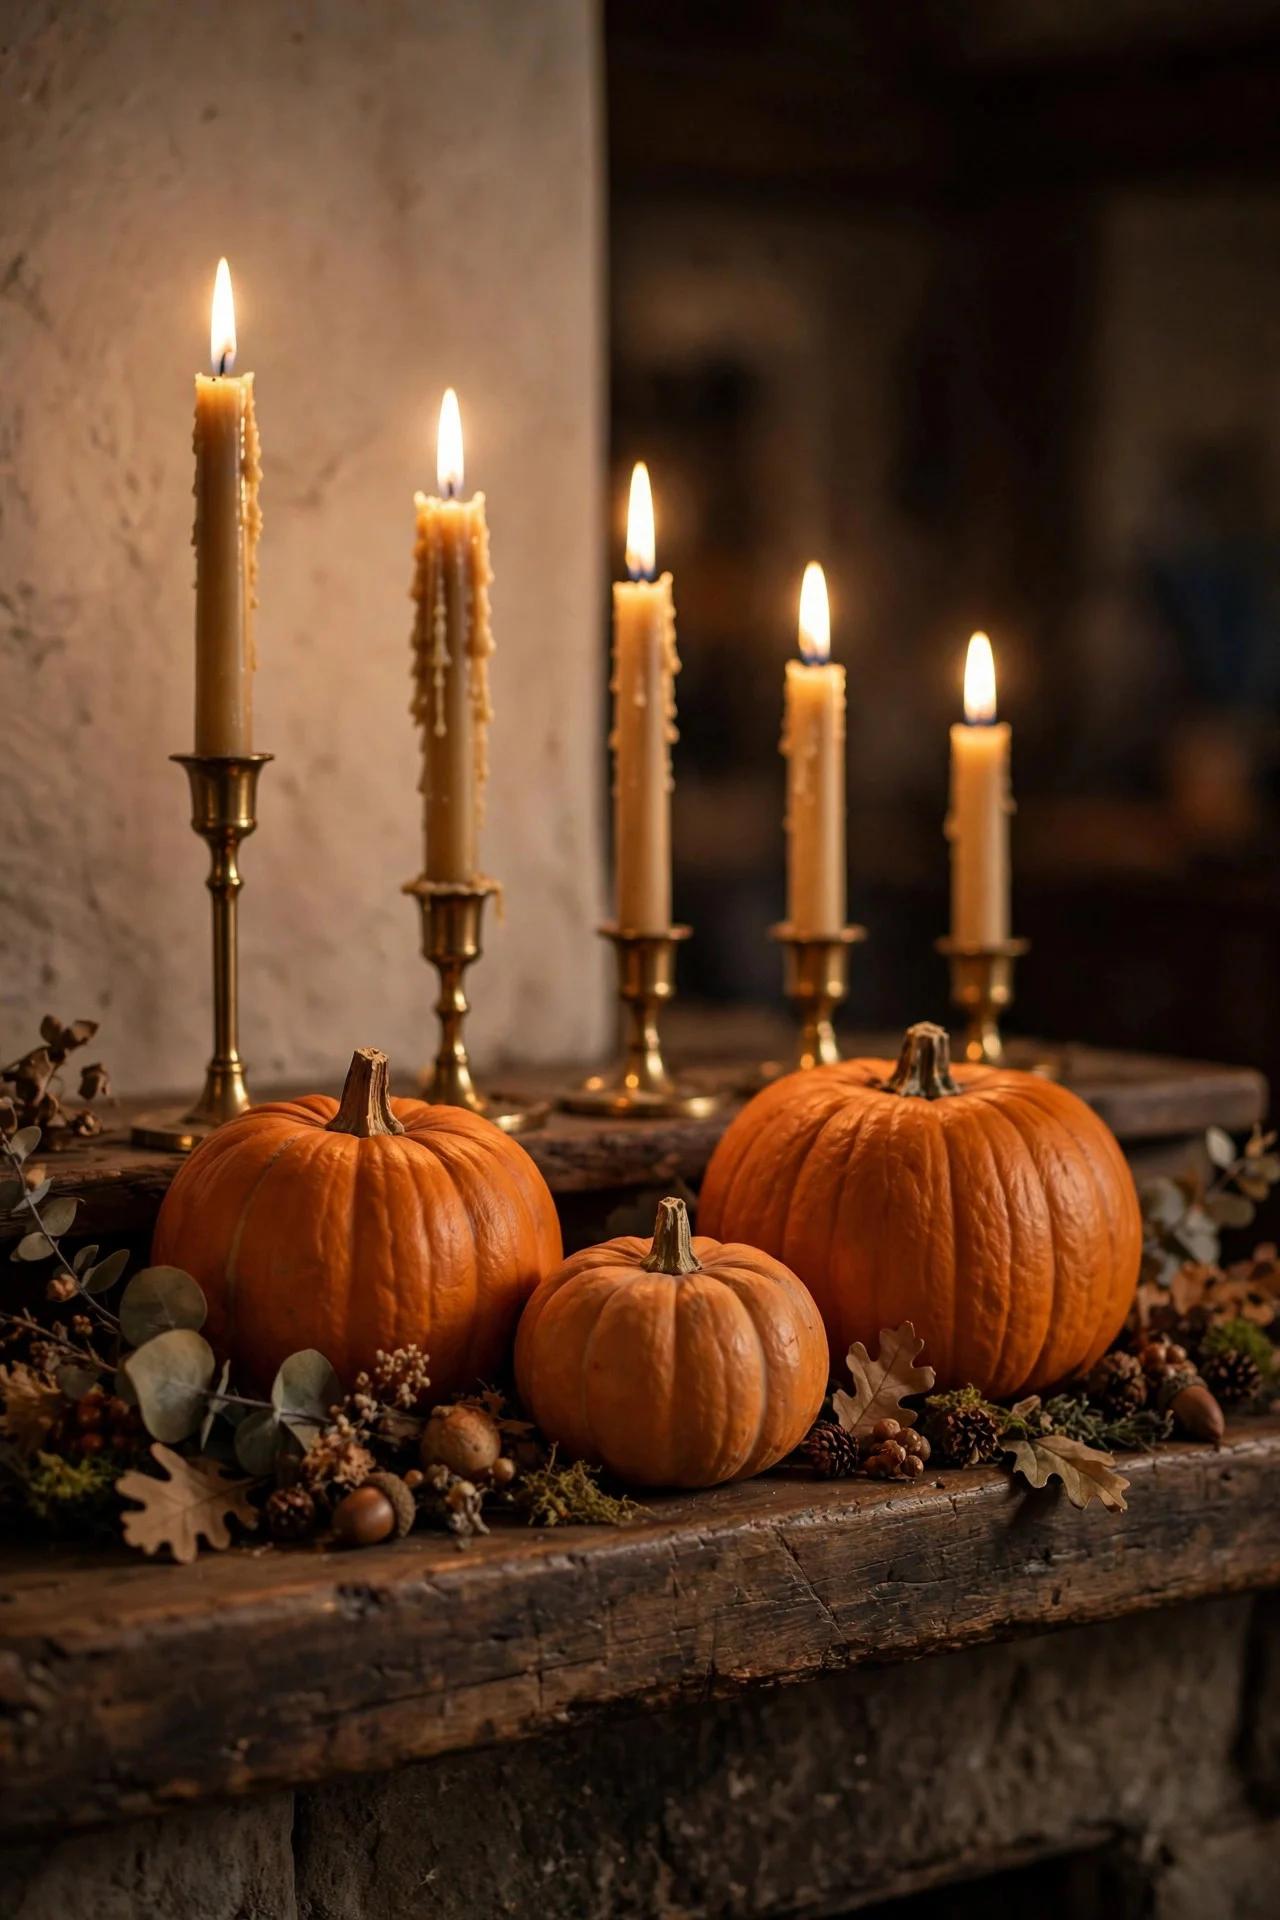
Behind the pumpkins, line up taper candles in holders of graduated heights — 3, 5, 7, 9 inches — like organ pipes. The vertical lines draw the eye up and give the mantel architecture, especially under a tall mirror or art.
Stick to one candle color (ivory or honey) and mix holder materials — brass, wood, ceramic. Battery tapers with timers mean the mantel glows every evening. A set of holders runs $15–$25.
Try this: Put the tallest tapers at the outer edges and step down toward the center — it frames the mantel.
10. Lantern Anchors at Each End
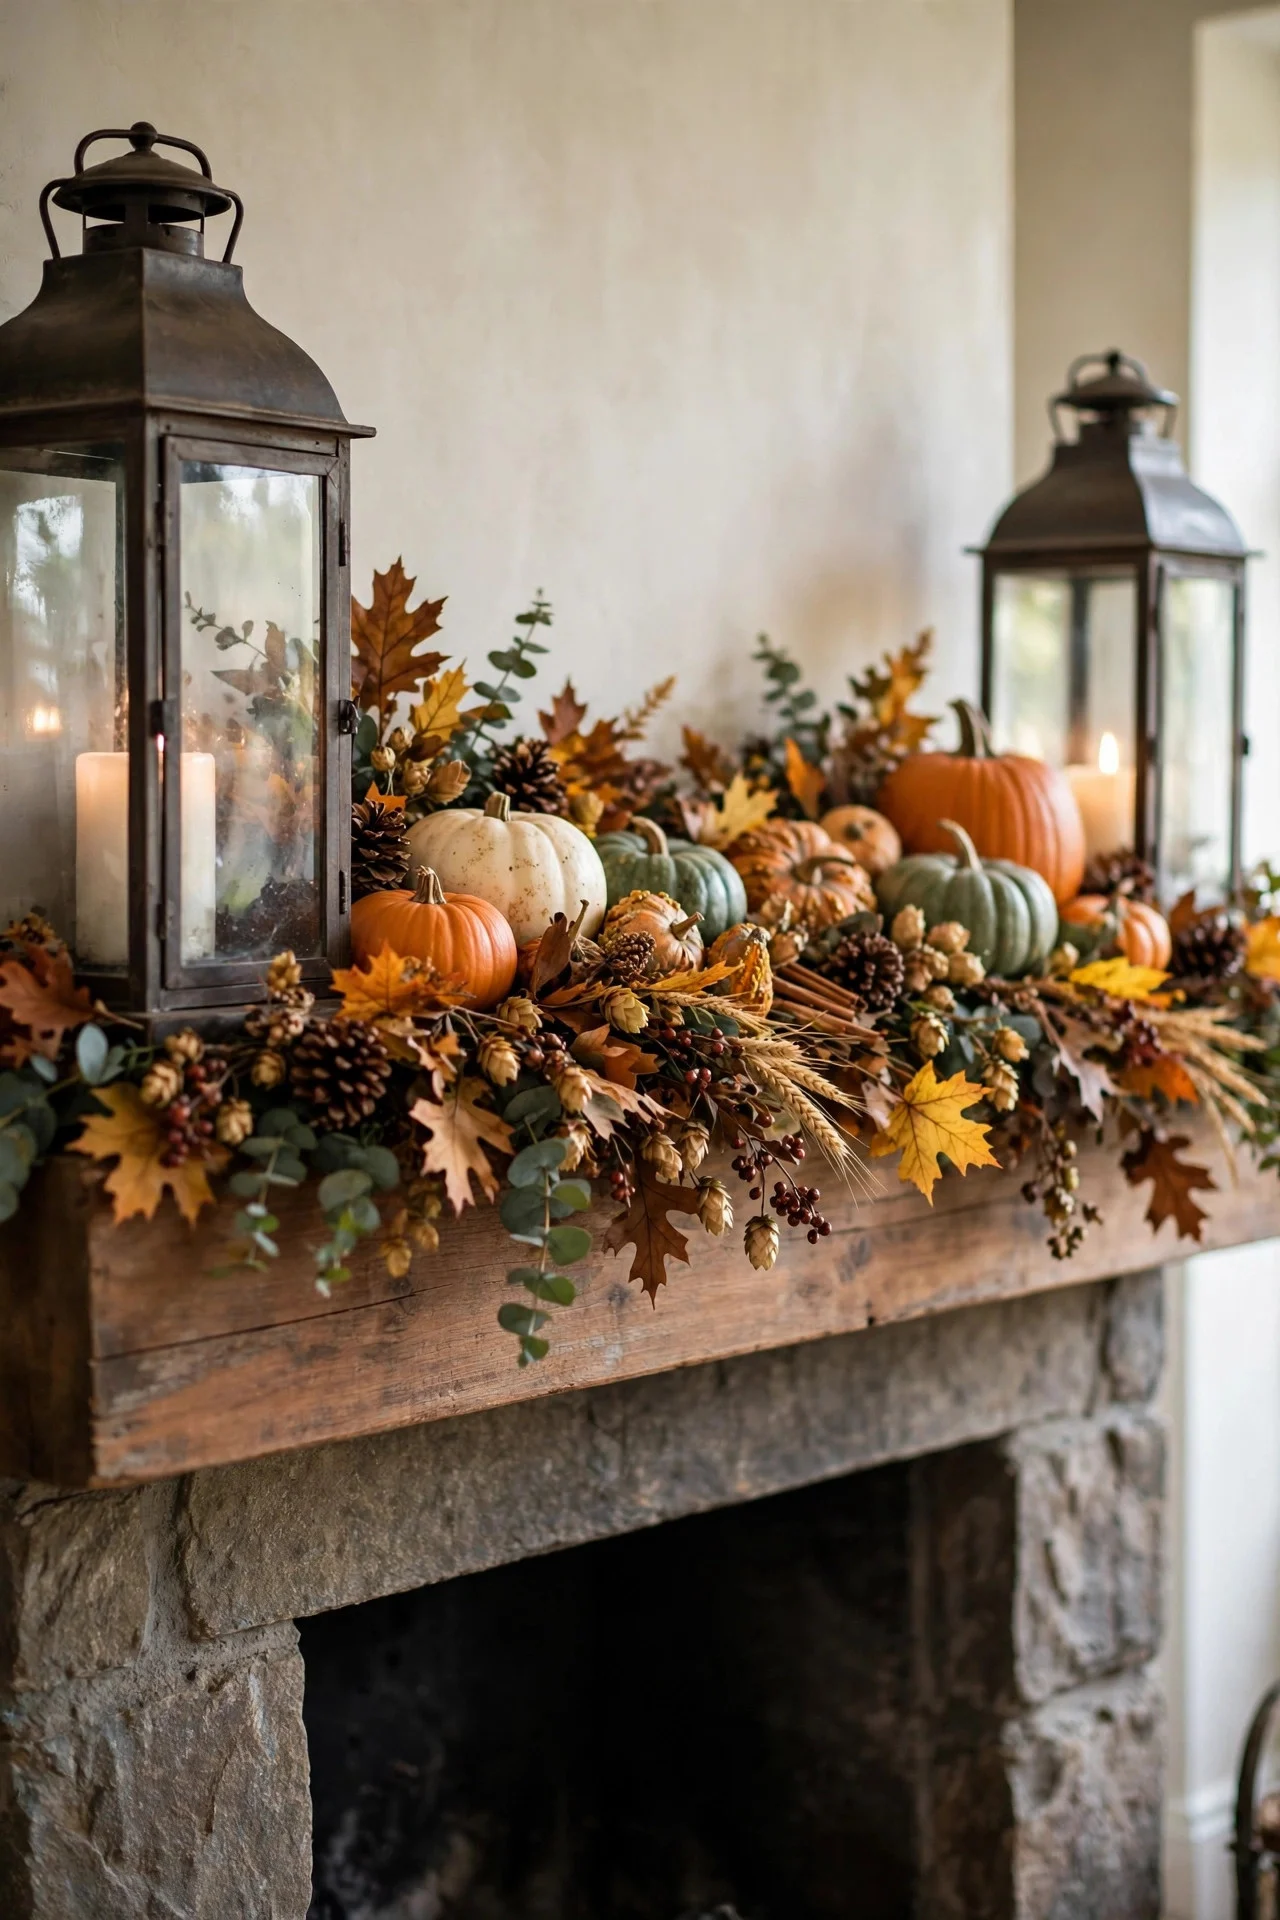
Set a large lantern at each end of the mantel as bookends for the whole display. The height and structure anchor the garland’s trailing ends, and the glass panels catch candlelight beautifully.
Fill the lanterns with a pillar candle surrounded by mini pumpkins or pinecones — the fill is what makes them seasonal rather than year-round. Lanterns run $15–$30 each at discount stores.
Try this: Use slightly different lantern styles at each end — matching pairs look stiff; cousins look collected.
11. Oversized Art as the Backdrop
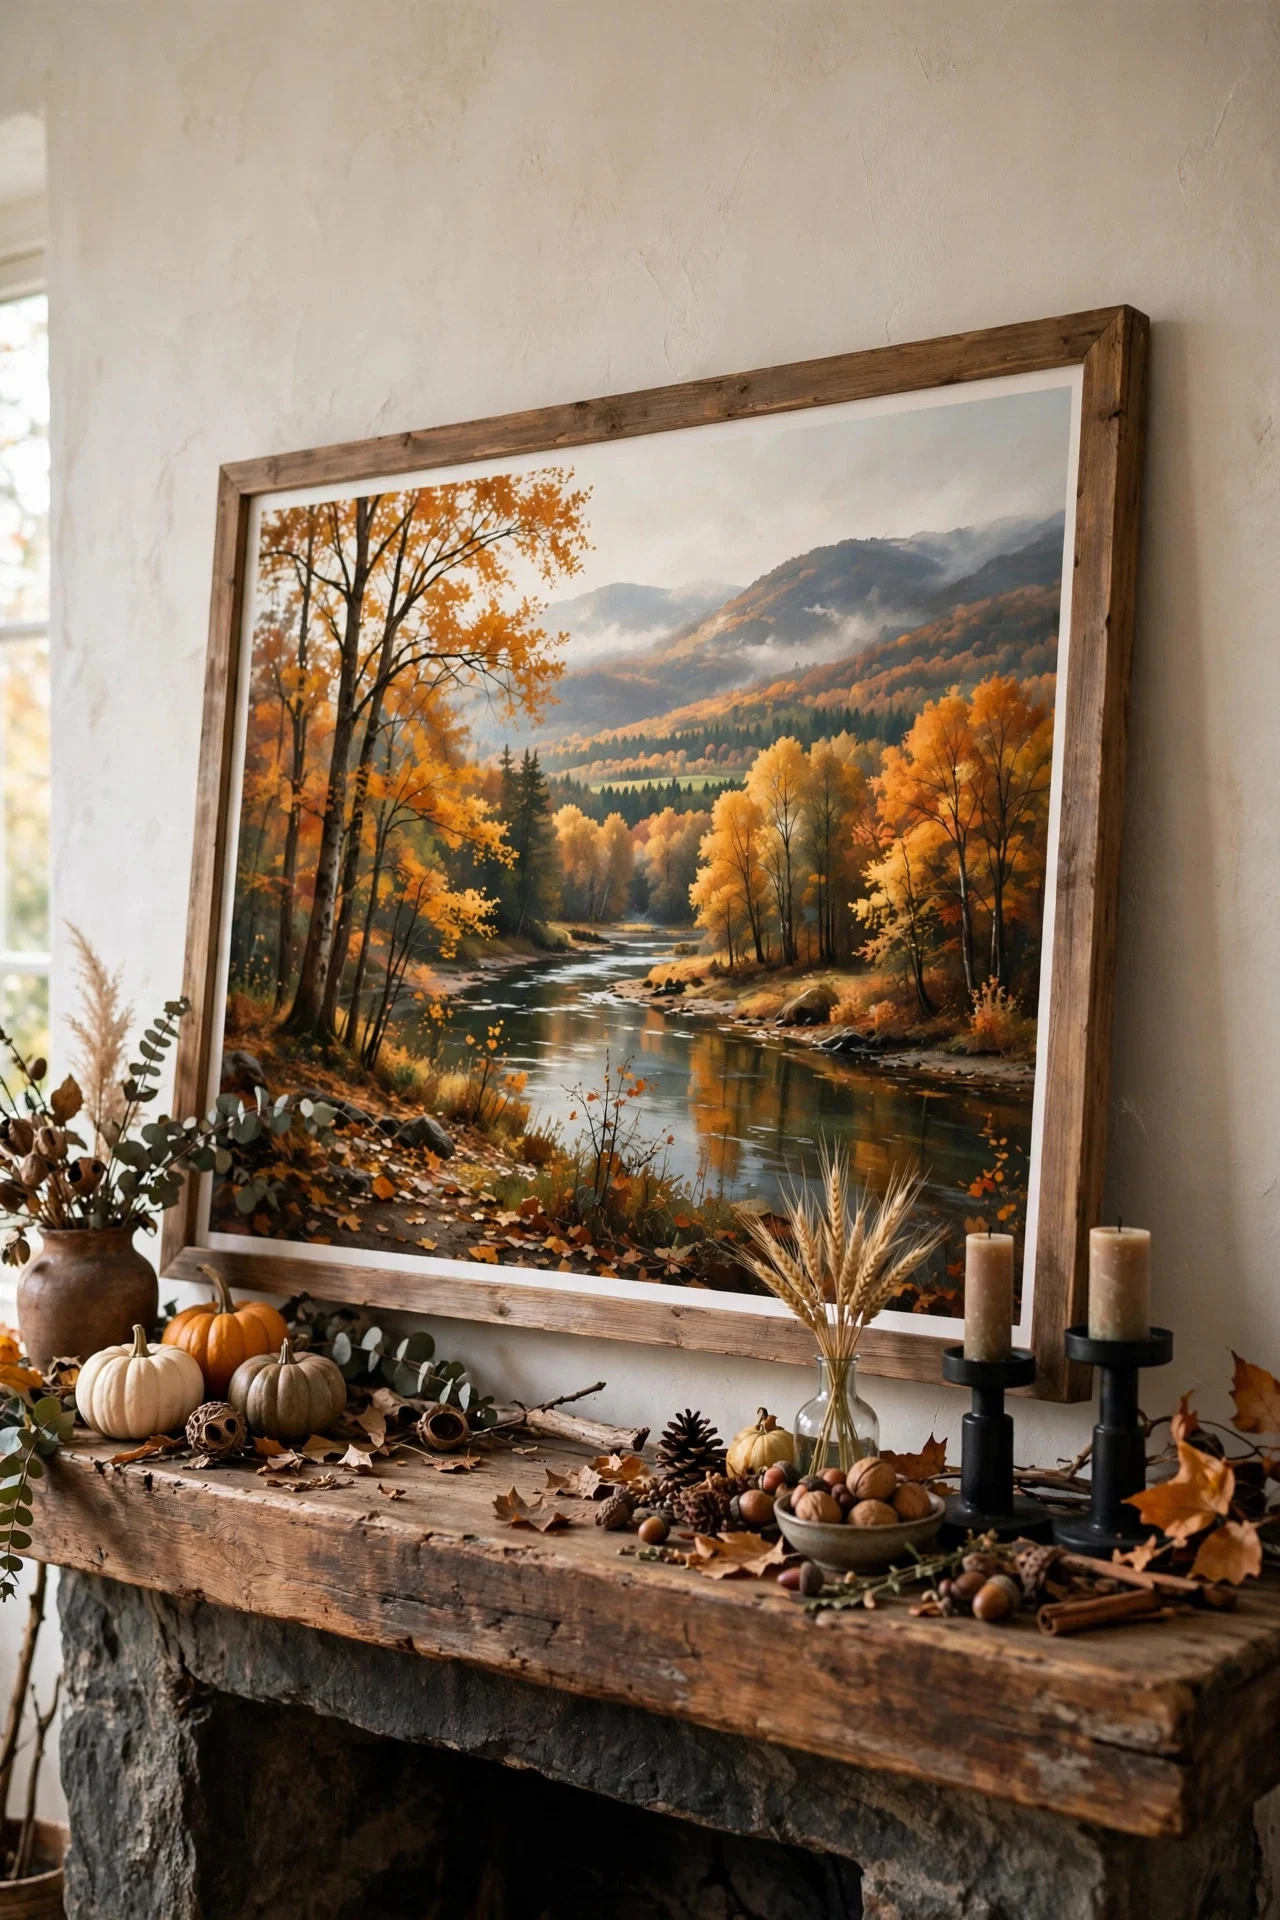
Lean one large framed print or canvas against the wall above the mantel — an autumn landscape, abstract in fall tones, or vintage botanical. The art gives the pumpkins and garland something to sit in front of, adding crucial depth.
The frame should be roughly two-thirds the mantel’s width; smaller gets lost, larger overwhelms. Lean, don’t hang — leaning looks casual and lets you swap art seasonally in seconds.
Try this: Choose art with a dark background — it makes the pumpkins and candles pop forward.
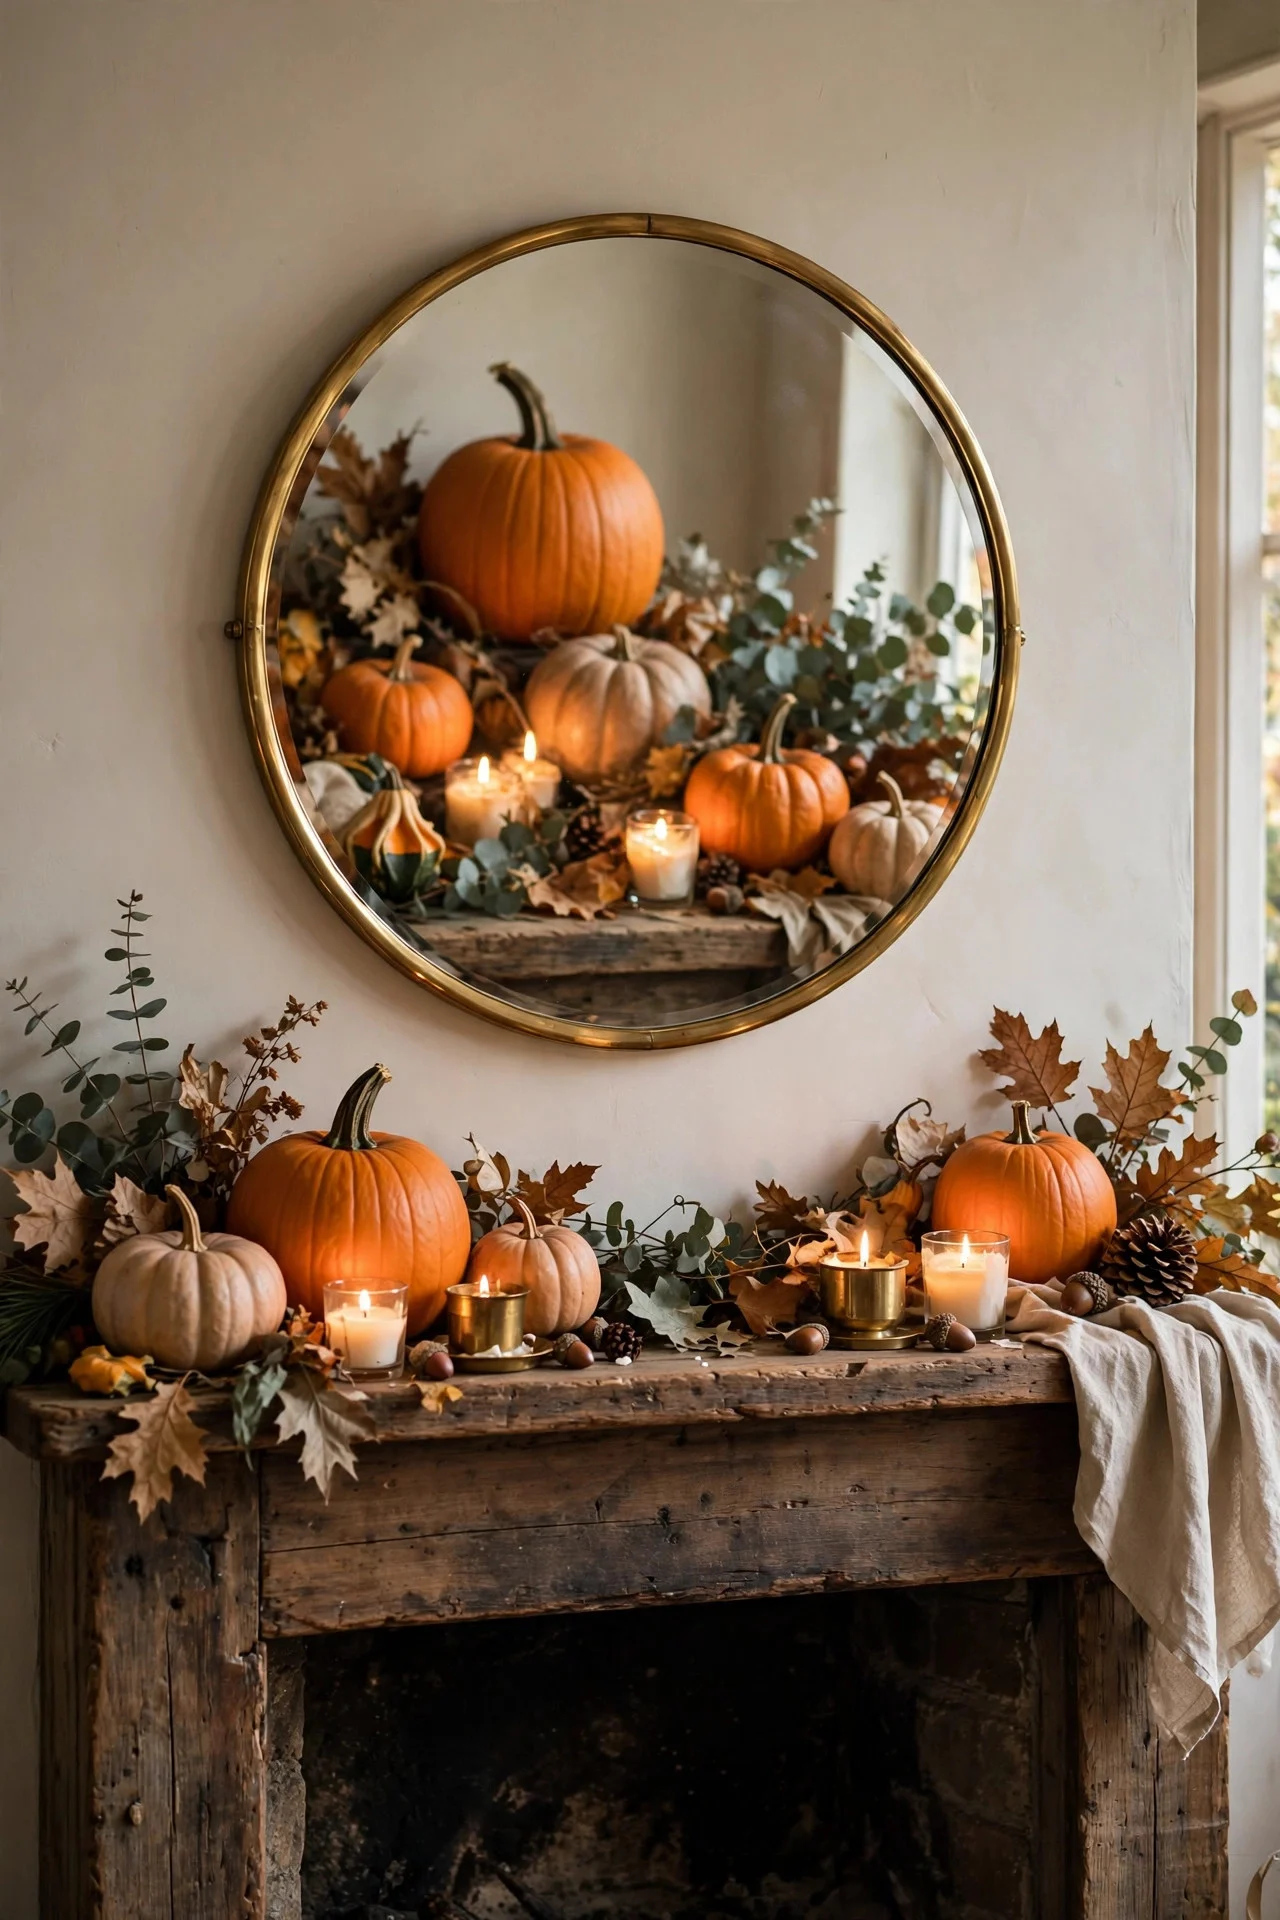
12. A Round Mirror to Double the Display
Hang or lean a round mirror above the mantel and watch your pumpkin display double. The reflection adds light and depth, making even a modest arrangement look abundant.
A 24–30 inch round mirror suits most mantels; brass or black frames both work with fall tones. Lean it for a casual look, hang it centered for formal. Thrift stores carry them for $10–$20.
Try this: Place one extra candle where only the mirror sees it — the reflection glows without cluttering the shelf.
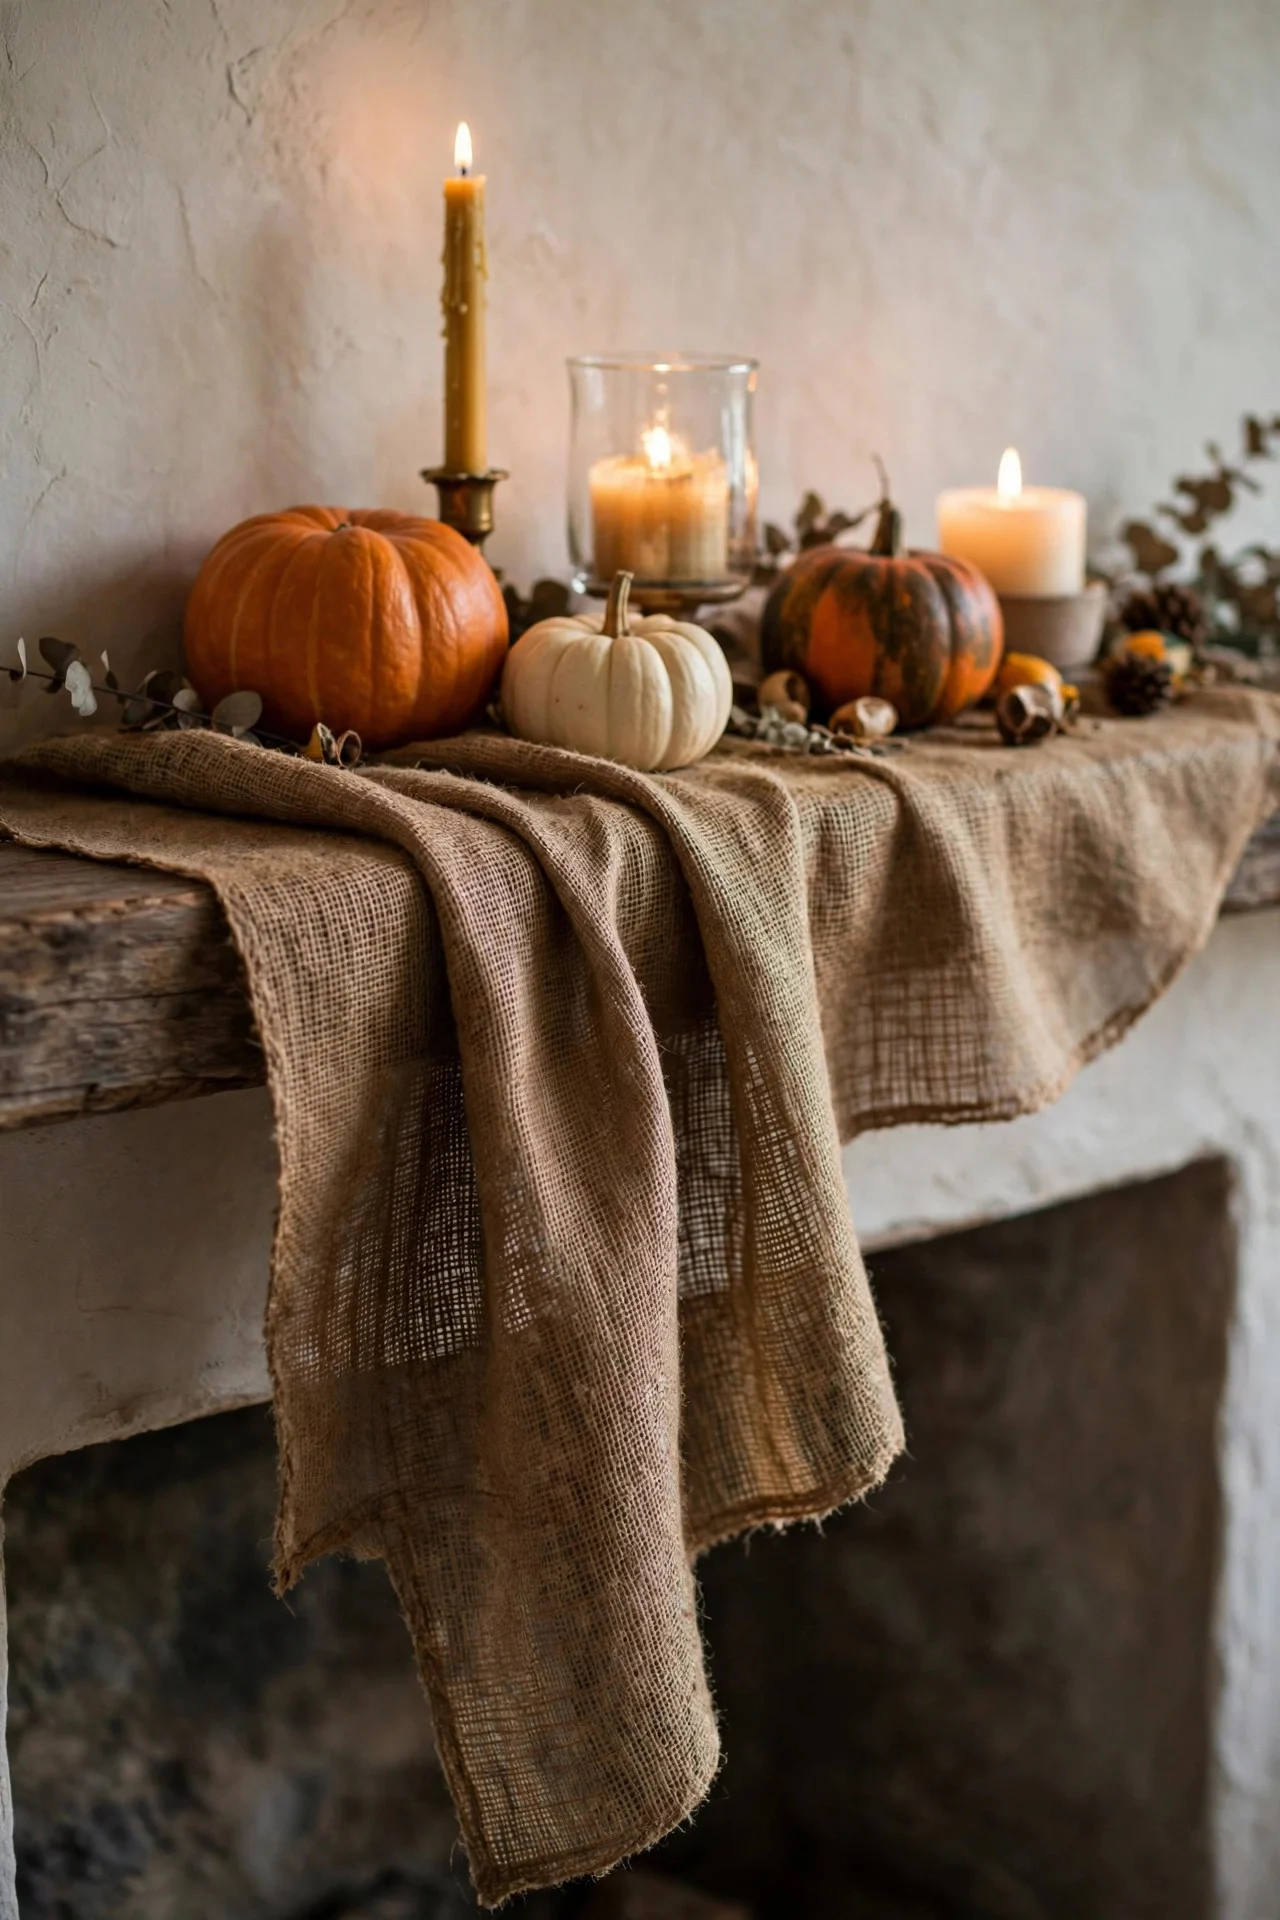
13. A Fabric Runner Layered on the Shelf
Lay a table runner — burlap, linen, or plaid flannel — along the mantel shelf before arranging anything on it. The fabric softens the hard shelf edge and gives pumpkins and candles a textured base to sit on.
Let 4–6 inches drape over the front edge at the center or ends. A runner you already own works fine; it doesn’t need to be fall-specific, just warm-toned.
Try this: Use a plaid flannel scarf as the runner — the scale is perfect and it costs nothing if you own one.
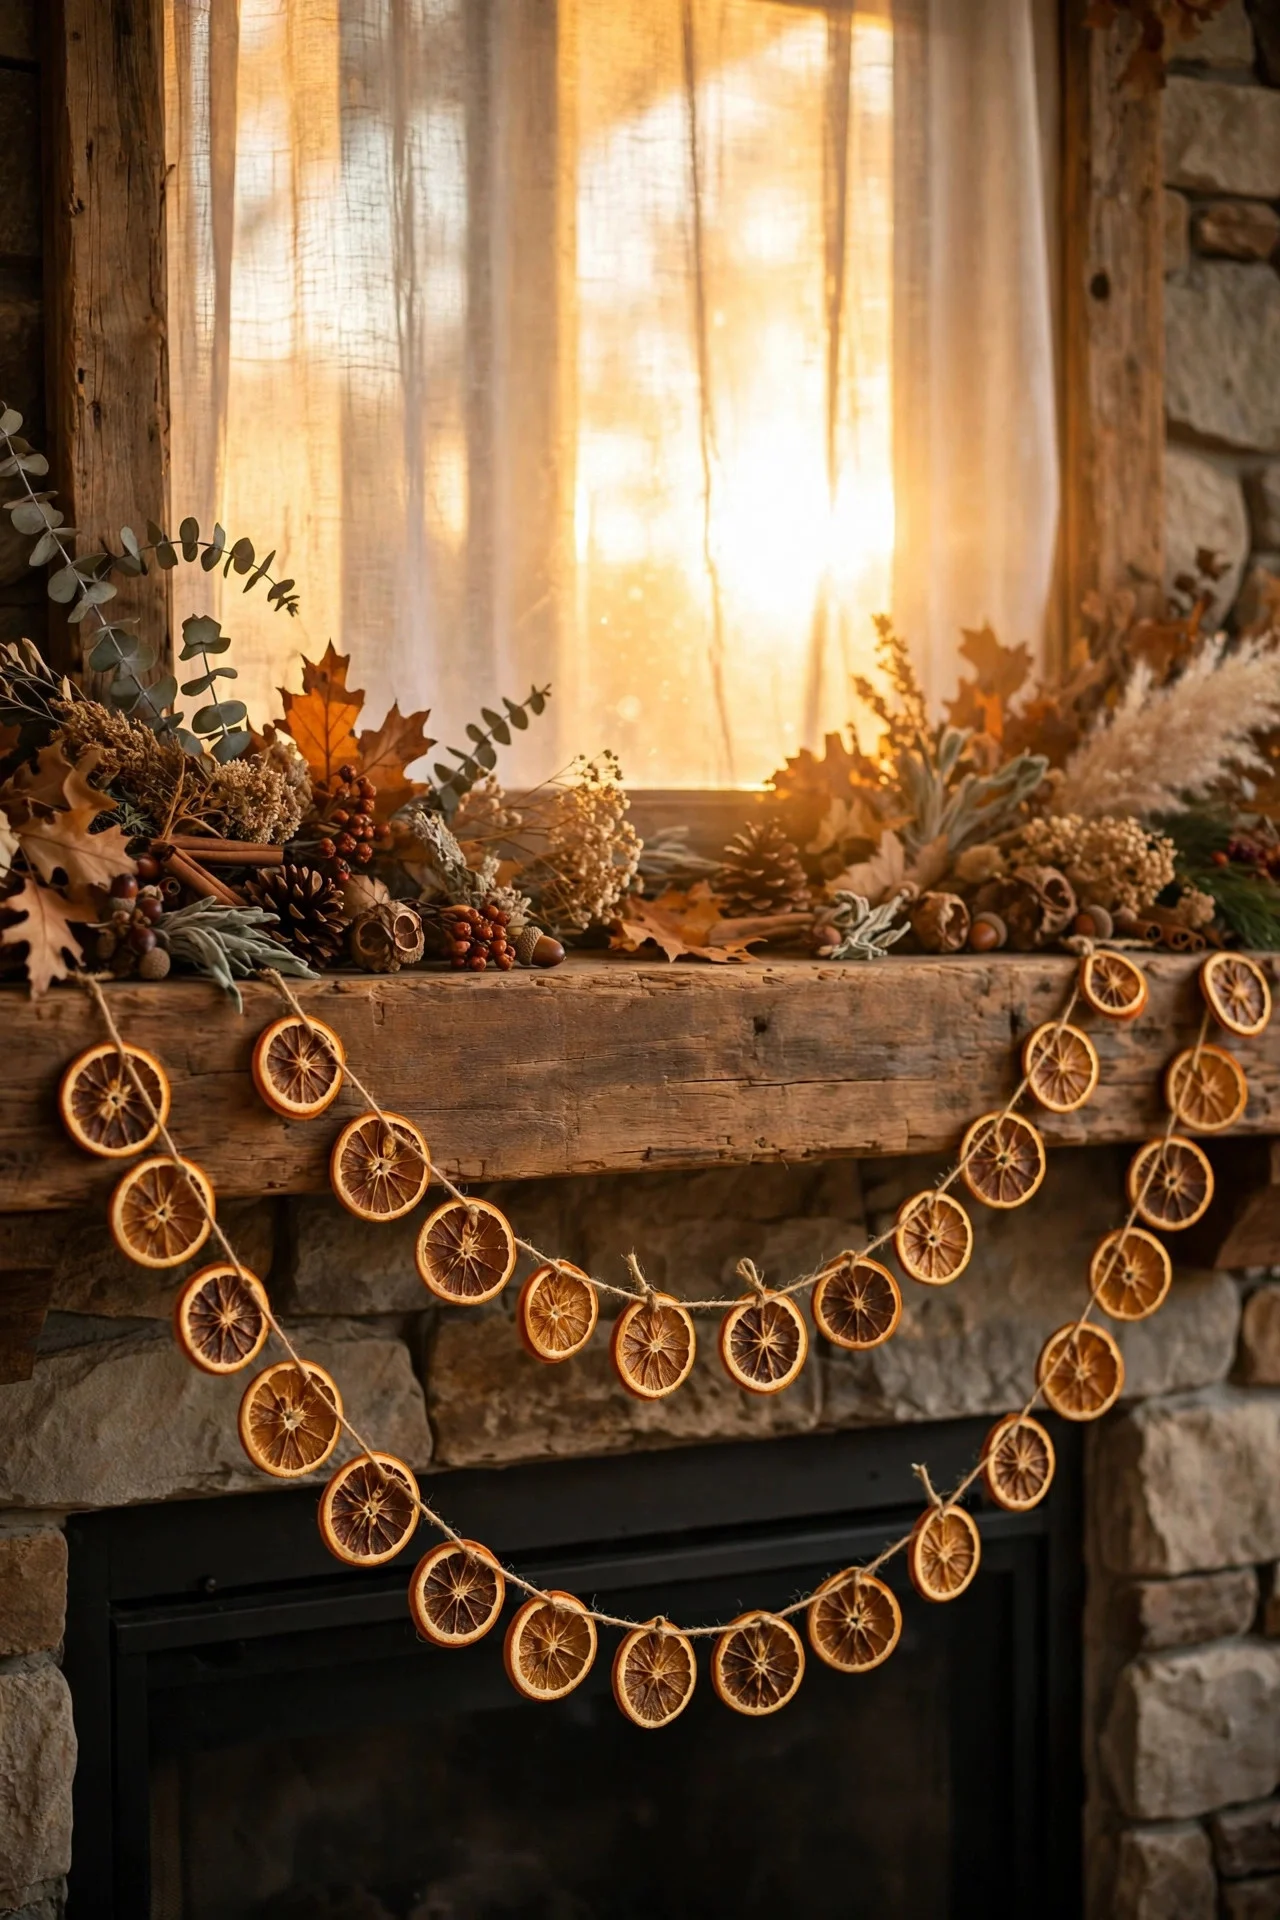
14. Dried Orange Slice String Garland
String dried orange slices on twine and swag them across the front of the mantel, in front of the greenery. The translucent slices catch light and add spots of warm color that read as jewelry on the display.
Dry slices at 200°F for three hours; a $3 bag of oranges makes plenty. Space the slices 3–4 inches apart so the garland reads as delicate, not heavy.
Try this: Hang the orange garland lower than the greenery — the layered depths make the mantel look professionally styled.
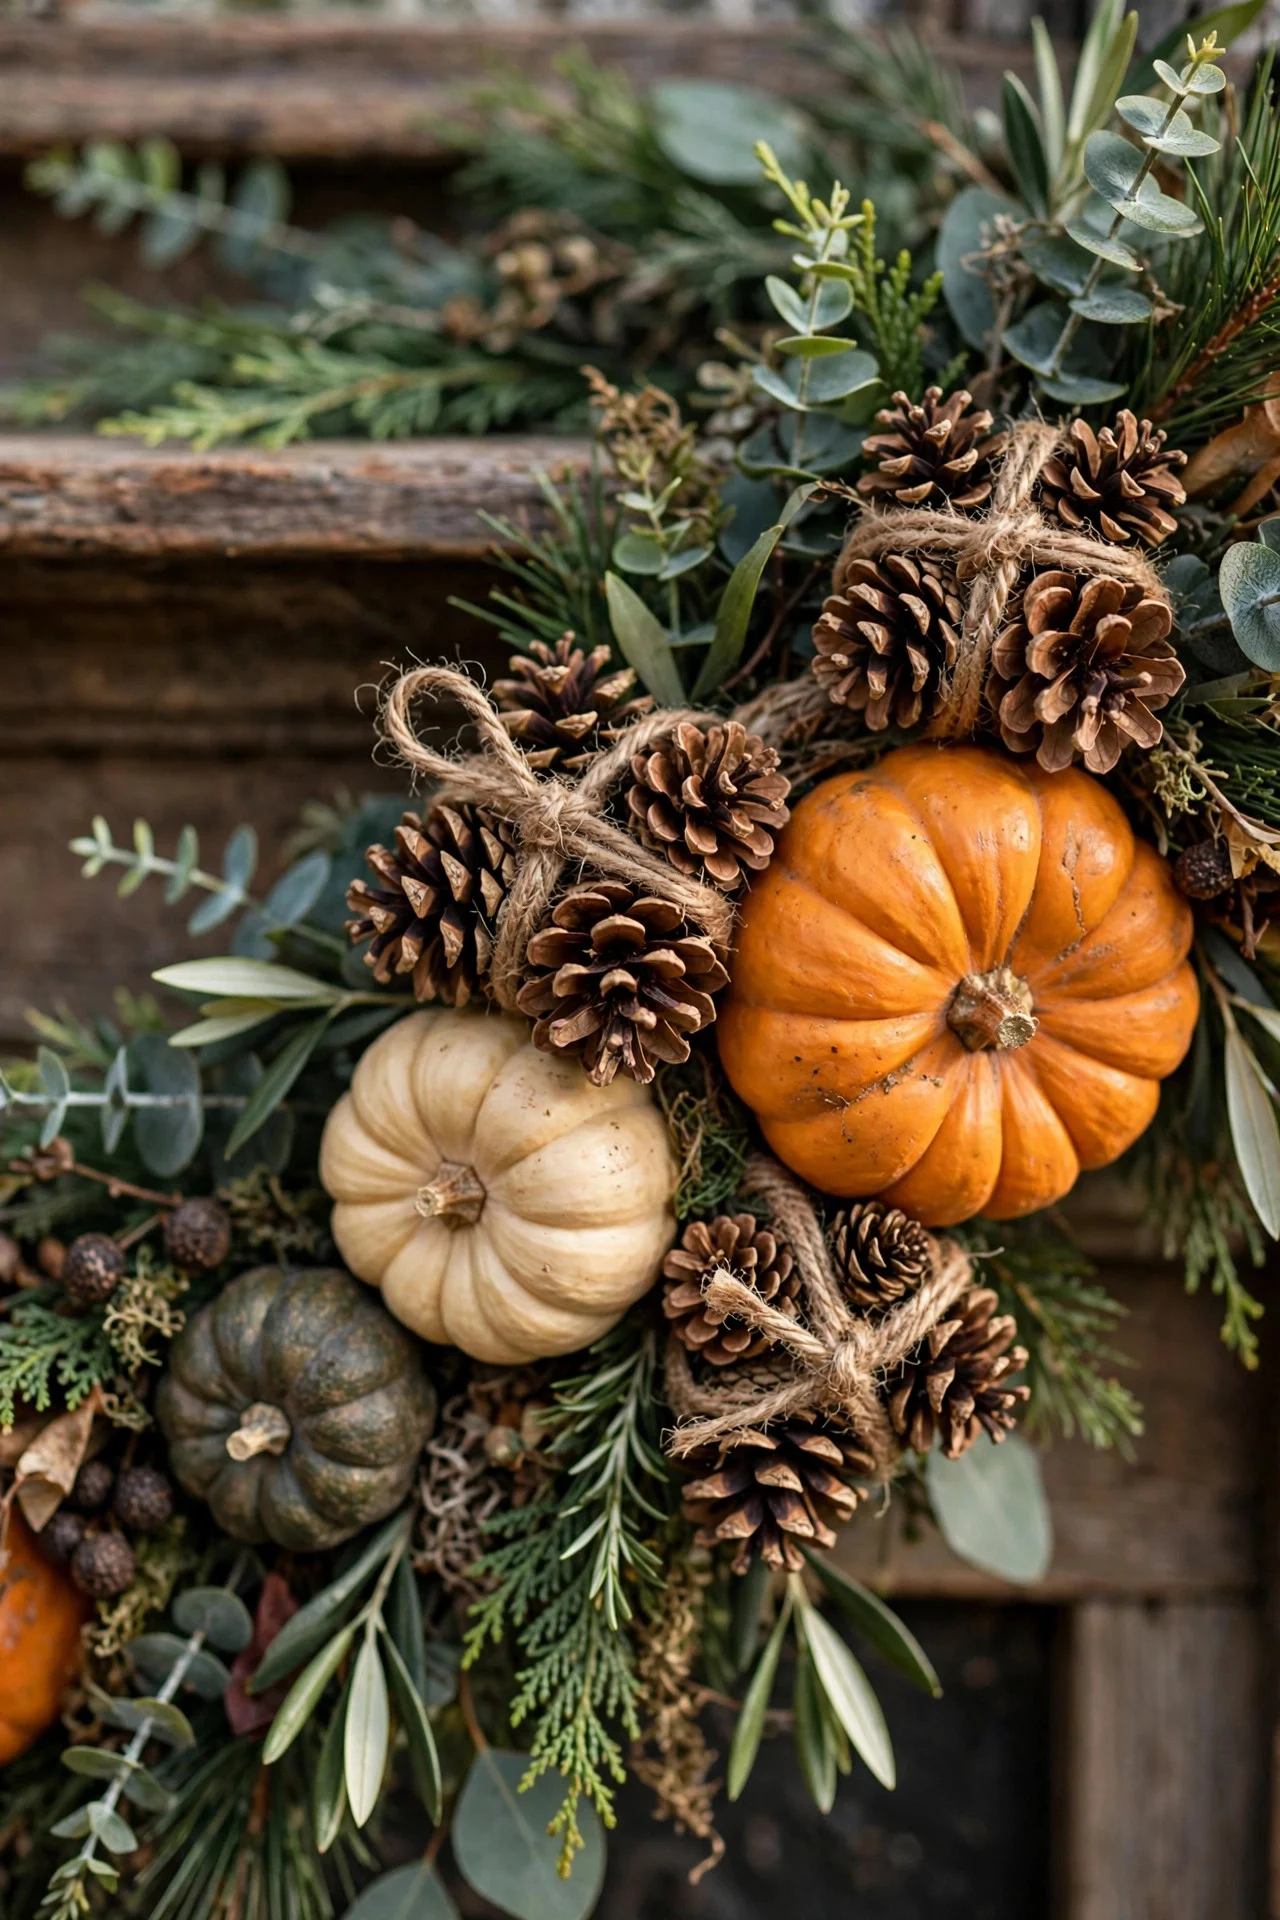
15. Pinecone Clusters as Filler
Fill every gap in your mantel display with pinecone clusters — three pinecones wired together with twine, tucked between pumpkins and into the garland. They’re the grout between the tiles: invisible individually, essential overall.
Forage them free or buy a bag for $5. Leave them natural for texture contrast against smooth pumpkins, or spray half gold for a dressed-up version.
Try this: Make six to eight clusters before you start arranging — having them ready makes styling twice as fast.
Frequently Asked Questions
How do I keep my fall mantel from looking cluttered?
Follow the layer rule: one garland base, one pumpkin cluster per section, one height element (candles or lanterns). If you can count more than three types of items, remove something. And leave some shelf visible — negative space is what makes it look styled, not stuffed.
What’s the best garland for a fall mantel?
Eucalyptus is the most versatile — it works with every pumpkin color and lasts for years preserved. For a harvest look, dried wheat or grasses. For romance, dried hydrangeas. Whichever you choose, buy six feet for a standard mantel and let it trail past both ends.
How many pumpkins should go on a mantel?
Five to nine for a standard 5–6 foot mantel, in odd-numbered clusters of three or five. Mix sizes within each cluster — one large, a couple of mediums, minis in the gaps. Fewer, larger pumpkins look better than many tiny ones.
Can I use real pumpkins on the mantel?
Yes, but choose minis and small pumpkins — large ones are heavy and can stain. Real minis last 3–4 weeks indoors. For the main anchor pumpkins, faux is smarter: no rotting, no weight worries, and you reuse them every year.
Final Thoughts
A great fall mantel is just good layering: garland first, pumpkins second, height third. Get those three layers right and the specific pieces almost don’t matter — the structure does the work. Style it once in late September, tweak the accents through October, and enjoy the best seat in the house all season.
