
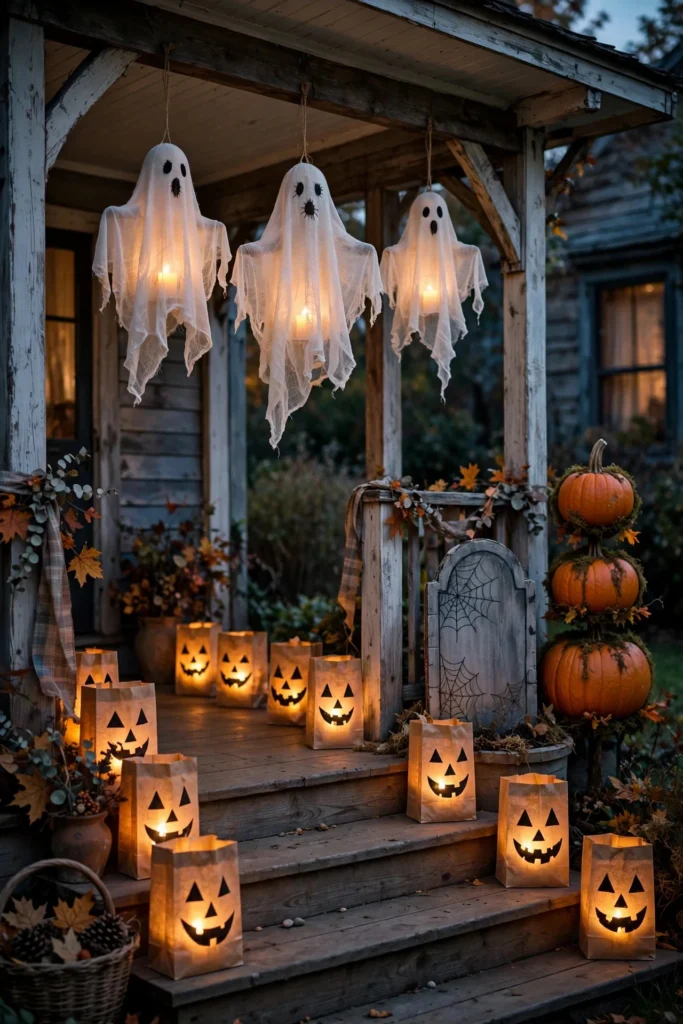
Halloween decor doesn’t have to drain your wallet. Walk through any craft store in October and you’ll see the same $29.99 foam tombstones and $18 faux cobwebs — multiply that across a whole house and you’ve spent a fortune on things that sit in a box for eleven months a year. I’ve decorated entire porches for under $25, and honestly, the homemade pieces get more compliments than anything I ever bought full price.
Below are 12 DIY Halloween decorations that actually look good, with honest cost estimates for each. Most need materials from the dollar store or your own recycling bin, and nothing takes more than an hour or two. Start with two or three projects and you’ll be amazed how far $30 goes.
1. Floating Cheesecloth Ghosts
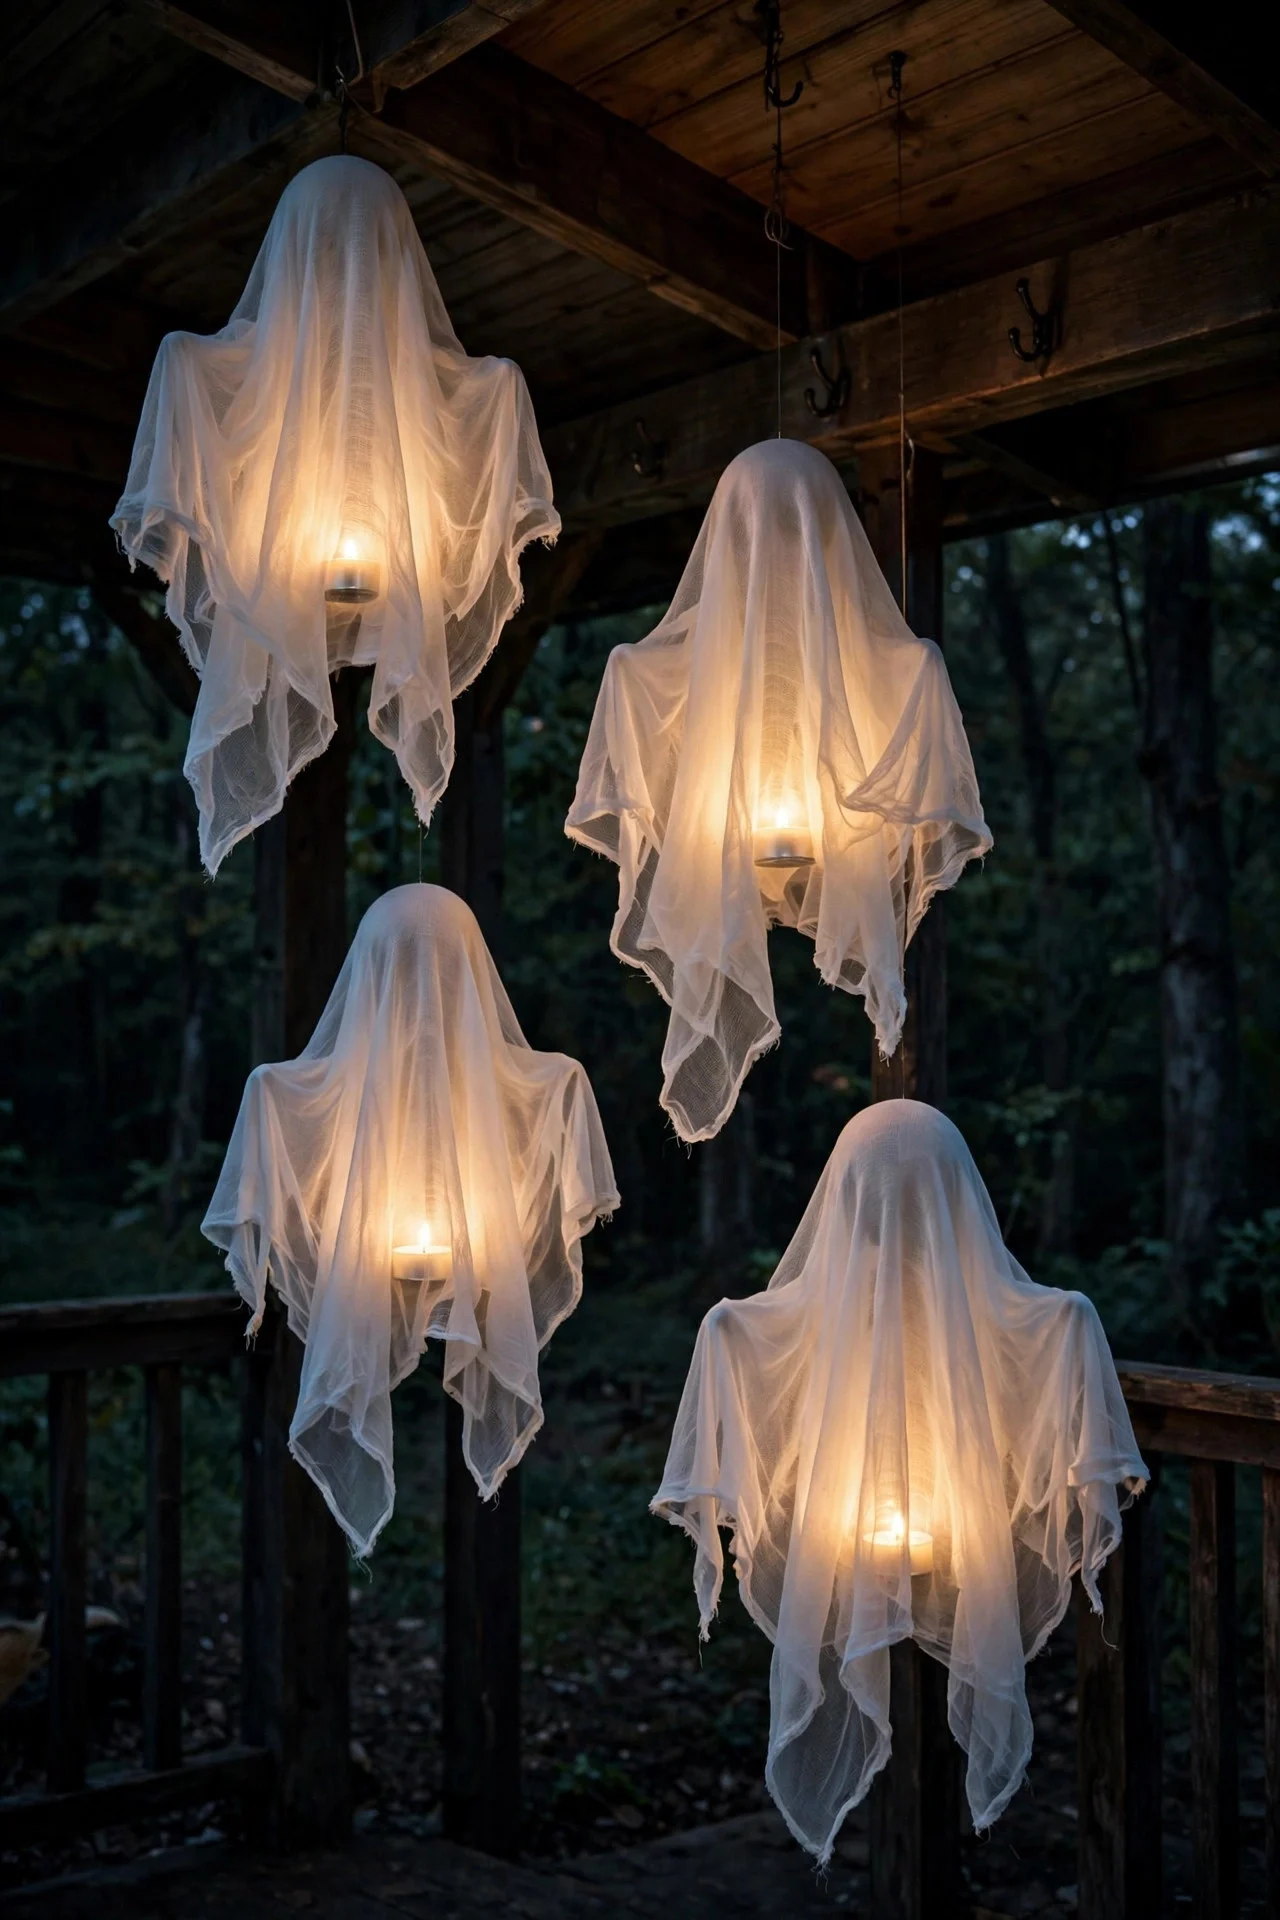
These eerie figures look like they drifted straight out of a haunted forest, and they’re shockingly cheap to make. Soak a yard of cheesecloth in liquid starch, drape it over an inflated balloon or foam ball perched on a bottle, and let it dry overnight. The fabric holds its shape once stiff, and the balloon pops or deflates right out.
Hang them from porch beams or tree branches with clear fishing line so they appear to float. Five ghosts on a front porch create a whole scene for about $6 — one bag of cheesecloth and a bottle of starch go a long way.
Try this: Tuck a battery tea light inside each ghost before hanging — the glow makes them visible from the street.
2. Paper Bag Halloween Luminaries
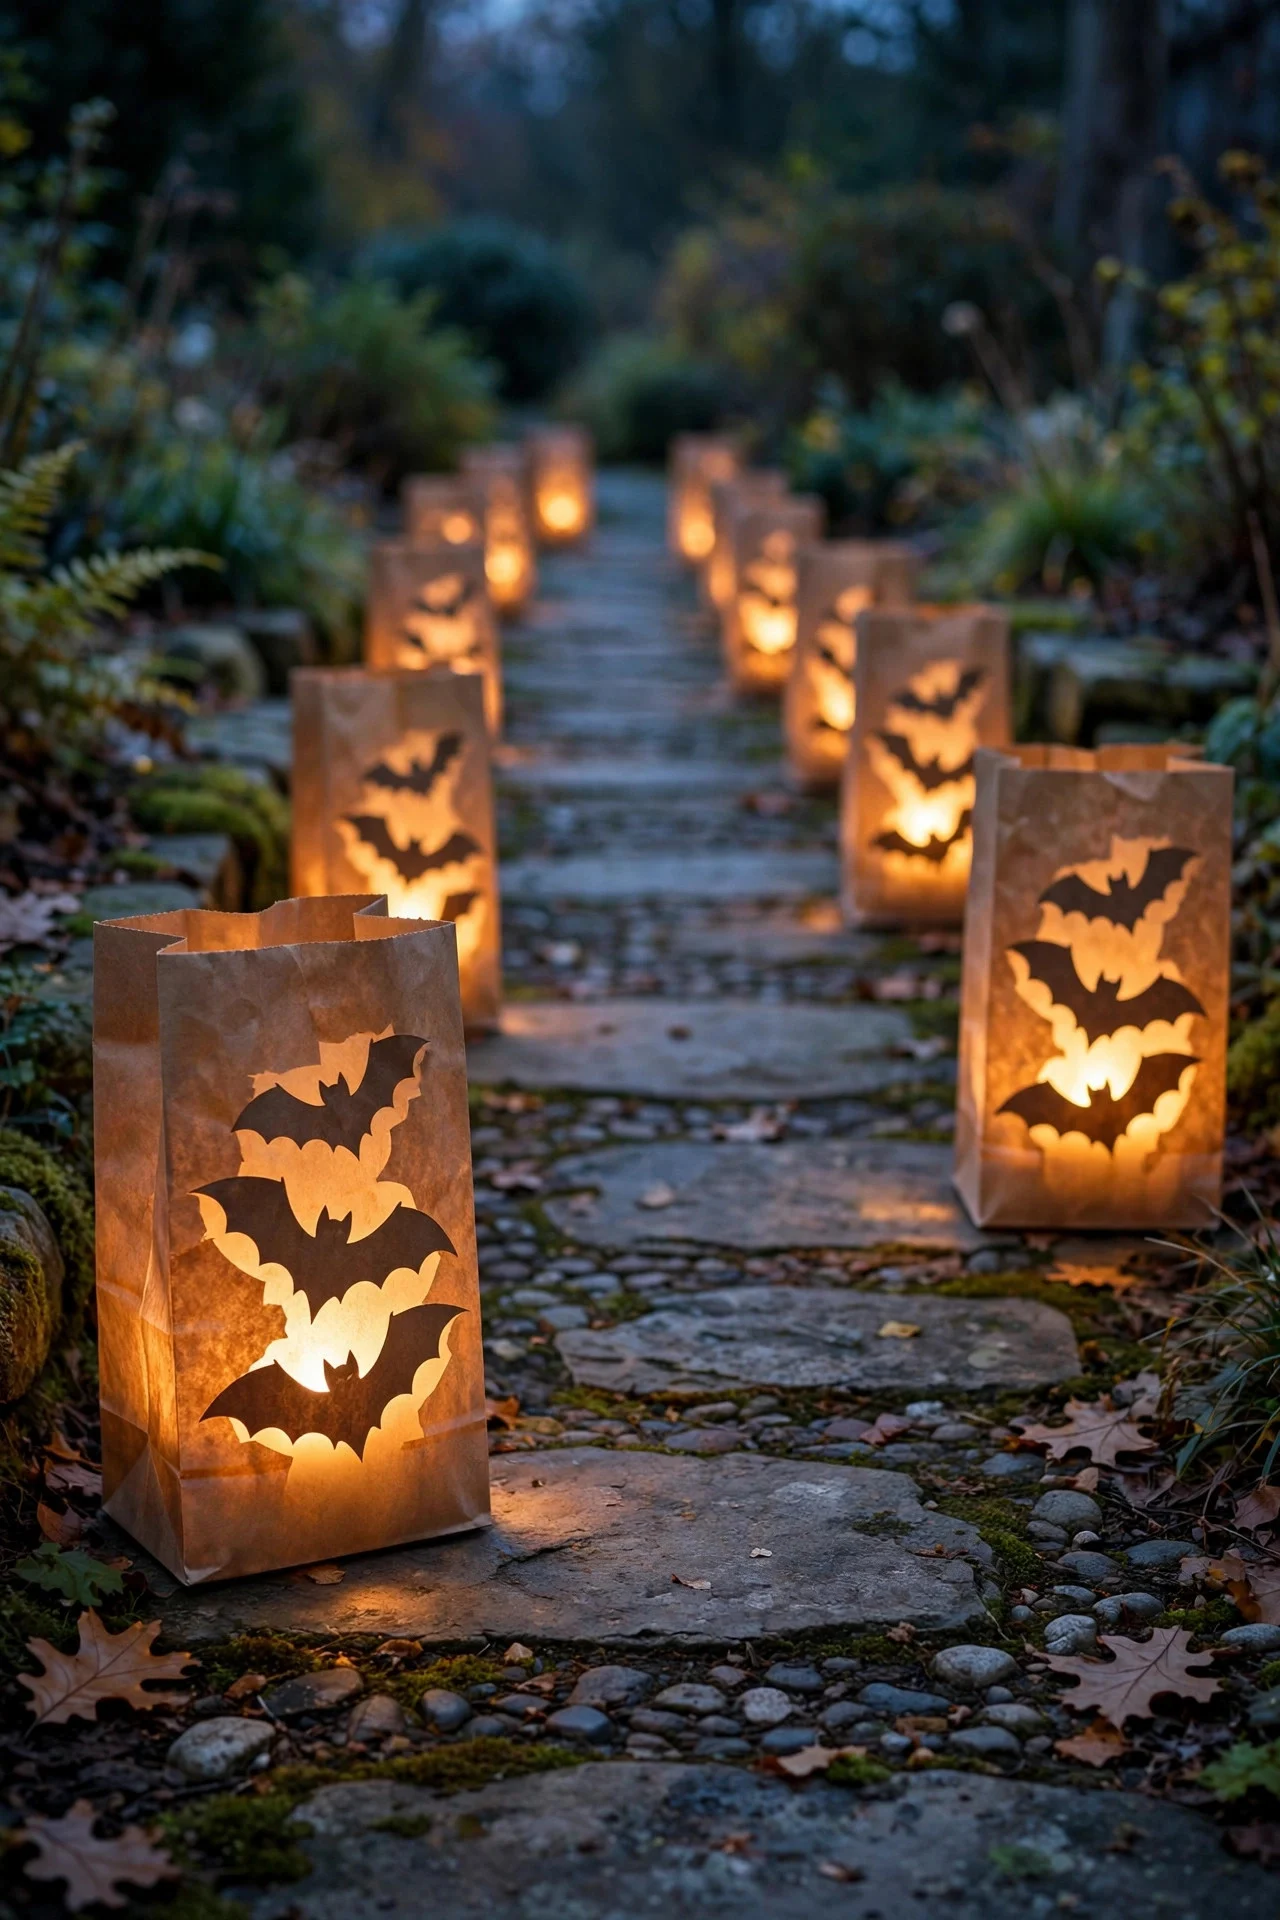
A paper bag luminary turns an ordinary sidewalk into a spooky walkway in a single evening. Draw or trace a simple design — a bat, a pumpkin face, a crescent moon — onto a brown paper lunch bag, then cut it out with a craft knife. The cut shapes glow beautifully when lit from within.
Fold the top edge down an inch for stability, pour a cup of sand into the bottom so they don’t blow over, and drop in a battery-operated tea light. Ten bags line a whole walkway for around $5, and neighborhood kids genuinely love them.
Try this: Use white paper bags with black designs for a modern look — brown glows warmer, white glows brighter.
3. Cardboard Tombstones
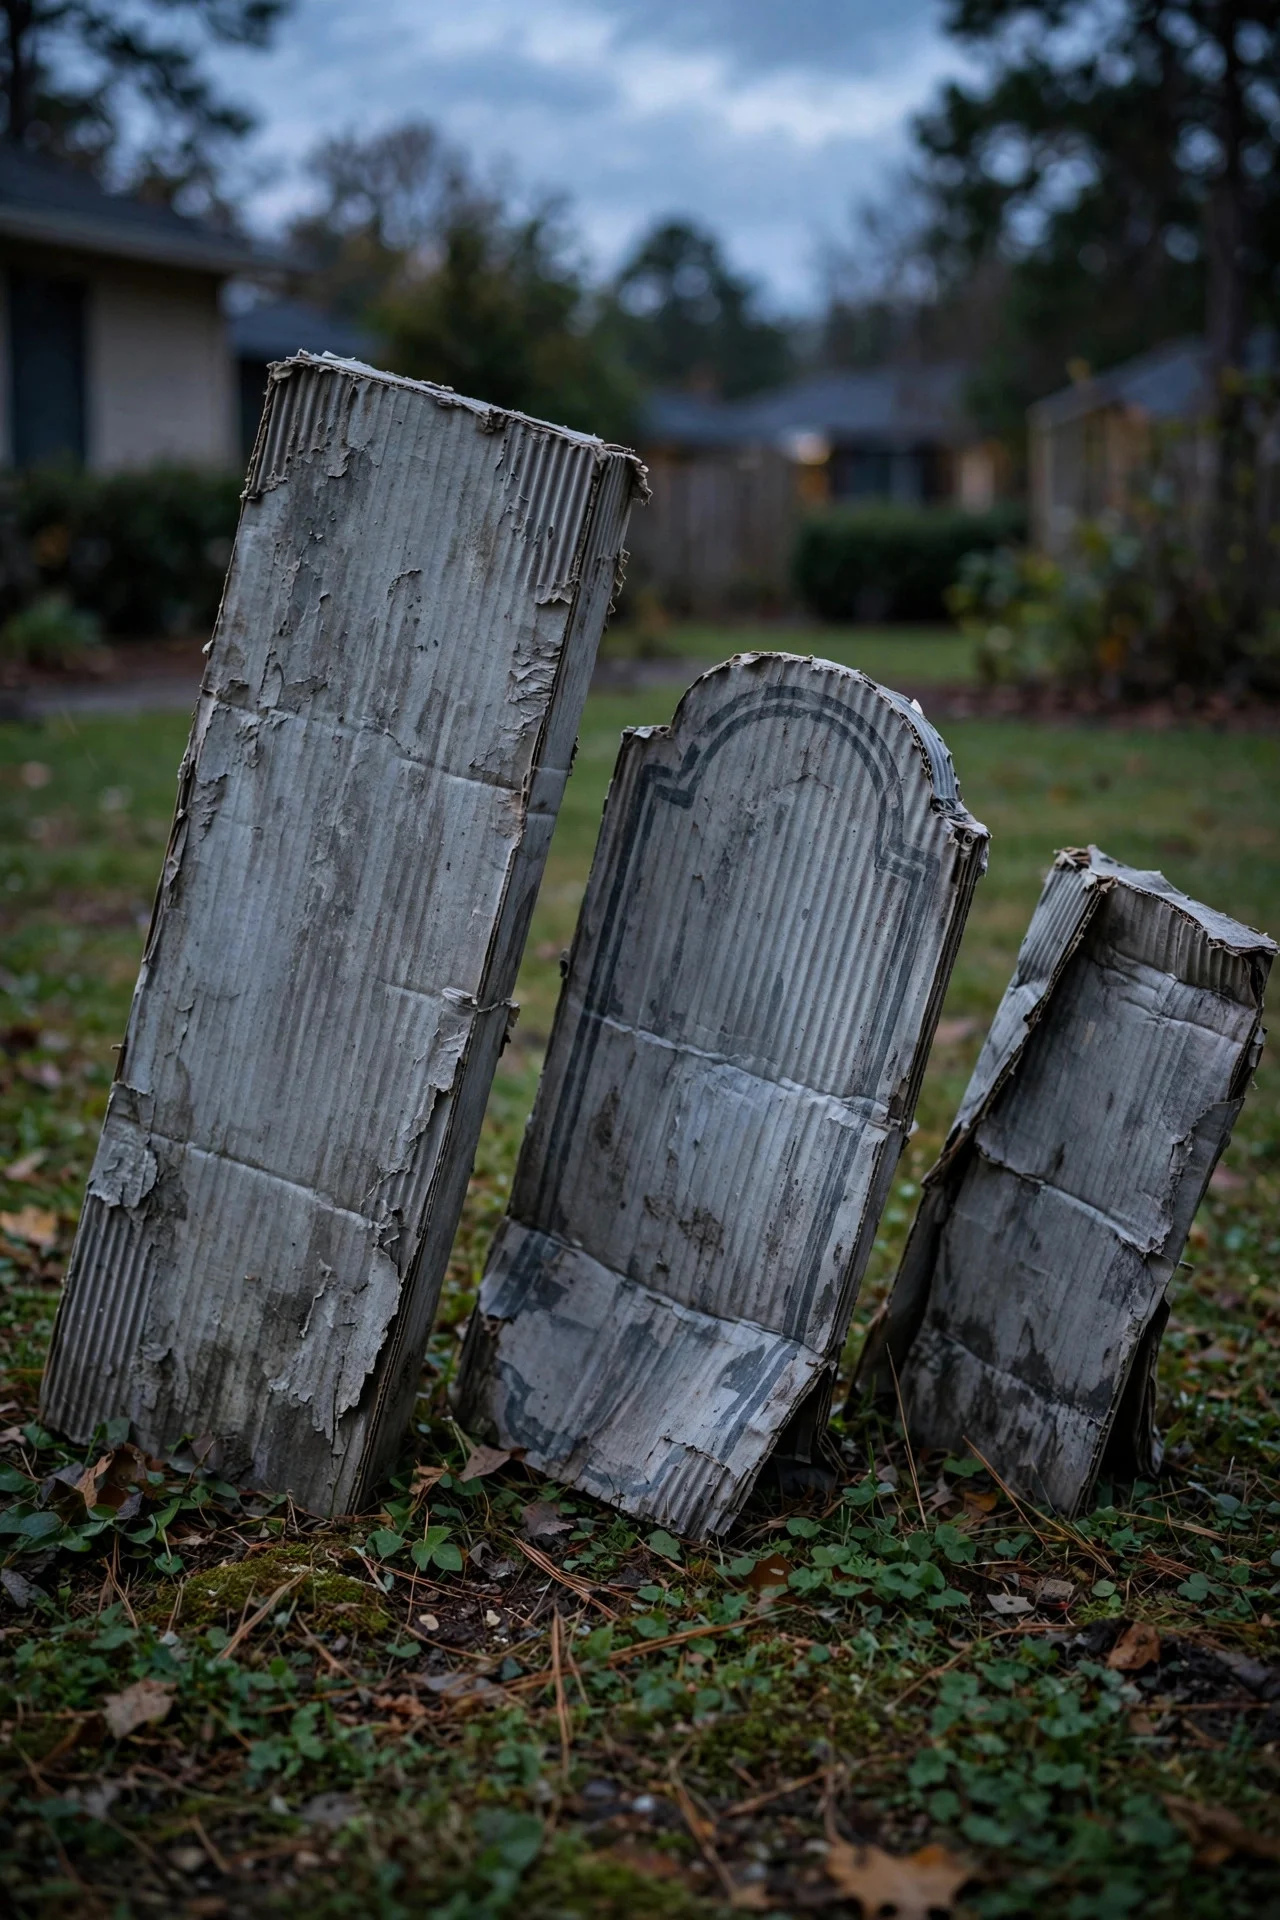
Those shipping boxes in your garage are future cemetery decor. Cut tombstone shapes from thick cardboard — a rounded or pointed top reads best — and spray-paint them matte gray. While the paint’s still wet, sponge on darker gray and a little brown for a weathered, century-old finish.
Write epitaphs with a black paint marker: “RIP” plus a silly name always gets a laugh. Tape a wooden stake to the back and push them into the yard at slight angles — perfectly straight tombstones look fake. Six tombstones cost nothing if you raid the recycling bin.
Try this: Sand the edges after painting for authentic-looking chips and cracks.
4. Black Cardstock Bat Colony
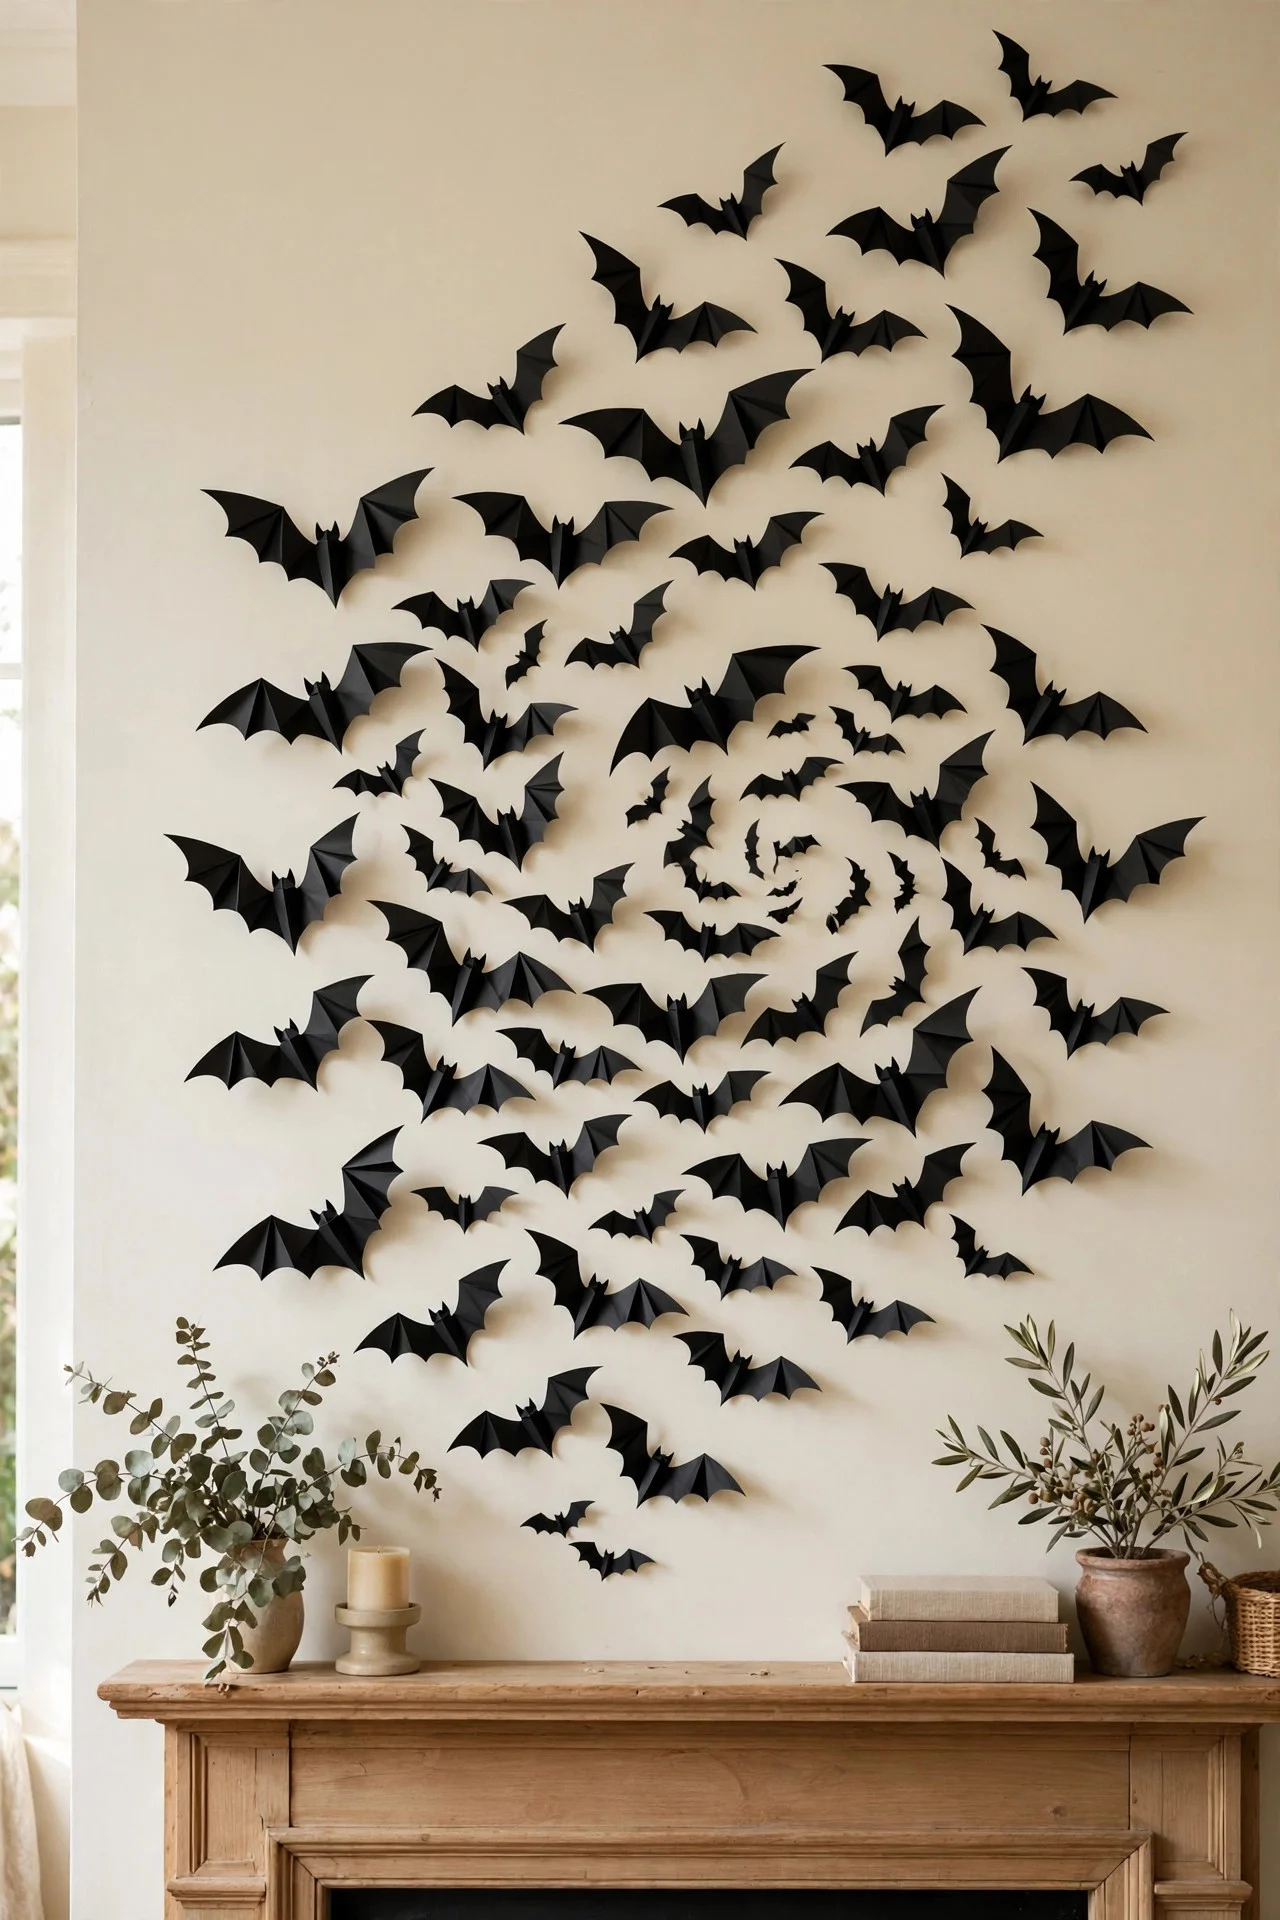
A swarm of paper bats flying up a wall or across a window is one of the most striking Halloween looks there is, and it costs about $3. Trace a bat template onto black cardstock, cut out twenty or thirty, and fold each one slightly down the middle so the wings lift off the wall.
Arrange them in a loose swirl — start dense at one corner and scatter them wider as they “fly away.” Attach with removable adhesive dots so there’s no wall damage. It looks dramatic in an entryway or above a mantel.
Try this: Cut a few bats from metallic gold cardstock and hide them in the swarm — people love spotting them.
5. Trash-Bag Spiderweb
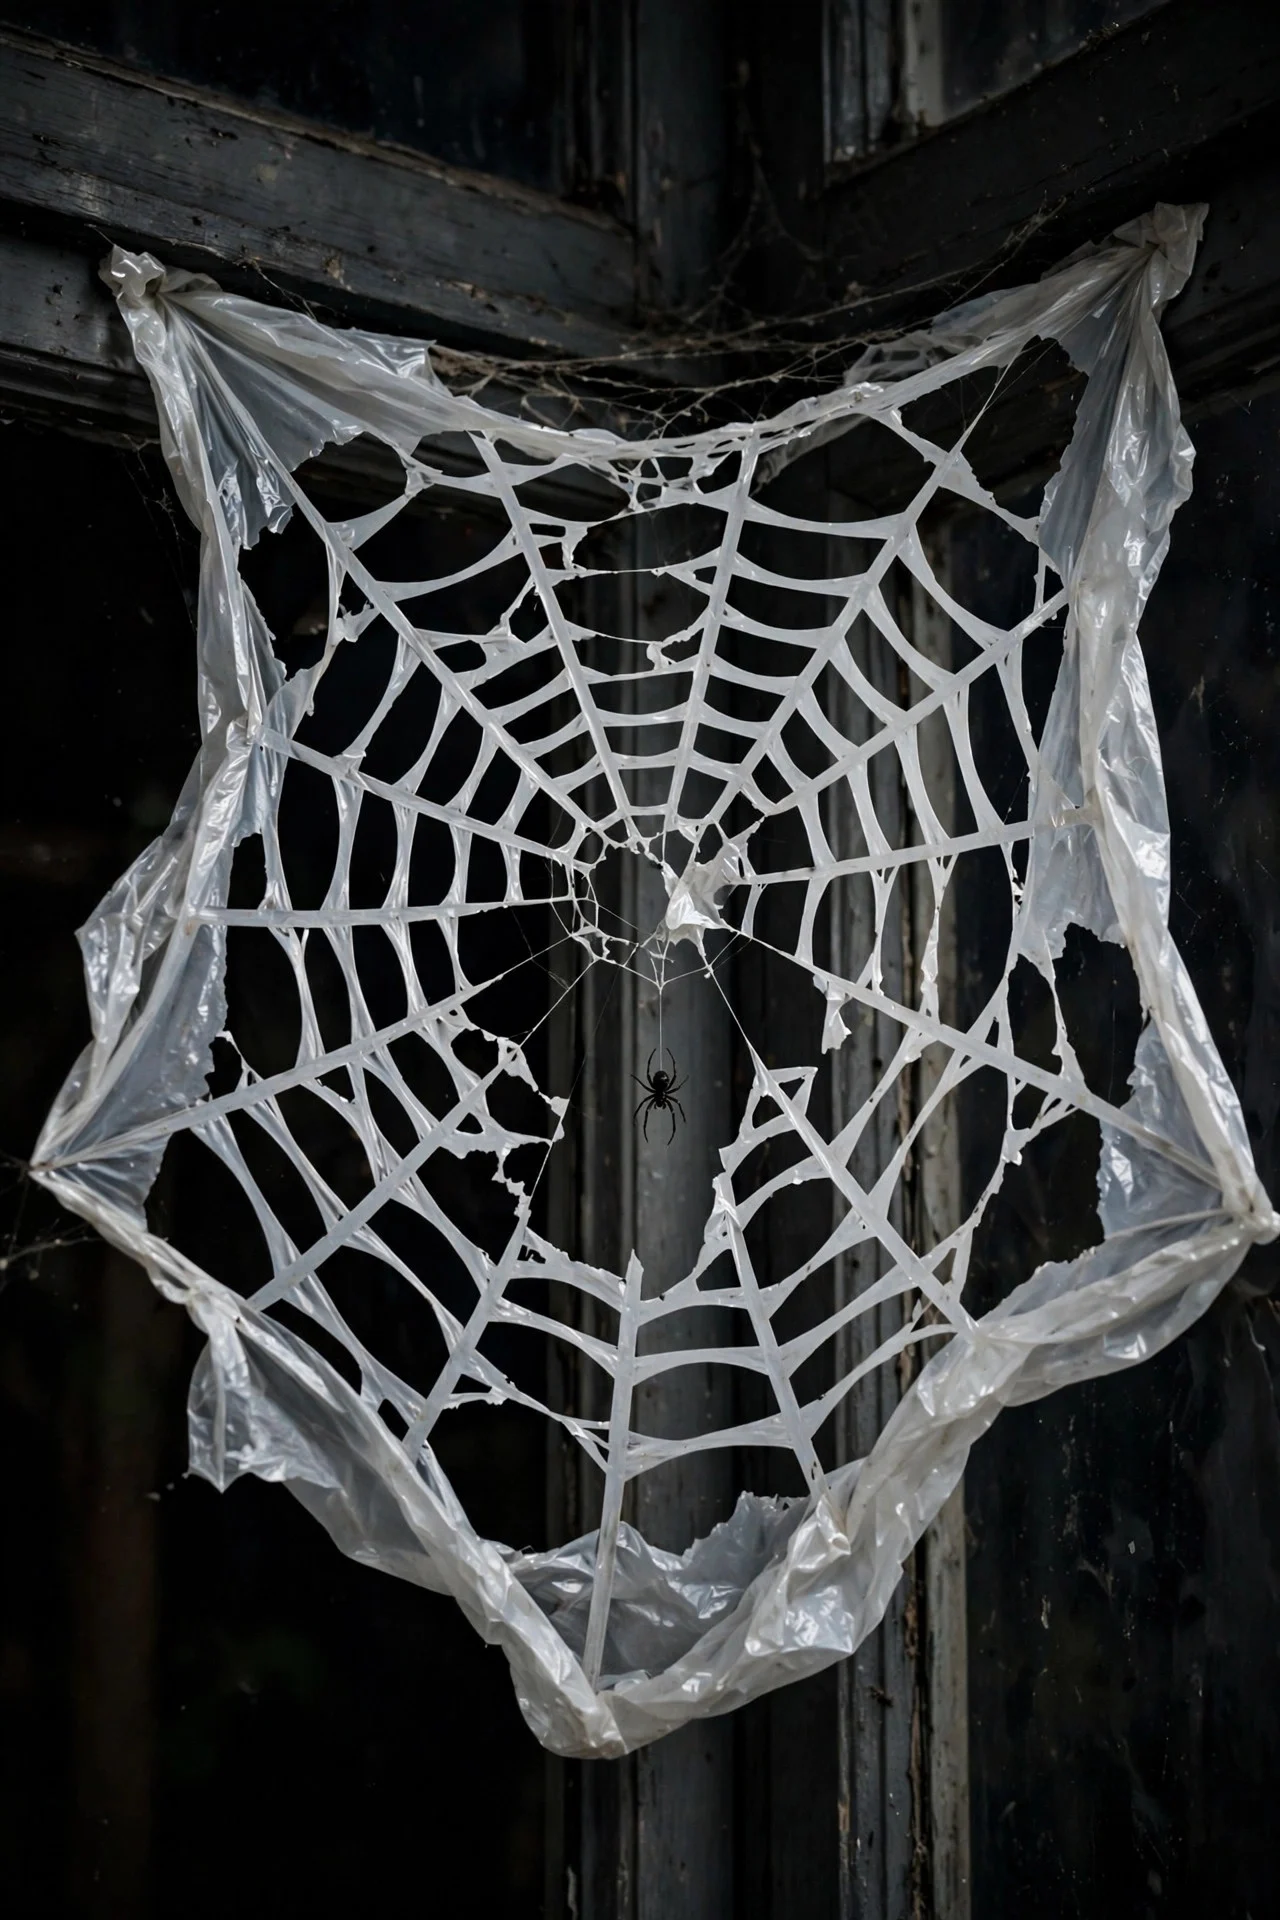
One white trash bag becomes a giant spiderweb nearly four feet across. Fold a kitchen-sized bag in half, then quarters, then into a triangle — like folding a paper snowflake. Cut arched notches along the open edges, unfold carefully, and you’ve got a lacy web.
Hang it in a front window or a high corner with a plastic spider dangling from the center on a thread. It reads dramatic from the street, especially with a light behind it at night. The dollar-store spider is the only part you might pay for.
Try this: Hang the web slightly off-center in the corner — real webs are never perfect circles.
6. Potion Bottles From Old Jars
Save every interesting jar and bottle for a month and you’ll have an apothecary shelf by October. Fill clear bottles with water tinted green, purple, or amber using food coloring, then label them with handwritten kraft tags: “Witch’s Brew,” “Spider Venom,” “Frog Legs.”
For extra creep factor, drop in plastic spiders or rubber eyeballs from the dollar store. Group five or six bottles of different heights on a tray with a black candle, and it looks like a Victorian poison cabinet. Total cost: basically zero.
Try this: Singe the label edges with a lighter for an aged, ancient look.

7. Glowing Milk-Jug Ghosts
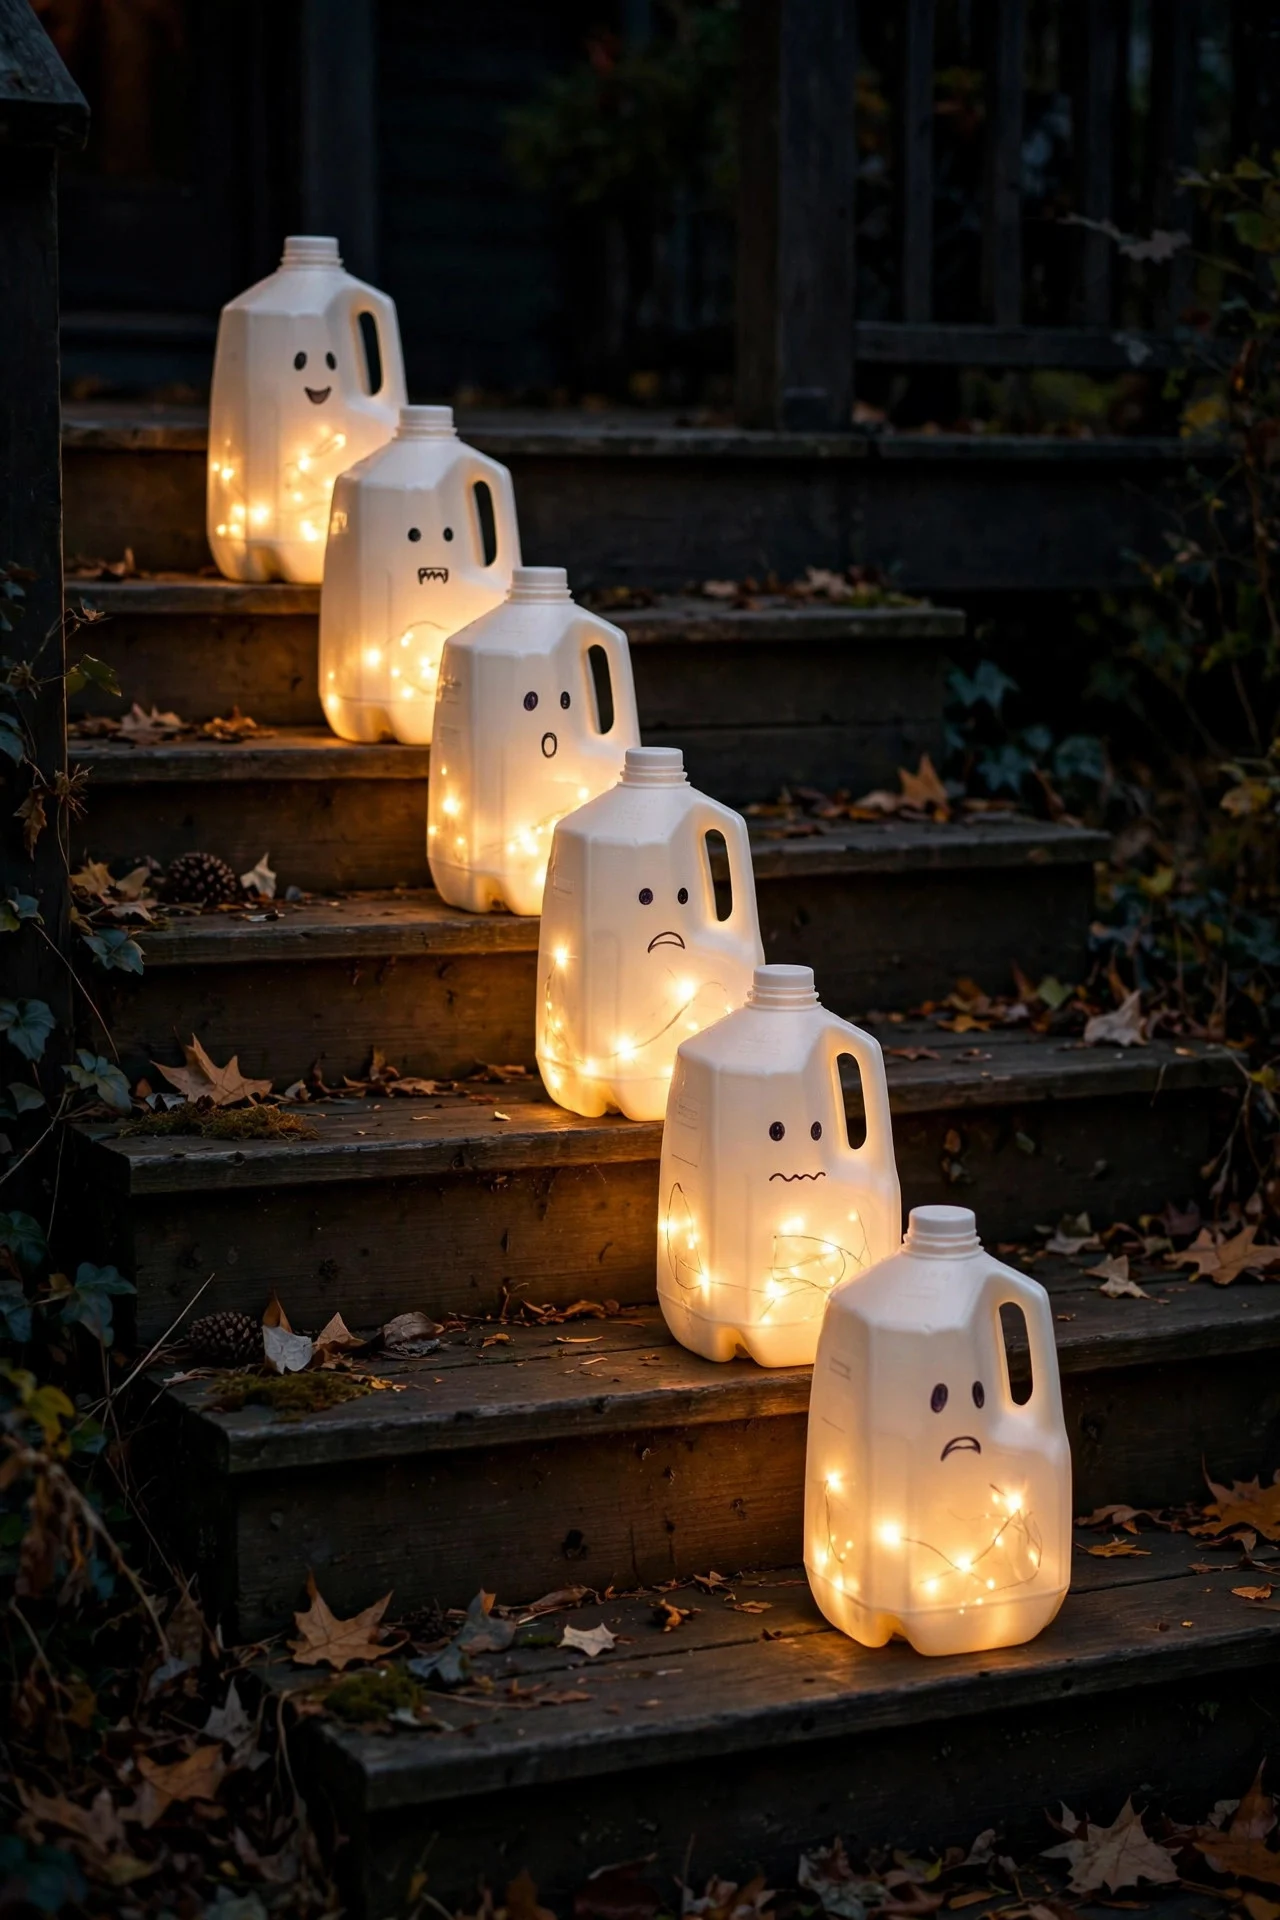
Empty milk jugs are Halloween gold. Rinse them out, draw simple ghost faces with a black permanent marker — two oval eyes, one round mouth — and tuck a string of battery fairy lights inside each one through the opening.
Line them along porch steps or the driveway edge at dusk and they glow like a row of friendly spirits. One strand of twenty warm-white fairy lights fills three or four jugs, and the whole project runs about $8 if you need to buy the lights.
Try this: Set the fairy lights on a timer so your ghost walkway switches on every evening automatically.
8. Mummy Mason Jars
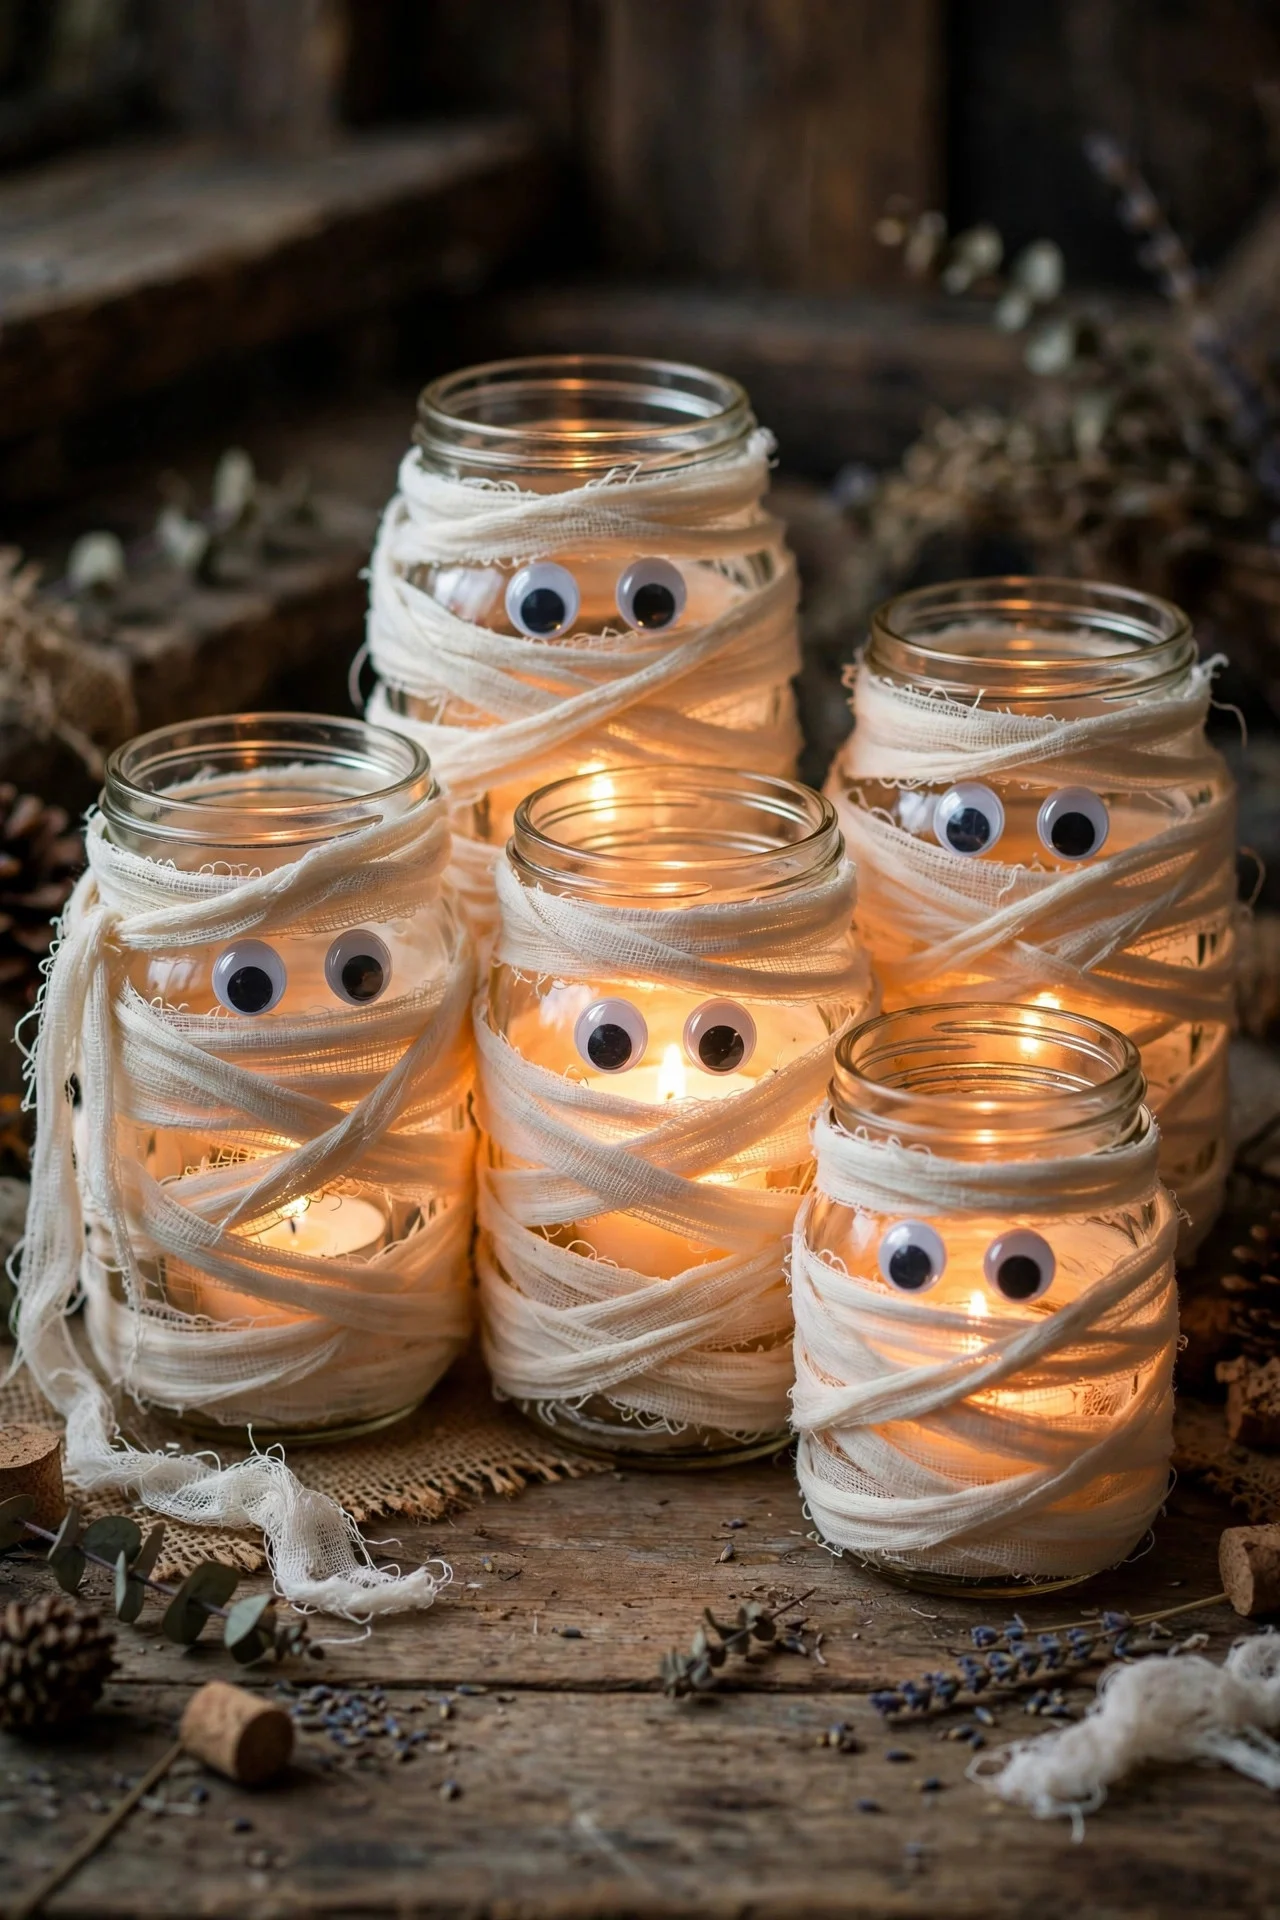
Wrap ordinary mason jars in strips of gauze or torn white fabric, overlapping as you go, and they become mummies in about ten minutes each. Leave small gaps between the layers so warm light peeks through — that’s what makes them glow like lanterns instead of just looking bandaged.
Glue on two googly eyes, drop in a battery tea light, and cluster them on the porch or as a table centerpiece. A pack of gauze rolls and a bag of googly eyes covers a dozen jars for under $7.
Try this: Stain the gauze with weak tea before wrapping for an aged, dusty mummy finish.
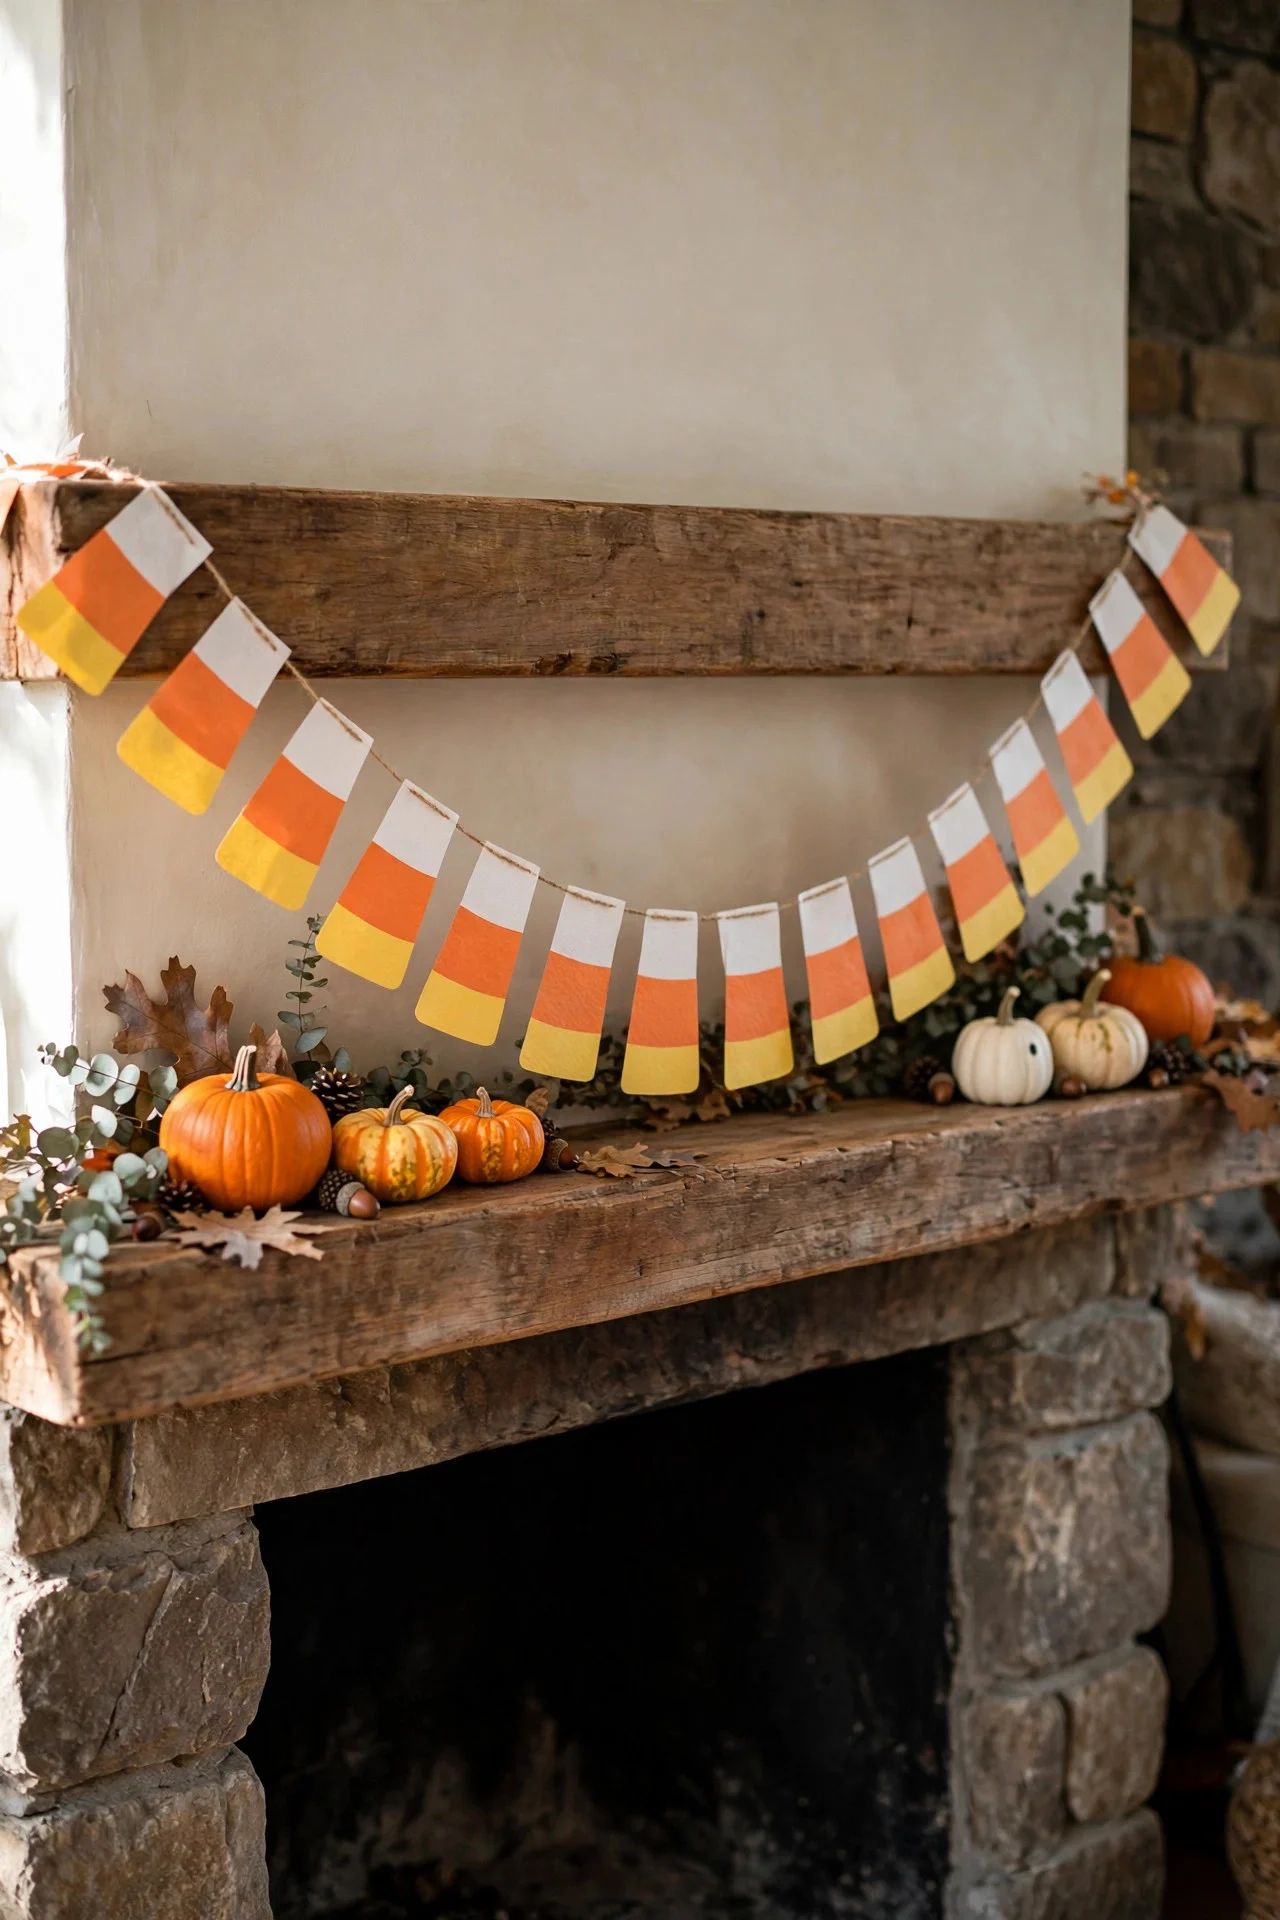
9. Candy Corn Paper Garland
The white-orange-yellow bands of candy corn make the happiest fall garland, and you can build one from construction paper in under an hour. Cut triangles about four inches tall, color-block them in the three classic bands, and string them on twine with a glue gun or tape.
Drape it across a mantel, doorway, or along a bookshelf. It photographs beautifully and costs about $4 for paper and twine. The simple geometric shapes are what keep it looking modern instead of childish.
Try this: Alternate candy corn triangles with black circles to form a subtle jack-o’-lantern pattern.
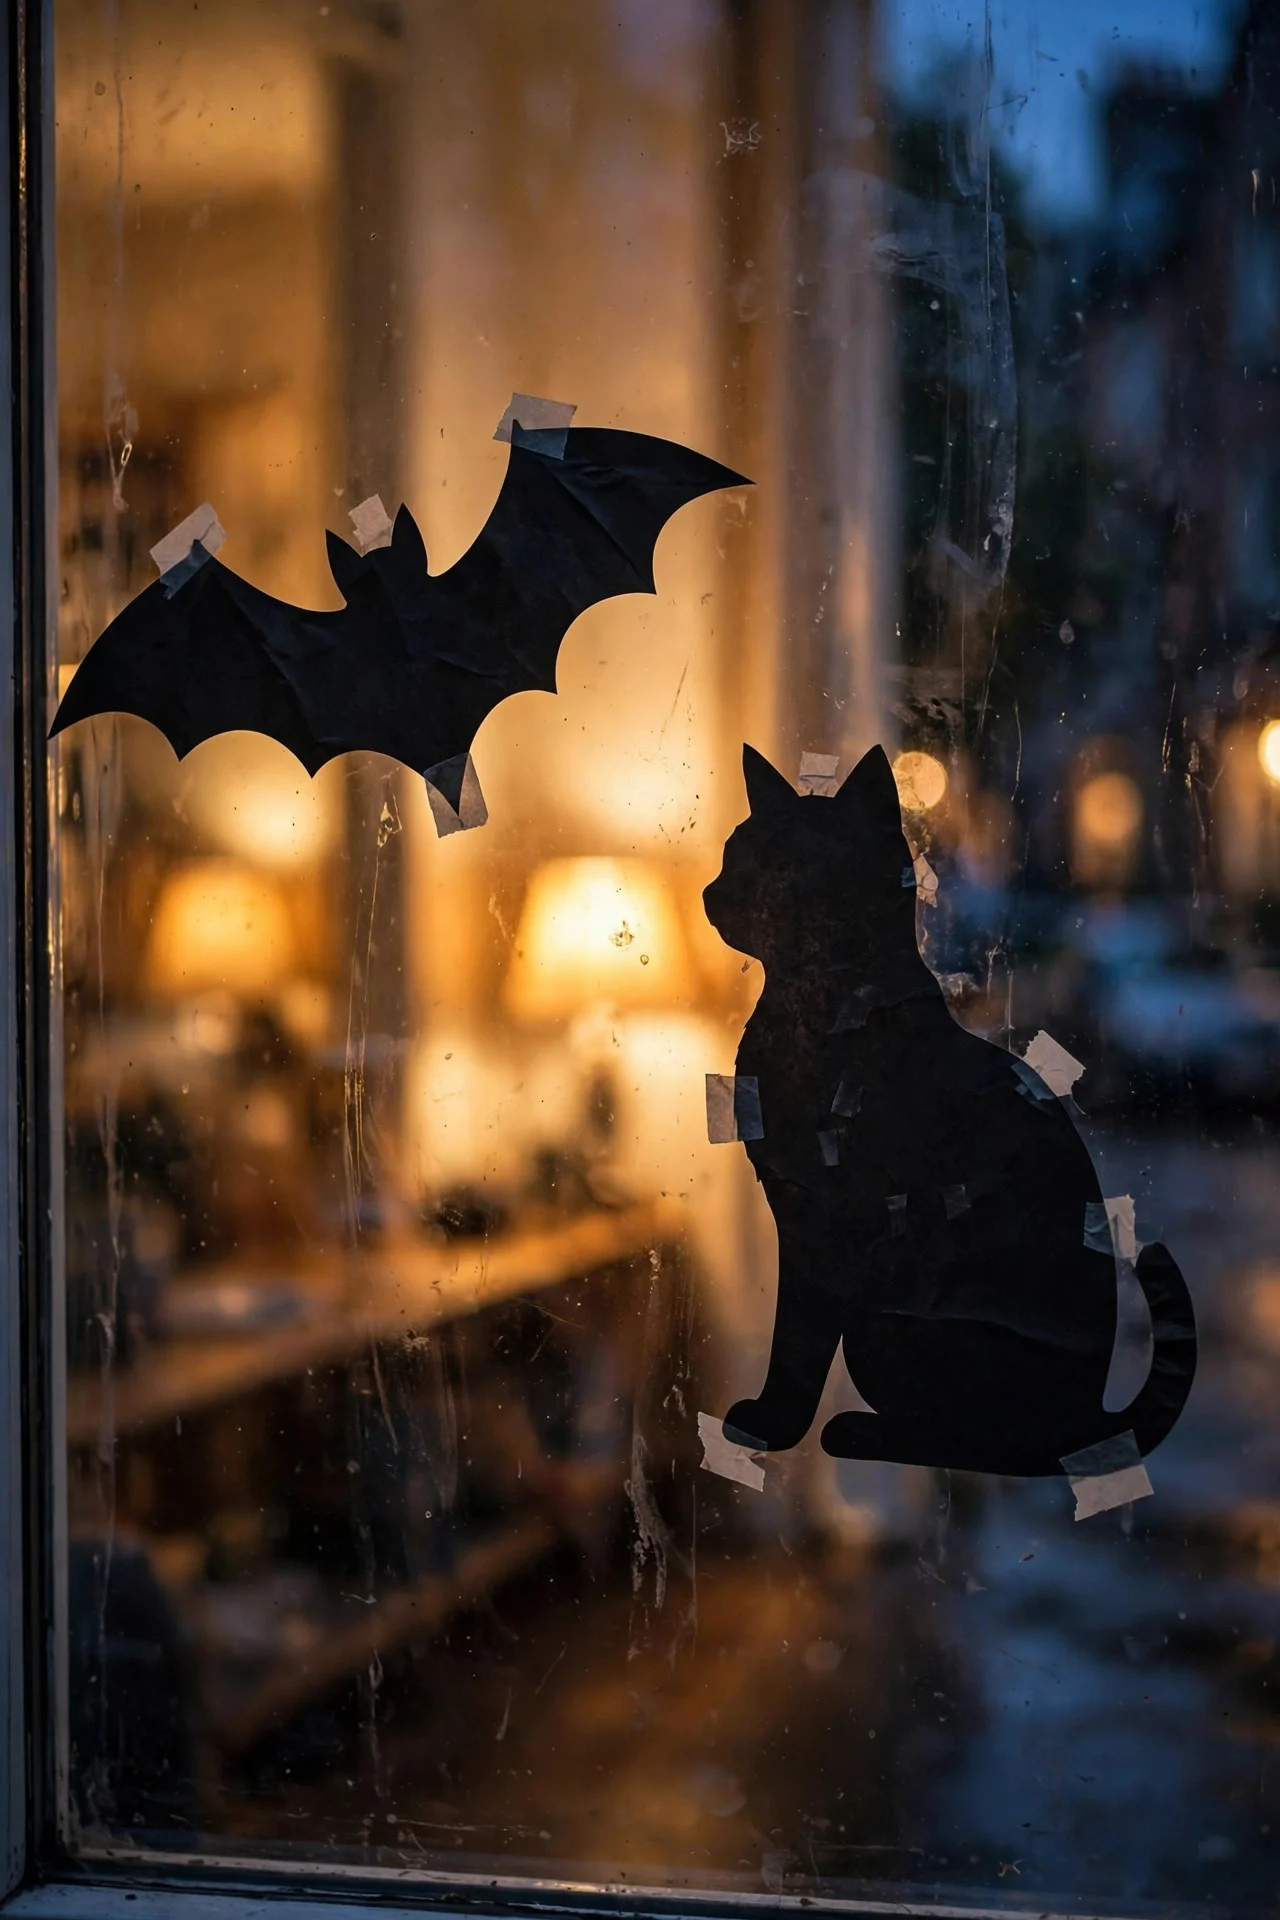
10. Spooky Silhouette Window Clings
Black paper silhouettes turn plain windows into haunted scenes after dark — and they cost almost nothing. Cut bat, cat, and haunted-house shapes from black cardstock, then press them onto window glass with a dab of soapy water. Backlit by indoor lamps, they read as crisp shadows from the street.
Cluster a colony of bats sweeping across one big window, or perch a cat silhouette on each sidelight flanking the front door. They peel right off in November with no residue. One pack of cardstock covers every window in the house.
Try this: Layer two sizes of bats — large ones up high, small ones swooping low — for a real sense of movement.
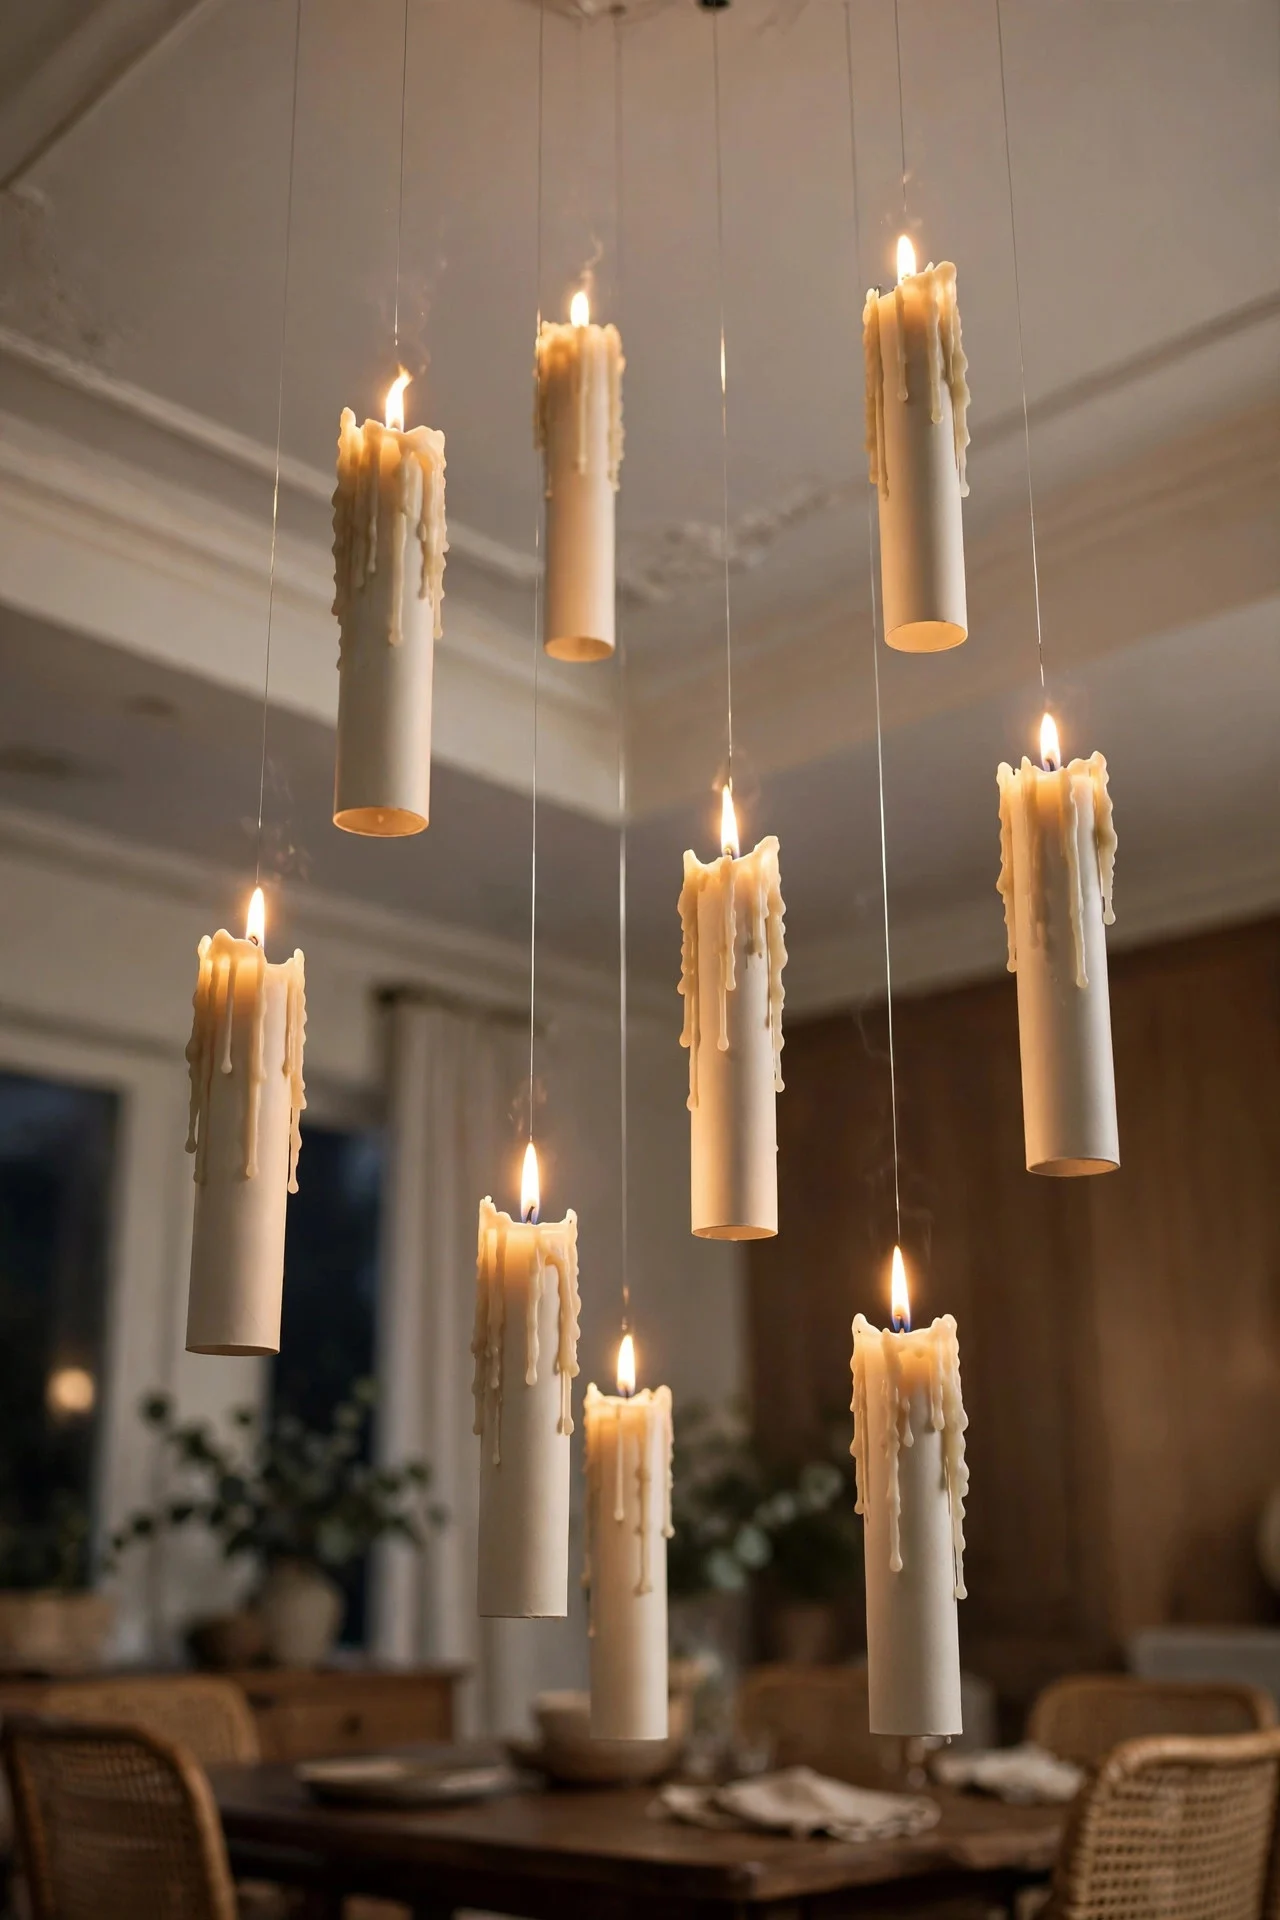
11. Floating LED Candles
Recreate the enchanted-ceiling look with paper towel tubes and fishing line. Cut tubes to staggered lengths, paint them white or ivory, and drip hot glue around the top rim to mimic melted wax. Poke a battery tea light into the top of each one.
Hang them at different heights from the ceiling with clear fishing line — an entryway or dining room with ten floating candles overhead feels genuinely magical. The project runs under $12 for tubes, paint, and a multipack of tea lights.
Try this: Choose flickering-flame tea lights over steady ones — the movement sells the illusion.
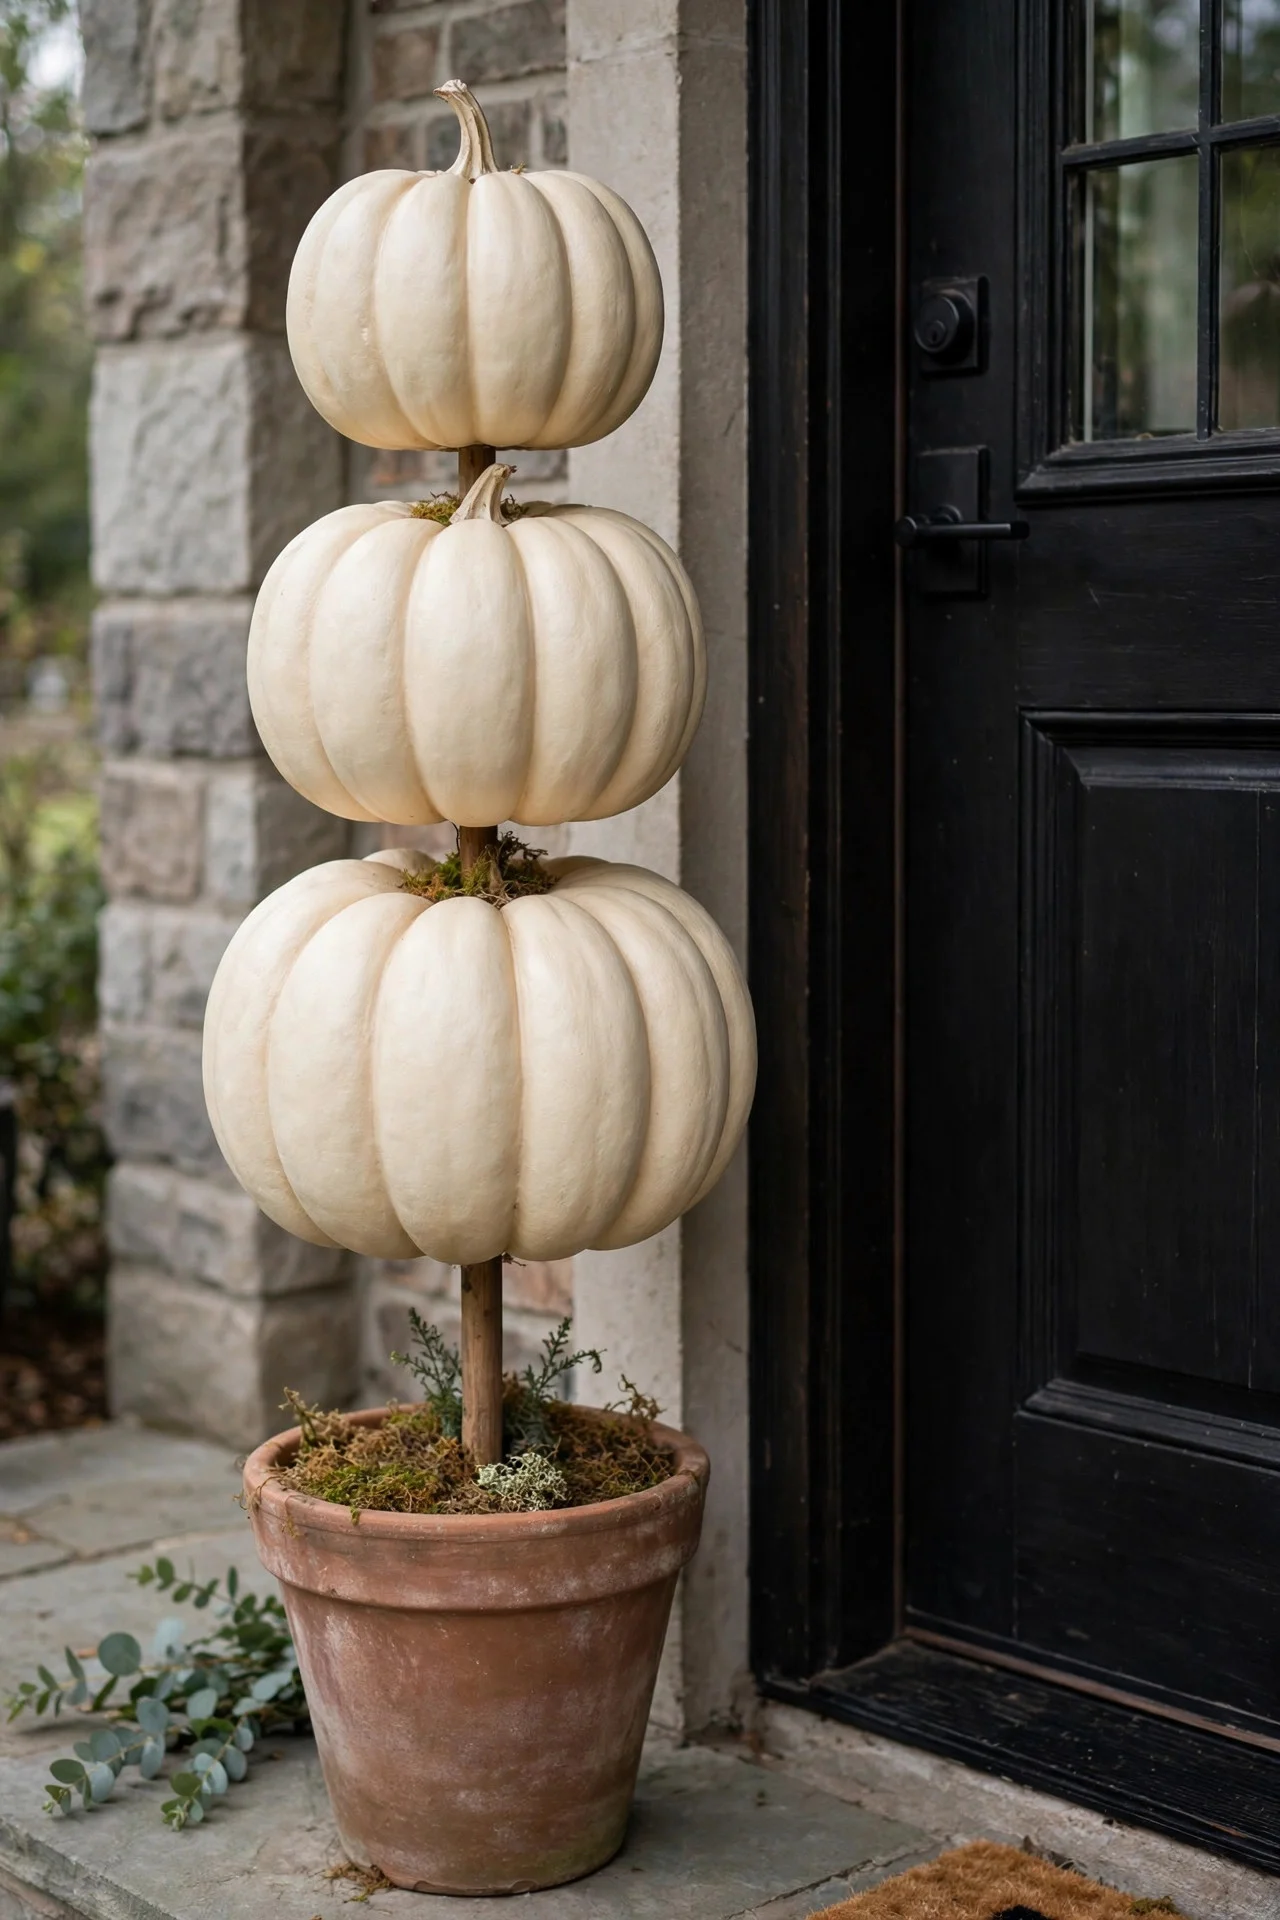
12. Dollar Store Pumpkin Topiary
Stack three faux pumpkins on a wooden dowel in a terra-cotta pot and you’ve got a topiary for about $15 total. Drill a hole through each pumpkin, thread them largest to smallest, and fill the pot with Spanish moss to hide the base.
Spray-paint the pumpkins cream or soft orange first if the dollar-store colors are too bright. One topiary flanks a front door beautifully; two make a grand entrance. They store flat and last for years.
Try this: Wrap the dowel in twine and tie a small bow at the top pumpkin for a finished look.
Frequently Asked Questions
How much should I budget for DIY Halloween decorations?
$30 to $50 covers most of the projects in this guide — many use materials you already own, like jars, cardboard, and old sheets. The biggest costs are battery lights and craft basics (paint, glue, cheesecloth), which you’ll reuse for years. Start with two or three projects and add more each October instead of doing everything at once.
What are the cheapest materials for Halloween crafts?
Your recycling bin is the best supply store: cardboard boxes, glass jars, milk jugs, and newspaper are all free. After that, the dollar store wins — black cardstock, battery tea lights, gauze, and faux pumpkins rarely cost more than a dollar or two each. Cheesecloth, liquid starch, and spray paint round out the basics for under $15 total.
How do I make DIY Halloween decorations look expensive?
Three rules: keep the color palette tight (two or three colors max), finish the details (sand edges, hide tape, age your surfaces), and light everything. Warm candlelight or fairy lights make a $3 craft look like a $30 boutique piece. Avoid mixing too many themes — one cohesive look always reads more expensive.
When should I start making DIY Halloween decorations?
Start collecting materials in early September and craft one or two projects per weekend through the month. Most of these take under an hour, so there’s no real rush — but liquid starch ghosts and spray-painted pieces need overnight drying time, so don’t leave those for October 30th.
Final Thoughts
DIY Halloween decor is proof that atmosphere beats budget every time. A porch of glowing cheesecloth ghosts and a $5 walkway of luminaries will stop trick-or-treaters in their tracks, no matter what the big-box stores are charging. Pick your three favorites, spend a lazy weekend making them, and keep the change.
