
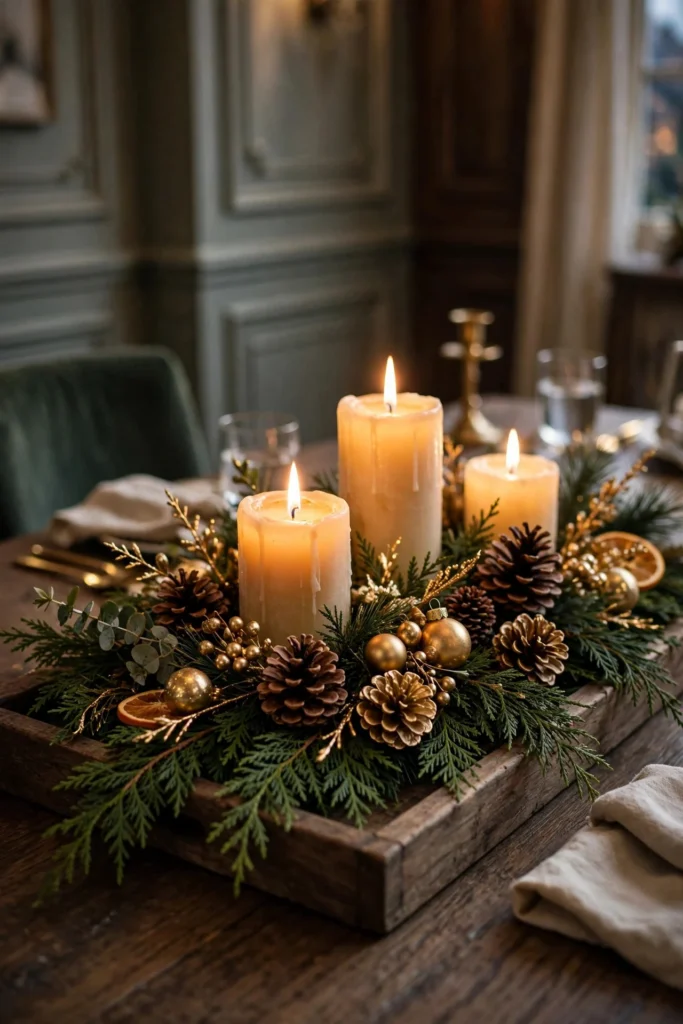
The centerpiece is the hardest-working decoration in your home at Christmas: it anchors the dining table, dresses up the coffee table, and makes the entryway console look intentional. But “centerpiece” covers a lot of ground — from a five-minute bowl of ornaments to a showpiece you’d buy at a boutique.
These 17 Christmas centerpiece ideas are split two ways: genuinely doable DIYs you can finish in an afternoon with craft-store supplies, and smart store-bought pieces worth the money because you’ll use them for a decade. Each one is labeled, so you can pick your lane — or mix both, which is what most well-decorated homes actually do.
1. DIY: An Evergreen and Pinecone Tray
Start with a rectangular wooden tray — 18 to 24 inches long — and fill it with fresh cedar and pine clippings, pinecones, and three pillar candles in staggered heights. The tray contains the mess, protects the table, and lets you lift the entire centerpiece off when it’s time to serve dinner. Total cost: about $20 if you buy the greens, free if you clip them.
Arrange tallest in the middle, shortest at the ends, and tuck the greenery in last to hide the mechanics. Mist the greens every few days and they’ll look fresh for three weeks. This is the centerpiece equivalent of a good white shirt — it works everywhere, every year.
Try this: Line the tray with a folded tea towel first; it stops candles sliding and catches every needle.
2. Store-Bought: A Pre-Lit Faux Cedar Garland
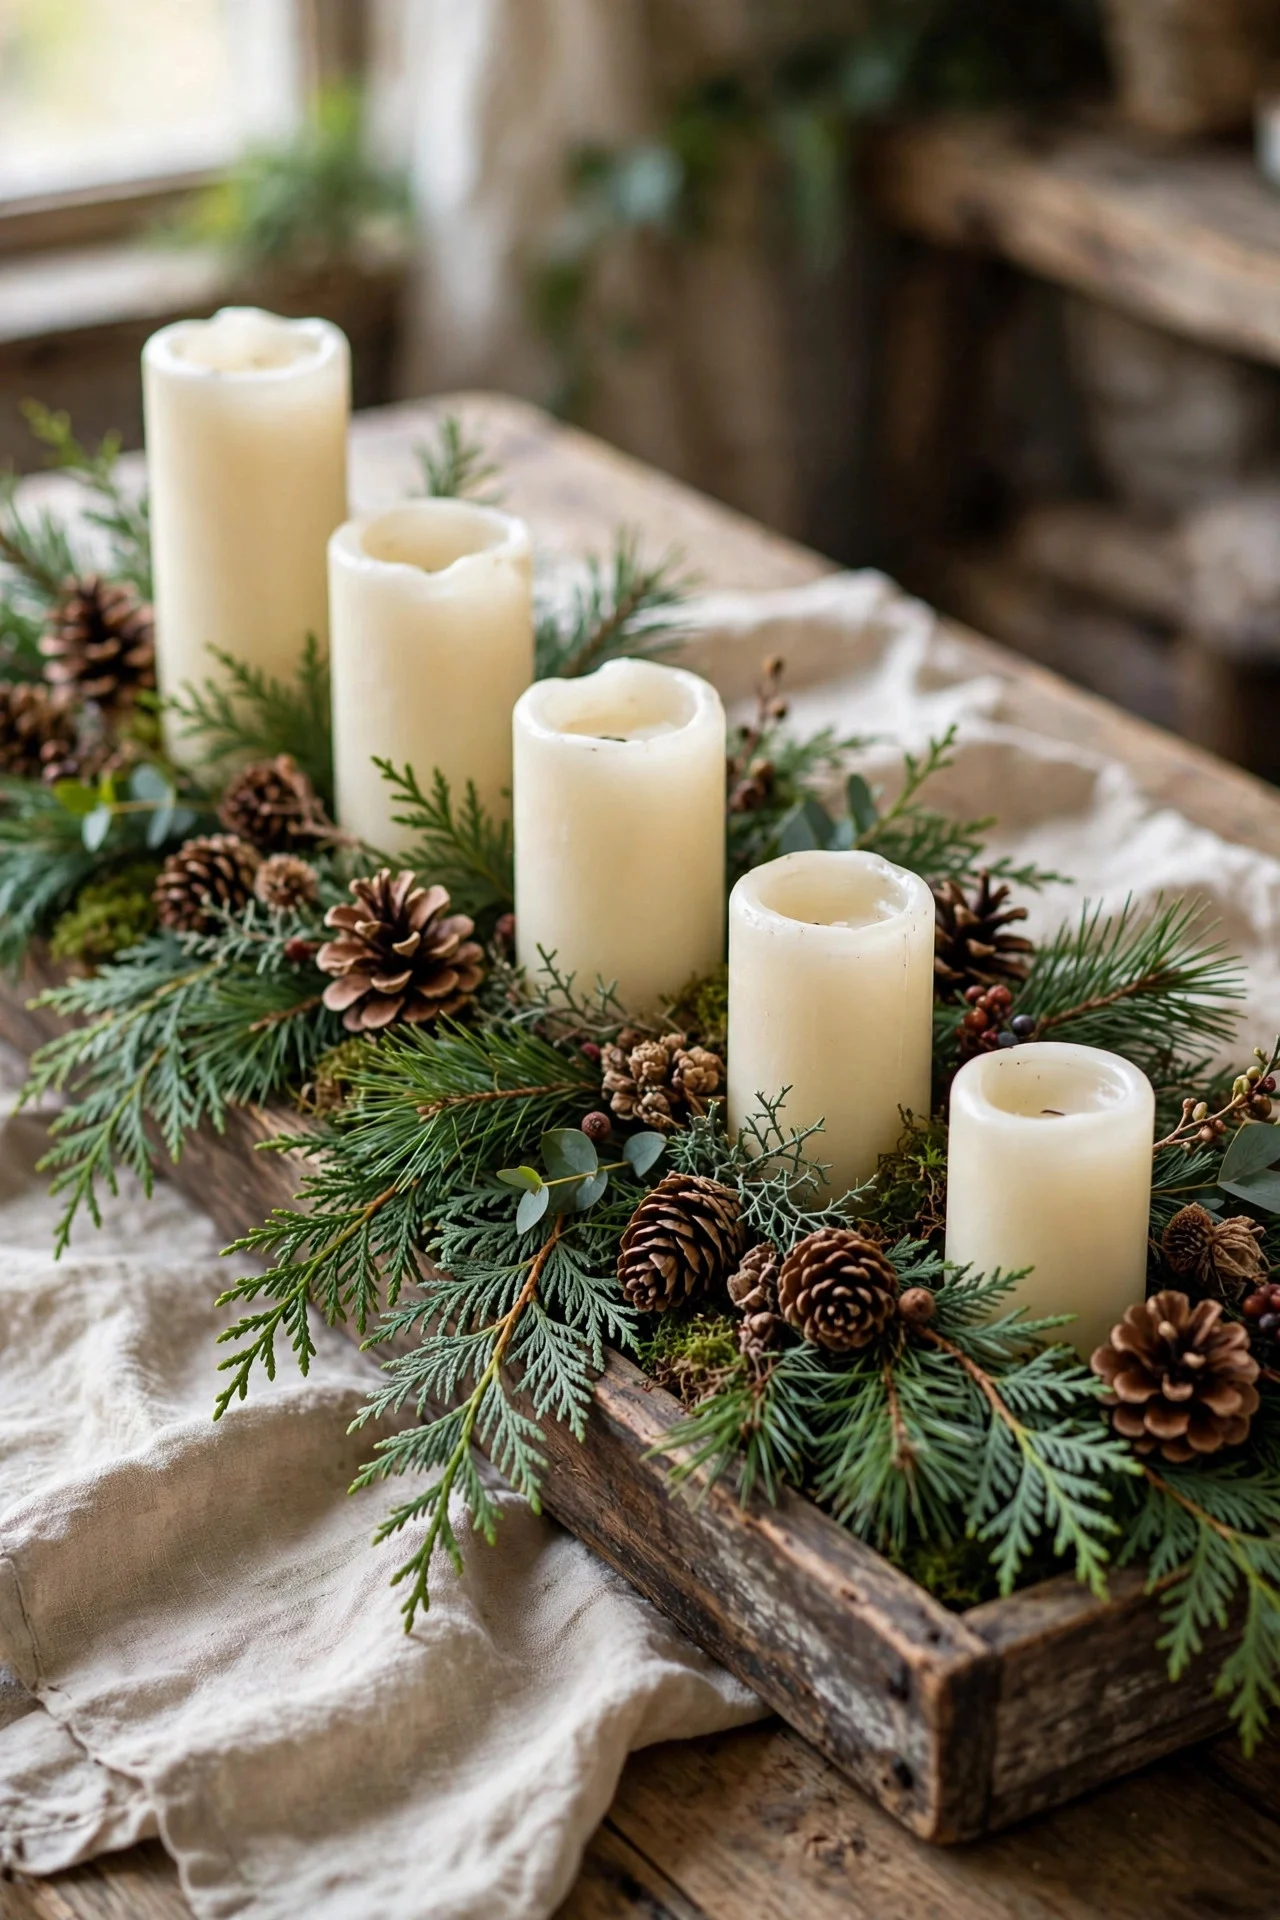
If you buy one Christmas decoration this year, make it a quality pre-lit cedar garland — the 6-foot kind with warm-white lights already woven in. Draped down the table or across the mantel, it looks convincingly real from three feet away, and you skip the annual needle cleanup entirely.
Expect to pay $60–90 for one that doesn’t look plasticky; the tell is varied branch tips and mixed green tones, not uniform bottle-brush spikes. Fluff every branch when you unbox it — 15 minutes of shaping is the difference between “expensive” and “obviously fake.” Store it in its box, not a bag, to protect the light wiring.
Try this: Weave real cedar sprigs into the faux garland for scent — guests will swear the whole thing is fresh.
3. DIY: A Wood-Slice Candle Board
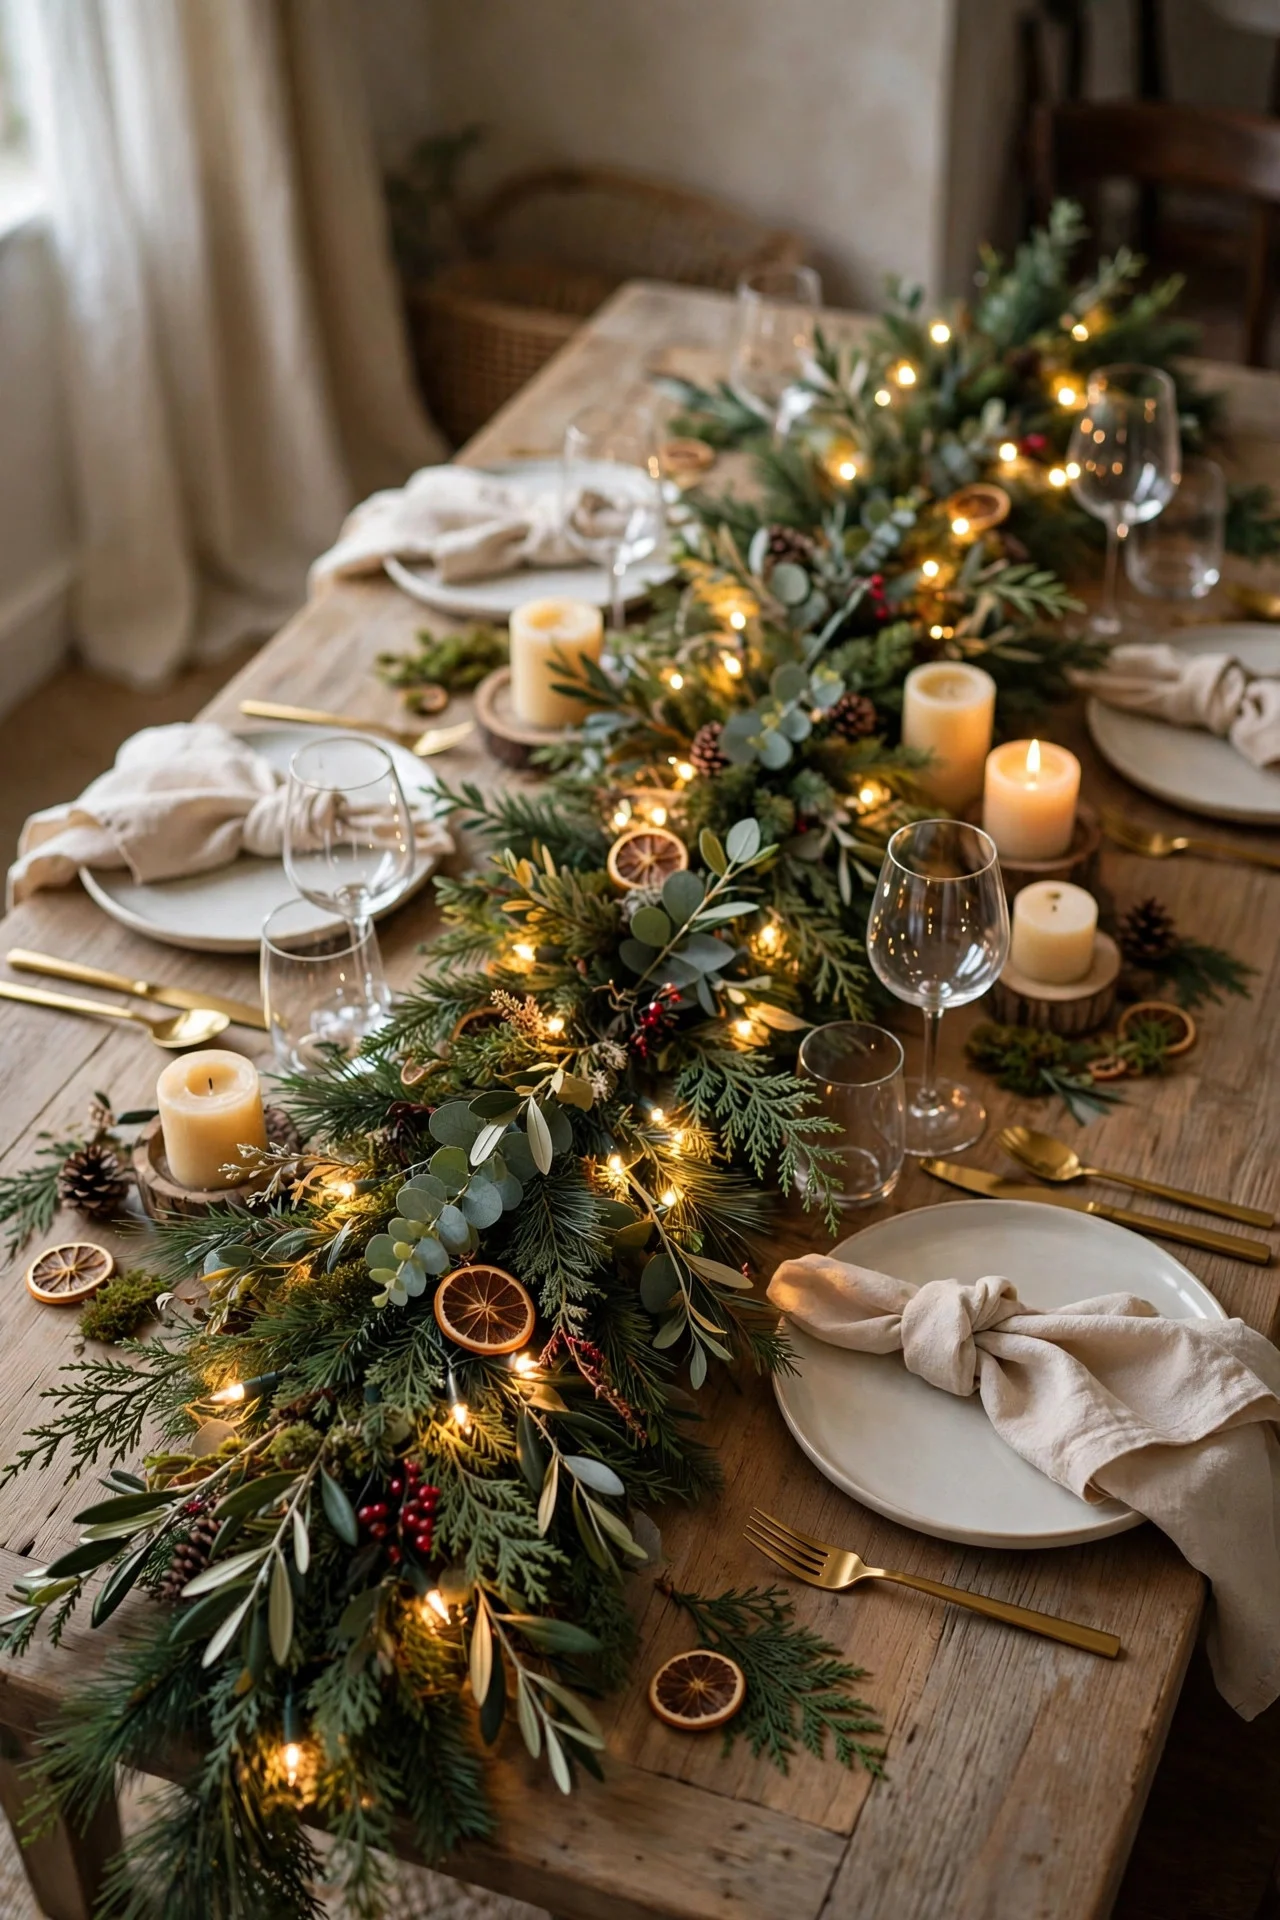
Take a round wood slice — 14 to 18 inches across, about $12 at craft stores — and cluster pillar candles of different heights on it: 3, 6, and 9-inch ivory pillars. Surround the bases with loose cranberries, small pinecones, and a few sprigs of fir. Rustic, warm, done in ten minutes.
The wood slice does two jobs: it protects the table from wax and gives the arrangement a finished edge so it reads as designed, not plonked. Use unscented pillars on the dining table so they don’t fight the food. After Christmas, the board becomes a cheese board — genuinely useful decor.
Try this: Sand the bark edge lightly and rub with food-safe mineral oil; it deepens the wood tone beautifully.
4. Store-Bought: Ceramic Village Houses
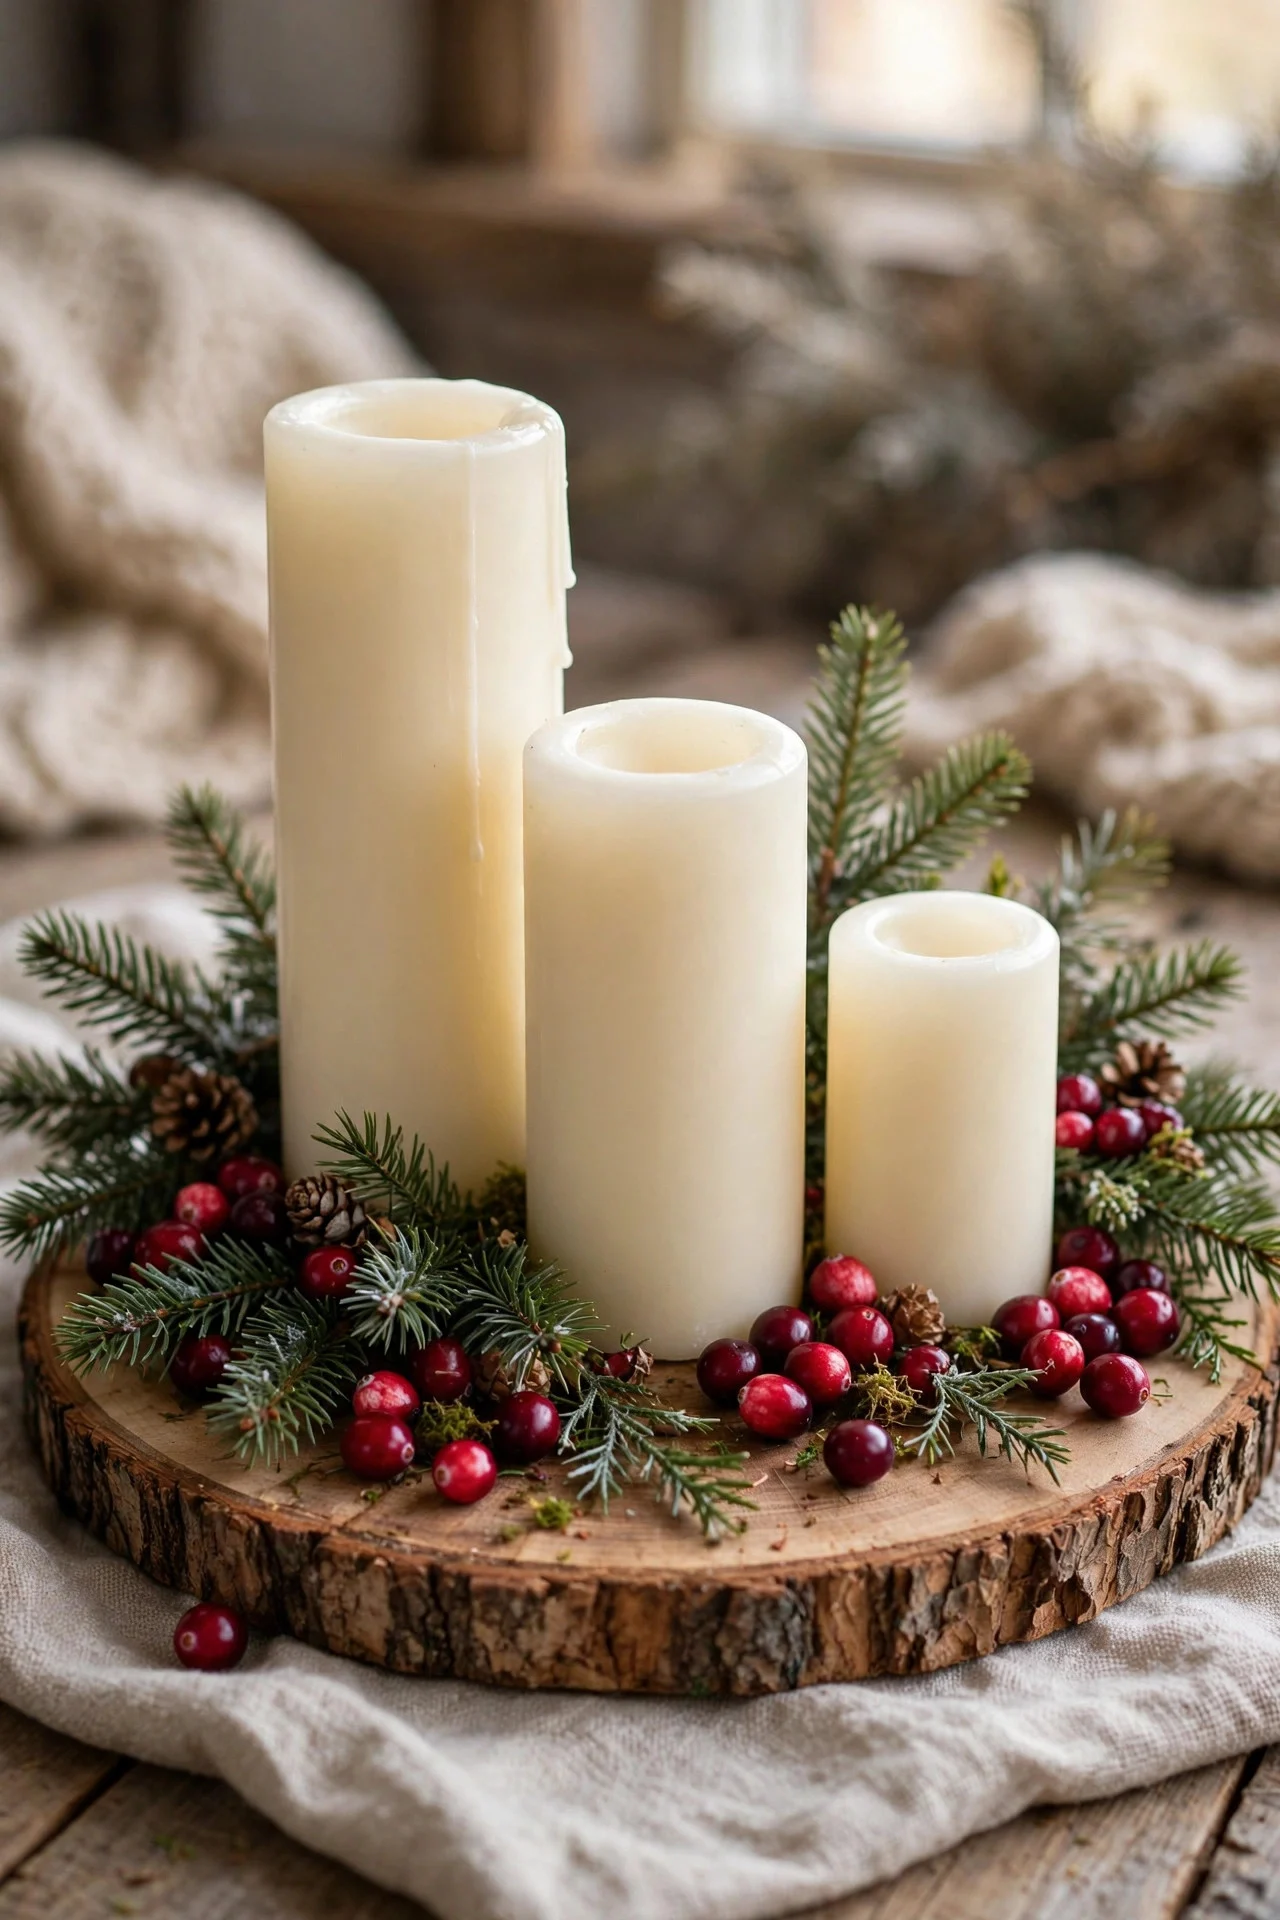
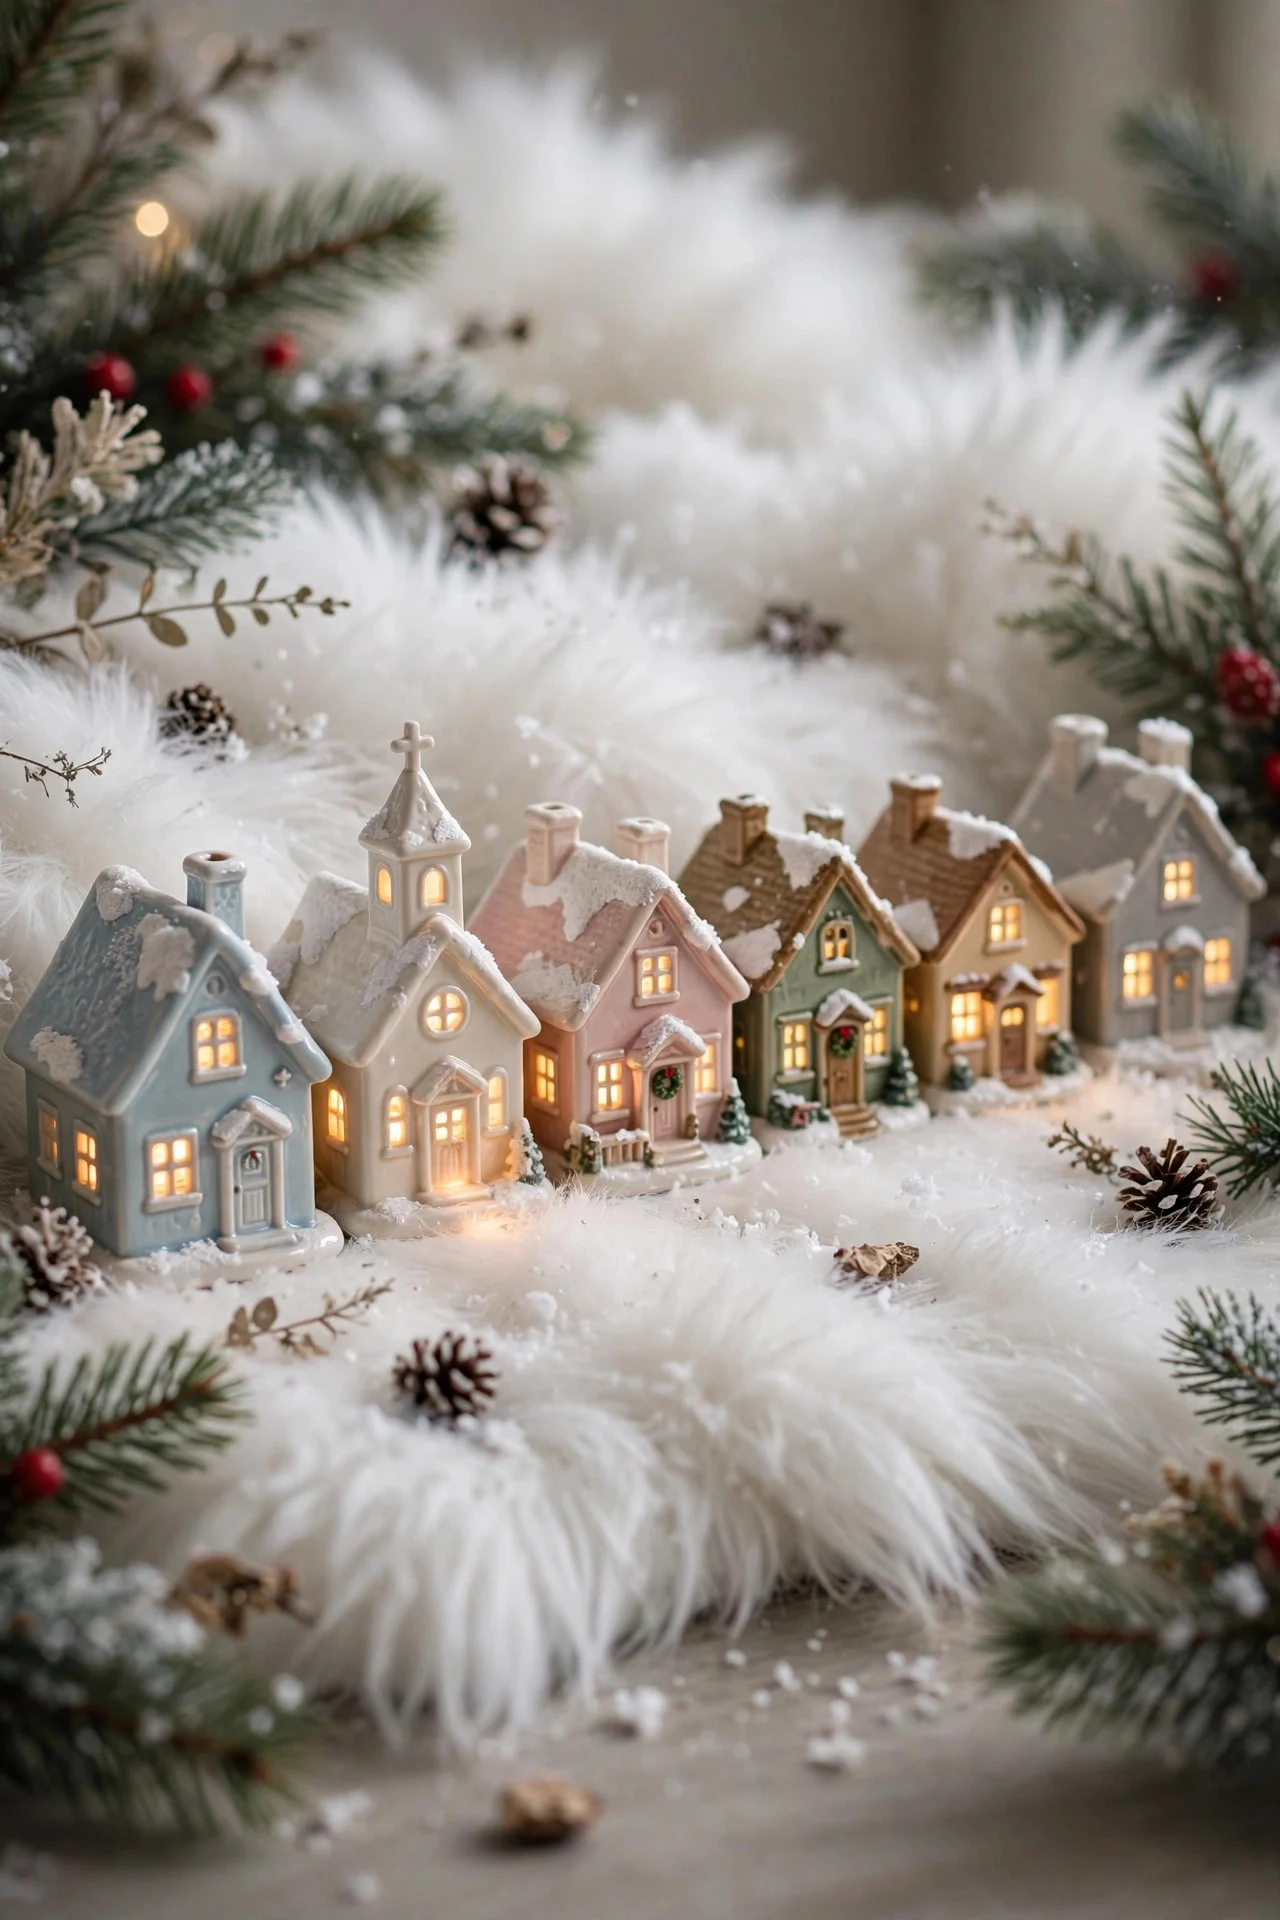
A row of small ceramic houses with glowing windows — the classic Christmas village look — makes a centerpiece with built-in nostalgia. A starter set of five or six houses runs $40–60, and each one has a battery tea light inside, so the whole street glows at dusk.
Arrange them on a white faux-fur runner or a bed of cotton batting “snow” for the full effect, tallest at the back. The beauty of the village is that it grows: add one house per year and in a decade you have a collection with a story. Keep the boxes for storage — the little chimneys chip easily.
Try this: Put the village on a mirrored tray; the reflections double the glow and hide the battery compartments.
5. DIY: A Dough Bowl of Dried Citrus and Spice
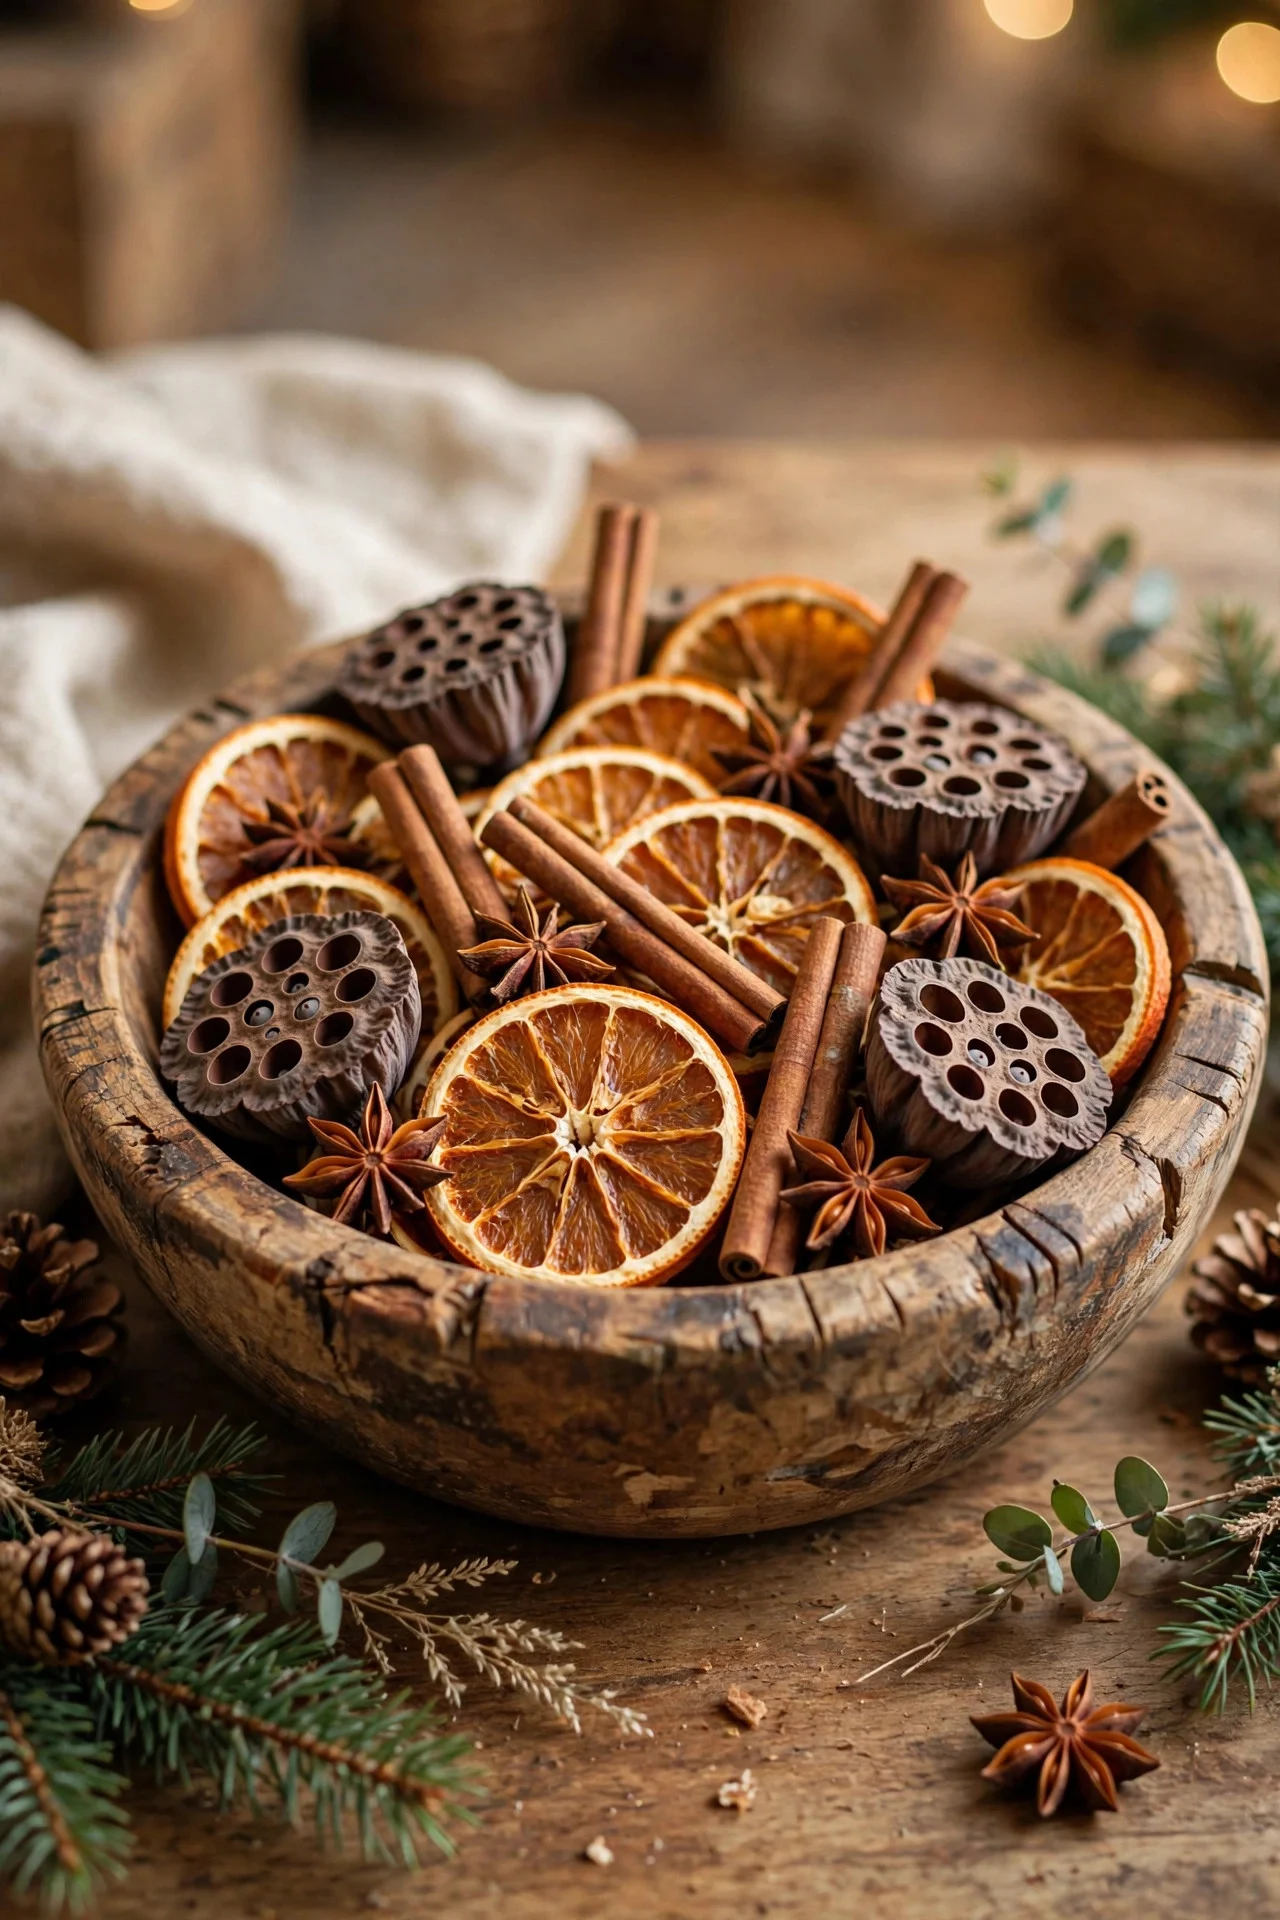
Fill a wooden dough bowl — the long, low carved kind — with dried orange and blood-orange slices, cinnamon sticks, star anise, and dried lotus pods. No candles, no lights, nothing to maintain: just color, texture, and a faint spiced scent that greets everyone who walks past.
Layer largest slices at the bottom, smallest and darkest spices on top, and let a few pieces spill over the rim naturally. A filled dough bowl costs about $15 in bulk-bin ingredients and lasts for years if kept dry. It works on dining tables, coffee tables, and kitchen islands equally well.
Try this: Refresh the scent yearly with two drops of sweet-orange essential oil on a hidden cotton ball underneath.
6. Store-Bought: An Oversized Lantern With a Pillar Candle
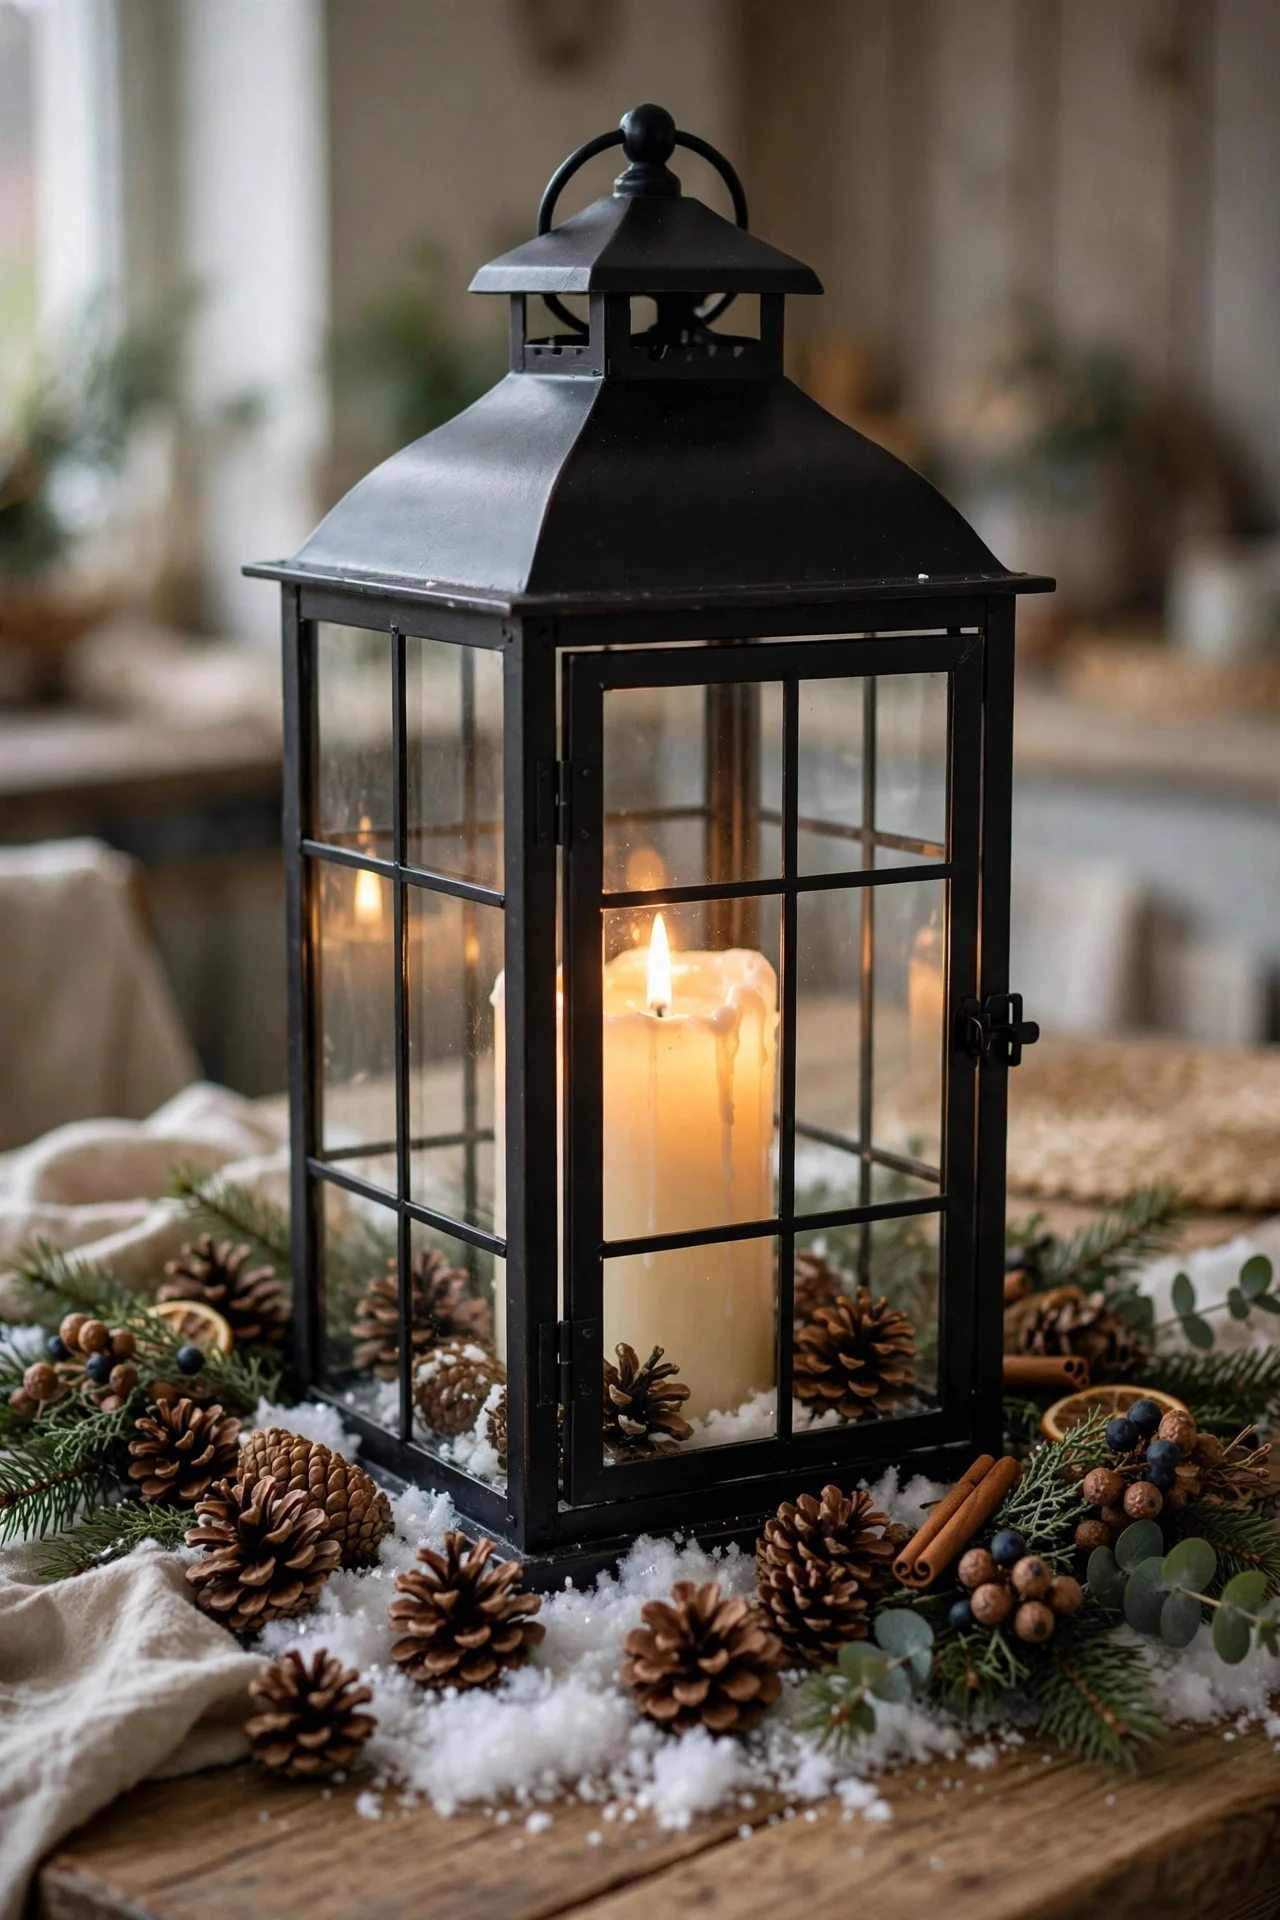
One large lantern — 16 to 20 inches tall, in black metal or aged brass — holding a chunky pillar candle is the lowest-effort high-impact centerpiece you can buy. It suits farmhouse, modern, and traditional homes alike, and it moves from table to porch to fireplace without missing a beat.
Look for real glass panels rather than plastic, and a hinged door wide enough to fit your hand with a lighter. Around $35–50 for a good one. Use a flameless pillar inside if kids or pets are around; the flicker versions have gotten remarkably convincing in the last two years.
Try this: Ring the lantern’s base with a loose circle of faux snow and three mini pinecones — instant winter scene.
7. DIY: Ornaments Layered in a Tall Hurricane Vase
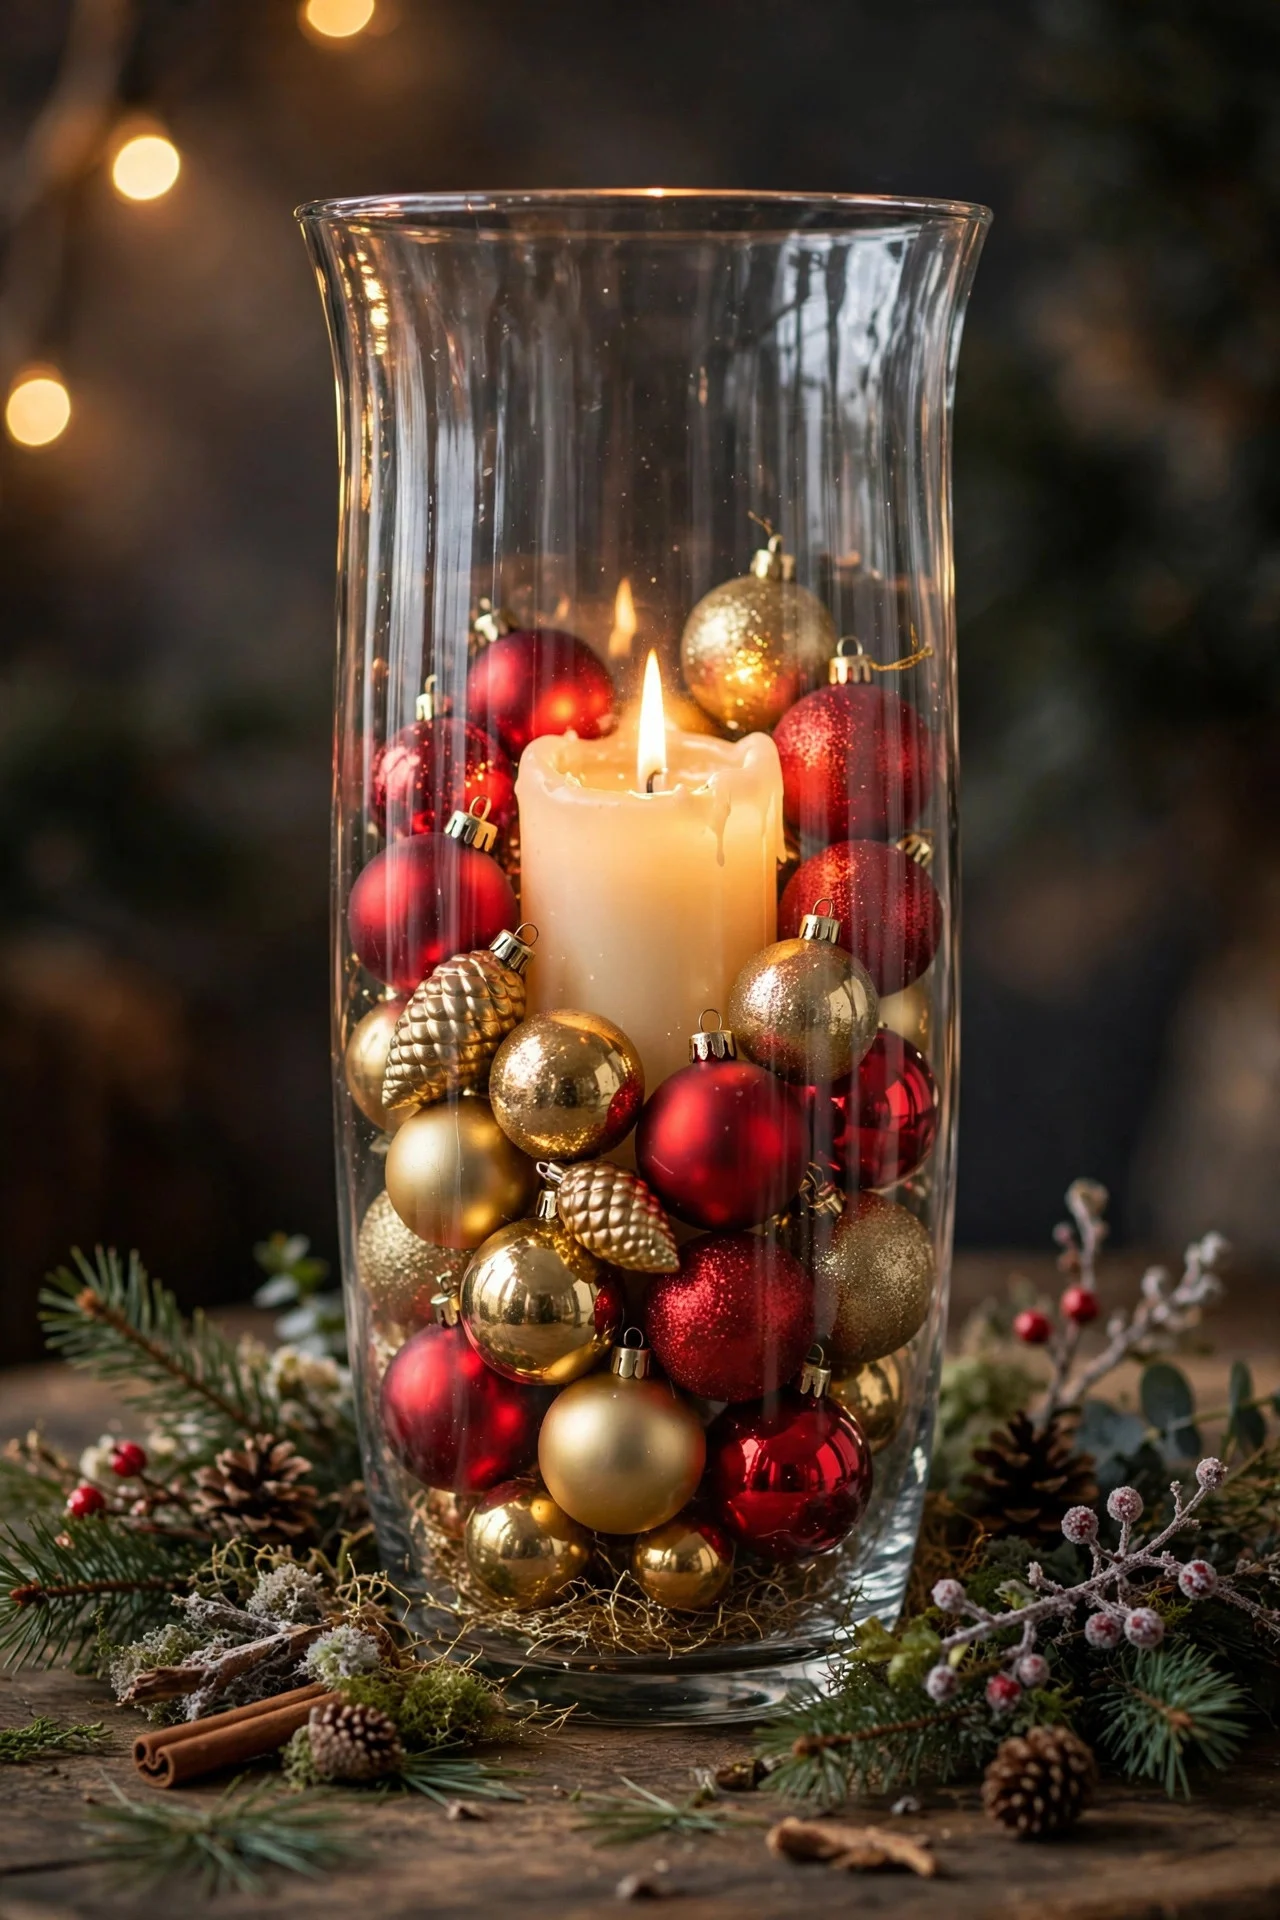
Take a tall glass hurricane — 12 to 16 inches — and layer ornaments inside around a central ivory pillar candle: pour in a base of small gold balls, add medium reds and greens, and finish with a few large statement ornaments pressed against the glass where they show best. The candle glows through the glass and the ornaments multiply the light.
Use shatterproof ornaments for the inner layers (no one sees them up close) and save your prettiest glass ones for the visible outer ring. About 20 ornaments fill a standard hurricane. Never light a real candle inside without 2 inches of clearance on all sides — or just use a flameless pillar and skip the worry.
Try this: Wrap the hurricane’s base with a wide plaid ribbon tied in a bow for a gift-wrapped look.
8. Store-Bought: A Velvet-Ribbon Flat Wreath Base
Lay a 20-inch wreath flat on the table — pine, cedar, or mixed faux — tie a big velvet bow where the “top” would hang, and set three pillar candles or a lantern in the open center. It reads as a custom floral arrangement but took ninety seconds and about $30.
Faux wreaths hold their shape flat better than fresh ones, which tend to splay. Choose a wreath with pinecones and berries already attached so you don’t need to add anything. After the holidays, hang it on the door with the bow repositioned — two decorations for one price.
Try this: Pick a wreath 6 inches wider than your candle cluster so there’s a full ring of greenery visible around it.
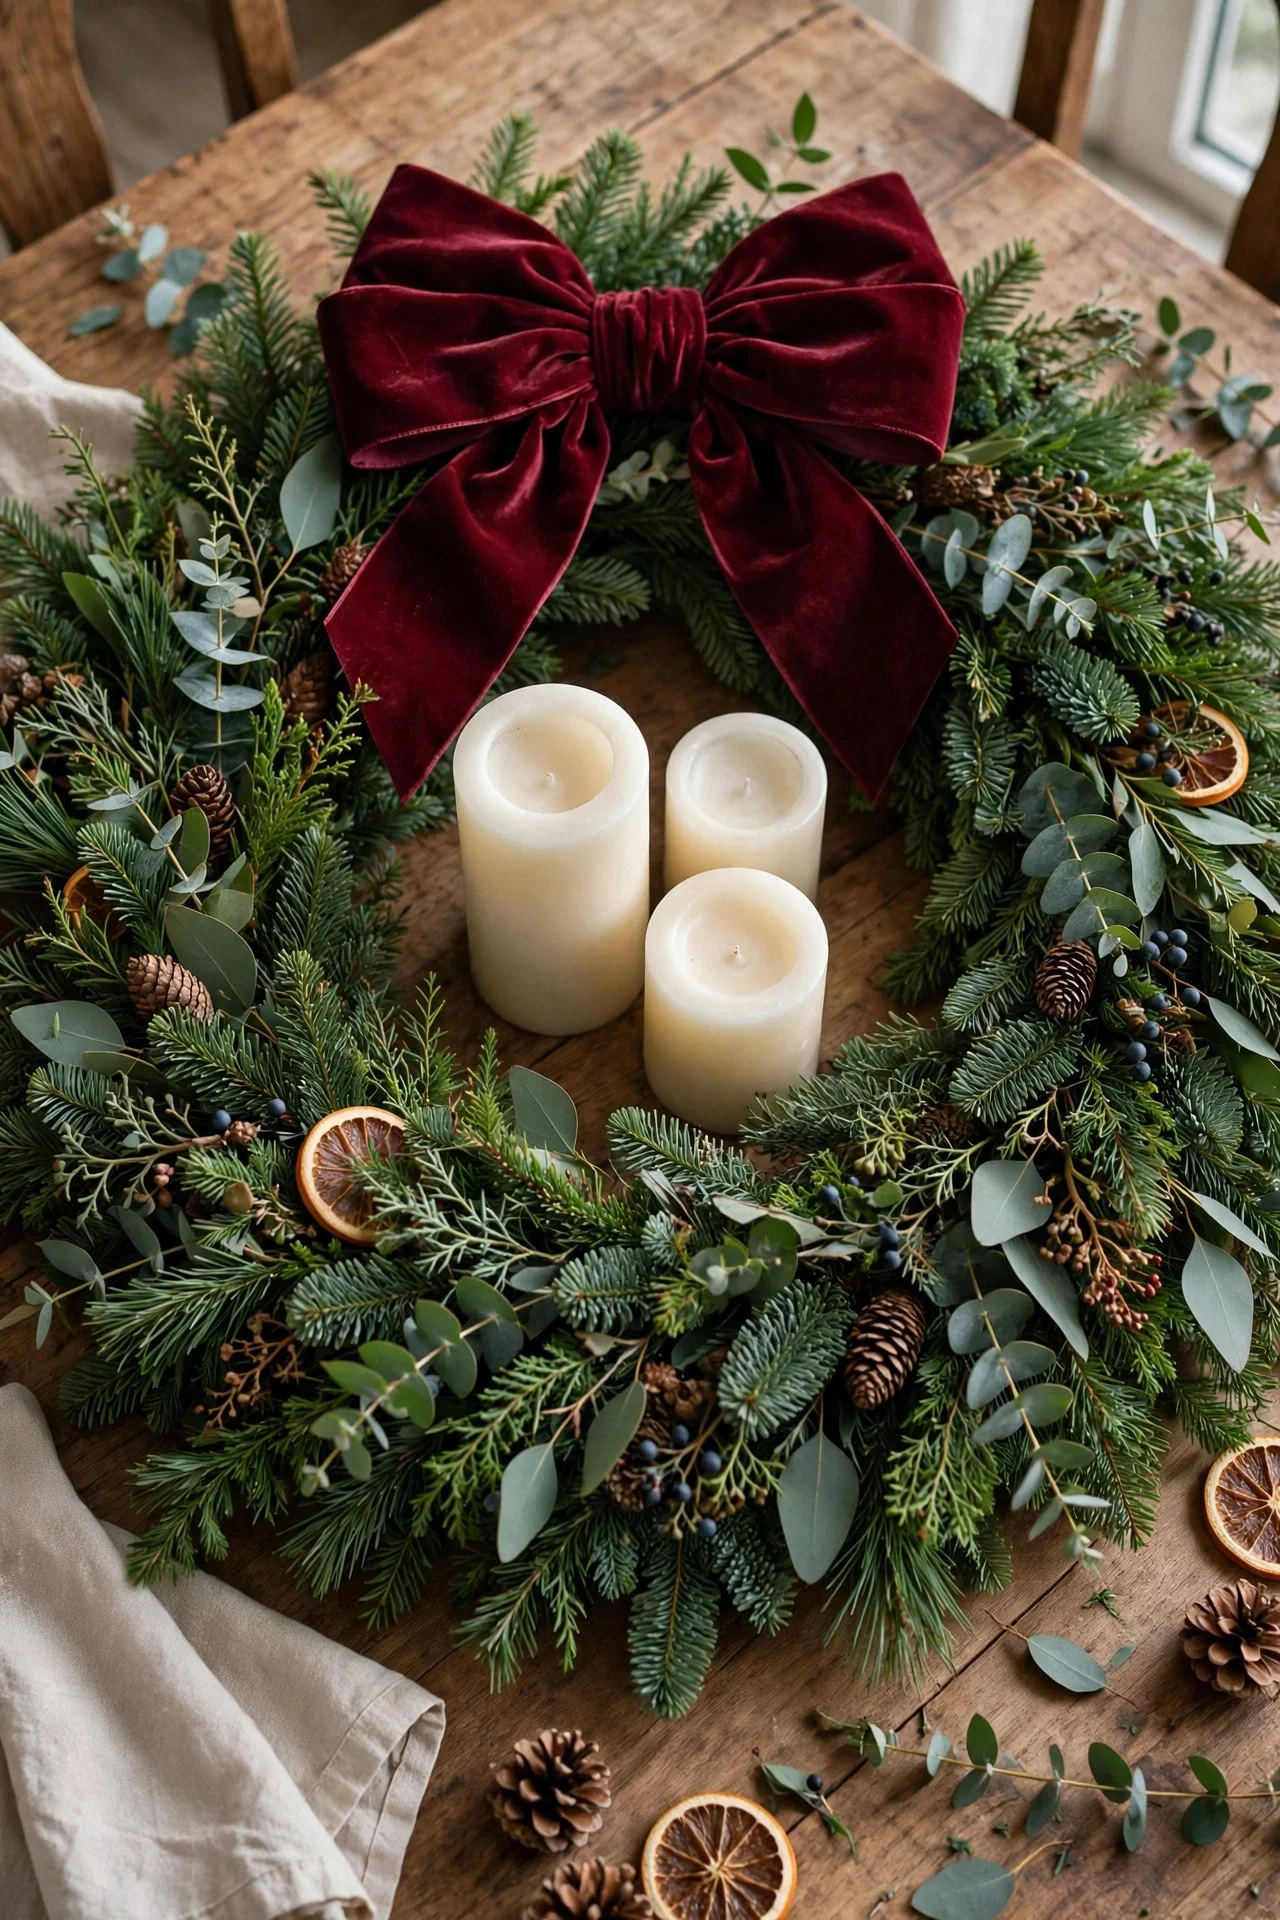
9. DIY: Vintage Books With Bottle-Brush Trees
Stack three or four old hardcover books — thrifted for a dollar each, Christmas titles if you can find them — and arrange bottle-brush trees of different heights on top, with a short strand of micro fairy lights woven between them. Literary, nostalgic, and under $15 all in.
Choose books with red, green, or gold spines facing out, and vary the tree heights from 4 to 10 inches for a little skyline. A 20-light battery strand is plenty; anything more overwhelms the small scale. This centerpiece shines on side tables and bookshelves where a big arrangement would crowd.
Try this: Dust the trees lightly with fake snow spray — hold the can 12 inches away for a natural dusting, not a blizzard.
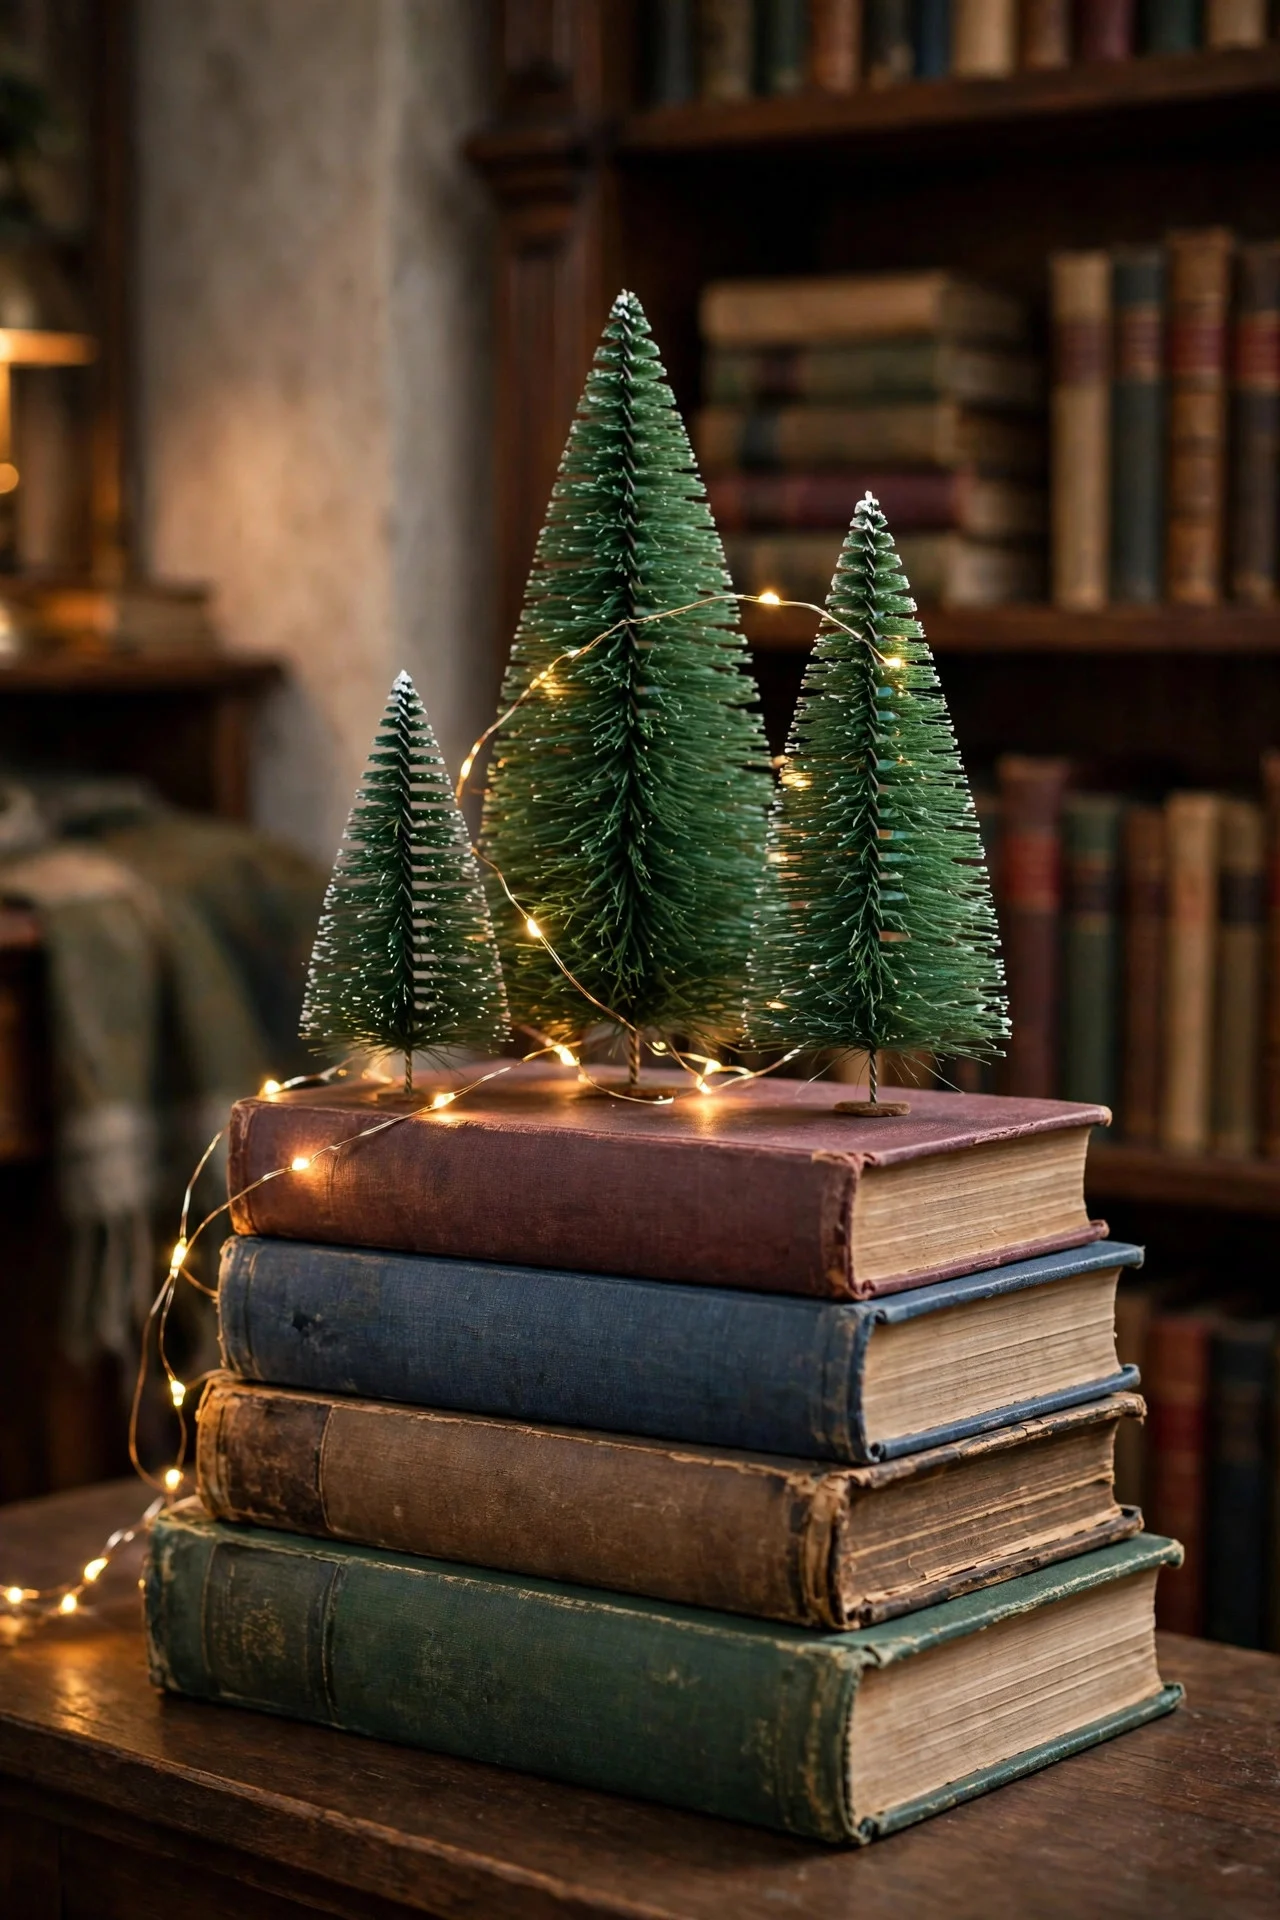
10. Store-Bought: A Footed Bowl of Gold Beaded Garland
Coil two or three strands of wooden or glass bead garland — gold, champagne, or cranberry red — into a footed compote bowl or pedestal dish and let it mound over the rim. It’s the jewelry-box centerpiece: all shimmer, zero maintenance, and it takes literally one minute.
A 6-foot bead strand costs about $10, and two strands fill a 10-inch bowl lushly. Glass beads catch more light; wooden beads read more rustic. Set the bowl on a stack of coffee-table books for height, or keep it low and let guests see over it easily.
Try this: Tuck three small white taper candles into the beads — the flames dancing through gold beads is stunning.
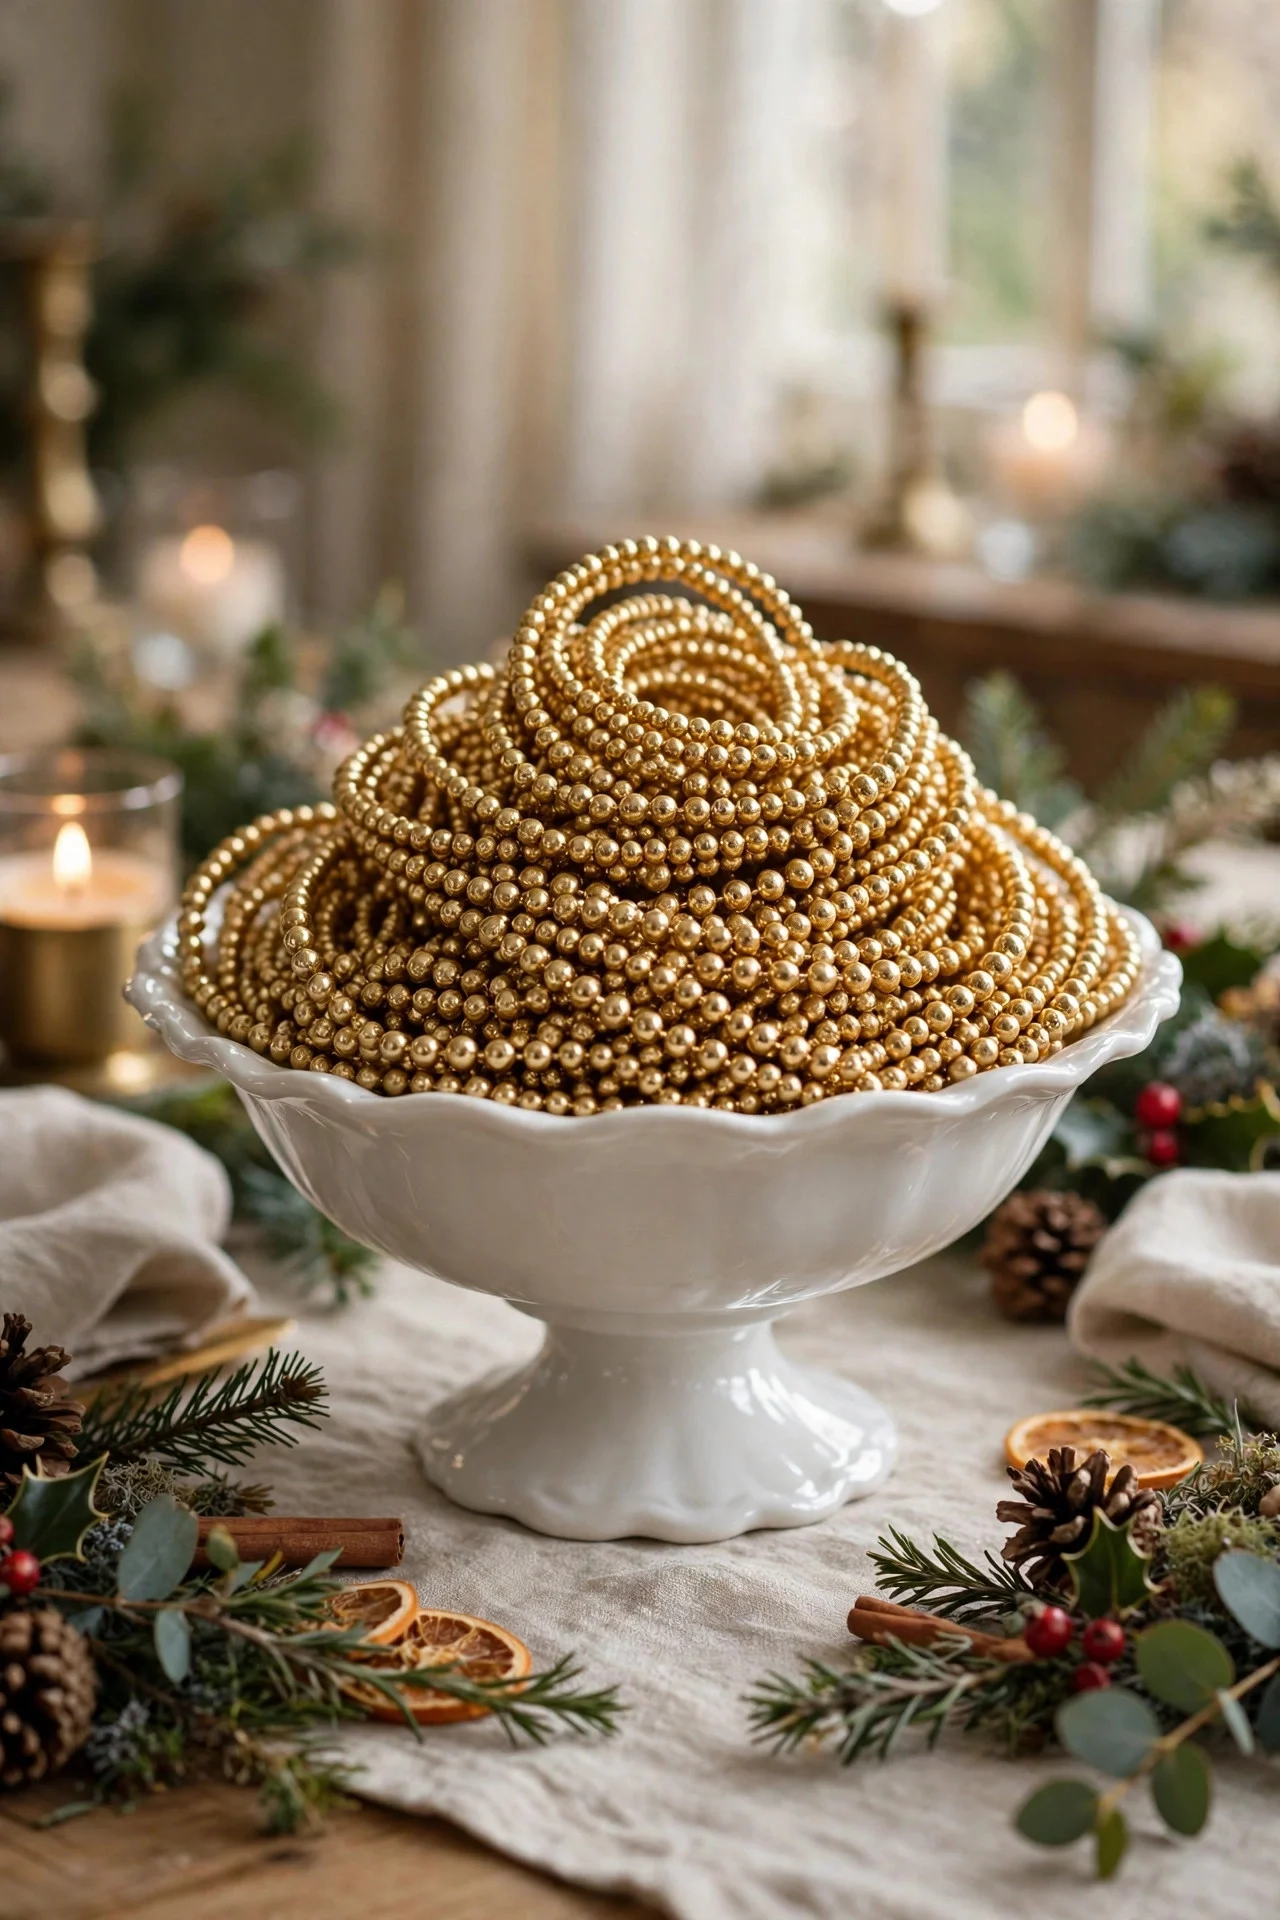
11. DIY: A Woodland Scene in a Low Planter
Fill a low, wide planter or trough with reindeer moss, then press in birch log slices standing upright, mini pinecones, a few faux mushrooms, and two bottle-brush trees. It looks like a tiny forest floor and costs about $18 in craft-store naturals.
Keep everything under 10 inches tall so it suits a coffee table or dining table equally. The moss comes in bags and fluffs up with a shake; press pieces in firmly so they don’t shed. This is a wonderful project to do with kids — no glue, no heat, just arranging.
Try this: Hide one battery tea light among the moss; the glow seeping through green reads as pure magic.
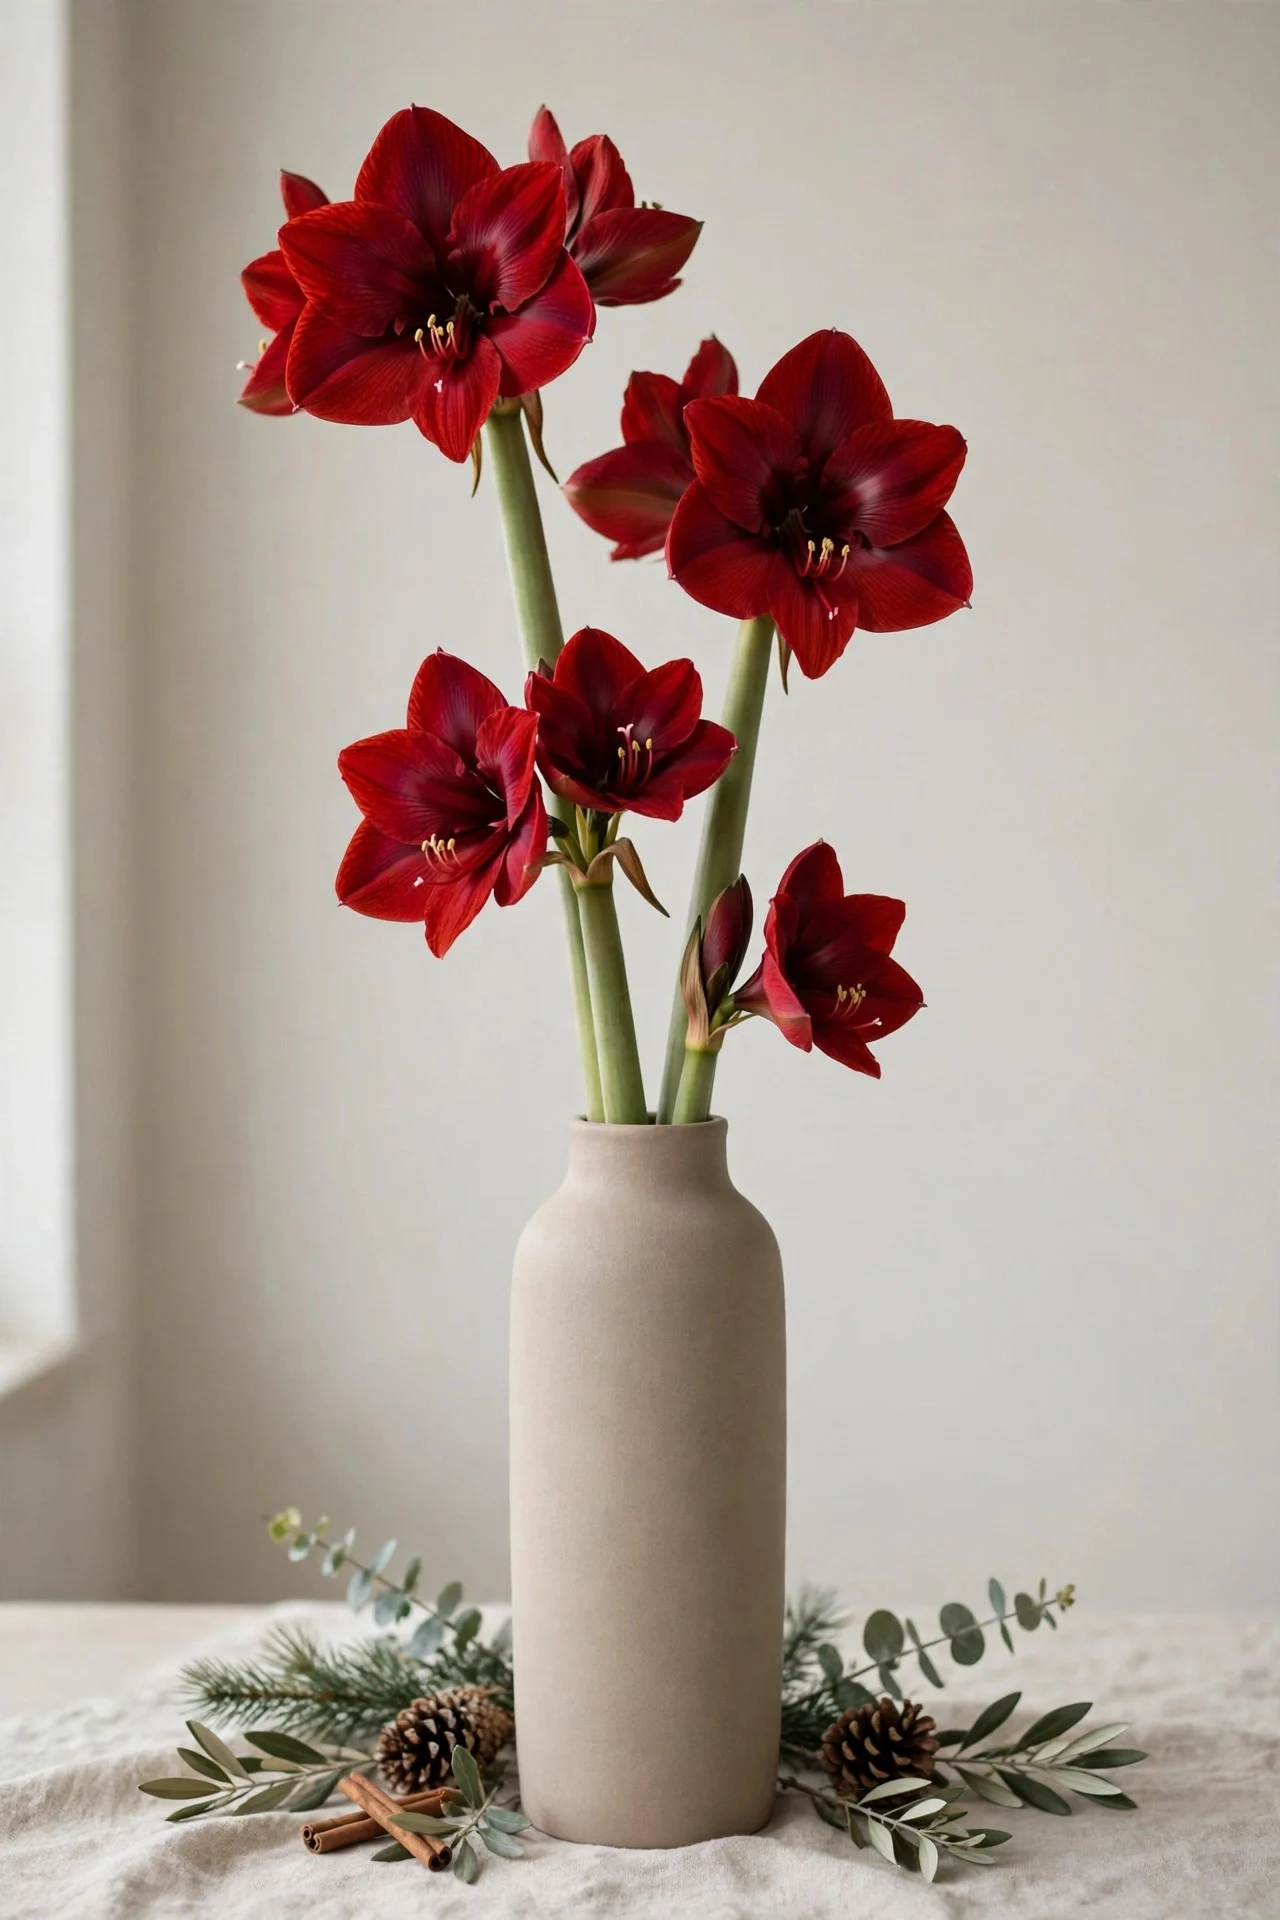
12. Store-Bought: Faux Amaryllis Stems in a Tall Vase
For an elegant, non-traditional centerpiece, put five to seven faux amaryllis stems — deep red or creamy white — in a tall, simple vase. Amaryllis reads as Christmas without a single pine needle, and good faux stems ($8–12 each) are indistinguishable from real ones at table distance.
Cut the stems to staggered heights — 18, 22, and 26 inches — and arrange tallest in the center. A matte ceramic or smoked-glass vase keeps the focus on the blooms. Unlike real amaryllis, these won’t drop petals on the tablecloth mid-dinner or need staking when the heavy heads flop.
Try this: Add three bare curly-willow branches behind the blooms for height and sculptural contrast.
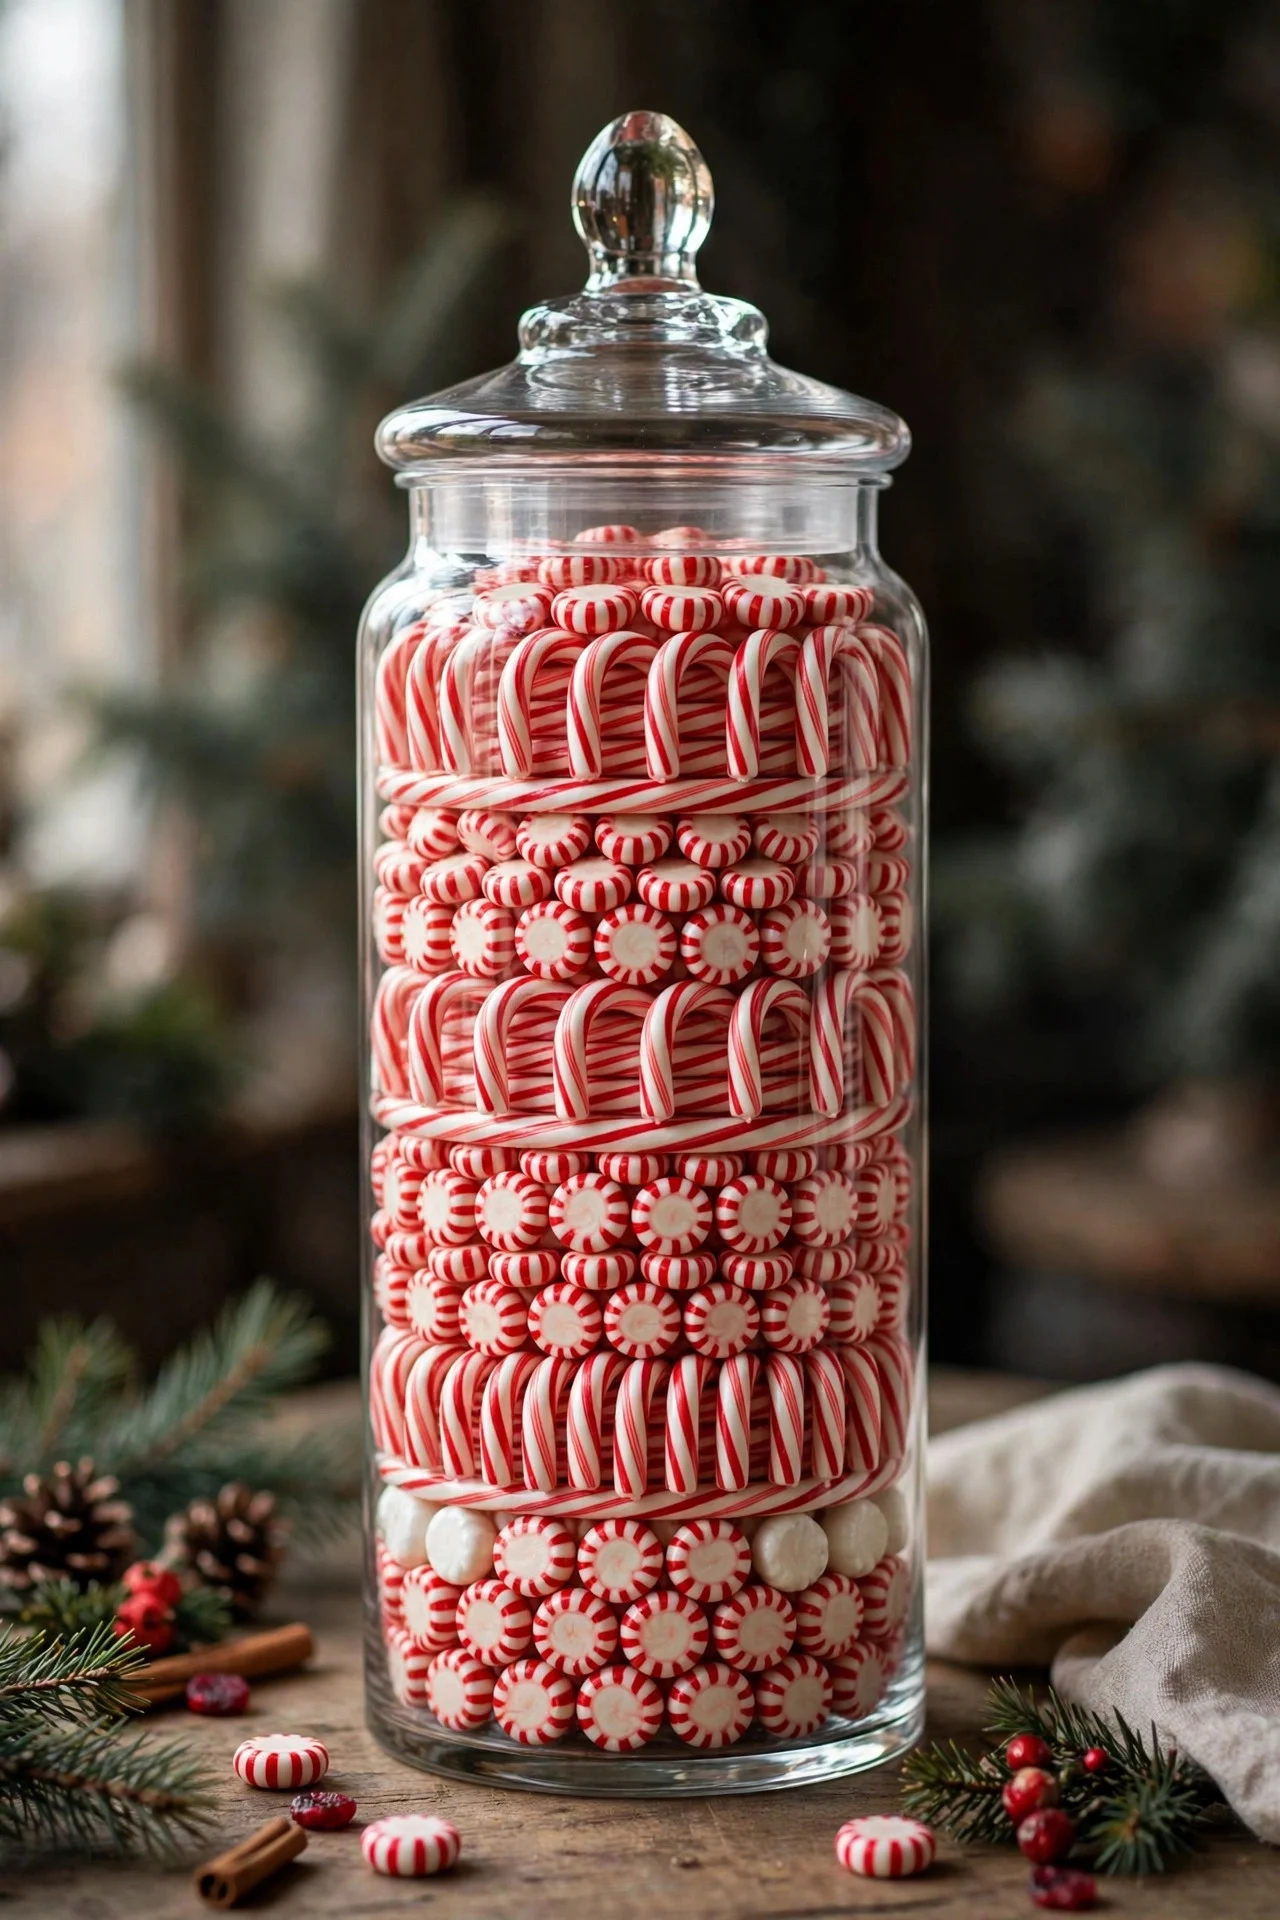
13. DIY: A Peppermint Apothecary Jar
Layer red-and-white striped candy — candy canes, peppermints, starlight mints — in a tall glass apothecary jar with a lid, alternating with layers of white shredded paper filler so the stripes show through the glass in bands. It’s edible decor: guests break the seal and help themselves all month.
A 2-quart jar holds about 3 pounds of candy (roughly $12 in bulk). Keep the jar somewhere cool — peppermint softens in warm rooms and sticks together. Refill once mid-December; the jar itself becomes a permanent December fixture kids look forward to.
Try this: Tie a striped ribbon around the jar’s neck with a small gift tag reading “help yourself” — permission matters.
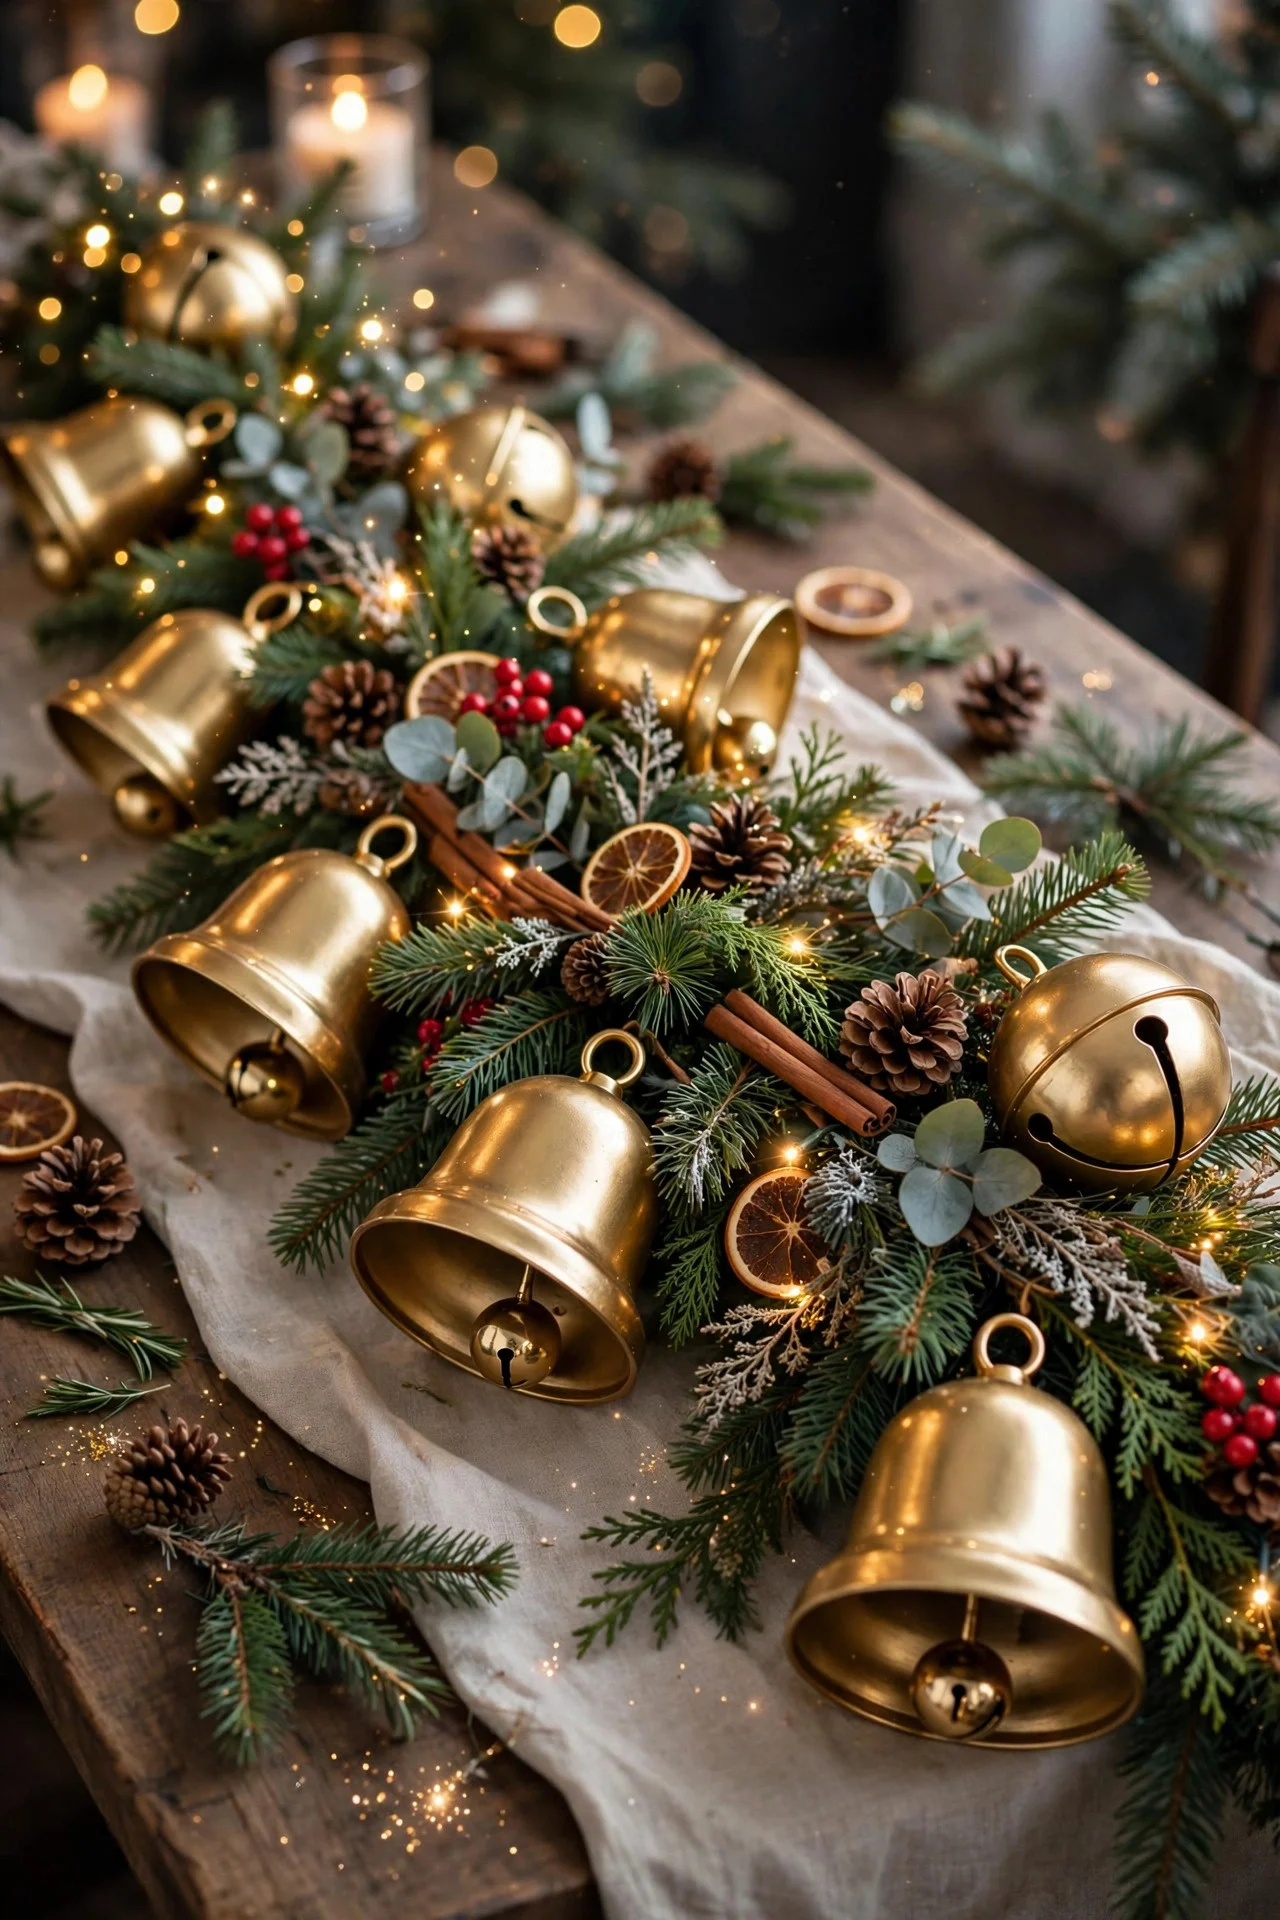
14. Store-Bought: An Oversized Jingle Bell Swag
Drape a garland of oversized jingle bells — the 2-inch brass or gold kind — in loose swags across the table or down the center of the mantel. It catches light with every tiny movement, makes the faintest festive sound when brushed, and costs about $18 for a 6-foot strand.
Two strands twisted together look twice as expensive and fill out better on a wide table. Hang the swags with the bells facing outward and slightly down so they catch the candlelight. This is one of those decorations guests always pick up and jingle — plan for it to be touched.
Try this: Weave the bell garland through a simple pine garland — the green makes the gold bells glow by contrast.
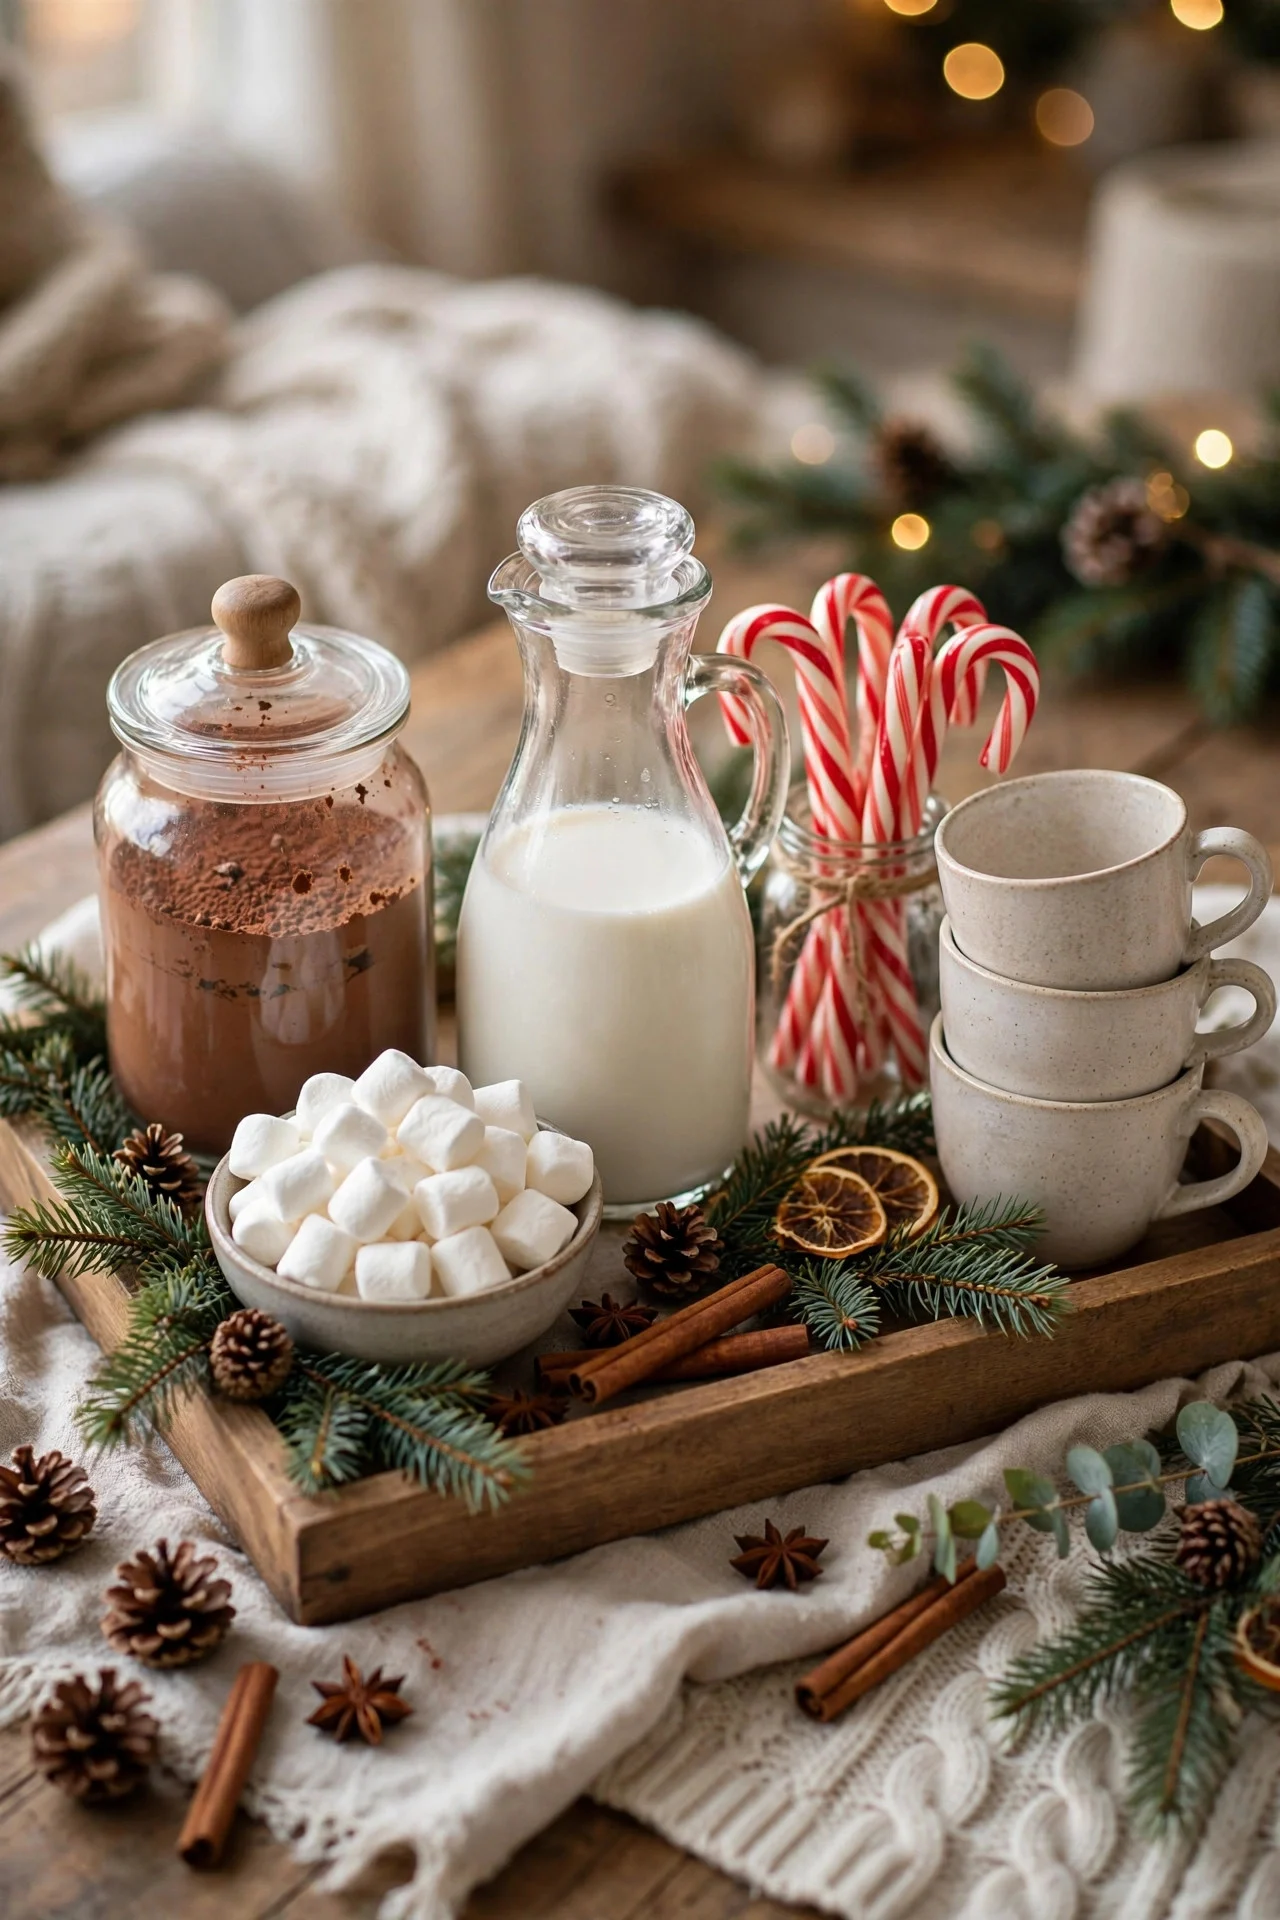
15. DIY: A Hot Cocoa Bar Tray
Assemble a hot cocoa station on a large tray as your centerpiece: a jar of cocoa mix, a bowl of marshmallows, a small pitcher for milk, candy-cane stirrers in a mug, and four to six mugs. It’s a centerpiece guests actually use, and it keeps everyone at the table lingering after dessert.
Choose a tray with handles and a rim — 18×12 inches minimum — so the whole station lifts away for refills. Keep the milk in a small insulated carafe rather than a pitcher so it stays warm. Total setup cost is under $25 if you already own the mugs, and the tray works for coffee service the rest of the year.
Try this: Add tiny chalkboard tags labeling “dark,” “milk,” and “peppermint” cocoa — it feels like a café, not a kitchen counter.
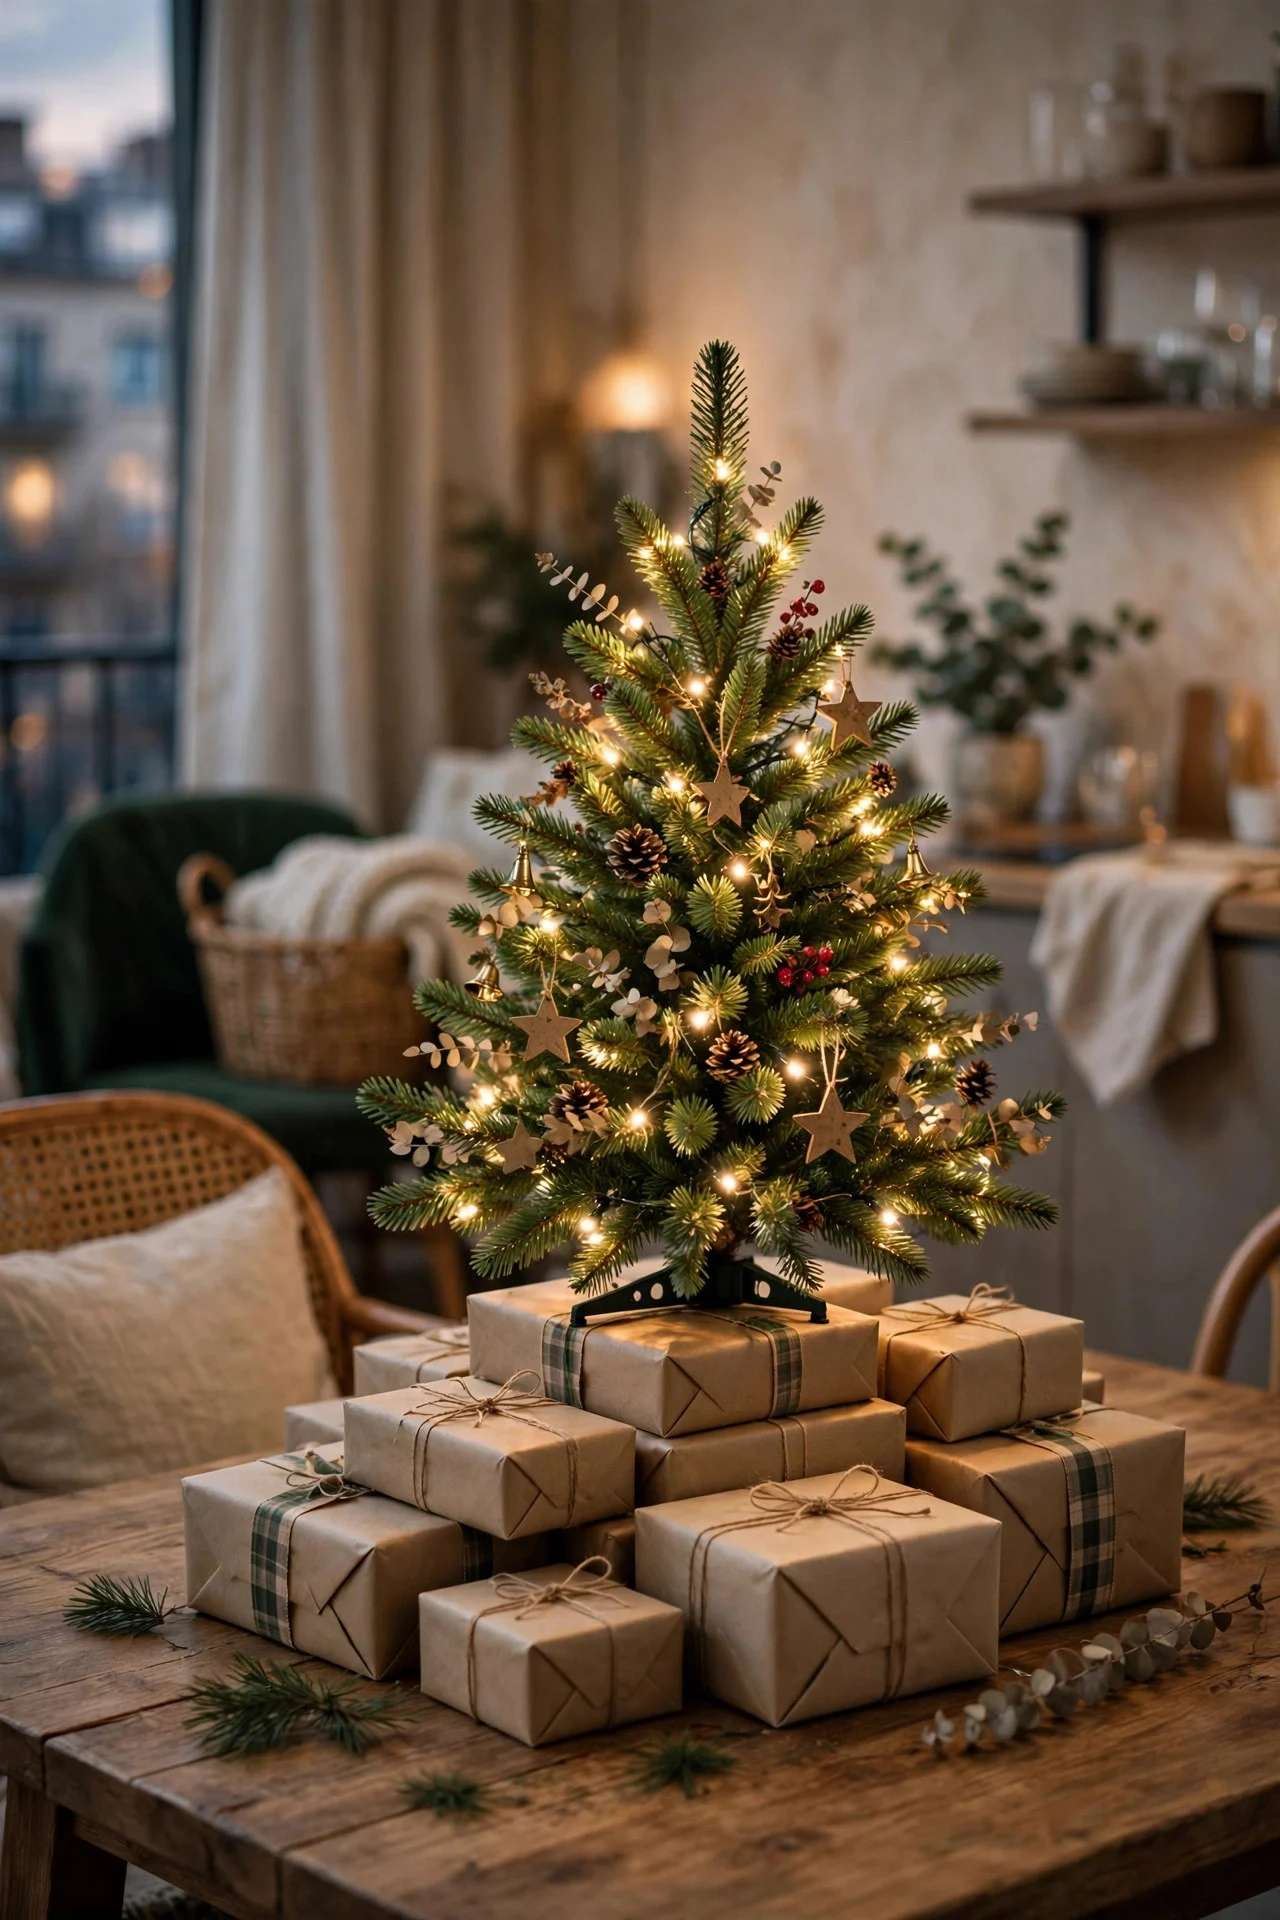
16. Store-Bought: A Pre-Lit 2-Foot Tabletop Tree
A pre-lit, pre-decorated 2-foot tree — the kind that comes out of the box basically finished — is the ultimate low-effort centerpiece for small tables, apartments, or second rooms. Good ones run $40–60 and include ornaments, lights, and a base that doesn’t wobble.
What separates the good from the sad: at least 100 branch tips for fullness, warm-white (not cool-blue) lights, and ornaments wired on rather than glued. Fluff it for ten minutes on arrival. After Christmas it collapses back into its box and stores on a closet shelf — no ornament-wrapping marathon.
Try this: Set the little tree on a stack of wrapped empty boxes as “presents” — instant height and a festive base.
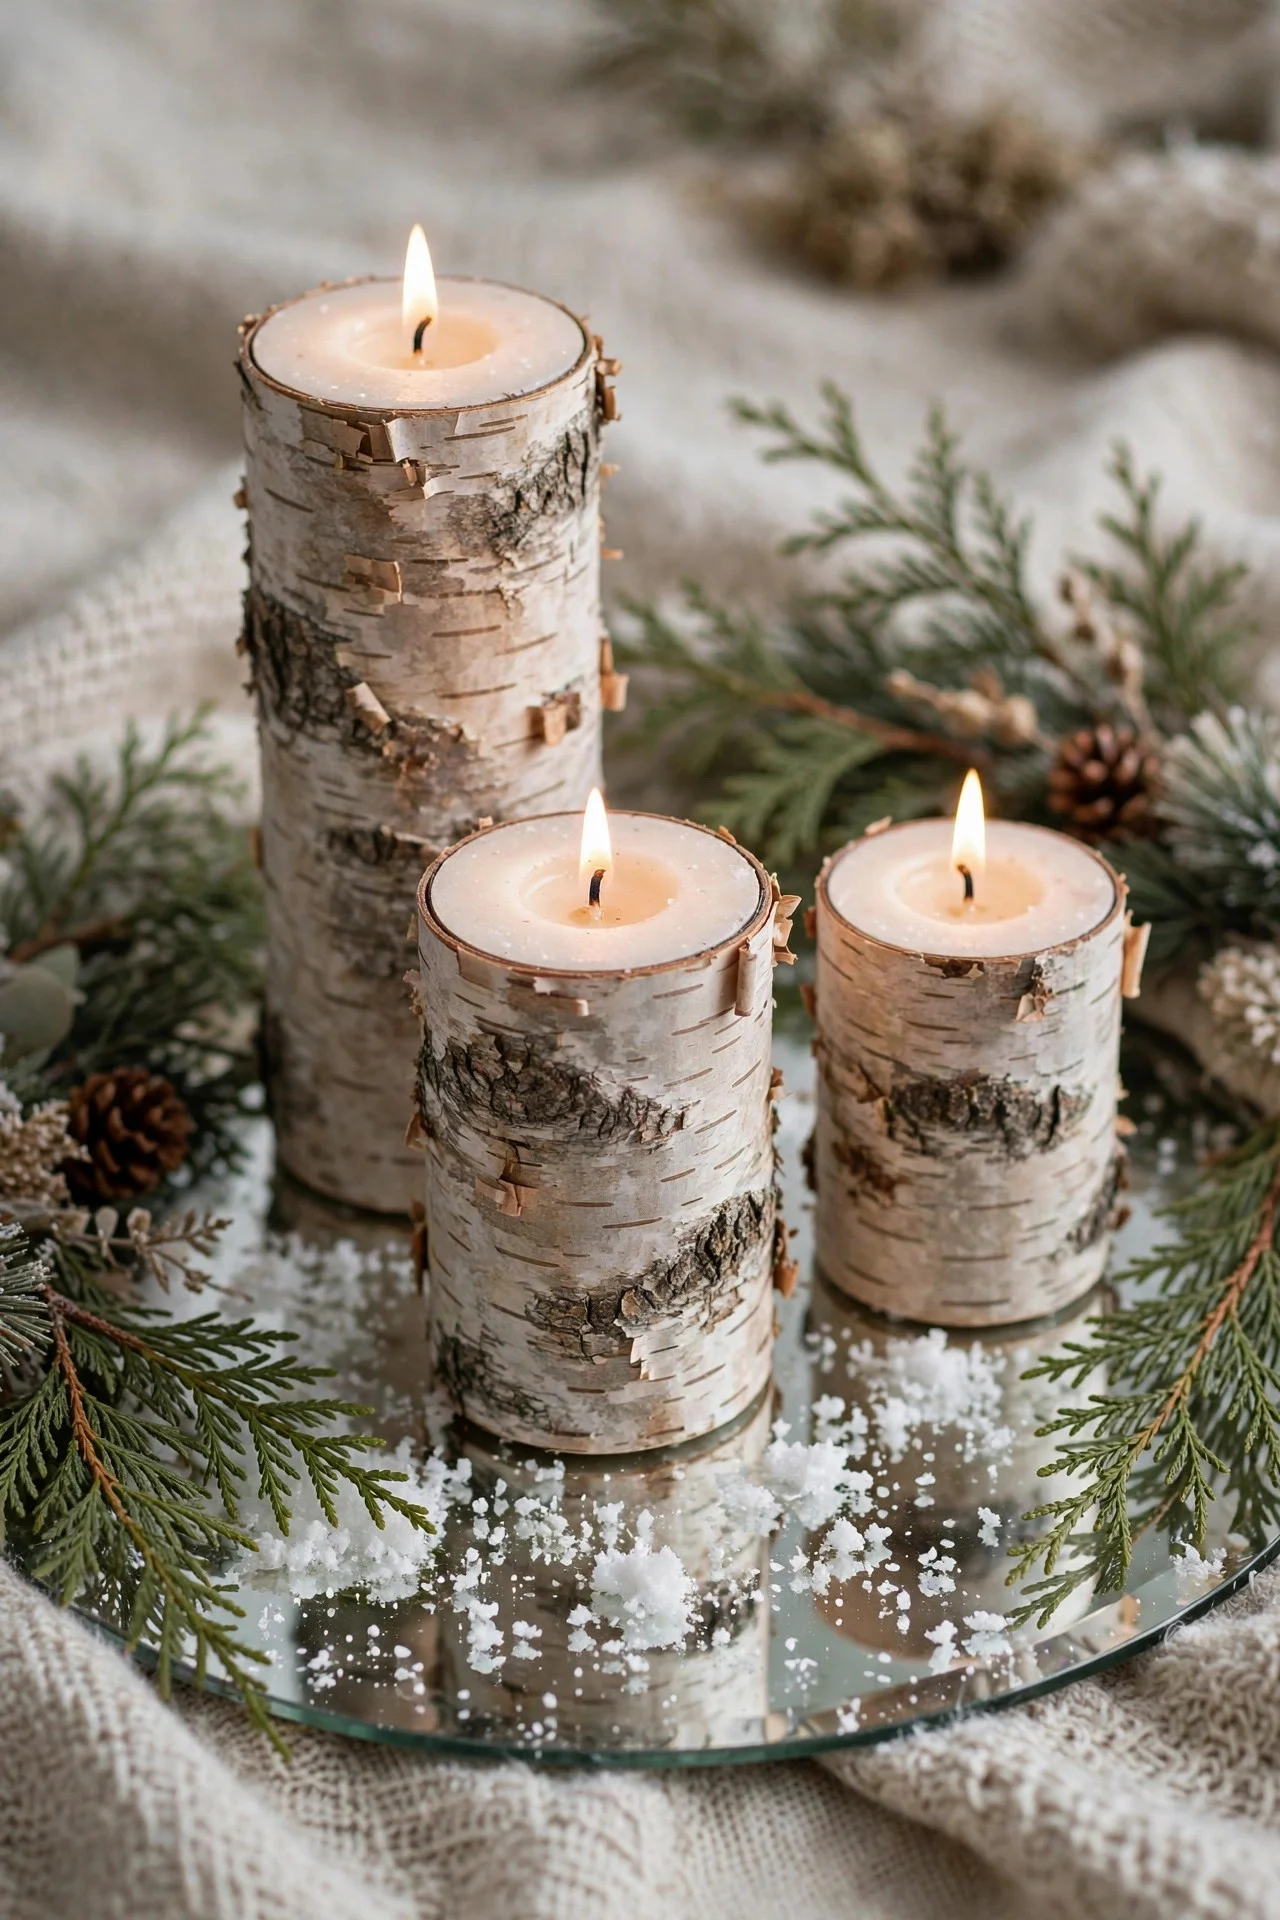
17. DIY: A Birch Candle Trio
Take three birch pillar candles — real birch bark wrapped around ivory pillars, about $8 each — in heights of 4, 6, and 8 inches, and group them on a round mirror or silver tray with scattered faux snow and a few sprigs of cedar. Scandinavian, serene, and finished in five minutes.
The birch bark brings all the texture, so keep everything else simple: white, silver, green, done. Real birch candles burn cleanly and the bark doesn’t scorch if you keep the flame trimmed to a quarter inch. This centerpiece works from Thanksgiving through February with zero changes.
Try this: Place the trio on a round mirror — the reflection doubles the candlelight and makes the grouping look twice as lush.
Frequently Asked Questions
Should I DIY my Christmas centerpiece or buy one?
DIY wins for personal style and budget — most of these cost under $20 — while store-bought wins for time and reusability. A good strategy: buy one quality anchor piece (a pre-lit garland, a set of village houses) and DIY the fillers around it each year for a fresh look.
How do I keep a fresh greenery centerpiece alive through Christmas?
Mist it with water every two to three days, keep it away from heating vents and fireplaces, and start with hardy greens like cedar, fir, and pine rather than delicate eucalyptus alone. A fresh arrangement made the second weekend of December will easily last through New Year’s Day.
What’s the best centerpiece for a small dining table?
Go vertical or go minimal: a single tall hurricane vase, one lantern, or a low dough bowl that leaves room for plates. On a table under 48 inches, one confident piece beats a cluster — and make sure it’s easy to lift off when the food arrives.
How much should I spend on a Christmas centerpiece?
DIY centerpieces run $10–25 in supplies; quality store-bought pieces run $30–90 but last a decade. Spend more on the reusable anchor (tray, lantern, garland) and less on the consumables (greenery, candles, candy) — that’s the budget split that pays off over time.
Final Thoughts
Whether you spend an afternoon crafting or ten minutes unboxing, the best Christmas centerpiece is the one that fits your actual life — your table size, your tolerance for maintenance, and the way your family really gathers. A $15 dough bowl of dried oranges can out-charm a $90 arrangement if it’s the right scale for your table.
Pick one DIY and one store-bought idea from this list, and you’ll have every surface in the house covered: the dining table gets the showpiece, the coffee table gets the easy win. That’s a decorated home, not a project list — and that’s the whole point.
