
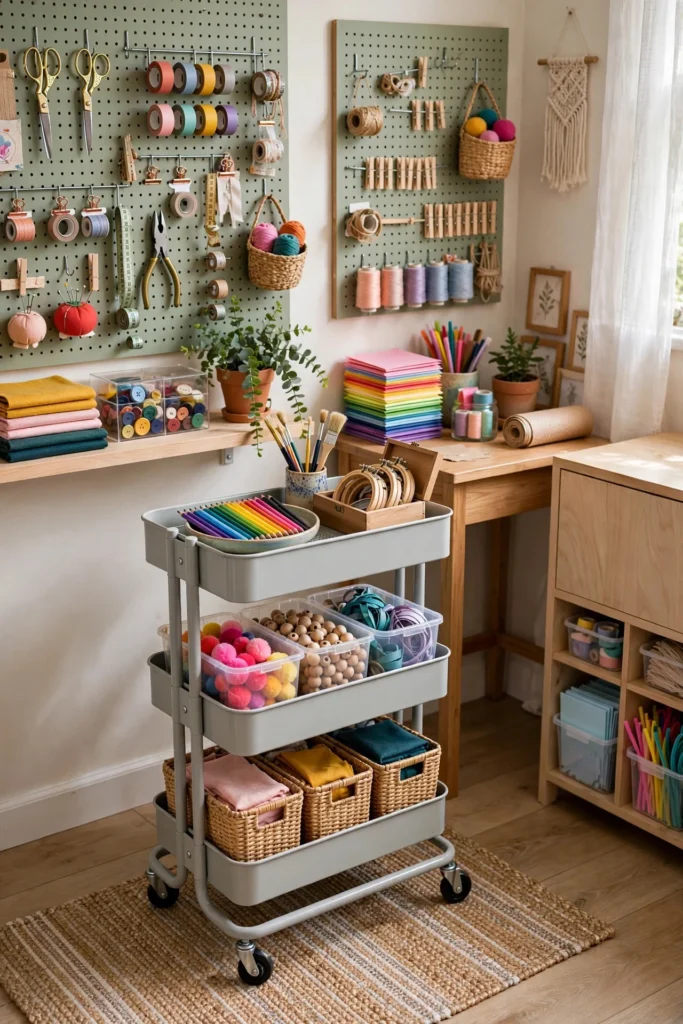
Craft supplies are joyful chaos generators. Fabric, paper, beads, paint, yarn, tools — each hobby brings its own sprawling family of materials, and in a small room they stage a takeover within weeks. The dream of a creative corner becomes a room you avoid because you can’t find the scissors.
Small craft spaces actually have an advantage: constraints force systems. These 15 craft room organization ideas are designed for tight quarters — every one keeps supplies visible and reachable, because out-of-sight craft supplies are supplies you rebuy.
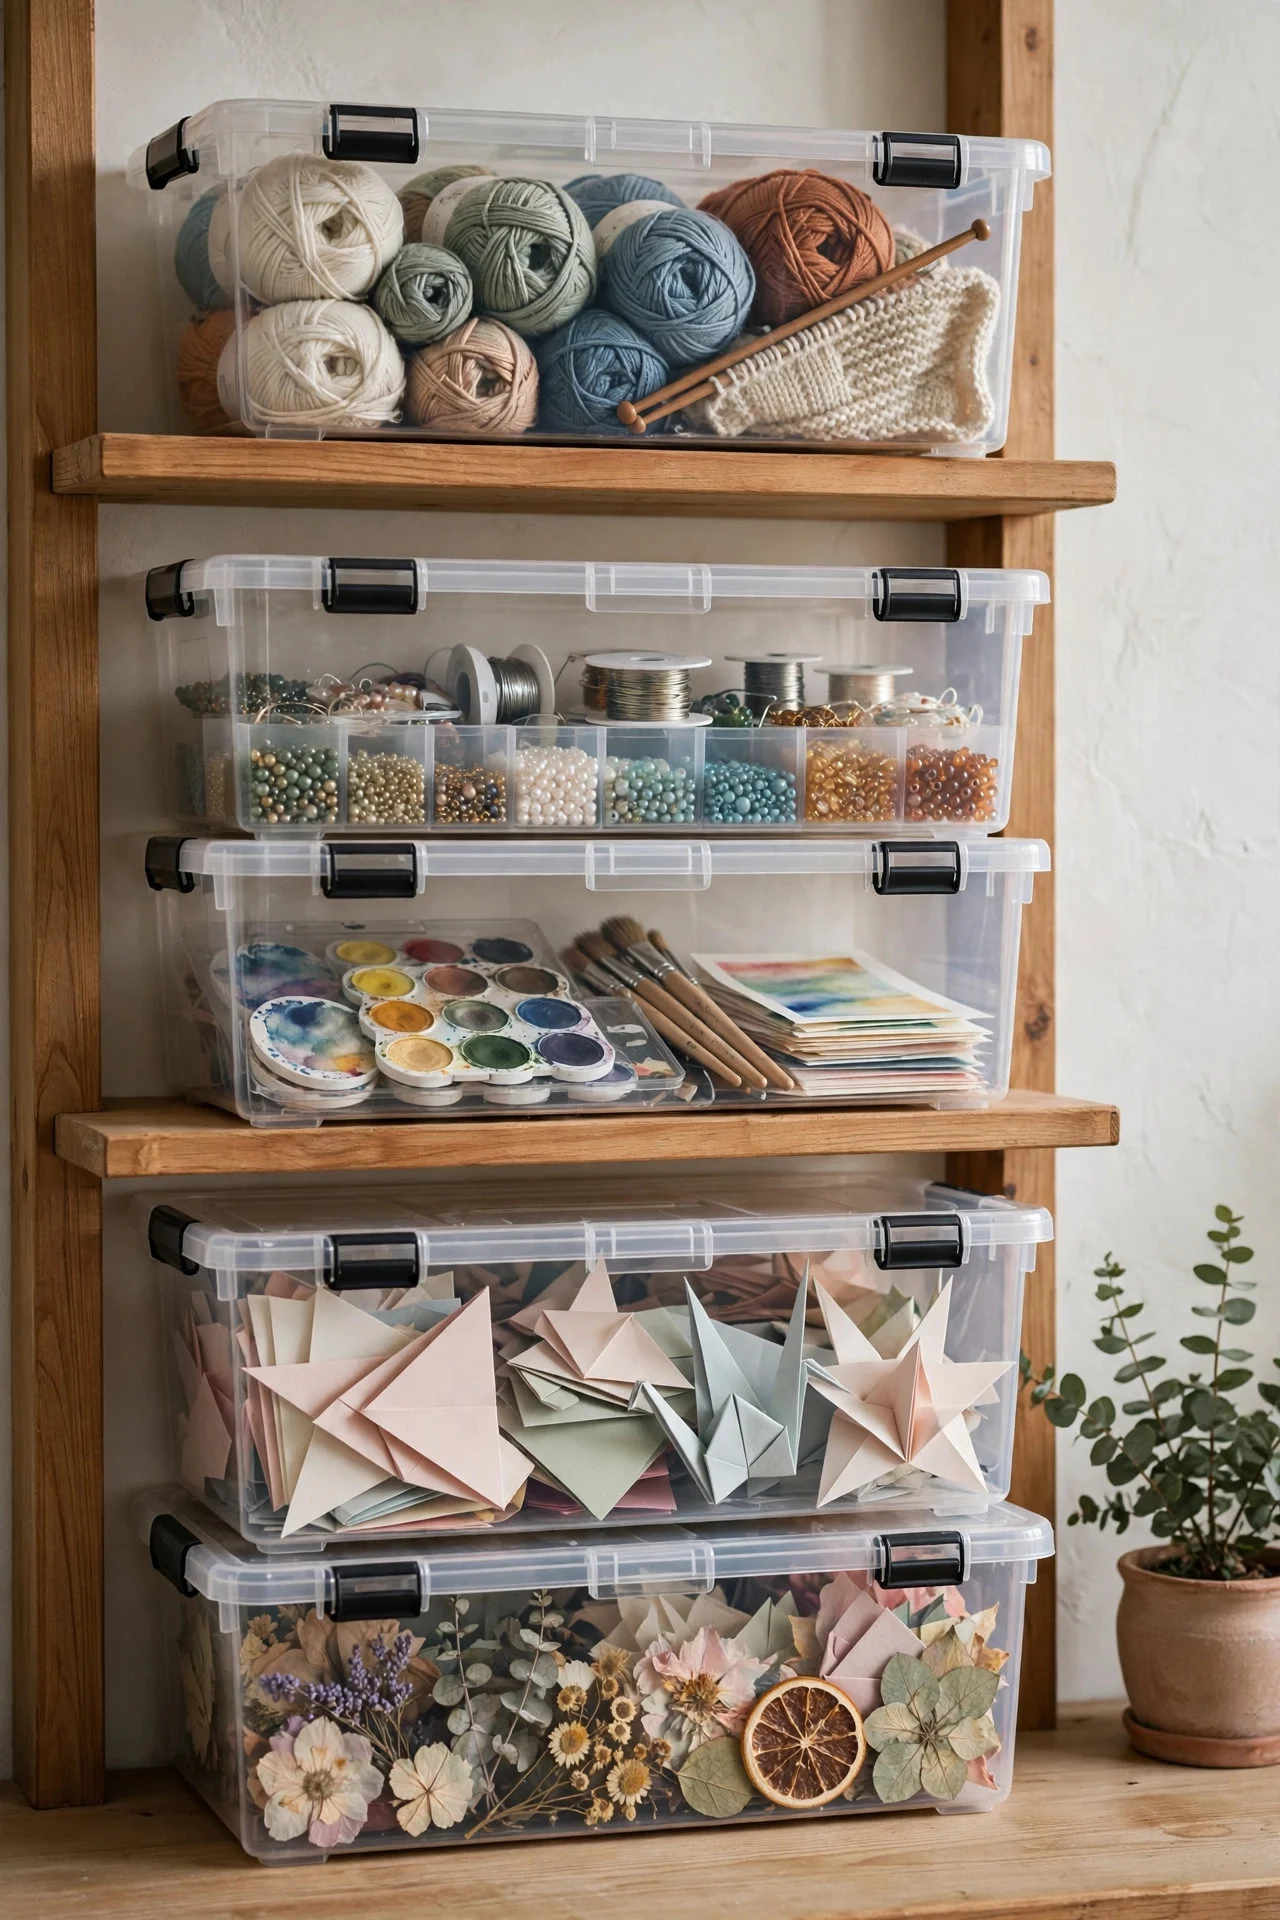
1. Sort Supplies by Project, Not by Material
The biggest mistake in craft storage is sorting by material — all paper together, all fabric together. In a small space, sort by project instead: one bin per active project holding everything it needs. Grab the bin, craft anywhere, put it back.
Clear bins about the size of a shoebox work perfectly. Label each with the project name and a start date — the date keeps old projects honest.
Try this: Limit yourself to three active project bins. A fourth project means one gets finished, donated, or shelved first.
2. Mount a Pegboard Craft Wall
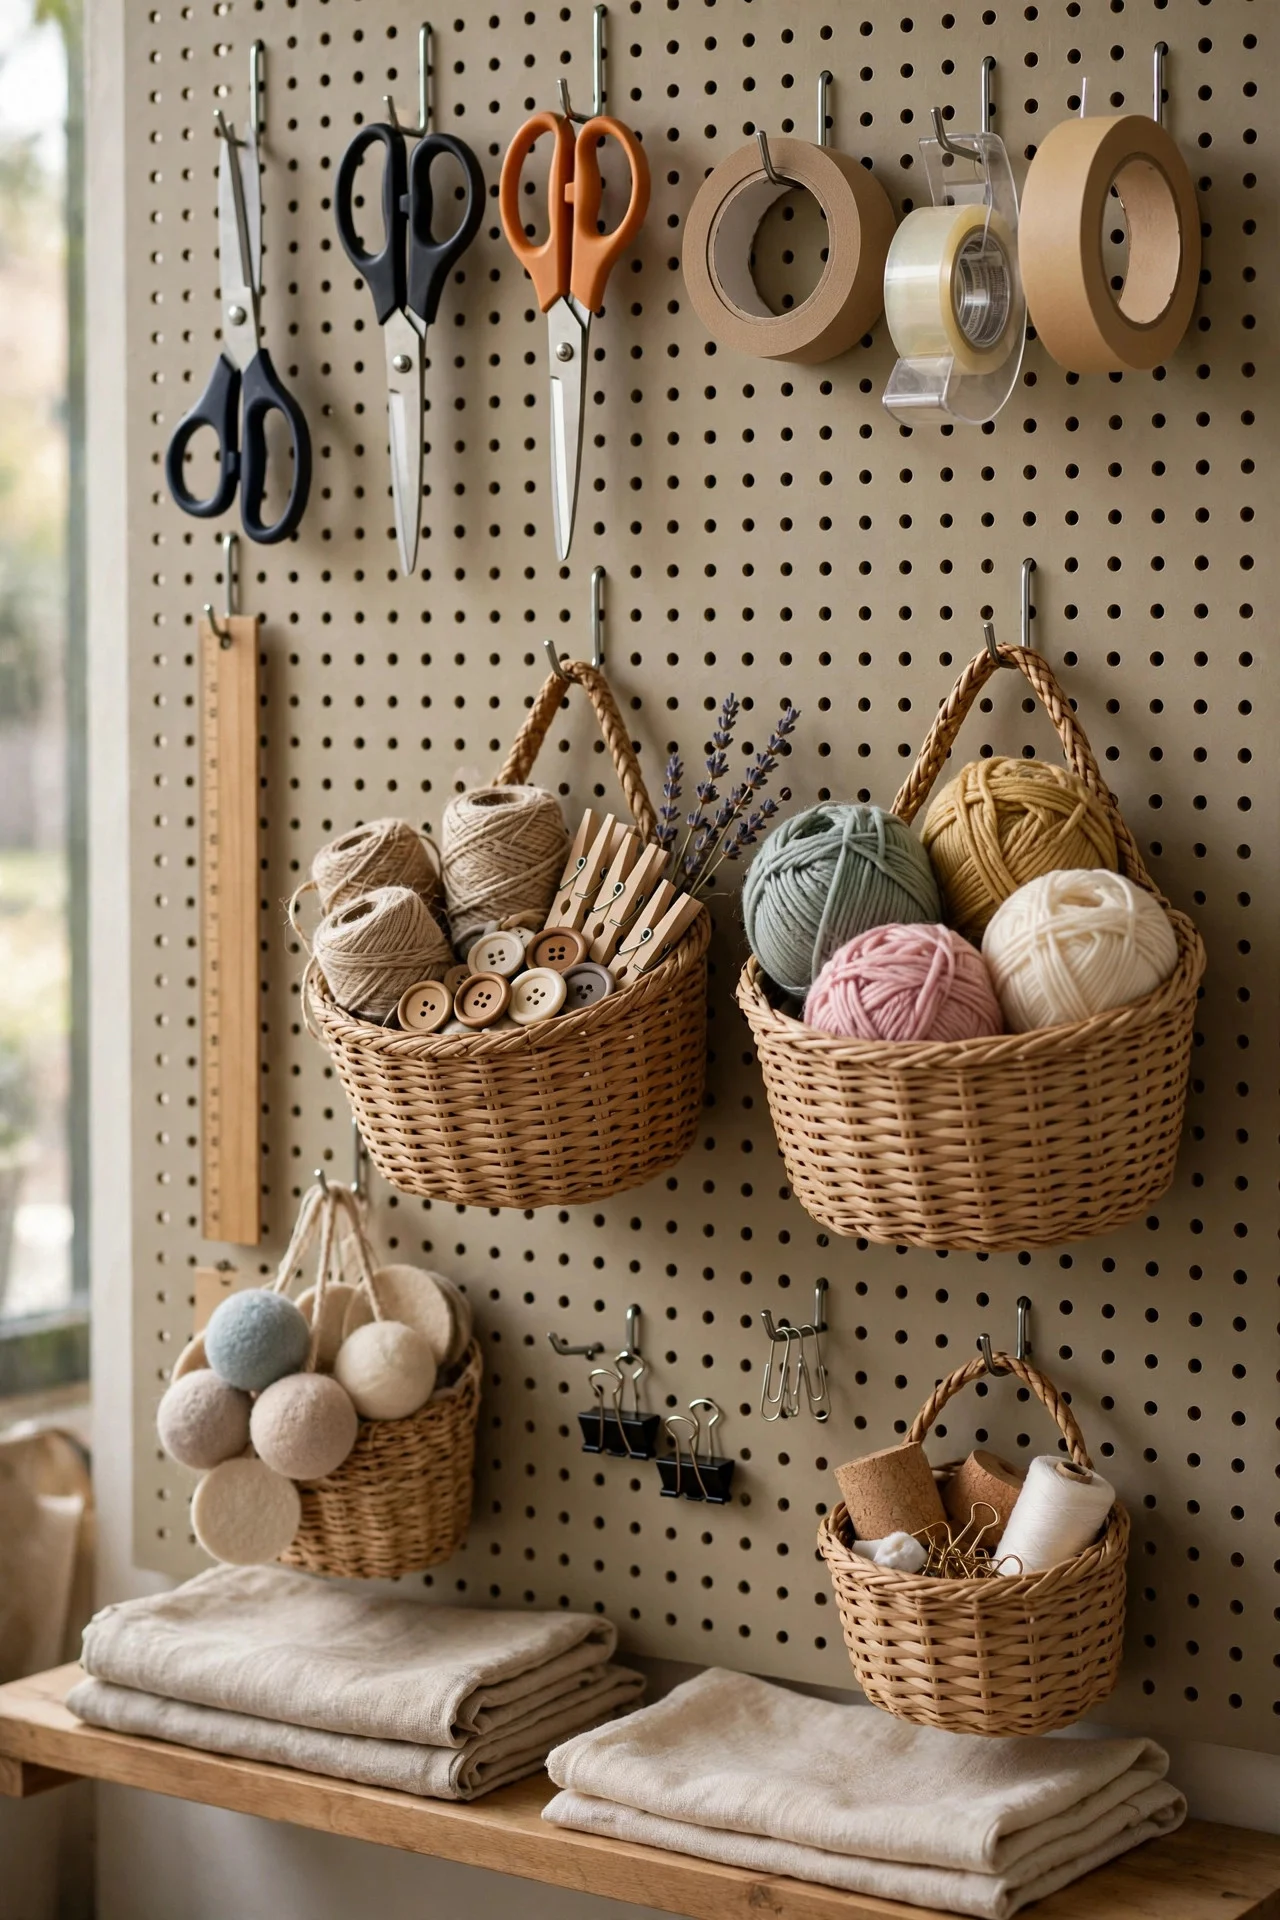
A 2 x 4-foot pegboard on the wall ($20 plus hooks) holds scissors, rulers, tape, ribbon, small tools, and hanging baskets for supplies — an entire craft store’s worth of access in 8 square feet of wall. Everything visible, everything reachable.
Use a mix of hooks, small shelves, and cups on the pegboard. Rearrange as projects change — that’s the whole point of pegboard over fixed shelving.
Try this: Trace each tool’s outline on the pegboard — the shadow system makes cleanup a matching game, even for kids.
3. Use a Rolling Cart as a Mobile Station
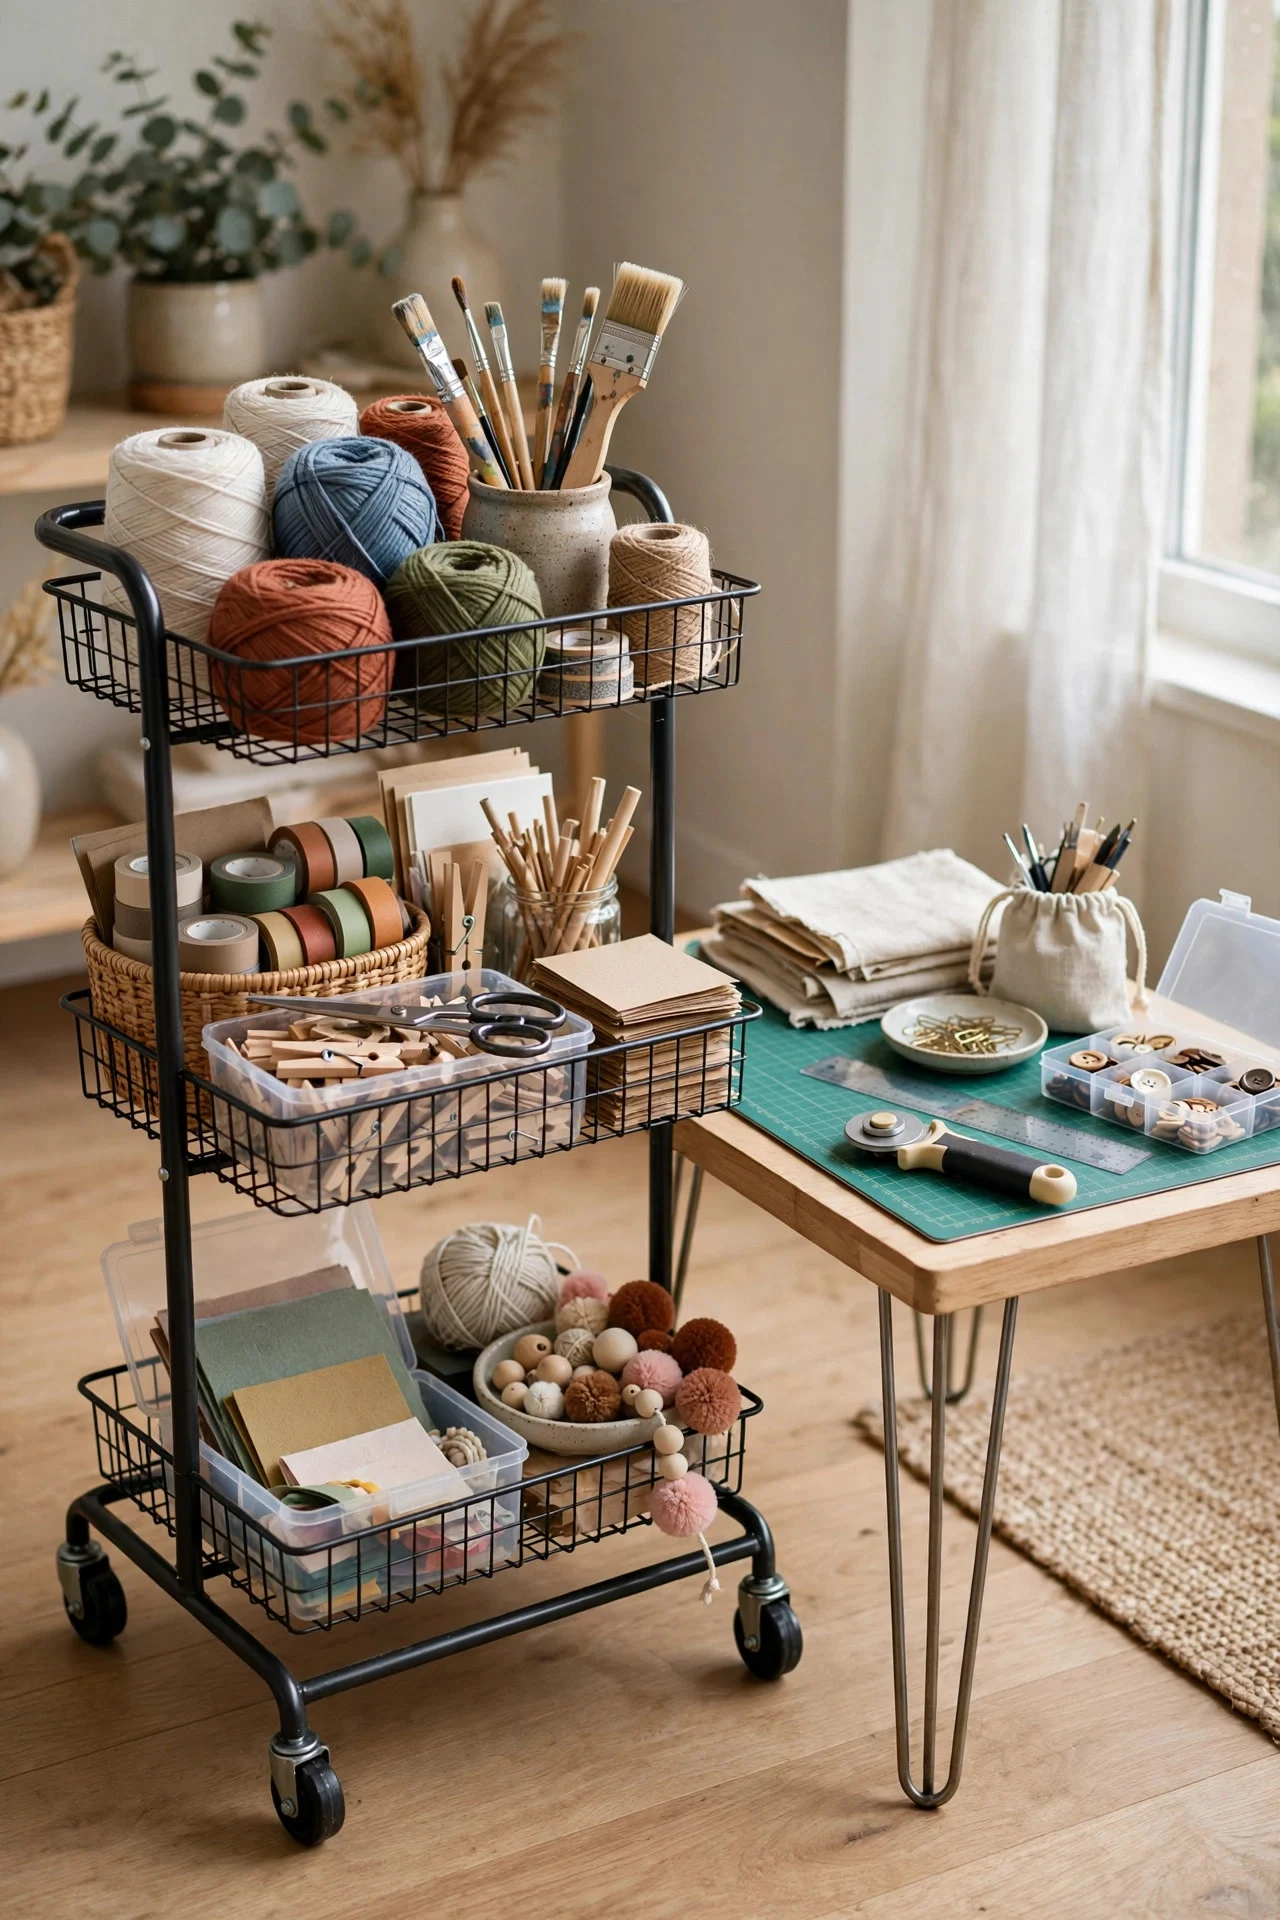
A 3-tier rolling cart ($30–35) is the small craft room’s best friend. Load it with the current project’s supplies, roll it to the table (or the couch, or the porch), and roll it back into its closet nook when you’re done. The craft room resets in seconds.
Dedicate tiers: tools on top, materials in the middle, works-in-progress on the bottom. One cart per active crafter in the house.
Try this: Park the cart in a closet or beside the desk when not in use — out of sight, but one roll away.
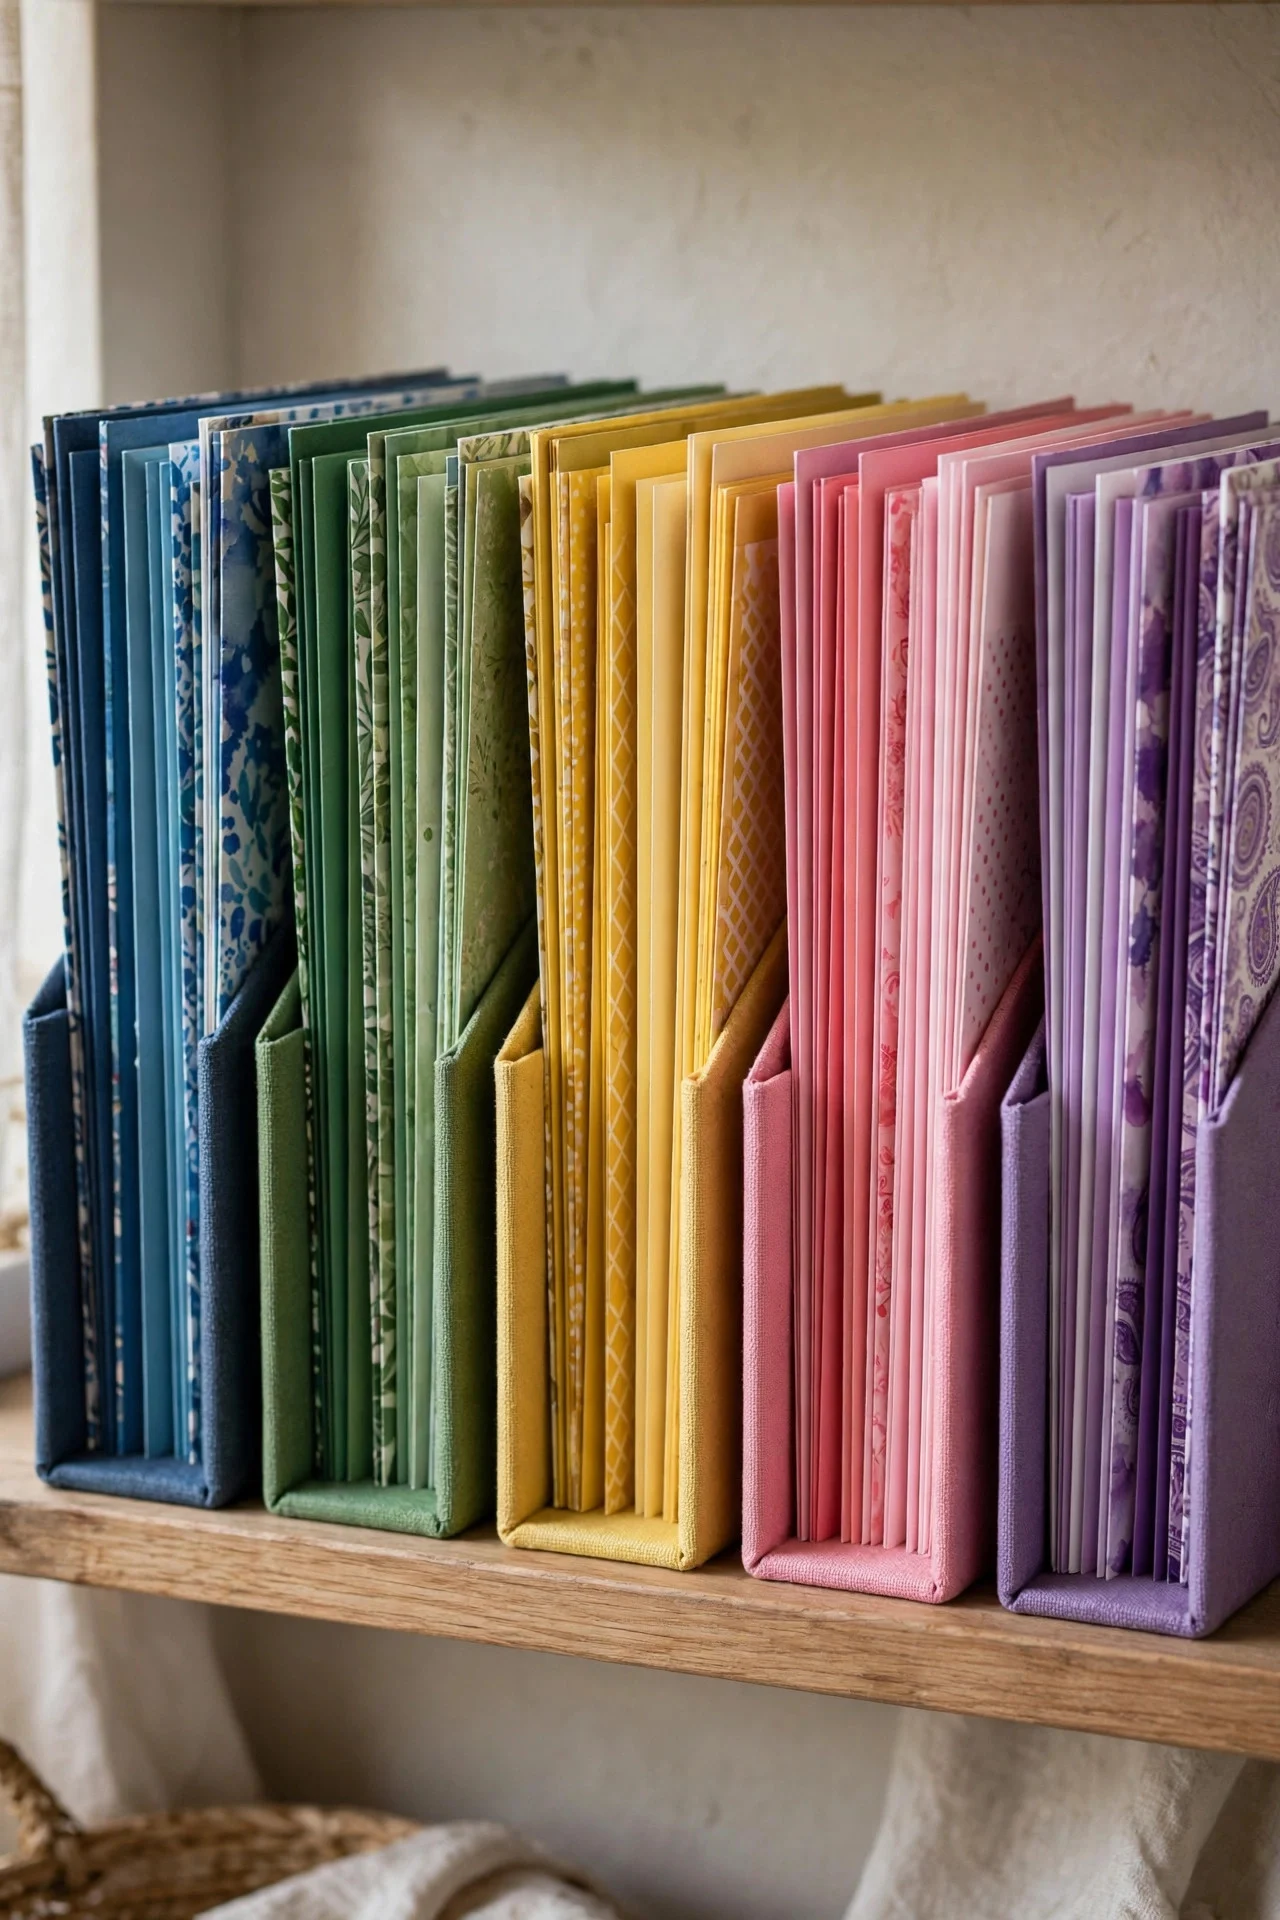
4. Store Paper Vertically in Magazine Files
Paper stacks laid flat become a leaning, sliding mess. File scrapbook paper, cardstock, and felt sheets upright in magazine holders — sorted by color or pattern — and you can flip through them like records at a shop.
Standard 12 x 12 paper fits in oversized magazine files; regular files handle cardstock and smaller sheets. One file per color family keeps the rainbow manageable.
Try this: Slip a piece of cardboard at the front of each file as a divider — paper stays upright instead of flopping forward.
5. Corral Small Notions in Divided Boxes
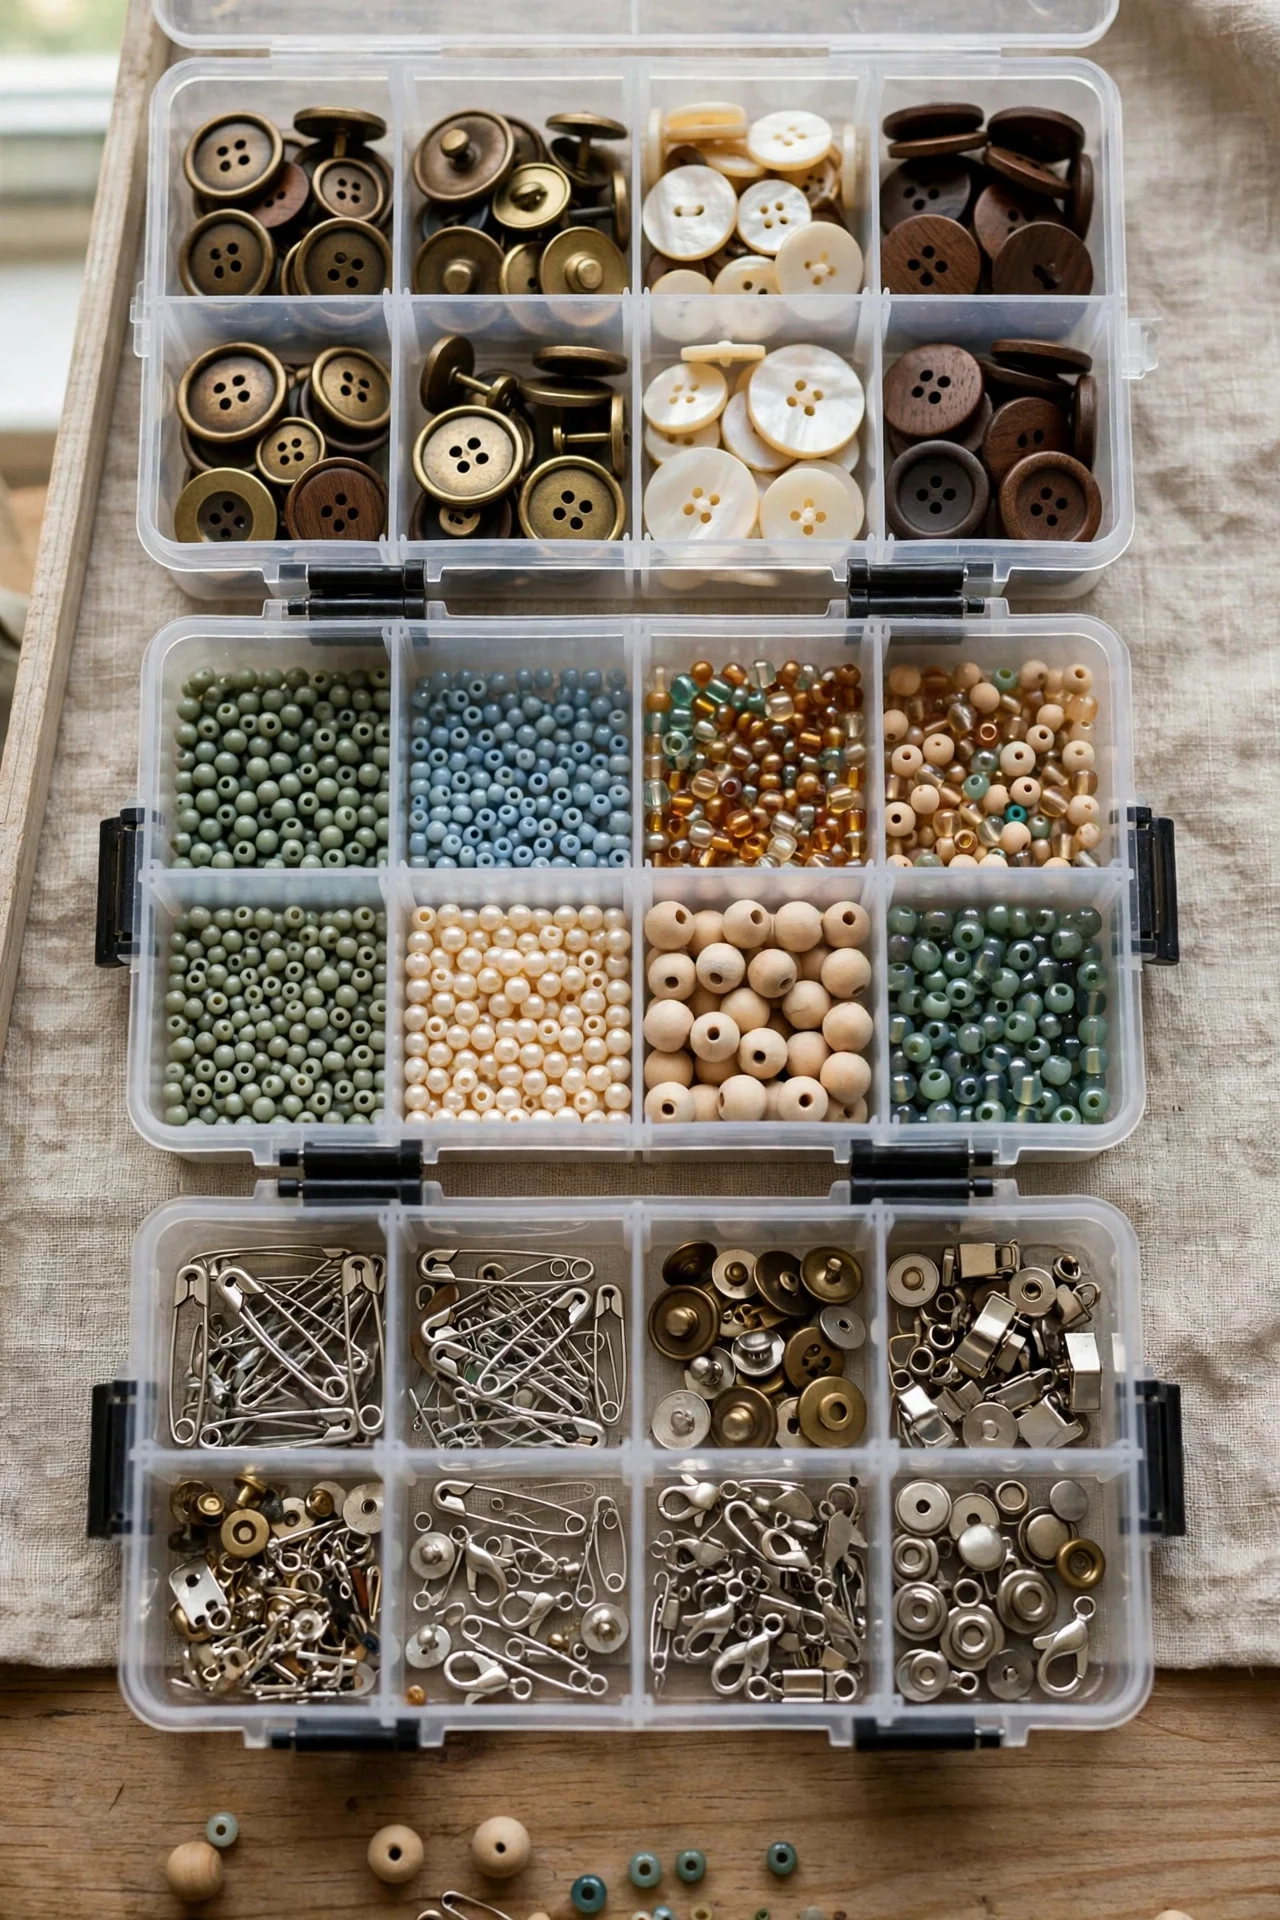
Buttons, beads, brads, eyelets, and findings multiply into hundreds of tiny pieces that vanish into drawers. Divided craft boxes with adjustable compartments ($8–12 each) sort them by type and color, and the lids keep everything contained.
Stack the boxes on a shelf, labeled by contents. One box per notion family — buttons, beads, sewing notions — not one giant mixed box.
Try this: Photograph the box’s layout before a big project — tiny pieces have a way of migrating between compartments.
6. Hang Fabric on a Wall-Mounted Rack
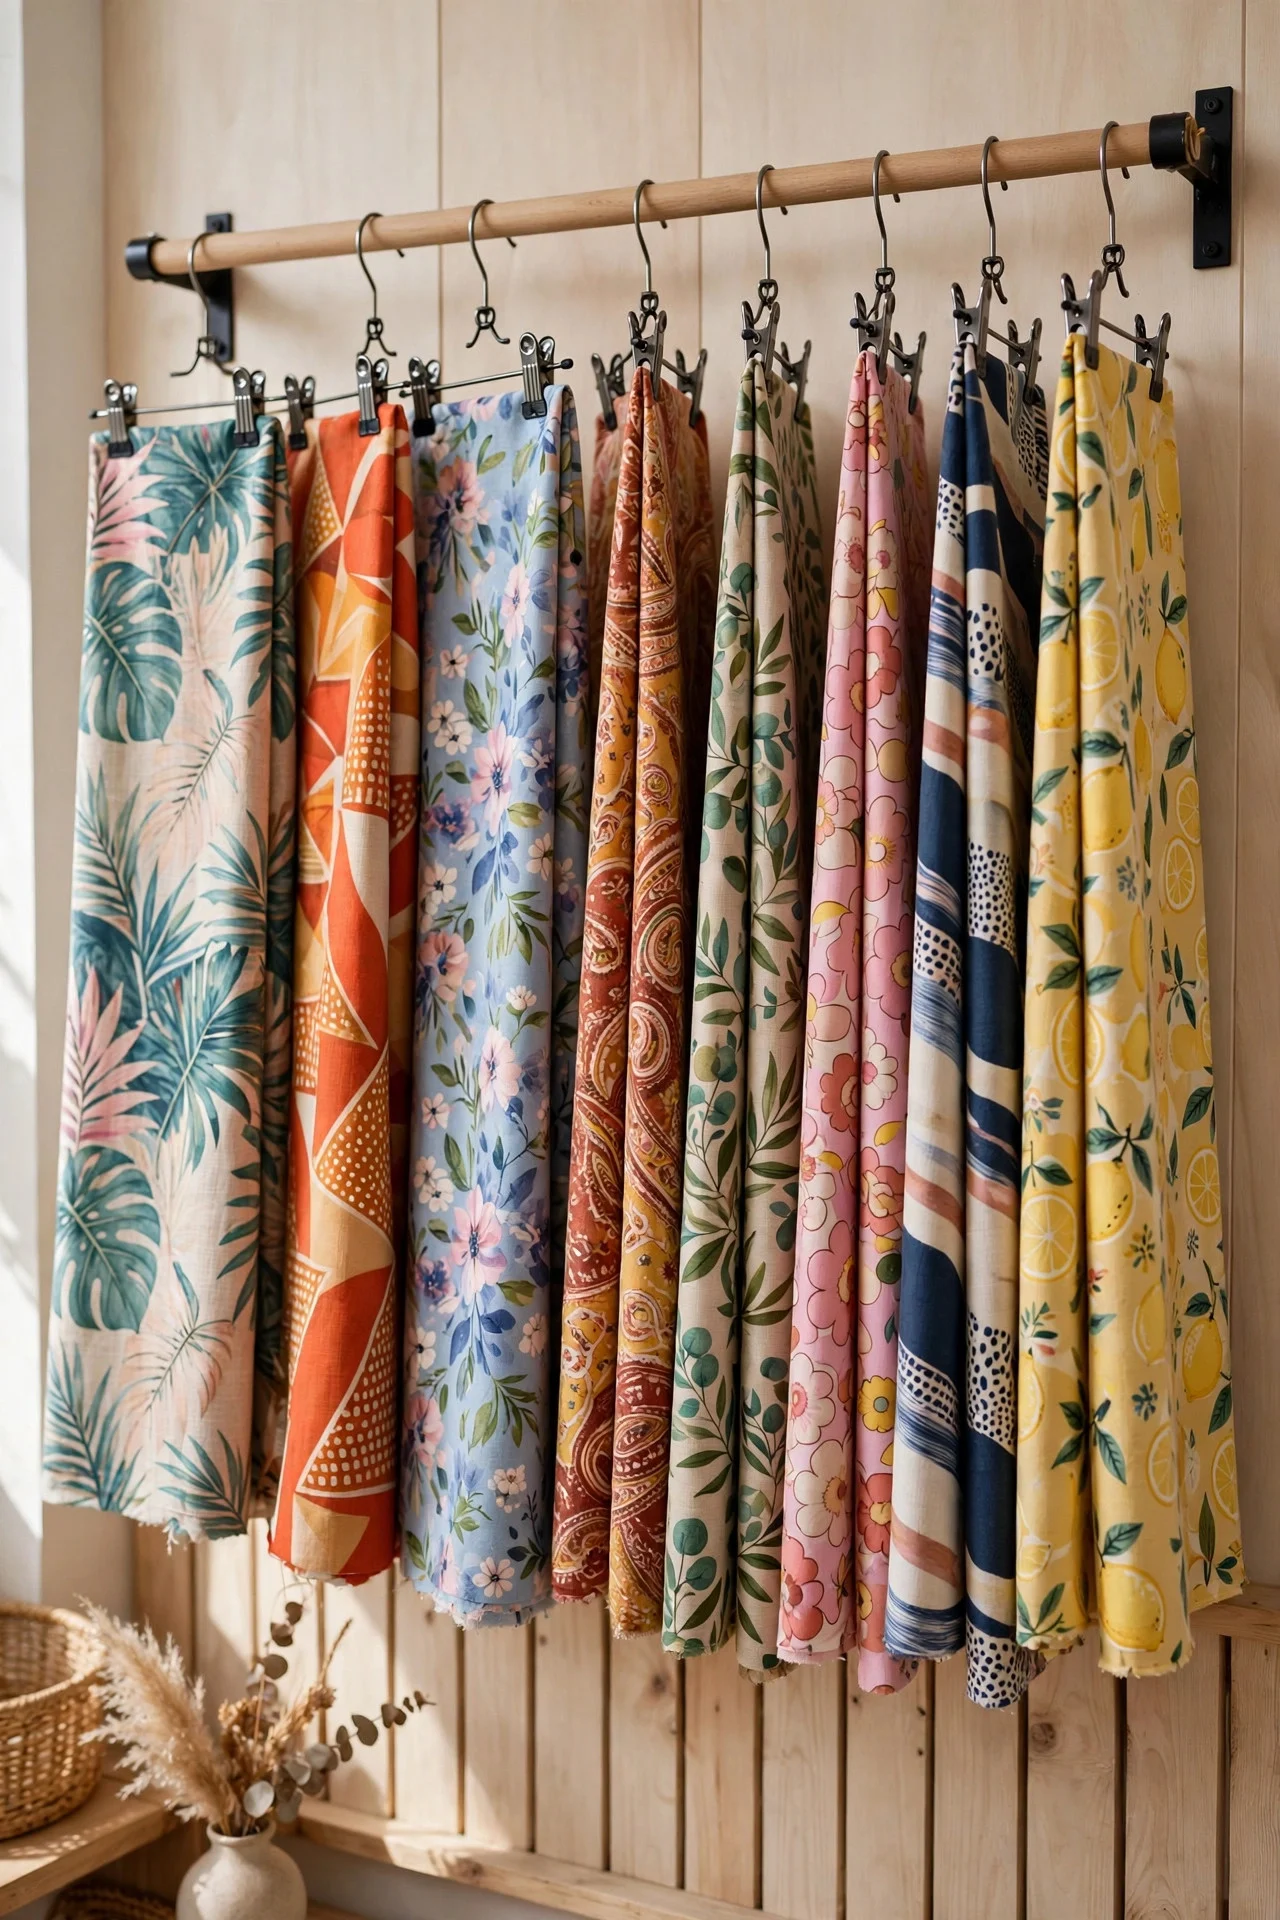
Folded fabric stacks topple and hide the good prints at the bottom. A wall-mounted pants hanger rack or a series of clip hangers on a rod displays fabric like a shop — every print visible, nothing wrinkled from stacking.
Mini clip hangers on a tension rod inside a closet work for smaller stashes. Sort by color or project; either way, you shop your stash instead of rebuying.
Try this: Fold fabric around comic-book backing boards first — uniform mini-bolts that stand upright on a shelf.
7. Use Clear Jars for Pretty Supplies
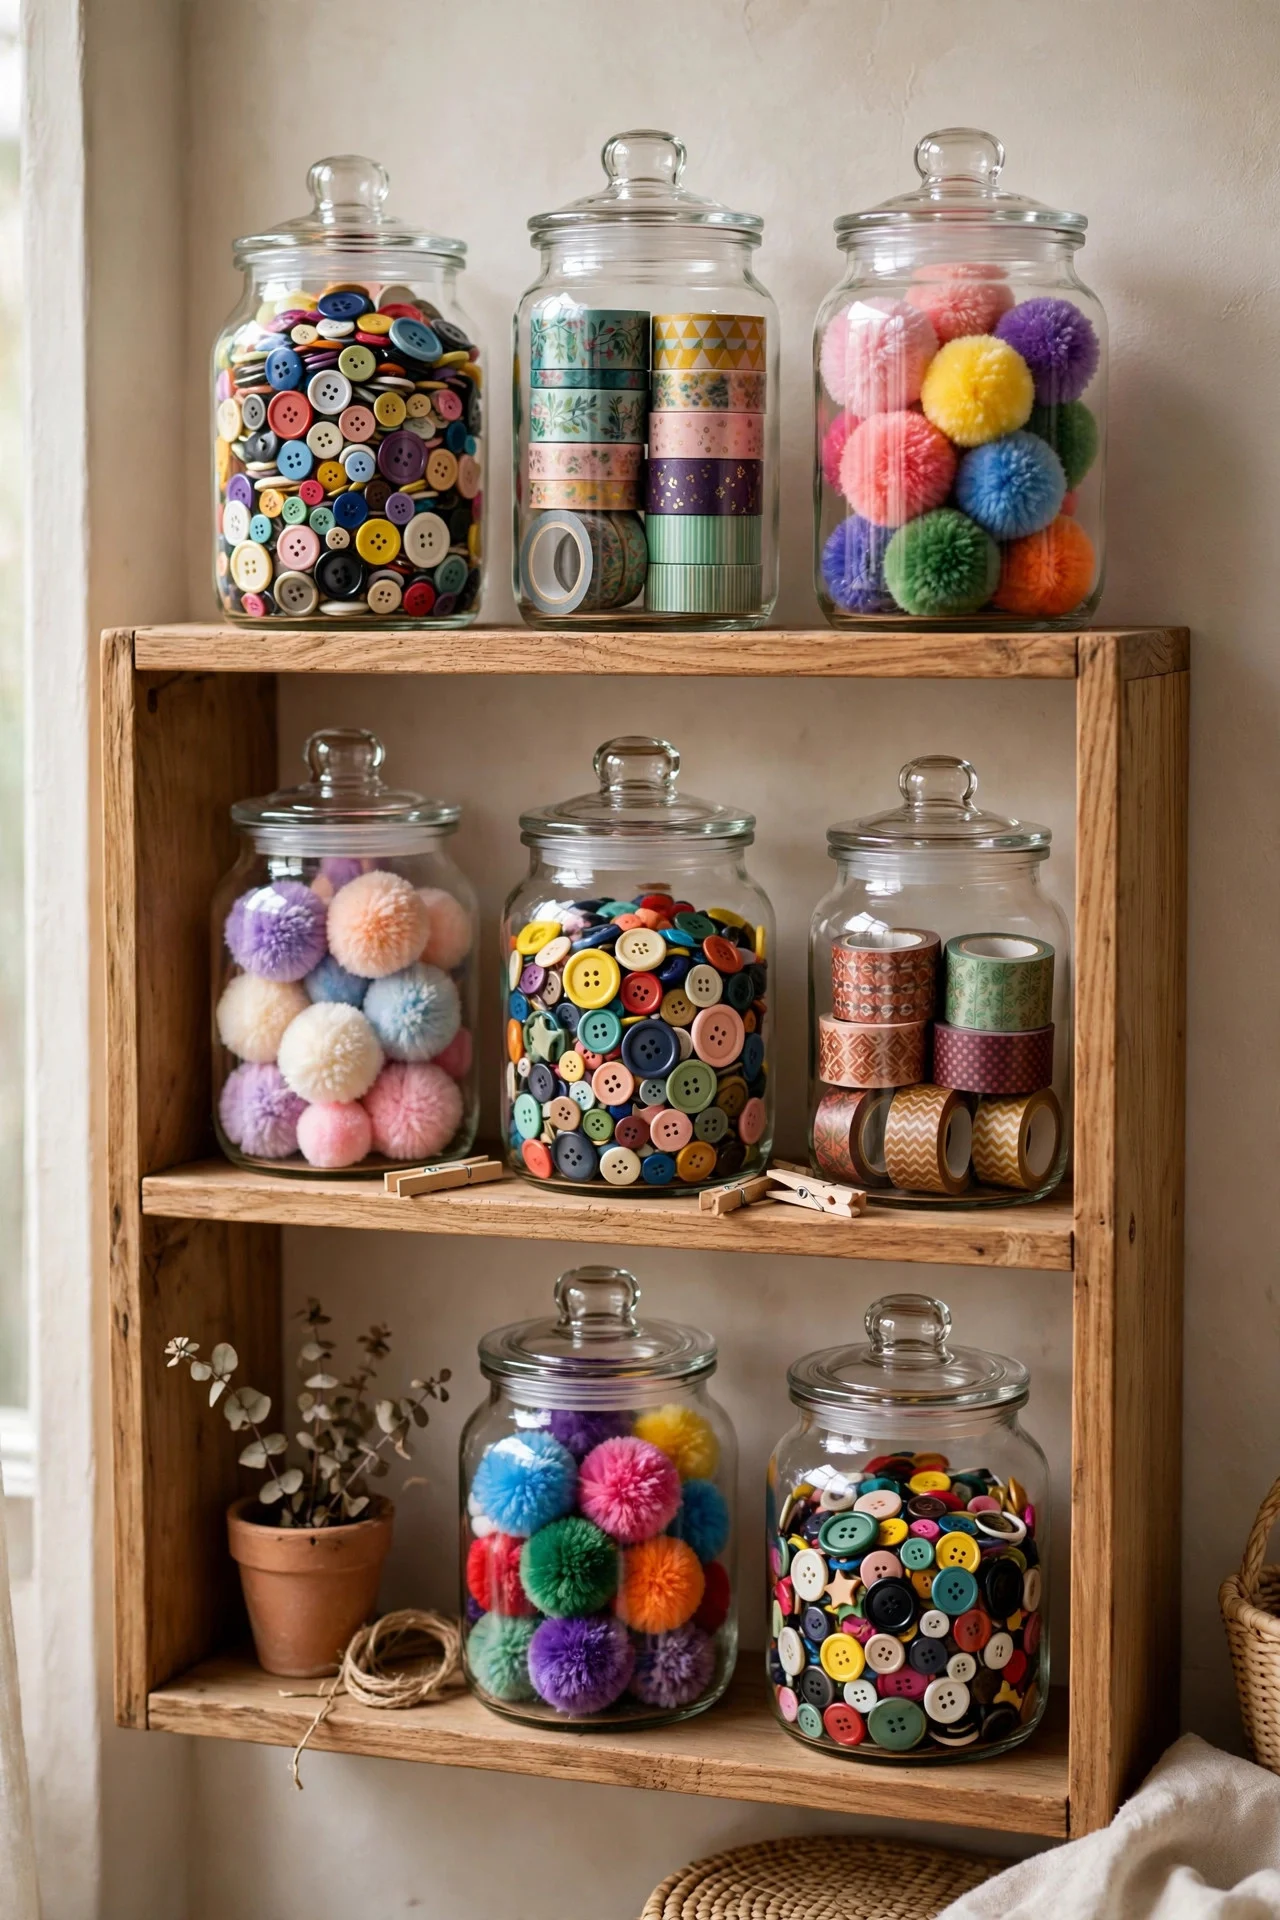
Some craft supplies deserve to be seen: colorful buttons, washi tape rolls, embroidery floss, pom-poms. Clear glass jars on an open shelf turn them into decor that doubles as storage — you see what you have, and the room looks inspiring instead of cluttered.
Mason jars and dollar-store canisters work perfectly. Group by color for the rainbow effect, or by supply type for practicality.
Try this: Keep the prettiest jars at eye level and the utilitarian bins lower — the shelf becomes a display, not just storage.
8. Create a Ribbon and Wrapping Station
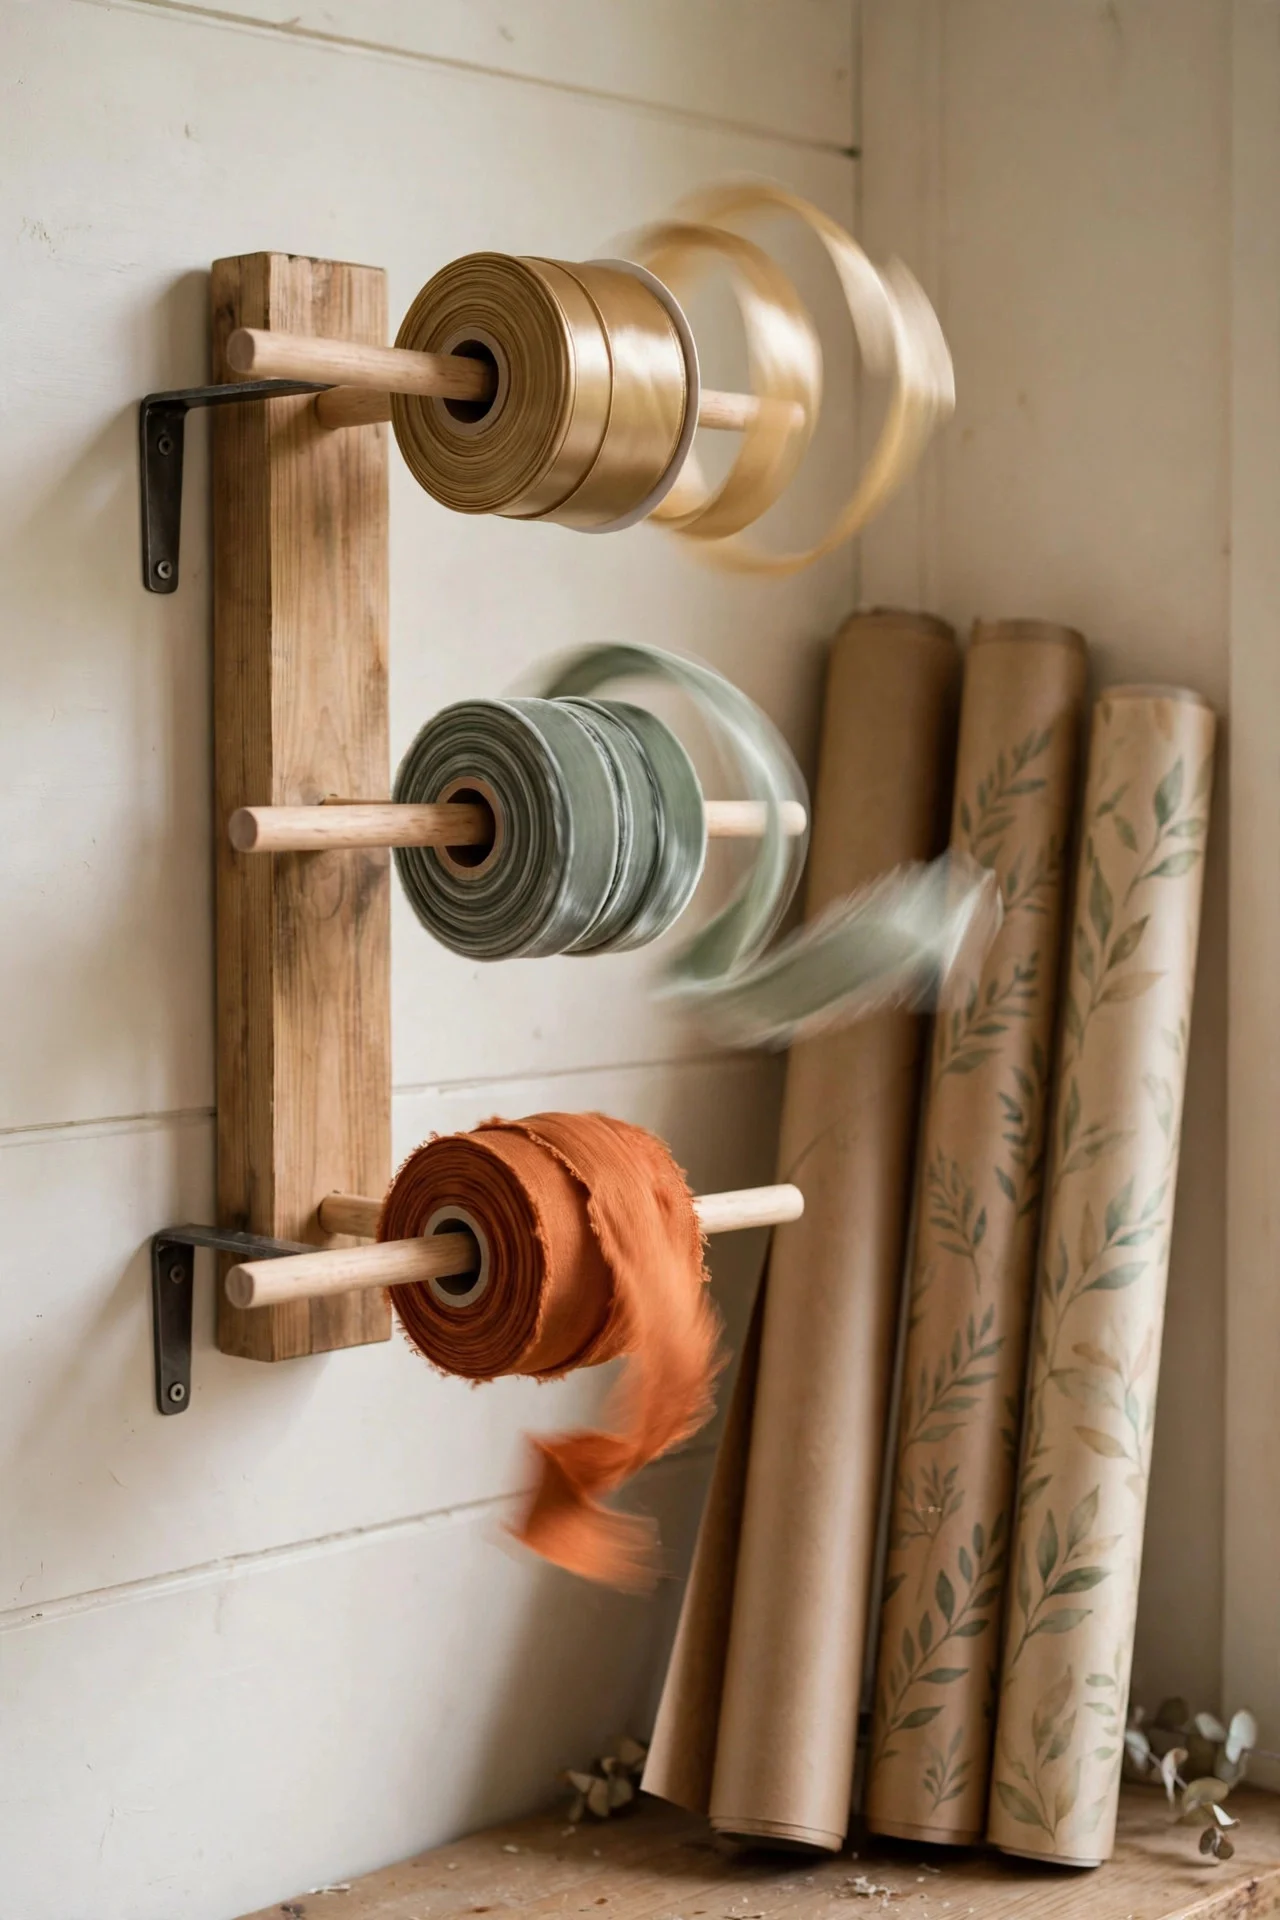
Ribbon spools, washi tape, and gift wrap are craft-room staples that tangle into one beast. A dowel-based ribbon holder on the wall or in a drawer lets spools spin freely, and a wall-mounted paper roll holder keeps wrapping paper upright.
One 24-inch dowel setup holds a dozen spools. Mount it inside a cabinet door if wall space is scarce.
Try this: Cut ribbon with pinking shears — the zigzag edge doesn’t fray, so your ribbon stash lasts longer.
9. Label Everything — Even the Obvious
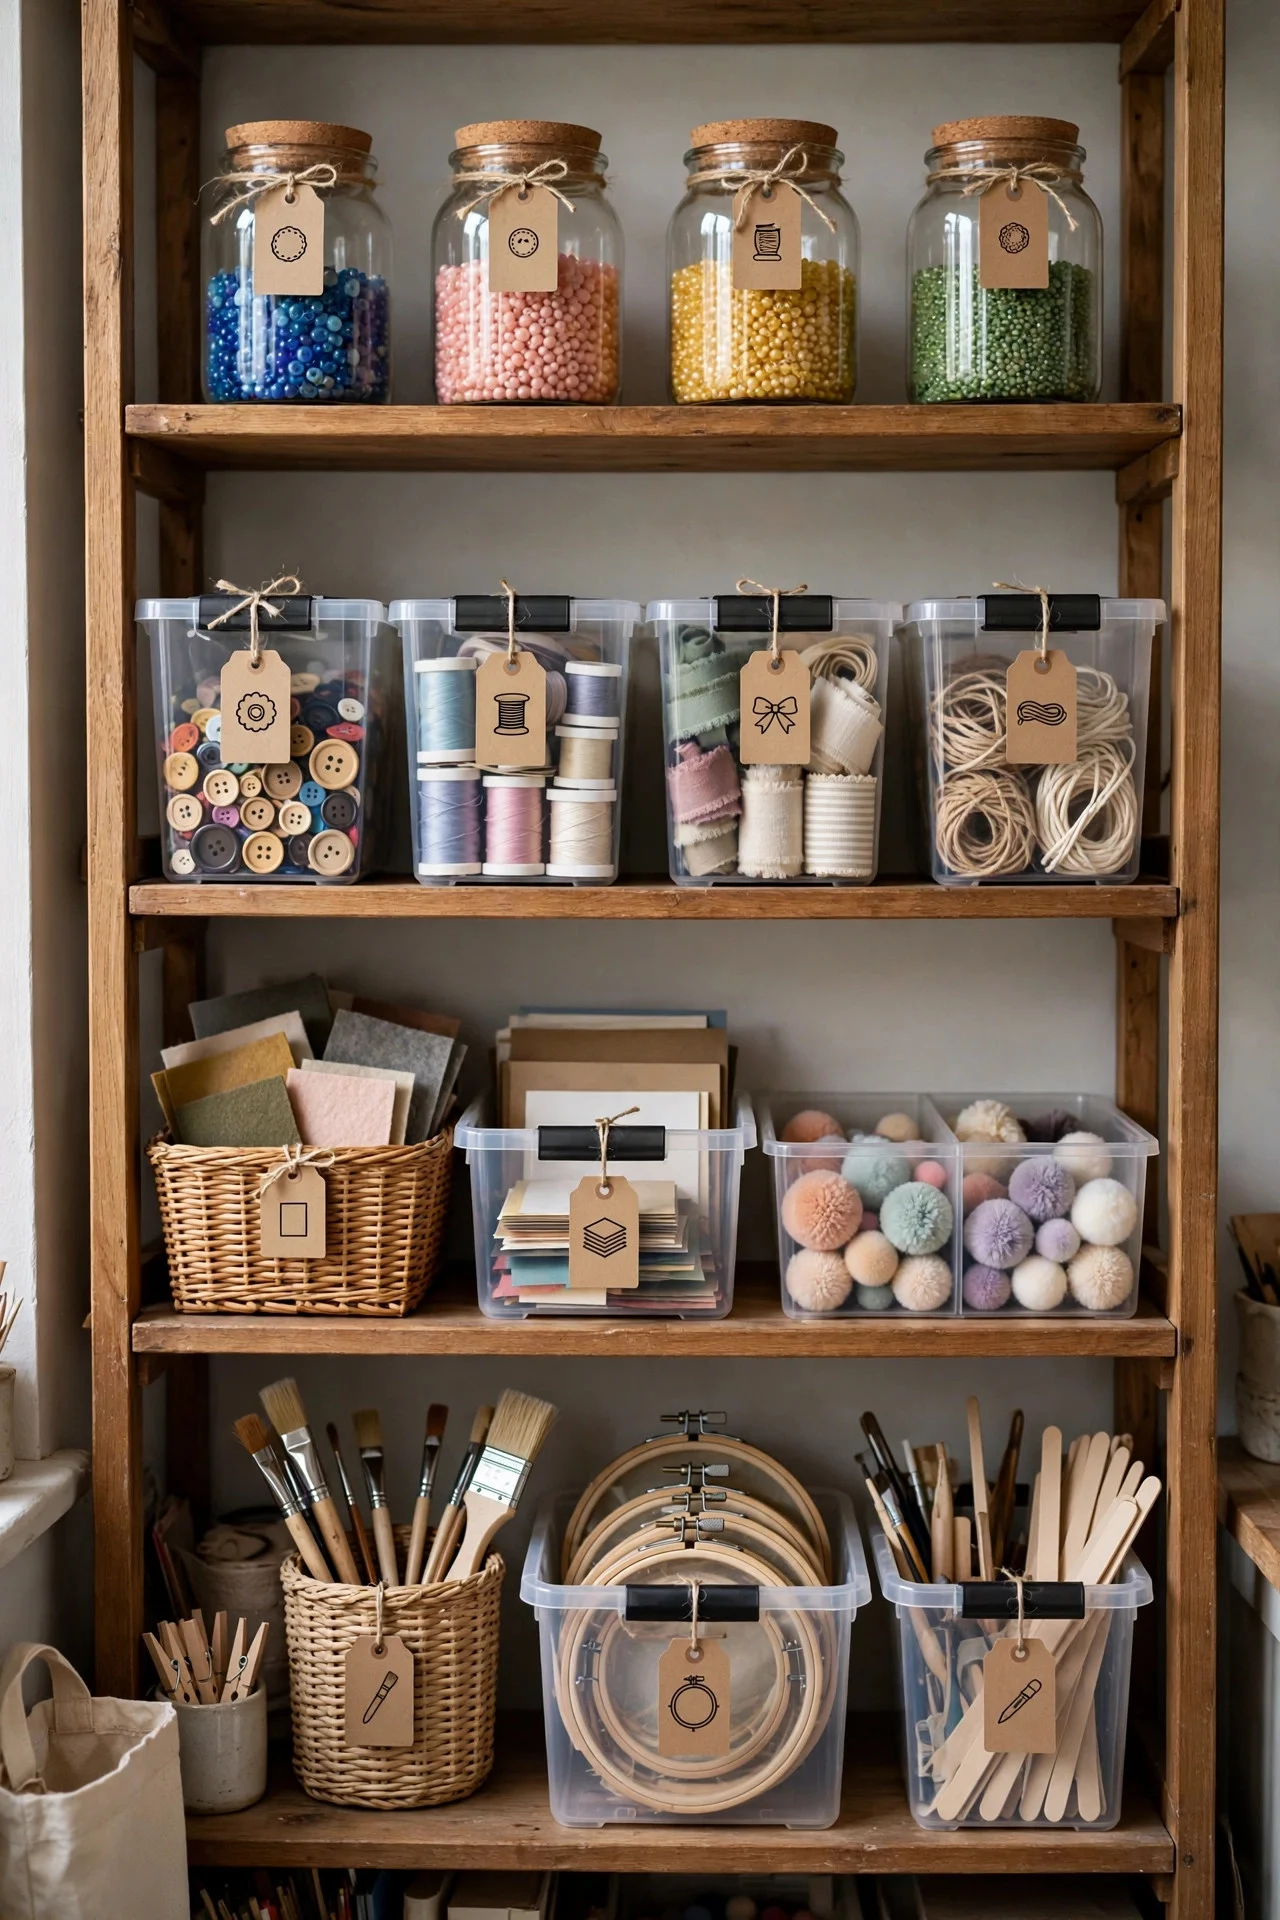
Craft rooms serve future-you, who won’t remember what’s in the unlabeled bin. A label maker ($15) or masking tape and a marker on every bin, jar, and drawer turns the room into a self-explanatory system anyone can maintain.
Label with specifics: “Cotton Fabric — Blues” beats “Fabric.” The more precise the label, the less rummaging.
Try this: Add the date to labels on project bins — a project untouched for a year gets finished or released.
10. Use the Back of the Door
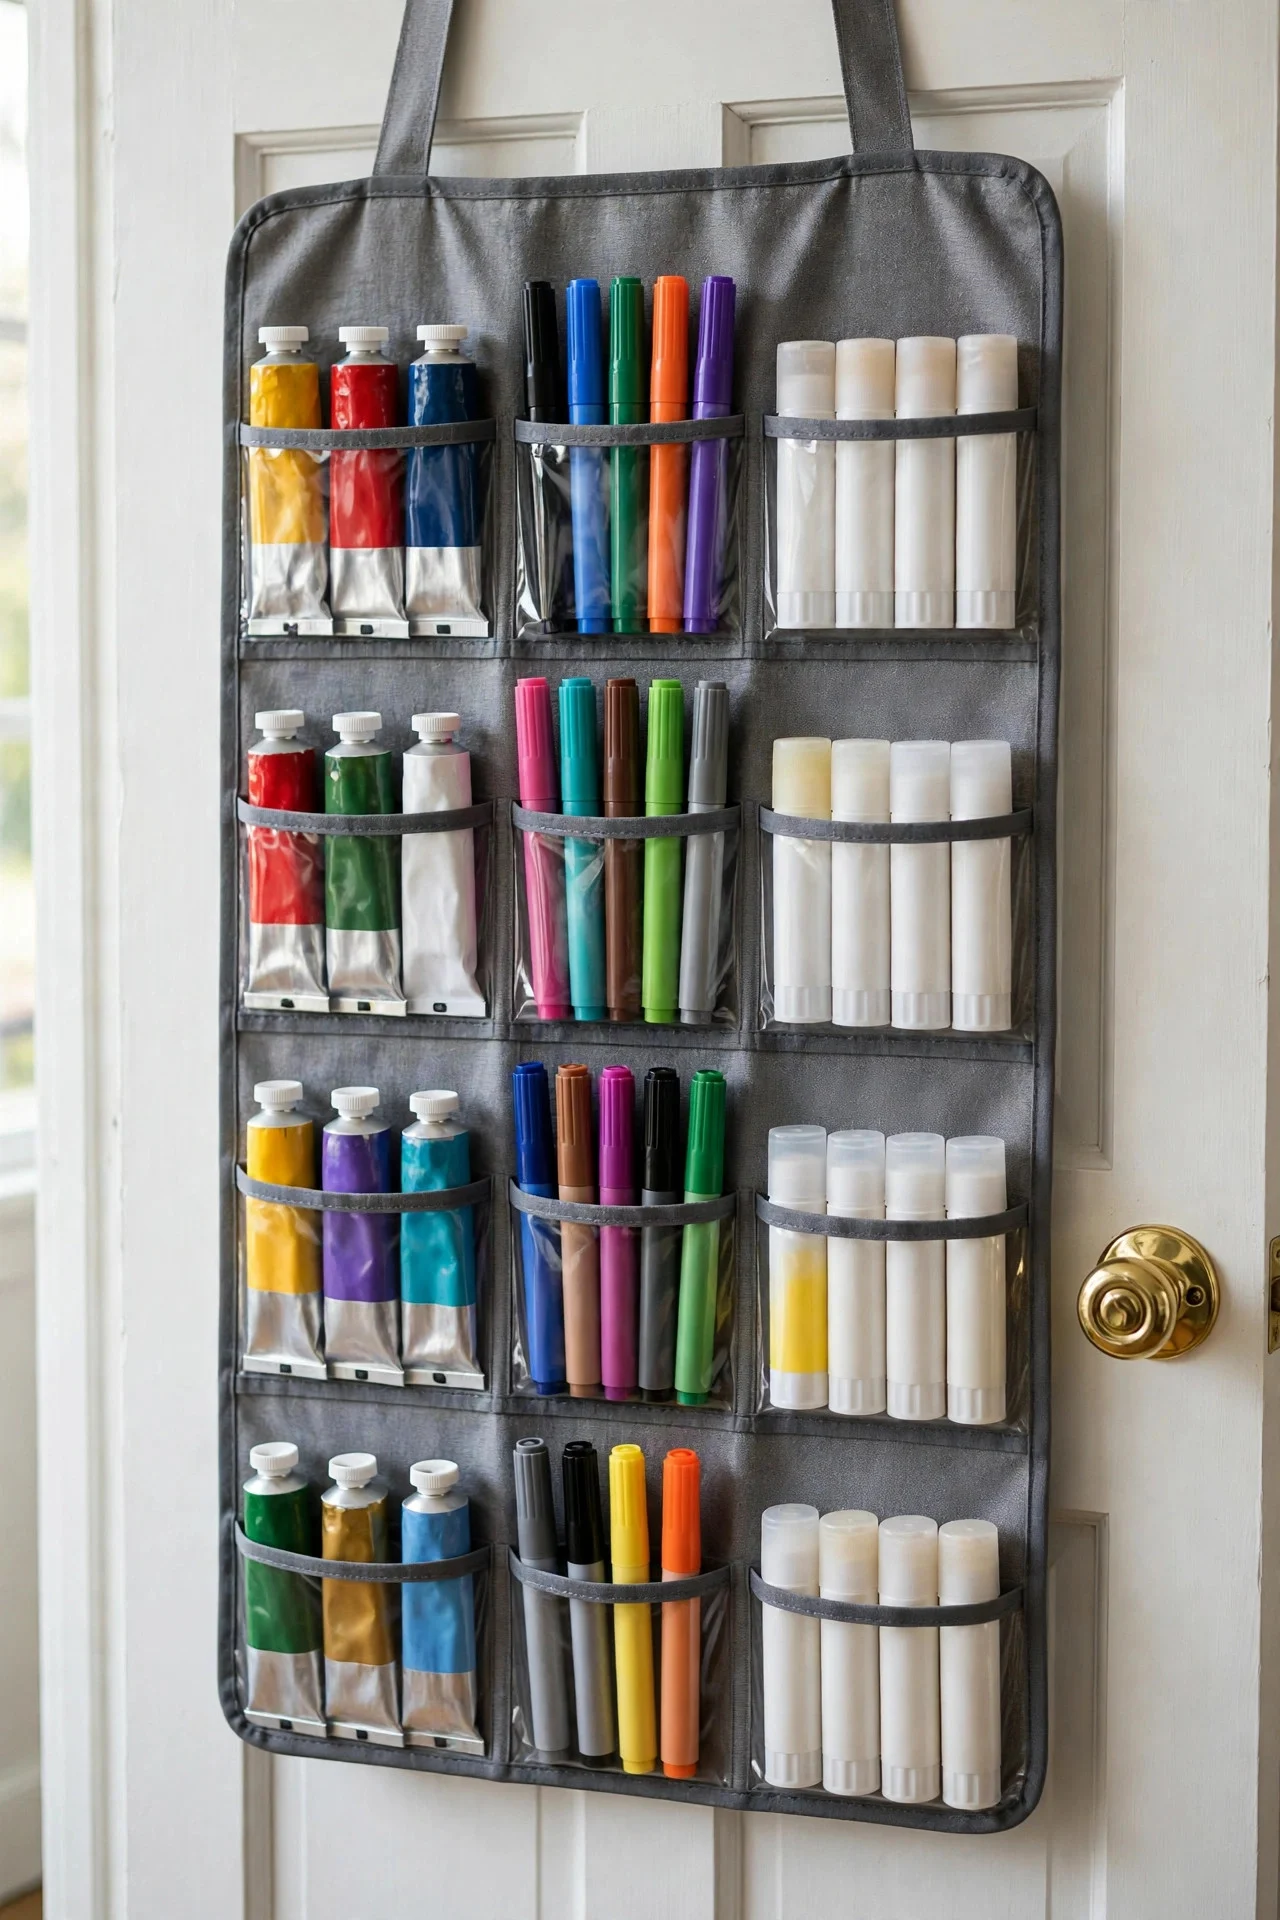
An over-the-door organizer with clear pockets ($12–15) holds paint tubes, markers, glue sticks, scissors, and small tools — dozens of items in zero floor space. The clear pockets mean you see everything without opening anything.
Hang it on the inside of the craft room or closet door. Reserve it for small, lightweight items so the pockets don’t stretch.
Try this: Dedicate the door organizer to one category — all adhesives, or all cutting tools — so it stays coherent.
11. Build Up With Stackable Drawer Units
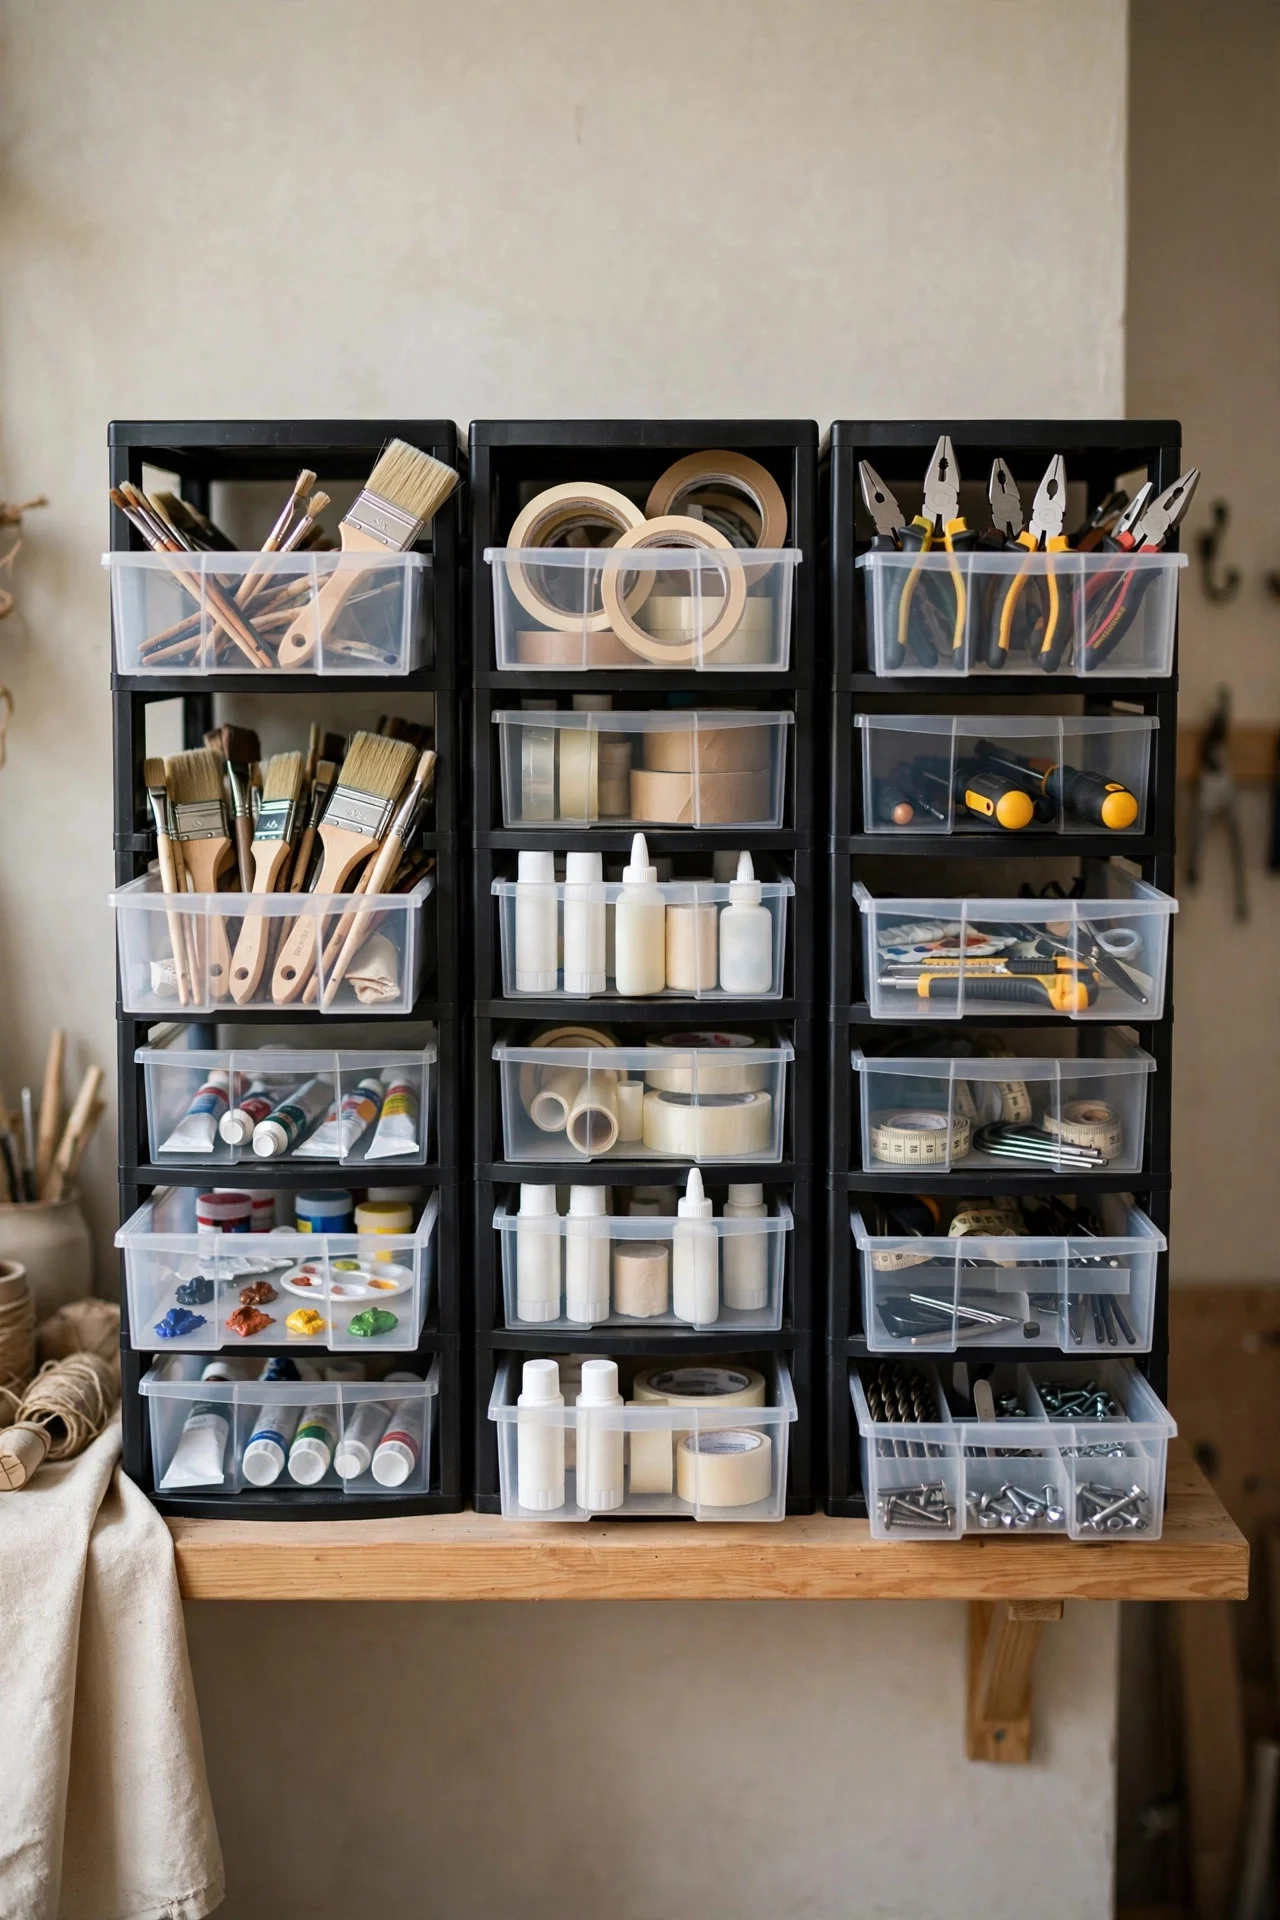
Small stackable drawer towers ($20–25 for 3 drawers) multiply a shelf’s capacity without taking more footprint. One tower per supply family — one for paints, one for adhesives, one for tools — keeps categories physically separated.
They fit inside closets, under tables, and on deep shelves. Label each drawer front; unmarked drawers become mystery drawers within a month.
Try this: Put the heaviest tower on the floor and lighter ones on shelves — top-heavy stacks tip.
12. Keep a “Scraps and Leftovers” Bin With Limits
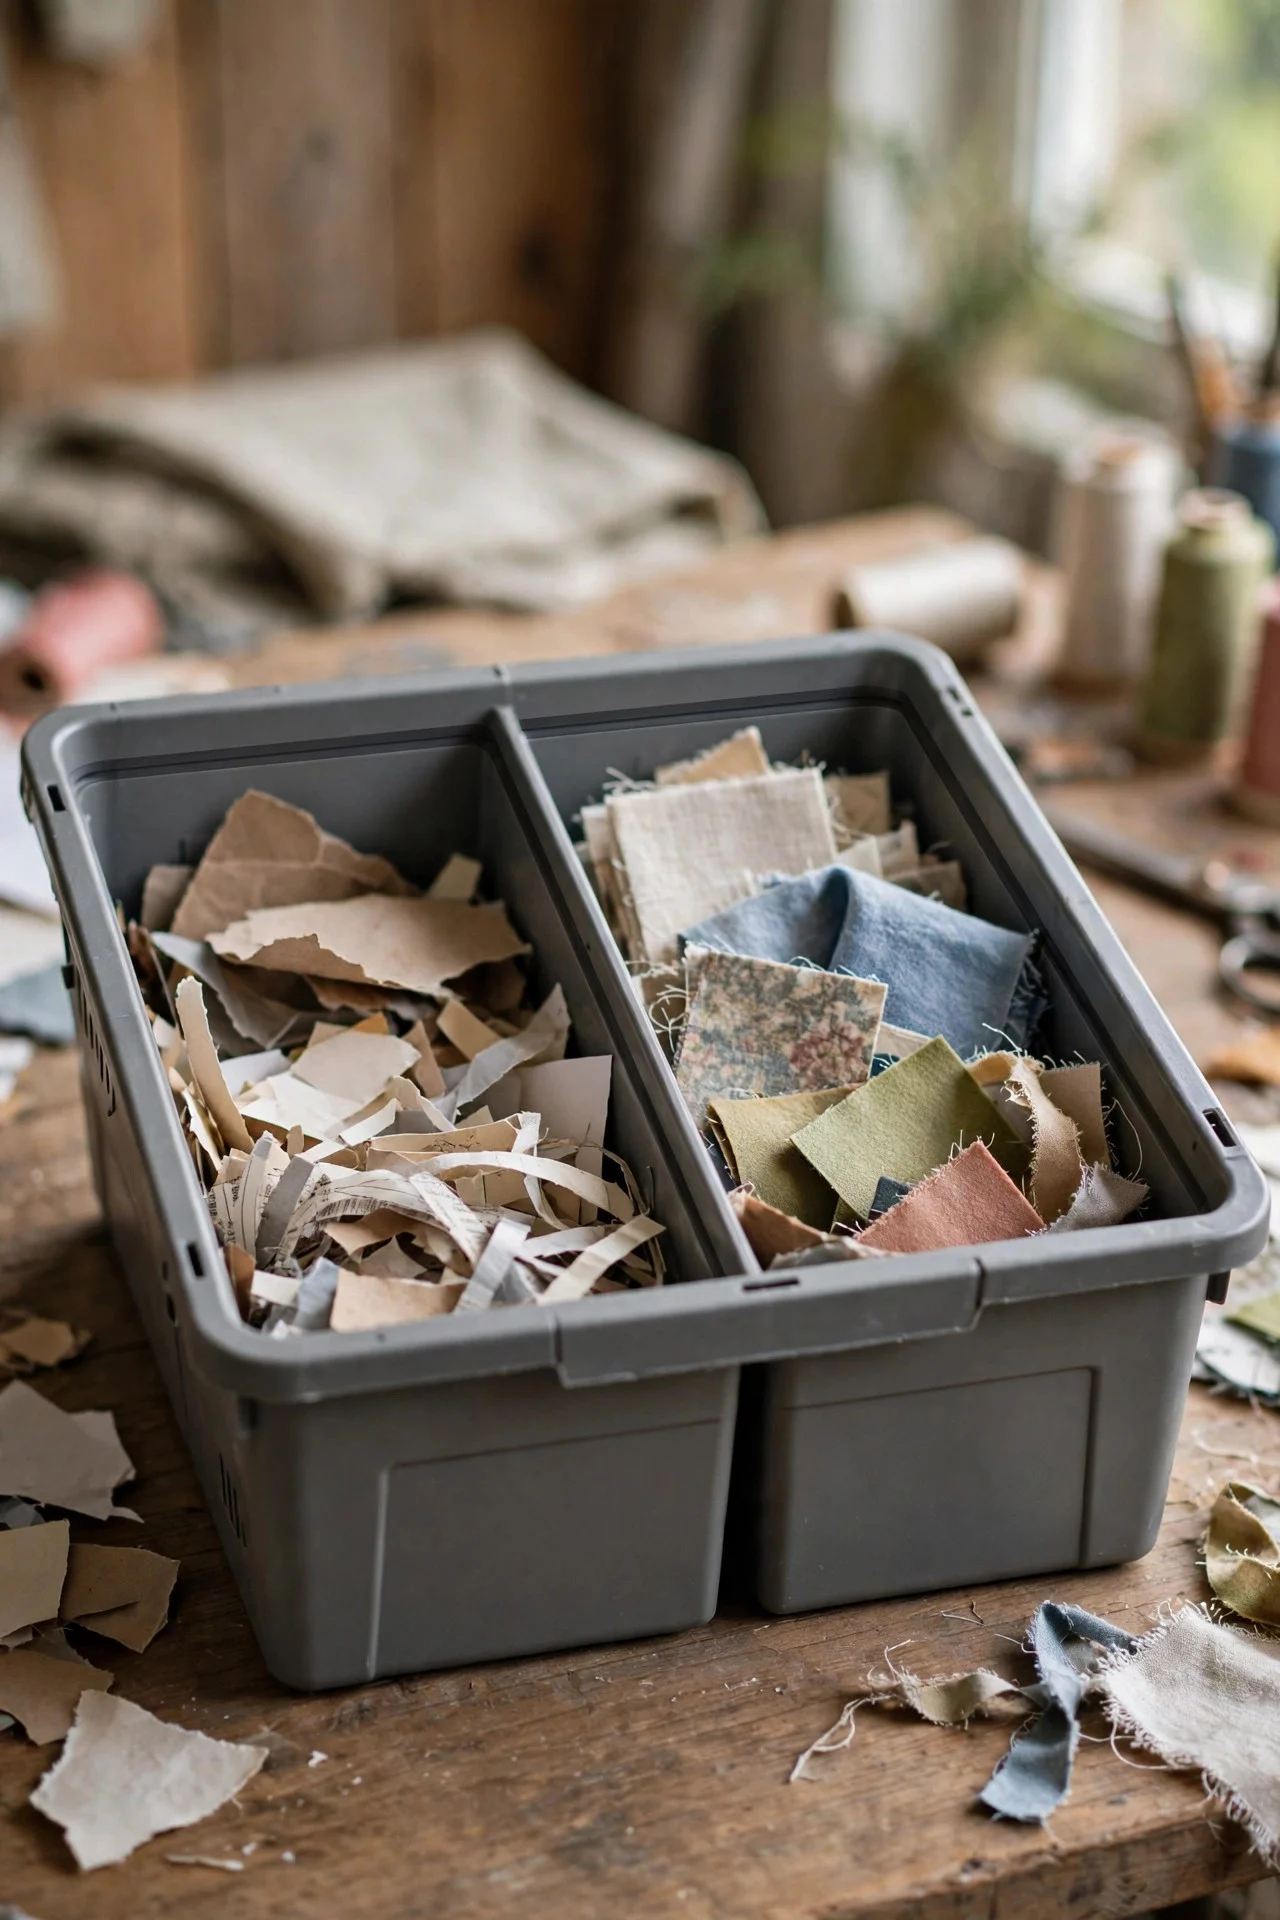
Every crafter keeps scraps “just in case” — and the scrap pile grows forever. One bin, with a firm size limit: when it’s full, something goes before anything new goes in. Small scraps get used or tossed; the bin never becomes a second craft room.
Sort scraps by material as they go in — paper scraps in one section, fabric in another — so the bin is actually usable, not just hoarding with a label.
Try this: Schedule a “scrap project” day quarterly — greeting cards, patchwork, collage — and craft the bin down to empty.
13. Store Yarn in a Visible Wall Display
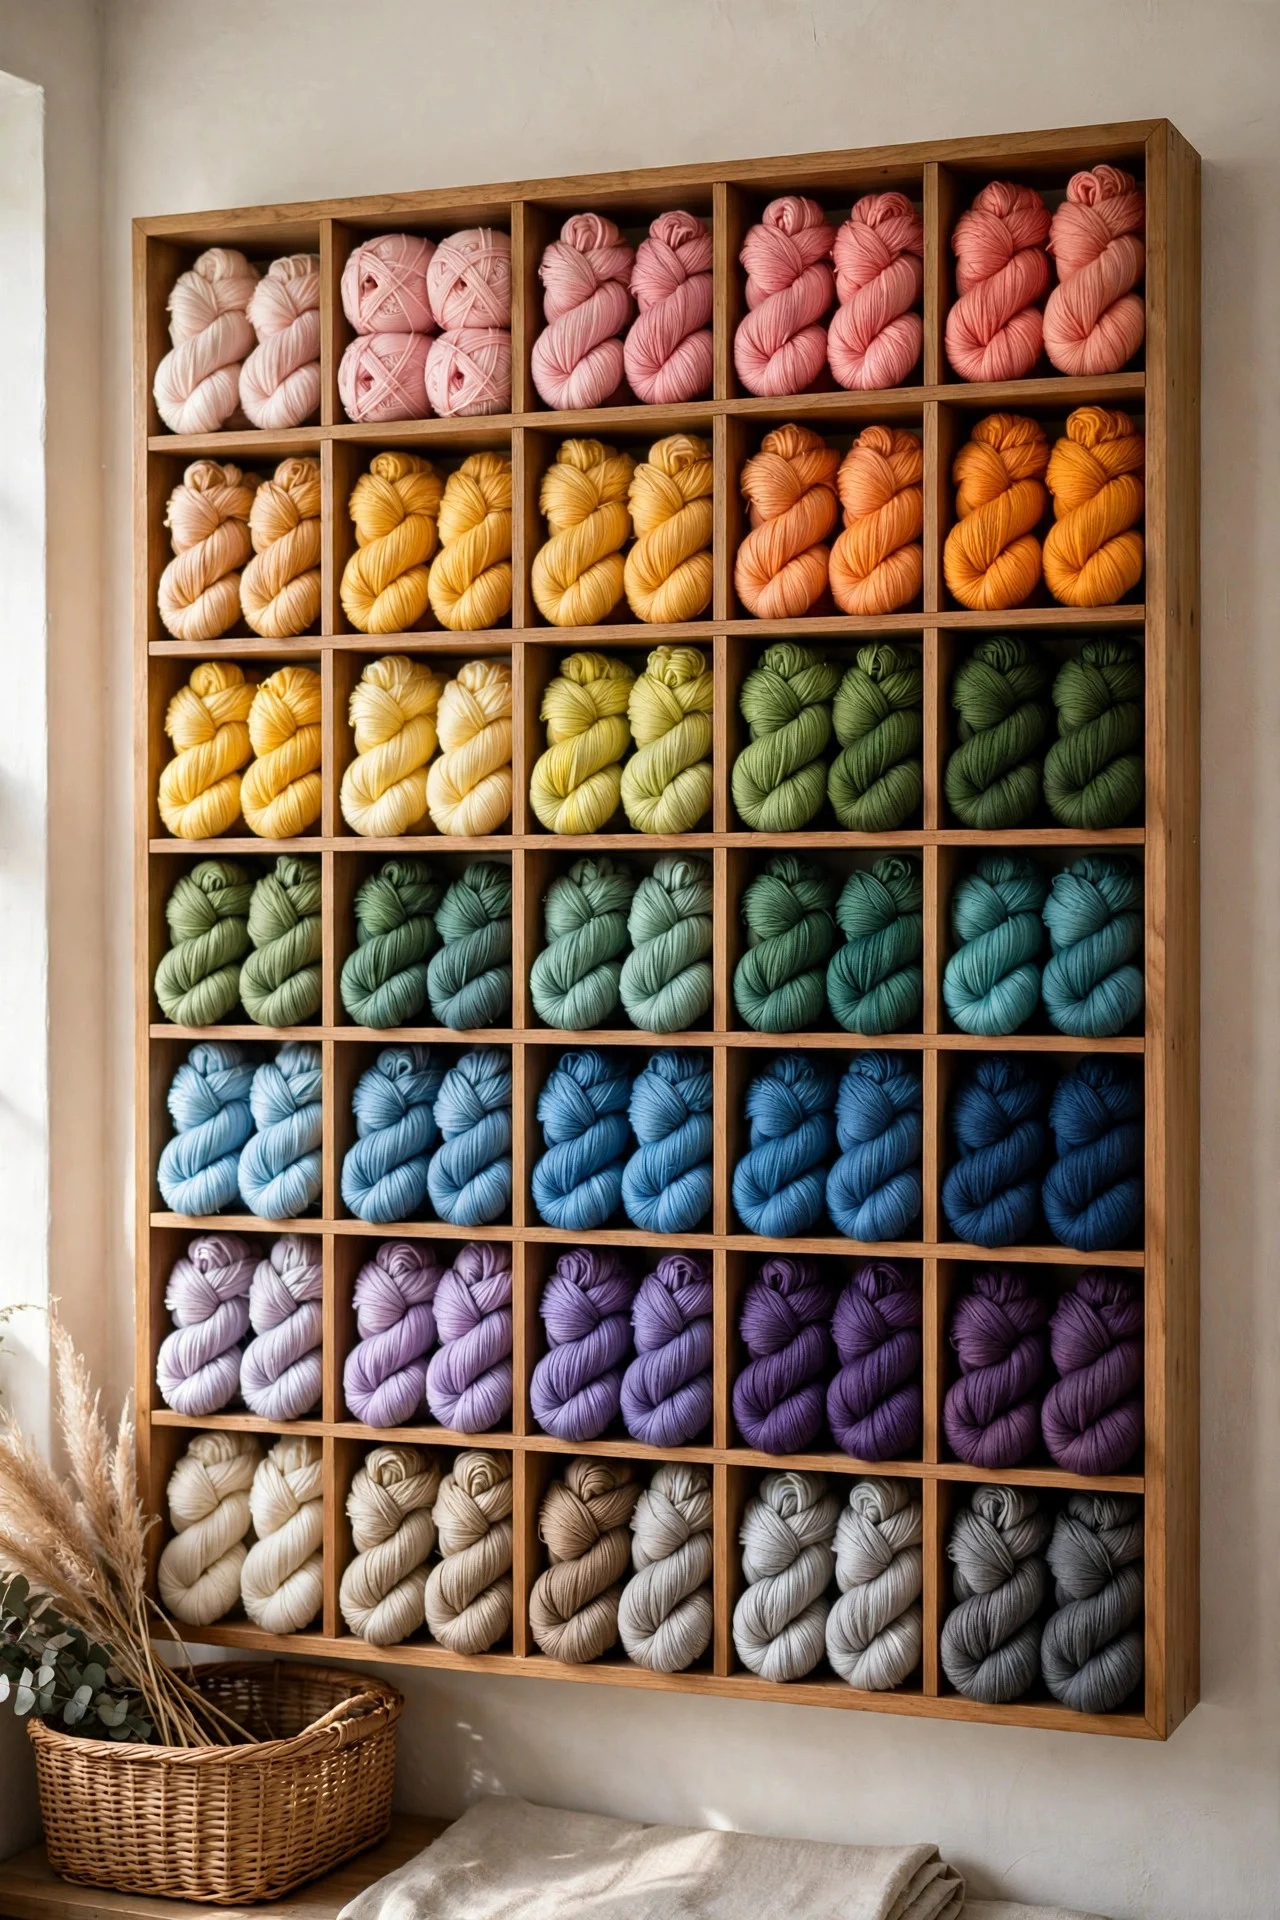
Yarn stuffed in bags becomes a tangled mystery. A wall-mounted wine rack, a cubby shelf, or even a repurposed shoe organizer displays skeins by color — beautiful to look at, easy to shop, and the yarn stays clean and untangled.
Keep yarn out of direct sunlight (it fades) but visible otherwise. One cubby per color family, and works-in-progress get their own project bag, not the display.
Try this: Wind partial skeins into center-pull balls before storing — they stack neatly and don’t roll away mid-project.
14. Dedicate One Surface as “Always Clear”
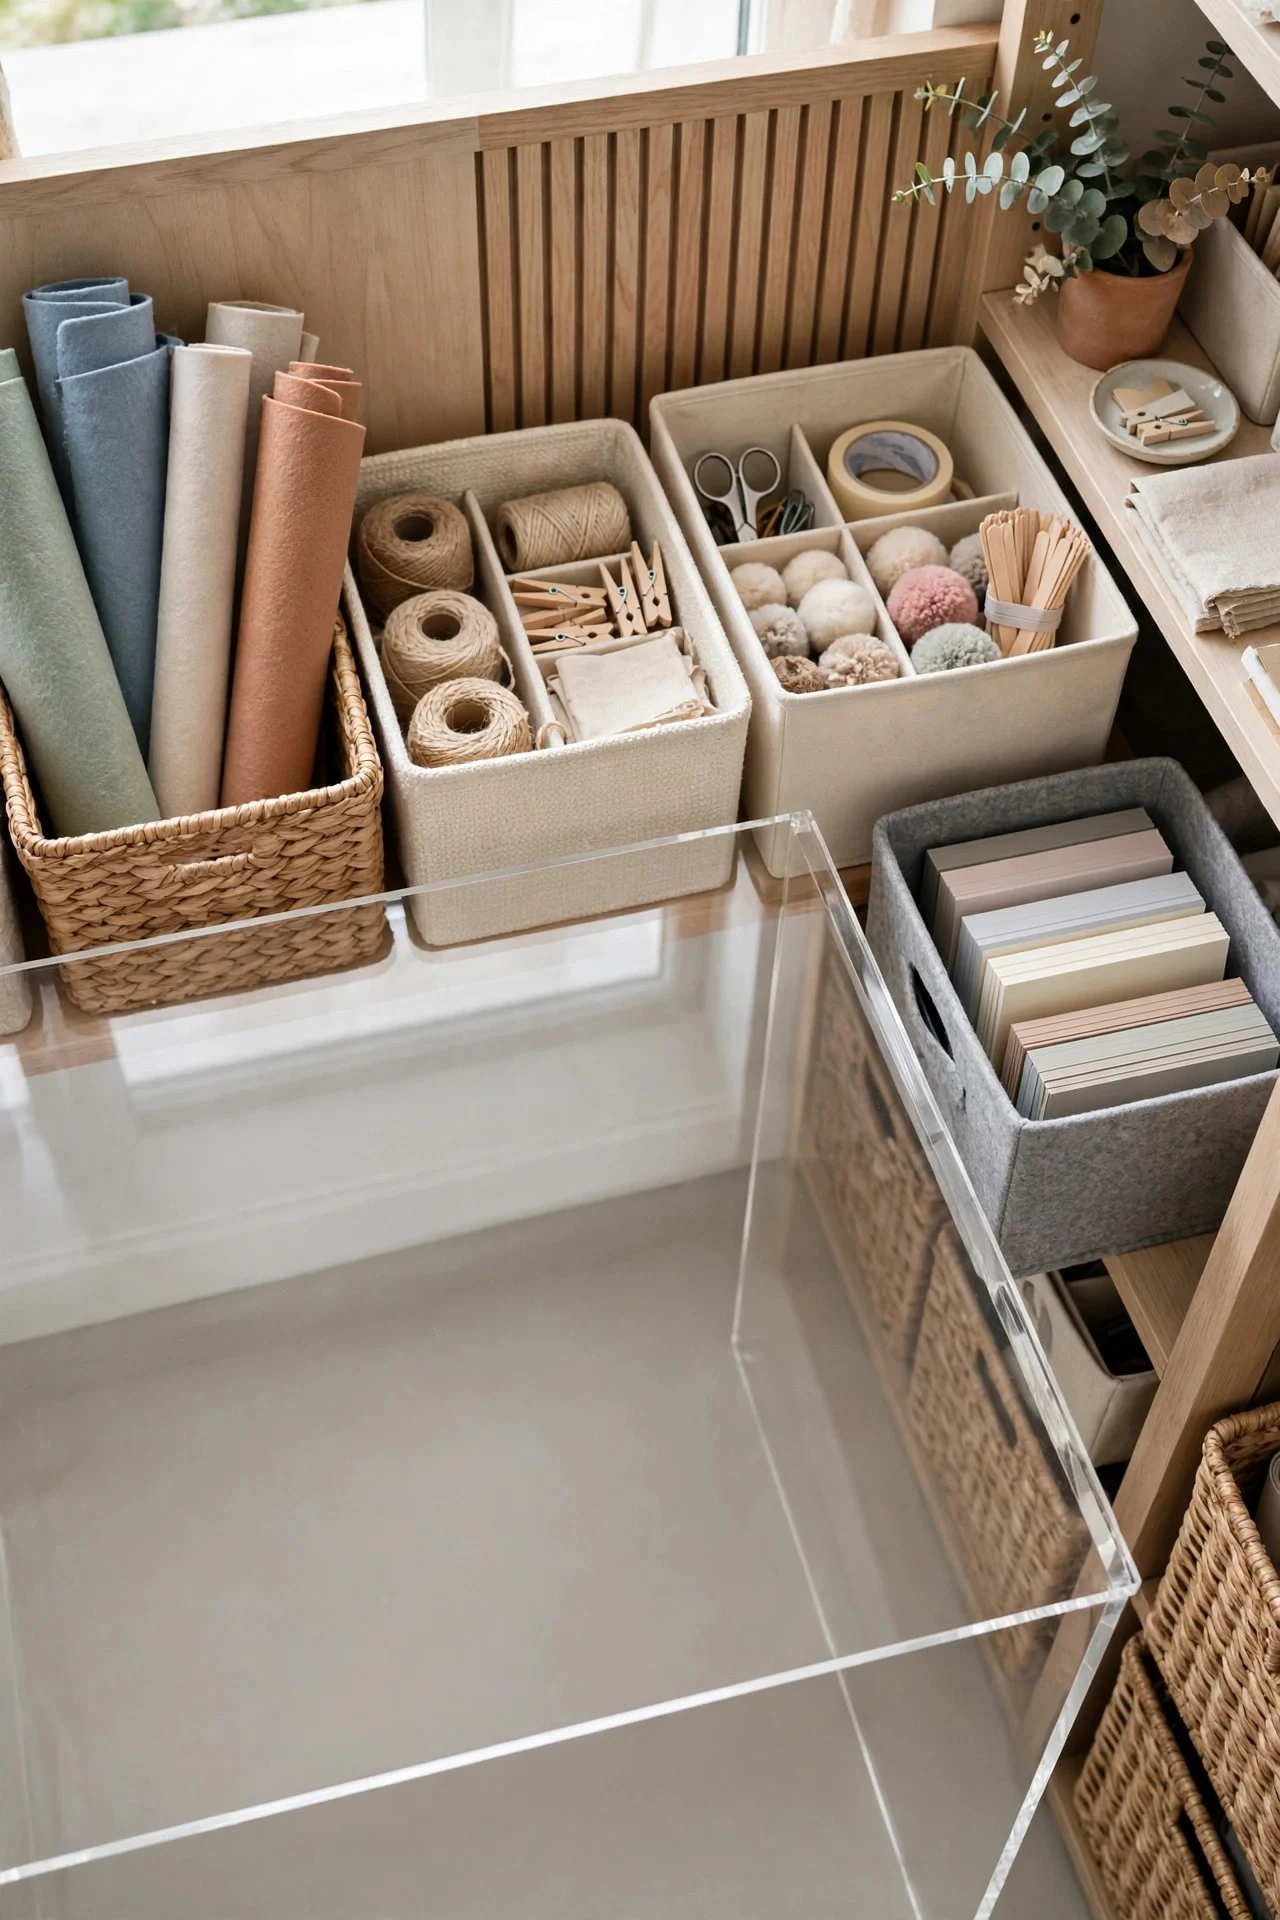
Every craft room needs one surface that stays clear — the cutting table, the desk, half the dining table. Protect it fiercely: when a project pauses, supplies go back in their bins, not “just for now” on the table. The clear surface is what makes the room usable on a random Tuesday evening.
A folding table that collapses against the wall gives you the surface only when you need it — ideal for truly tiny spaces.
Try this: End every session with a 5-minute reset: tools home, scraps binned, surface wiped. Future-you says thanks.
15. Photograph Finished Projects, Then Let Go
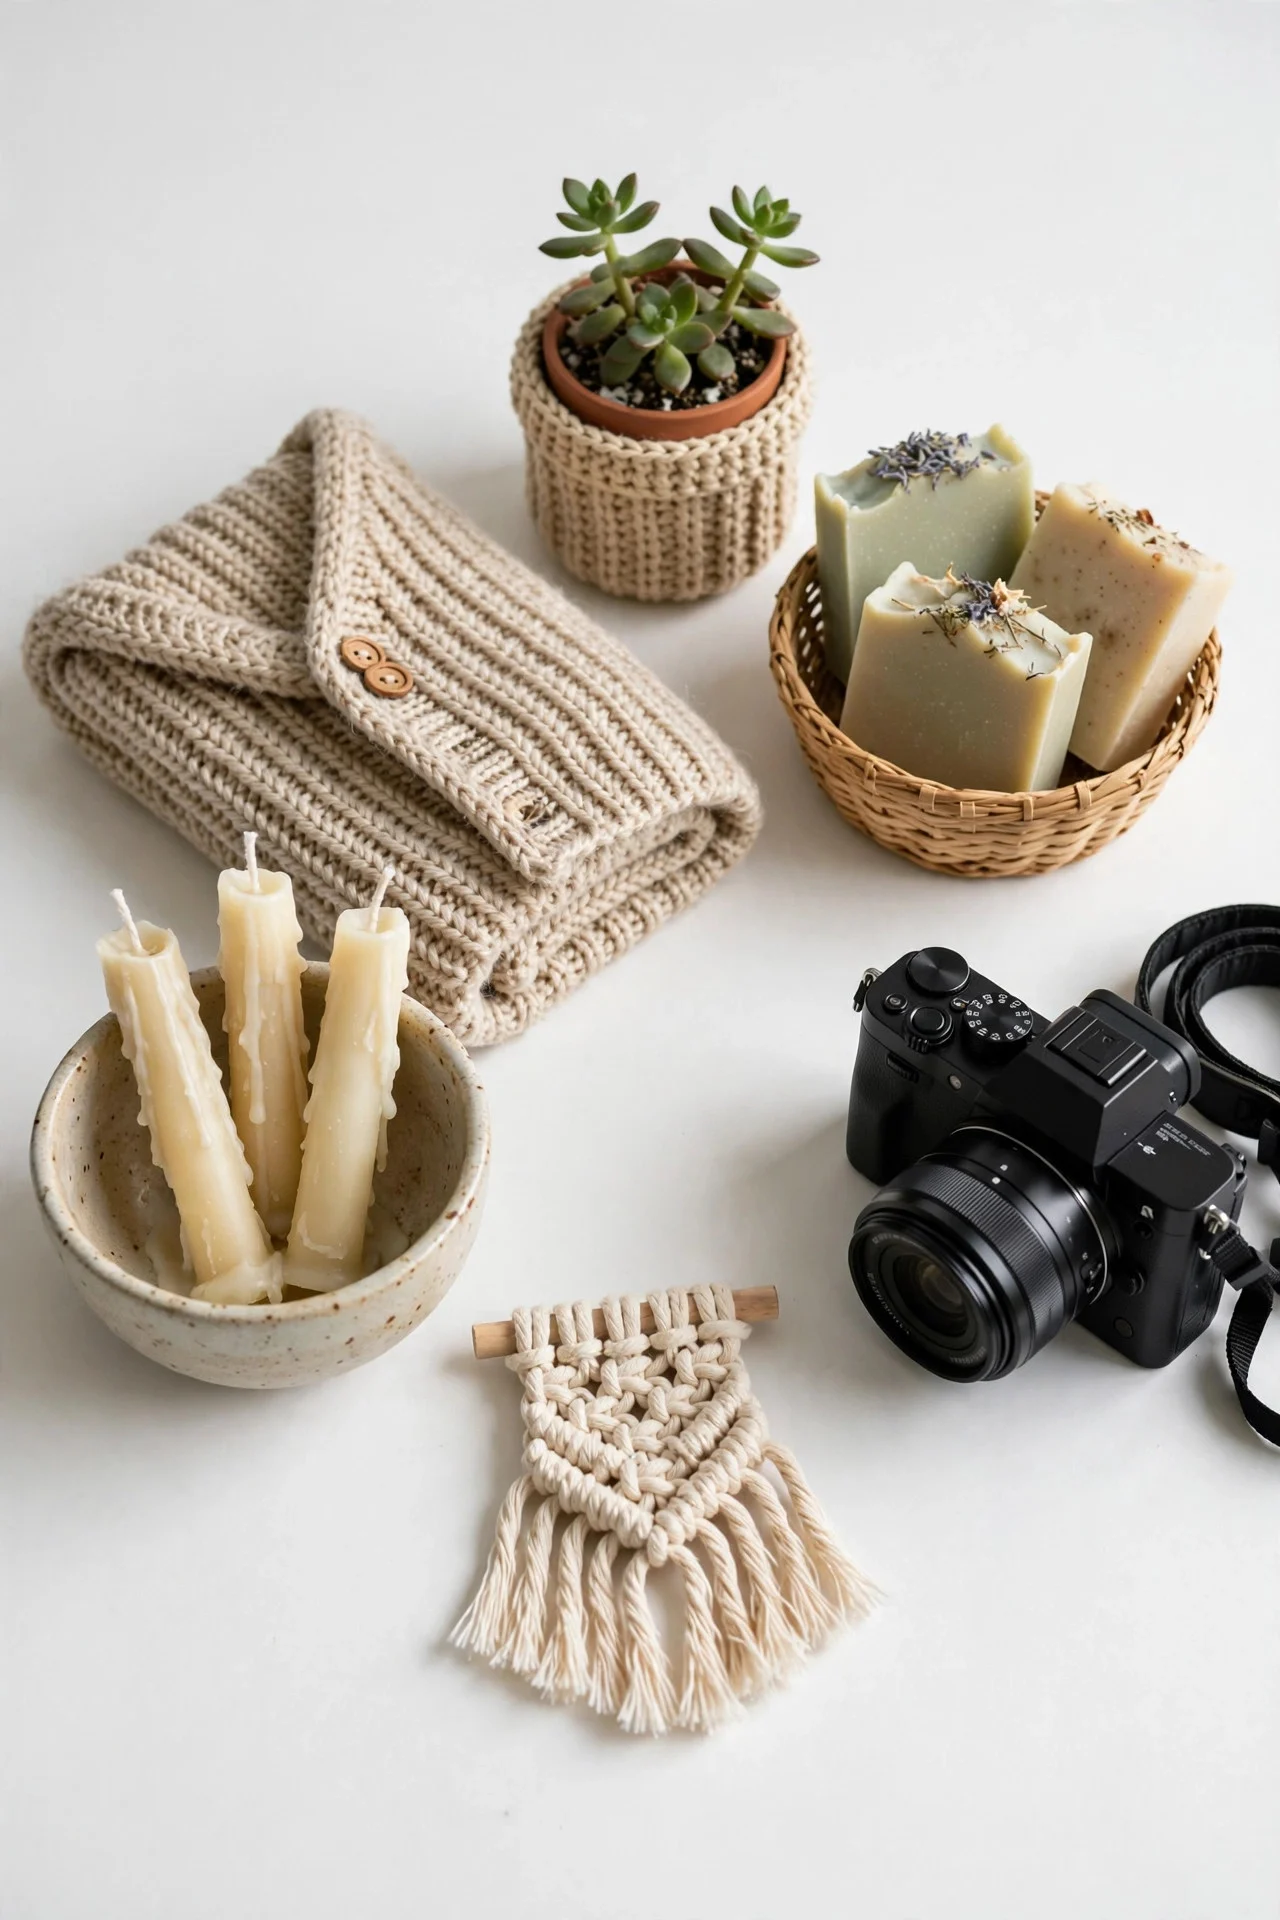
Finished crafts pile up because they represent hours of work. Photograph each one nicely — good light, clean background — and then gift it, donate it, or (for the truly un-giftable) let it go. The photo preserves the memory; the object doesn’t need to live in your house.
Keep a digital album of finished work. It’s deeply satisfying to scroll through, and it frees the physical space for the next project.
Try this: Set a “finished projects” shelf with a one-month limit — anything still there after a month gets gifted or donated.
Frequently Asked Questions
How do I organize a craft room in a very small space?
Go vertical (pegboard, wall racks, door organizers), mobile (rolling cart for the active project), and project-based (one bin per project). Keep one surface always clear, and let the rolling cart be the room when space is tight.
What’s the best way to store fabric in a small room?
Fold around backing boards into uniform mini-bolts for shelf filing, or hang yardage on clip hangers on a wall rod. Both keep every print visible — folded stacks hide the bottom half of your stash.
How do I stop craft supplies from taking over the house?
Contain by project (one bin per active project, max three), cap the scrap bin, and photograph finished work instead of storing it. Supplies spread when they have no defined home — give every category one.
Should I sort craft supplies by material or by project?
By project for active crafting (grab-and-go bins), by material for the stash (fabric together, paper together). The project bins pull from the material stash — two systems working together.
Final Thoughts
A small craft room thrives on boundaries: three project bins, one scrap bin, one clear surface, everything labeled. The pegboard and the rolling cart do the heavy lifting; the habits — the 5-minute reset, the photo-and-release — keep it working. Constraints aren’t the enemy of creativity. They’re what keep the creativity findable.