
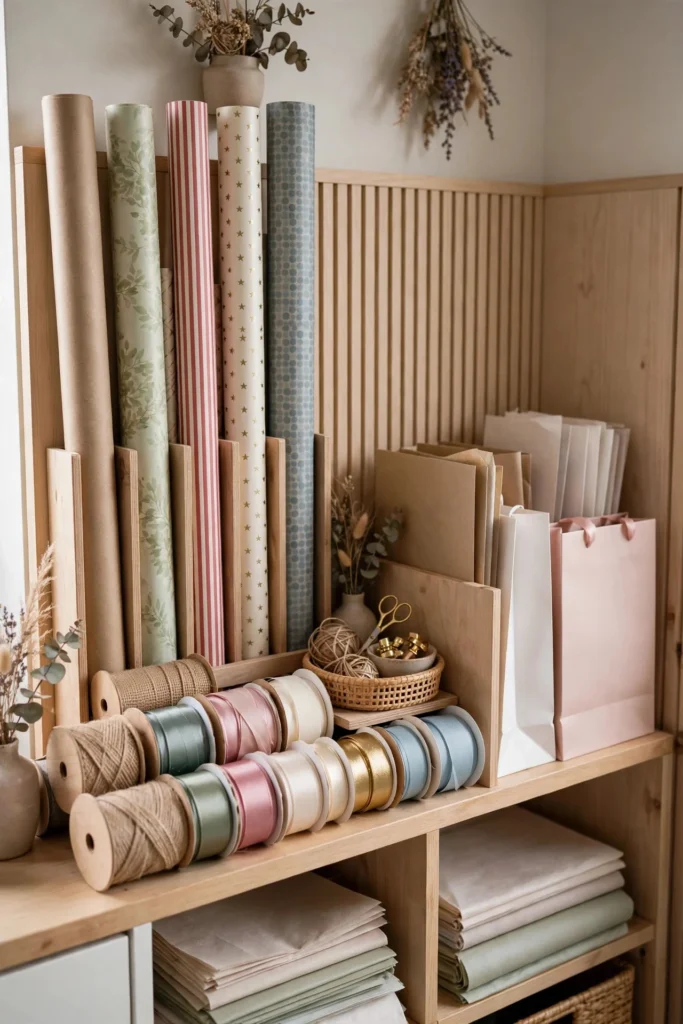
Gift wrap is one of those things that looks harmless in December and turns into a household gremlin by February — half-crushed rolls behind the sofa, ribbon tangled in a drawer, gift bags breeding in a closet corner. It never feels like much until you try to wrap one birthday gift and spend twenty minutes untangling a bow.
The fix isn’t a bigger storage room; it’s giving every roll, ribbon, and tag a proper home. These 15 gift wrap storage ideas cover every living situation — tiny apartments, garage organizers, and everything in between — so you can wrap a gift in five minutes flat any day of the year.
1. Hang Rolls in a Vertical Wall Rack
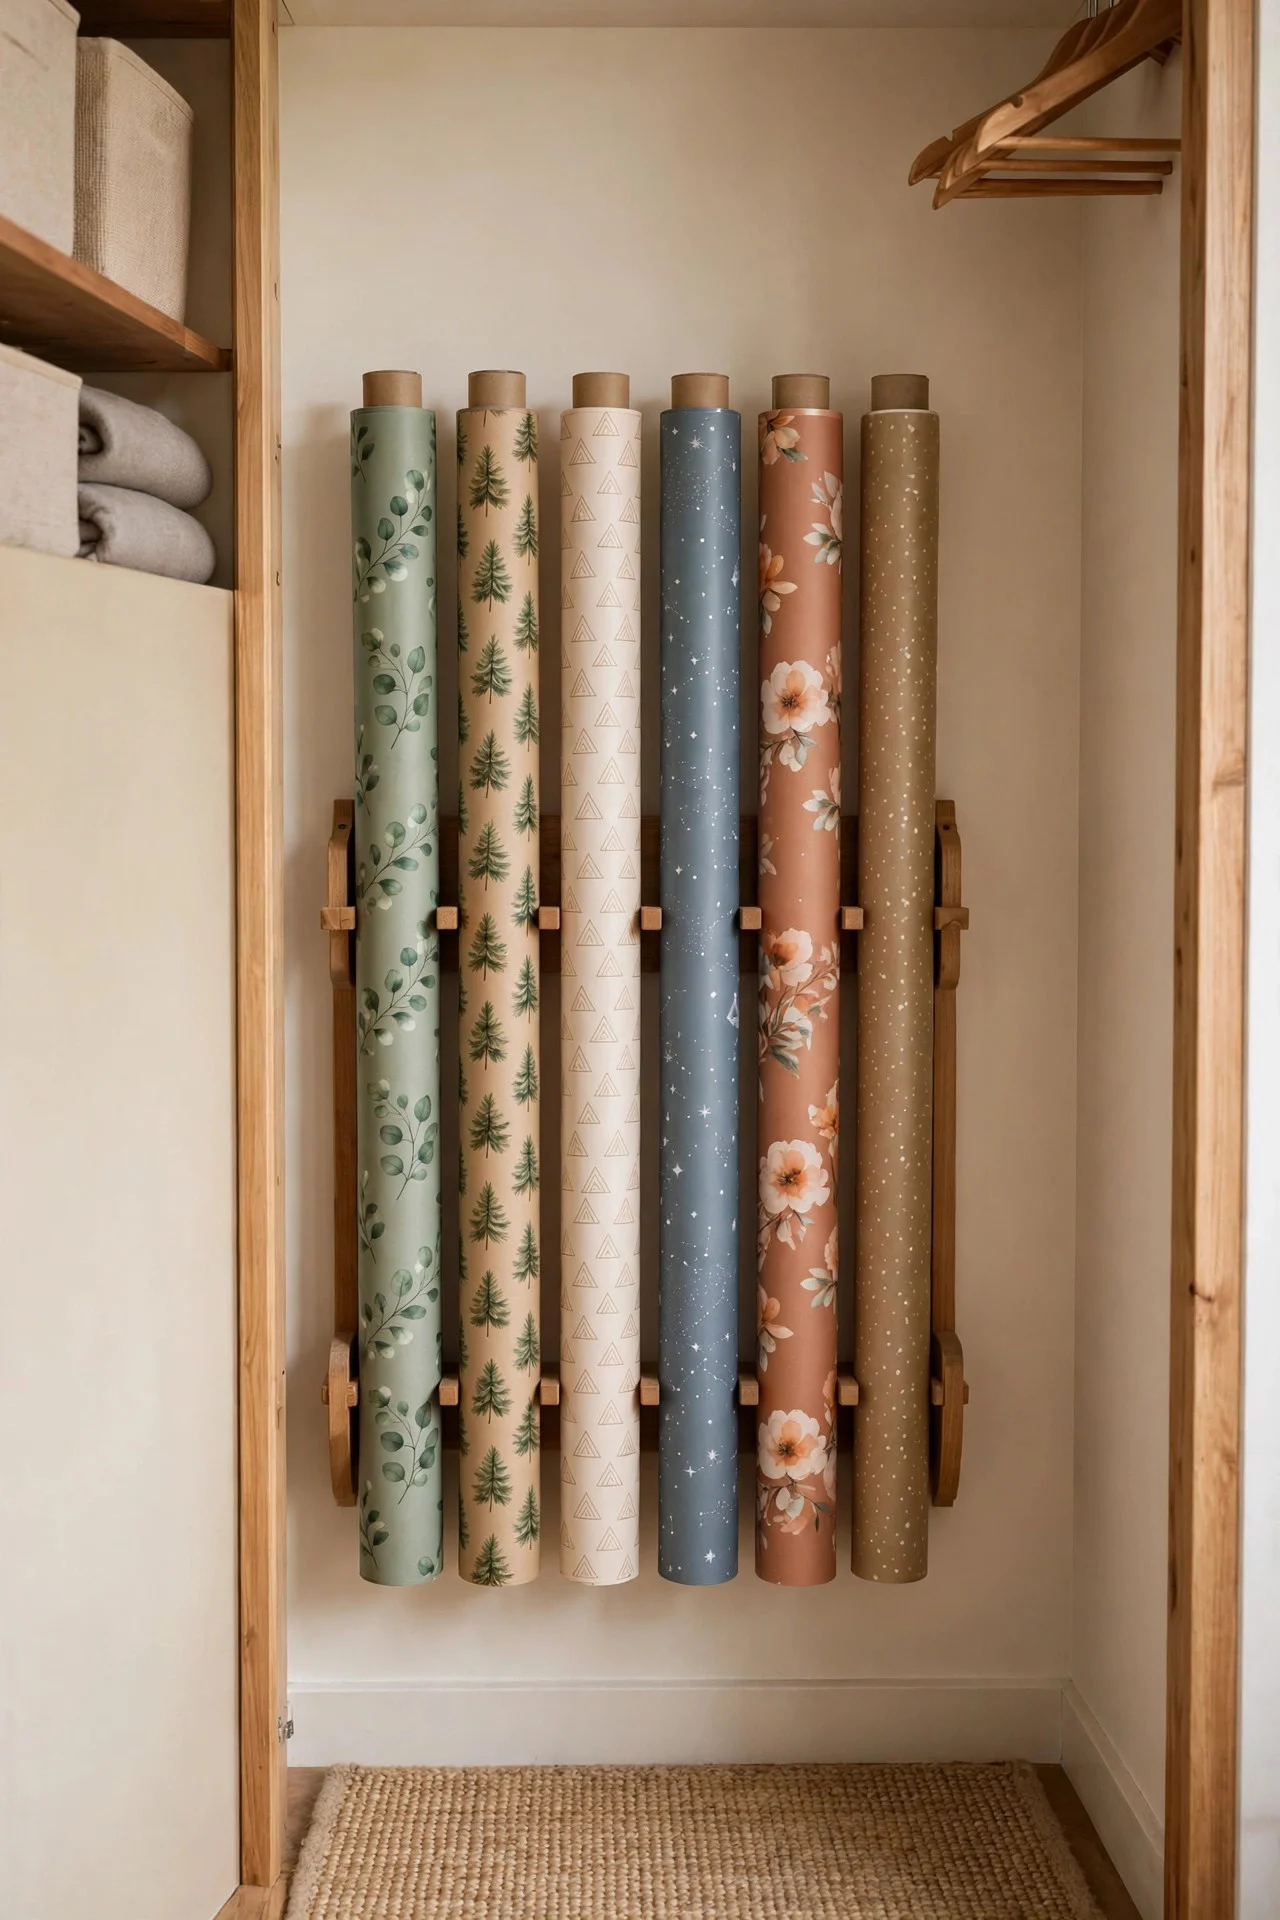
Wrapping paper rolls are awkward because they’re long and they roll. A vertical wall-mounted rack — basically a set of deep pockets or a dowel-style holder screwed into a closet wall — keeps up to 20 rolls upright, visible, and impossible to crush.
Mount it inside a spare closet, on a laundry room wall, or in a craft corner. Rolls stored upright don’t get bent ends, which is the number-one cause of ugly torn wrapping paper.
Try this: Keep one empty pocket labeled “returns/recycled” — wrapping paper saved from gifts gets stored here instead of crumpling into a drawer.
2. Slide an Under-Bed Roll Organizer
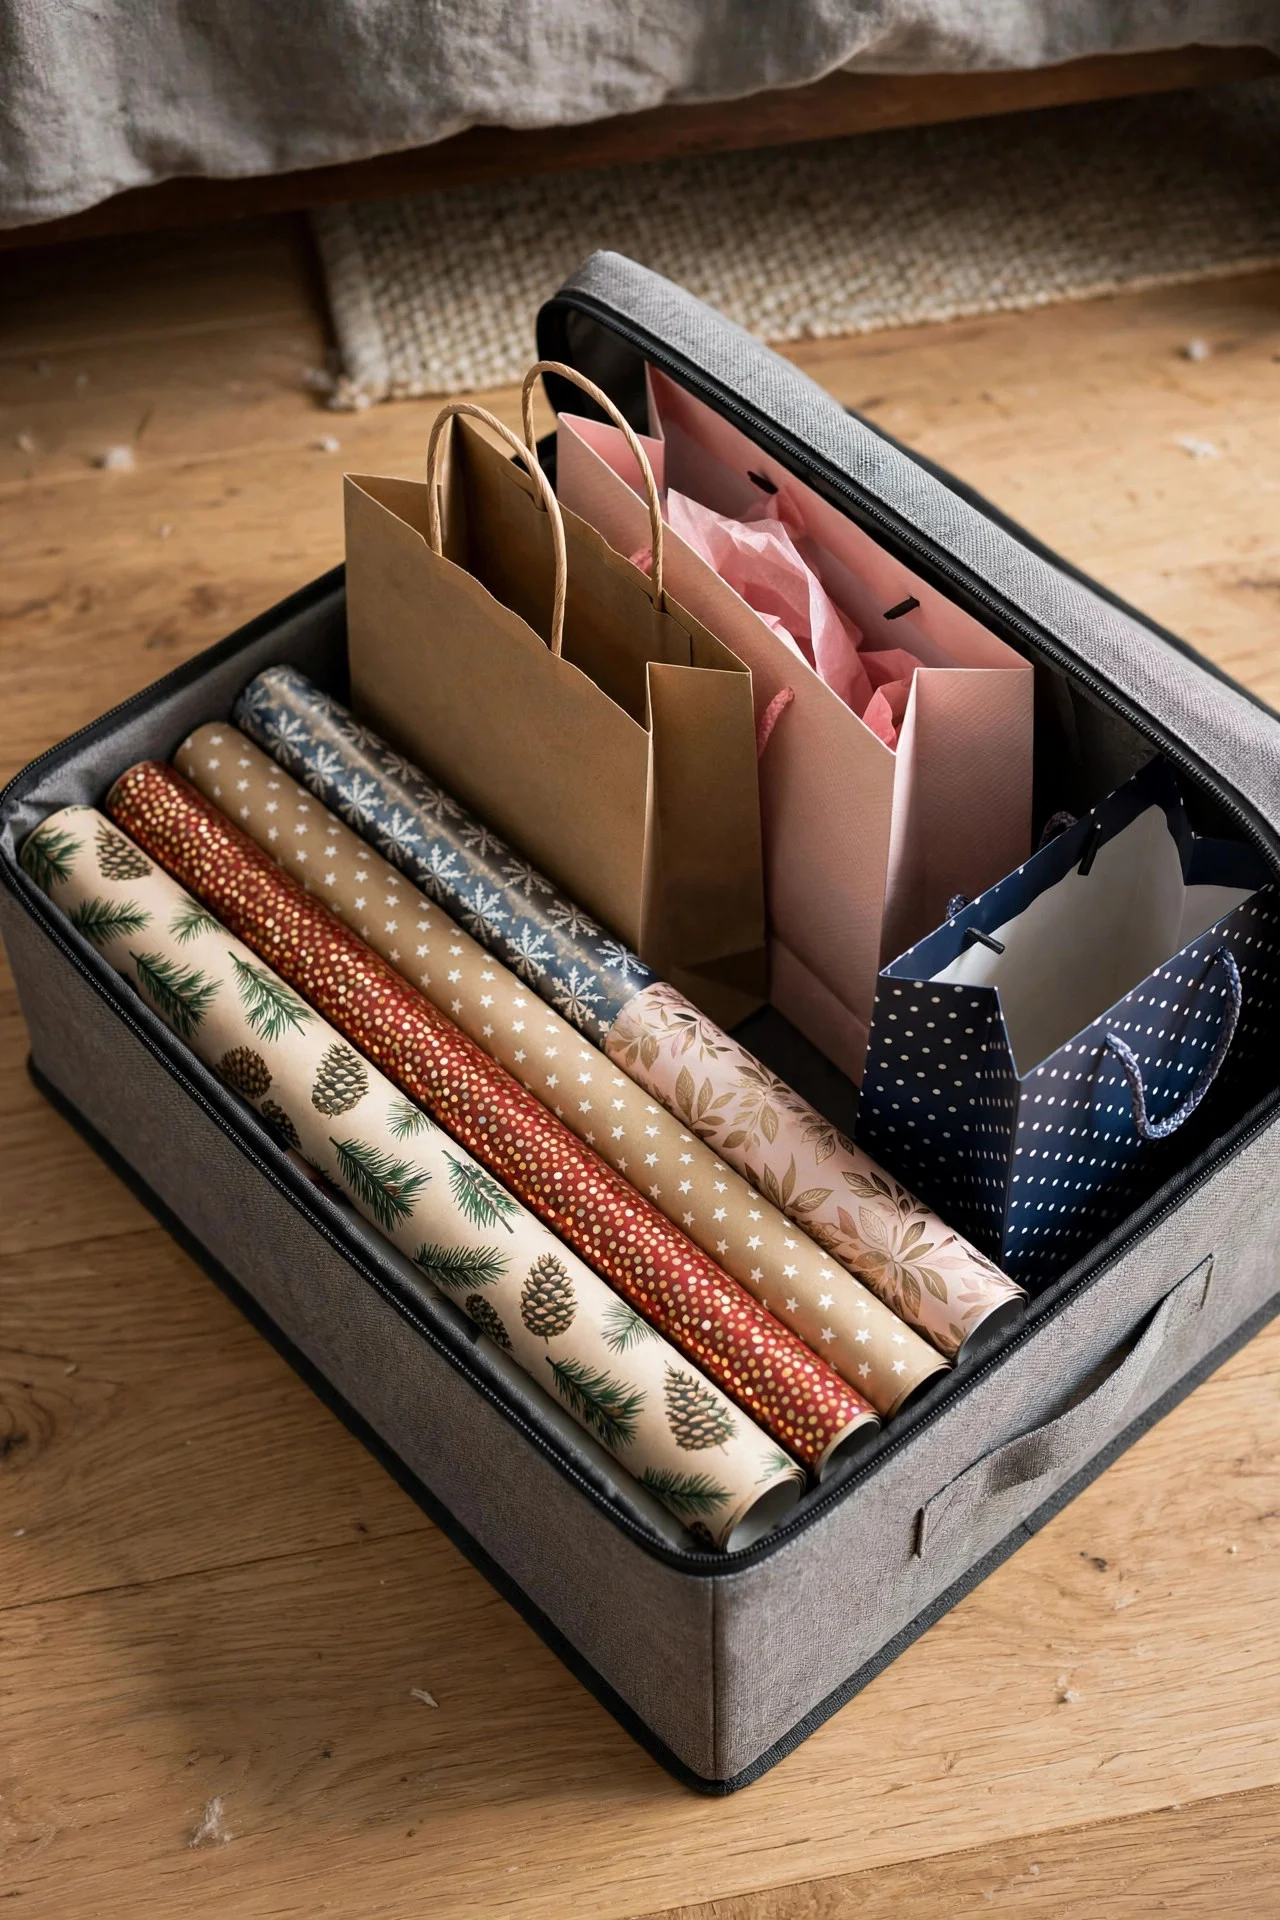
If floor space is precious, a slim under-bed organizer (roughly 42 x 14 inches, about $15) swallows wrapping paper rolls, flat gift bags, and folded tissue. It disappears under any bed with at least 6 inches of clearance.
Look for the kind with a rigid lid — it protects paper from dust and keeps rolls from unrolling under there. One per household is usually plenty.
Try this: Tape a small list of the rolls inside to the lid so you stop buying duplicates every December.
3. Repurpose a Tall Trash Can for Rolls
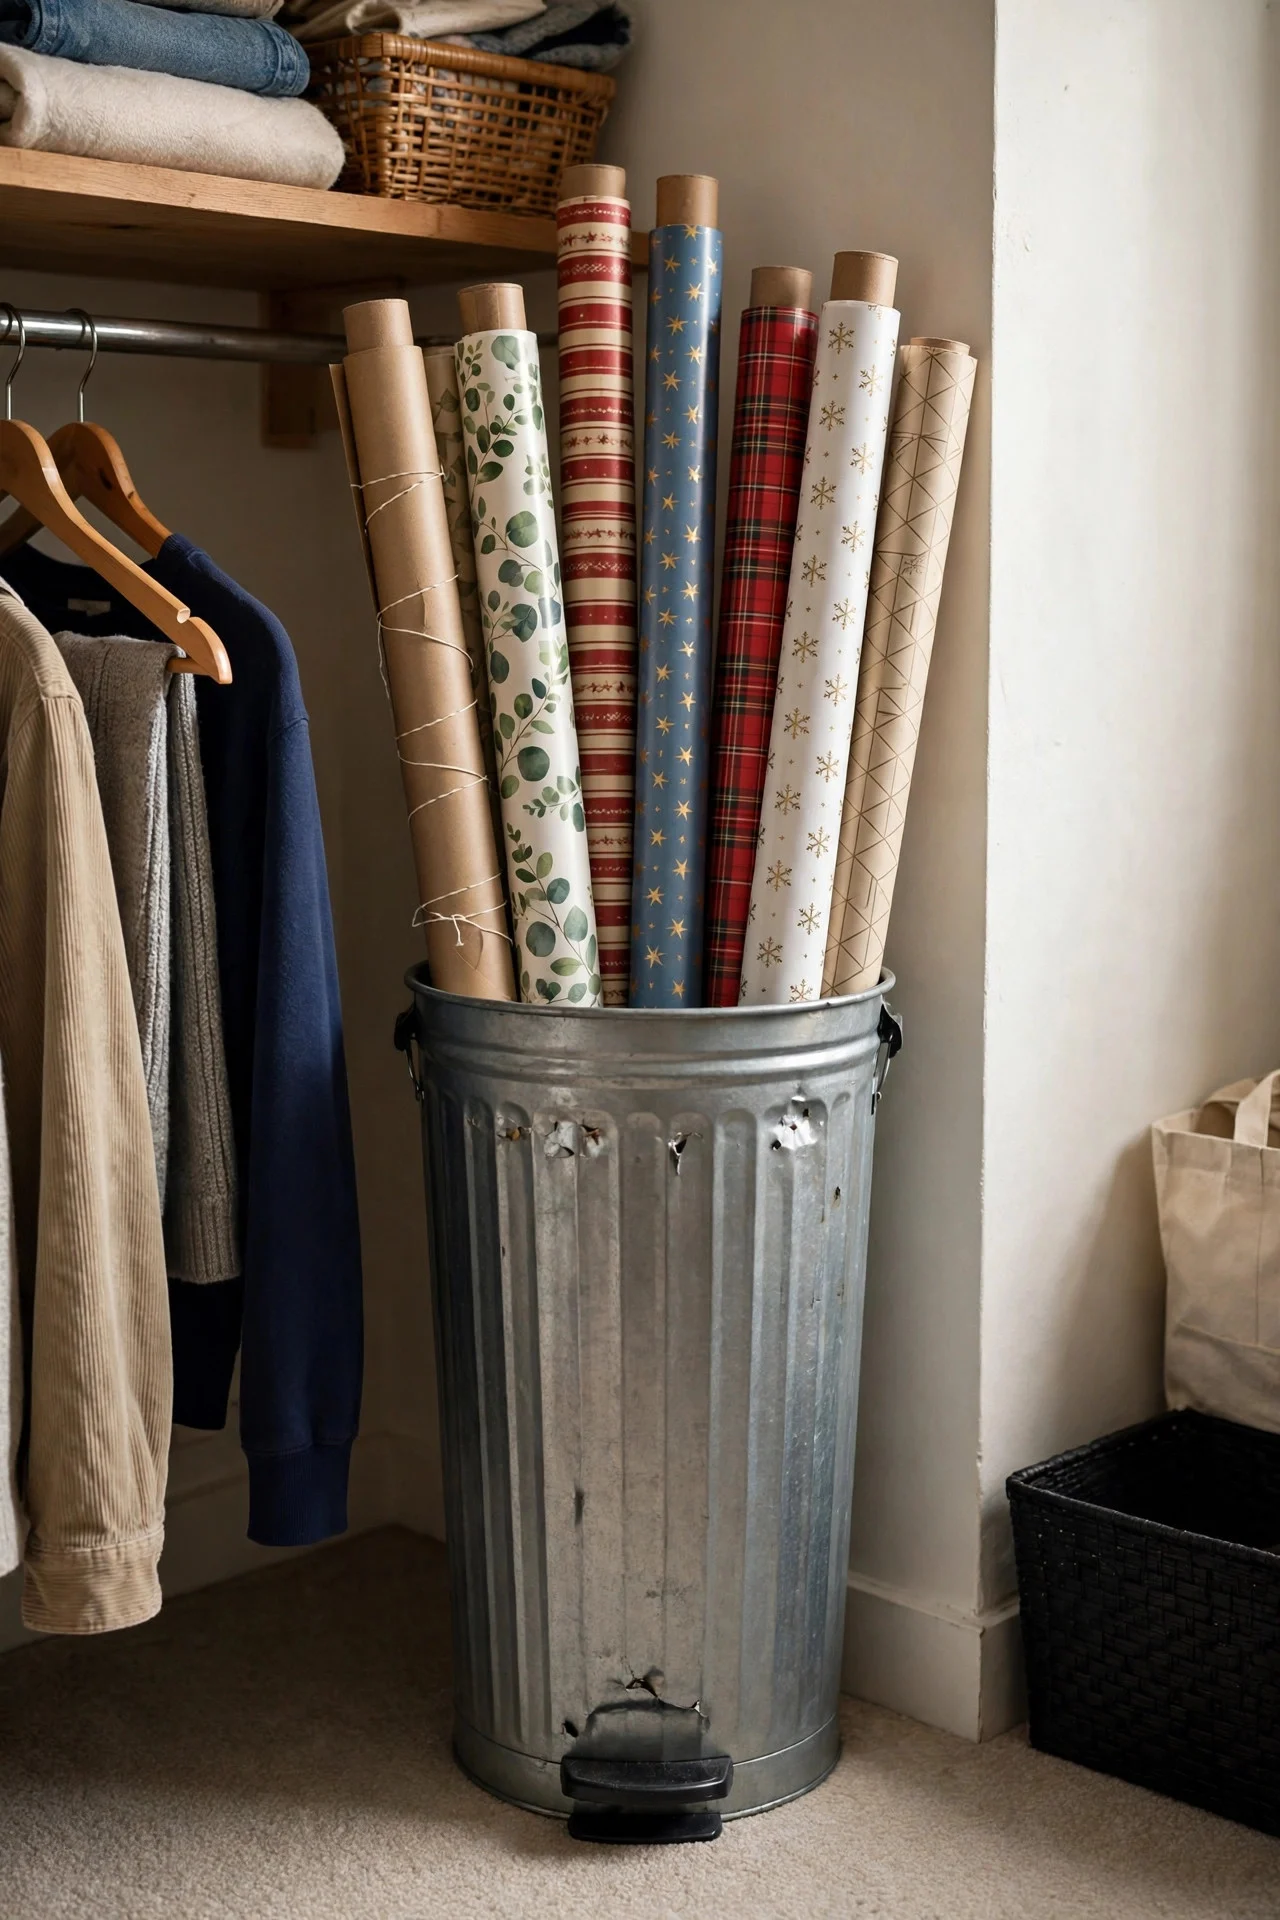
The budget classic: a tall, clean kitchen trash can (the 13-gallon tall style, about $12) becomes a surprisingly good upright roll holder. Drop in a dozen rolls, stand it in a closet corner, done.
It won’t win design awards, but it works. Choose a can with straight sides rather than tapered so rolls don’t tip sideways, and cut a piece of cardboard to lay across the top as a lid.
Try this: Paint it or wrap the outside in a leftover wallpaper scrap — suddenly it’s intentional decor, not a trash can full of paper.
4. Hang an Over-the-Door Wrapping Station
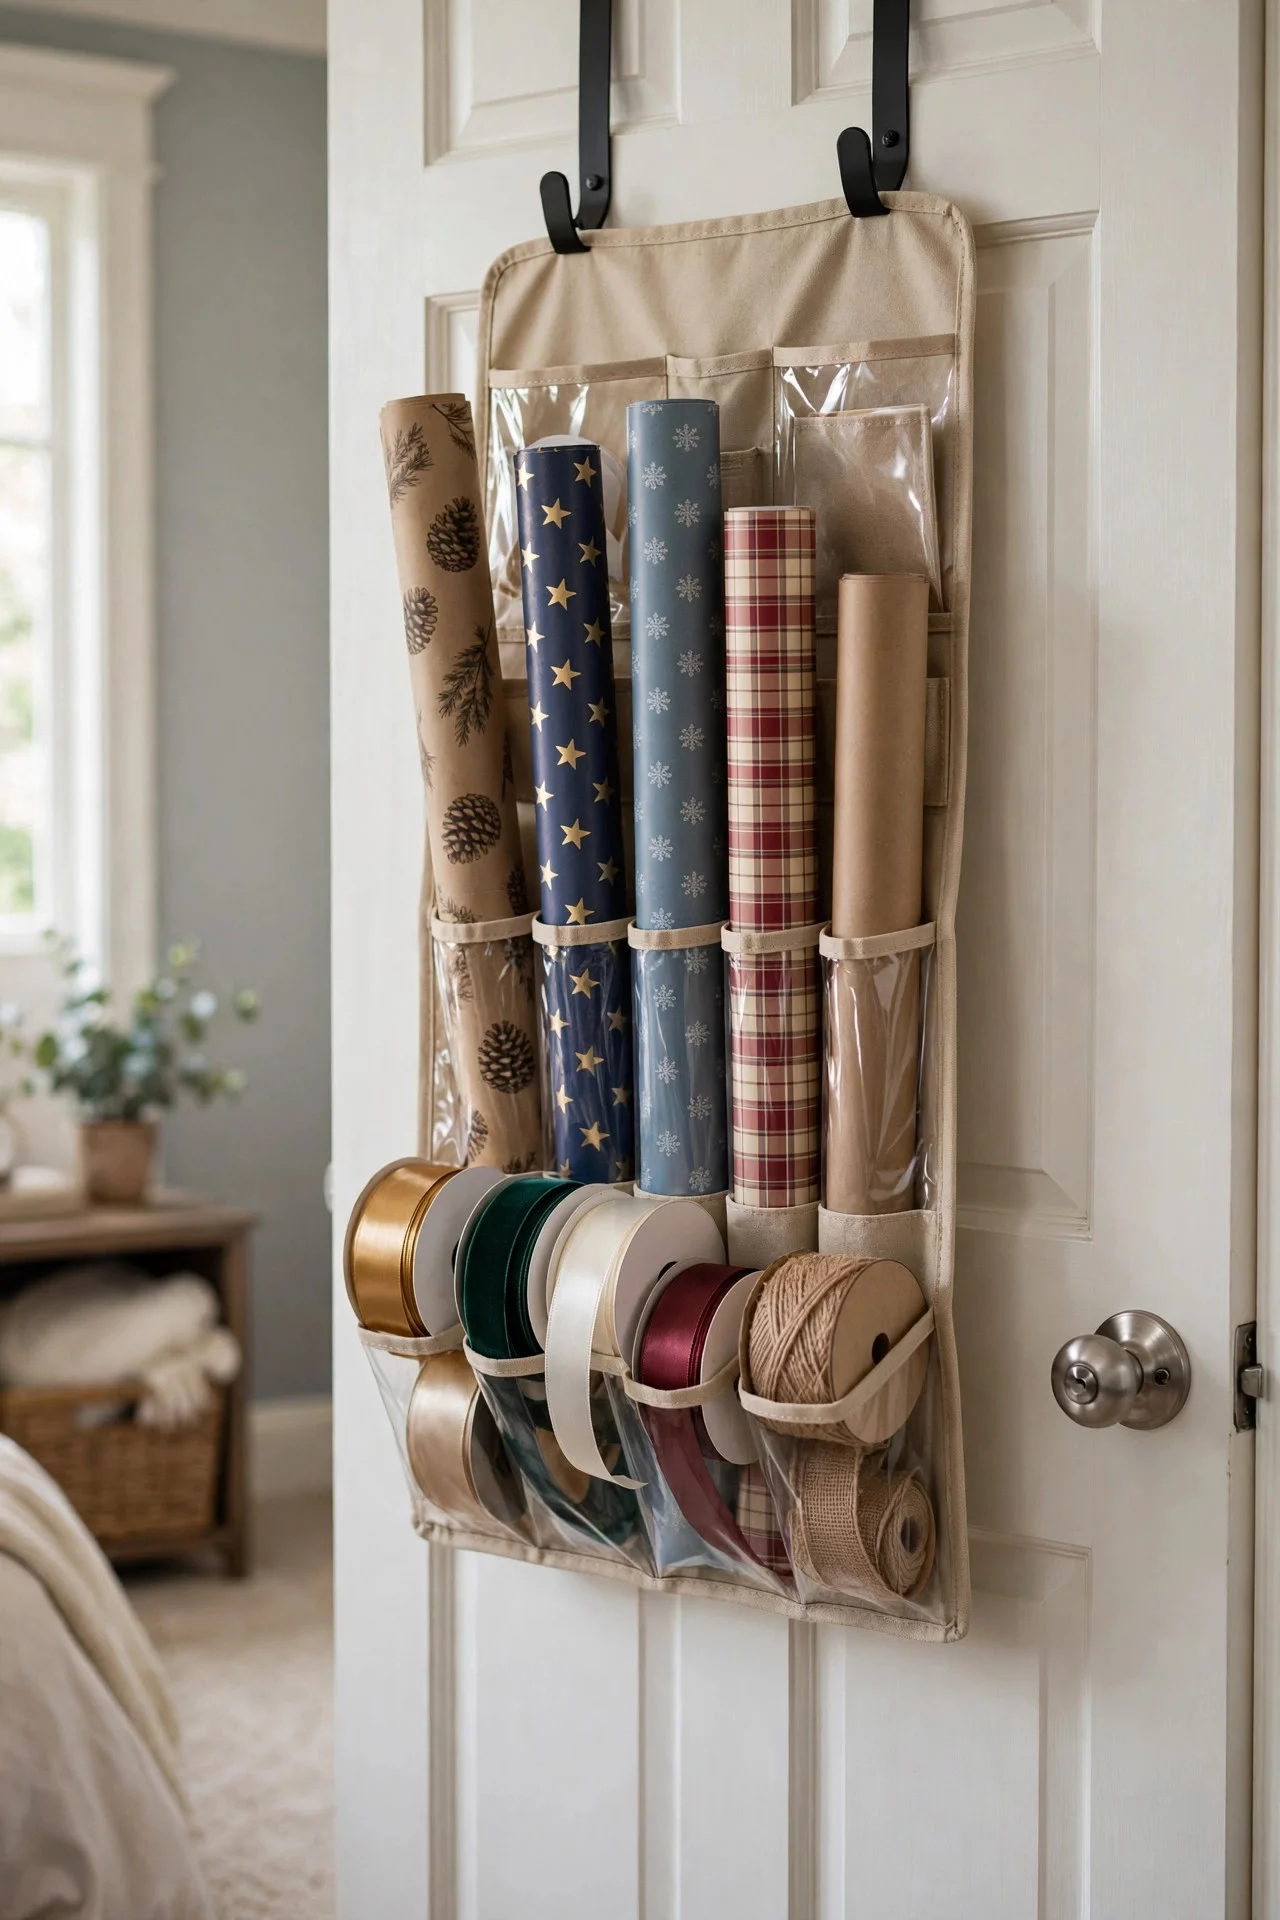
Over-the-door organizers with long vertical pockets are made for wrapping paper. The slim versions hang on any interior door, hold 8–12 rolls plus ribbon spools and scissors, and cost under $20.
This shines in apartments where a dedicated craft closet doesn’t exist. The back of a bedroom or office door works — anywhere you can open the door fully.
Try this: Add a small adhesive hook at the bottom for your scissors and tape gun — the station becomes a complete wrap-on-the-go kit.
5. Build a Ribbon and Tape Caddy
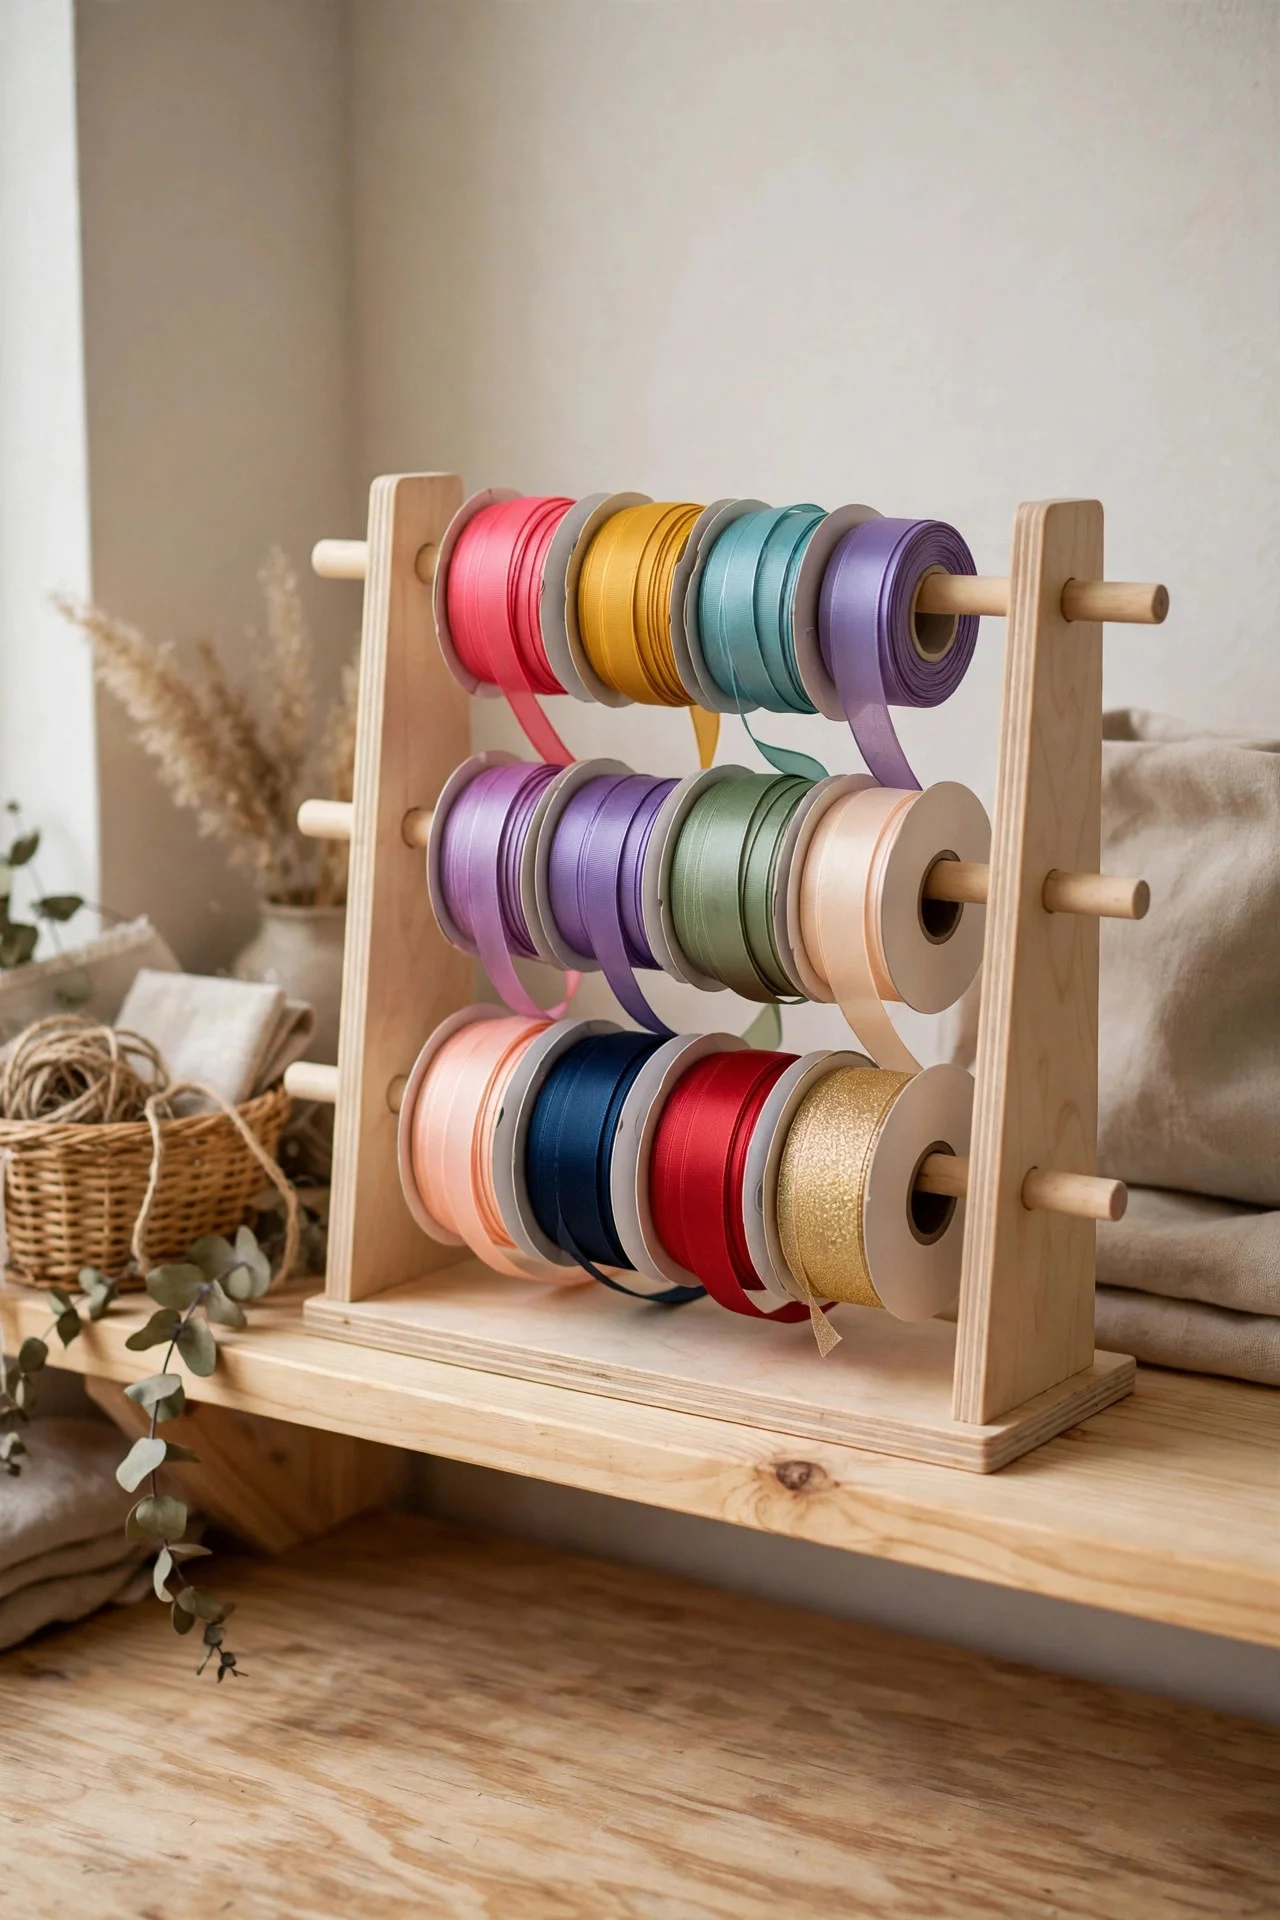
Ribbon spools are the tangling champions of the craft world. A desktop ribbon caddy — a box with dowels running through it so spools spin freely — keeps every color organized and cuttable with one pull.
DIY one in about 30 minutes with a shoebox and two wooden dowels, or buy one for around $15–25. It lives on a shelf and pulls out when it’s wrapping time.
Try this: Thread a strip of sandpaper across the caddy’s front edge — it tears ribbon cleanly without scissors.
6. Dedicate One Drawer to Gift Supplies
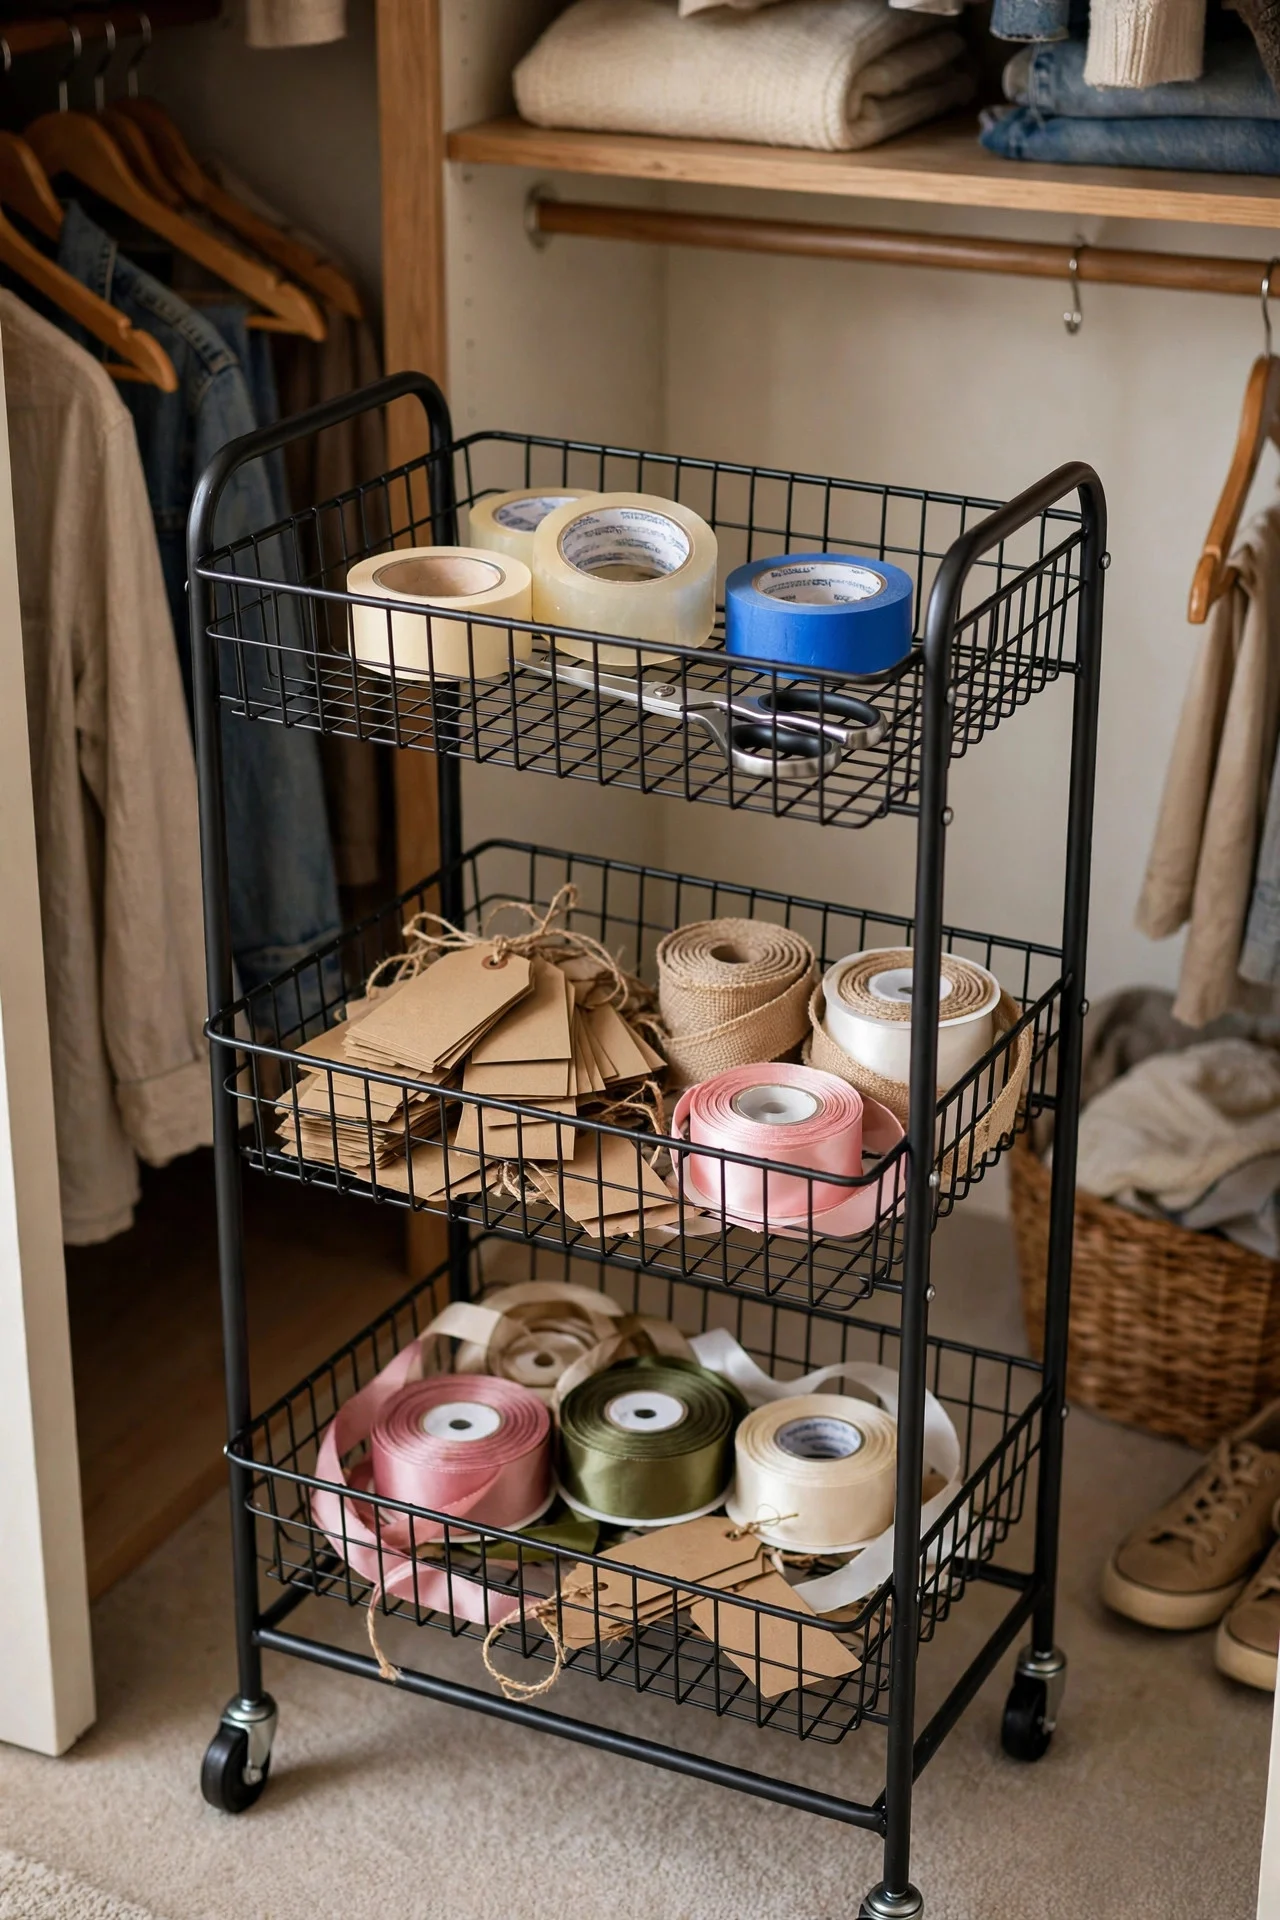
Sometimes the answer is just a single drawer. Empty one kitchen junk drawer (or buy a 3-drawer rolling cart) and divide it with trays: tags and pens in one section, ribbon in another, tape and scissors in a third.
The rolling cart version is even better — a 3-tier cart for about $30 rolls wherever you’re wrapping and tucks into a closet after. Everything stays in one mobile station.
Try this: Keep the cart stocked and it doubles as your “I’m late for a party” emergency kit — gift bag, tissue, card, done.
7. Store Gift Bags Flat in a File Box
Gift bags multiply like rabbits because people reuse them, then shove them somewhere crumpled. File them upright in a magazine file or small office box, sorted by size: small, medium, large.
Fold the handles down and slide tissue paper inside each bag so they keep their shape. One file box holds roughly 15 bags and fits on any closet shelf.
Try this: Once a year, toss any bag with torn handles or dried-out creases — they’re why the collection feels like junk.

8. Coil Wrapping Paper in a Corner Basket
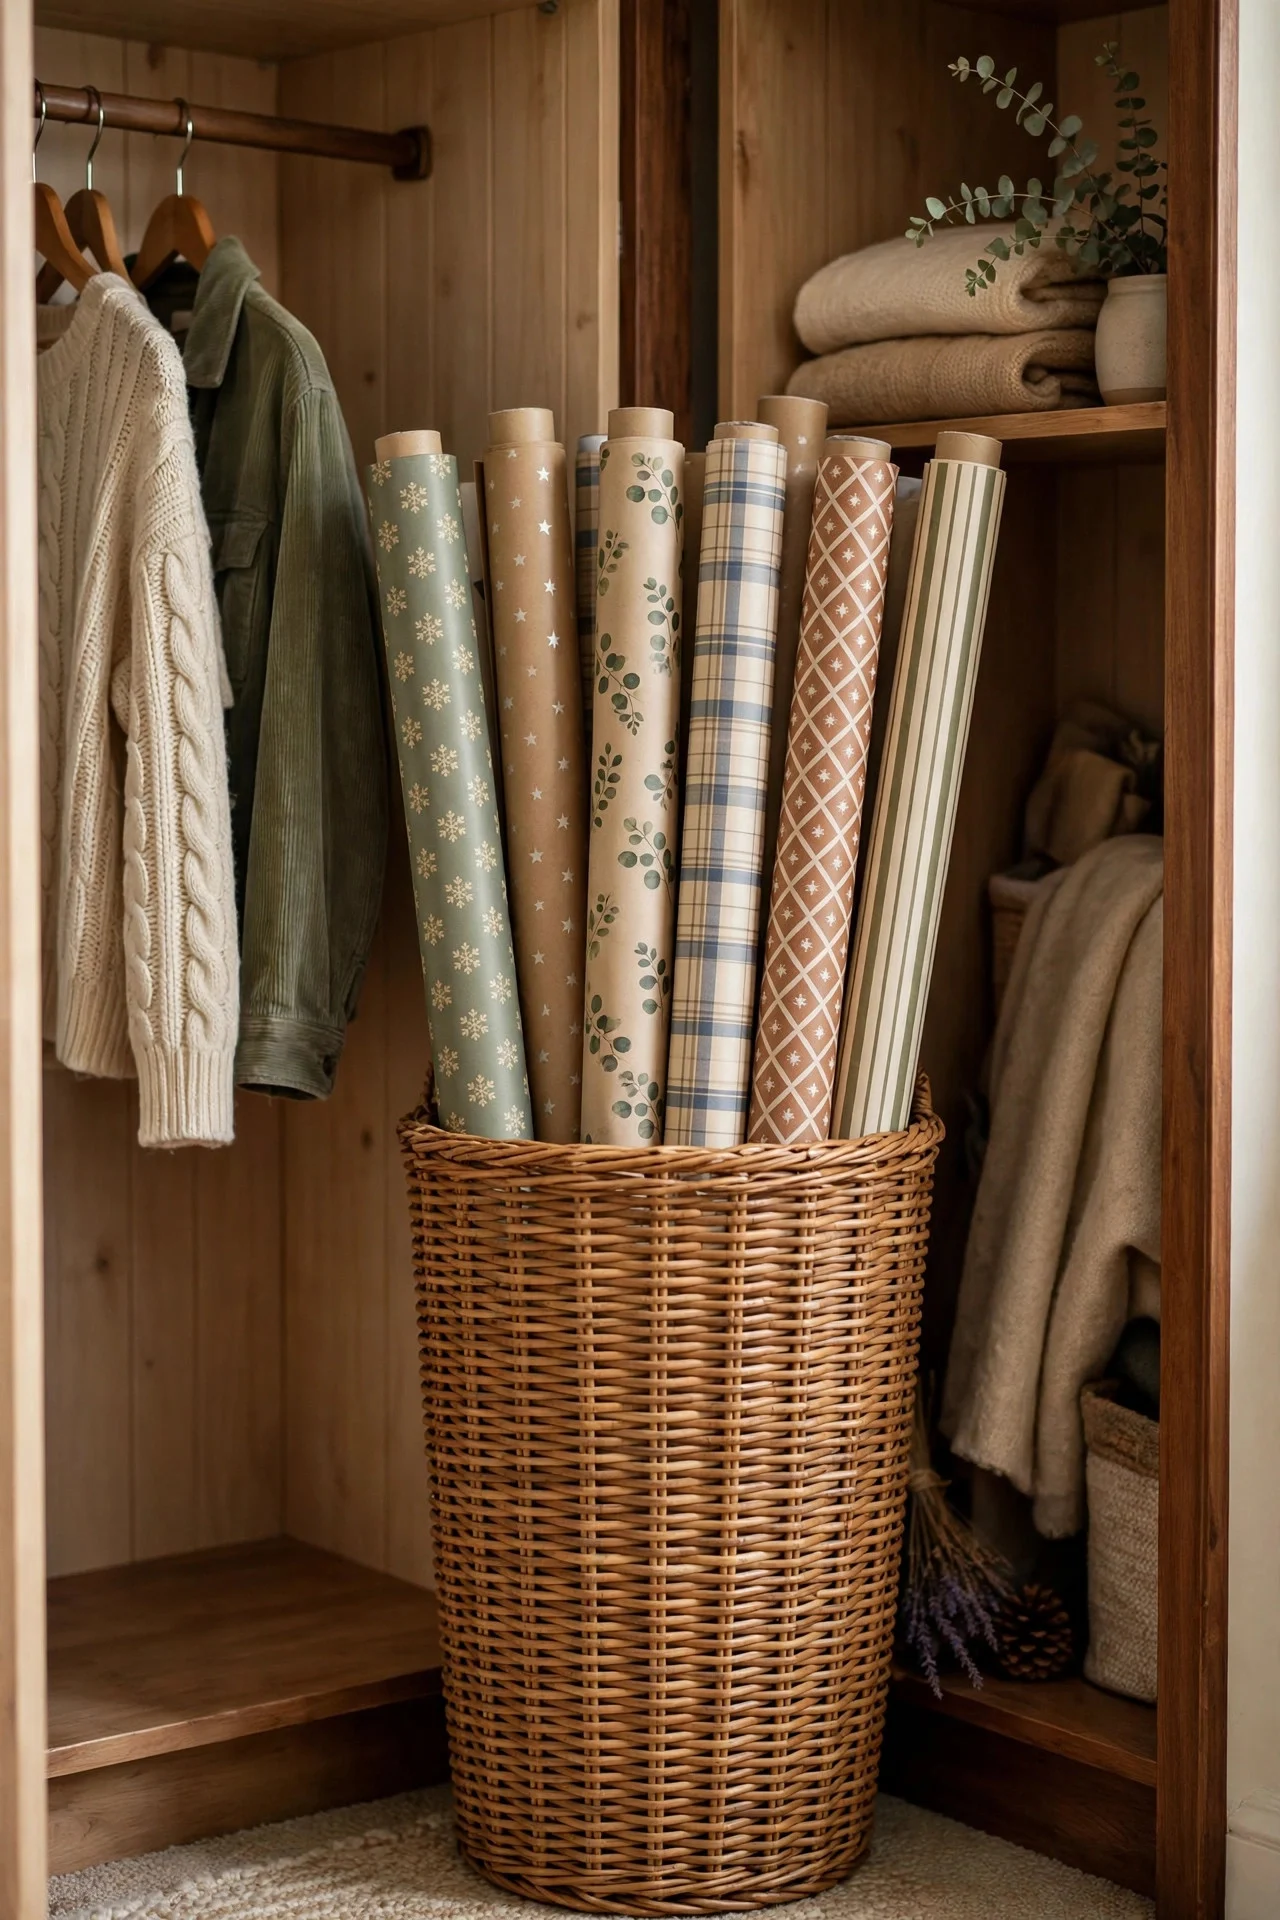
For the “I only wrap three gifts a year” crowd, a tall floor basket is all you need. A 30-inch woven basket holds 5–8 rolls upright in a closet corner or behind a door and looks like decor, not storage.
Add a few ribbon spools and a gift tag tin tucked in among the rolls. It works because everything you need for occasional wrapping is in one grab-and-go spot.
Try this: Choose a basket with a slightly narrower top than base — it grips the rolls so they can’t slide out.
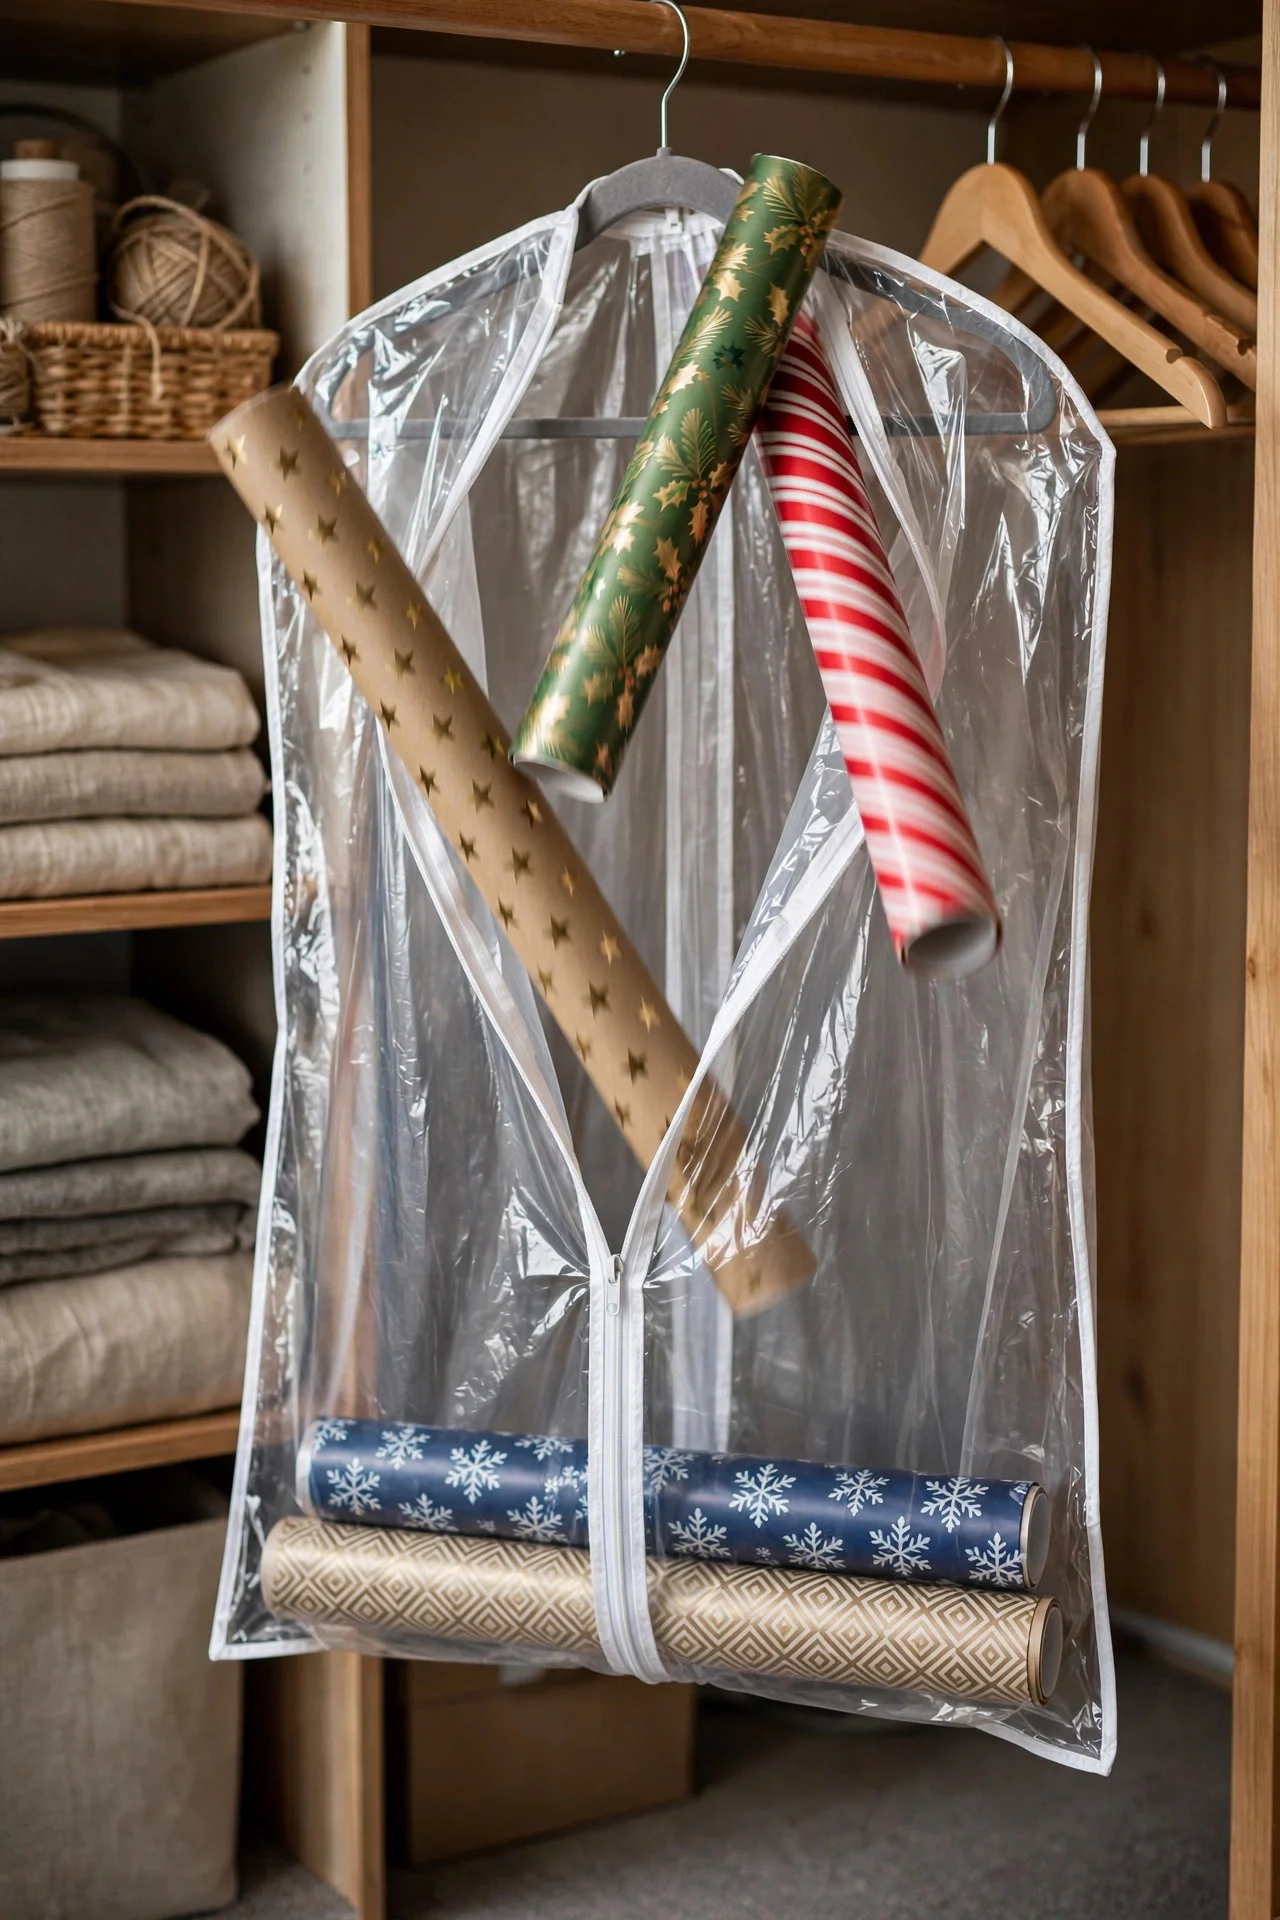
9. Use a Garment Bag as a Roll Sleeve
A spare garment bag makes a dust-proof roll protector: slide wrapping paper rolls in, zip it up, and hang it in the closet. It’s essentially free storage if you already own one, and it keeps rolls clean and straight.
Cut the bag’s bottom corner slightly if rolls are extra long, or just leave it unzipped at the bottom. Either way, no more dusty, dented paper ends.
Try this: Label the outside with a fabric marker so it doesn’t get mistaken for an actual garment bag.
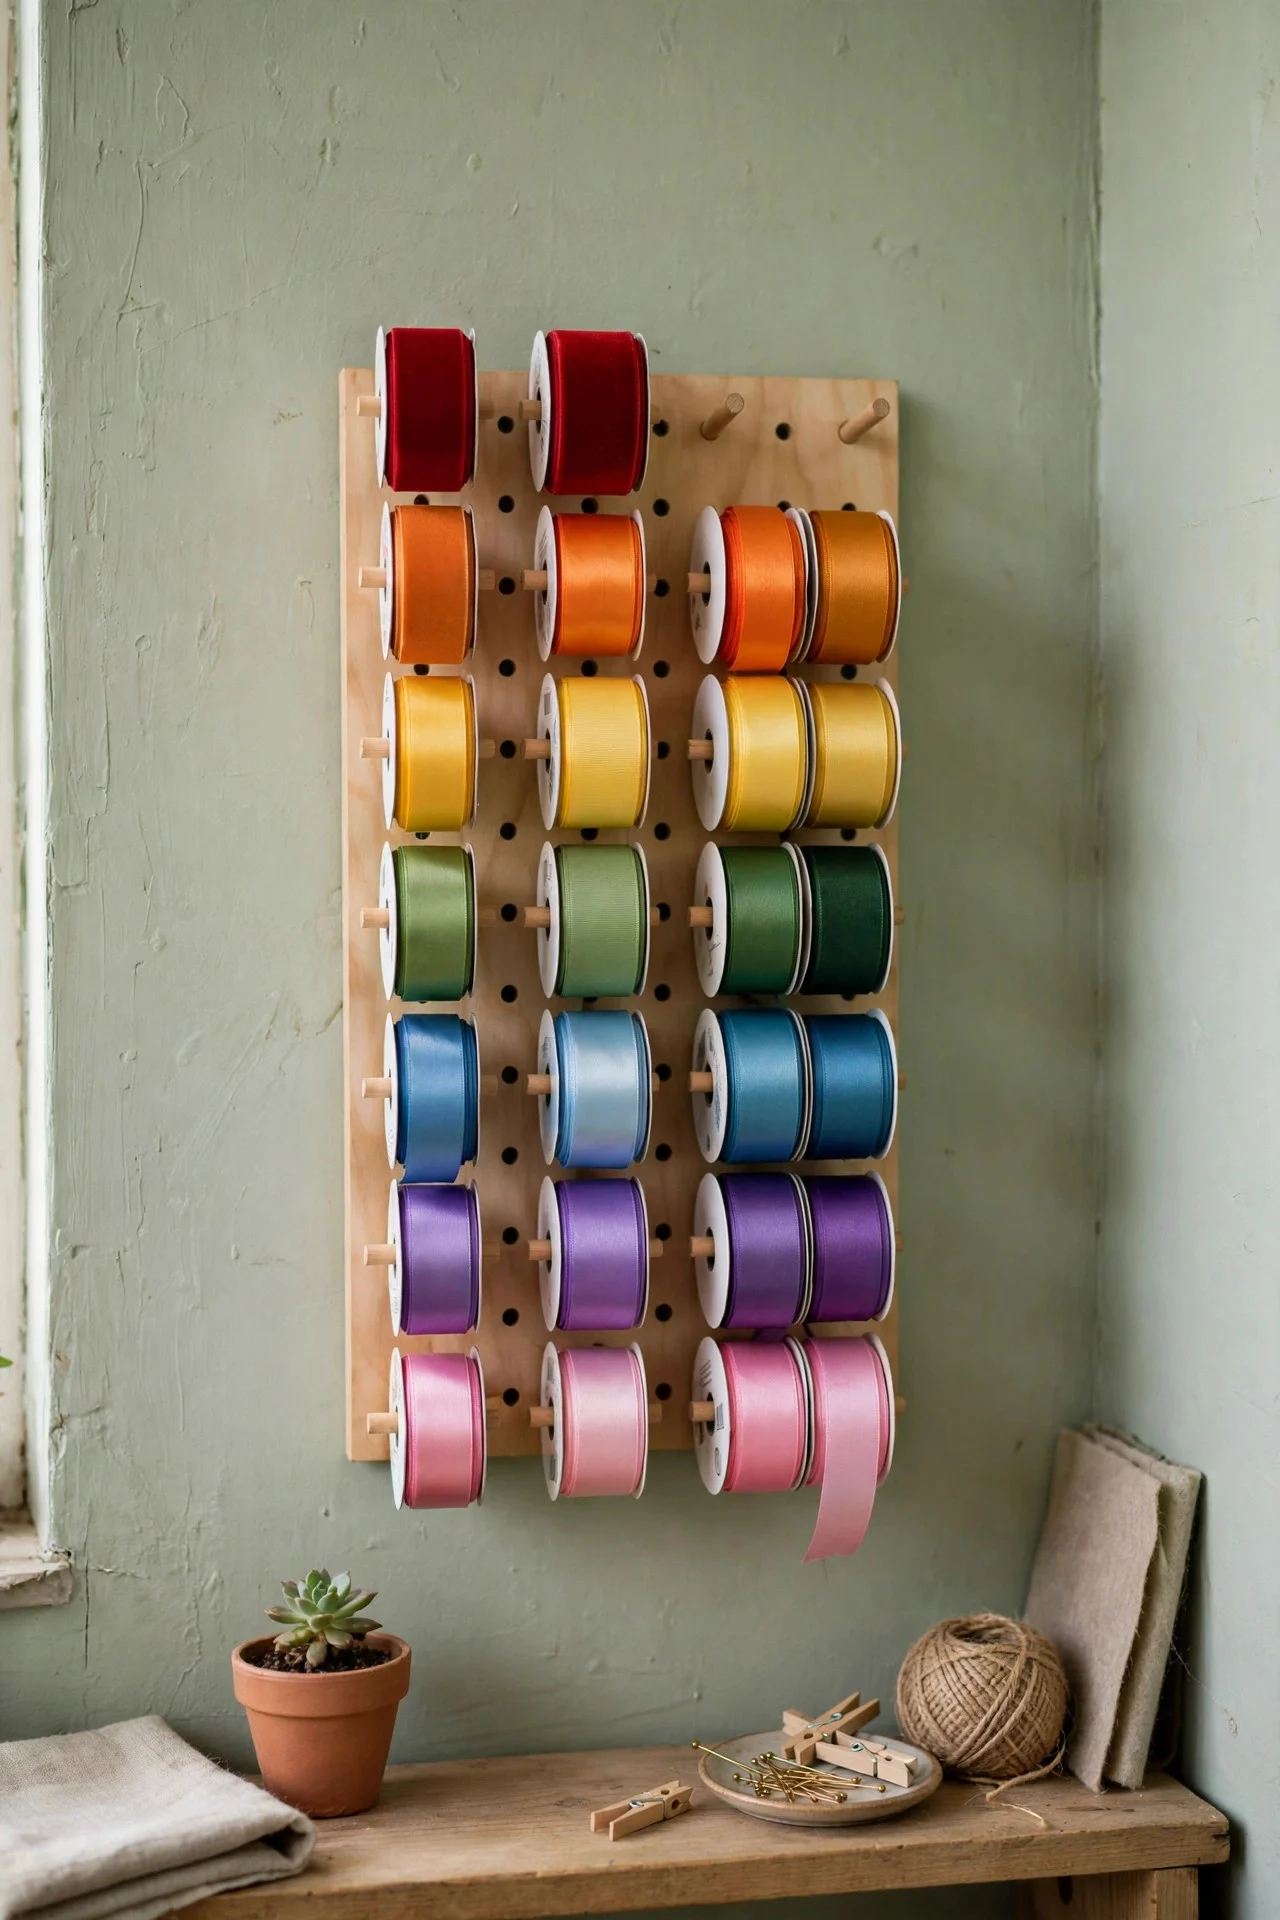
10. Mount Ribbon on a Wall Pegboard
A small pegboard (24 x 24 inches) with dowel hooks turns ribbon spools into wall art that’s also functional. Each spool hangs on its own peg, sorted by color, and you can see the whole collection at a glance.
Mount it inside a closet door or craft room wall. This is ideal for people who wrap often — the spools stay accessible instead of buried in a box.
Try this: Hang your most-used scissors and a tape dispenser on the pegboard too — the whole wrapping wall in one place.
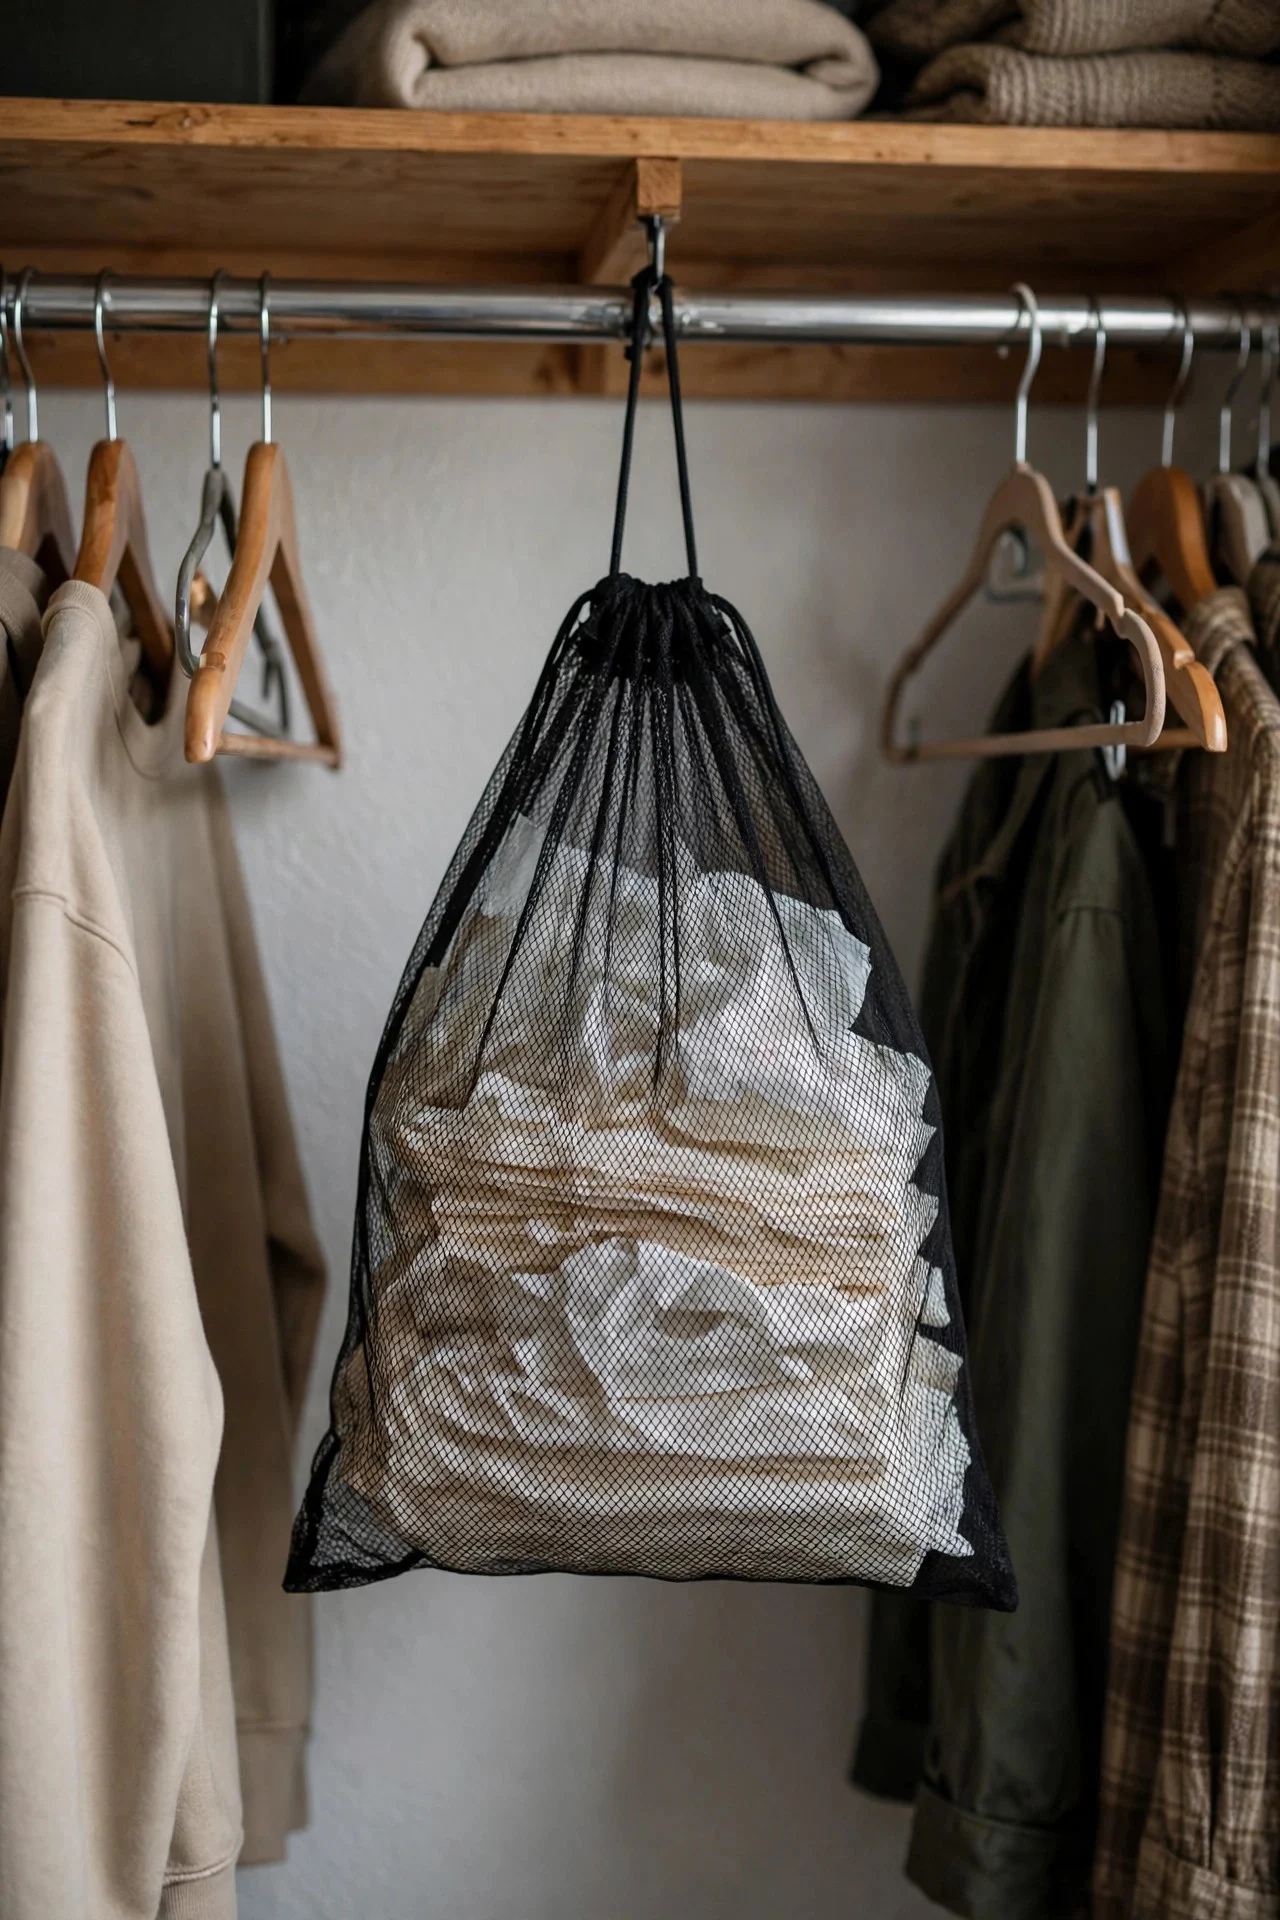
11. Keep Tissue Paper in a Tall Laundry Bag
Tissue paper is light, bulky, and impossible to fold neatly. A hanging mesh laundry bag or tall fabric hamper corrals sheets of tissue without crushing them, and the bag itself weighs nothing.
Hang it on a closet hook or tuck it beside the wrapping station. When you need a sheet, you pull from the top instead of digging through a drawer.
Try this: Sort tissue by color family — neutrals in one bag, brights in another — so you find the right sheet in seconds.
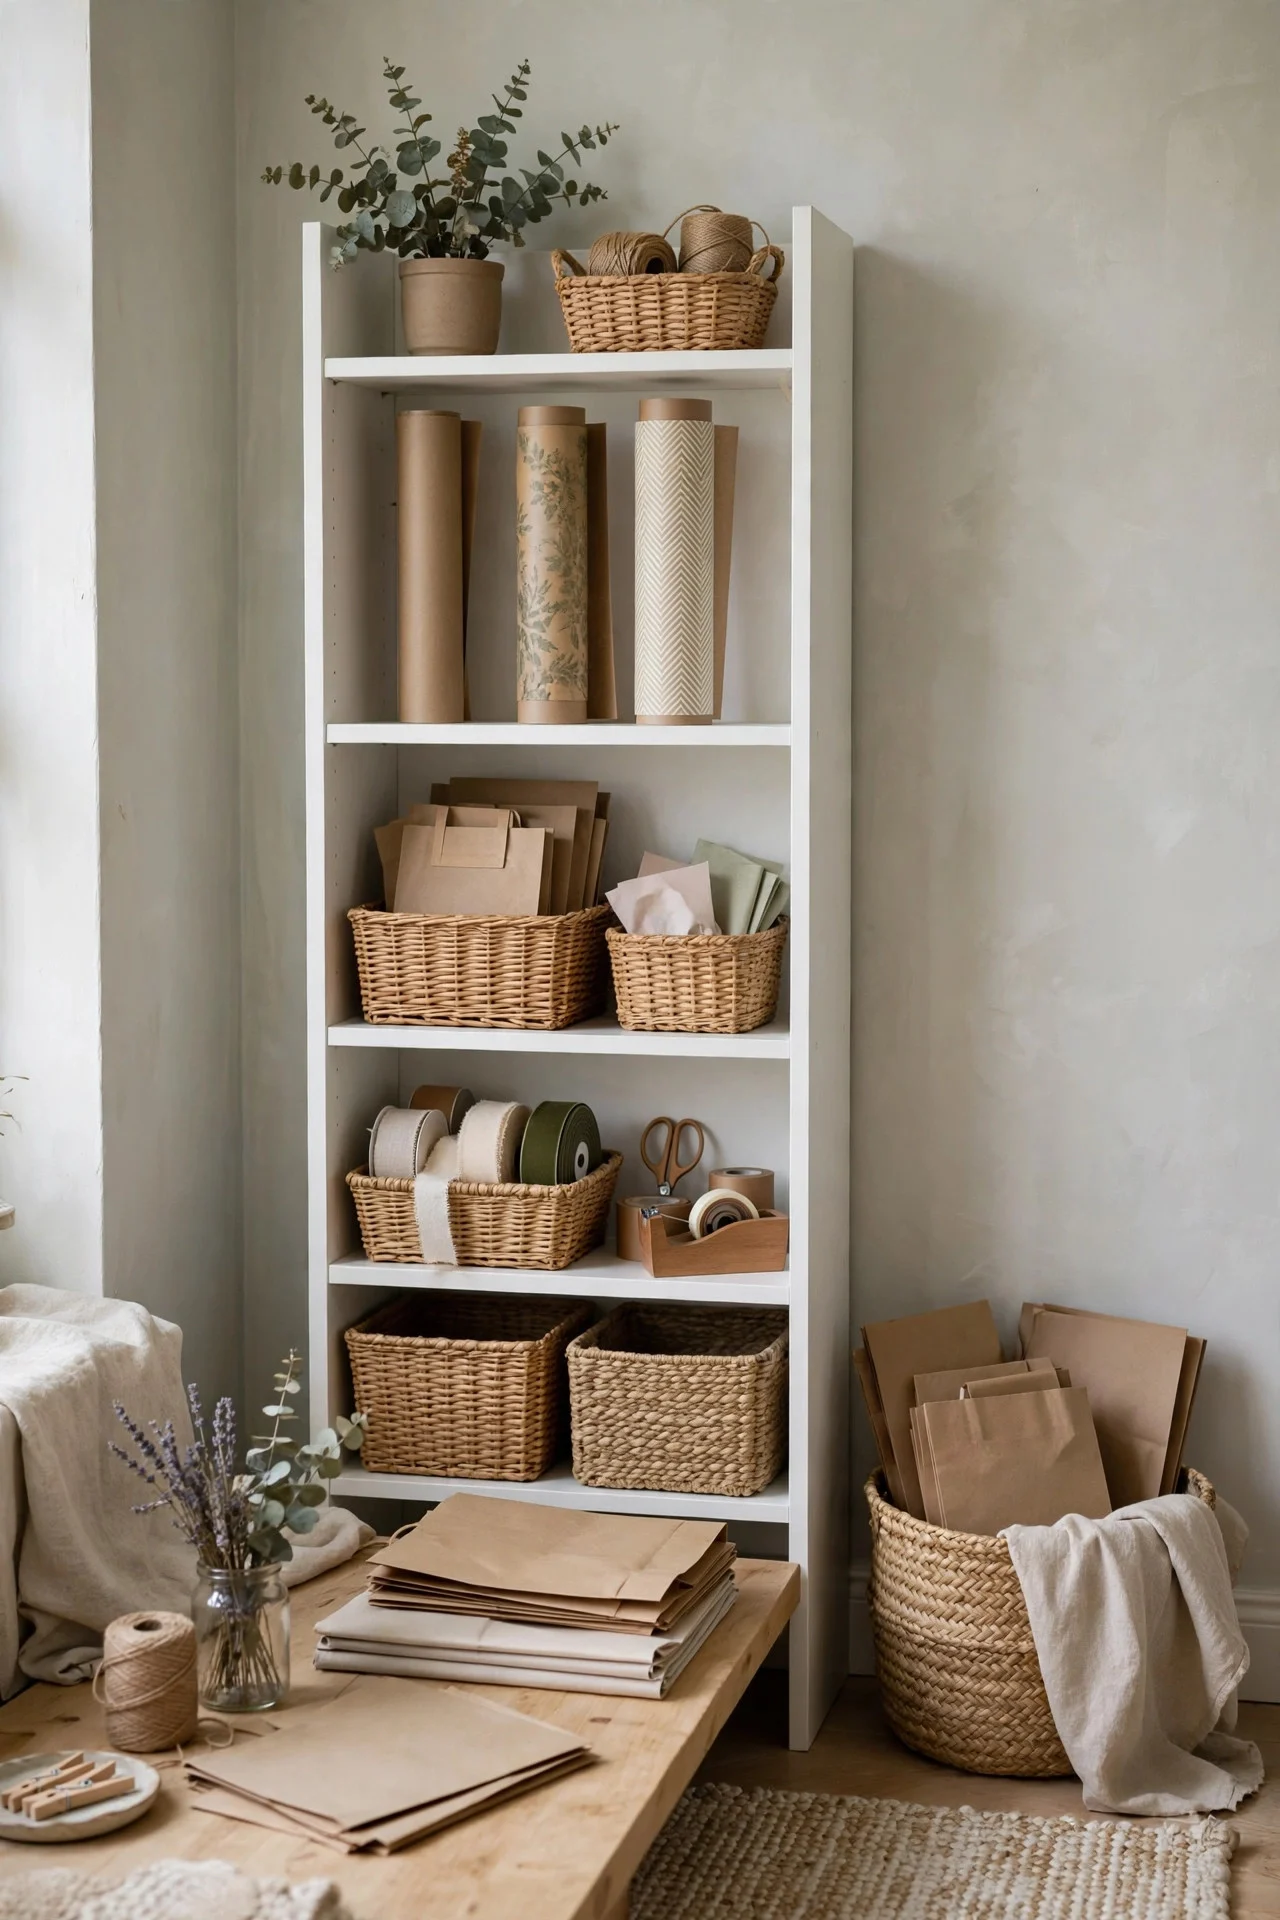
12. Convert a Narrow Bookshelf Into a Wrap Station
A slim bookcase (12 inches deep, 24 inches wide) becomes a wrapping station that actually looks good. Bottom shelf: rolls standing upright. Middle: ribbon caddy and bags. Top: tape, tags, and pens in small baskets.
Ikea-style narrow shelving units run about $40–60, or check thrift stores for a tall CD tower — the depth is perfect for rolls.
Try this: Add a small countertop-height shelf as a wrapping surface nearby and the whole corner becomes a gift-wrapping studio.
13. Store Bows and Tags in Divided Craft Boxes
Adhesive bows lose their stick and get crushed when tossed loose. Divided craft boxes (the kind with adjustable compartments, about $10) keep bows, tags, and stickers sorted by occasion — birthday, holiday, baby, wedding.
Stack two or three boxes on a closet shelf. Labels on each box mean you grab “Birthday” without pawing through Christmas leftovers.
Try this: Keep a small notepad in the box labeled “restock” — jot down what runs out so your next store trip is planned.

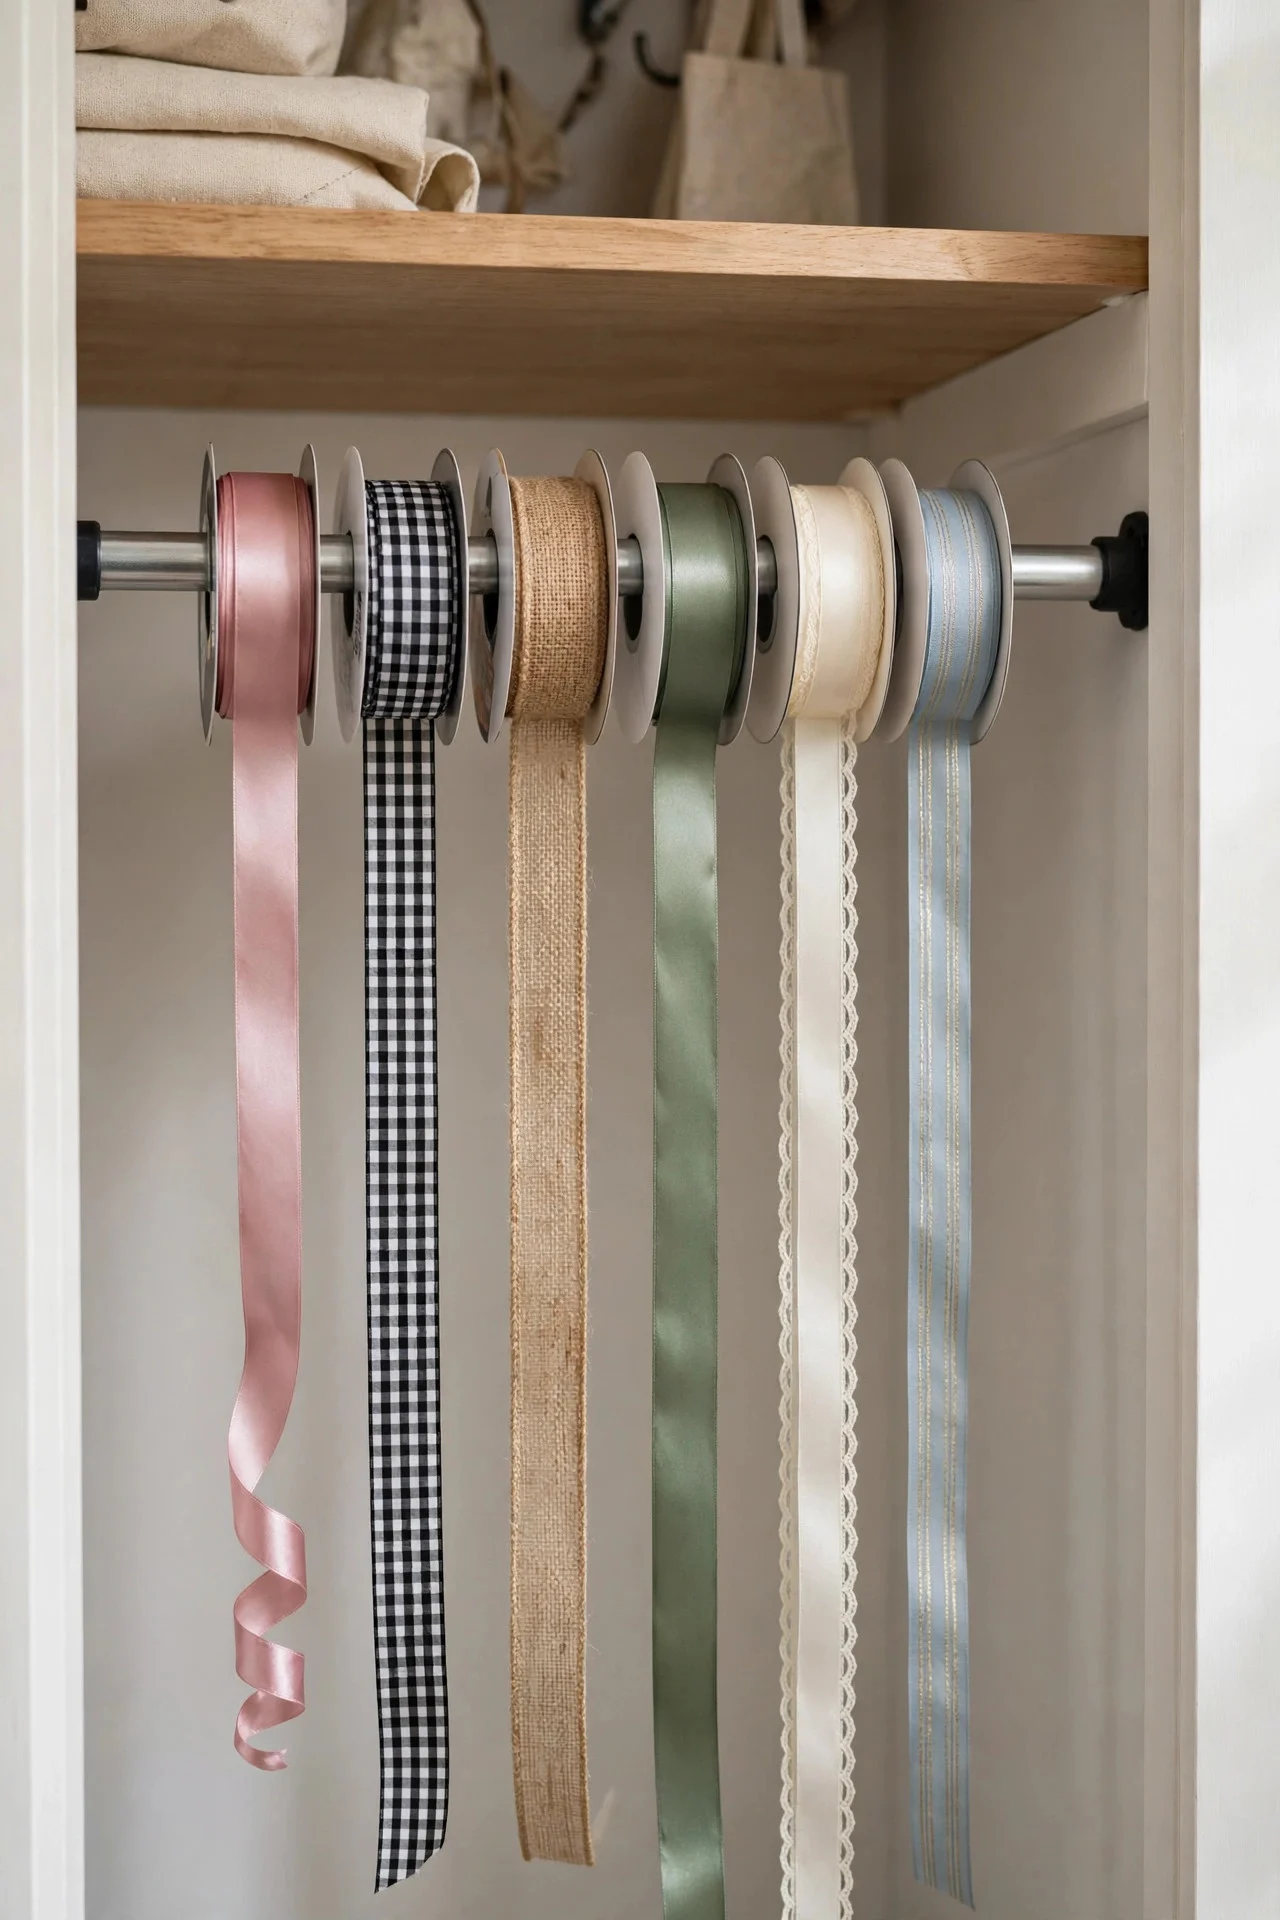
14. Hang a Tension Rod for Ribbon Spools
Inside a closet or cabinet, run a tension rod across the space and slide ribbon spools onto it like a paper towel holder. Ribbon unspools cleanly, stays untangled, and takes up almost no room.
This works in a utility closet, laundry room, or even under a bathroom sink cabinet. One rod holds roughly 8–10 spools depending on width.
Try this: Cut a slit in a cardboard tube and slide it over the rod between spools as a spacer — no more spools migrating into each other.
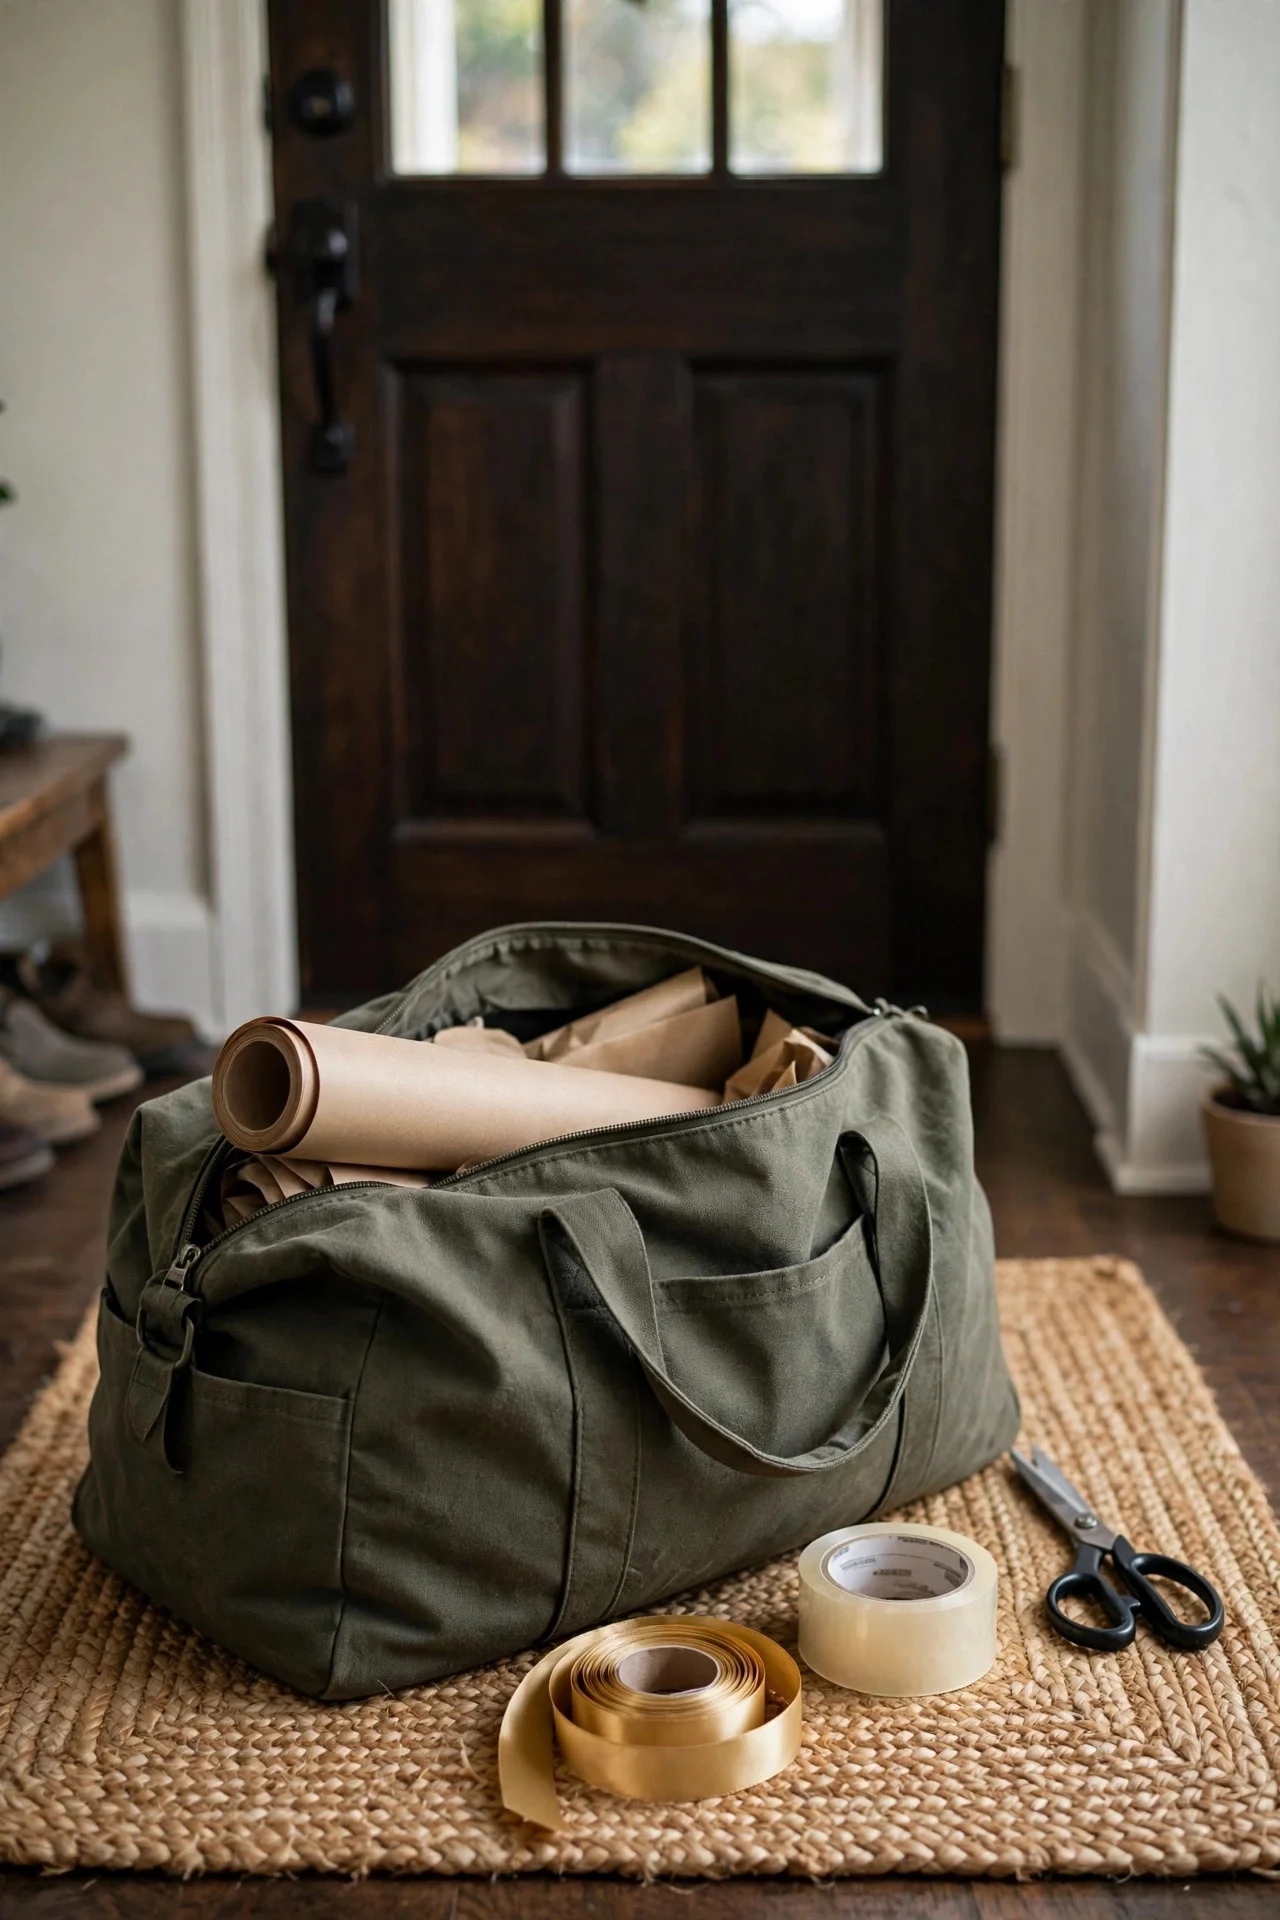
15. Pack a Portable Wrapping Kit Bag
A medium duffel or large tote pre-packed with one roll, scissors, tape, ribbon, tags, and a pen means you’re ready to wrap anywhere — at the office party, at a friend’s house, in the car before the event.
Restock it after each use. It’s the single highest-impact idea on this list for people who are always wrapping things last minute.
Try this: Keep the kit by the front door during December — grab it on the way out and you’re never the person wrapping in the parking lot.
Frequently Asked Questions
Where should I store wrapping paper in a small apartment?
Use vertical space: an over-the-door organizer on a bedroom door, an under-bed roll box, or a tall corner basket in a closet. The key is keeping rolls upright and dust-free without dedicating a whole closet.
How do I stop wrapping paper rolls from getting crushed?
Store rolls upright, never flat under heavy items. A dedicated roll holder, tall trash can, or garment-bag sleeve keeps the ends protected. Bent ends cause most torn-paper frustration.
What’s the best way to store ribbon so it doesn’t tangle?
Keep spools on dowels, tension rods, or in a ribbon caddy so they spin freely and dispense without unrolling. Never toss loose ribbon in a drawer — it will knot itself in days.
How often should I declutter gift wrap supplies?
Once a year, right after the holidays. Toss torn bags, dried-out bows, and paper you wouldn’t actually use. If you haven’t touched a roll in two years, donate it and free the space.
Final Thoughts
Gift wrap storage is really about one thing: making a five-minute task stay five minutes. Pick one home for the rolls, one for the ribbons, one for the bags — and keep them together. The wrapping station doesn’t need to be fancy; it just needs to exist. Next time a birthday sneaks up on you, you’ll be grateful.