
The laundry room is the one room guests rarely see, which is exactly why it becomes the dumping ground for everything — detergent graveyards, lonely socks, cleaning supplies with no home. And yet it’s the room you use most often. A chaotic laundry space makes an already boring chore feel twice as long.
Here’s the good news: laundry rooms respond to cheap fixes better than almost any room in the house. Every idea below costs little or nothing, most take under an hour, and none require a renovation. Your laundry room can look and work great on a real budget.
1. Decant Detergent Into Labeled Jars
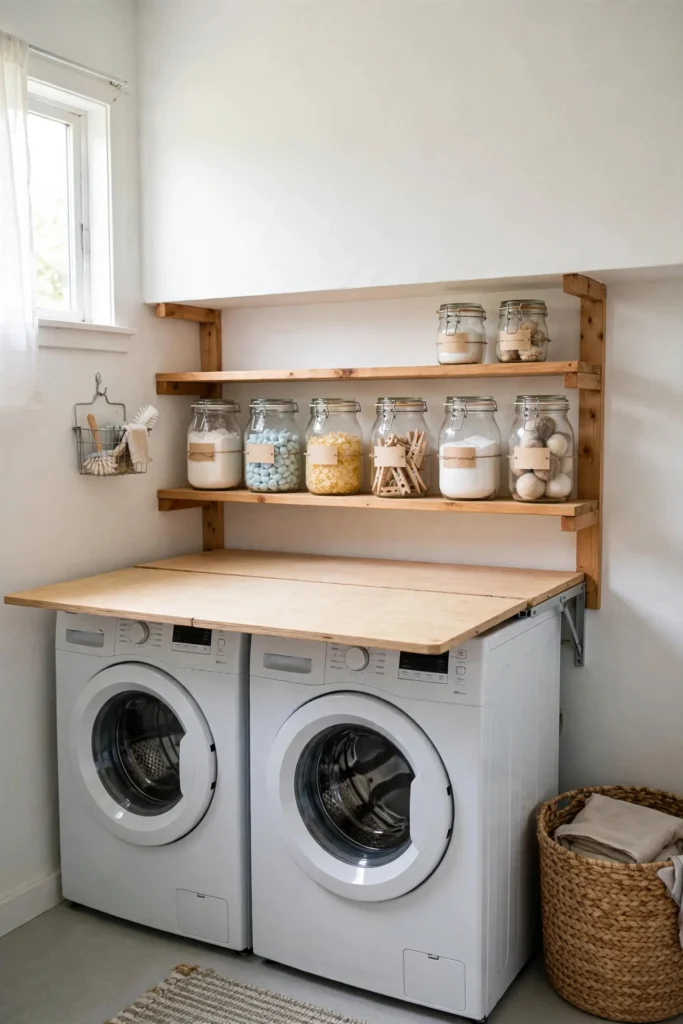
Those bulky detergent bottles eat shelf space and look terrible. Pour powder, pods, and scent beads into clear glass jars or plastic canisters (dollar-store finds, about $1–3 each) and label them with a chalk marker. Suddenly the shelf looks like a tidy apothecary instead of a chemical aisle.
One scoop per jar stays on top as a measure so you’re not hunting for the cap every load. Keep the original packaging’s instructions tucked behind the jar for safety reference.
Try this: Line three matching jars in a row — detergent, pods, scent beads — and the whole shelf reads as one intentional display.

2. Sort With Three Stackable Hampers
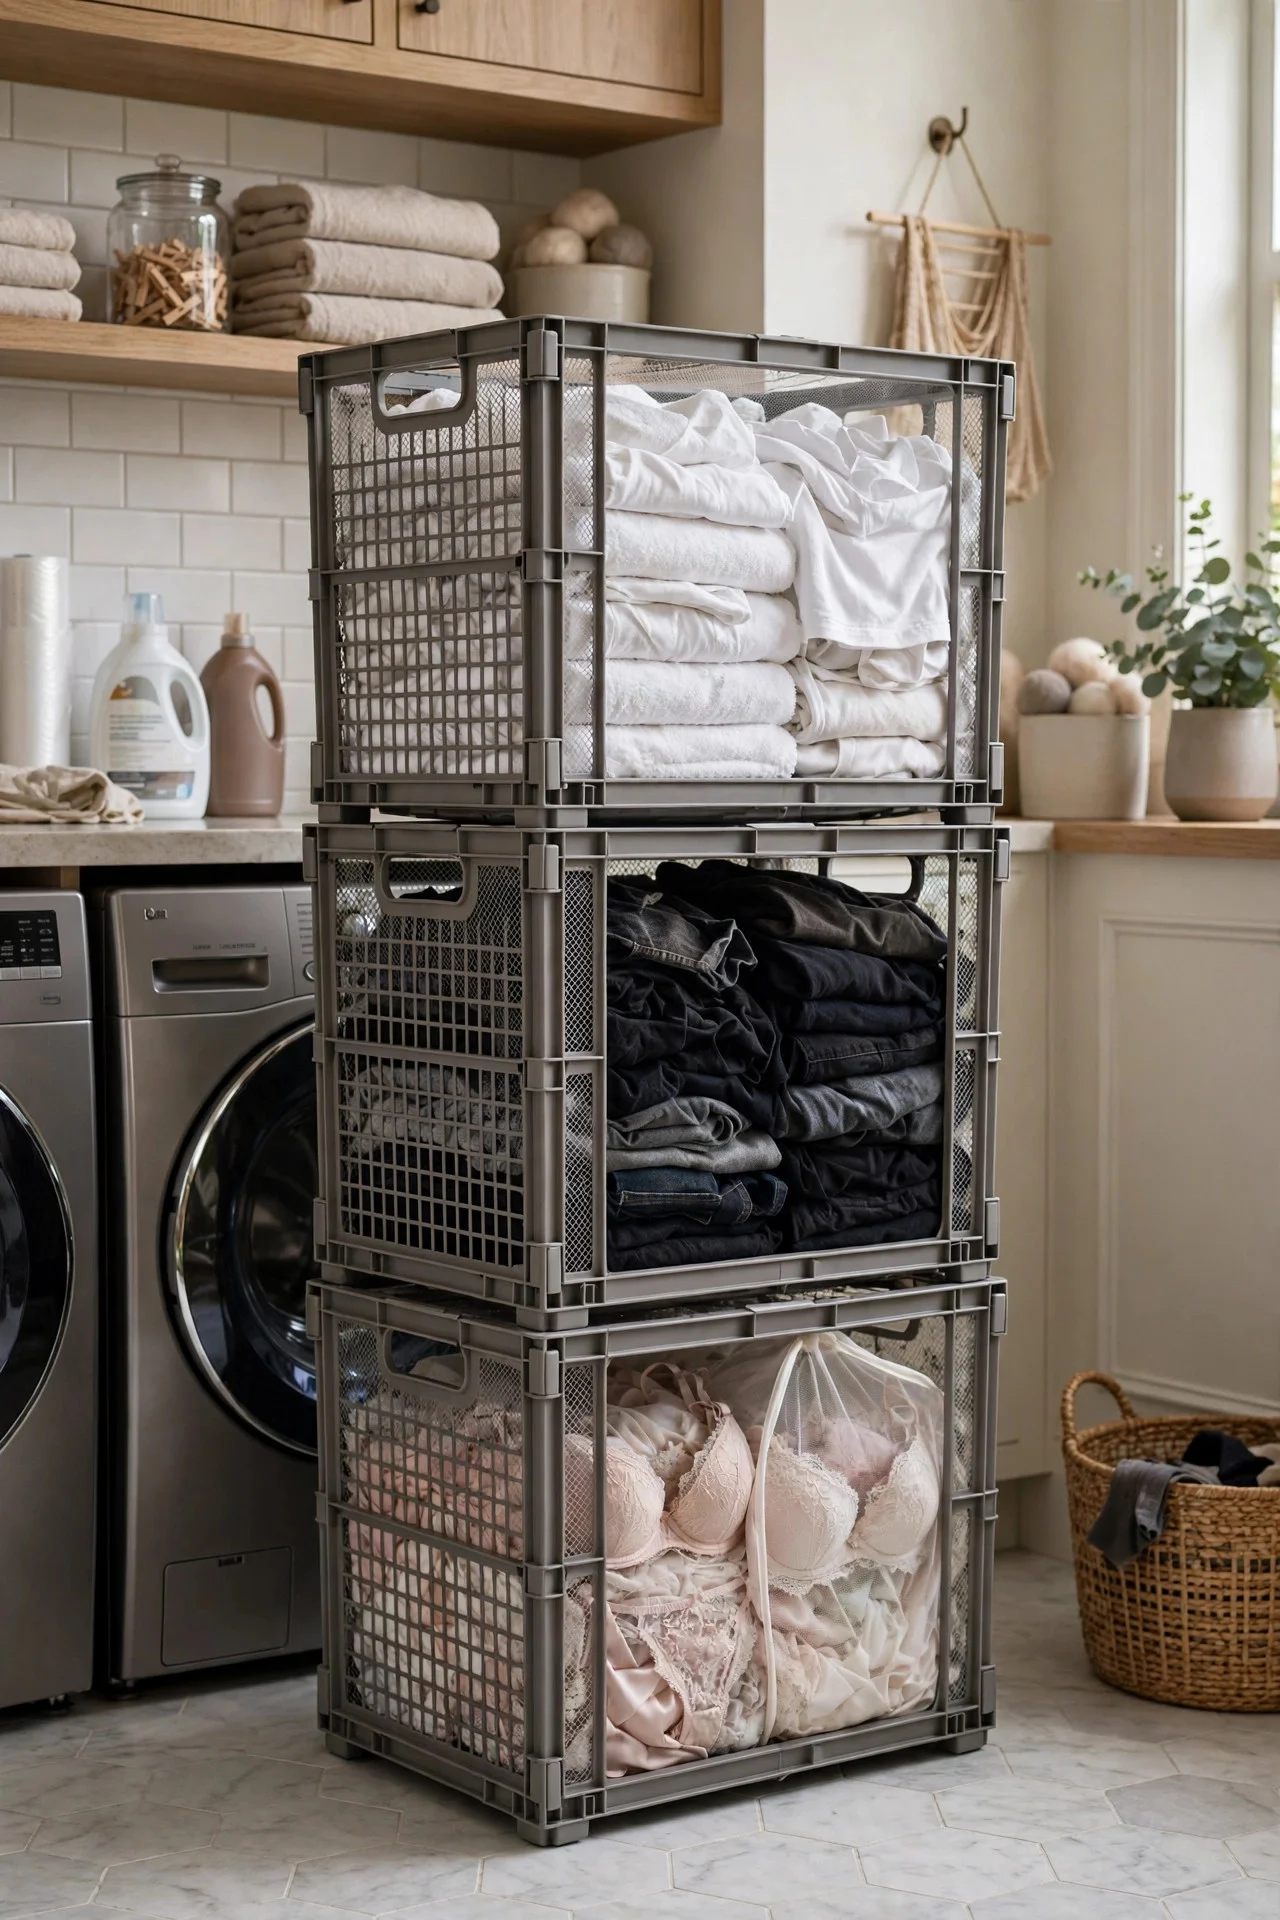
The number-one cause of laundry chaos is the single mixed pile. Three stackable or side-by-side hampers — whites, darks, delicates — mean sorting happens at drop-off, not on wash day. A set of three basic hampers runs about $30 total.
Label each one. Kids as young as four can learn the system, which means the sorting stops being your job alone.
Try this: Put the hampers where clothes get changed (bedroom hallway), not just the laundry room — sorting works best at the source.
3. Hang a Retractable Drying Line
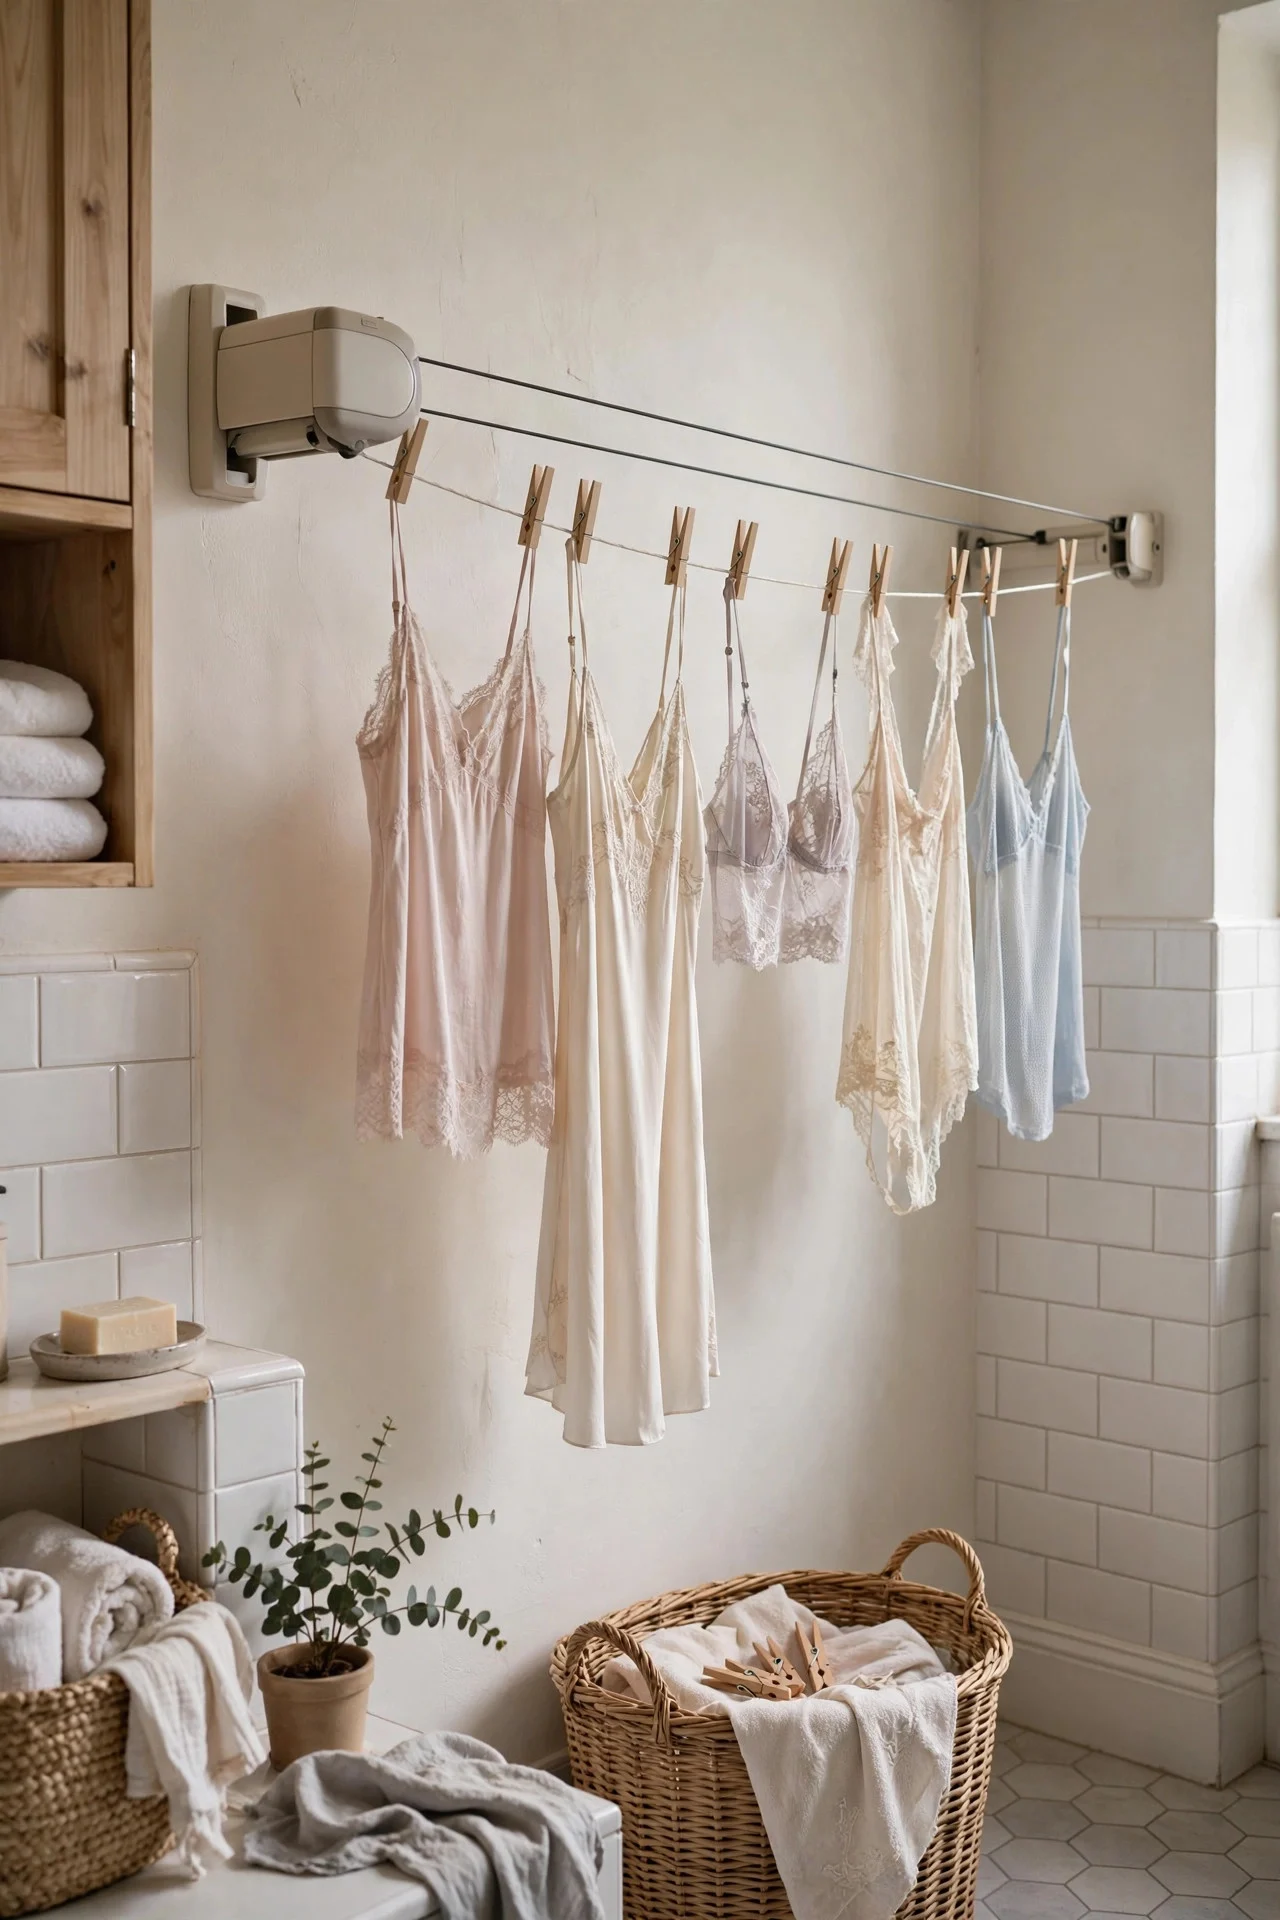
Delicates and air-dry items need somewhere to go, and a bulky drying rack hogs the floor. A retractable clothesline ($10–15) mounts on the wall, pulls out when you need it, and vanishes when you don’t. It spans 10–12 feet — plenty for a load of delicates.
Mount it above the washer and dryer if the wall allows, so wet clothes travel the shortest distance possible.
Try this: Clip a small bag of clothespins to the line’s housing so they’re always where the line is.
4. Mount a Folding Shelf Over the Machines
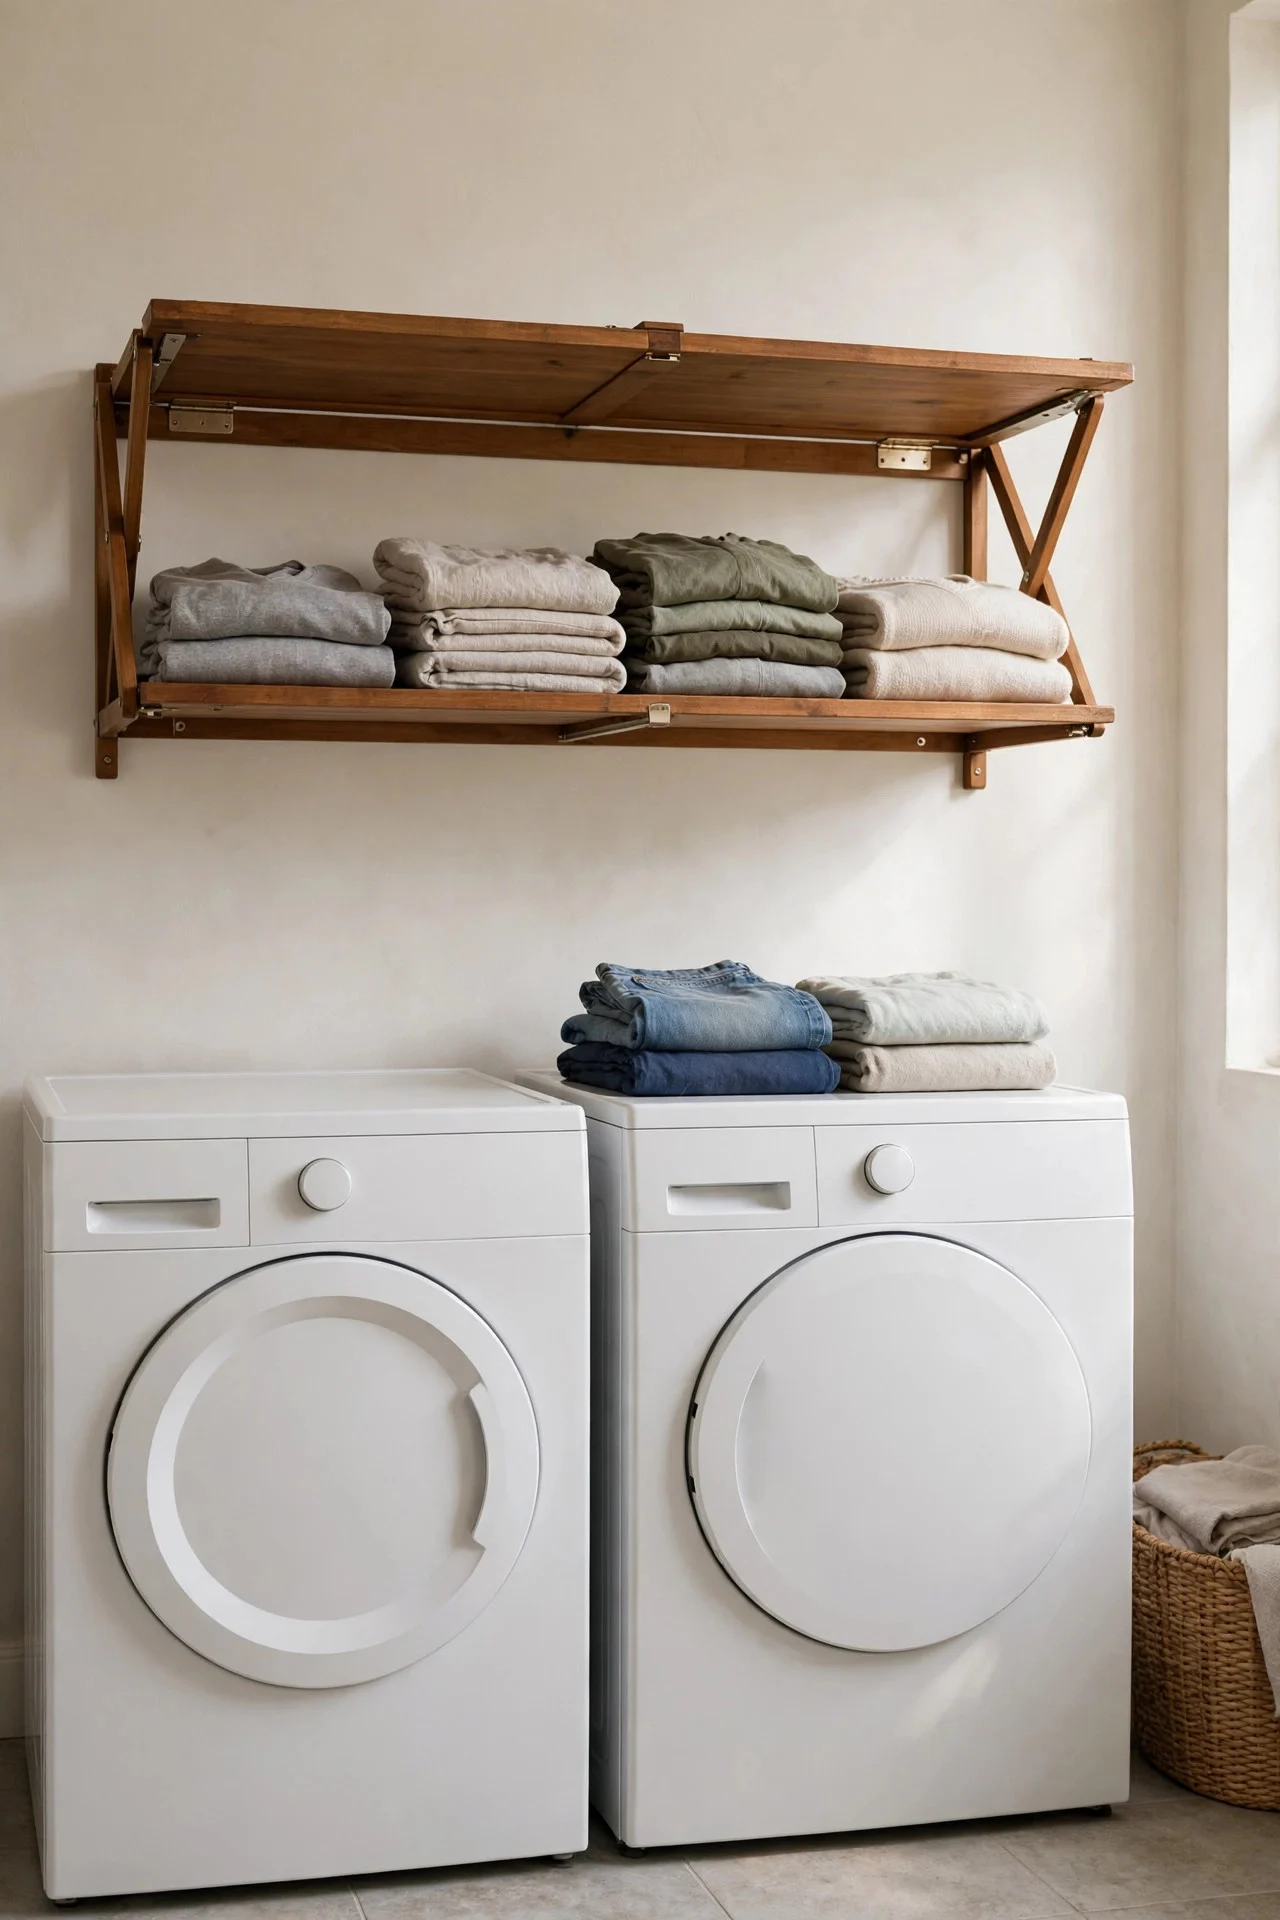
A simple wall-mounted shelf above the washer and dryer creates a folding station without taking any floor space. A 12-inch-deep pine board with two brackets costs under $20 and holds the current load perfectly.
Keep it clear — no decor, no storage — so it’s always ready to receive warm clothes straight from the dryer. This one habit kills the “clean clothes chair” problem.
Try this: Fold straight from the dryer onto the shelf, then carry stacks to rooms — it cuts laundry day time by a third.
5. Corral Small Items in a Mesh Laundry Bag
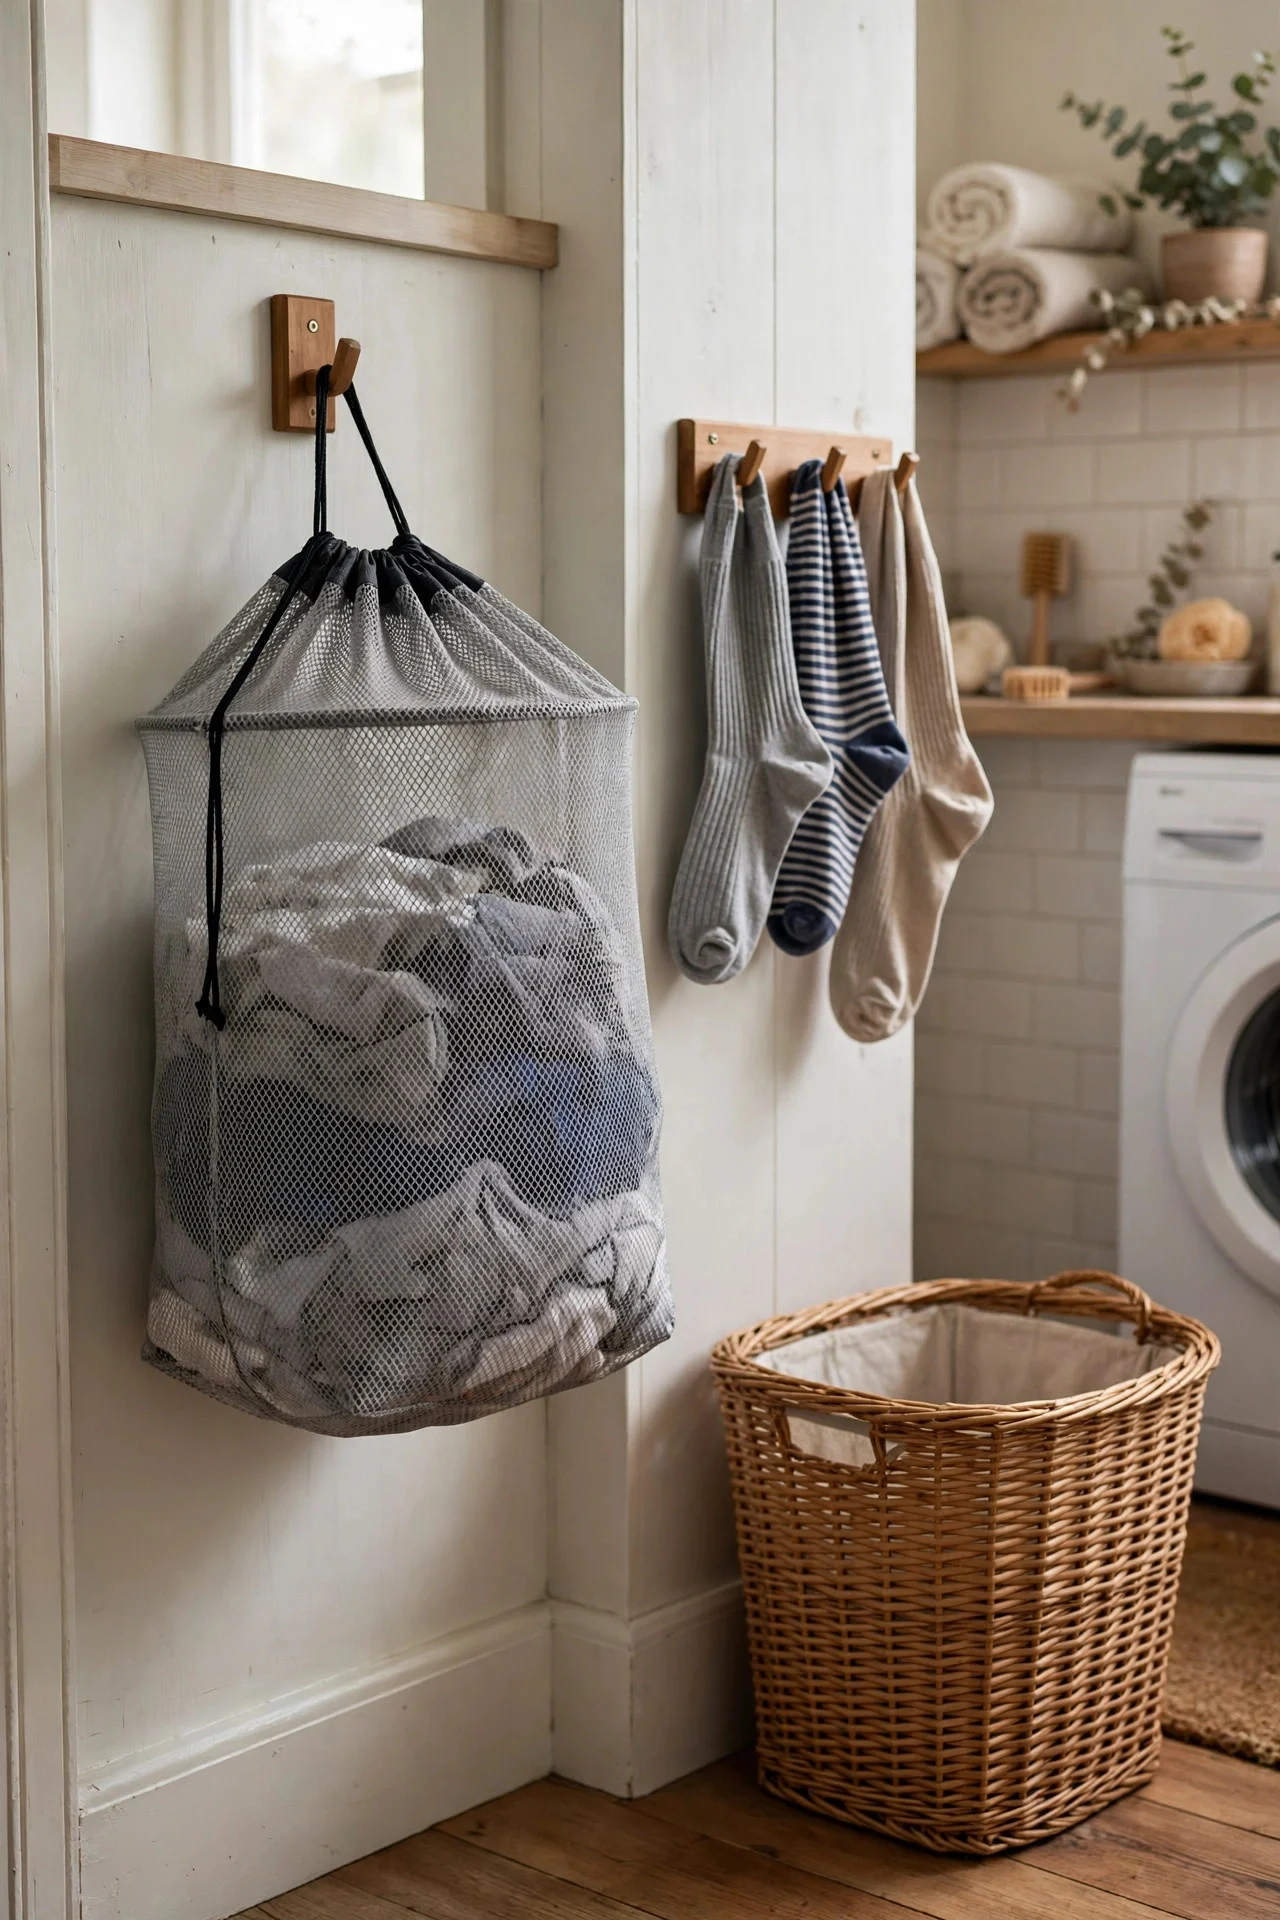
Socks vanish into the machine’s void and baby clothes emerge as single lonely items. A large mesh laundry bag ($5–8) for socks, and small ones for delicates, keeps pairs together through the whole cycle.
Hang the bag on a hook by the hamper so family members toss socks straight in. One bag for lights, one for darks.
Try this: Safety-pin new socks together before their first wash — they stay paired forever, even outside the bag.
6. Use a Tension Rod for Hanging Wet Items
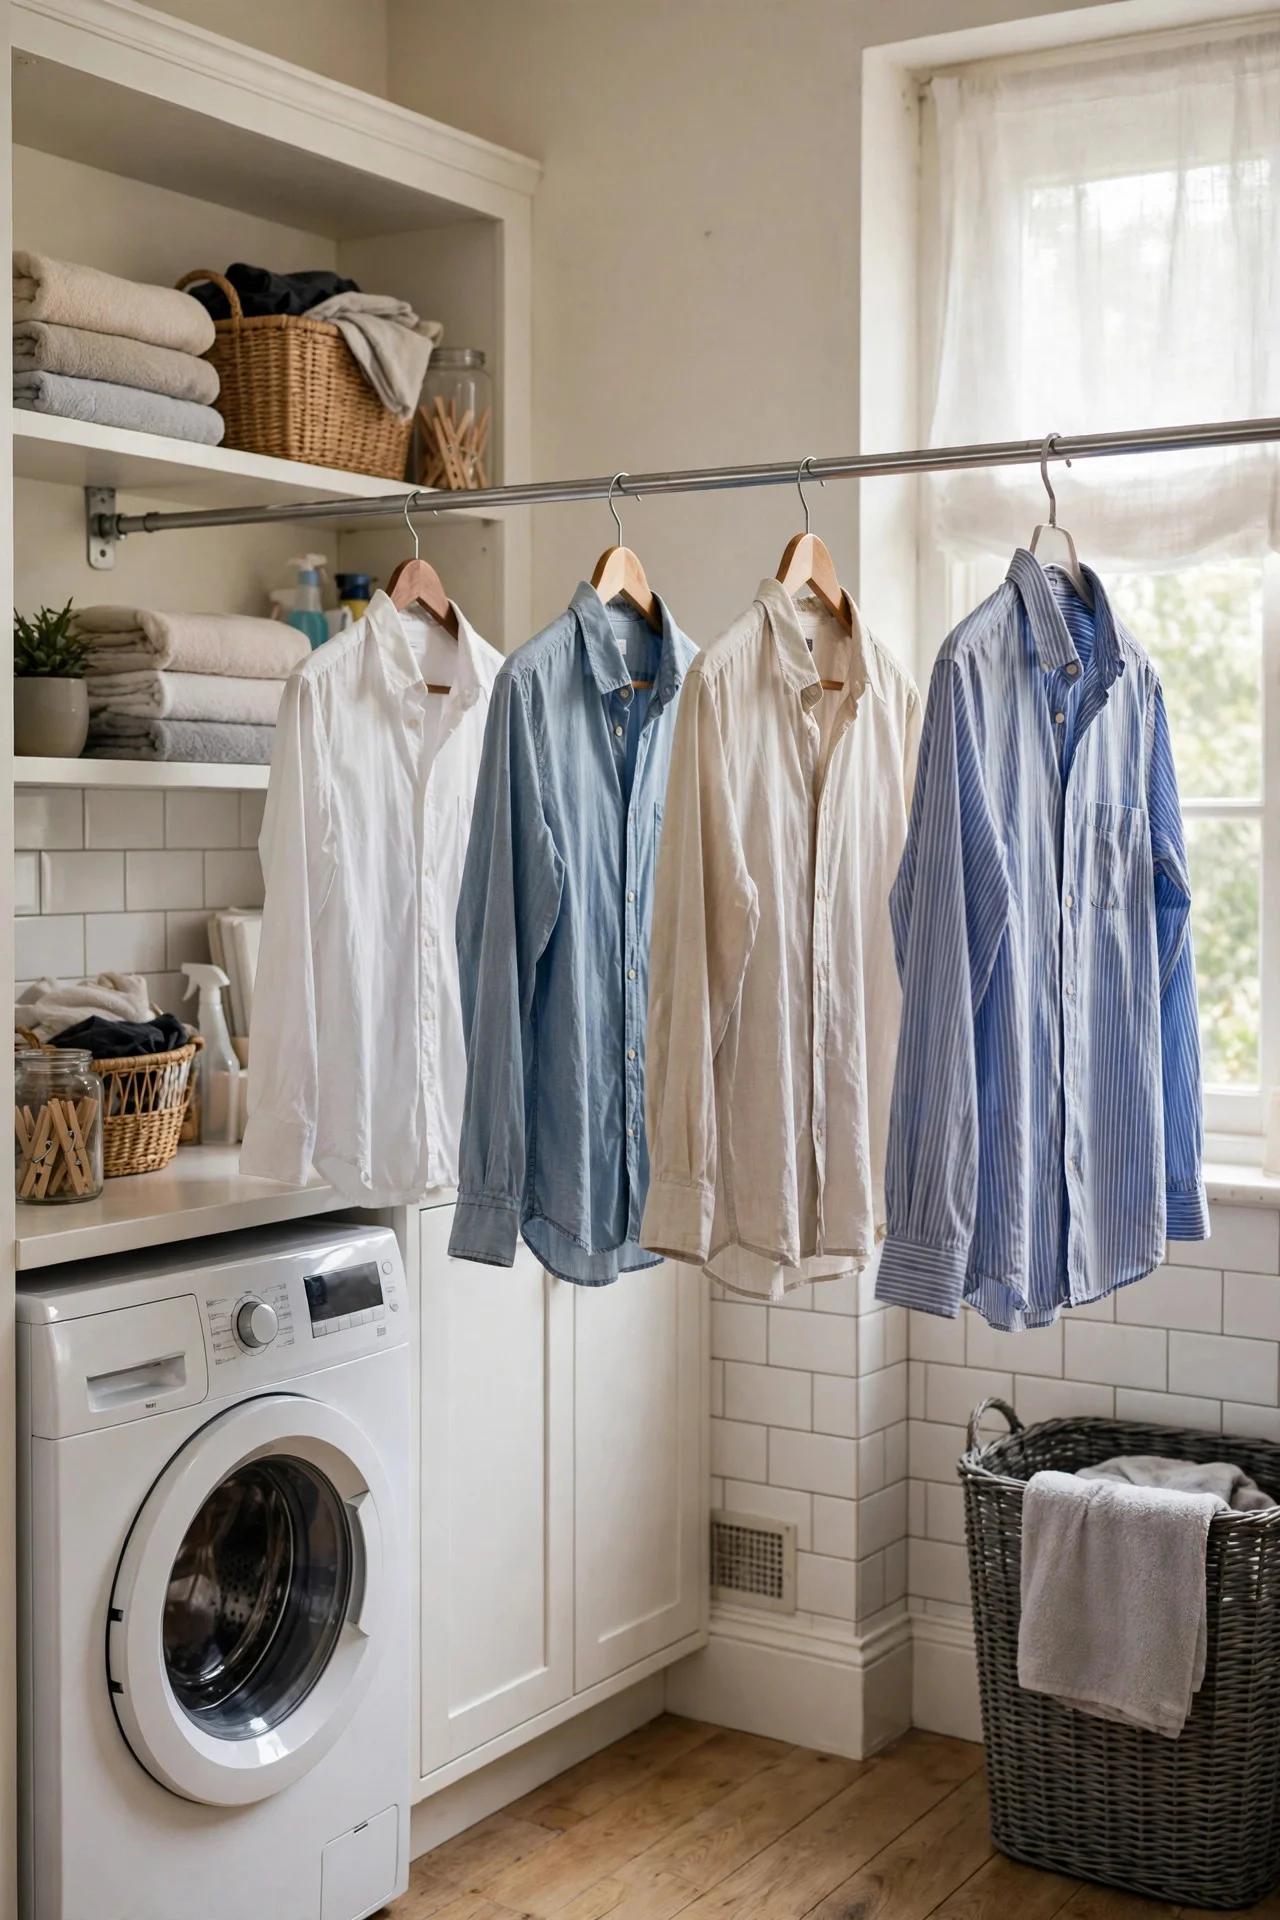
A $6 tension rod across the laundry room — between cabinets, over the sink, or inside a closet — gives button-downs and blouses a place to hang-dry without a freestanding rack in the way. Pull it down when not in use.
It’s perfect for the “hang immediately” shirts that wrinkle if they sit. One rod holds about 8–10 hangers.
Try this: Hang shirts on hangers straight from the washer, button the top button, and most come out nearly wrinkle-free.
7. Store Supplies on a Narrow Rolling Cart
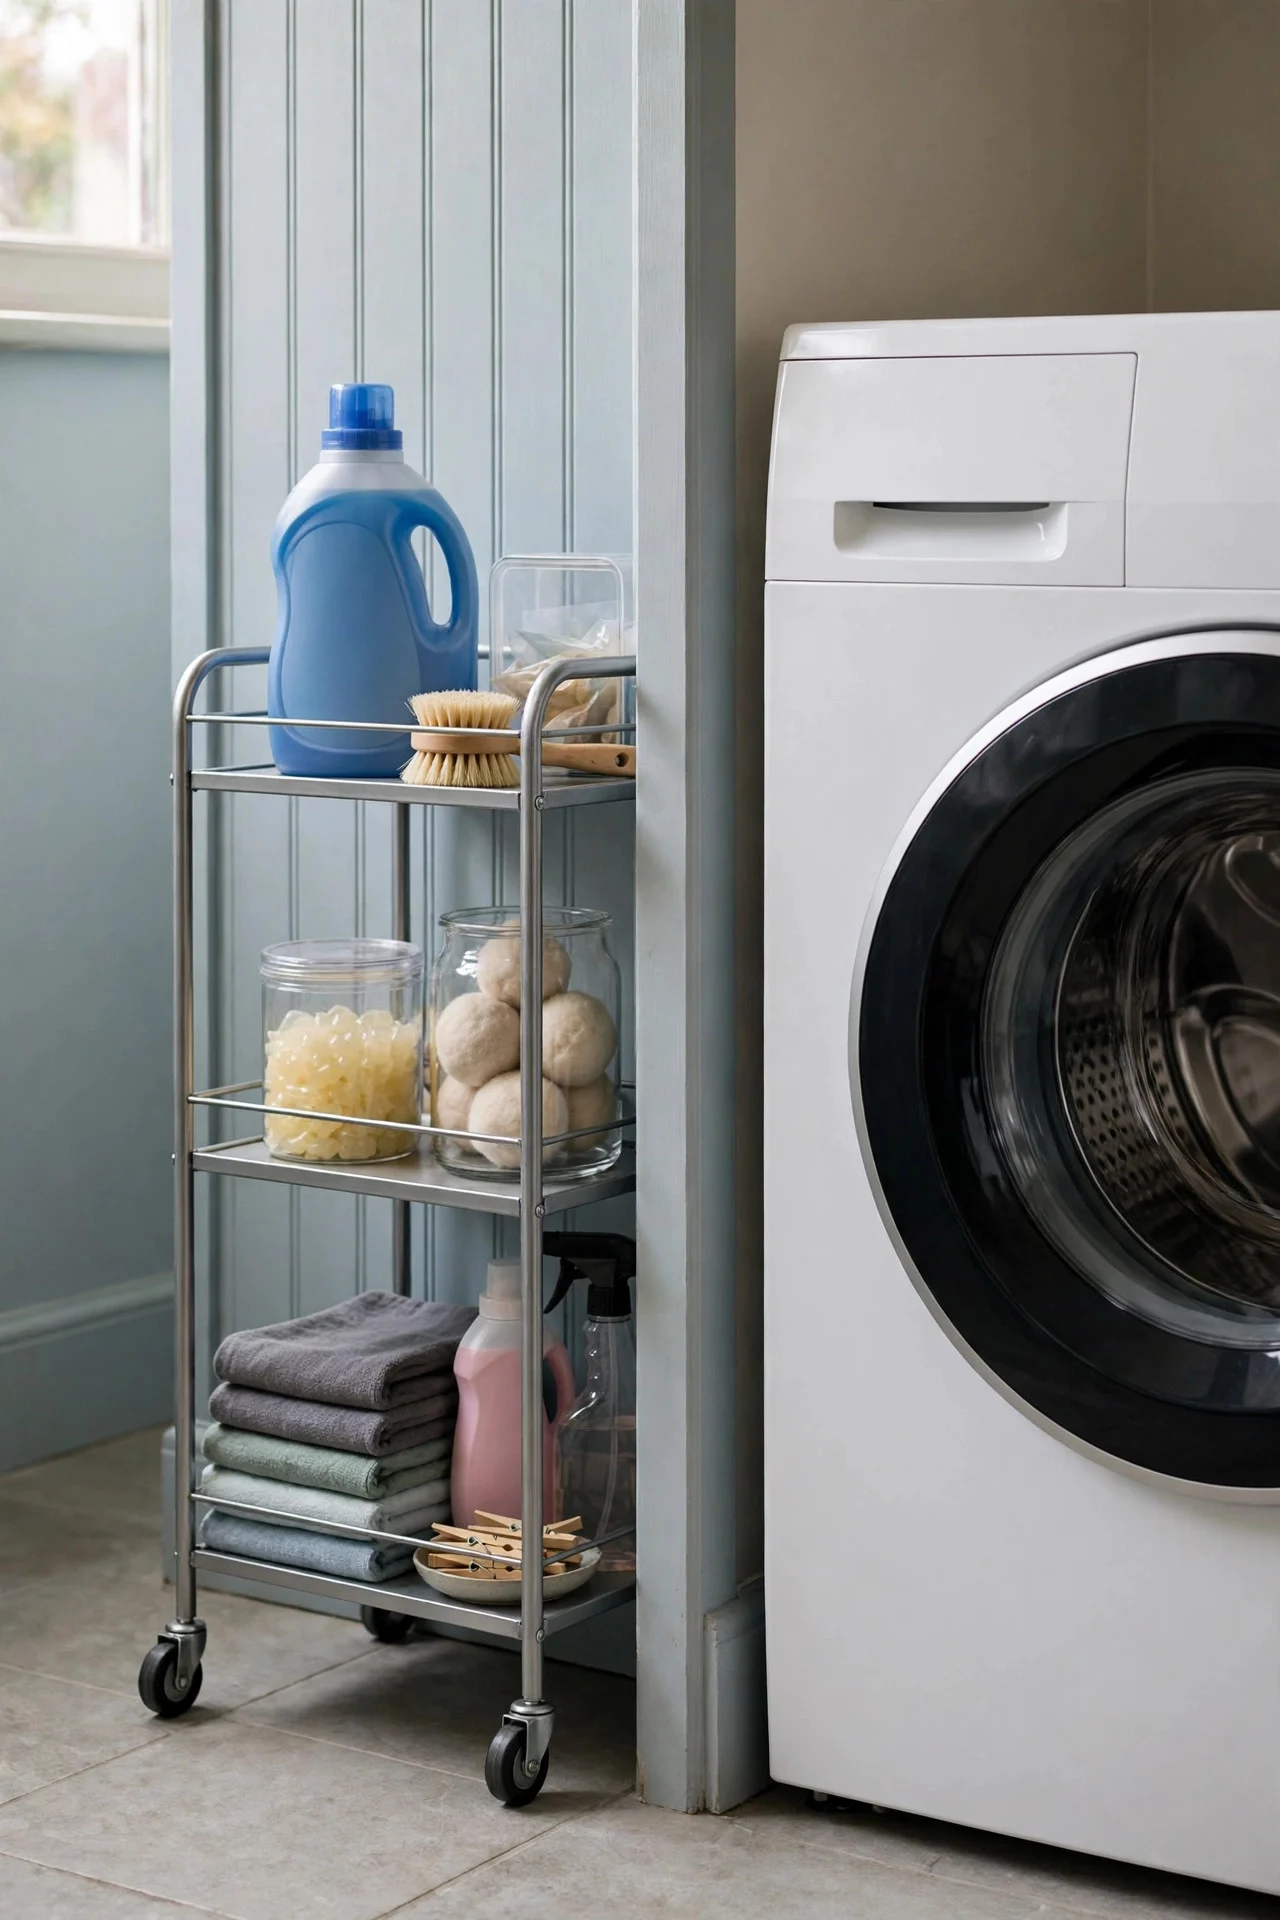
The gap between the washer and the wall — usually 6 to 8 inches — is dead space in most laundry rooms. A slim rolling cart ($25–35) slides in there holding detergent, stain remover, dryer sheets, and clothespins in three tiers.
Measure your gap before ordering; carts come in 6, 7, and 8-inch widths. Everything rolls out when you need it and disappears after.
Try this: Put the stain treatment supplies on the top tier — that’s the one you’ll reach for mid-sort.
8. Label Every Shelf and Bin
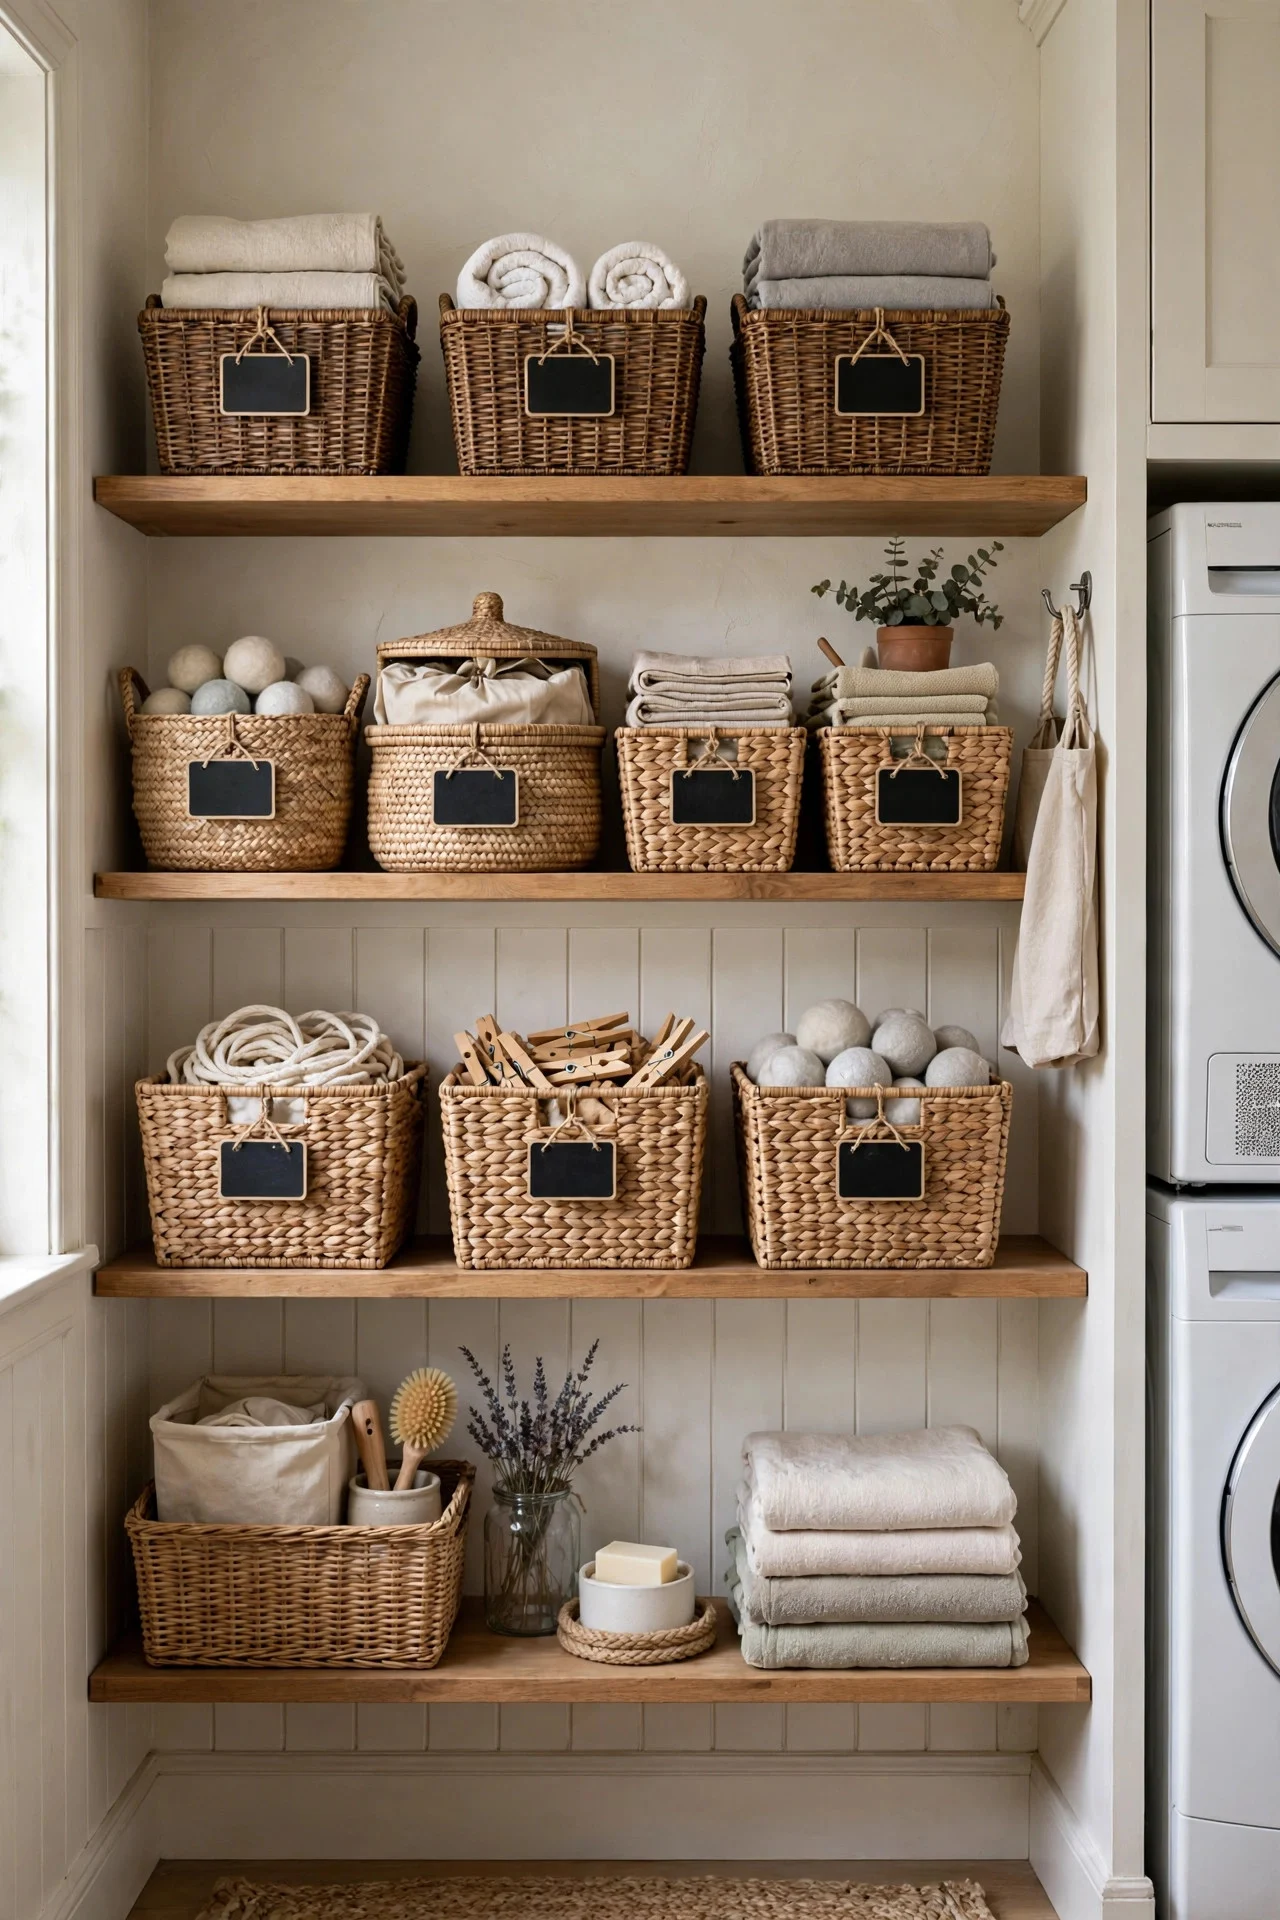
Laundry rooms serve the whole household, which means other people’s “organized” is your “where is the stain remover?” Labels — a $5 label maker or chalk tape — end the guessing. Every shelf gets a job: cleaning, mending, lost and found.
Label even the obvious stuff. What seems obvious to you on Saturday morning is mysterious to a teenager on Tuesday.
Try this: Add a “lost and found” bin with a clear label — stray socks and mystery items go here instead of wandering the house.
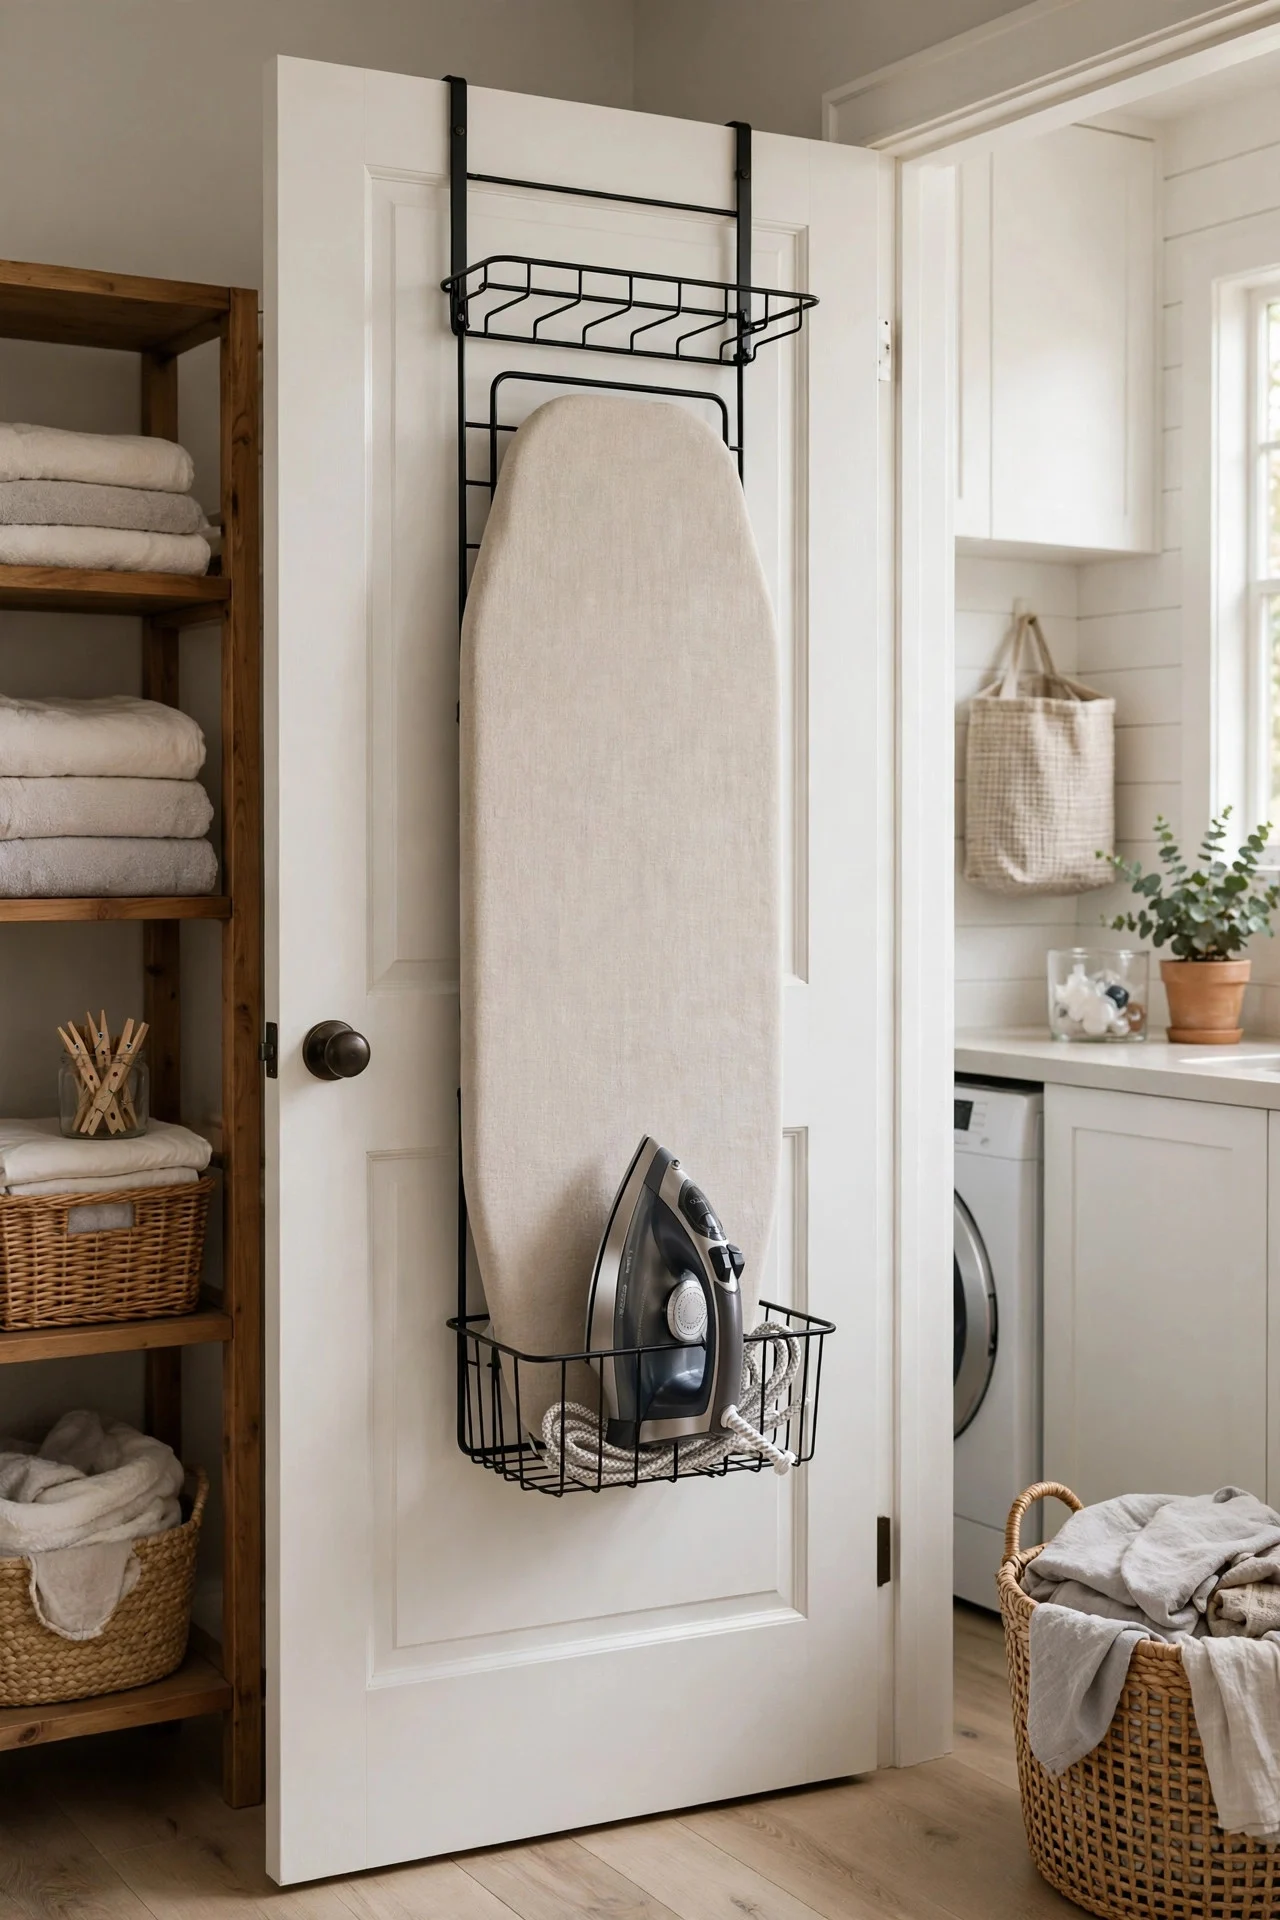
9. Hang an Ironing Board on the Door
Ironing boards lean against walls and fall over at the worst moments. An over-the-door iron and ironing-board holder ($12) keeps both flat against the door, freeing a whole corner of the room.
Mount it on the inside of the laundry room door if you iron there, or wherever the board actually gets used. It also keeps the hot iron away from curious kids.
Try this: Store a spray bottle of water in the holder’s pocket — it becomes a complete ironing station in one door.
10. Create a Stain Treatment Station
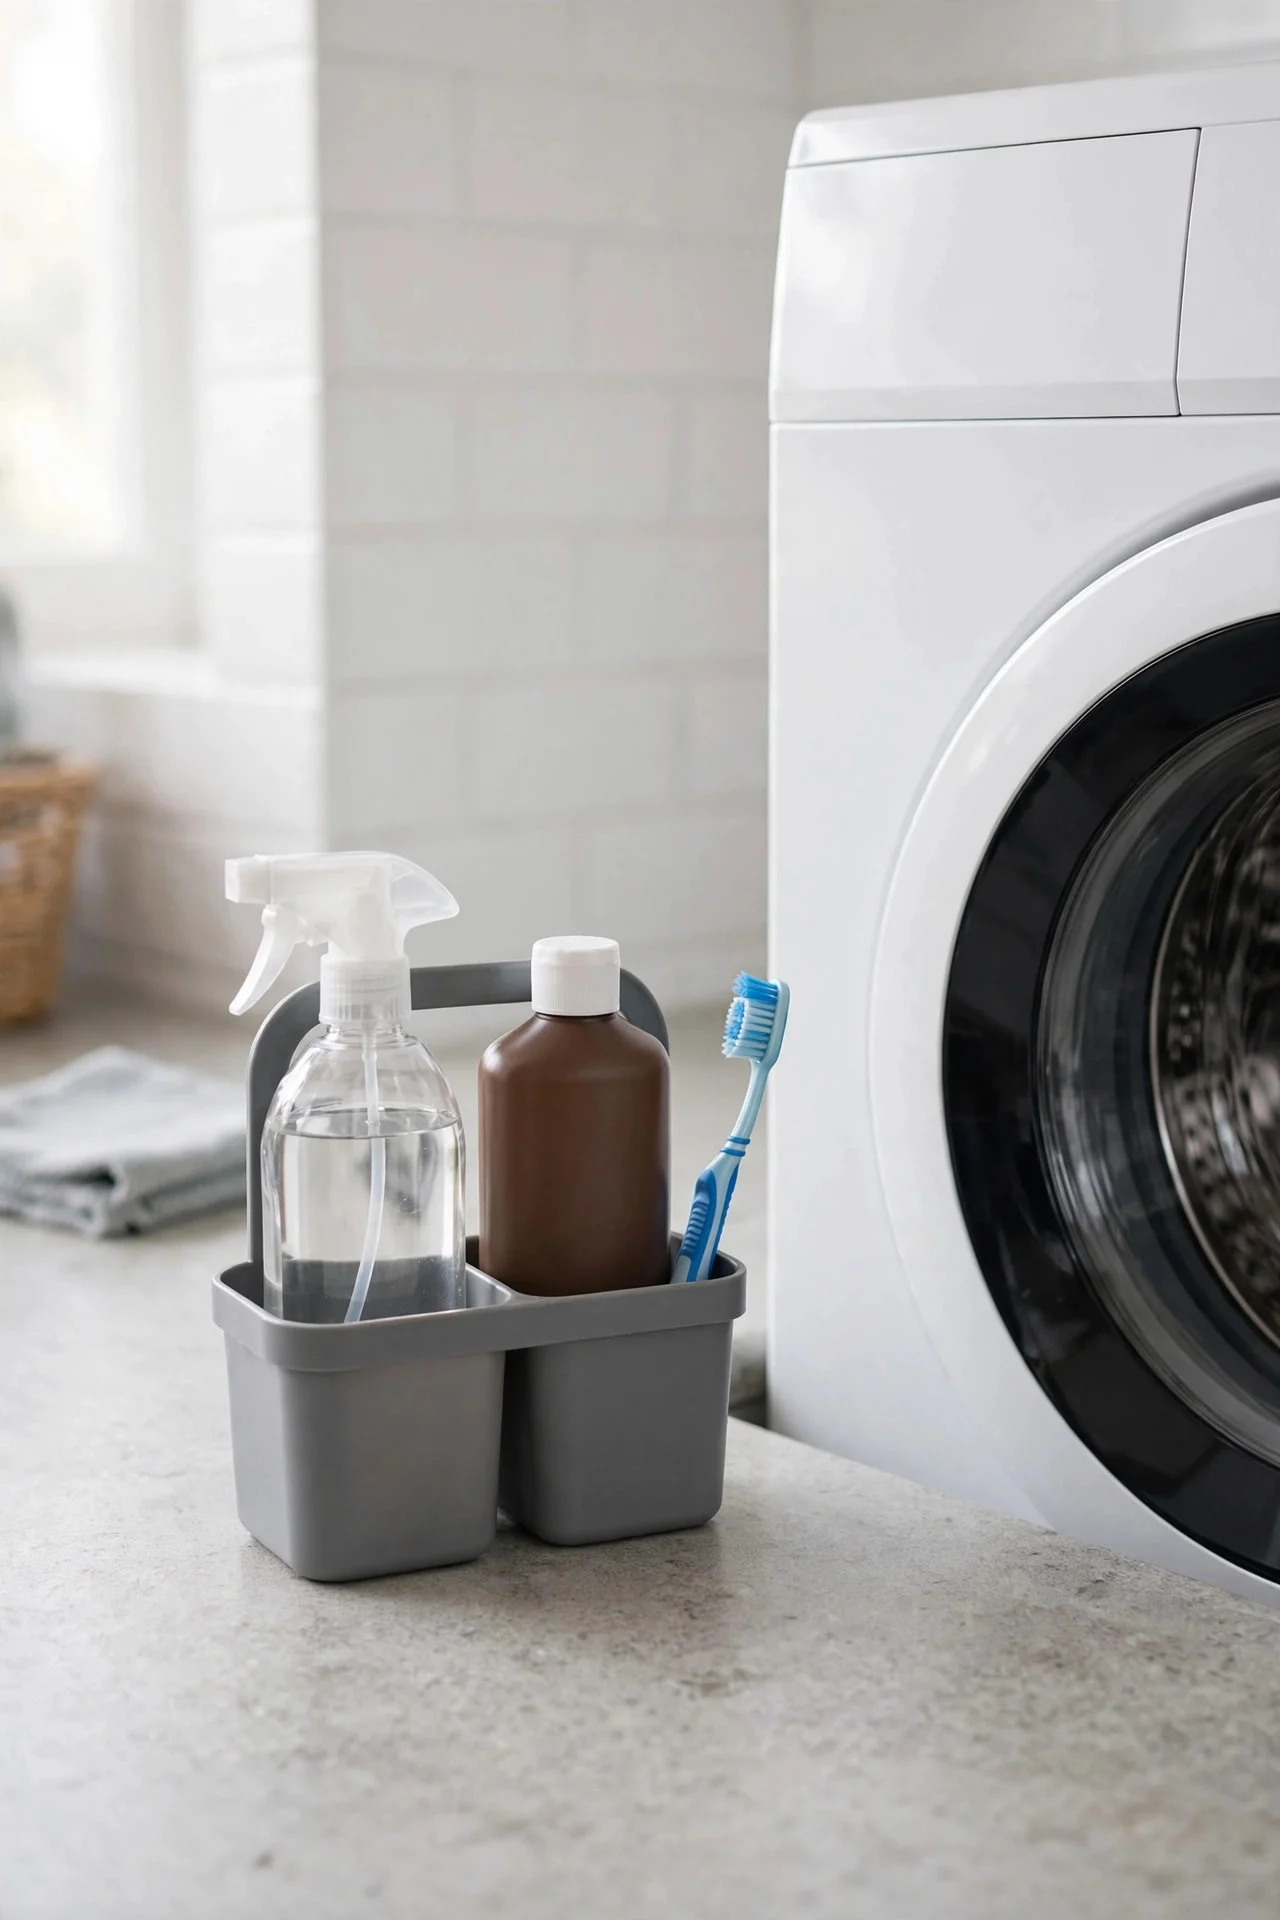
Stains set because treatment supplies are scattered. Gather them — stain stick, hydrogen peroxide, dish soap, an old toothbrush, white cloths — into one small caddy or basket kept right by the washer. Total cost: whatever you already own, plus maybe a $3 basket.
Treat stains the moment you sort, not when the load’s already in. That five-second habit saves more clothes than any product.
Try this: Tape a tiny cheat-sheet of common stains (wine, grease, blood) inside the caddy lid — no more guessing.
11. Add a Countertop Over Front-Loaders
Side-by-side front-loading machines are begging for a countertop. A piece of butcher block or even a sanded plywood board laid across the top creates a folding and sorting surface for about $40–60 — far cheaper than built-in cabinetry.
Leave a one-inch gap from the wall for vibration, and don’t store anything fragile up there. The machines shake; the counter just needs to ride along.
Try this: If machines are different heights, shim the board level with furniture pads underneath.

12. Use Stackable Bins for Household Linens
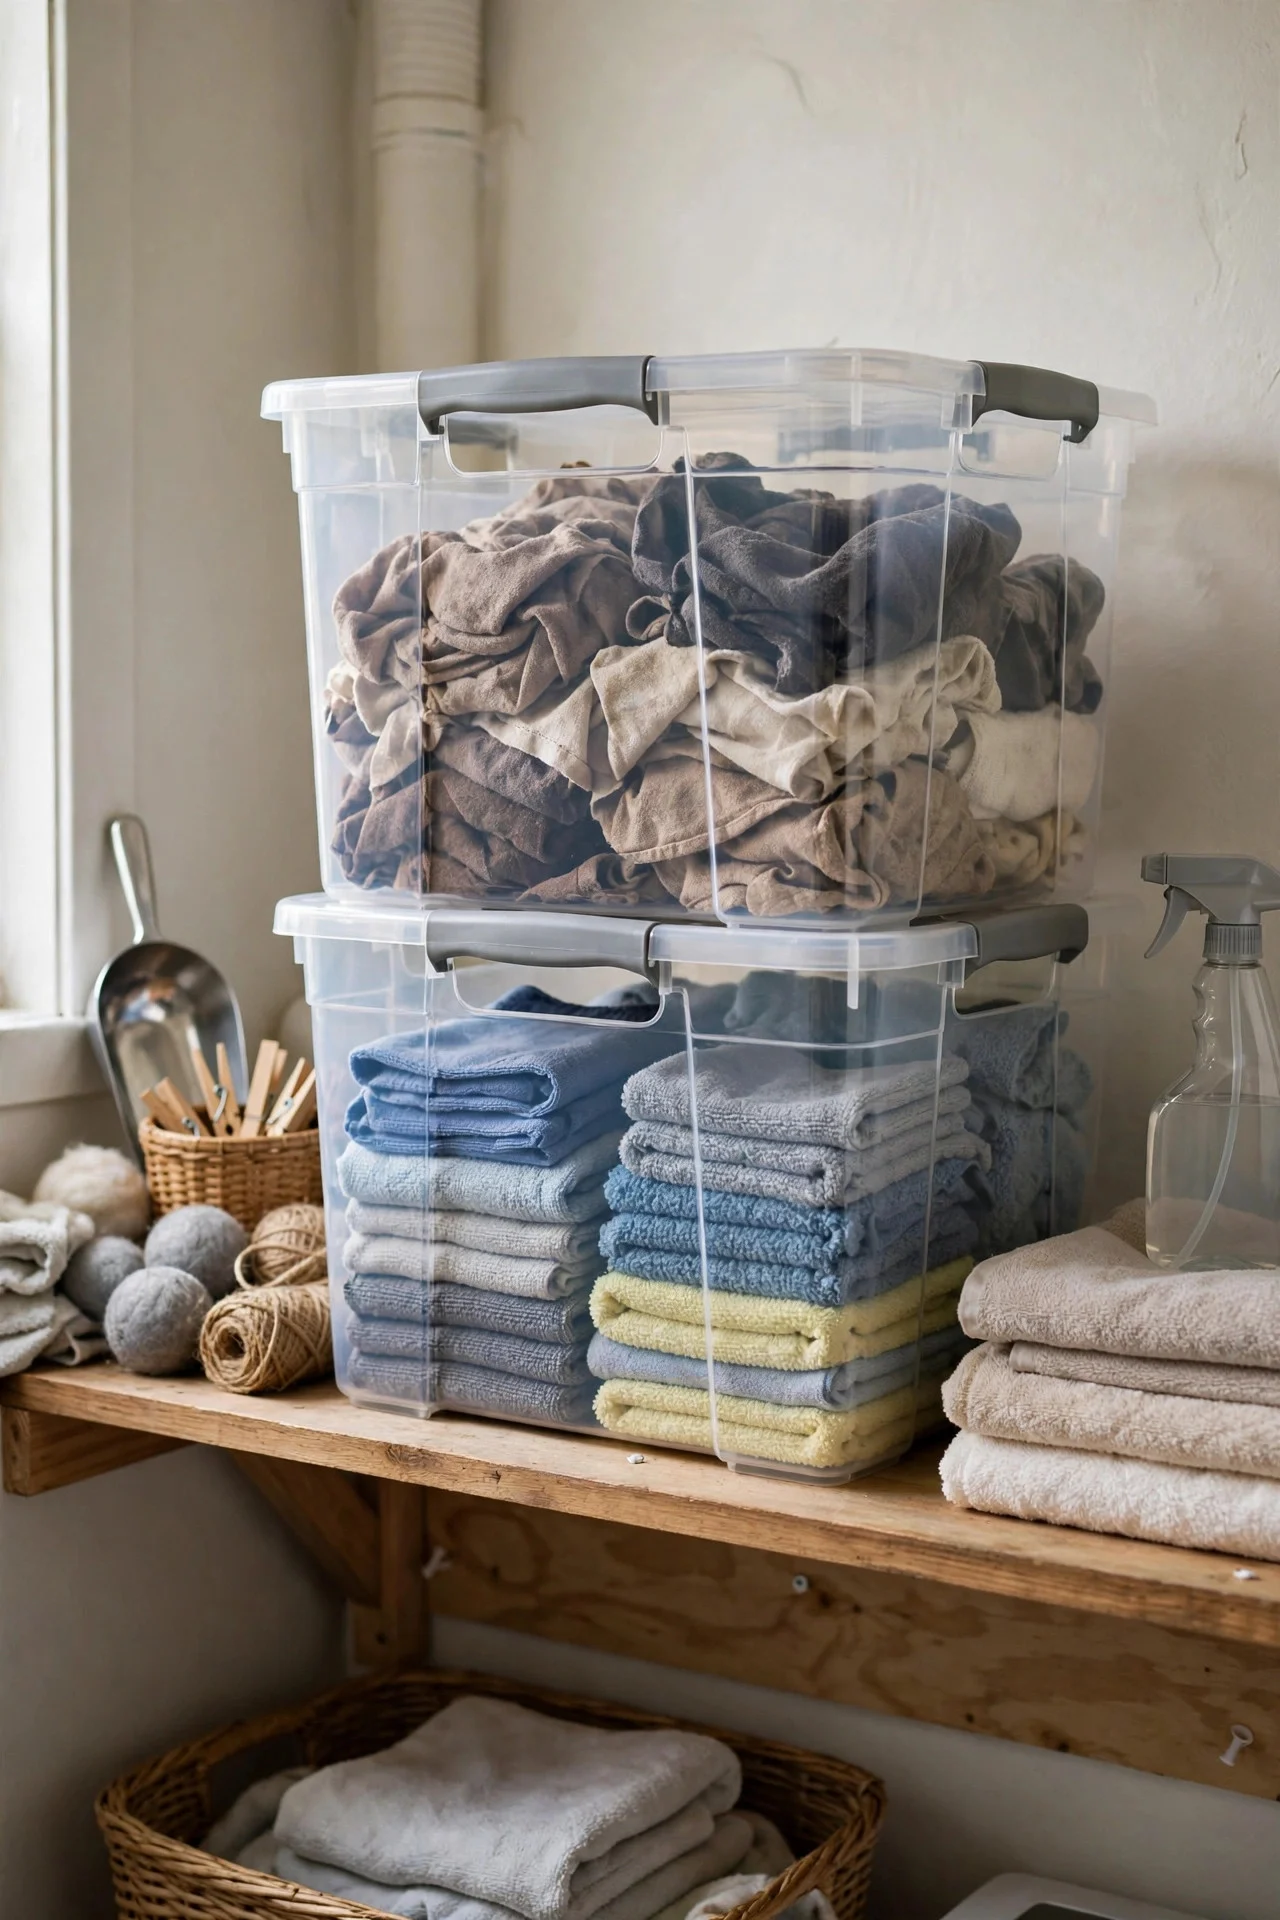
Dish towels, cleaning rags, and microfiber cloths need a home that isn’t the same shelf as your good towels. Stackable bins — one per category — keep the utilitarian stuff organized and out of the way for about $15 total.
Label them bluntly: “rags,” “cleaning cloths,” “dusters.” Nobody should have to guess which cloth is for the toilet.
Try this: When a kitchen towel gets too stained for guests, demote it to the rag bin — a built-in refresh cycle.
13. Hang a Pegboard for Tools and Supplies
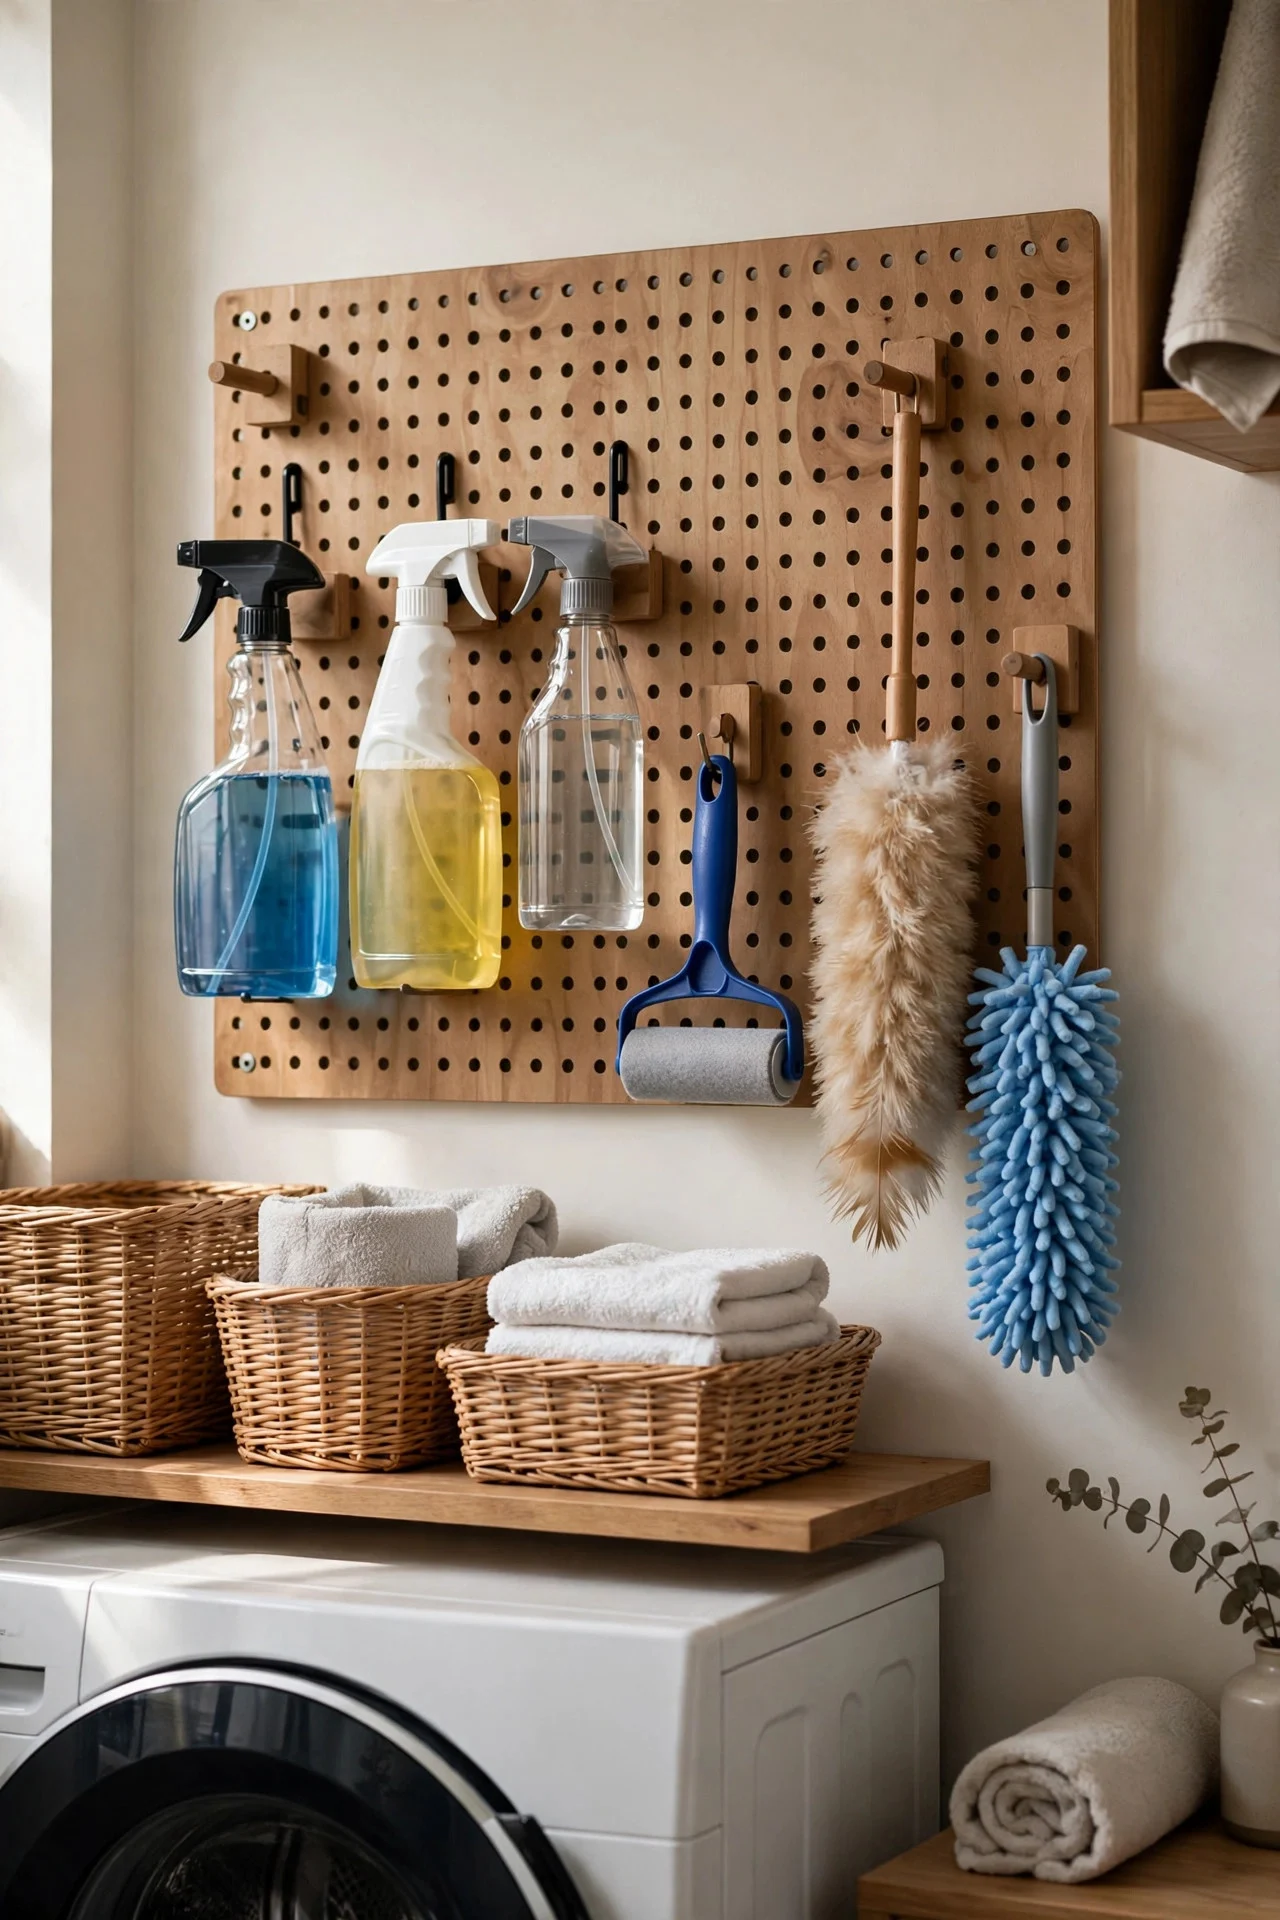
A 2 x 3-foot pegboard on the laundry wall ($15 plus hooks) holds the lint roller, spray bottles, dusters, and small tools that otherwise colonize the shelf. Everything hangs visible and reachable.
Spray bottles hang by their triggers on single hooks; use small baskets on the pegboard for loose items like dryer balls and clothespins.
Try this: Outline each tool’s spot with a marker — the “shadow board” trick makes it obvious when something’s missing.
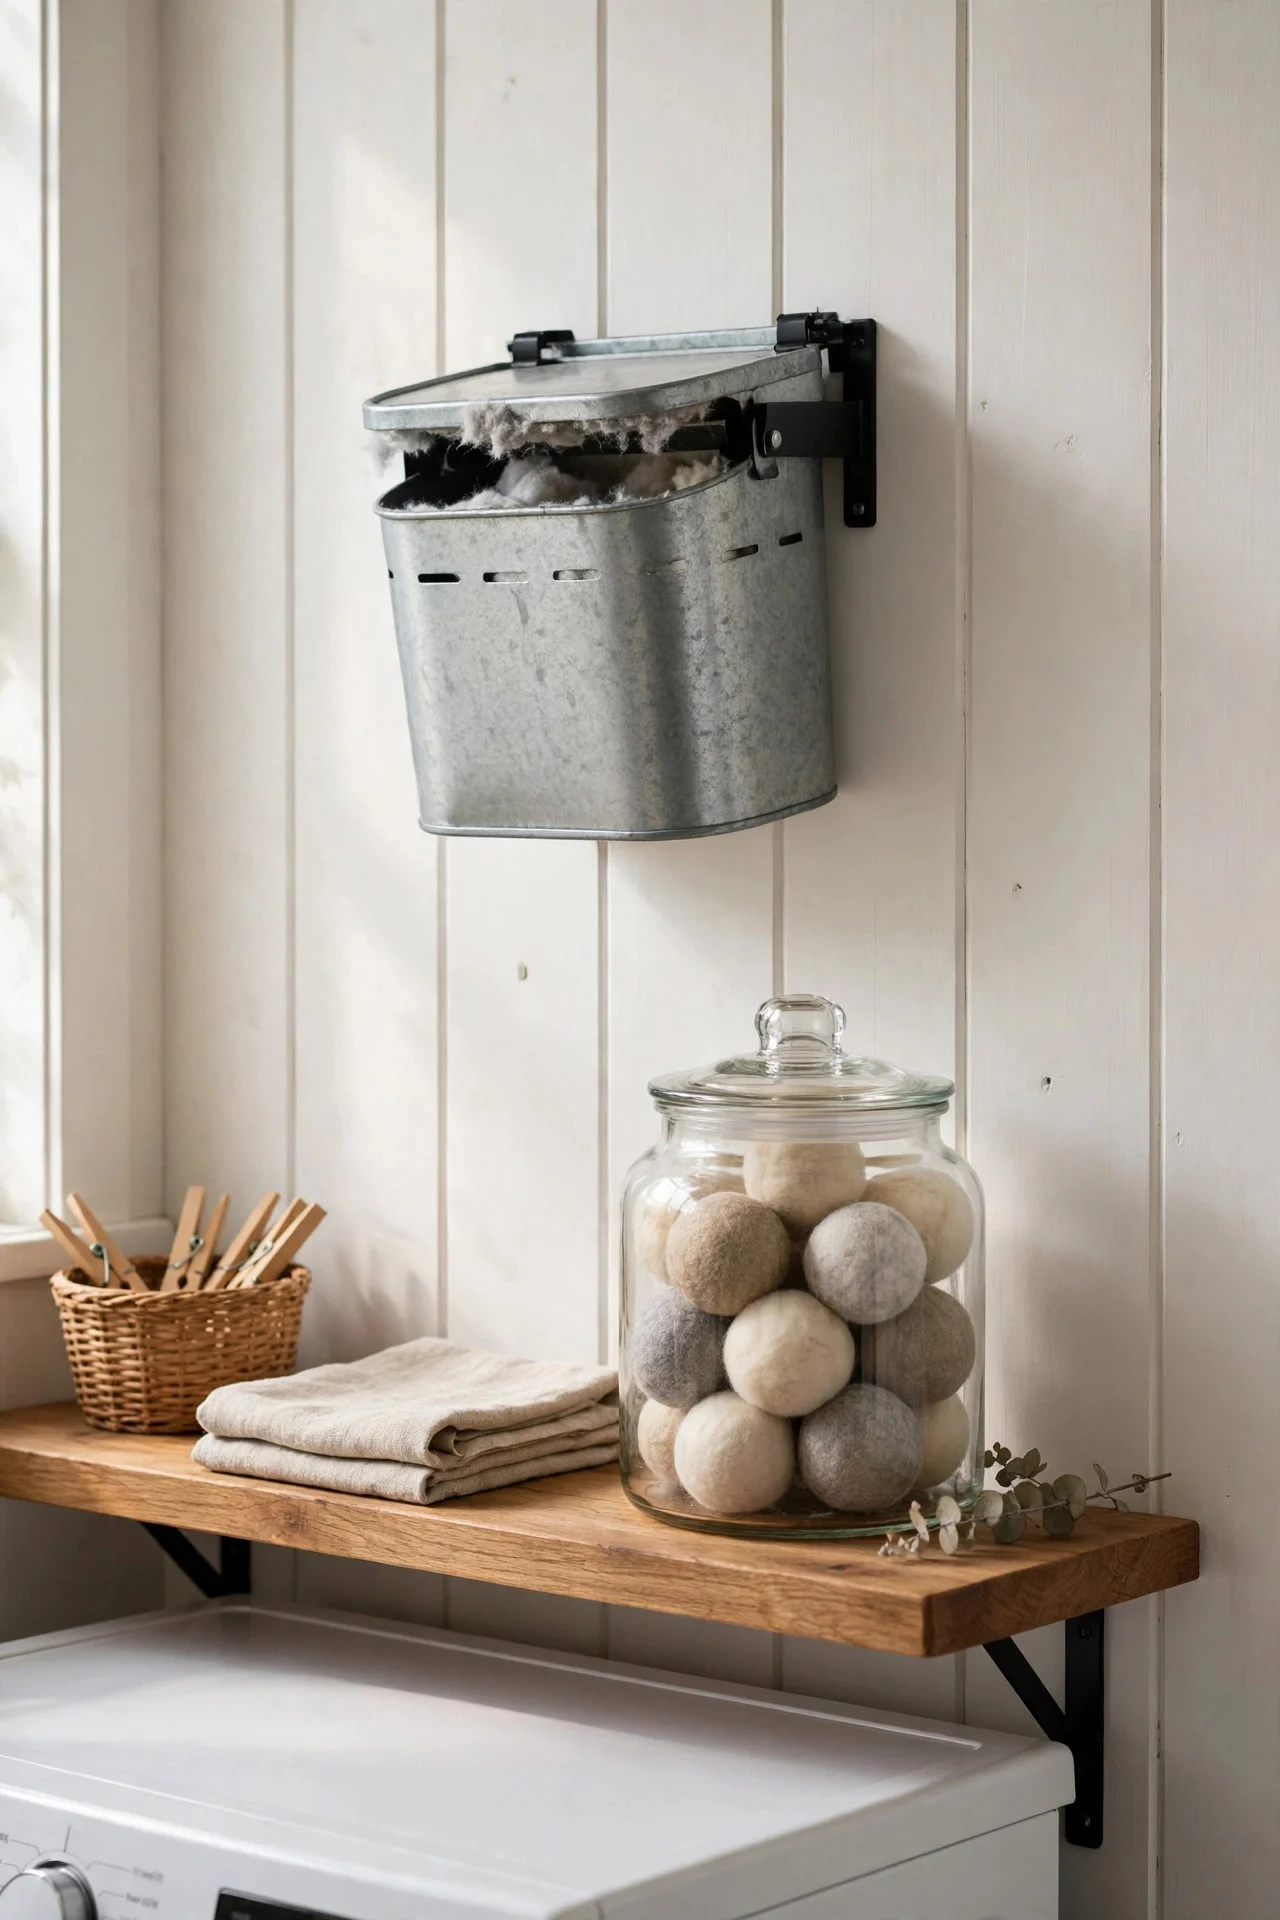
14. Tame the Lint and Dryer Sheet Mess
Dryer sheets, lint, and empty bottles accumulate around the dryer like driftwood. A small wall-mounted bin for lint ($8) and a lidded jar for dryer sheets on the shelf above ends it. Empty the lint bin weekly — it also keeps the dryer efficient.
Keep a tiny trash can right there too. Packaging, lint, and dryer-sheet wrappers finally have somewhere to go besides the floor.
Try this: Switch to wool dryer balls ($10 for six, last years) and skip dryer sheets entirely — less waste, less clutter.
15. Set Up a Mending Basket
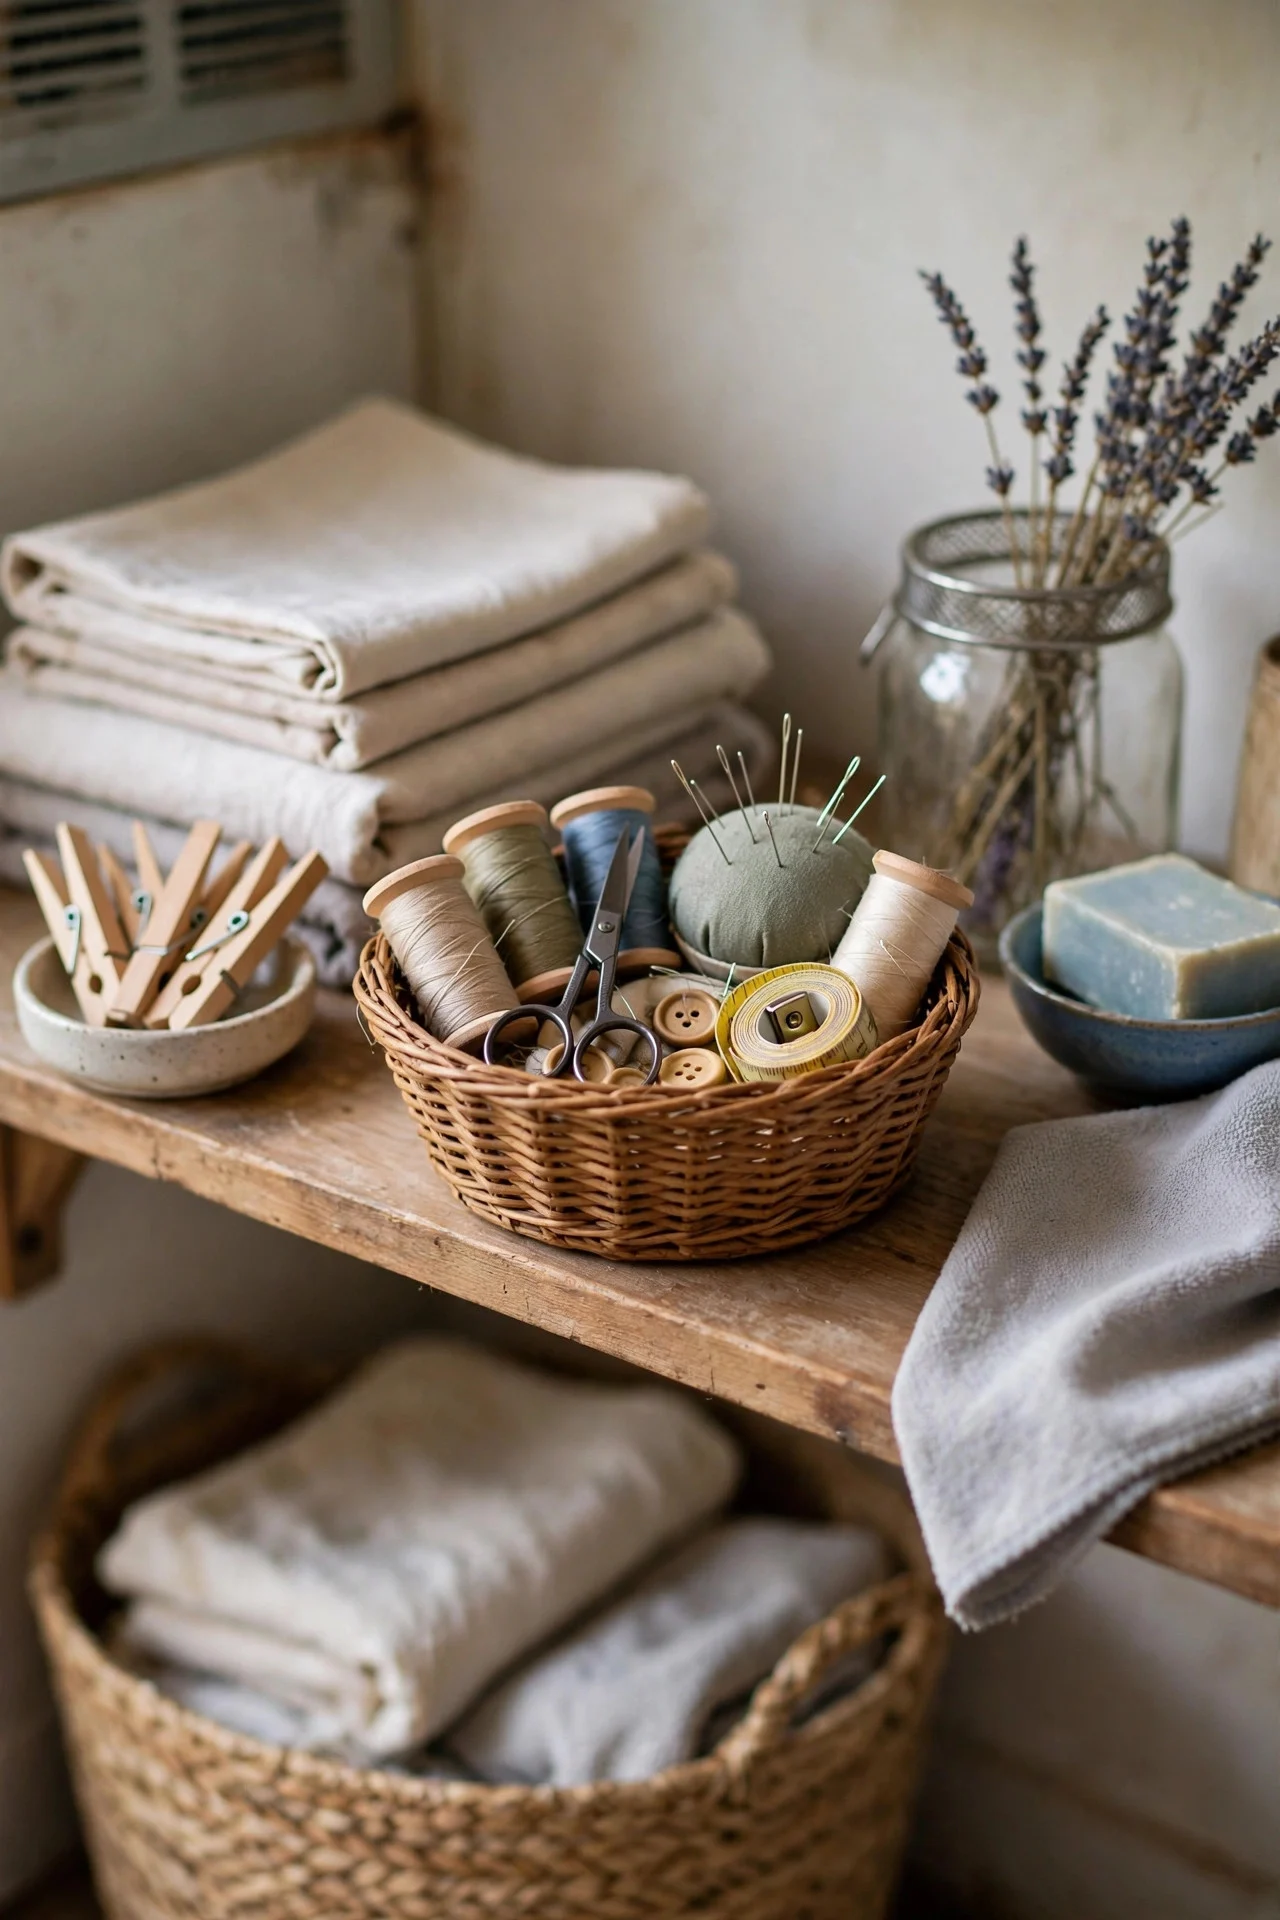
Loose buttons, torn seams, and fallen hems pile up for months because there’s no system. A small basket labeled “mending” catches them all, and once a month you spend 30 minutes with a needle and thread clearing the backlog.
Keep a basic sewing kit in the basket — needles, thread in black/white/navy, spare buttons. Total investment: about $10.
Try this: Do mending while a load runs — the timer keeps the session short and the habit painless.
16. Keep a Donation Bag in the Corner
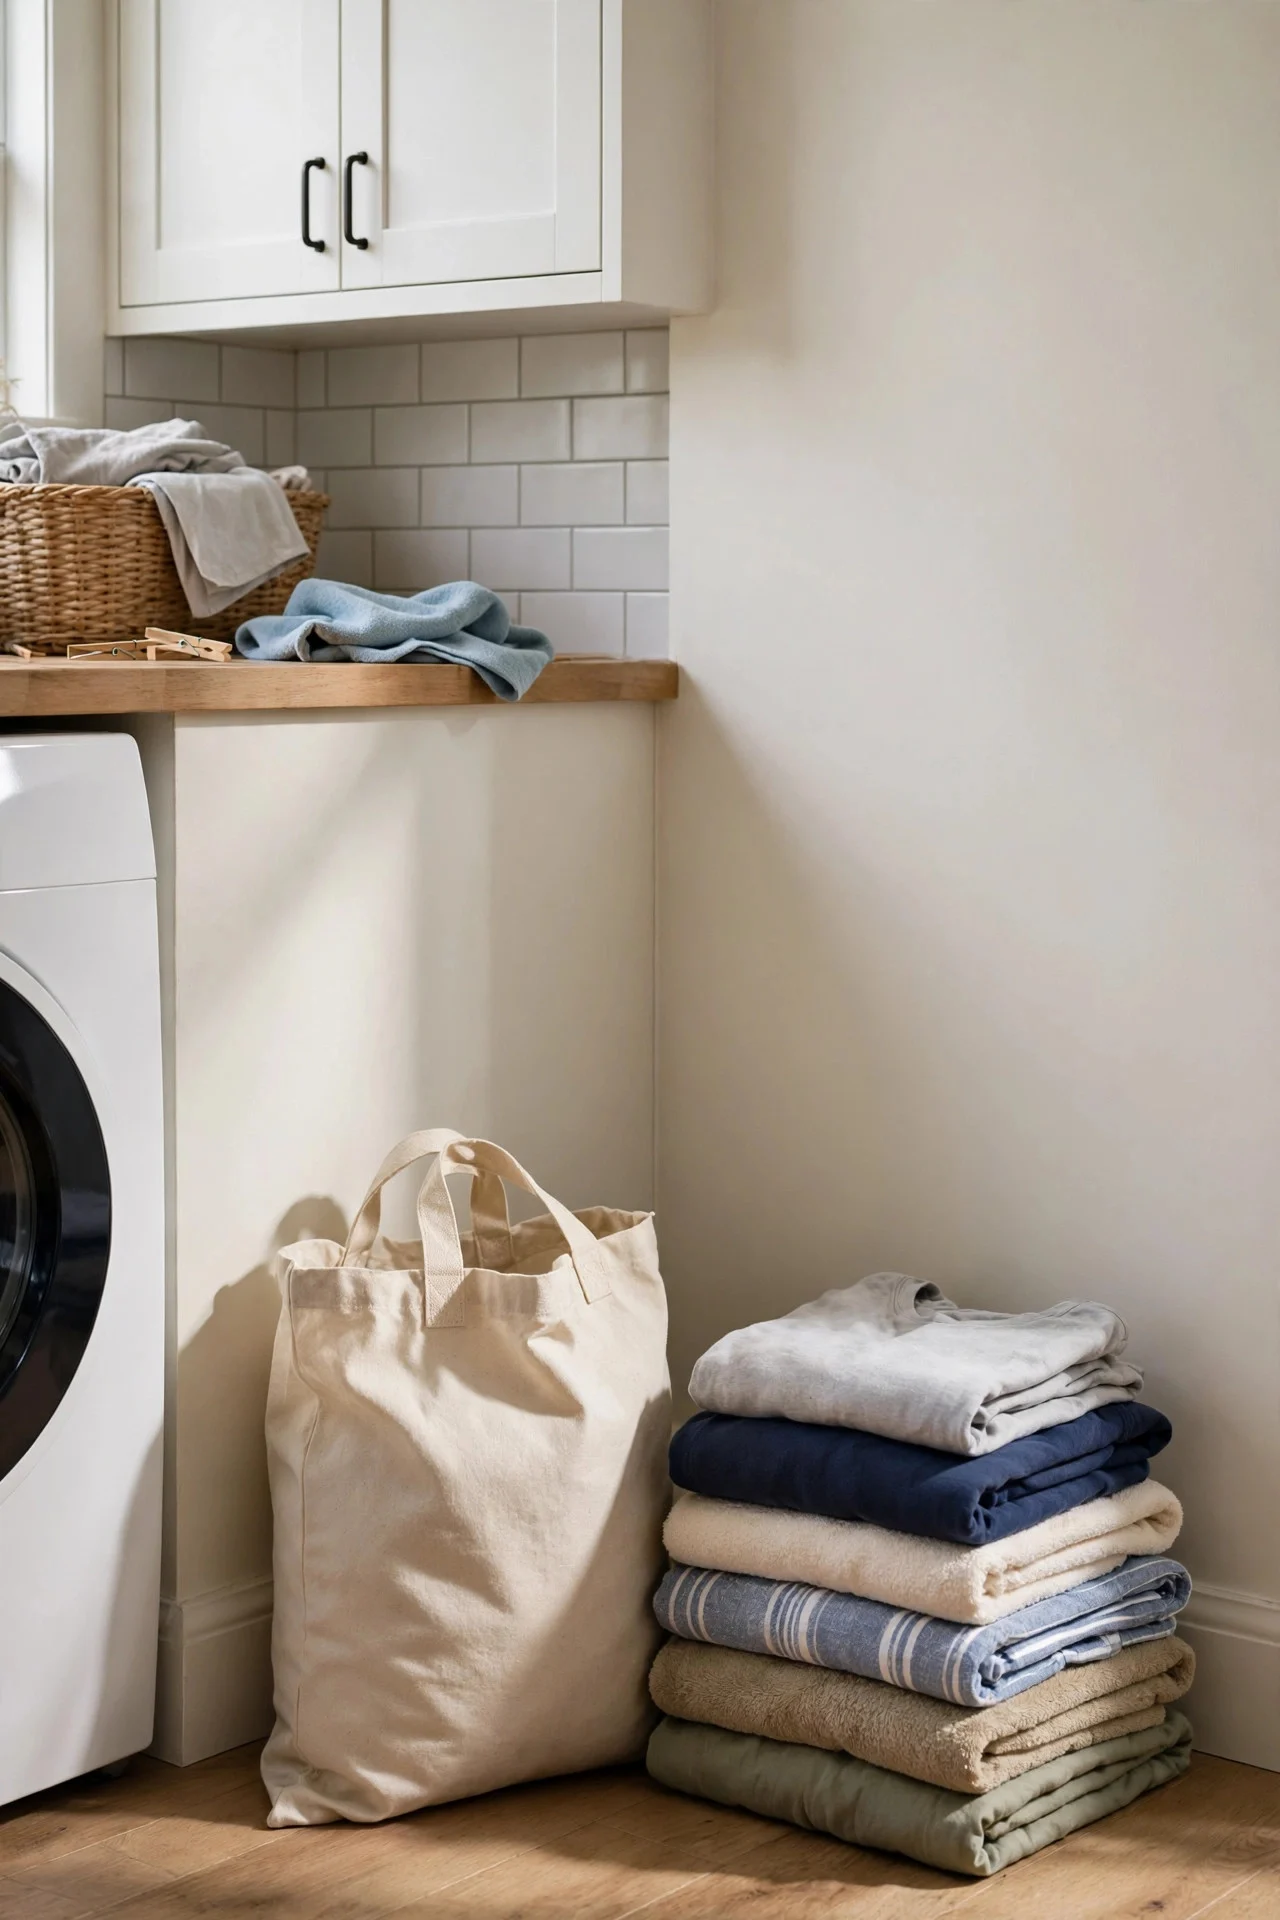
Laundry day is when you discover the stretched-out tees and single socks that should leave the house. A bag in the laundry room corner catches them in the moment — otherwise they go back in drawers out of inertia.
When the bag’s full, it goes straight to the donation bin in your car. No second sorting, no guilt pile in the garage.
Try this: Sort the donation bag’s contents during the spin cycle — dead time becomes declutter time.
Frequently Asked Questions
How can I organize a very small laundry room on a budget?
Go vertical: shelves above the machines, a slim rolling cart in the gap beside them, and wall-mounted tools (retractable line, pegboard, tension rod). Skip anything with a footprint — floor space is the scarcest resource.
What are the cheapest laundry room upgrades?
Labeled jars for detergent ($1–3 each), a mesh sock bag ($5), a tension rod ($6), and chalk labels ($5). Under $25 total, and the room looks and works dramatically better.
How do I keep my laundry room from getting messy again?
Give everything a labeled home, sort at the hamper (not on wash day), and fold straight from the dryer. The mess comes back when clothes sit — a folding shelf and the one-touch rule prevent it.
Where should cleaning supplies go in a laundry room?
One shelf or one caddy, grouped by task: laundry supplies by the washer, general cleaning together. Keep them off the folding surface and out of reach of small children — a high shelf or latched cabinet.
Final Thoughts
A laundry room doesn’t need a makeover to work well — it needs systems that cost almost nothing and survive real life. Start with the sorting hampers and the labeled jars; those two changes alone remove most of the daily friction. The rest you can add one $10 fix at a time, whenever the budget allows. Laundry will never be fun, but it can stop being a mess.