
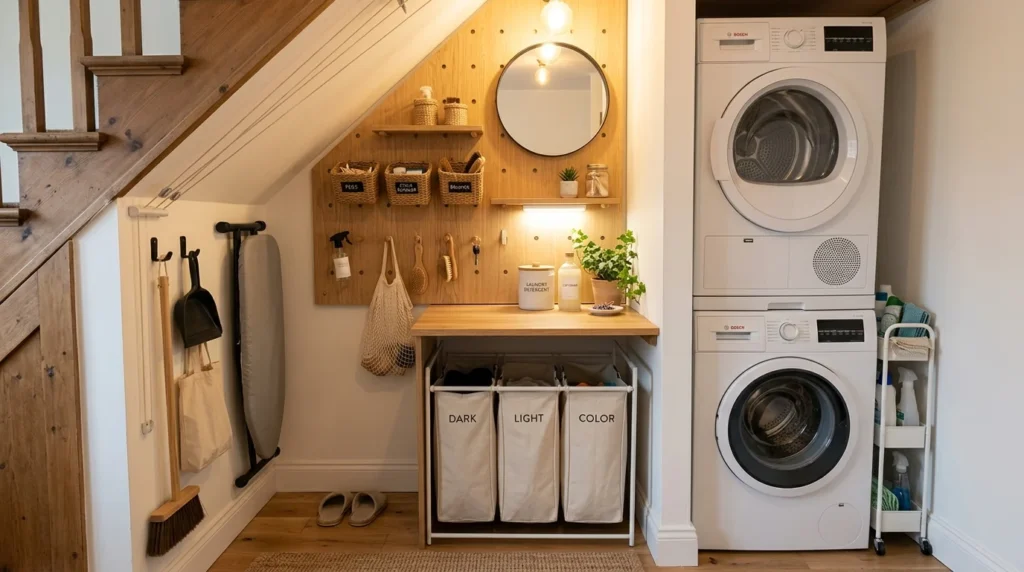
My mother-in-law walked into my laundry nook last spring, looked at the stacked washer and dryer crammed under the stairs, and said, “Oh, I didn’t realize you even had one of these.” That comment has stuck with me because for the two years before that, I’d basically agreed with her without saying it out loud — I treated that space as barely a room at all, more of a gap between the kitchen and the garage that happened to have plumbing. It took a plumbing leak that forced me to empty the whole space out, clean it properly, and rebuild the storage from scratch before I actually started treating it like a real part of the house, rather than a gap I walked past on the way to somewhere else. What I ended up with wasn’t bigger. It just finally worked the way a room its size actually could, and getting there took a bit more trial and error than I expected from what’s technically a very small project.
1. Measure Every Gap Before You Buy Anything
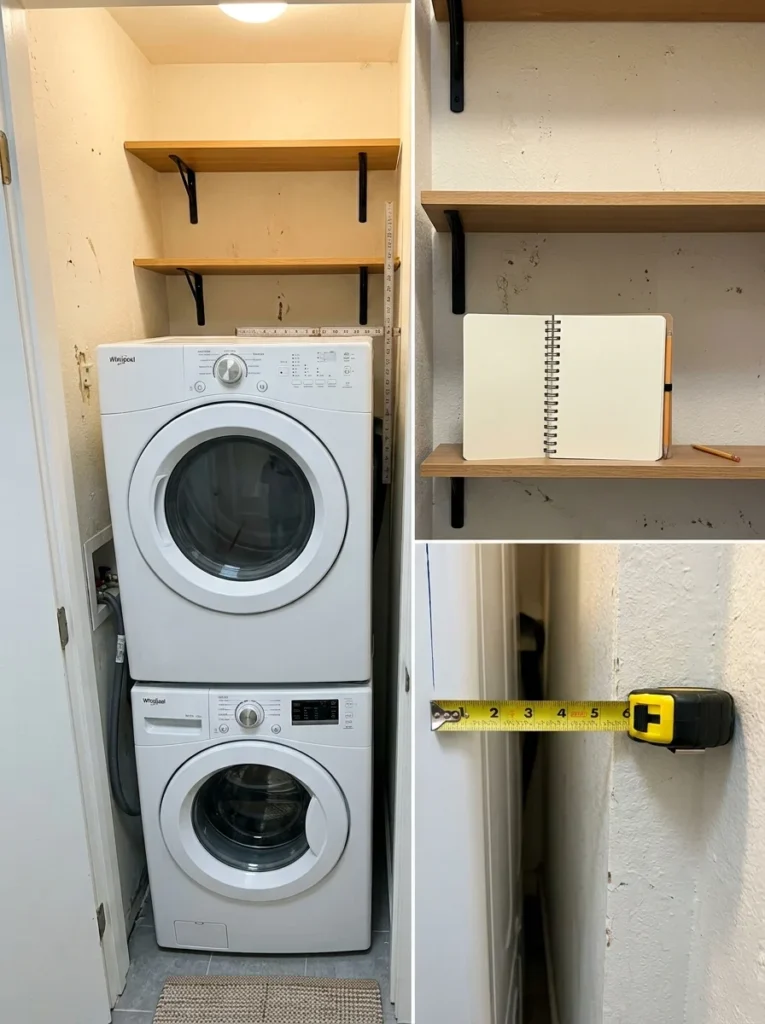
When I emptied the space out for the leak repair, I found nearly four inches of unused depth behind the dryer that I’d never accounted for in two years of living there. Before buying a single organizer or shelf, I now measure every gap in the space, including the ones that seem too small to matter, because in a room this size, four inches can be the difference between wasted space and a usable shelf.
2. A Pegboard Wall Beats Fixed Shelving for Flexibility
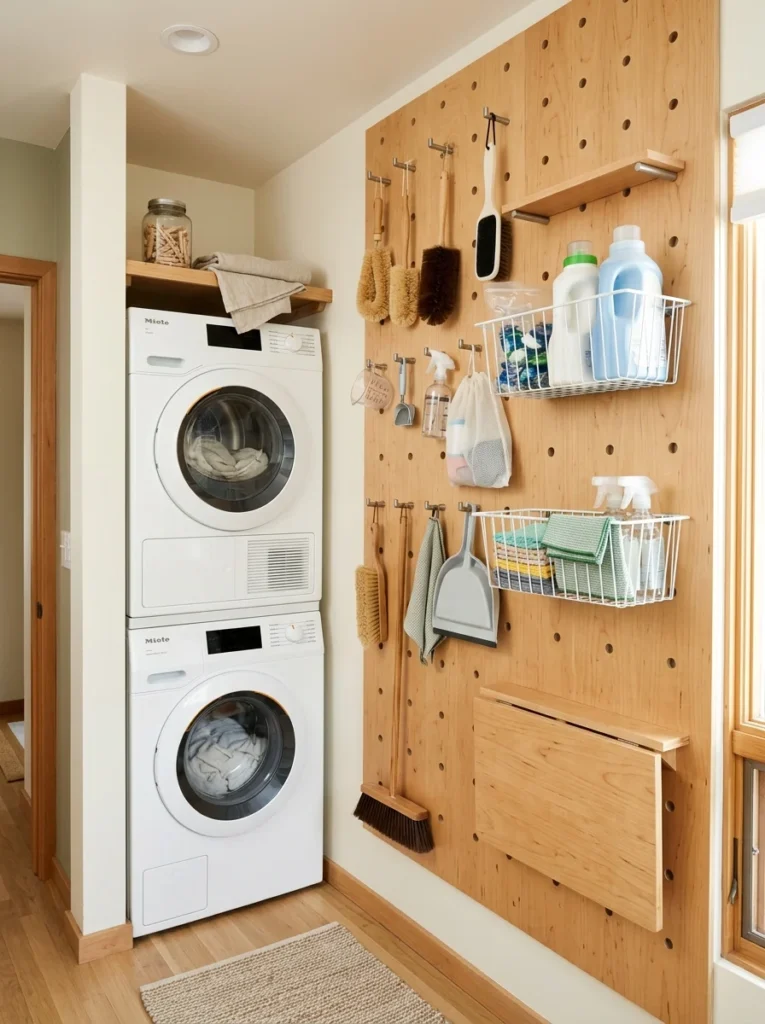
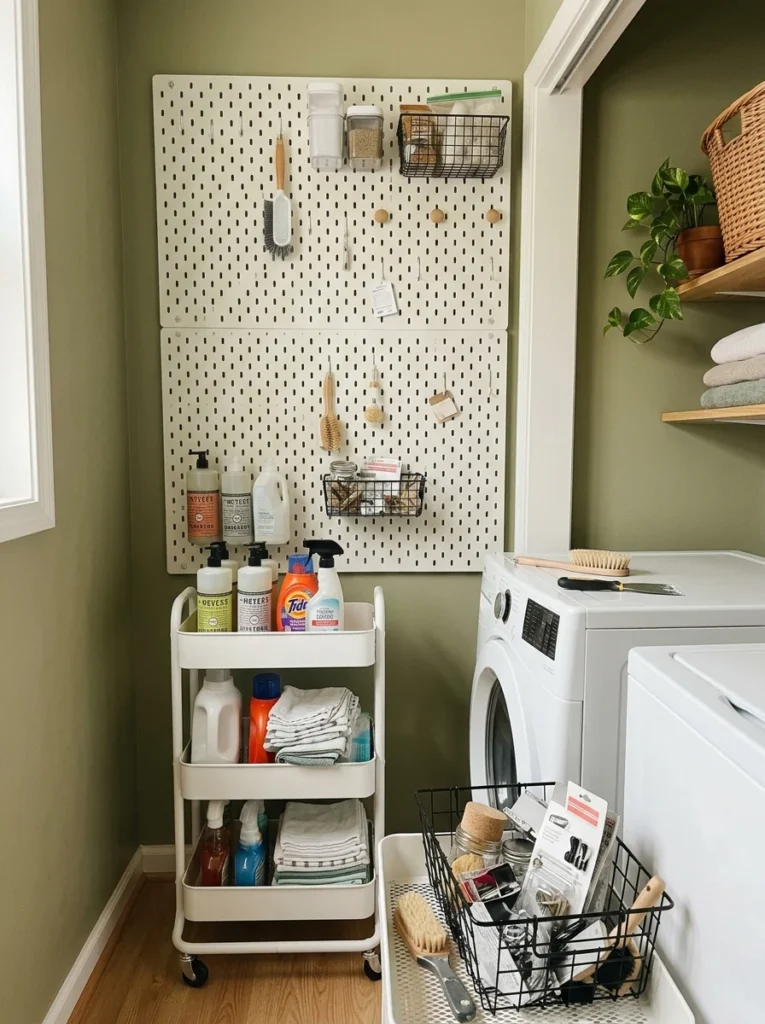
Instead of installing fixed shelves right away, I mounted a pegboard on the one open wall in the space. It let me rearrange hooks, small baskets, and a fold-out shelf attachment as my actual storage needs changed over the following months, which turned out to matter more than I expected since what I needed to store shifted noticeably between seasons.
3. Use a Slim Rolling Cart That Fits the Exact Width of Your Gap
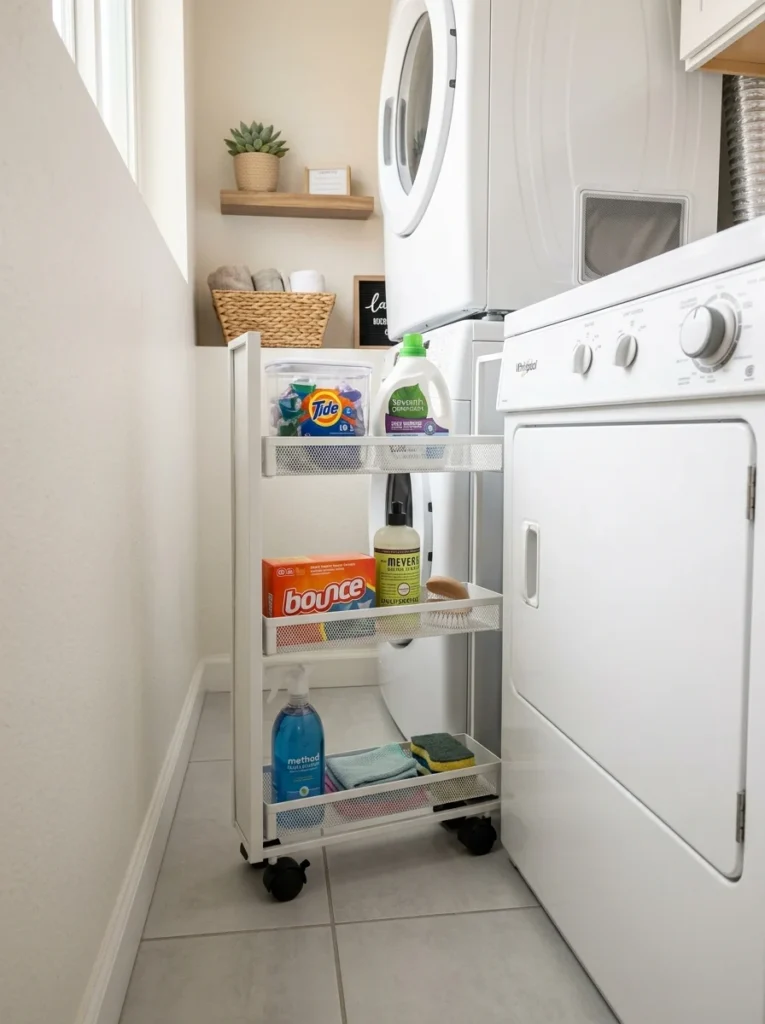
The narrow strip of space beside my dryer, barely five inches wide, sat empty for years because nothing standard fit there. A rolling cart built specifically for narrow gaps like this now holds detergent pods and a stain stick, and being able to roll it out slightly for full access made a bigger practical difference than I expected from something so simple.
4. Install a Retractable Clothesline Instead of a Permanent Rod
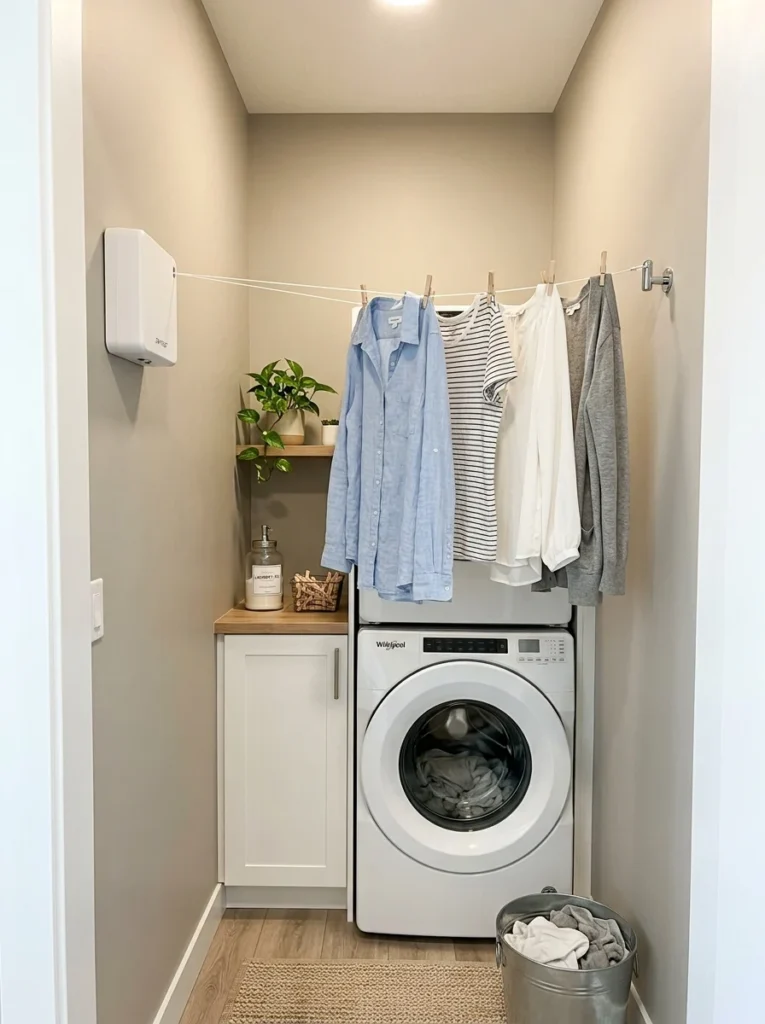
Rather than a fixed tension rod, I went with a retractable clothesline that pulls out from a small wall-mounted case and clips to a hook on the opposite wall. When it’s not in use, it retracts almost completely flush against the wall, which mattered a lot in a space this narrow where a permanently extended rod would have been in the way constantly.
5. Give the Ironing Board Its Own Wall Mount
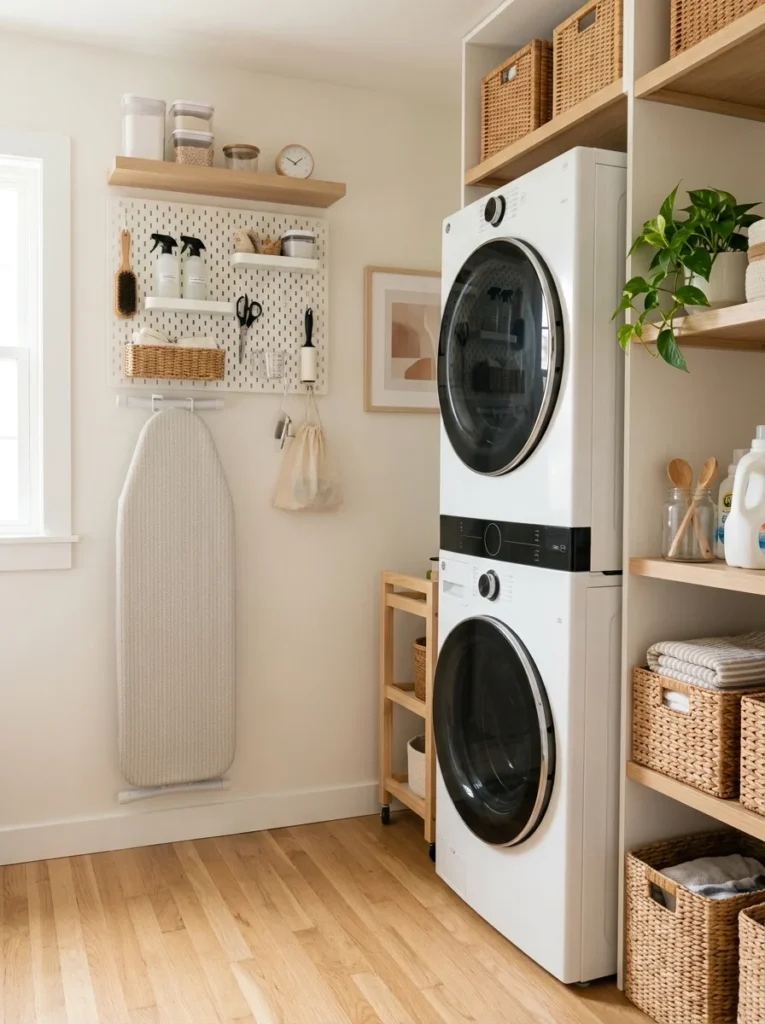
My ironing board used to live wedged behind the washer, which meant wrestling it free every single time I needed it and usually knocking something over in the process. A simple wall-mounted bracket now holds it flat against the wall, folded and ready, which turned a genuinely annoying weekly task into something closer to a non-issue.
6. Add a Fold-Out Countertop Over the Washer

Instead of building a separate folding table, I had a hinged countertop installed directly over the top-loading section of the washer, one that folds down flat when the machine’s lid needs to open and stays up as a folding surface the rest of the time. It uses space that was otherwise just a flat lid I occasionally set things on precariously.
7. Store Cleaning Supplies in a Slim Door-Mounted Caddy
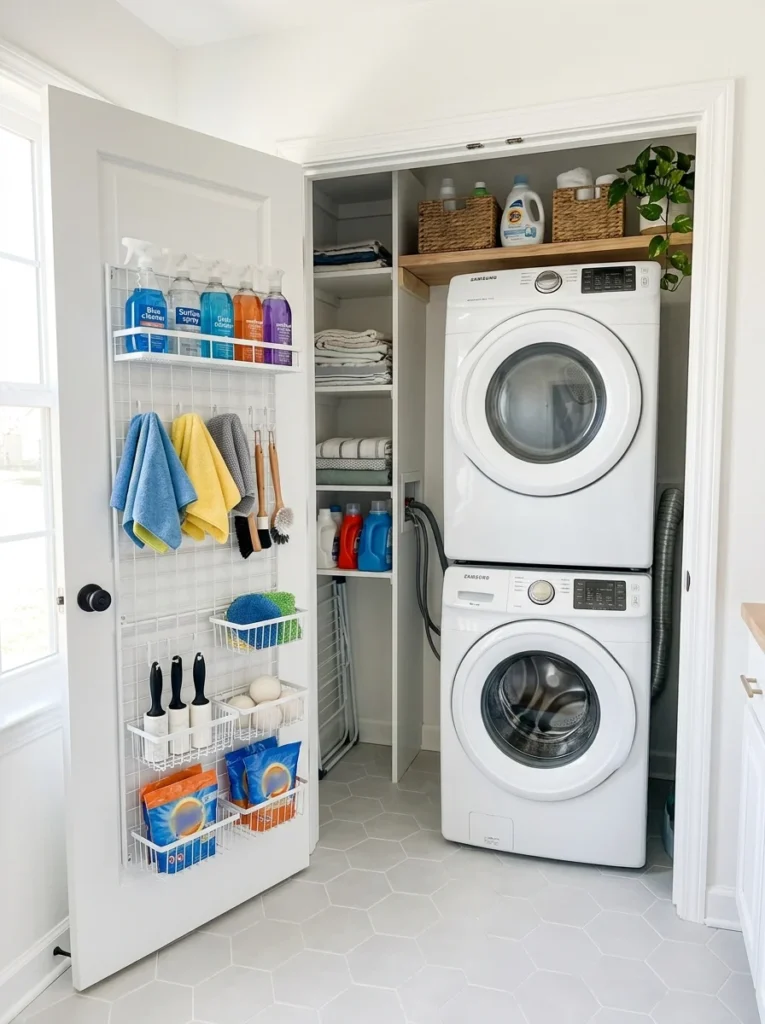
The laundry nook doubled as where I kept general cleaning supplies, and they used to just sit in a bucket on the floor, taking up walking space. A slim caddy mounted to the inside of a nearby closet door now holds spray bottles and rags, freeing up the floor entirely for actual laundry-related movement.
8. Use Command Hooks for Anything That Doesn’t Need a Permanent Mount
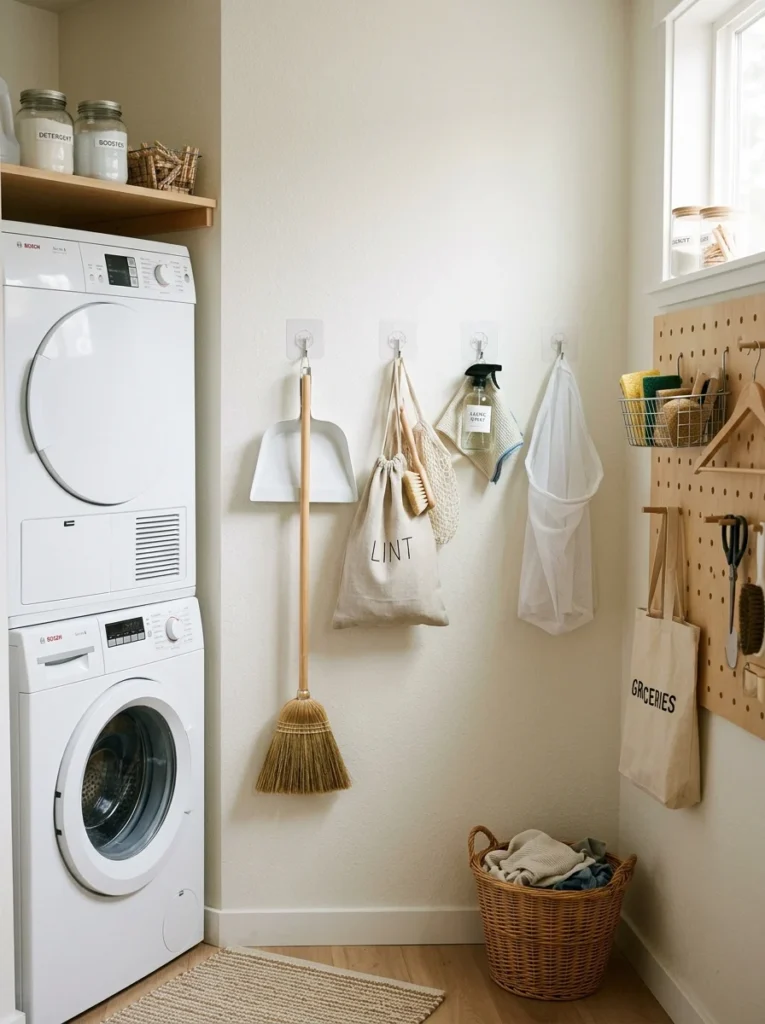
Not everything in this space justified drilling a hole, and Command hooks became my go-to for lighter items — a small broom, a dustpan, a bag for lint. They’ve held up well as long as I respected the listed weight limits, and removing or repositioning them as my system evolved didn’t leave any damage behind.
9. Add a Small Mirror to Make the Space Feel Less Like a Closet
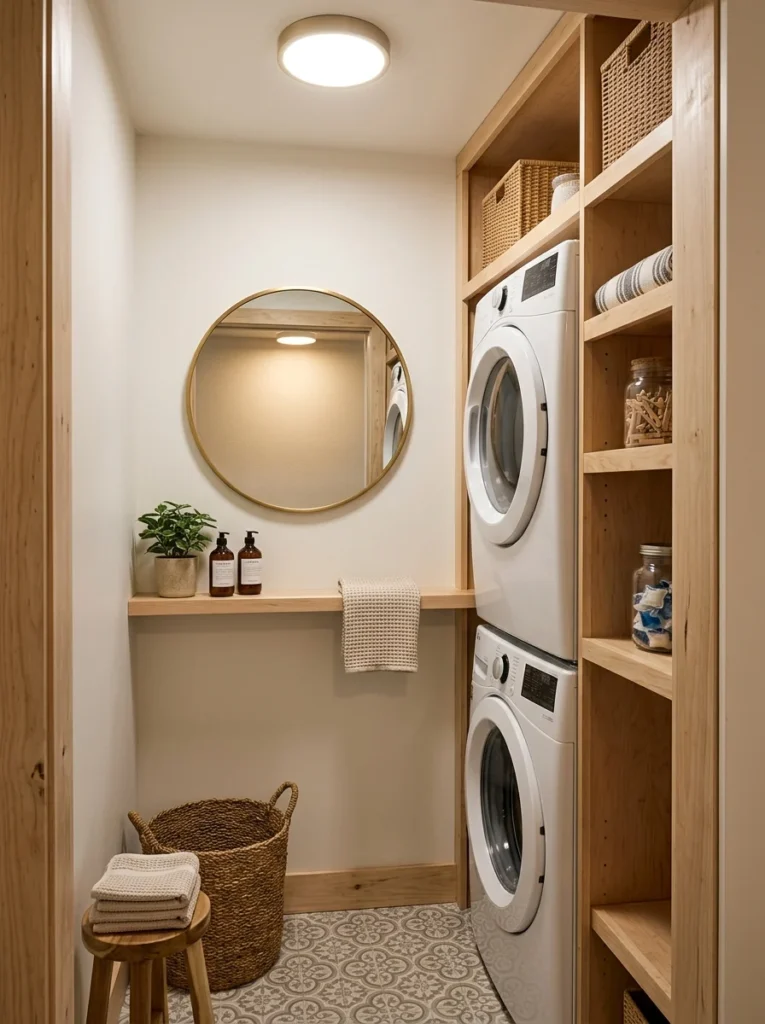
This nook has no window and felt dim and closet-like no matter how I organized it. A small mirror hung on the one open section of wall bounced the limited overhead light around enough to make a noticeable difference, even in a space this narrow and enclosed.
10. Use a Tiered Basket System for Sorting Instead of One Big Hamper
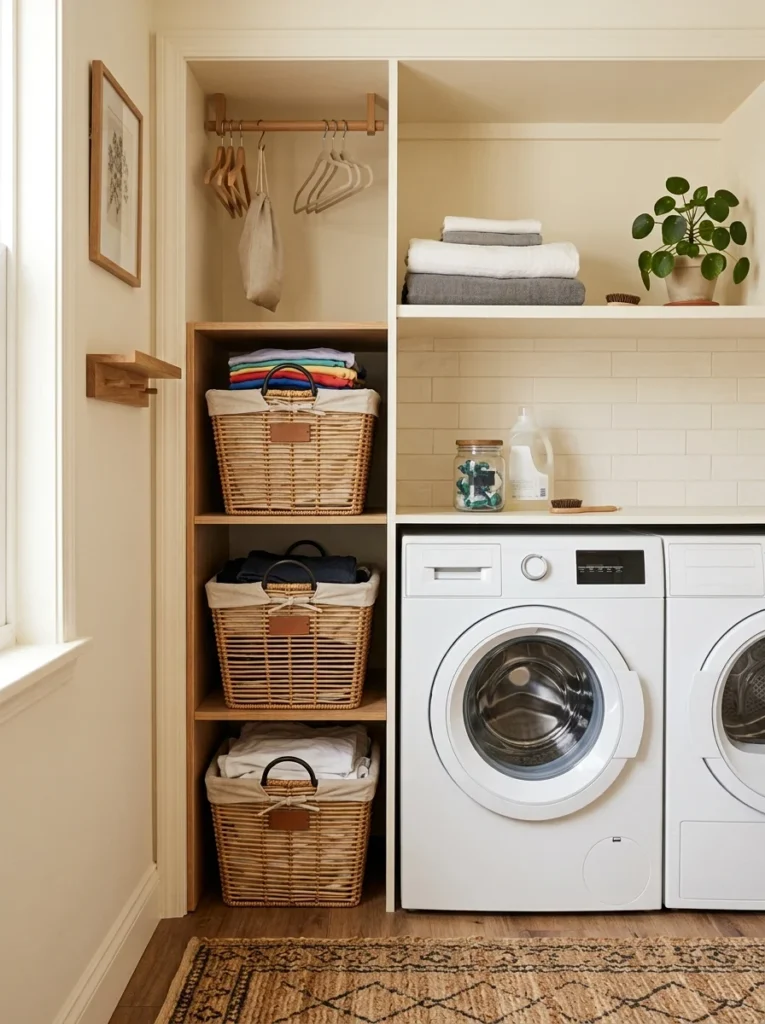
I used to toss all dirty laundry into one large hamper and sort it at wash time, which meant standing in the cramped space separating colors while balancing an overflowing basket. Switching to a tiered set of three smaller baskets, already sorted by color as clothes went in, meant wash day started with grabbing one basket rather than sorting on the spot in a space with no room to spread things out.
11. Choose a Battery-Powered Light If Wiring a New Fixture Isn’t Practical
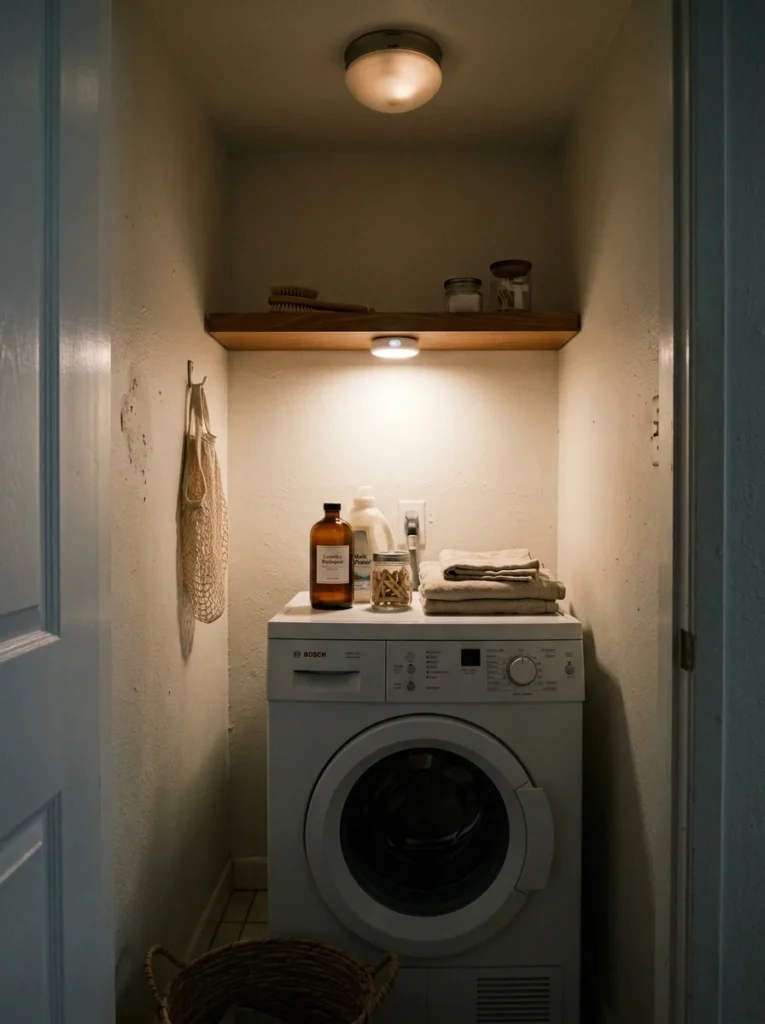
The overhead light in this nook was weak and original to the house, and rewiring for something better wasn’t in the budget after the plumbing repair already ate into it. A battery-powered puck light stuck to the underside of the one shelf I did install gave me significantly better task lighting for checking pockets and reading detergent labels, without any electrical work at all.
12. Keep a Small Notepad and Pen for Tracking What’s Running Low
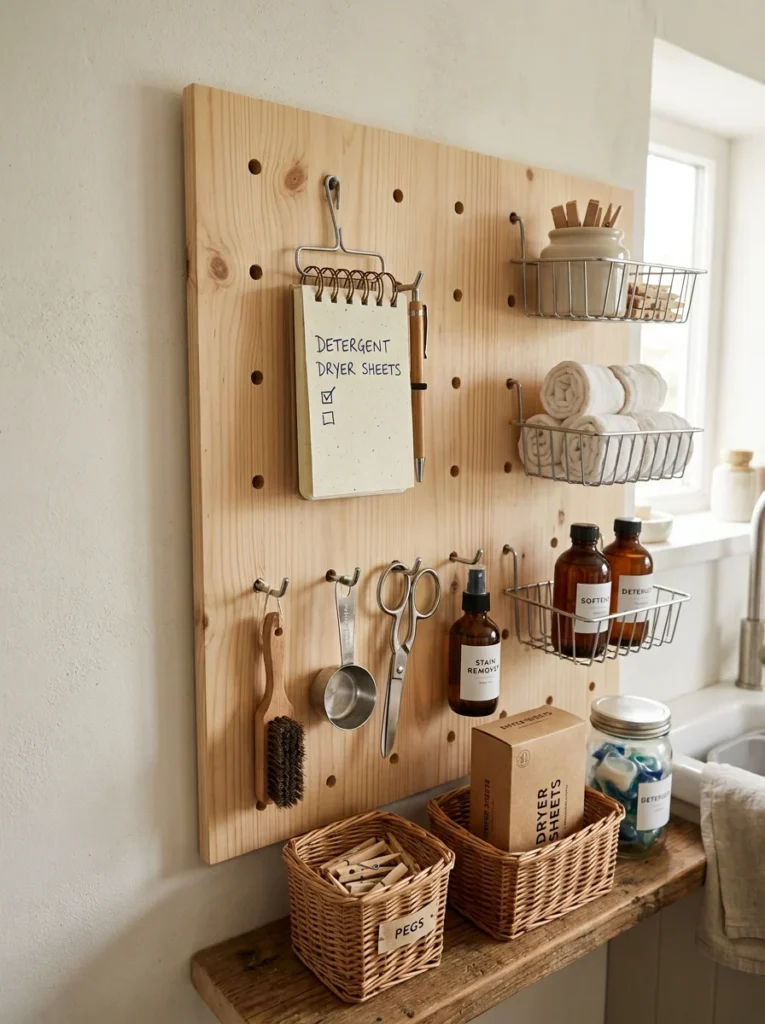
This is a small, almost silly addition, but it solved a recurring annoyance. I kept running out of detergent or dryer sheets without realizing it until I was mid-load, so a tiny notepad stuck to the pegboard now lets me jot down anything that’s running low the moment I notice, rather than trying to remember it later at the store.
13. Add a Hook Specifically for the Laundry Bag You Carry Between Floors
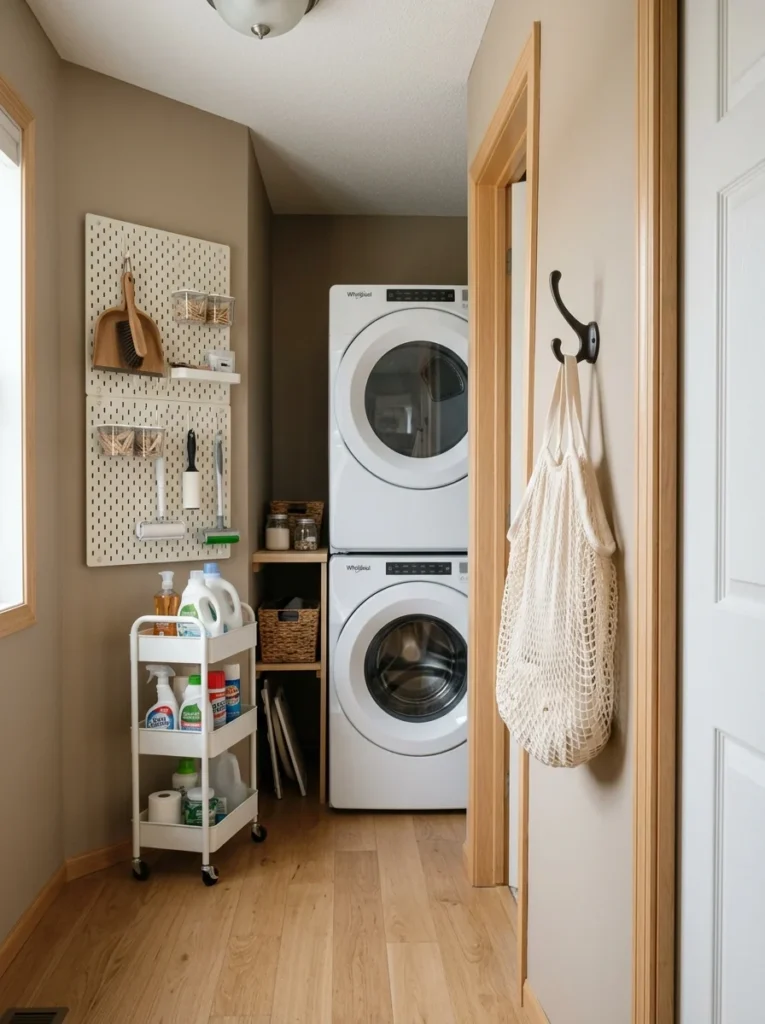
Since this space is on the ground floor and most of the laundry starts upstairs, I carry a large mesh bag between the two levels. It used to just get dropped on the floor of the nook once emptied, taking up space until wash day. One dedicated hook near the door now holds it, ready for the next trip upstairs, which is a small fix but stopped a recurring pile of fabric on the floor.
14. Reassess the Whole System Every Time Your Routine Changes
The setup I built right after the leak repair worked well for about eight months, until a change in my work schedule meant I was doing laundry on different days and needed different things within easy reach. Rather than treating the original organization as permanent, I now expect to adjust it every few months as life changes, which has kept the space actually working rather than slowly becoming outdated the way it did before the leak forced a full rebuild.
Where I Went Wrong the First Time Around
Before the leak forced a rebuild, I’d actually tried to organize this space once already, and it’s worth explaining why that attempt didn’t hold up. I bought a set of matching wicker baskets purely because they looked good together in the store, without measuring whether they’d actually fit the shelf depth in my specific nook. Two of the three ended up sticking out slightly past the shelf edge, which meant they constantly got bumped and knocked off whenever I reached past them for something else. The lesson wasn’t about the baskets themselves being a bad idea, it was that I’d shopped based on appearance before confirming the actual dimensions of the space, which is a mistake I now specifically watch for with every purchase in a small area like this.
The second early mistake was hanging the pegboard slightly too high, positioned at what seemed like a reasonable eye level for me at five foot nine, without considering that my partner, who’s noticeably shorter, uses this space just as often. Lowering it by about six inches during the rebuild made it usable for both of us instead of requiring one person to stretch every time.
The Cost and Effort of Rebuilding This Space
Between the pegboard, the wall-mounted ironing board bracket, the retractable clothesline, and the fold-out countertop over the washer, the total cost came out to a little under two hundred dollars, most of which went toward the fold-out countertop since it required a bit of custom cutting to fit the exact width of the space. The rest of the changes, the hooks, the rolling cart, the tiered baskets, were all inexpensive enough that I didn’t think twice about trying them, and that’s actually part of why the pegboard system worked so well. Being able to experiment with low-cost hooks and small attachments meant I wasn’t afraid to rearrange things multiple times before settling on a layout that actually matched how I use the space day to day.
Making Sure It Doesn’t Slip Back to How It Was
Rebuilding the space once was the easy part, in a way, since it happened all at once after the leak, driven by necessity rather than gradual habit-building. Keeping it organized afterward has taken more deliberate effort. I now do a quick check every couple of weeks, usually while a load is running and I have a few idle minutes standing there anyway, to make sure nothing has drifted from its designated spot on the pegboard or slipped behind the rolling cart where it’s easy to forget about. It’s a small habit, but skipping it for even a month during a particularly busy stretch last winter was enough for the space to start sliding back toward the cluttered, disorganized nook it used to be, which was a clear enough reminder that the system needs occasional upkeep, not just a one-time setup.
What the Leak Actually Taught Me
It’s a strange thing to say a plumbing problem improved part of my house, but forcing myself to empty that space completely and see every inch of it, including the gaps and depths I’d never paid attention to, is genuinely what fixed the underlying issue. Before that, I’d organize around whatever was already sitting there, which meant I was optimizing around clutter instead of around the actual available space. If you’re able to, I’d genuinely recommend pulling everything out of a small utility space like this at least once, even without a leak forcing your hand, just to see what you’re actually working with underneath everything that’s accumulated there over time. It’s a strange kind of clarity that’s hard to get any other way, short of an actual emergency doing it for you.
