
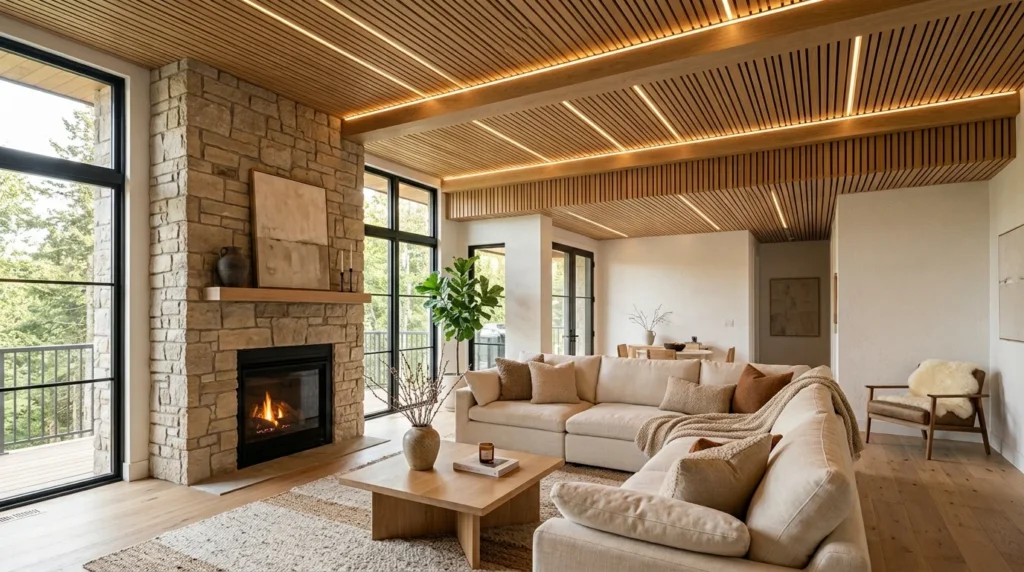
When I first moved into my old house, the ceilings were the one thing I couldn’t stop staring at — not because they were beautiful, but because they were painfully plain. Flat, white, builder-grade drywall with a single boring light fixture in the middle. After living with it for almost a year, I finally decided to do something about it, and that’s when I discovered wood ceilings. What surprised me most wasn’t how good they looked — it was how little I actually had to spend to get that look.
I’ve since redone three ceilings in my own home and helped a couple of friends tackle theirs too, and I’ve picked up a lot of tricks along the way for keeping costs low while still getting that warm, high-end, “I hired a designer” appearance. Below are 17 wood ceiling ideas that cost far less than they look like they should, based on what actually worked (and what didn’t) in my own projects.
1. Reclaimed Pallet Wood Planks
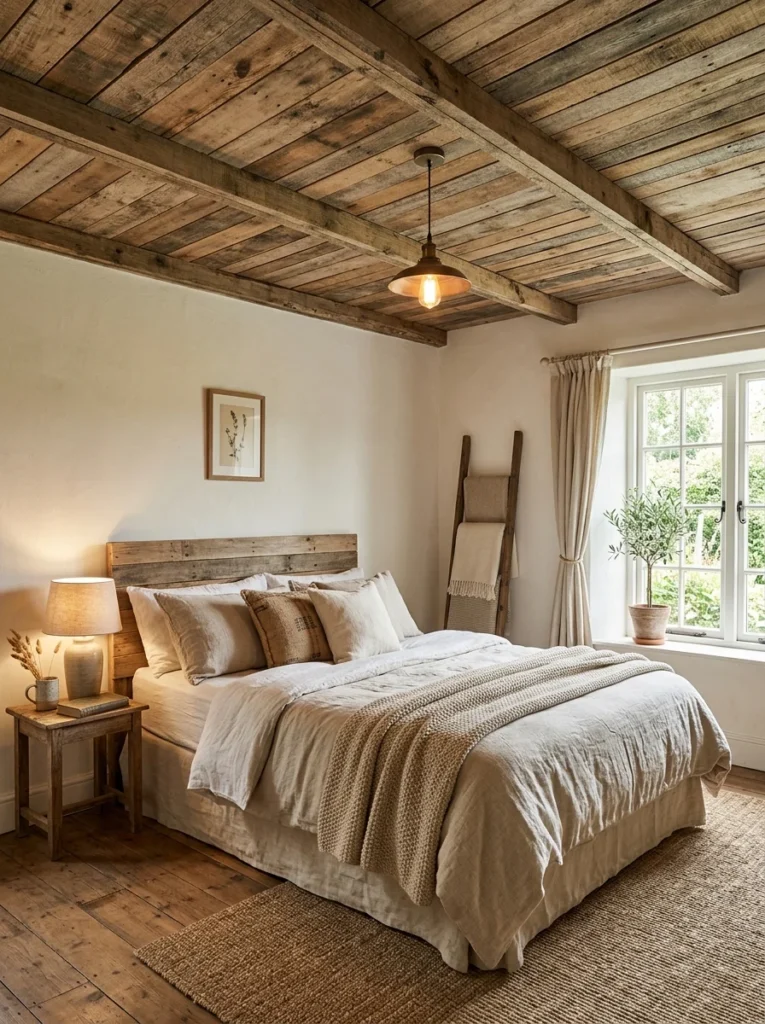
This is where I started, mostly because I was broke and had a stack of old shipping pallets sitting in my garage. Pallet wood, once cleaned, sanded, and de-nailed, gives you that rustic, weathered plank look that usually costs a fortune when bought pre-finished. It took me a full weekend to break down enough pallets for one bedroom ceiling, but the material cost was basically zero. The unevenness in tone from board to board actually works in your favor here — it looks intentional and layered rather than uniform and flat.
2. Thin Wood Slat Strips Over Drywall
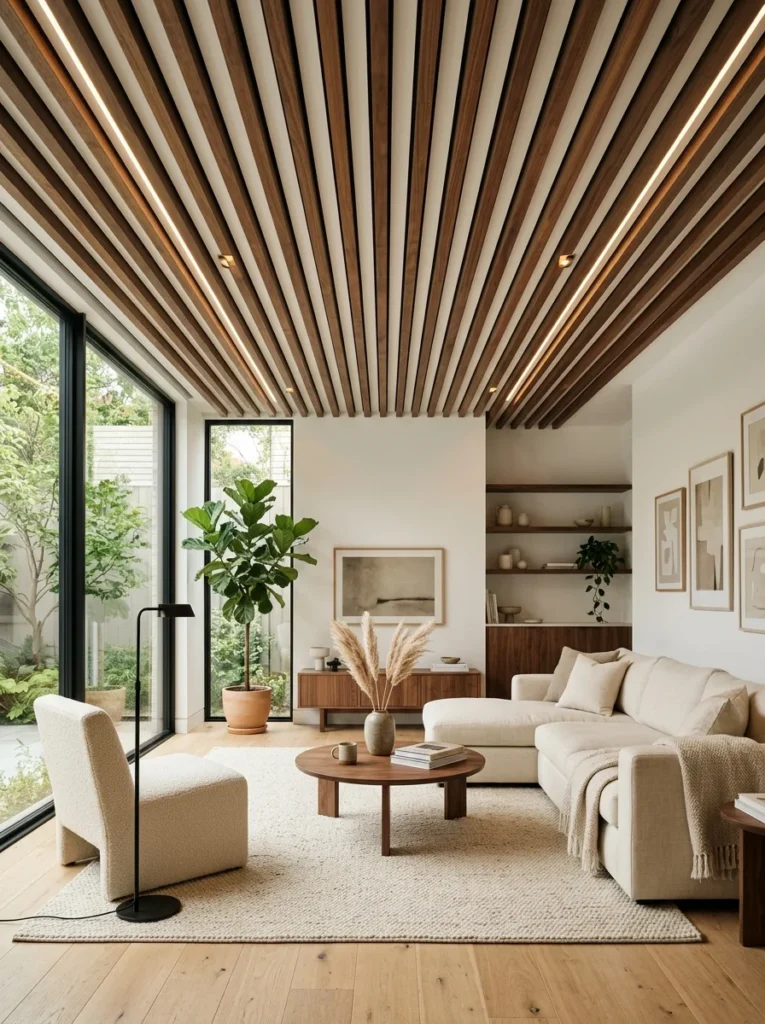
Instead of tearing out your existing ceiling, you can nail or glue thin wood slats directly over it. I used 1×2 pine furring strips, stained them a deep walnut, and spaced them about two inches apart. The shadow lines between each slat create depth that tricks the eye into thinking there’s much more craftsmanship involved than there really is. This is one of the most budget-friendly options because you’re not buying full sheets of material — just narrow strips.
3. Plywood Sheets Cut Into Faux Planks
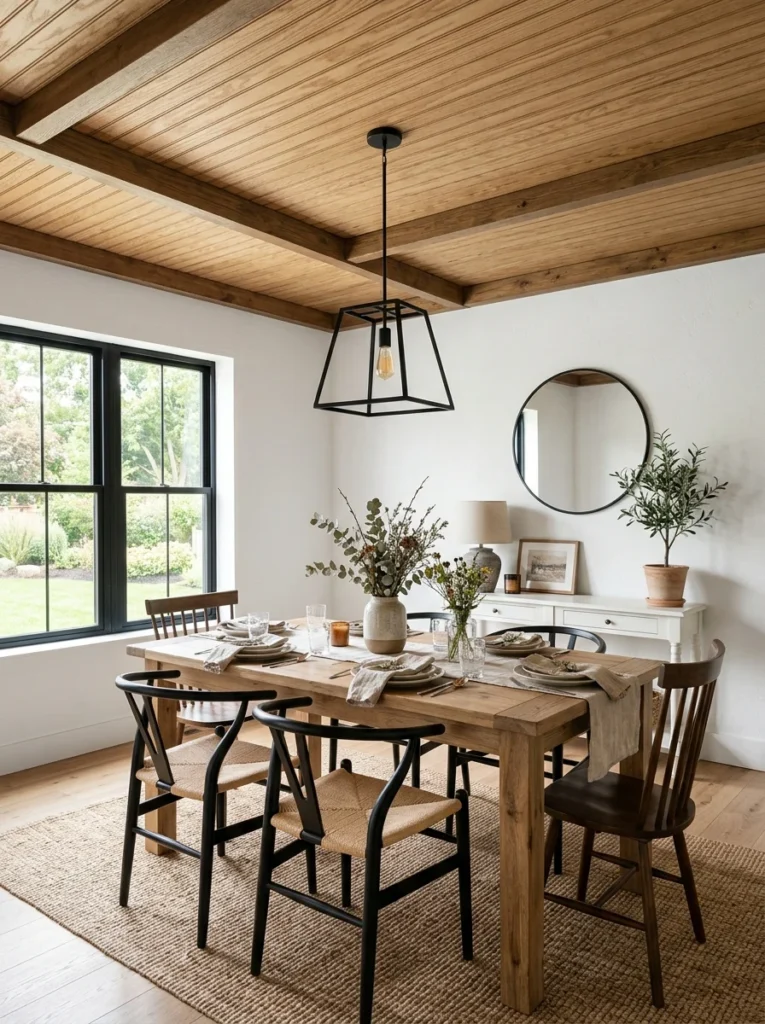
A trick I learned from a contractor friend: buy sheets of plywood, have them cut into plank-width strips at the hardware store (most will do it for free or a small fee), then install them like individual boards. It looks exactly like solid wood plank ceiling but costs a fraction of the price because you’re paying for plywood, not milled lumber. I did my kitchen nook this way and nobody has ever guessed it wasn’t real planking.
4. Whitewashed Wood Panels
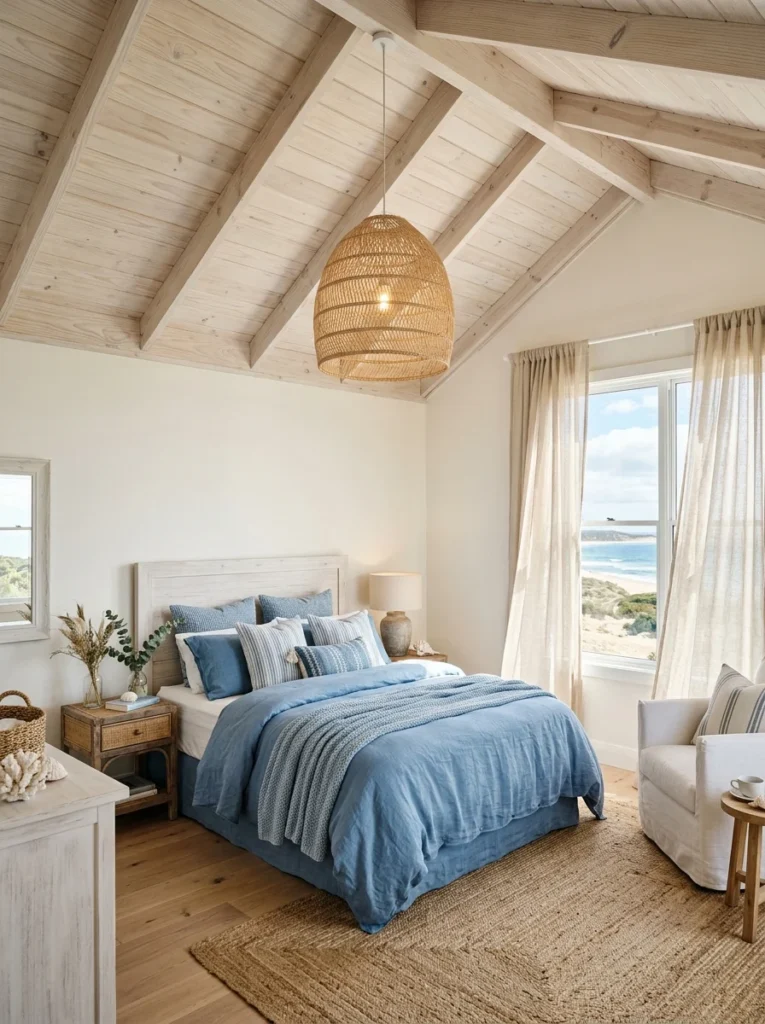
If your space feels dark or small, whitewashing is the move. I diluted white paint with water at roughly a 1:1 ratio and brushed it over pine boards, then wiped off the excess before it dried. The wood grain still shows through, but the ceiling brightens up the whole room. This technique is popular in coastal and farmhouse-style homes because it keeps the natural texture while softening the overall tone.
5. Herringbone Wood Ceiling Accent
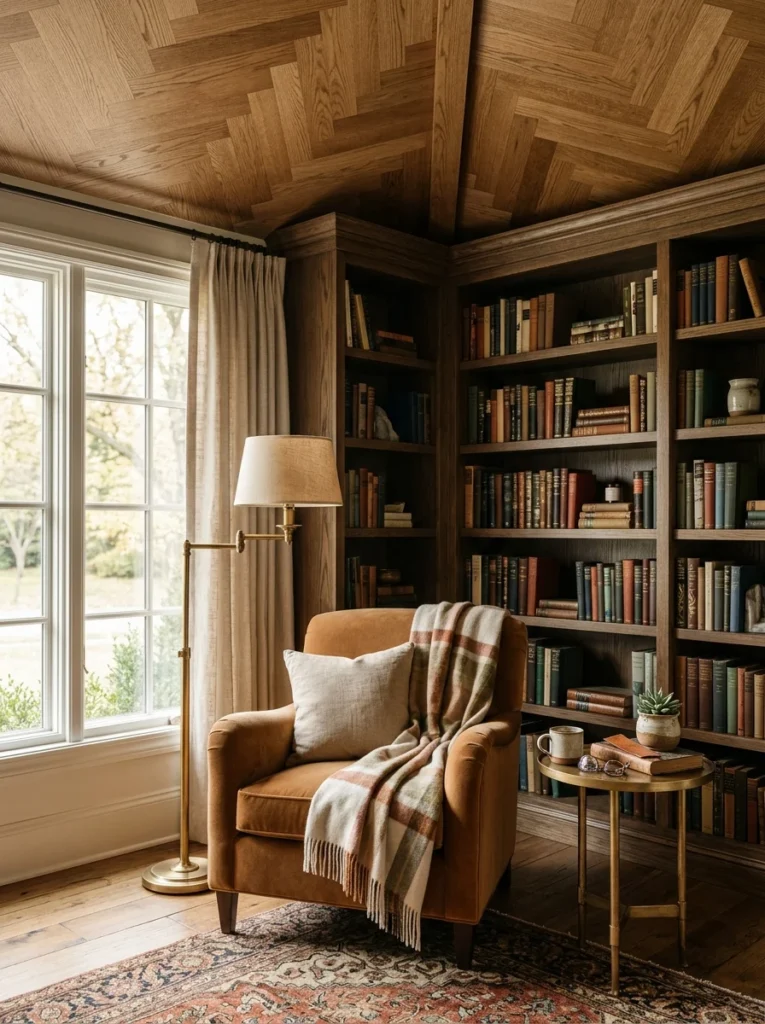
I only did this in one small area — a reading nook — because herringbone patterns take more time and precision than straight planking. But the payoff is huge. Using leftover scrap wood cut into equal lengths and angled at 45 degrees, I created a herringbone accent that instantly became the focal point of the room. It’s proof that you don’t need to redo an entire ceiling to get a dramatic effect; sometimes one accent area does more work than a full makeover.
6. Stained Beadboard Ceiling
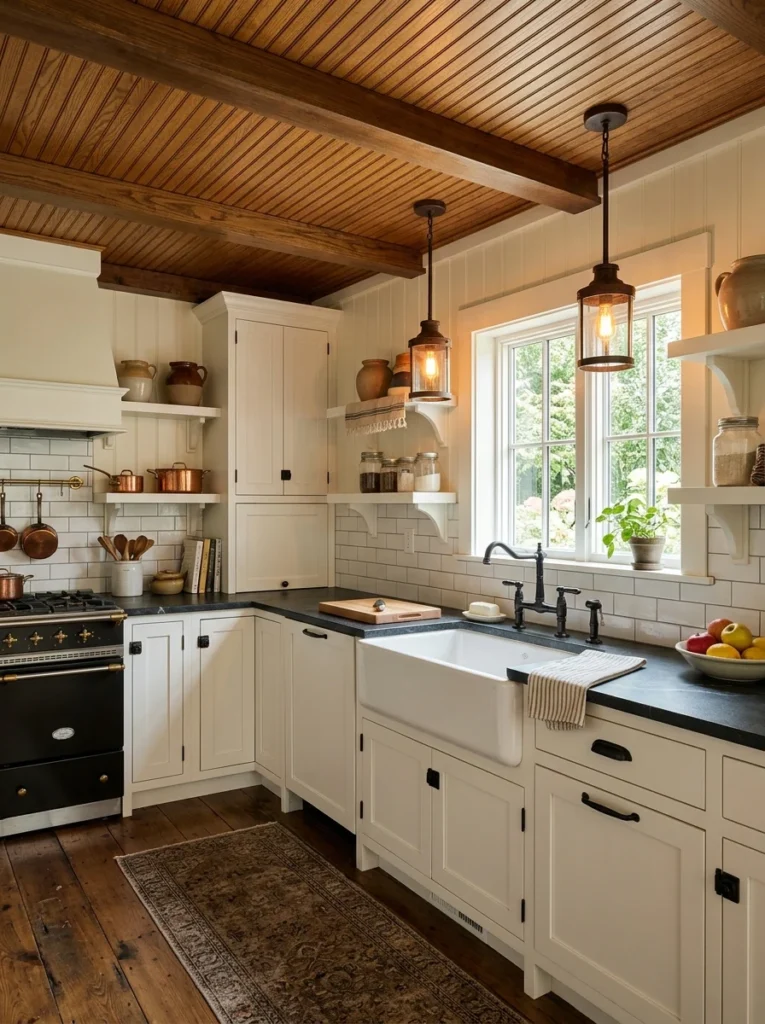
Beadboard paneling is inexpensive, widely available, and installs quickly since it usually comes in interlocking panels. I stained mine a warm honey oak color instead of leaving it painted white, which gave it a more elevated, cabin-like feel. It’s a great option if you want texture without the labor of installing individual planks.
7. Faux Wood Beams Made From Foam
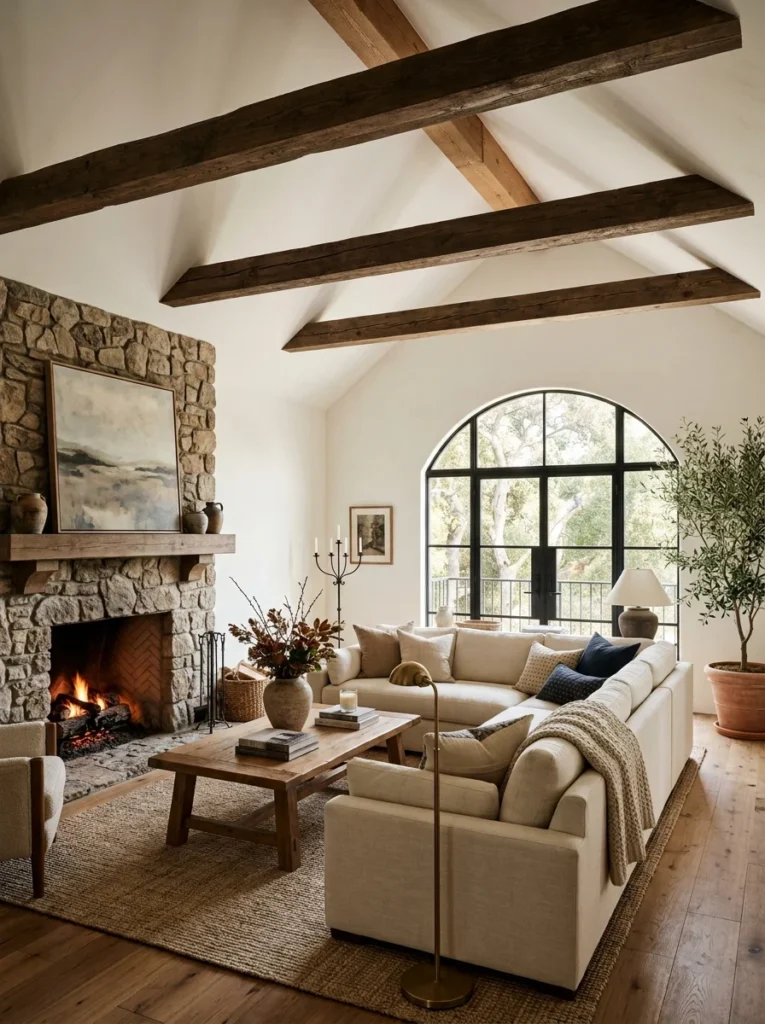
This one genuinely shocked me. Faux wood beams made from polyurethane foam are shaped and textured to look like reclaimed timber, but they weigh almost nothing and install with basic adhesive and screws. I added three faux beams across my living room ceiling for a fraction of what real structural beams would have cost, and from below, you truly cannot tell the difference.
8. Painted Wood Slats in a Bold Color
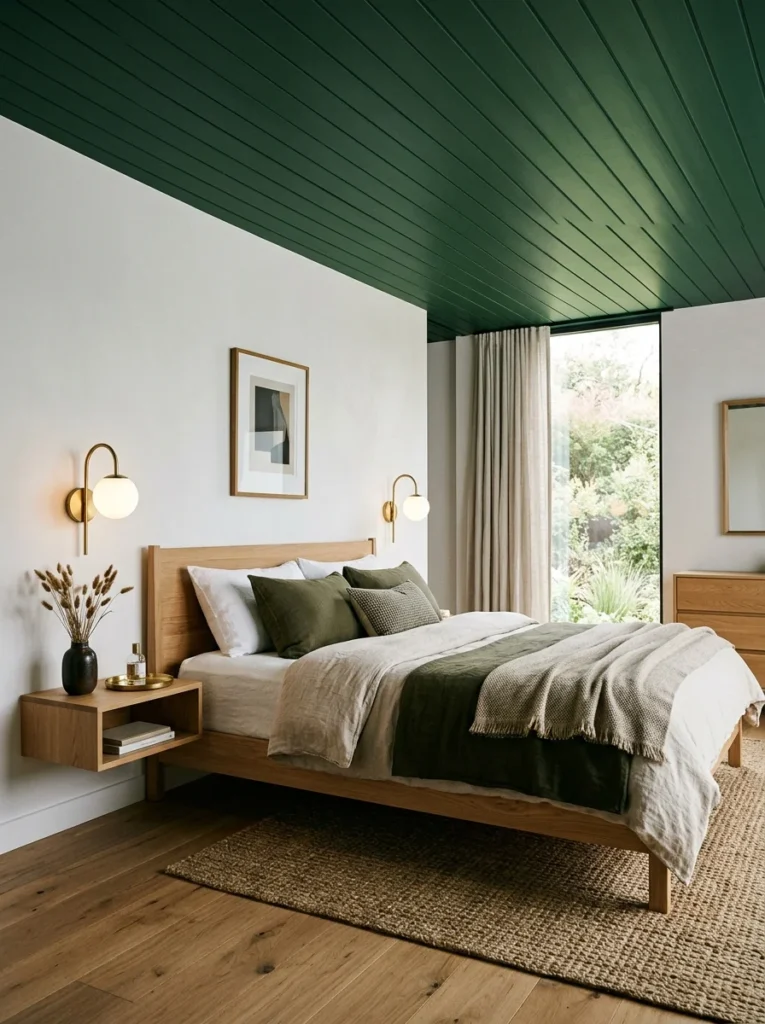
Not every wood ceiling has to stay natural-toned. In my son’s room, I installed thin wood slats and painted them a deep forest green instead of staining them. The texture from the slats still reads as “wood ceiling,” but the color adds a modern, design-forward twist that natural stain alone wouldn’t give you.
9. Tongue-and-Groove Pine Boards
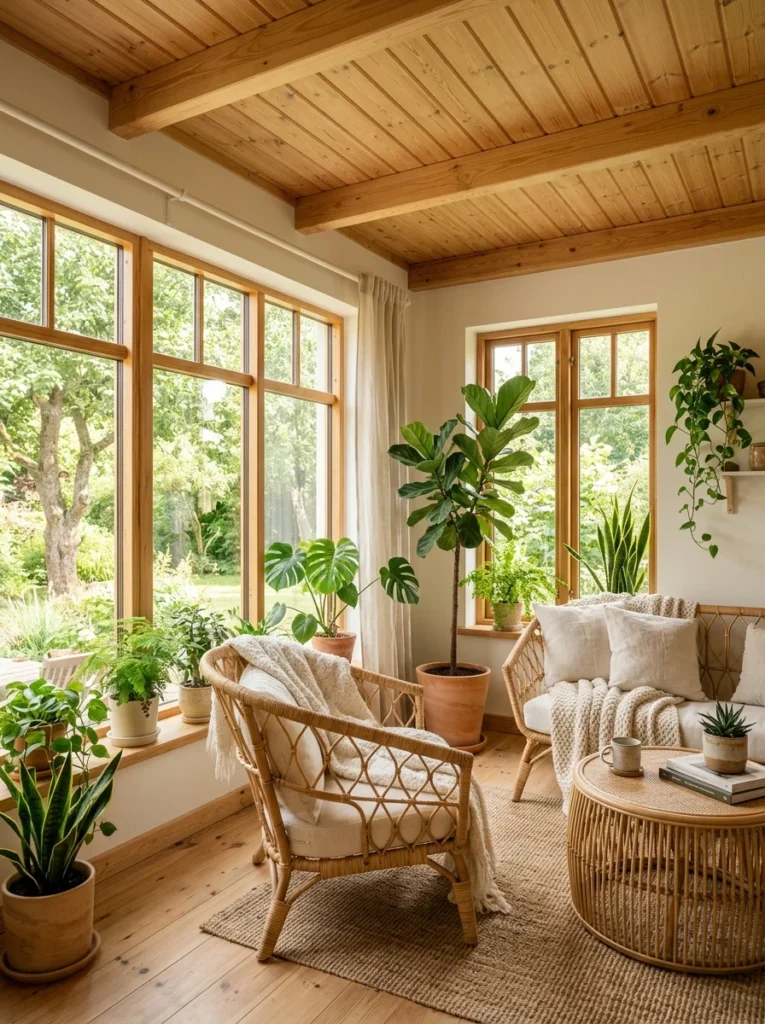
Tongue-and-groove pine is one of the most classic and affordable ways to get a real wood ceiling. The boards interlock, so installation is faster and gaps are minimal. I used this in my sunroom and left it with just a clear matte sealant to protect the wood while keeping its natural pale color.
10. Wood-Look Vinyl Plank on the Ceiling
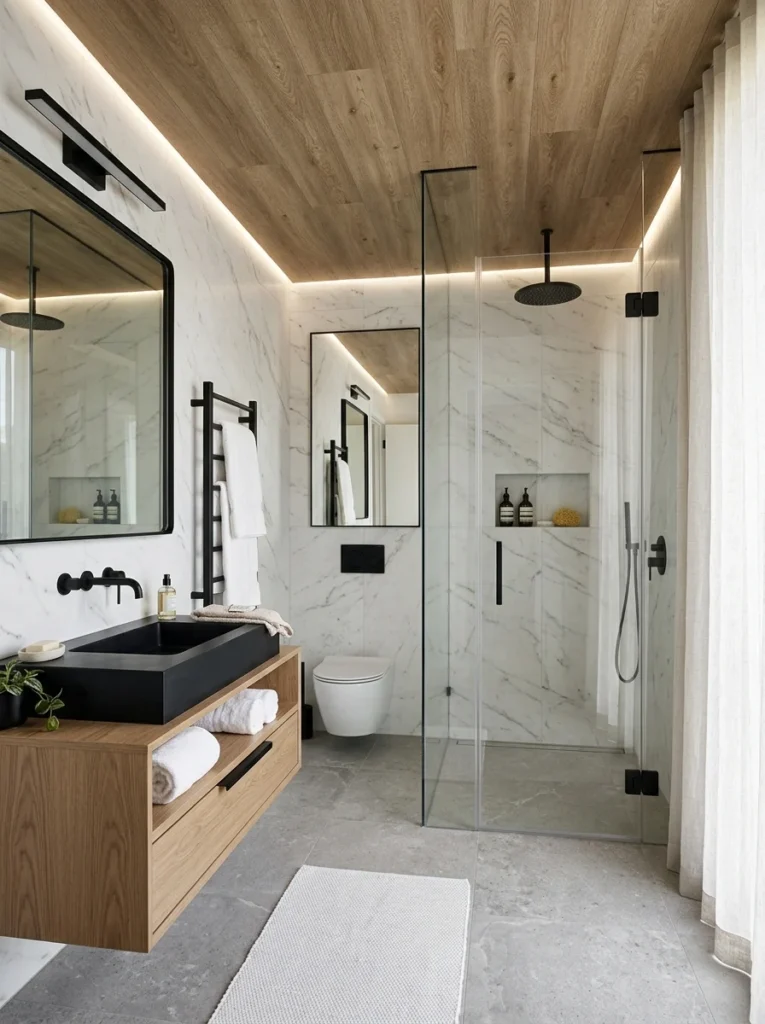
I was skeptical about this one until I tried it myself. Vinyl plank flooring, the kind designed for floors, can actually be installed on ceilings too, and it’s remarkably convincing from a few feet below. It’s lightweight, moisture-resistant, and much cheaper than solid wood, which makes it a smart choice for bathrooms or basements where humidity is a concern.
11. Salvaged Barn Wood Ceiling
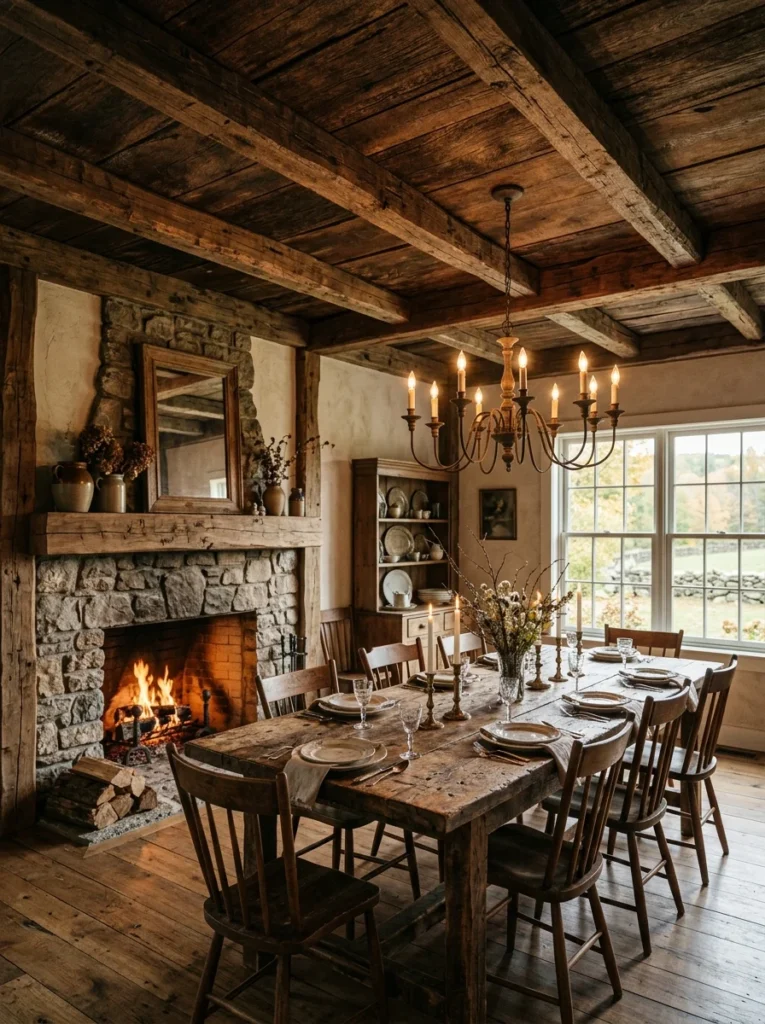
If you’re near a farm supply store, an architectural salvage yard, or even a Facebook Marketplace seller clearing out an old barn, you can often get genuine aged barn wood for very little money. I sourced mine from a farmer two towns over who was tearing down an old shed and was happy to have someone haul the wood away. The character and history in reclaimed barn wood simply can’t be faked with new lumber.
12. Wood Ceiling Medallion as a Centerpiece
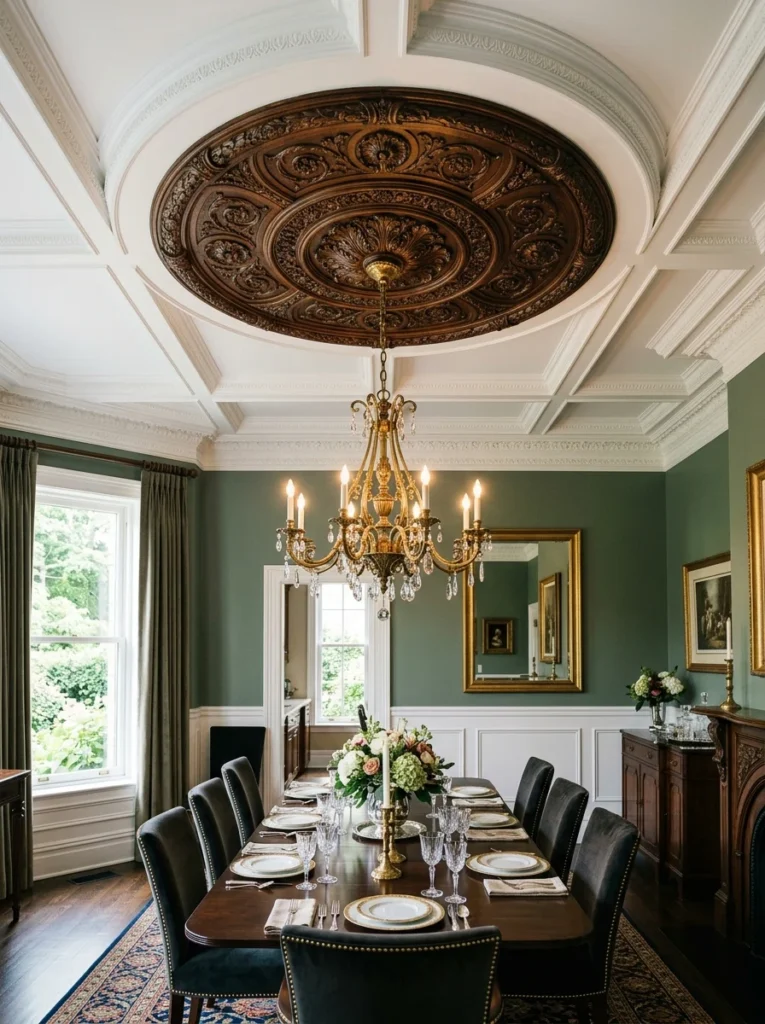
Instead of covering the whole ceiling, sometimes just adding a single wood medallion around a light fixture creates a surprisingly luxurious focal point. I found an inexpensive unfinished wood medallion online, stained it to match my trim, and mounted it around the ceiling light in my dining room. It’s a small detail that makes people assume the whole room was professionally designed.
13. Chevron Pattern Wood Ceiling
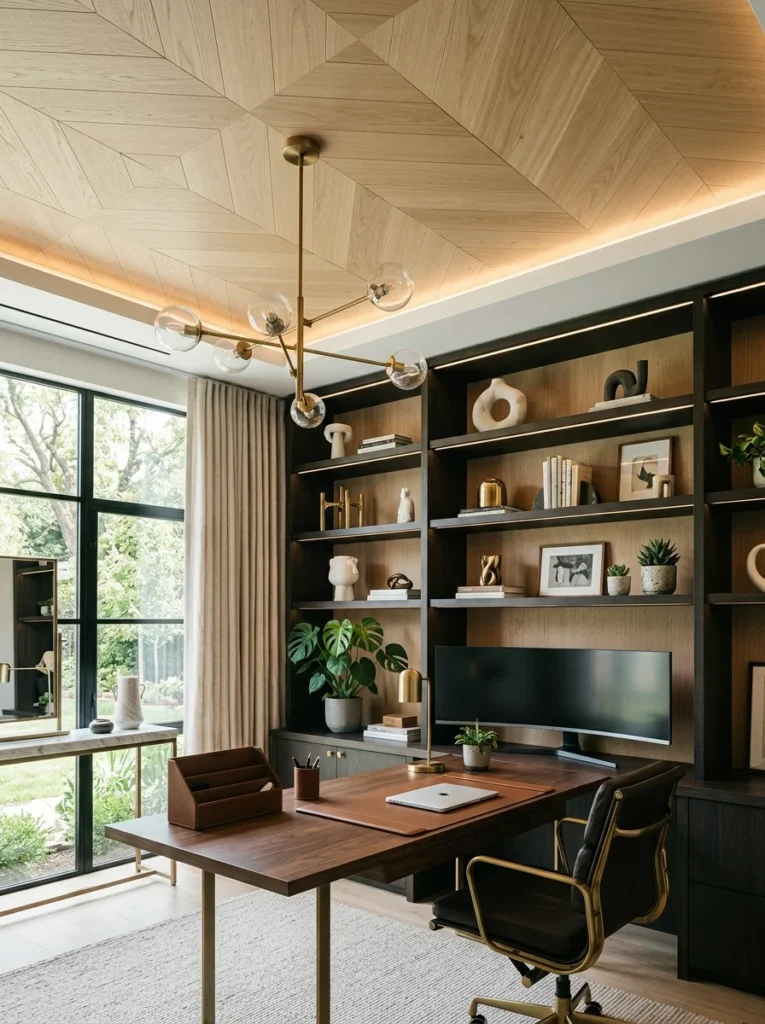
Similar to herringbone but with mitered corners meeting at a point rather than interlocking, chevron patterns create a sharp, directional look that draws the eye upward. I used pre-cut chevron wood tiles that click together, which made installation far easier than I expected, even for someone with limited carpentry experience.
14. Dark Stained Ceiling for Contrast
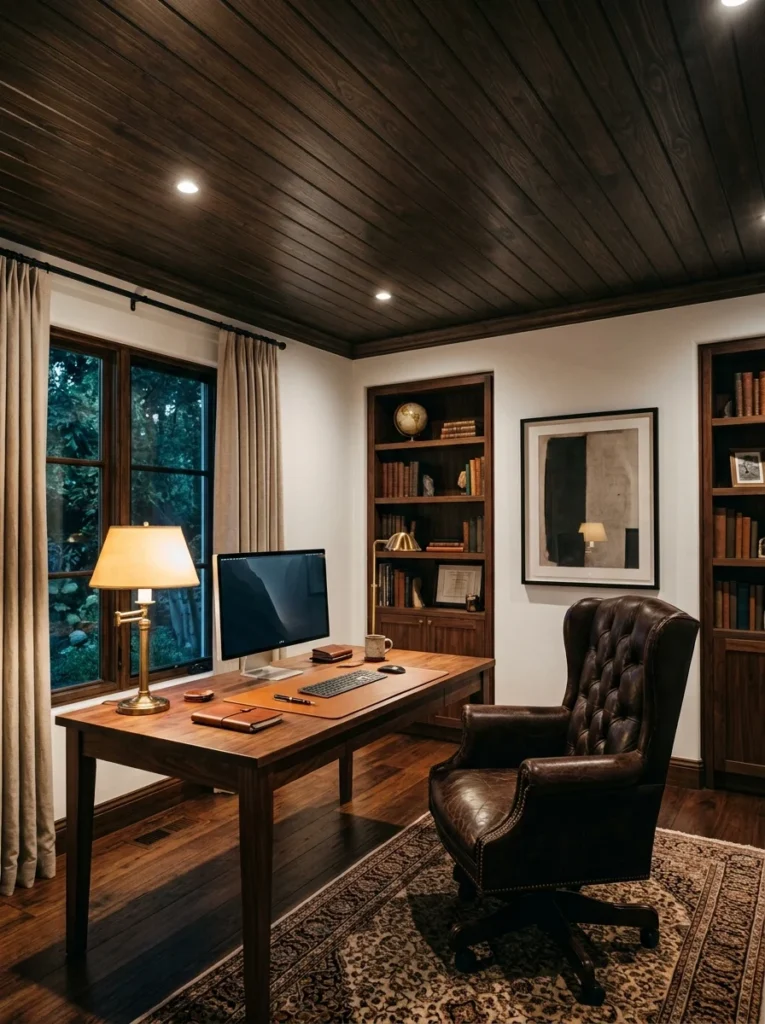
Painting or staining a ceiling dark is a trend that instantly reads as high-end, even though the material cost is the same as a lighter finish. I used a deep espresso stain on tongue-and-groove boards in my home office, and the contrast against the white walls made the whole room feel intentional and cozy rather than unfinished.
15. Mixed-Width Plank Ceiling
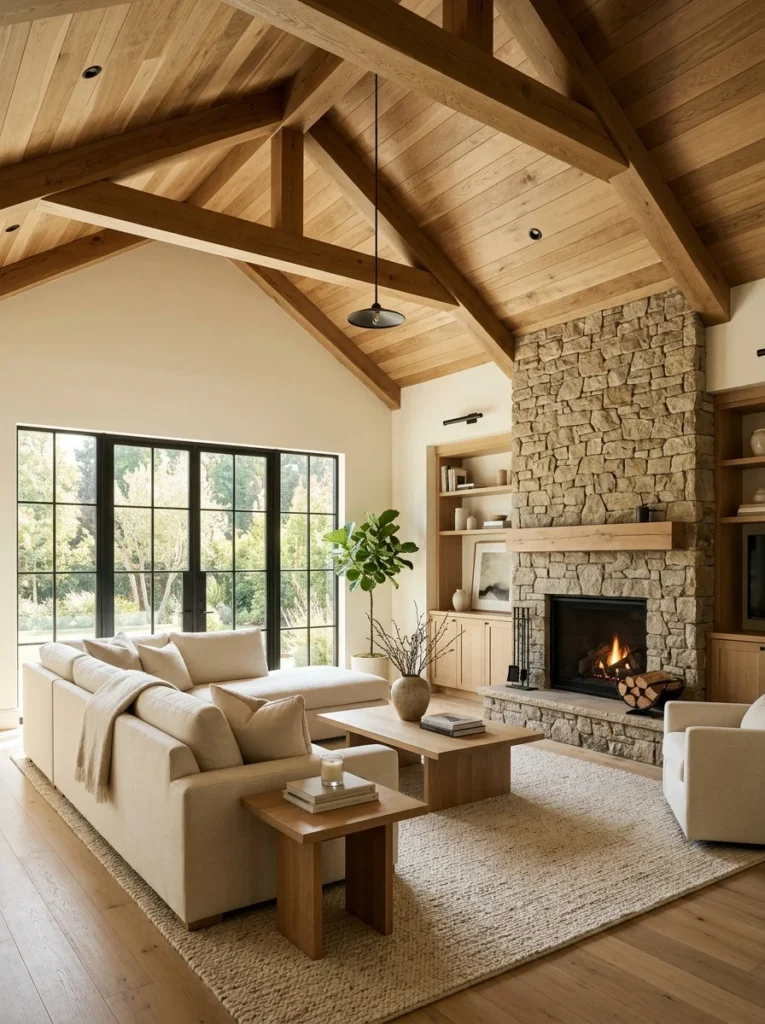
Using boards of varying widths instead of uniform planks adds visual interest without extra cost. I mixed 4-inch and 6-inch boards randomly across my ceiling, which gave it an organic, custom-built look that usually only comes from higher-end carpentry work.
16. Wood Slat Ceiling With Integrated LED Strip Lighting
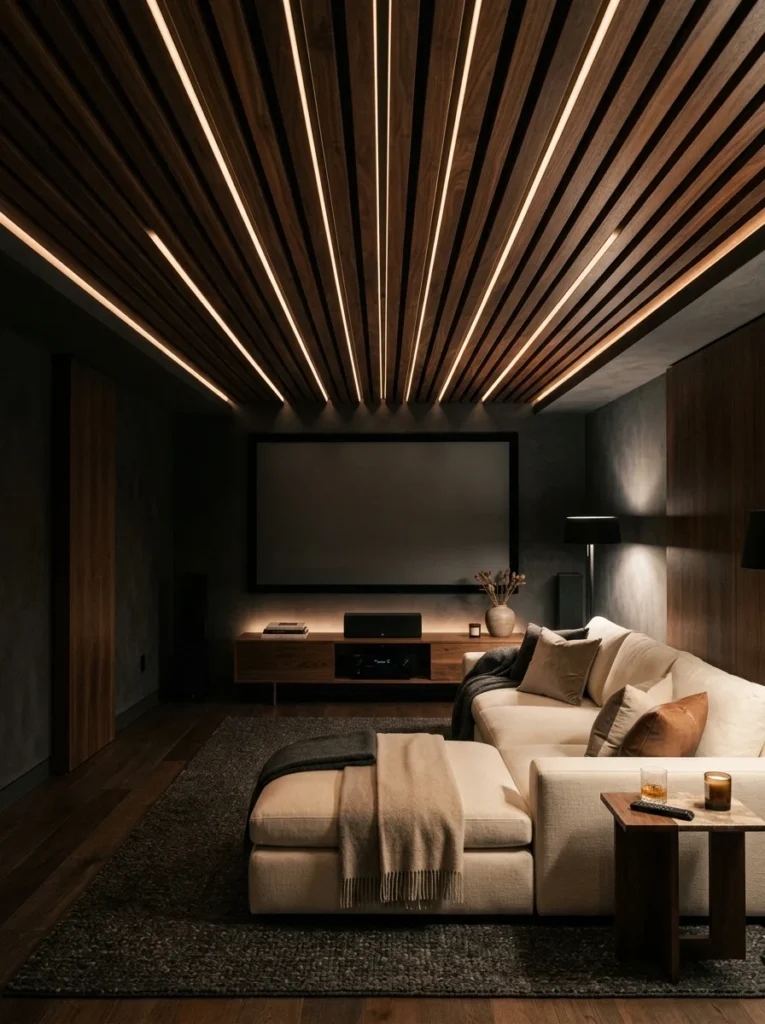
Adding a thin LED strip behind or between wood slats creates a soft glow that makes the whole ceiling feel like a designer lighting feature. LED strip lights are inexpensive, and the effect completely changes the mood of a room after dark. I did this in my basement, and it’s become everyone’s favorite part of the house.
17. Recycled Crate Wood Ceiling
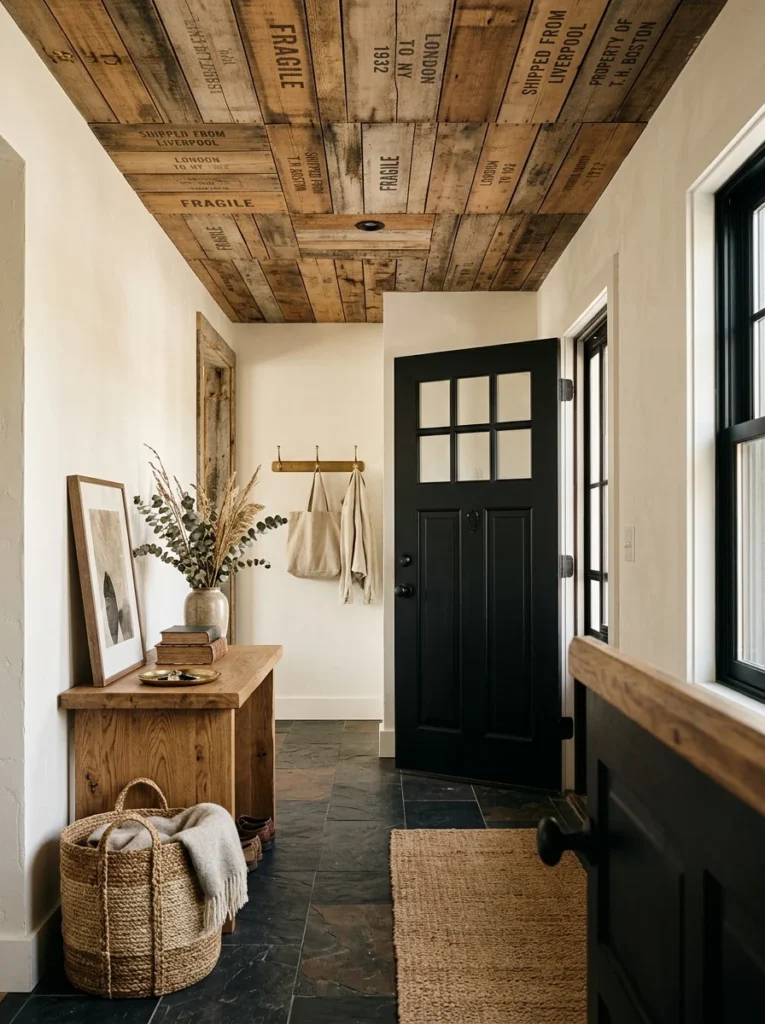
Wooden shipping crates, much like pallets, are often available for free or very cheap. I broke down a few crates from a local furniture store that was happy to get rid of them, sanded down the rough edges, and used the boards for a small accent ceiling in my entryway. The mismatched stamps and stenciled lettering still visible on some of the wood added an unexpected, one-of-a-kind character that you simply can’t buy.
Final Thoughts
What I learned through all of these projects is that a wood ceiling doesn’t have to mean a big renovation budget. Most of the ideas above cost me under a few hundred dollars, and several cost next to nothing beyond my own time and effort. The secret is really in the layering — texture, tone, and a little bit of pattern go a long way toward making a ceiling feel expensive, even when the materials behind it are anything but.
If you’re on the fence about tackling your own ceiling, my honest advice is to start small. Pick one room, one wall section, or even just the area around a light fixture, and see how it feels before committing to a full ceiling makeover. That’s exactly how I started, and it’s what eventually turned into redoing every ceiling in my house, one budget-friendly section at a time.
